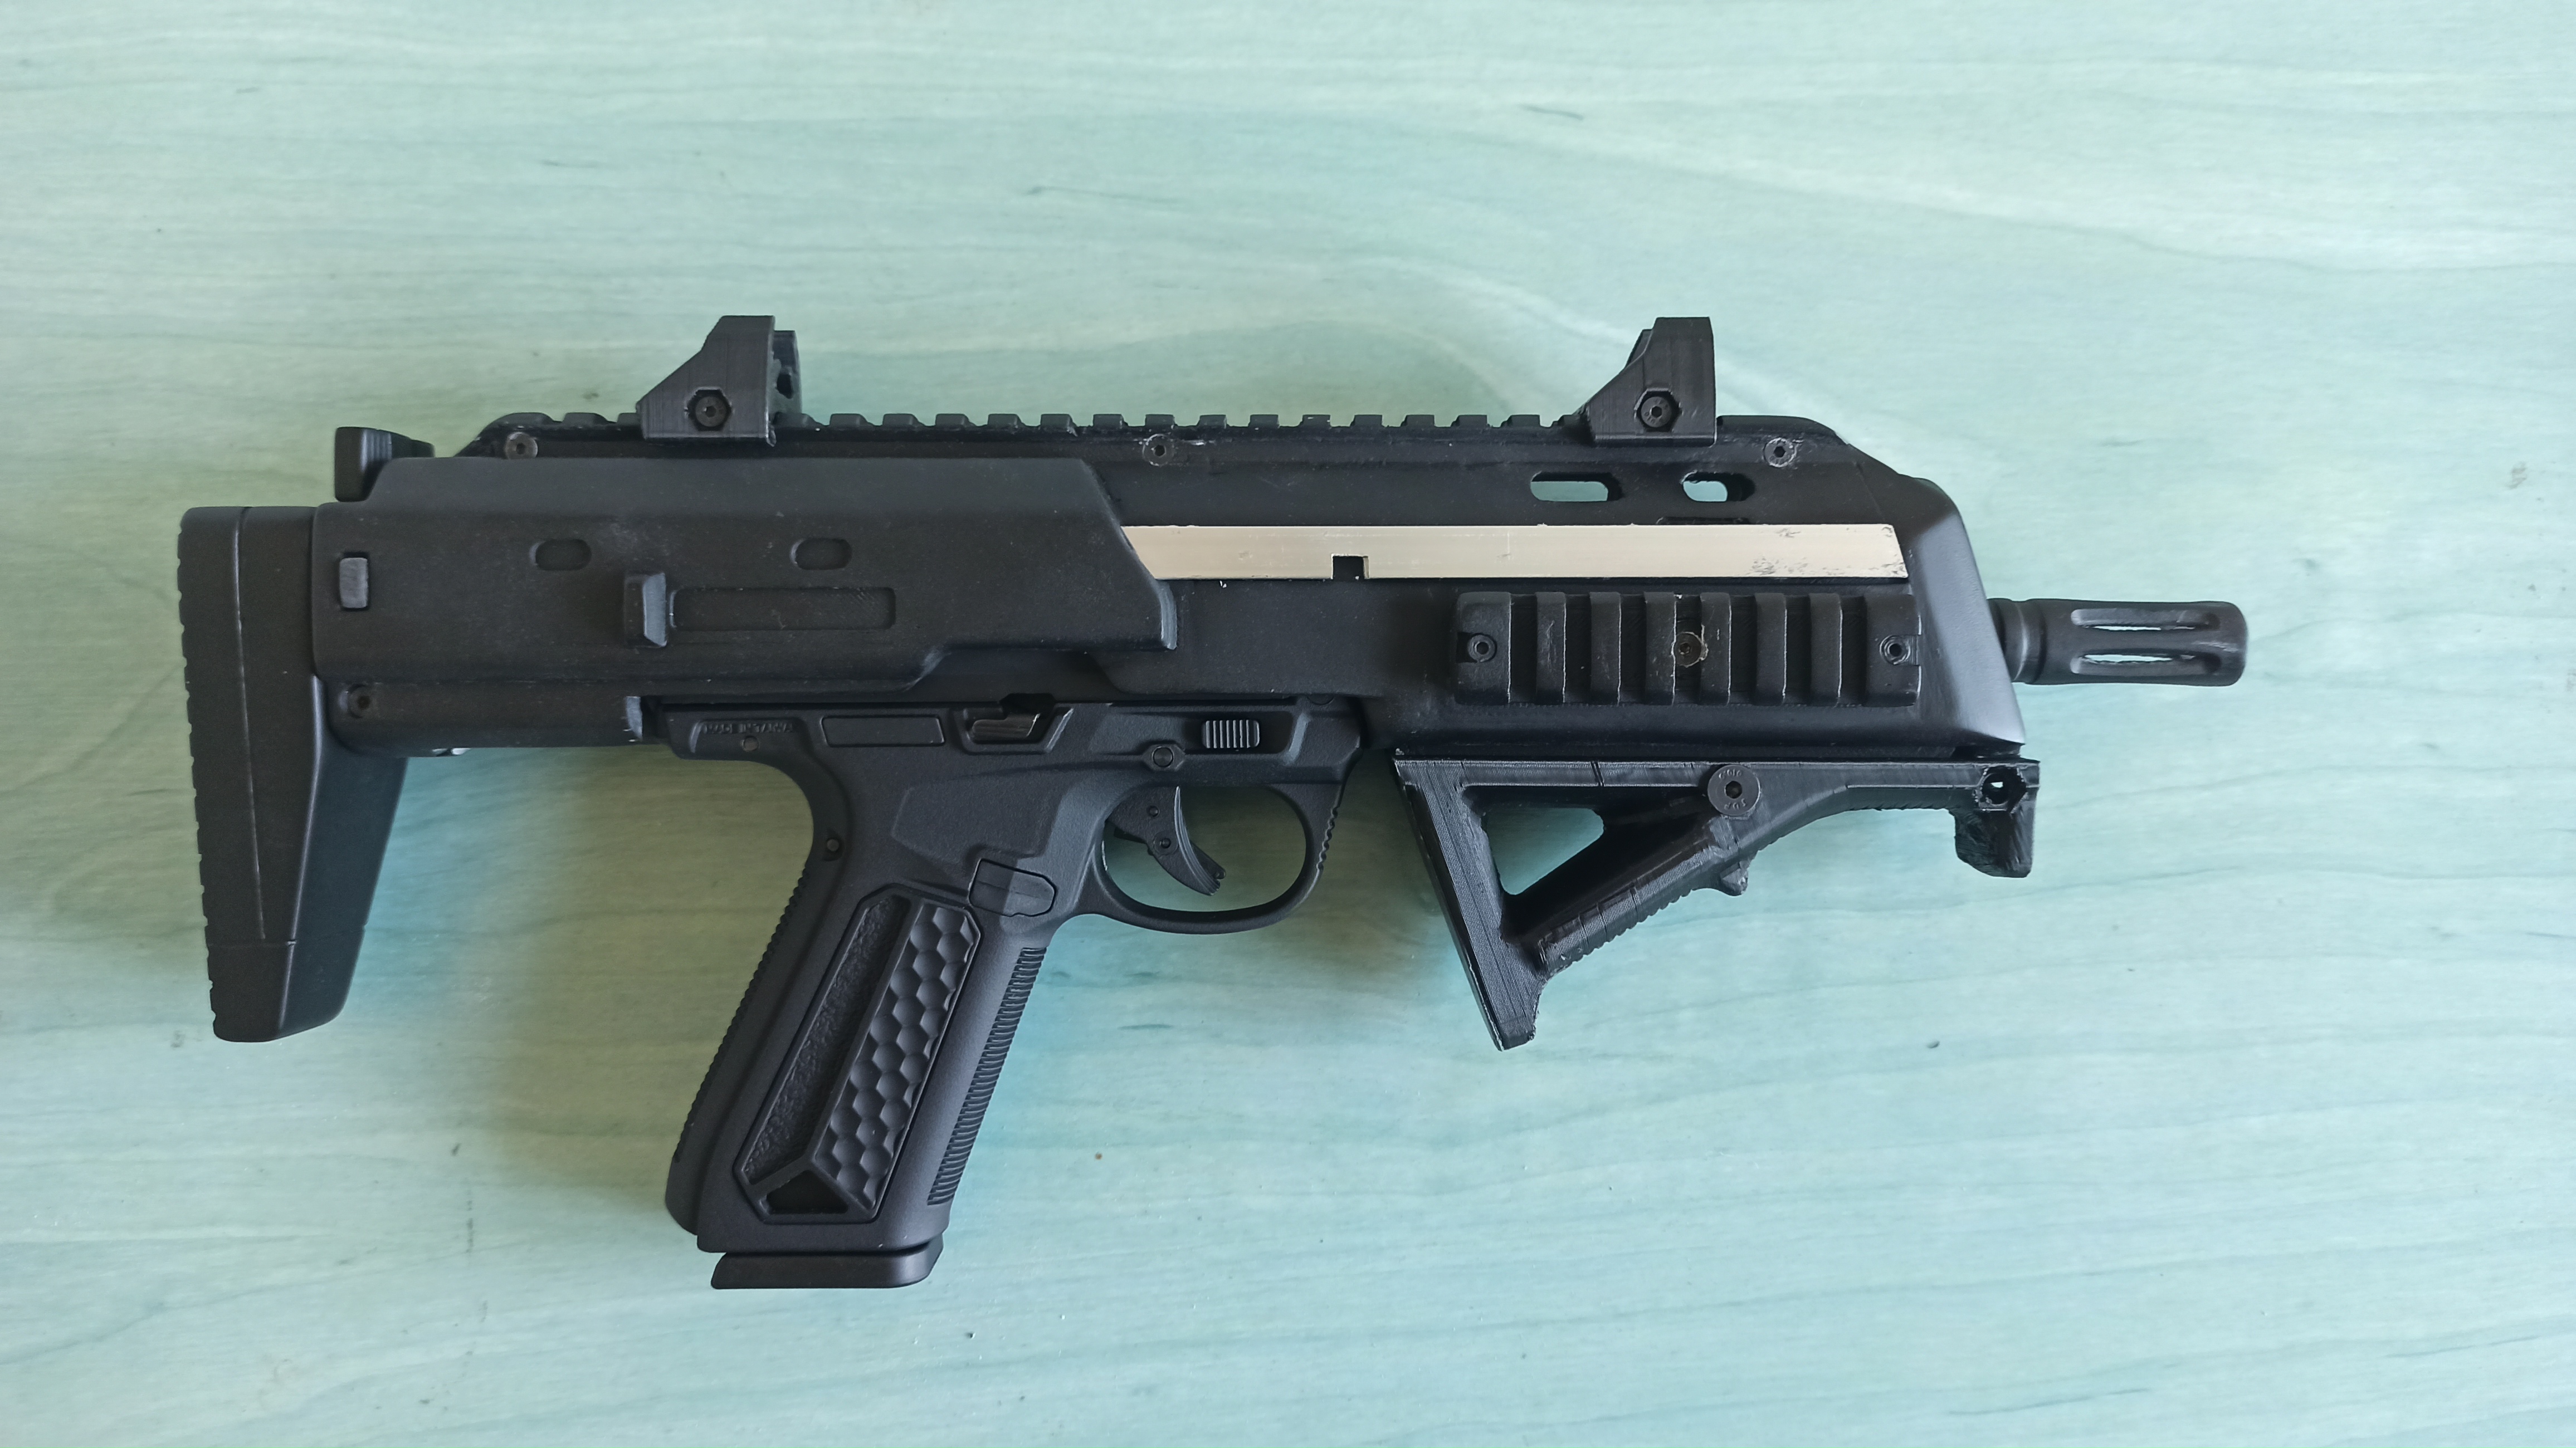
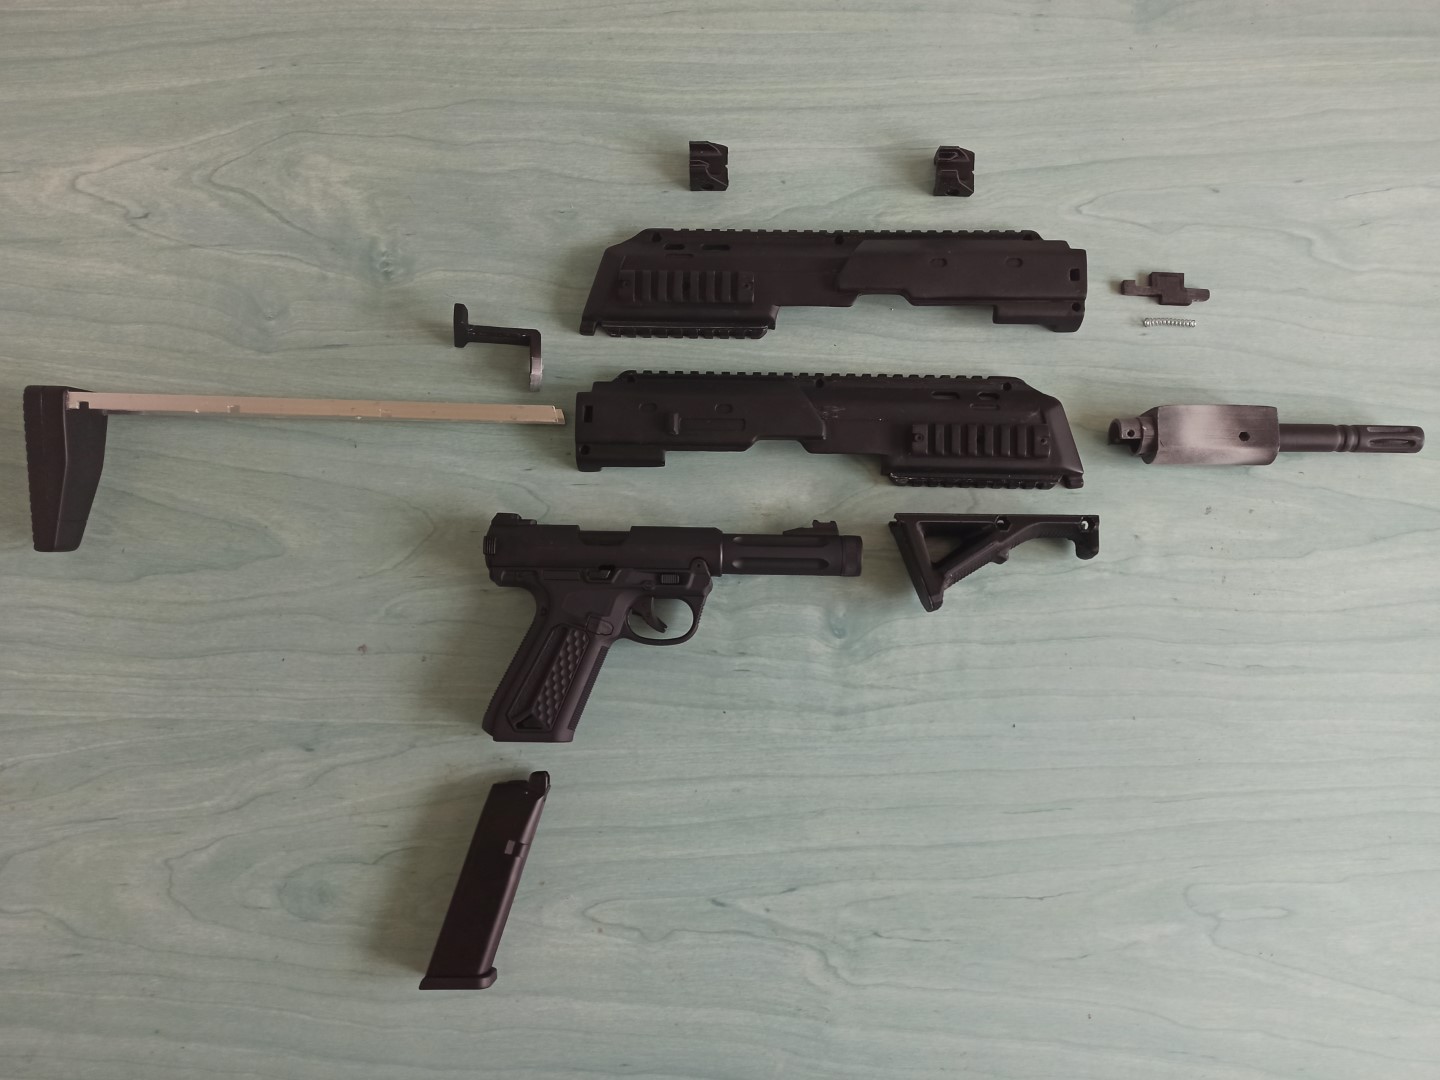
AAP01 CHARLIE KIT | MP7


- 2.4k views
- 6 likes
- 0 comments
| Publication date | 2023-06-19 at 21:30 |
|---|
:format(webp)/https://fbi.cults3d.com/uploaders/13553901/illustration-file/8fcbb99c-a559-4188-b4e1-d4d762295ad2/1.jpg)
Make’s description
I did it with Cura.
After a failed attempt for the stock at 80% infill I decided to go full 20%.
Printer config set to fast, make sure to keep an eye on your printer when it does the first large layer over the support (warping blocked my nozzle strong enough to cause layer shift, fortunately I was here to get it back on track)
I sanded the layers line and applied wood filler to cover some irregularities to make them disappear as much as I could. After that I applied a coat of filler and primer, sanded again, a second coat, sanded once again and only then applied mat black spray paint.
The metal bars are in fact two thinner ones glued together since I did not found the right thickness at my DIY store.
You may need to sand a lot the sides of the "big rounded cubic part" of the barrel piece, else you might have a gap in the middle of the picatinny rail when assembling the two sides together.
Also, make sure to sand all sides of the charging handle so It can slide well . I might as well lube this place because sometimes it the aap bolt does not fully close because of friction with it
The sights and foregrip are not in the files, I downloaded them here:
https://www.thingiverse.com/thing:2829229
https://www.printables.com/en/model/430968-angled-foregrip-picatinny/files (the picatinny slider of this one is bad, I needed to adjust it in blender)
I had a lot of fun doing it !
I hope you will have too.
3D Printer
Artillery HornetMaterial
ICE black PLA 1.75mm- Raft: No
- Resolution: 0.1 mm
- Temperature: 210 ℃
- Support: Yes
- Infill: 20 %
- Speed: 80 mm/s
:format(webp)/https://fbi.cults3d.com/uploaders/39281804/photo-file/f32f5c2e-4b0c-482c-9fd8-1ba805291410/1000047263.png)
:format(webp)/https://fbi.cults3d.com/uploaders/16715286/photo-file/a69e1fa1-5a20-42e0-b794-ba38f751236c/20231027_192258.jpg)
:format(webp)/https://fbi.cults3d.com/uploaders/20653663/photo-file/1a3c10df-02c9-4488-82de-30f17d04dd81/IMG_20231006_162822.jpg)
:format(webp)/https://fbi.cults3d.com/uploaders/17796498/photo-file/8bb1d2d5-eb15-450d-be5e-dff67473be8c/IMG_20231006_113752.jpg)
Add a comment
👉 Sign in to write a message