Use Vase mode (spiralize outer contour / spiral vase) for Skull Vase for best looking print
You can also print it in normal mode with few walls, no infill and no top layers if you want - to make a stronger print (especially if you want a big print with not so big nozzle)
No supports needed
'FULL' model should be printed only in normal mode with top layers and some infill
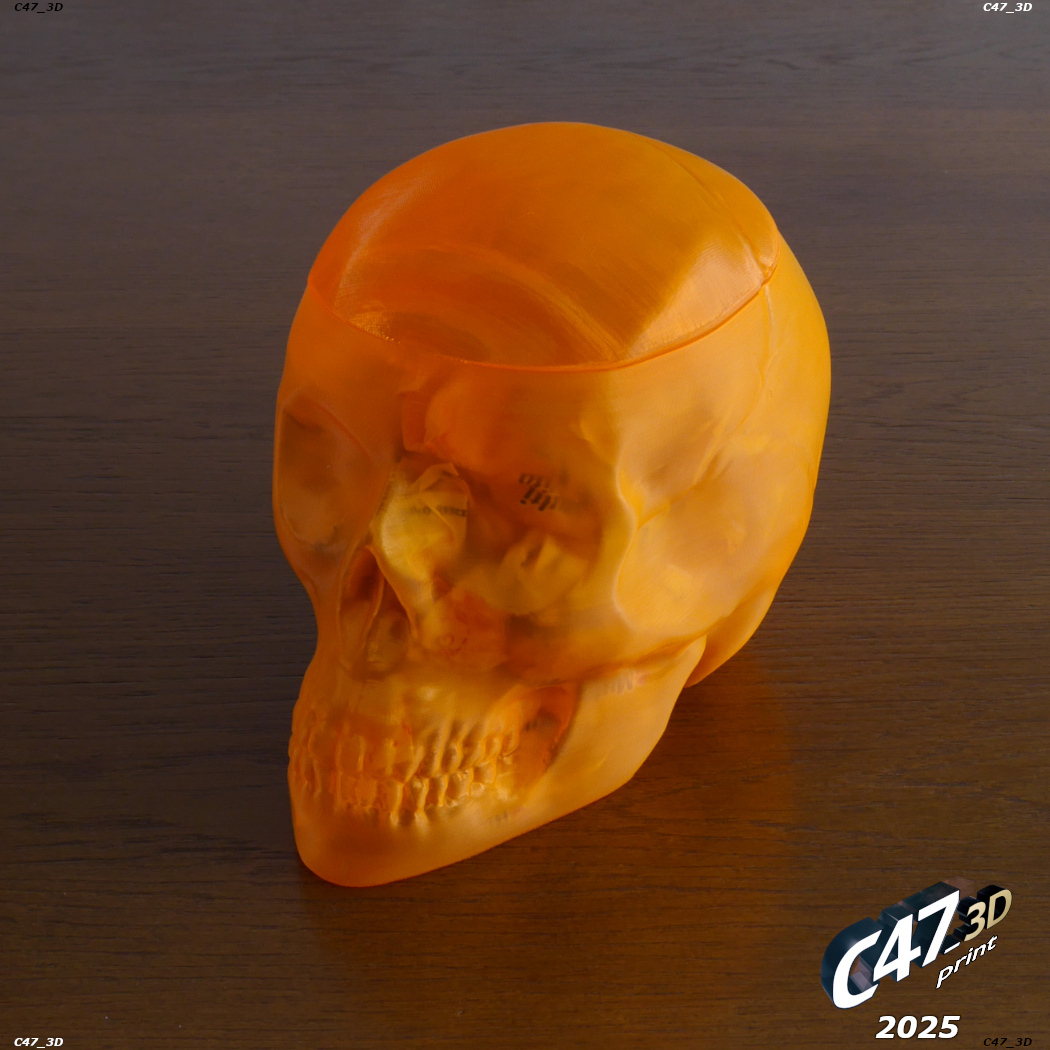
On photos there is a 70% size model printed with 0.4mm nozzle and line width and 0.1mm layer height - I recommend to use highier line width (around 150% size of a nozzle), I just tested if there will be any holes in the print with such small lines
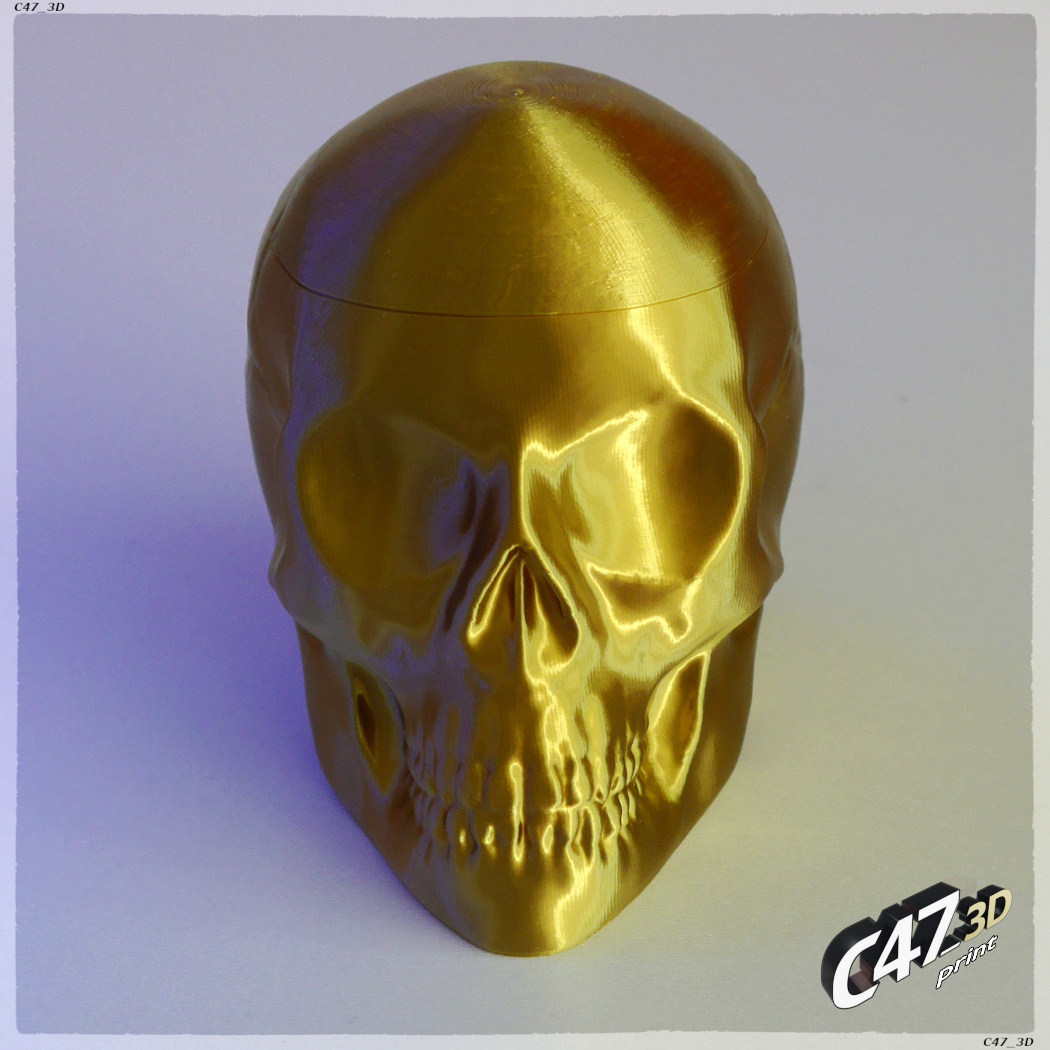
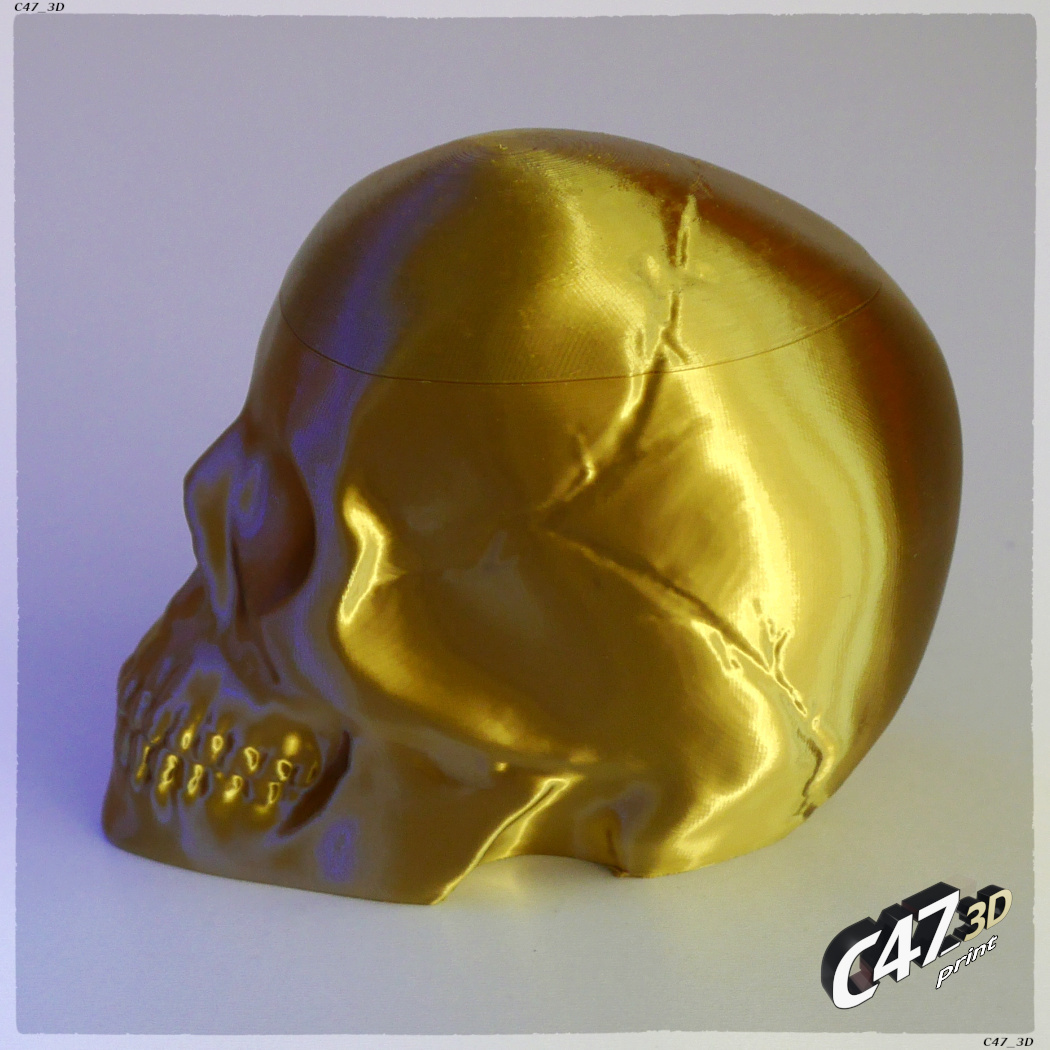
Bigger Skulls, 120% and 150% size printed with 1mm nozzle with 1,2 and 1,3mm line width and 0.5mm layer height
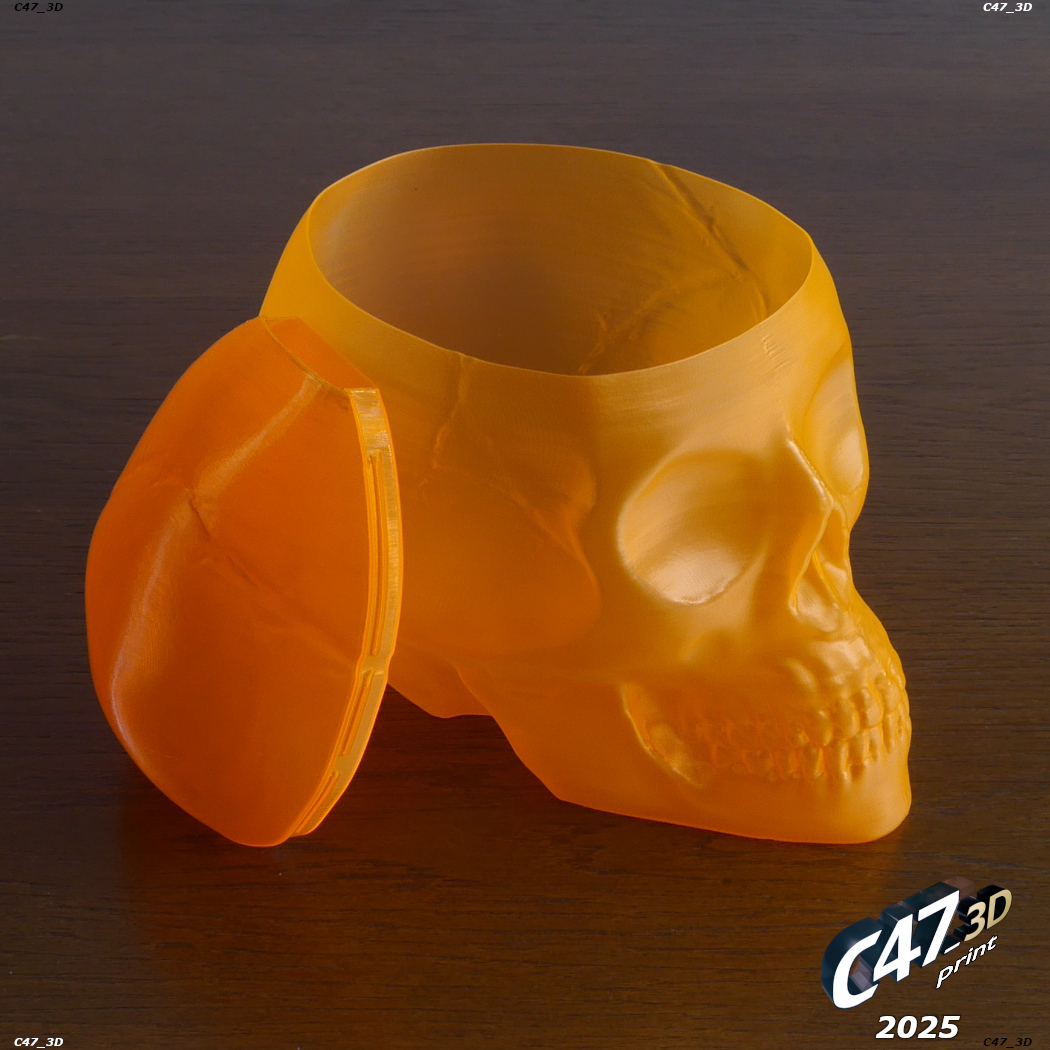
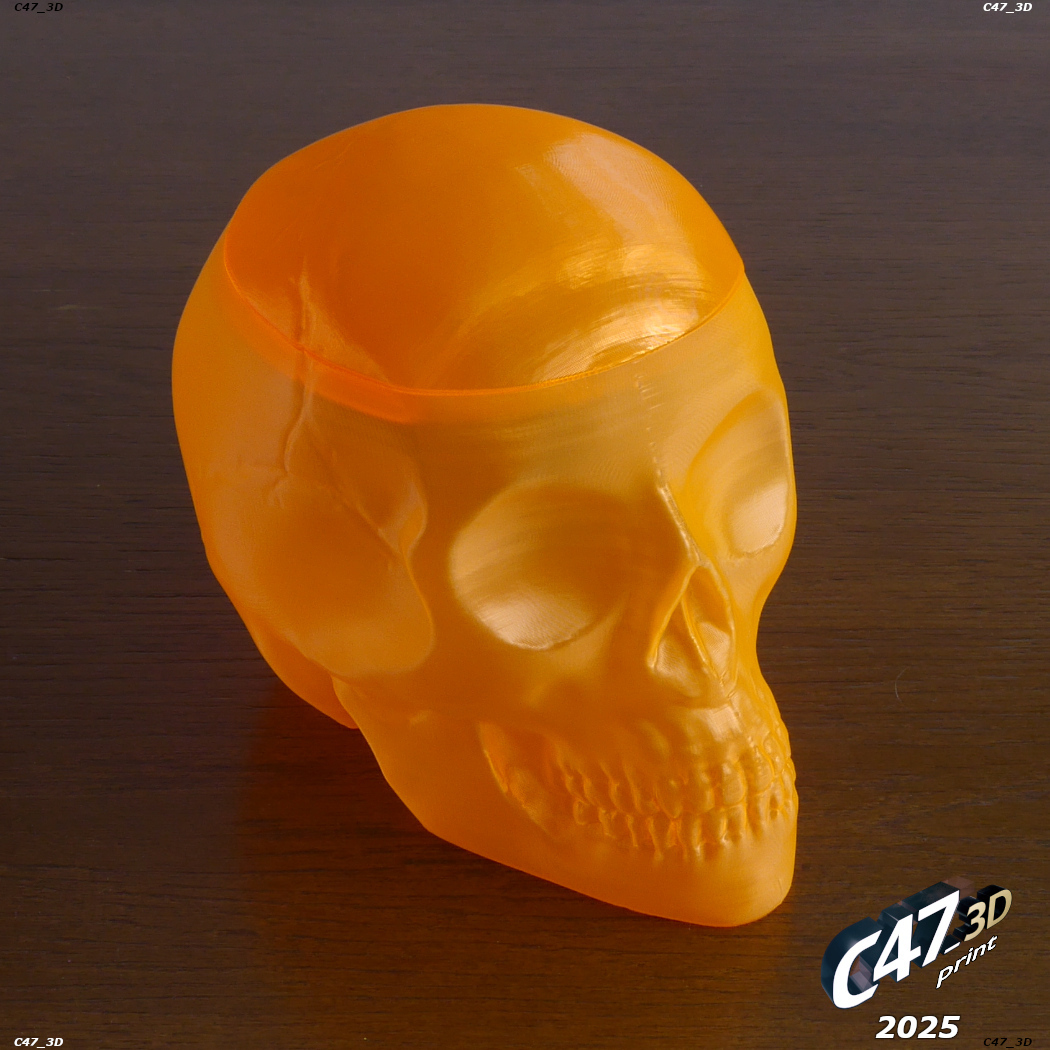
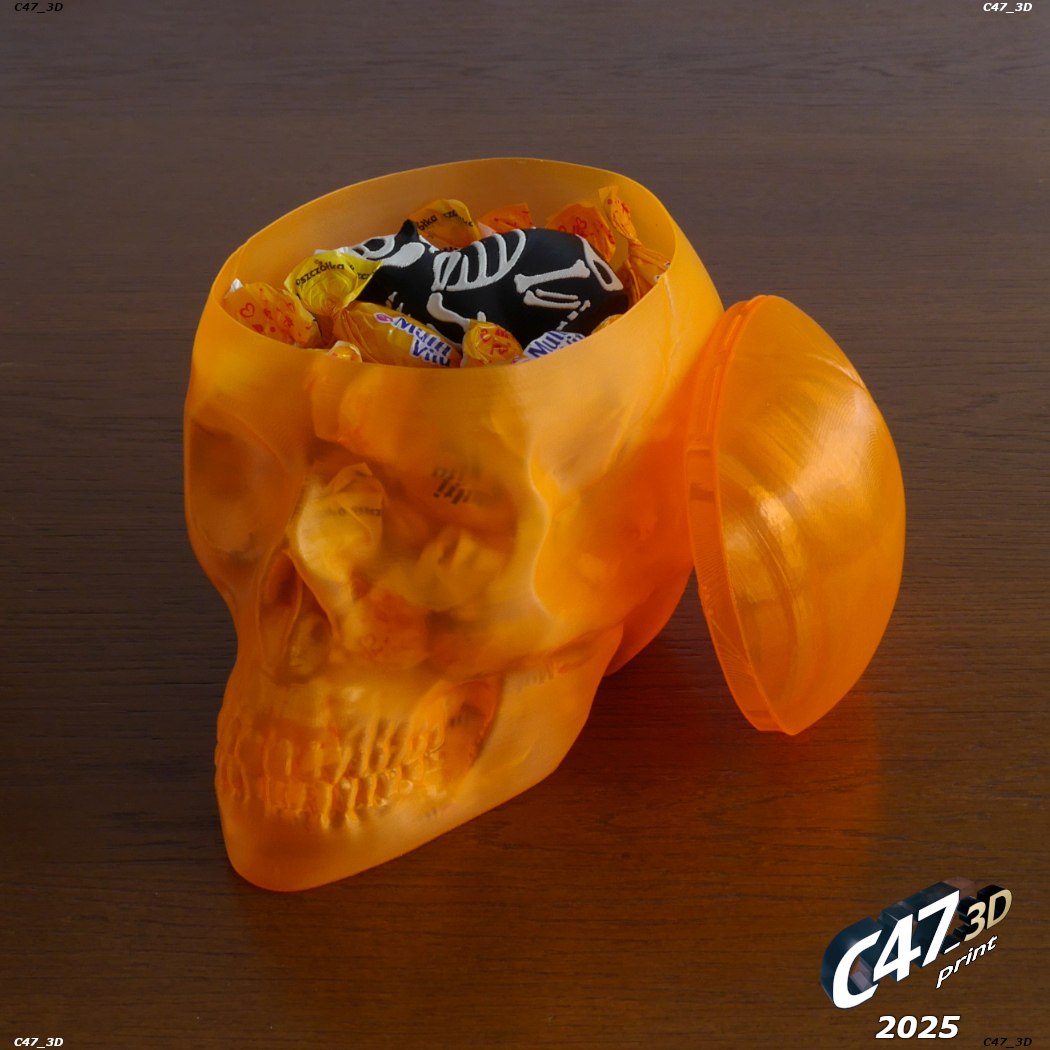
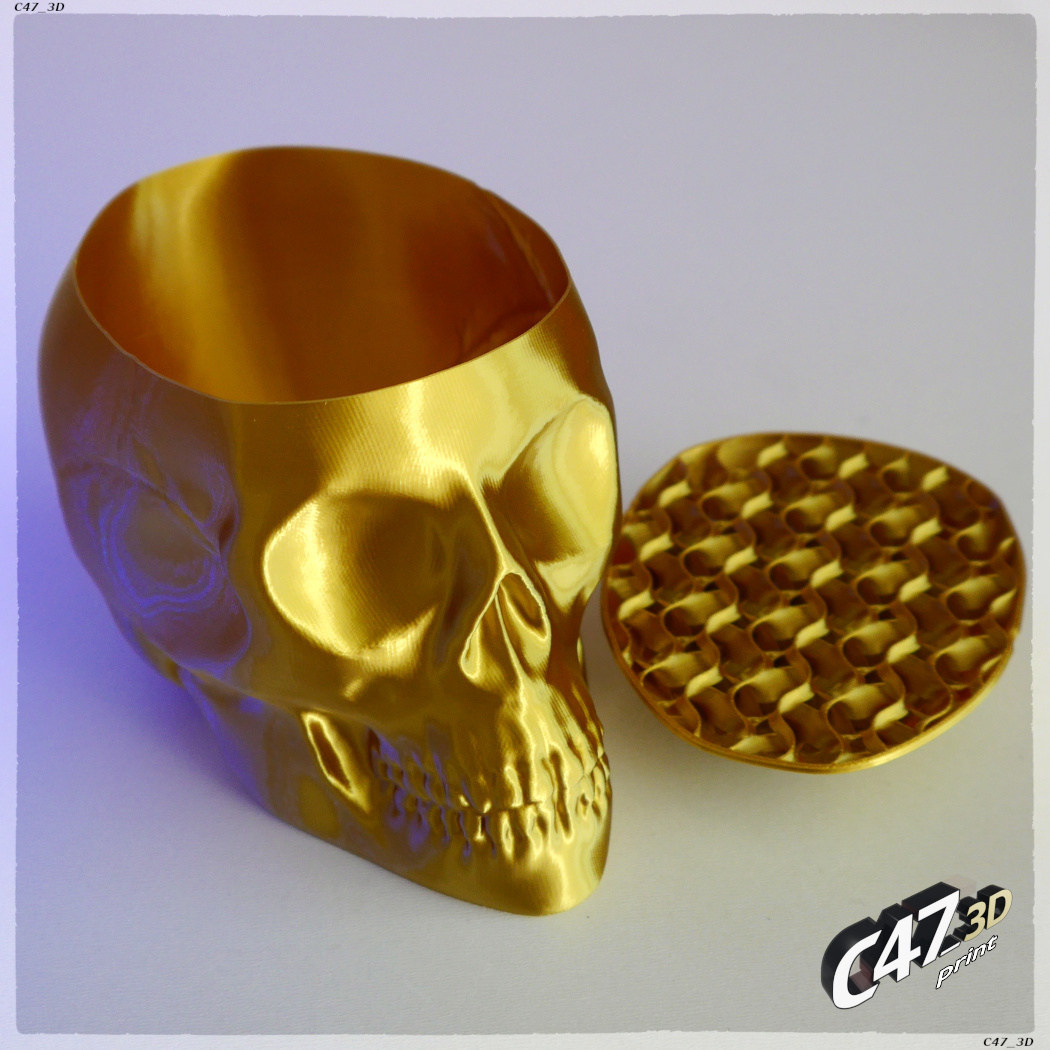
Photos from 2025 are with 100% size with a Lid, 0.4mm nozzle, 0.6mm outer line width, 0.16mm layer height
TOP LID SETTINGS - VASE MODE - RECOMMENDED
In 2025 I added Skull-Vase_V2_TOP_Vase-Mode
I recommend to use this file - it's much simpler (no need of ADDONs), and working bettter (but only with Vase Mode Skull)
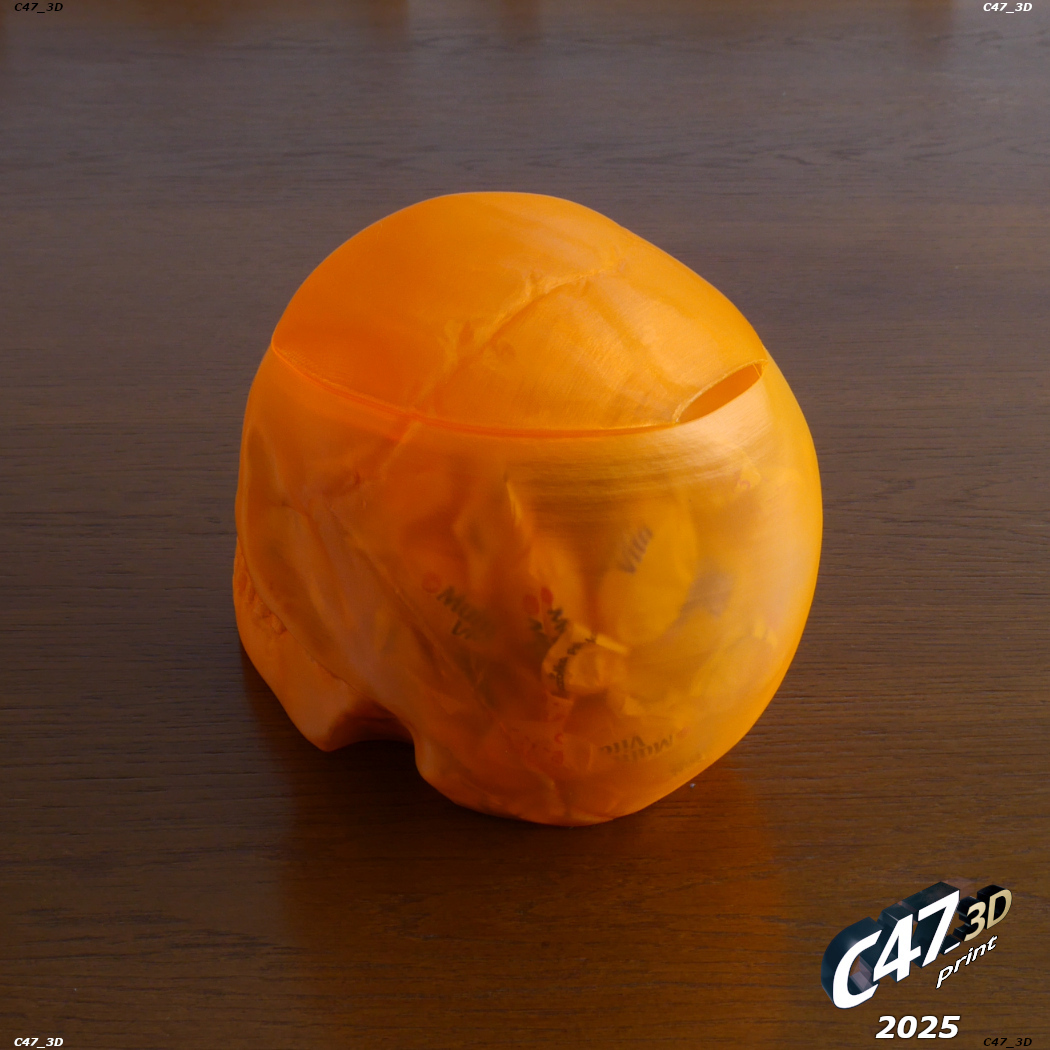
Print it in Vase Mode without any bottom layers and with some brim for stabbility
BUT it will leave a hole in the skull on the back (see photos). There will be another hole on the front side of a Lid but it's inside
I also made a version with a sloped front side, that would print without a front hole, but it was not working as good as the one I uploaded
It is also resized to 101% compared to Skull
You can also print this file in normal mode - but only if you printed the Skull with only one wall to make it fit
TOP LID SETTINGS - NORMAL MODE - For advanced users
IMPORTANT
TO MAKE A TOP LID in normal mode you will need to add two TOP models to your slicer
Skull-Vase_V2_TOP
Skull-Vase_V2_TOP-ADDON or Skull-Vase_V2_TOP-ADDON-with-PROTRUSION
This files are for printing in normal mode (instead of Vase) if you want to have a fully covered Skull hole or if you printed the Skull with more than 1 wall
I recommend to print it with no bottom layers - it will use less flament and will be lighter
Other options: 2 walls and some infill (I used 7% gyroid)
Set top layers depending on the layer height (the smaller the layer height the more should be top layers to print better) - I used 6 top layers with 0.1mm layer height and 70% model size
Ignore model errors notifications! - models are with a non-printable rectangle to help you line up both models (just put them in the same position)
Skull-Vase_V2_TOP-ADDON-with-PROTRUSION is little thicker in some parts wich should help keeping top and vase parts together
It was not tested but should work better than simple TOP-ADDON
I recommend to try it, In the worst case you will just need to file down or cut off some plastic around
You can also print the ‘TOP’ model without ‘ADDON’ and glue in some kind of a hinge or piece of plastic ribbon etc.
Be creative :-)
The reason it is in two parts is that the ‘TOP-ADDON’ model can be easly modified depenging on the Skull Vase printing settings
The highier line width of Skull Vase the smaller this part should be to fit - you will need to use 'XY size compensation' (PrusaSlicer) or 'Horizontal expansion' (Cura) settings
With 100% model size and 0.6mm line width (so for example 150% flow with 0.4mm nozzle) you don't need to change anything
But for example with the same size but 1mm line width you will need to set the TOP-ADDON 'XY comp.'/'Horizontal exp.' to -0.2mm
It's calculated by:
(line-width minus the-gap) divided by 2
The-gap is 0.6mm with 100% model size, 0.9mm with 150% etc.
Additional recommended option
Right-click on ‘TOP-ADDON’ model >>> 'Layers and Perimeters' >>> Set top layers to 0
Be sure to have 'Extra perimeters on overhangs' turned OFF!
:format(webp)/https://fbi.cults3d.com/uploaders/14383210/illustration-file/2fac9d11-81ea-422f-8d71-37c6579c97fa/0.gif)
/https://preview3d-images.cults3d.com/f2423rfj0g9qvmabbc5ls66lykbb)
/https://preview3d-images.cults3d.com/4umvwdngk8bz79zw1ifcypzb8gq7)
/https://preview3d-images.cults3d.com/kvte3rcfdm6pdz9wudcayt45jj7y)
/https://preview3d-images.cults3d.com/pb99qh7b9lyxvueevoq9cjsx7cp8)
/https://preview3d-images.cults3d.com/8srktkseurquiioa18nopfnzfqkh)
/https://preview3d-images.cults3d.com/r7jfpaq6aj8j1i1fvk5kvezounbe)


/https://preview3d-images.cults3d.com/s0rky8k4p4zgi16vc35y00w9qy7l)
/https://preview3d-images.cults3d.com/mvcyiccyc9dxrot2y6u2g4w2utre)
/https://preview3d-images.cults3d.com/3d99j4q0amj9eu04qs8ok8uyggnv)
/https://preview3d-images.cults3d.com/ar6rjeifp5k7s6uv9ppx01xipvdt)
/https://preview3d-images.cults3d.com/cr7qje2ht4ci1j42yrvn9qeymxvi)
/https://preview3d-images.cults3d.com/dryqsl24rkbr3of2nxpsf83yquxw)


:format(webp)/https://fbi.cults3d.com/uploaders/14383210/illustration-file/e5289f12-52a2-4ccc-be49-6e8b6ec1700d/piggy-ghost.jpg)
:format(webp)/https://fbi.cults3d.com/uploaders/14383210/illustration-file/4bc70c13-9390-4d9c-822e-efb69da2135c/Bloodwars-cookie_1.jpg)
:format(webp)/https://fbi.cults3d.com/uploaders/14383210/illustration-file/c7921dc6-5098-481d-9a16-633c9f179435/zagar_TG.jpg)
:format(webp)/https://fbi.cults3d.com/uploaders/14383210/illustration-file/4b1e92a7-5557-4ae9-b297-d7b798499323/Stranger-Things-cookie_1.jpg)
:format(webp)/https://fbi.cults3d.com/uploaders/14383210/illustration-file/1aba1431-fe0d-4722-ad4a-89e4896adeba/Minifig-Cookie-2023_zombie_1.jpg)
:format(webp)/https://fbi.cults3d.com/uploaders/14383210/illustration-file/575c37fb-ff76-4c6b-bc9a-4042af9f1f95/Pumpkins_0.jpg)
:format(webp)/https://fbi.cults3d.com/uploaders/14383210/illustration-file/caa2b0e9-4fc4-41ba-bcf1-8e9b076bd663/Skull-Vase_1.jpg)
:format(webp)/https://fbi.cults3d.com/uploaders/14383210/illustration-file/6df593cf-b4b9-491b-85d3-6dcbe27f2c97/SkullV_lowP_1.jpg)