3D model description
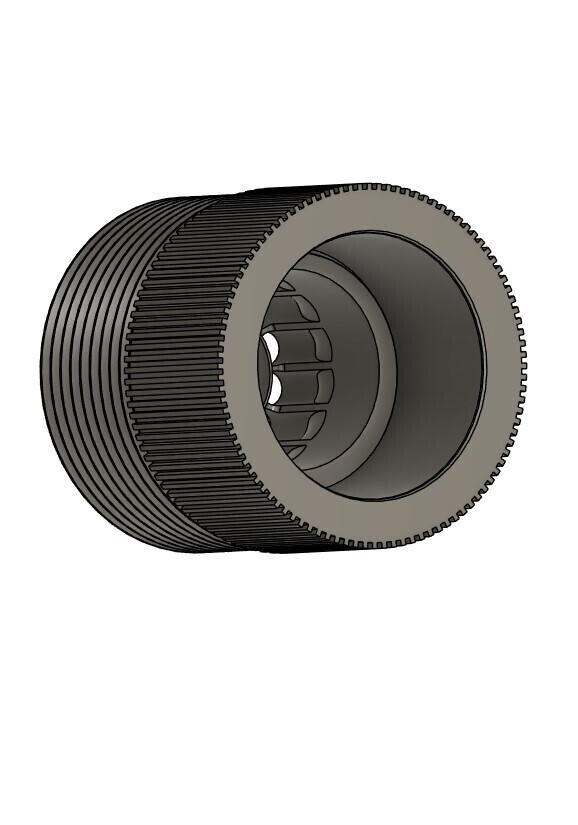
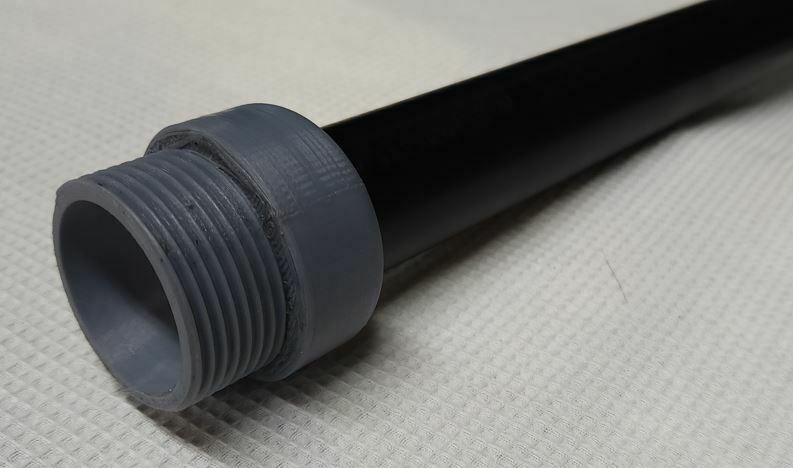
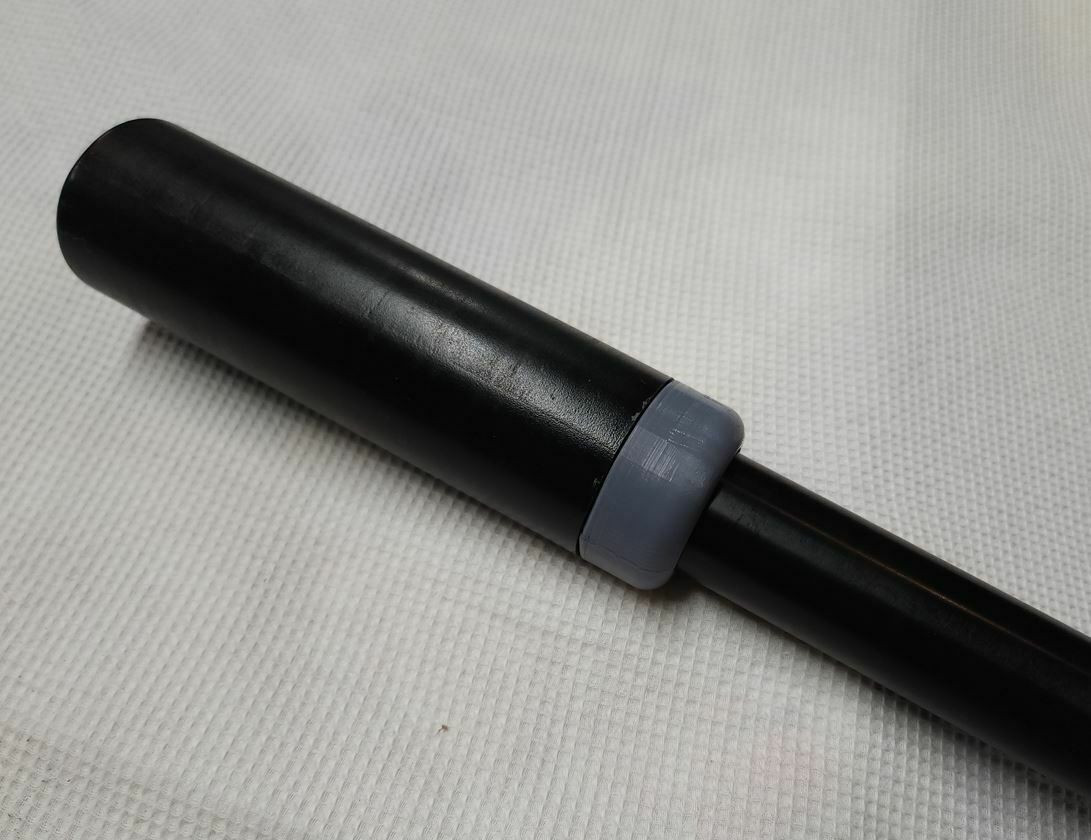
Designed specifically for 3d printing!! Print an end to end solution for the Hatsan Blitz using the Saturn or Titan printable moderators. The Blitz adapter attaches to the factory barrel threads and cuddles the barrel for additional support.
Print yourself or use a print service.
-=Titan 3D printable Suppressor is now posted on Cults3d =-
9in - https://cults3d.com/en/3d-model/various/titan-the-best-airgun-silencer-moderator-you-can-print-9-version-177-50
7in - https://cults3d.com/en/3d-model/various/titan-best-airgun-moderator-you-can-print-7-version-177-50
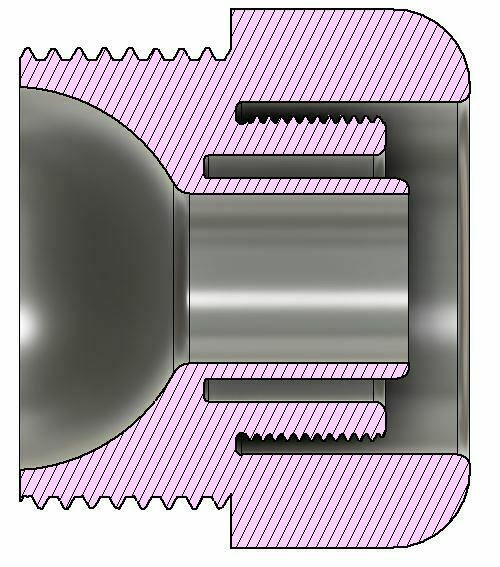
I do away with the standard suppressor threads on my designs as the 1/2-20 is a weak point when 3d printing (but still an option). I use 39x2mm thread as prints easier and lasts far longer.
There are three versions of the adapter. (See "the dirt" below on why we need adjust the spring tension).
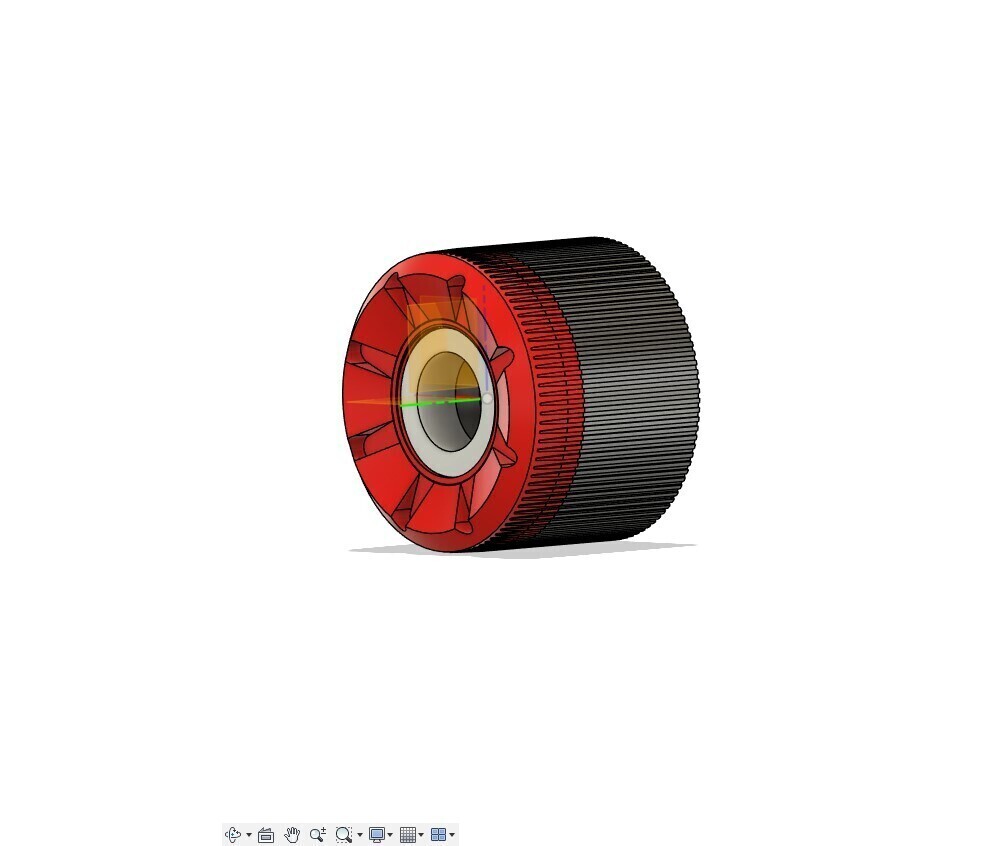
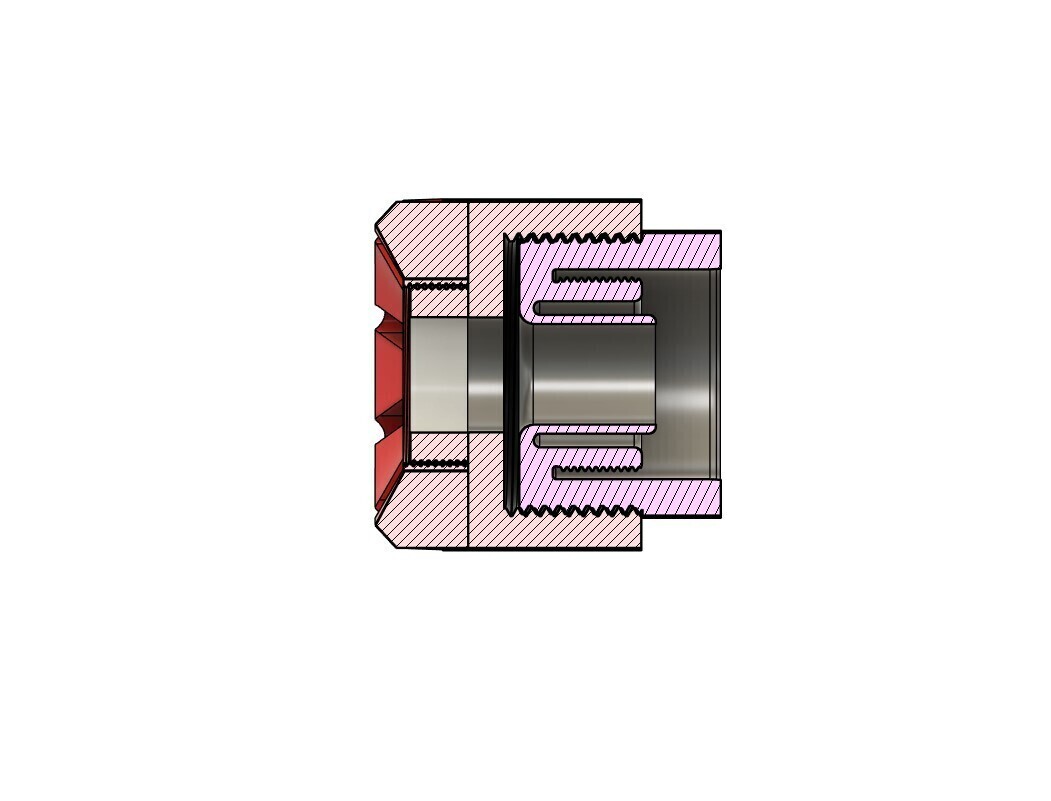
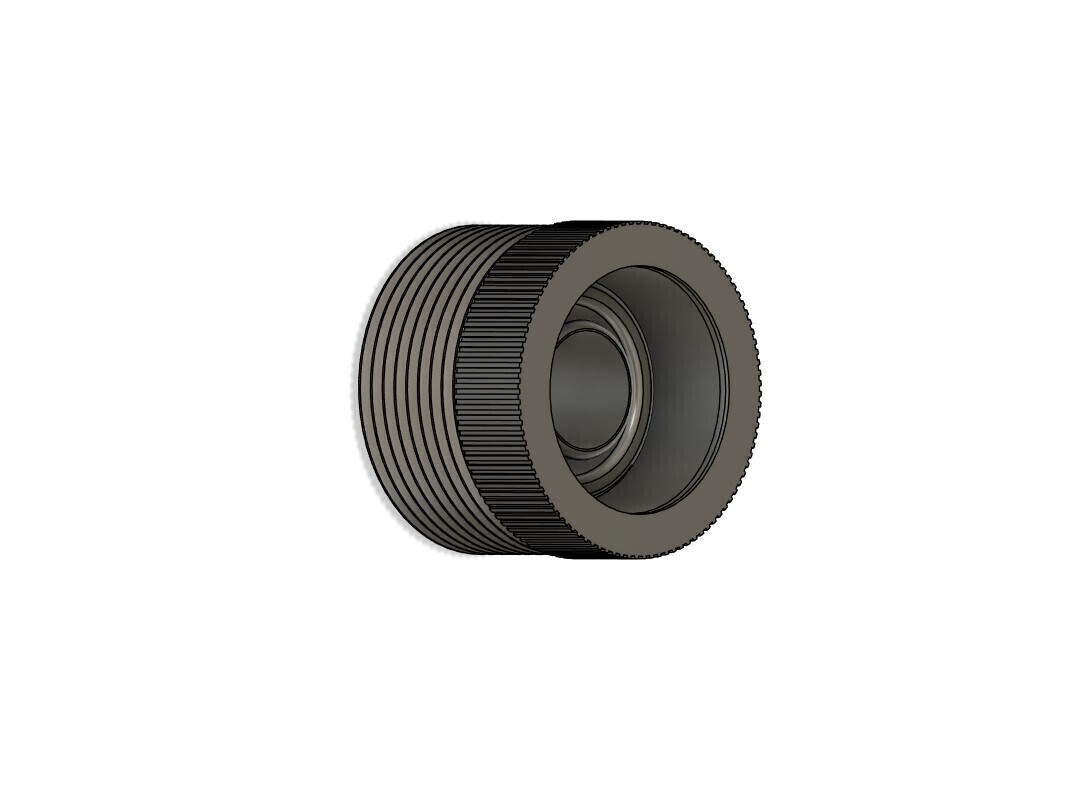
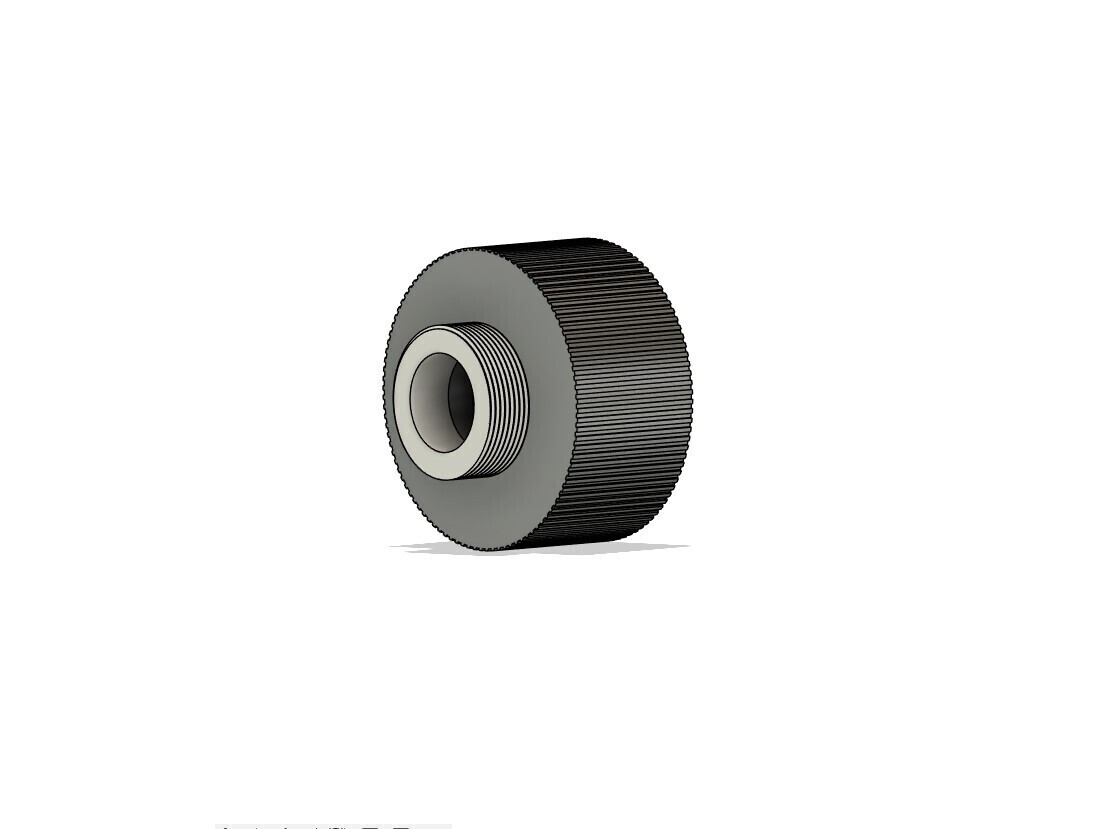
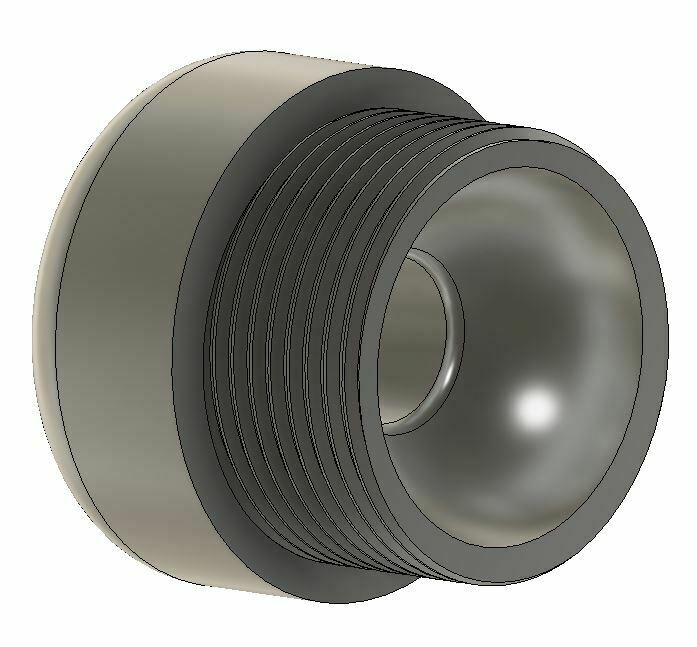
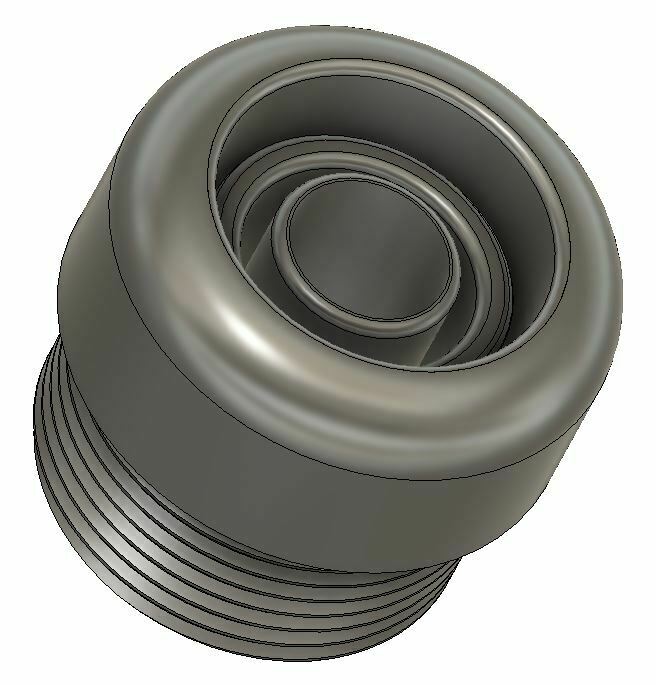
V3 – Continues 39x2mm thread. Two depth revisions. (A) has the spring at the bare end of the cap and has the least compression. (B) has the spring at a mid-level with the threads longer and allowing it to be screwed in or out of the barrel much further than variant (A). Both allow adjustment of tension. Uses all end cap adapters.
V2 – New shape, Introduces the 39x2mm thread. A direct fit for the Titan Suppressors and fits the Donny FL with M25x1 back plate model using end cap adapter. 1/2x20 end cap adapter. Saturn adapter can be made on request. Supports the v1 shims and spring depth remains the same as v1.
V1 -Original rounded shape. Has threads for the Saturn suppresser systems rear end. Designed to couple with additional air "blast" chambers to fit the air volume necessary for your caliber, tune and pellet weight while keeping the diameter at a minimum. You will need to select the right chamber and/or use a *smaller weight spring to reduce the resistance. A 2mm shim is included to customize spring tension as recess is deeper than factory or Donny FL's version (add as many as needed) for v2 and below.
Here is the dirt on the Hatsan Blitz as I have identified or understood as to moderator/suppressor use. The Blitz does not like them and it is a very noisy linkage/bolt that no suppressor can completely quiet. Getting the Blitz quieter is a PIA but can be done to a degree so set your expectations accordingly.
The Blitz uses the gas expelled from the barrels end, to move and reset the bolt. This has a couple issues as to using suppressors:
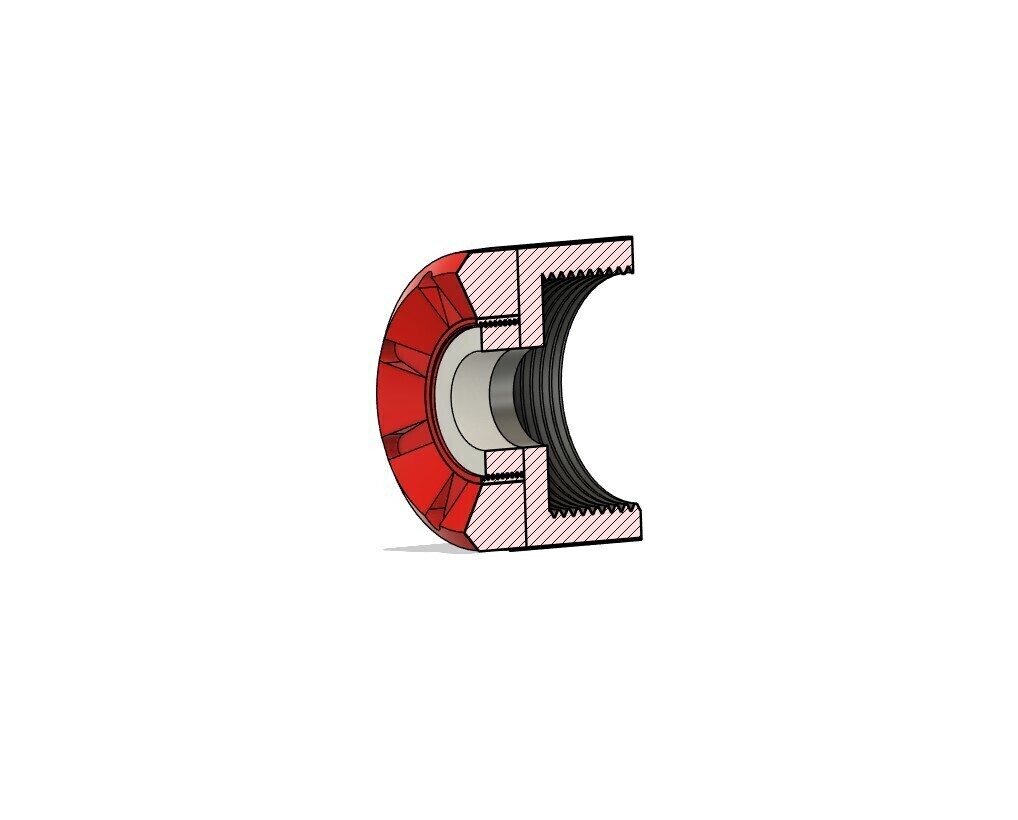
Air needs to exit the barrel quickly and powerfully enough to catch and push this mechanism forward compressing a spring to pull the bolt back (yes back), and then the spring decompression pushes back and resets the bolt back into battery. There is a balance in the air coming out (and its compression from resisting objects aka a suppressor, etc) and the weight of the springs force. If these are out of balance the bolt will not move all the way forward or back resulting in not advancing the mag/cocking or pushing the pellet into battery. This is where air fill pressure, hammer spring tension, and other conditions have caused issues with the Blitz firing Full auto. Past solutions have been to guess at a primary spring replacement to soften the weight BUT if reduced too much it will not have the power to reset the pellet into battery and to add volume to the next chamber (blast tubes and/or oversized suppressor. This balance can be tricky and can change if other factors like pressure, suppressor volume, and internal gearing drag. My solution has been to tackle three aspects on the blitz.
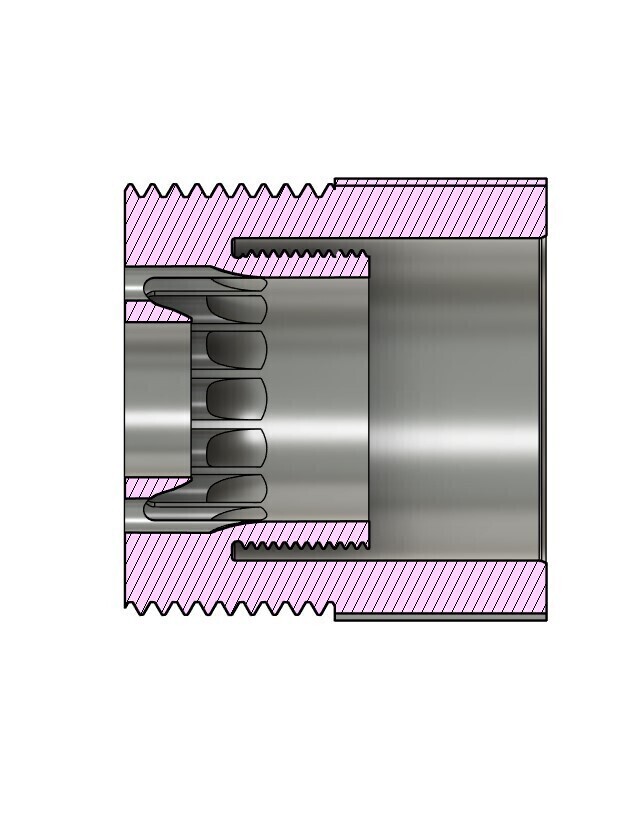
1- Revised the barrel adapters (V3+) to move as much air from the barrel to the next chamber (suppressors or ambient outside air).
2- Move the spring further out v2+ from the factory stop point and allow the adapter end cap to allow control of the spring’s compression. This lets the factory spring ramp up or down in firmness and lets the shooter customize the effect for their config and suppressor. V3 has taken this to a new level in control with A and B options for a much greater range.
3- Align the gearing in the blitz and get the action moving as smoothly as possible (least resistance).
Note on #3 above. The gearing system may need some love to smooth its action as the less the resistance the better. Open up the left side panel. Remove all grease and clean all surface areas including gears and panels. Apply oil to rod that goes to barrel. Fully move rod to get lubrication all the way to muzzle. At muzzle, clean the inside of the chamber and spread the oil around to smooth its action. Back at rear panel, cock the bolt open. use silicon spray to "oil" the chamber and all slide areas around the bolt (Silicon will not harm the O-rings). Use a light silicon grease on all gear areas and slide contacts. Make this light it should not be thick!! Use more silicon spray on these action to keep it light and "slick". Make sure the two bolts holding the gears to the bolt are FIRMLY in place (you will see wear on heads if not secure). Be sure to lock tight (blue) the bolts in place as these need stay snug and not bind on cover. With the bolt locked open, push the slide gear all the way forward and insert the geared arm in place. MAKE SURE all the gears mesh at their maximum displacement. By that I mean make sure all of the gears mesh but turn and pull them so the rod is as far forward as possible with the rest of the gears pushed as rear as possible without binding. This ensures the rod goes as far forward when the bolt is all the way back. These steps will help the bolt move as far as possible in each action and "slippery" enough to move with less power from the spring/air.
Available files:
1- Adapter V1
2- Adapter V2
3- Adapter V3A
4- Adapter V3B
5- V2+ end cap protector with additional adapter for Donny FL
Fuse caps in slicer if Donny will not be used.
6- 2mm shim (v1 /2 only)
7- V1 air "blast" chamber tubes [S,M L]
3D printing settings
PETG was my choice here. PLA+ will also work and may look cleaner.
Print with the threads down, 100% infill, 99 walls, No support needed.
Be sure to light sand then clean the outer threads with a wire brush if using PETG.
V1/2 (v3 optional) you should thread the adapter onto the barrel without the spring the first time. It is essential that this goes on straight or you will be mounting off center and will get an impact from a pellet to the device. Turning it counter clockwise until you hear a click will help you get the first thread started. While installing the adapter, do not lock the bolt open as this compresses the spring.
I apply a small amount of silicon grease to my threads and barrel.
DO NOT OVER TIGHTEN!! It will cause the inner threads to pull up and tear out the outer ring or the end to break off in the female threads. Luckily you can reprint as needed if this happens.
AGAIN NOTE: This must thread on straight or you will have impacts to your moderator!! Do not over tighten!! You have been warned.
:format(webp)/https://fbi.cults3d.com/uploaders/24502908/illustration-file/a9bc0b51-c20b-4726-9aee-8bb0dbbf45ff/EndCap_M39x2MountToM25x1adapter-v13.jpg)

/https://preview3d-images.cults3d.com/hawl1mzq9u9aqart4ei61w267u7b)
/https://preview3d-images.cults3d.com/tl8xs2yi5wr4xl3maldud3zuwba7)
/https://preview3d-images.cults3d.com/yk4tcg48hve03b4f62l2pdgmxcsz)
/https://preview3d-images.cults3d.com/skne9s01v7y01fr60mc0m2e9w2h0)
/https://preview3d-images.cults3d.com/4yumrz40541996h3r1nbhojun7vj)
/https://preview3d-images.cults3d.com/c2z6xzerk4jc863k7n8mz0kzk0d7)
/https://preview3d-images.cults3d.com/0obe0i39a3fmnt4irkudgh30rzu4)
/https://preview3d-images.cults3d.com/pv7f2ipmw7lkxksqxm5hf1qc4dgw)
/https://preview3d-images.cults3d.com/by0ifzaynnd7vbdom0cqyf94zmac)
/https://preview3d-images.cults3d.com/l5ogviq3rc36gbfz5j8dfq2l27gm)


:format(webp)/https://fbi.cults3d.com/uploaders/24502908/illustration-file/2386d89e-d7f6-40ba-89a0-a2a3c85ab990/EndThreaddedCap.jpg)
:format(webp)/https://fbi.cults3d.com/uploaders/24502908/illustration-file/96e32983-d682-4c0b-afca-2db656a8aa68/large.jpg)
:format(webp)/https://fbi.cults3d.com/uploaders/24502908/illustration-file/3fc98b57-63e5-4053-862f-b4e0ffb48fa0/medium.jpg)
:format(webp)/https://fbi.cults3d.com/uploaders/24502908/illustration-file/0eeef336-d733-47c6-b698-1a4b387ee214/small.jpg)