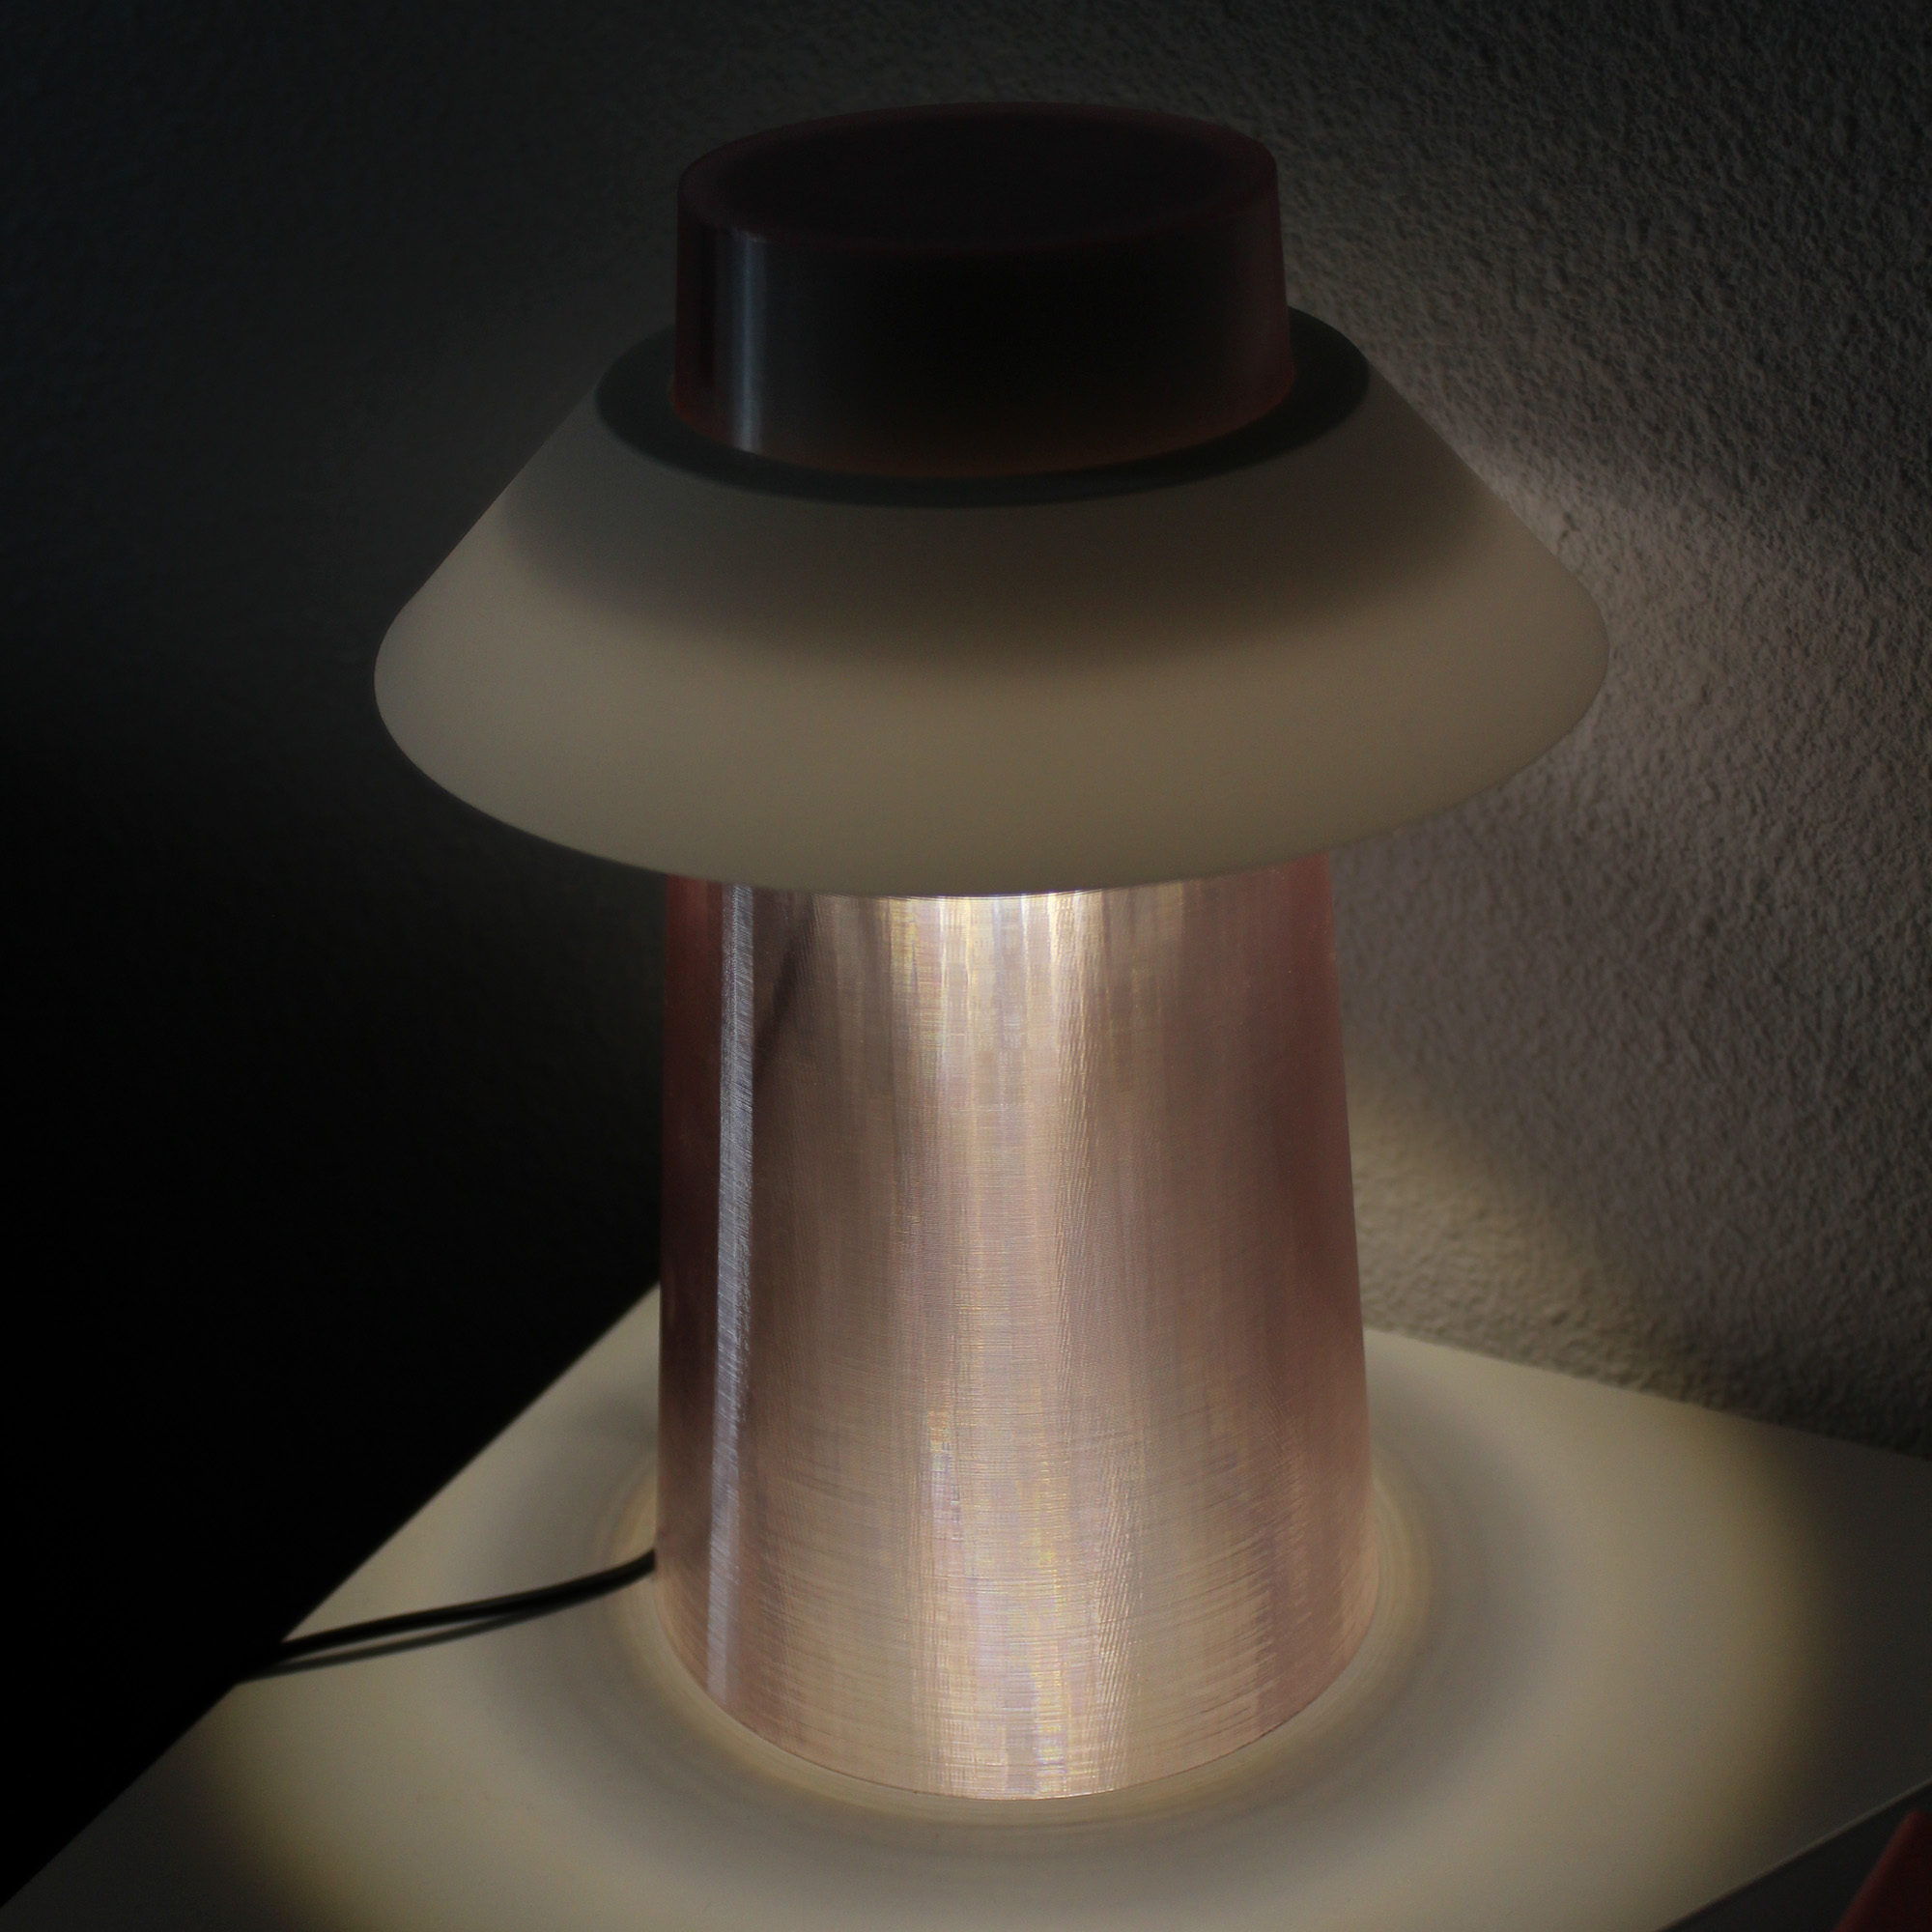
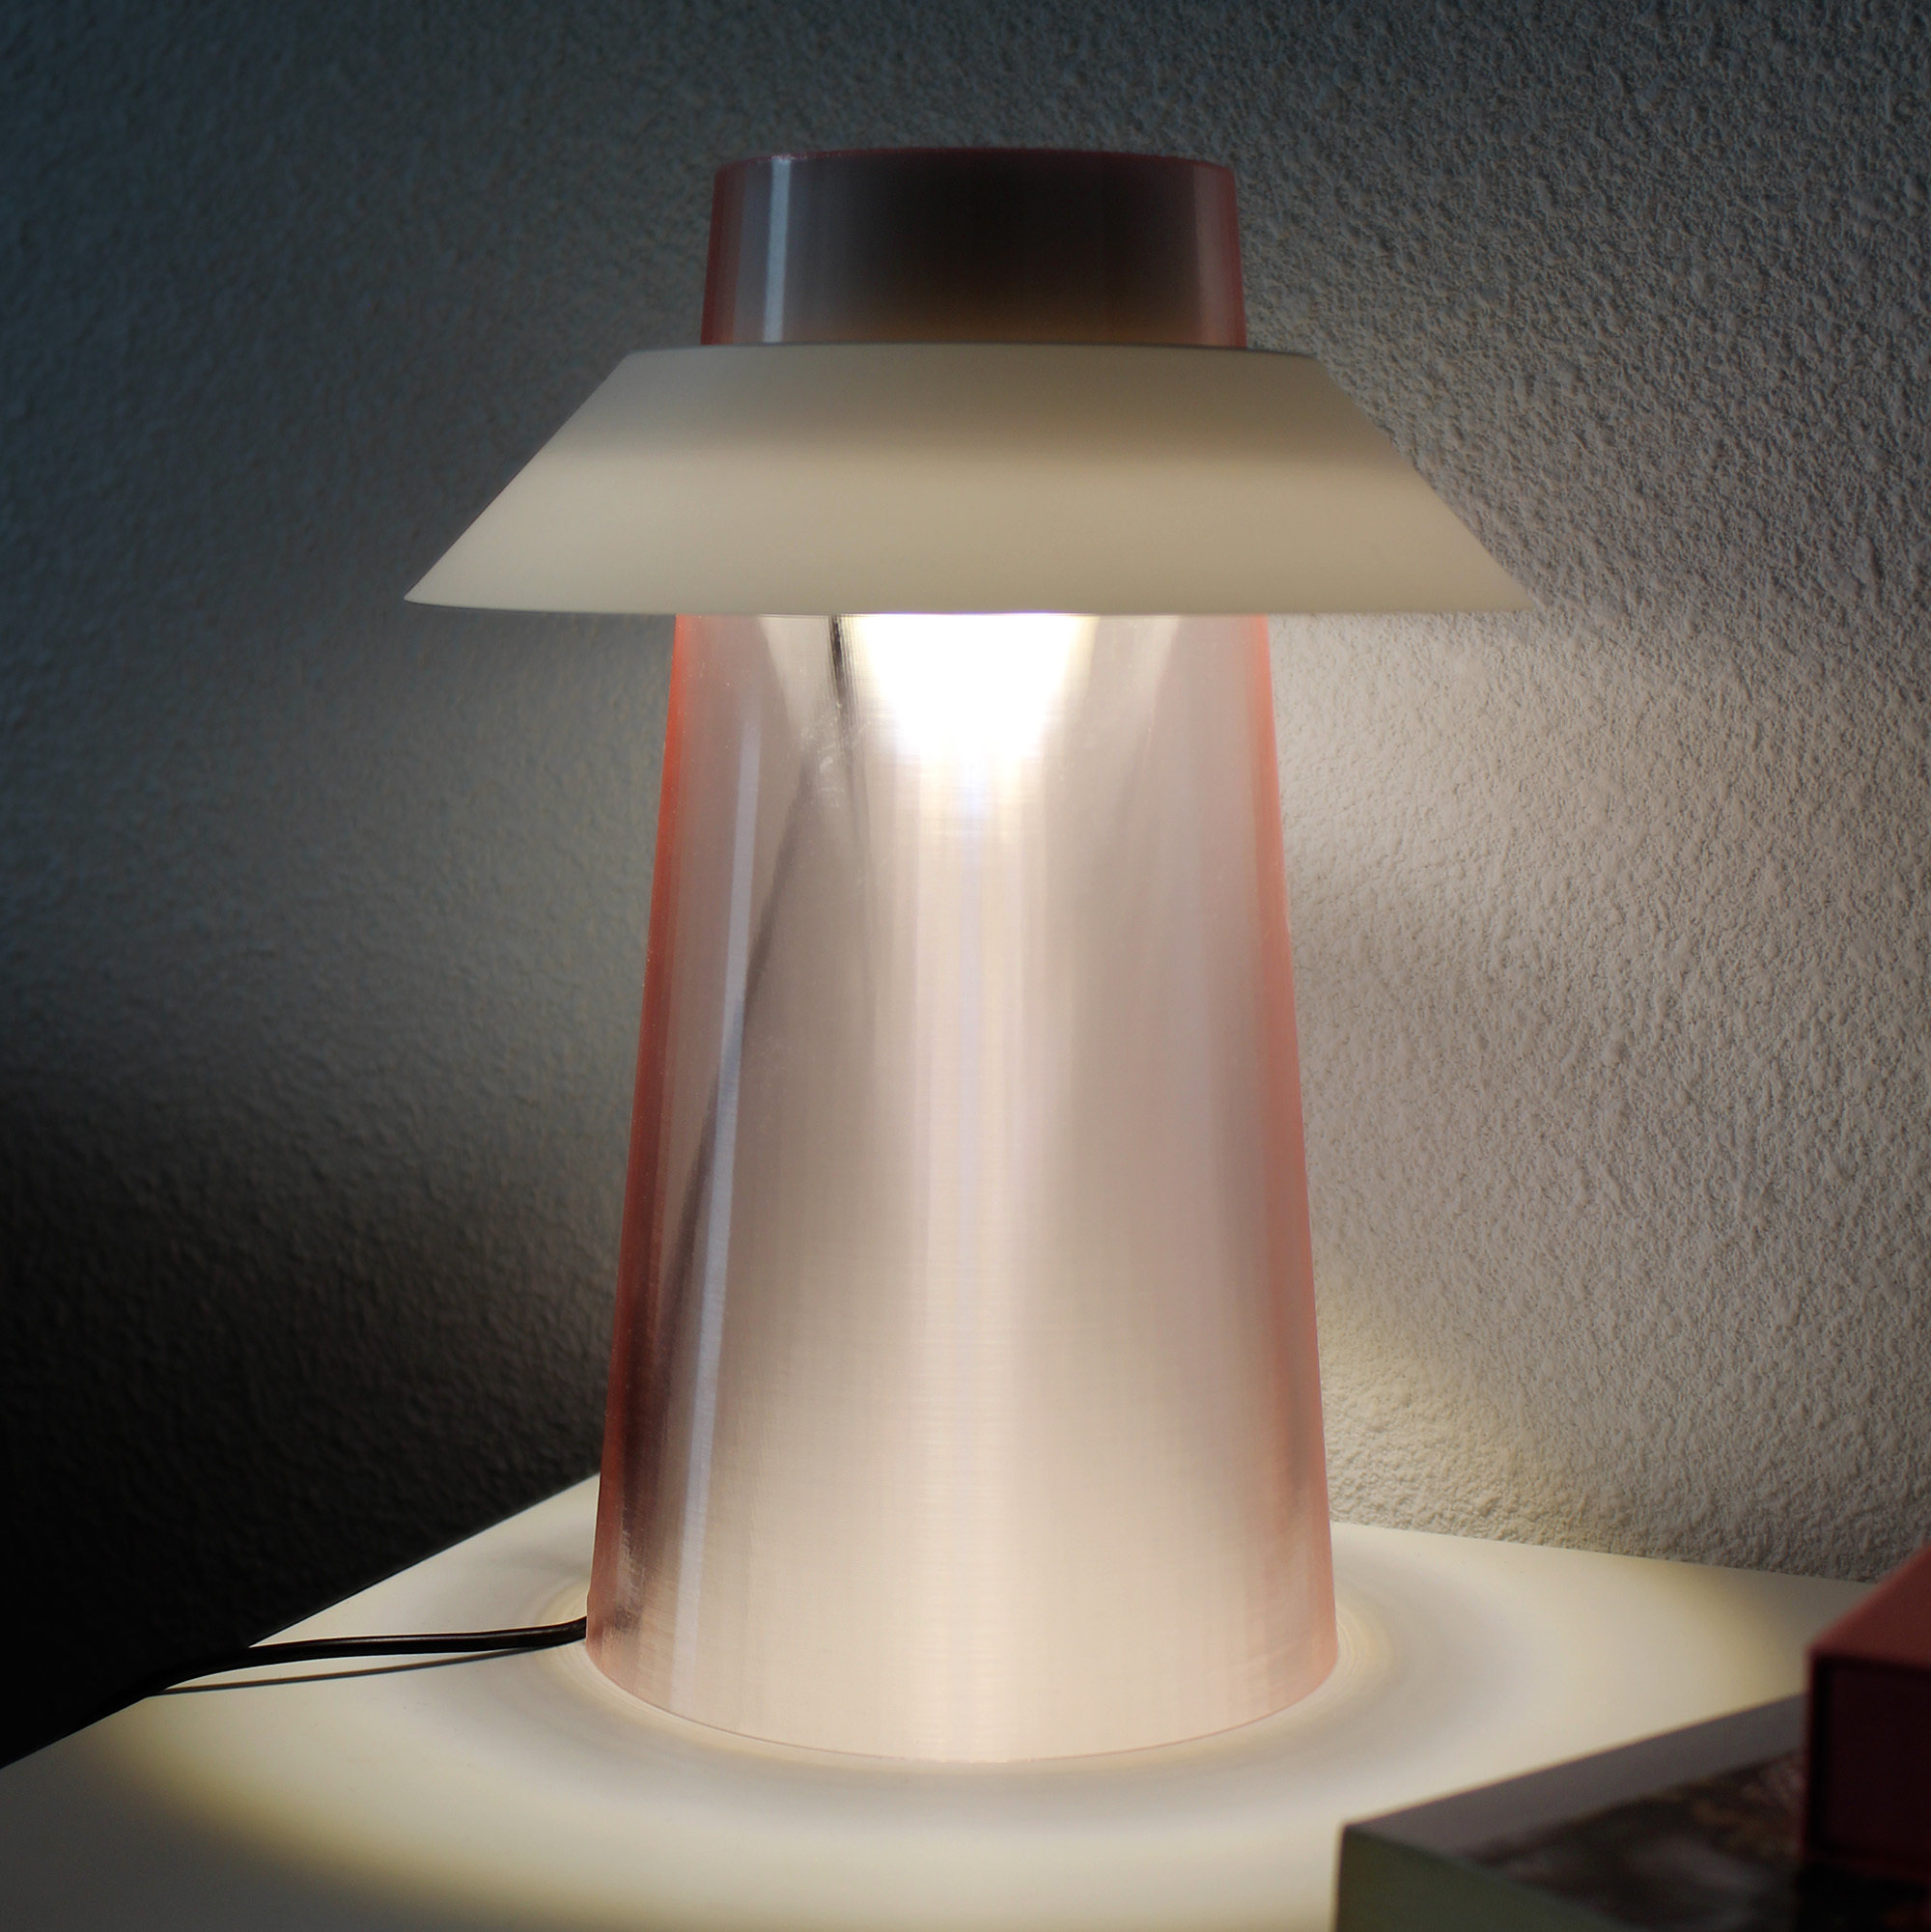
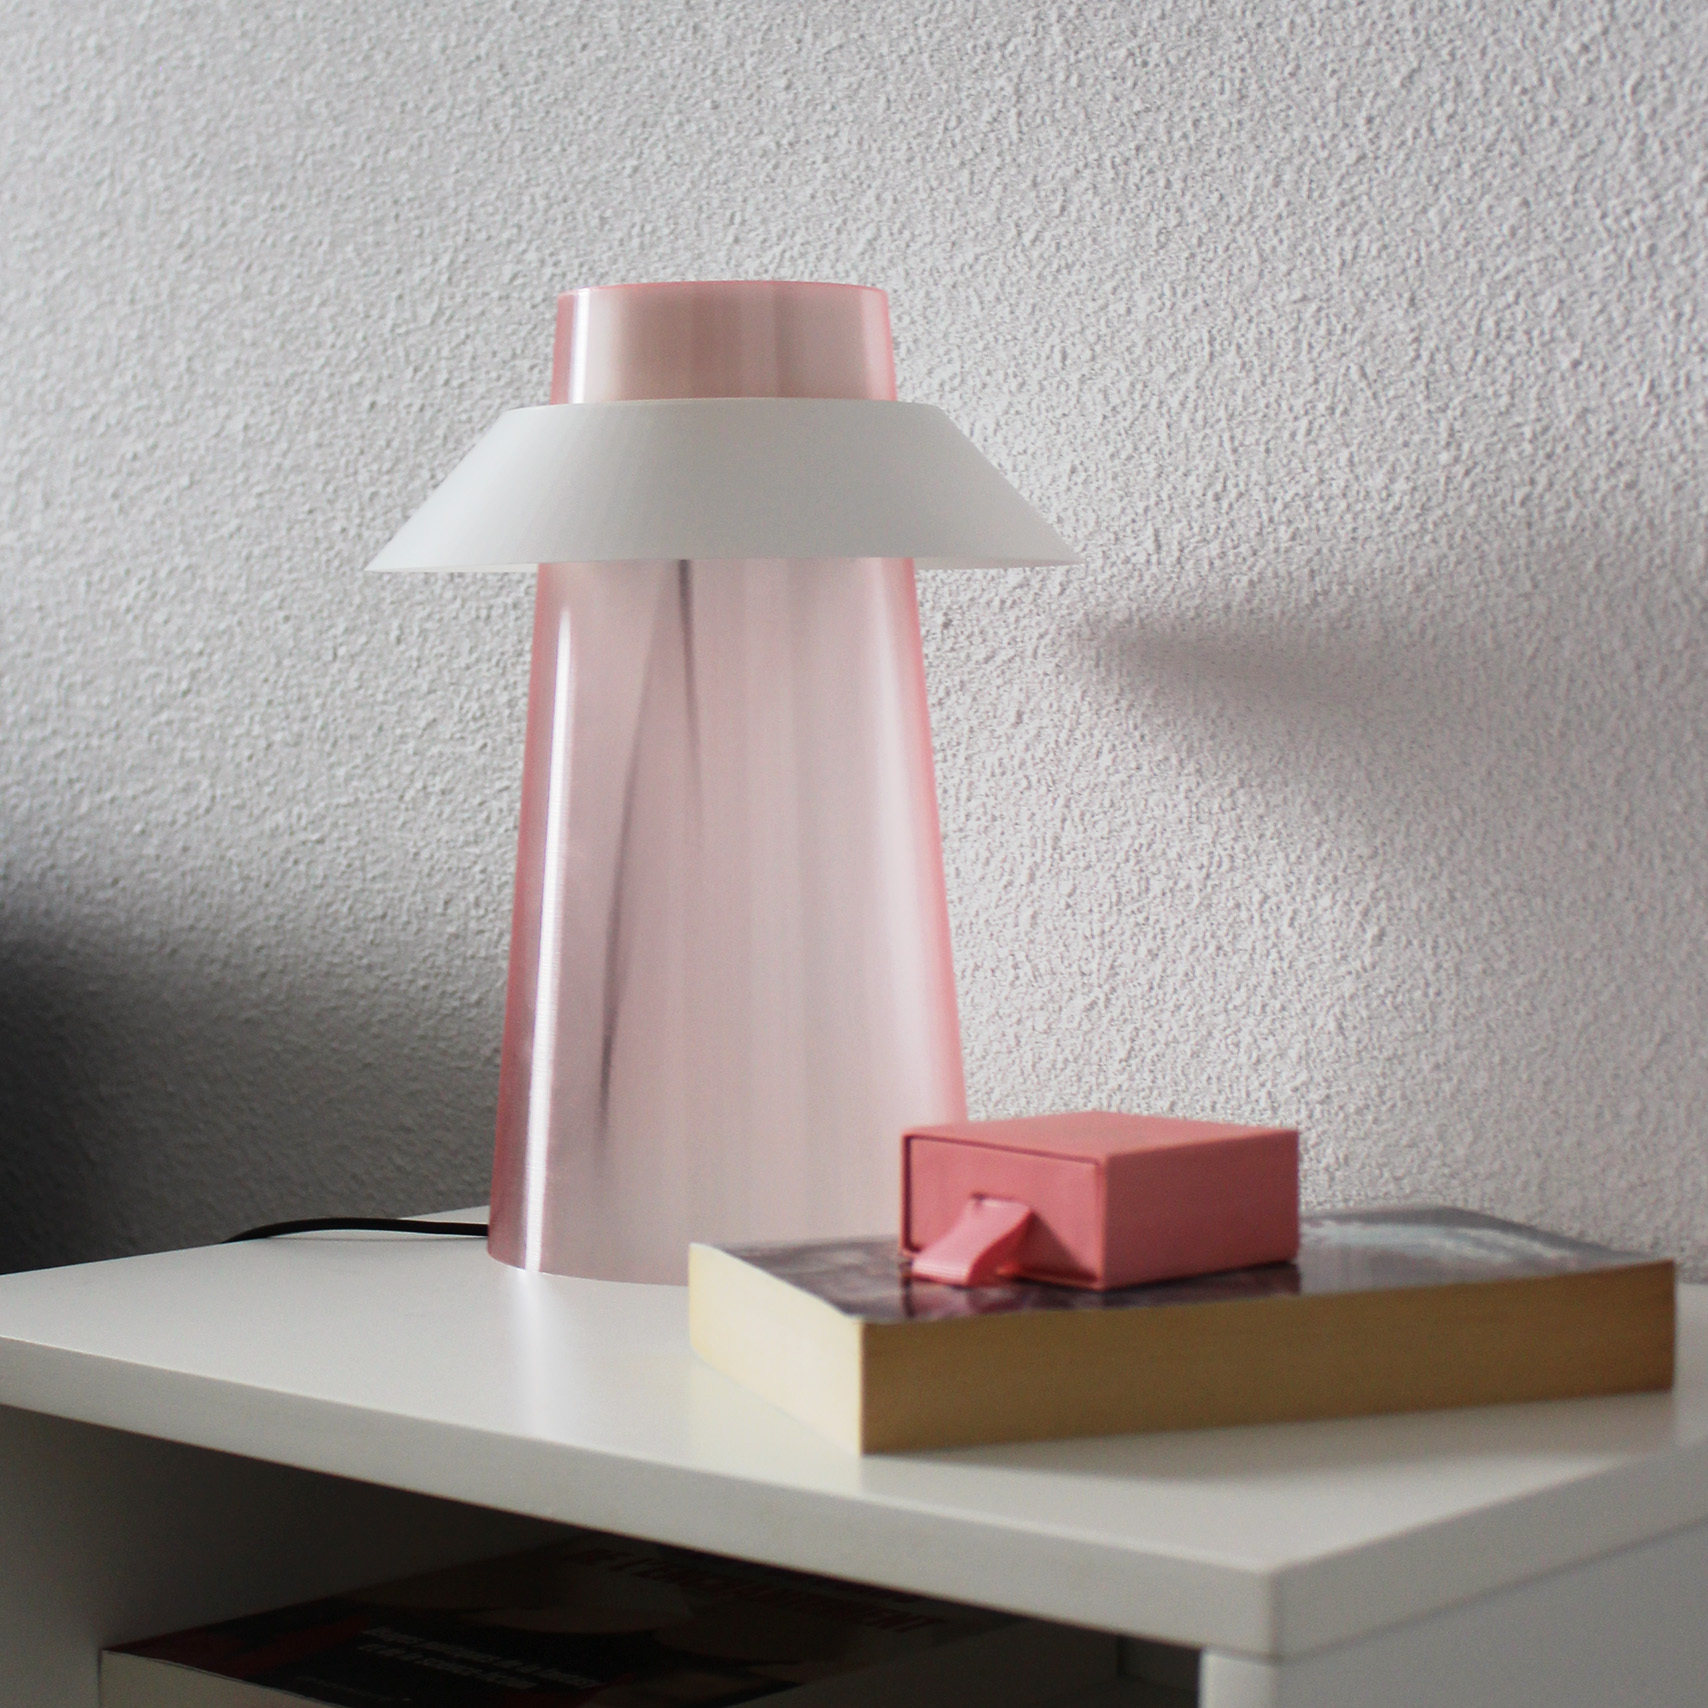
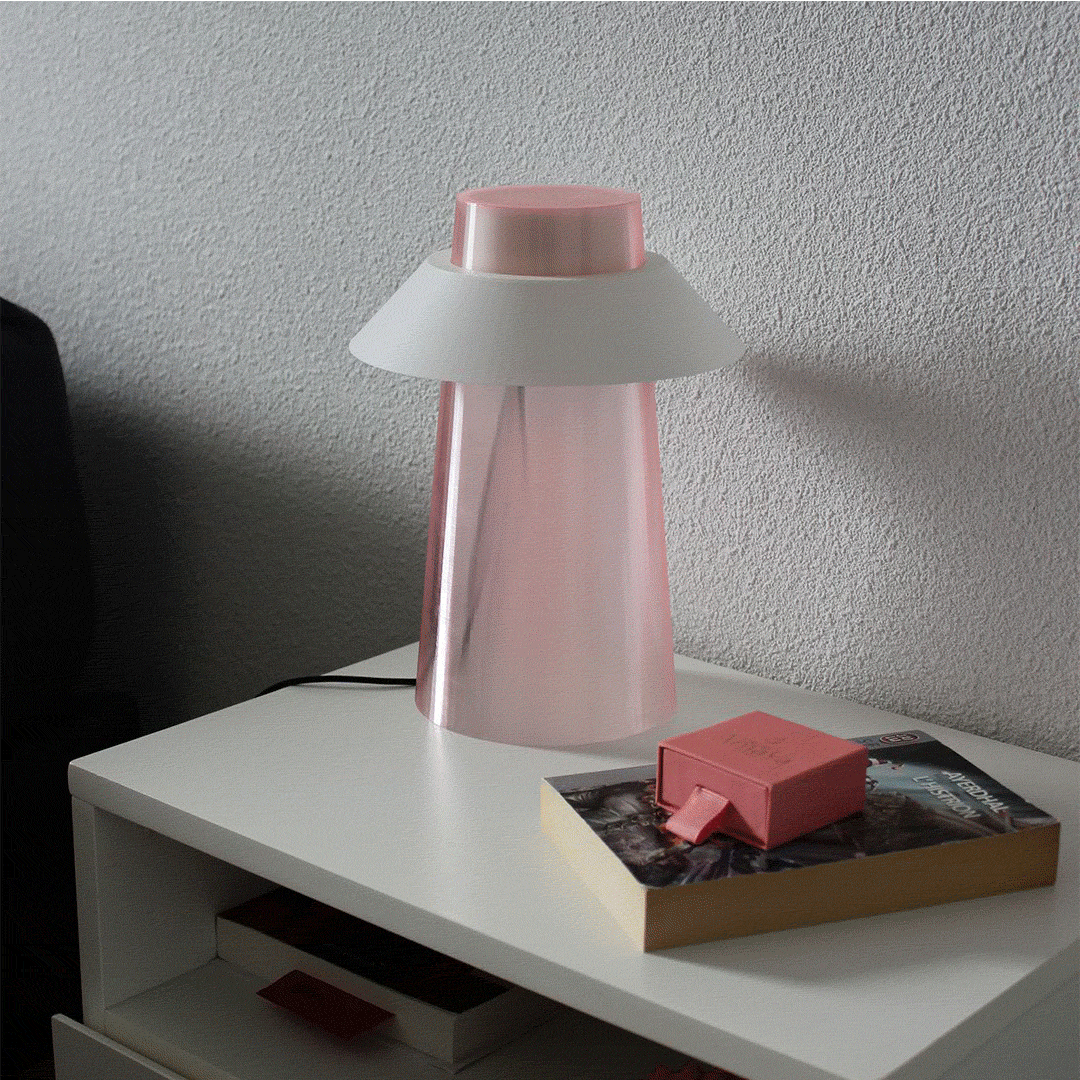
3D model description
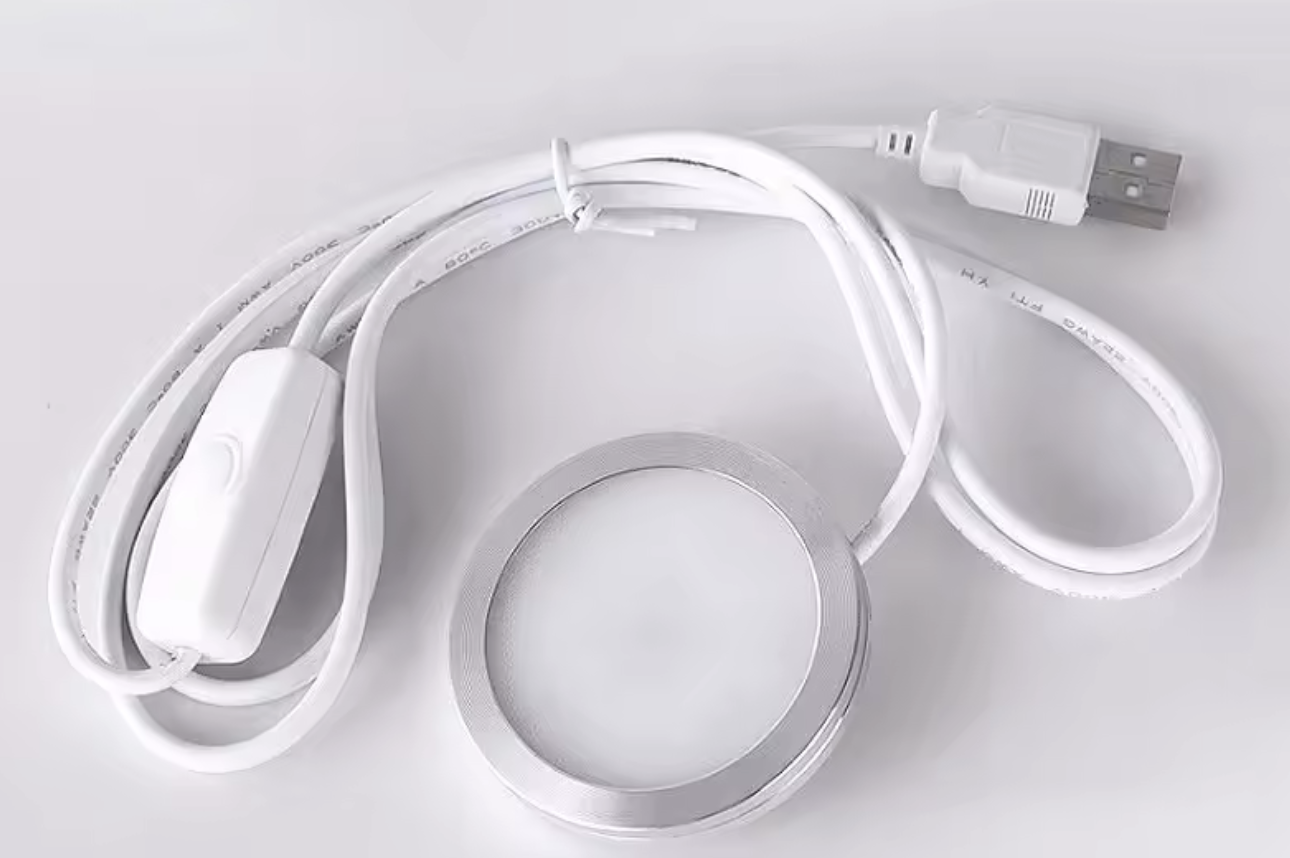
This lamp model consists of several parts, some of which are printed in PETG or PLA. Of course, the model can be printed according to your preferences! Once fully assembled, the model measures 23 cm high and about 20 cm wide, making it the perfect lamp for a bedside table or as an accent lamp in a living room or office. I designed this model to work with a 5V LED connected via USB, which is often used to light display cases or shelves (see the last picture). The self-adhesive LED panel I use is in a round aluminium frame that is 60 mm in diameter and 8 mm high. The model can easily be adapted to work with other types of lighting!
——
Ce modèle de lampe est en plusieurs parties, dont certaines sont imprimées en PETG ou en PLA. Bien sur le modèle peut être imprimé selon les envie de chacun ! Le modèle fourni, une fois assemblé, mesure 23cm de haut et une vingtaine de cm de large, ce qui en fait une lampe parfaite pour une table de nuit ou une lampe à poser d’appoint dans un salon ou un bureau. J’ai conçu ce modèle pour fonctionner avec une LED 5V branchée en USB, qui servent notamment d'éclairage de vitrines ou d’étagères ( voir la dernière photo ). La dalle LED autocollante que j’utilise est dans un cadre en aluminium rond qui mesure 60mm de diamètre et 8mm de haut. Le modèle peut tout à fait être ré interprété avec d’autres types d’éclairage !
3D printing settings
The different pieces are printed in various ways :
- The pink part is transparent and must be printed in spiral mode and in PETG, (transparent or translucent/coloured) to allow light to pass through.
- The lampshade is also printed in spiral mode (note: it must be printed with a layer height of 0.12!). I opted to print it in matte white PLA to contrast with the pink, and because my light source is too powerful for the eye.
- The other two pieces are printed in matte white PLA, using the standard method.
Assembly:
- Start by printing the different pieces.
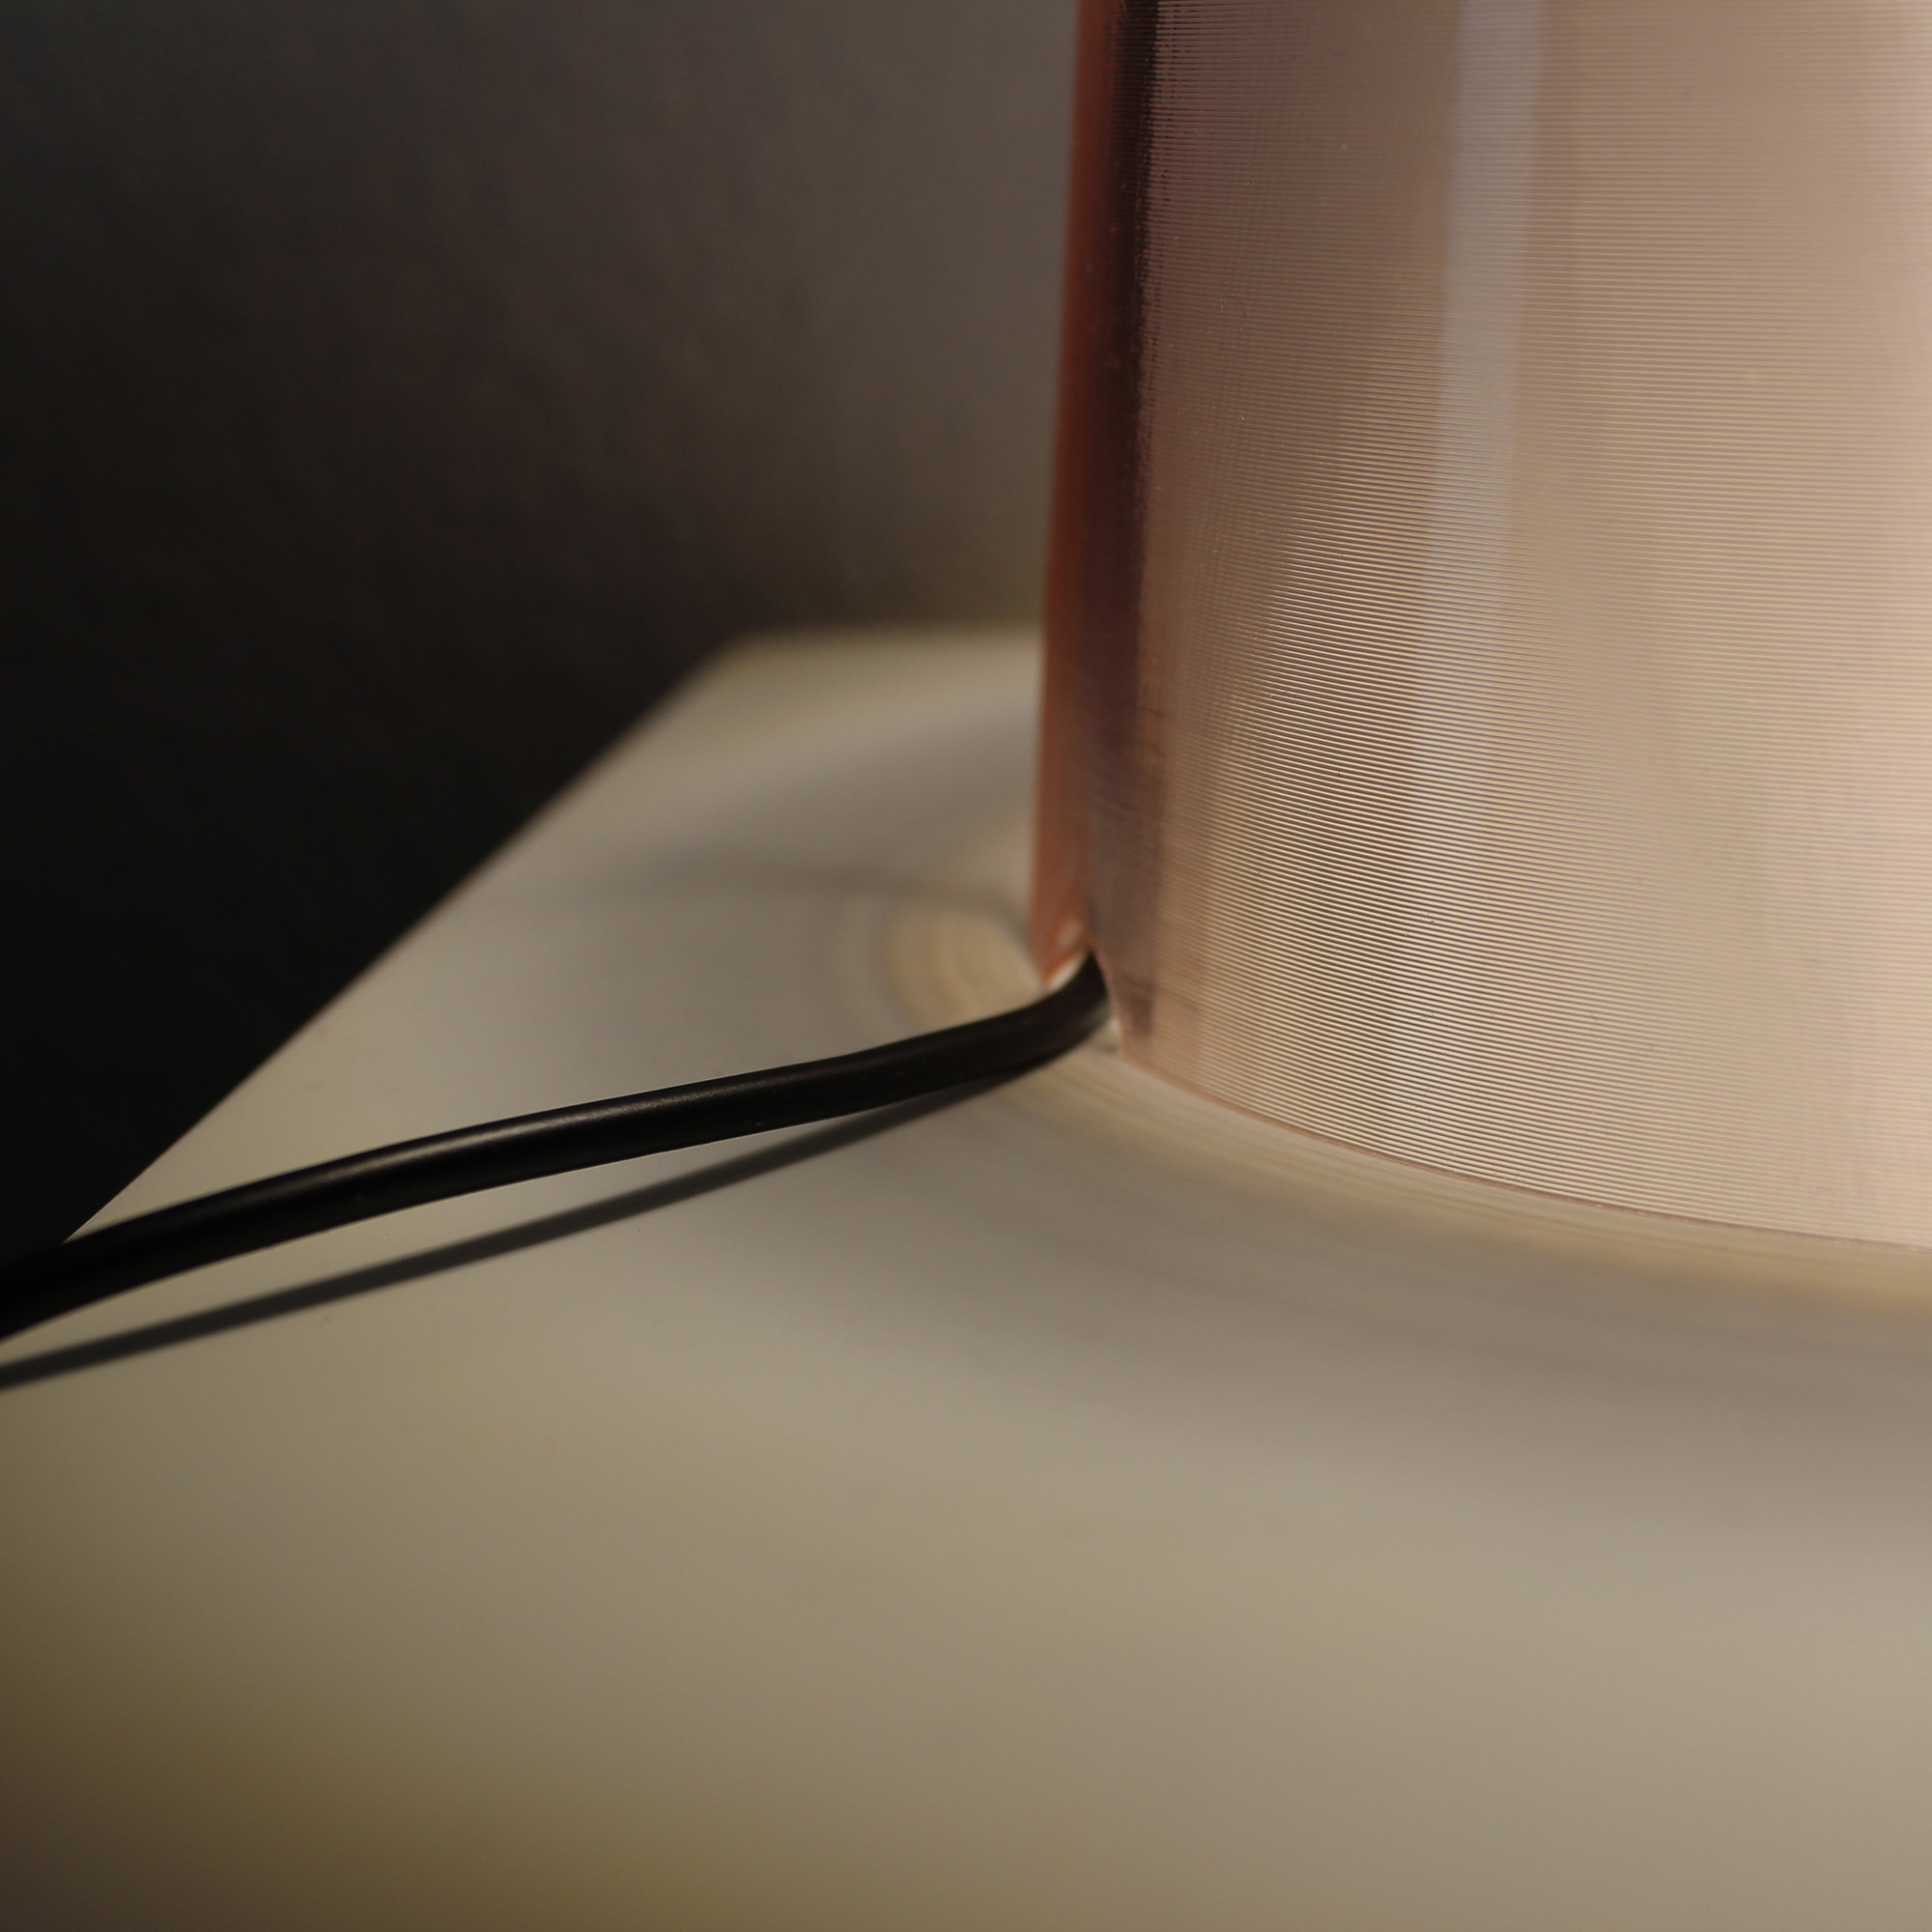
- Using a hot tool such as a soldering iron, make a small notch in the bottom of the pink PETG part. This notch will be used to pass the power cable through.
- Glue the LED into the bottom of the PLA ‘Support’ piece.
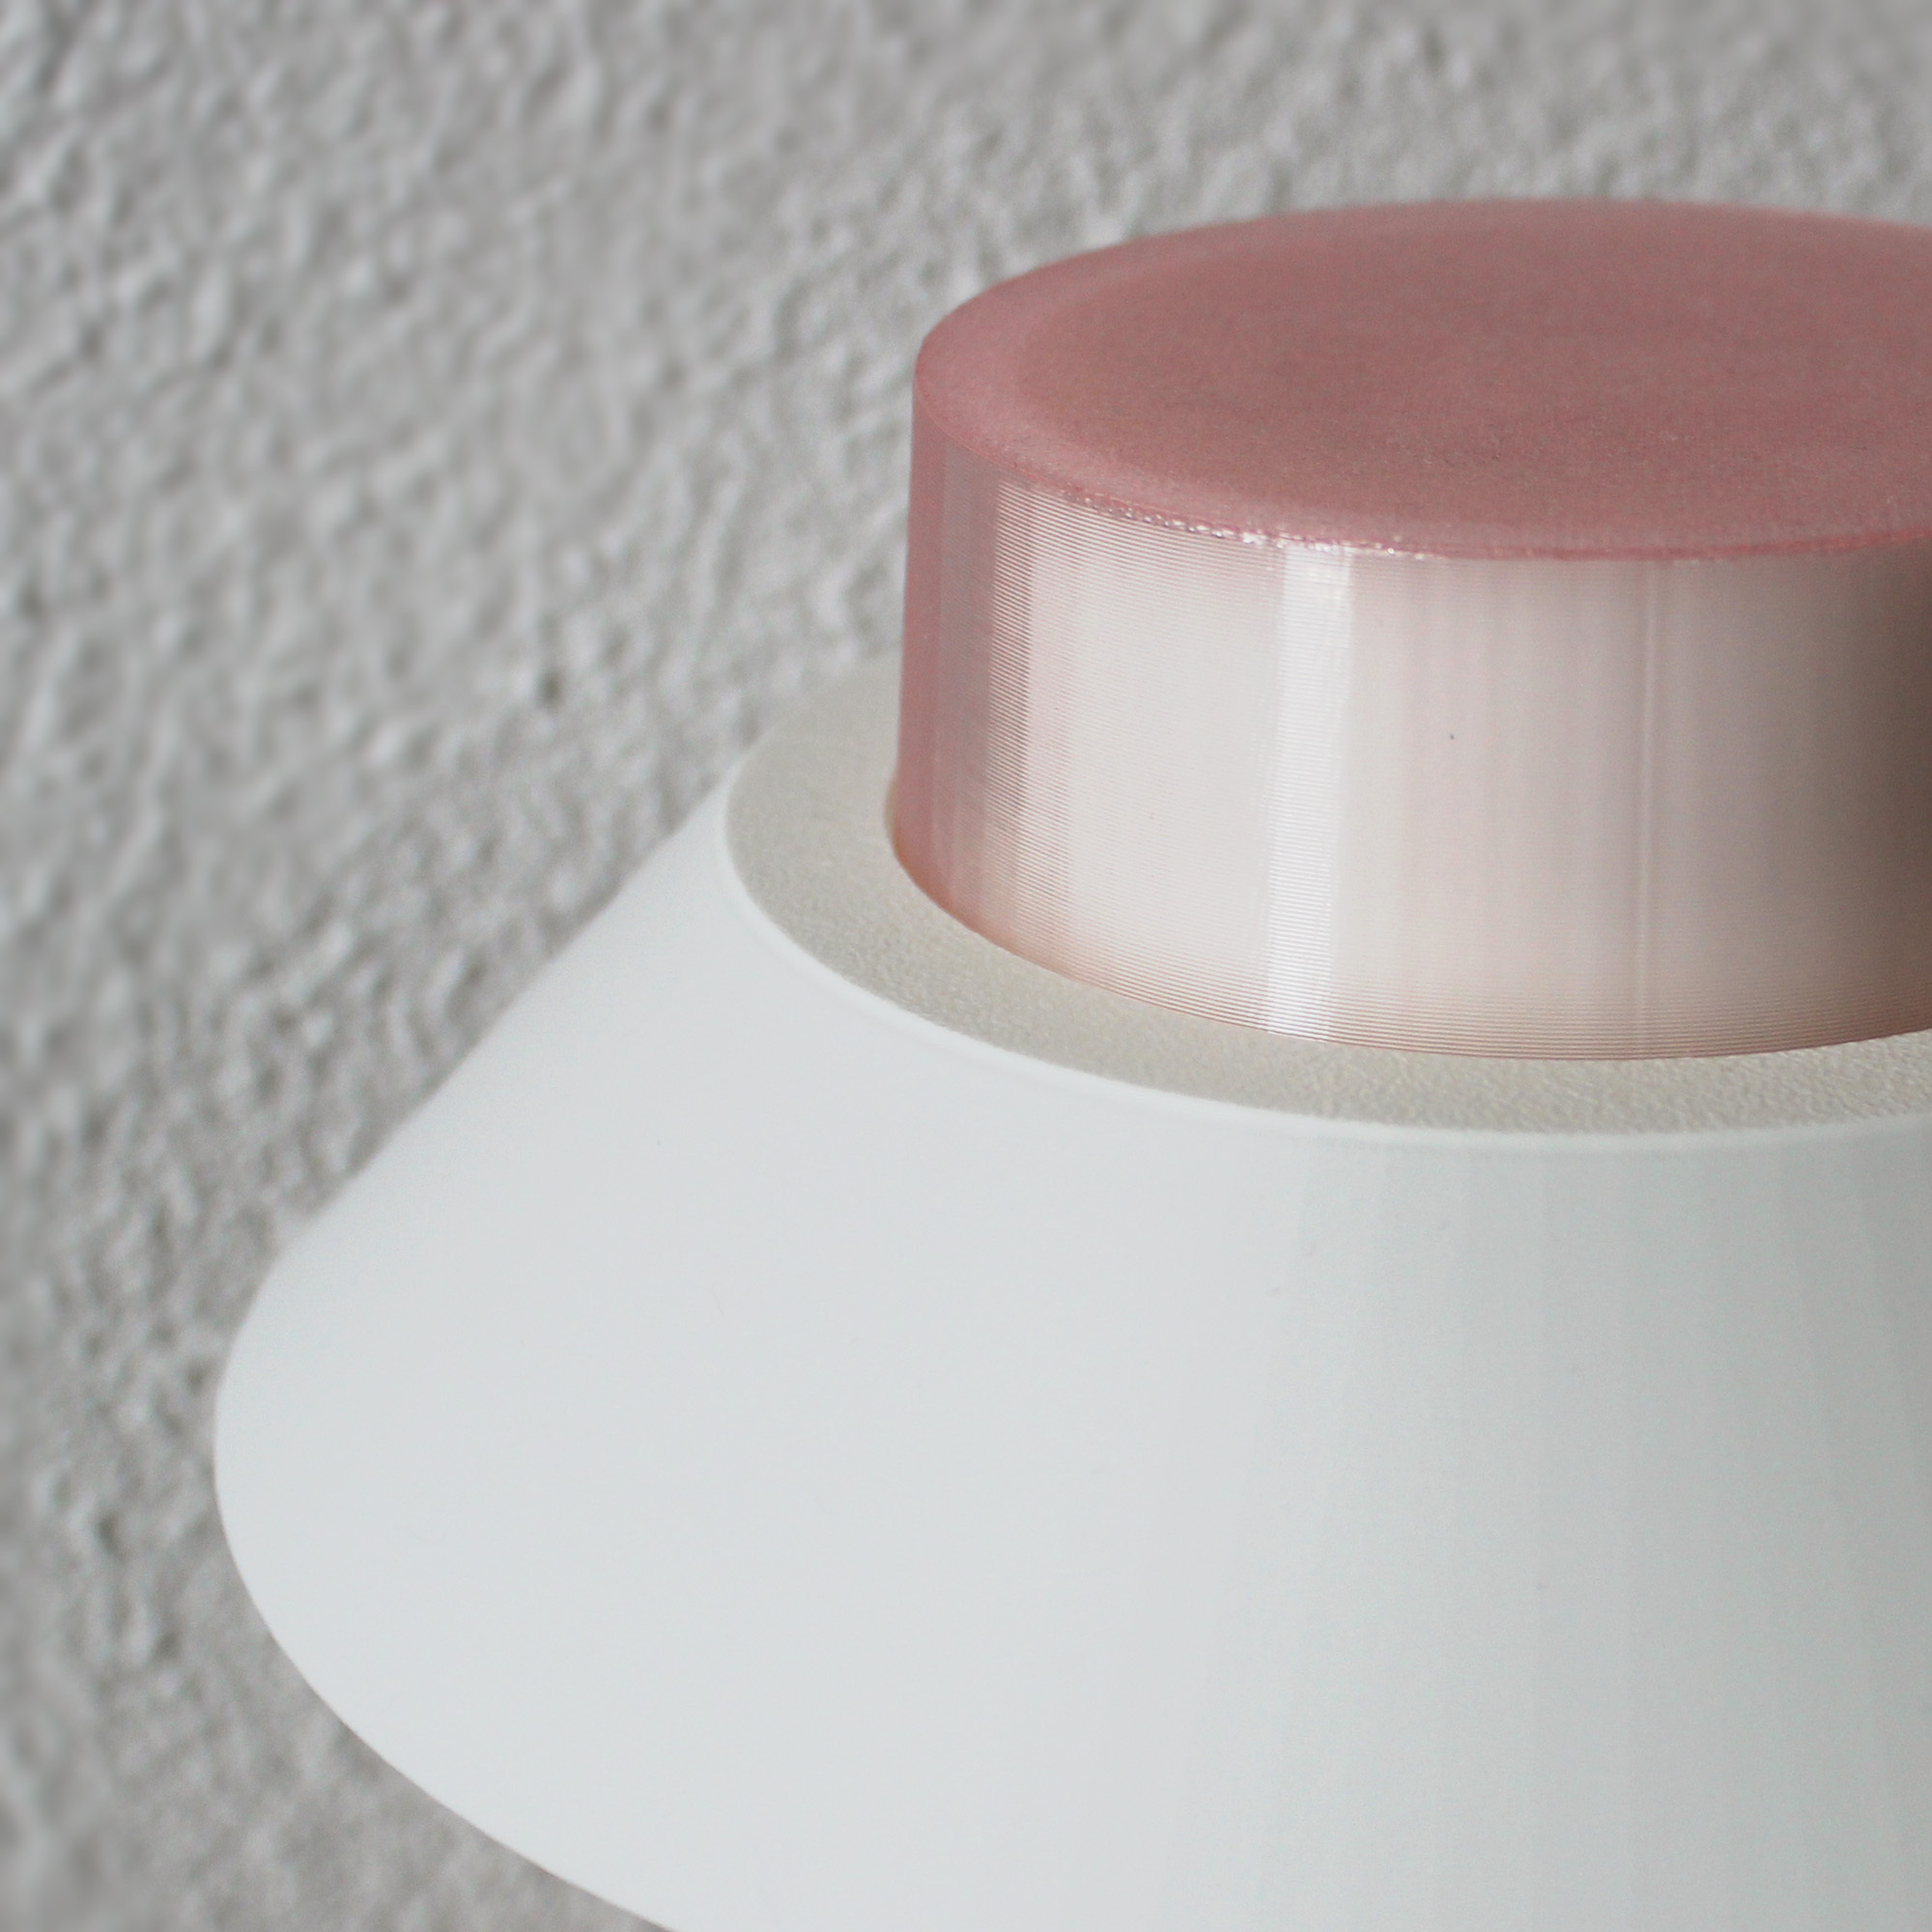
- Glue the ‘Support2’ piece to the outside of the pink PETG part.
- Glue the support piece (now containing the LED) to the bottom of the pink PETG piece.
- Glue the ‘Support2’ piece to the outside of the pink PETG part.
- Glue the support piece (now containing the LED) to the bottom of the pink PETG piece.
- Glue the ‘Support2’ piece to the outside of the pink PETG part.
- Glue the PLA lampshade to the ‘Support2’ piece to complete the lamp.
——
Les différents morceaux s’impriment différemment :
- La partie rose est transparente et doit être imprimée en mode spirale et PETG, transparent ou translucide coloré pour laisser passer la lumière.
- L’abat jour est également imprimé en spirale ( attention, il faut l’imprimer avec une hauteur de couche de 0.12 ! ). J’ai choisi de l’imprimer en PLA blanc matte pour contraster avec le rose, et car ma source lumineuse est puissante.
- Les deux autres pièces sont imprimées en PLA blanc matte, de manière classique.
Assemblage :
- Commencer par imprimer les différents morceaux.
- À l’aide d’un outil chaud comme un fer à souder, créer une petite encoche dans le bas de la partie rose en PETG. Cette encoche servira à passer le câble d’alimentation.
- Coller la LED dans le fond de la pièce « Support » en PLA.
- Coller la pièce support ( contenant à présent LED ) dans le fond de la pièce rose en PETG.
- Coller la pièce « Support2 » à l’extérieur de de la partie rose en PETG.
- Coller l’abat-jour en PLA sur la pièce « Support2 » pour terminer la lampe.
:format(webp)/https://fbi.cults3d.com/uploaders/14138650/illustration-file/fa1c4b1b-d4f2-4516-a927-44c145e62423/Lamp-BQ.gif)
/https://preview3d-images.cults3d.com/st70rm25mldwmofywcoakskevna0)
/https://preview3d-images.cults3d.com/7q6me729qyy7zx48ygc3g1paj5ob)
/https://preview3d-images.cults3d.com/hwx6z4kigmgdyoaodol7vr65ryxv)
/https://preview3d-images.cults3d.com/w5s66ylc3yab9mr61pf28m1t01sc)


:format(webp)/https://fbi.cults3d.com/uploaders/14138650/illustration-file/57cdc2ef-be29-4c1c-b112-754f0cf28be0/Zoey-Knife.jpg)
:format(webp)/https://fbi.cults3d.com/uploaders/14138650/illustration-file/642f8e10-ed31-4ca1-a7fc-b333af759078/Vex_Cult.png)
:format(webp)/https://fbi.cults3d.com/uploaders/14138650/illustration-file/91be67aa-3fd7-40e2-8ec2-2e8d957f3b2f/zoey-armor.png)
:format(webp)/https://fbi.cults3d.com/uploaders/14138650/illustration-file/dd21d7c0-20e0-4116-ac1c-c3ffb210b068/IMG_20250707_145223.jpg)
:still()/https://fbi.cults3d.com/uploaders/14138650/illustration-file/e183bec1-5f3c-4755-ab25-5ca2cbd93ad7/Book-sign-gif.gif)
:still()/https://fbi.cults3d.com/uploaders/14138650/illustration-file/4fa63fda-c9bd-47ca-abb3-8137745d44aa/MVI_0094_1-copie.gif)
:format(webp)/https://fbi.cults3d.com/uploaders/14138650/illustration-file/5c311be3-a9e4-4290-8a96-8865602b62ad/IMG_0194.jpg)
:format(webp)/https://fbi.cults3d.com/uploaders/14138650/illustration-file/d46ba2fa-ad13-4859-af1e-f0f76968a981/MVI_0256-9mo.gif)
