Printing
The models are provided as STLs and are oriented the way I printed them myself. I leave supporting them up to you, but here is how I did it:
FDM Parts
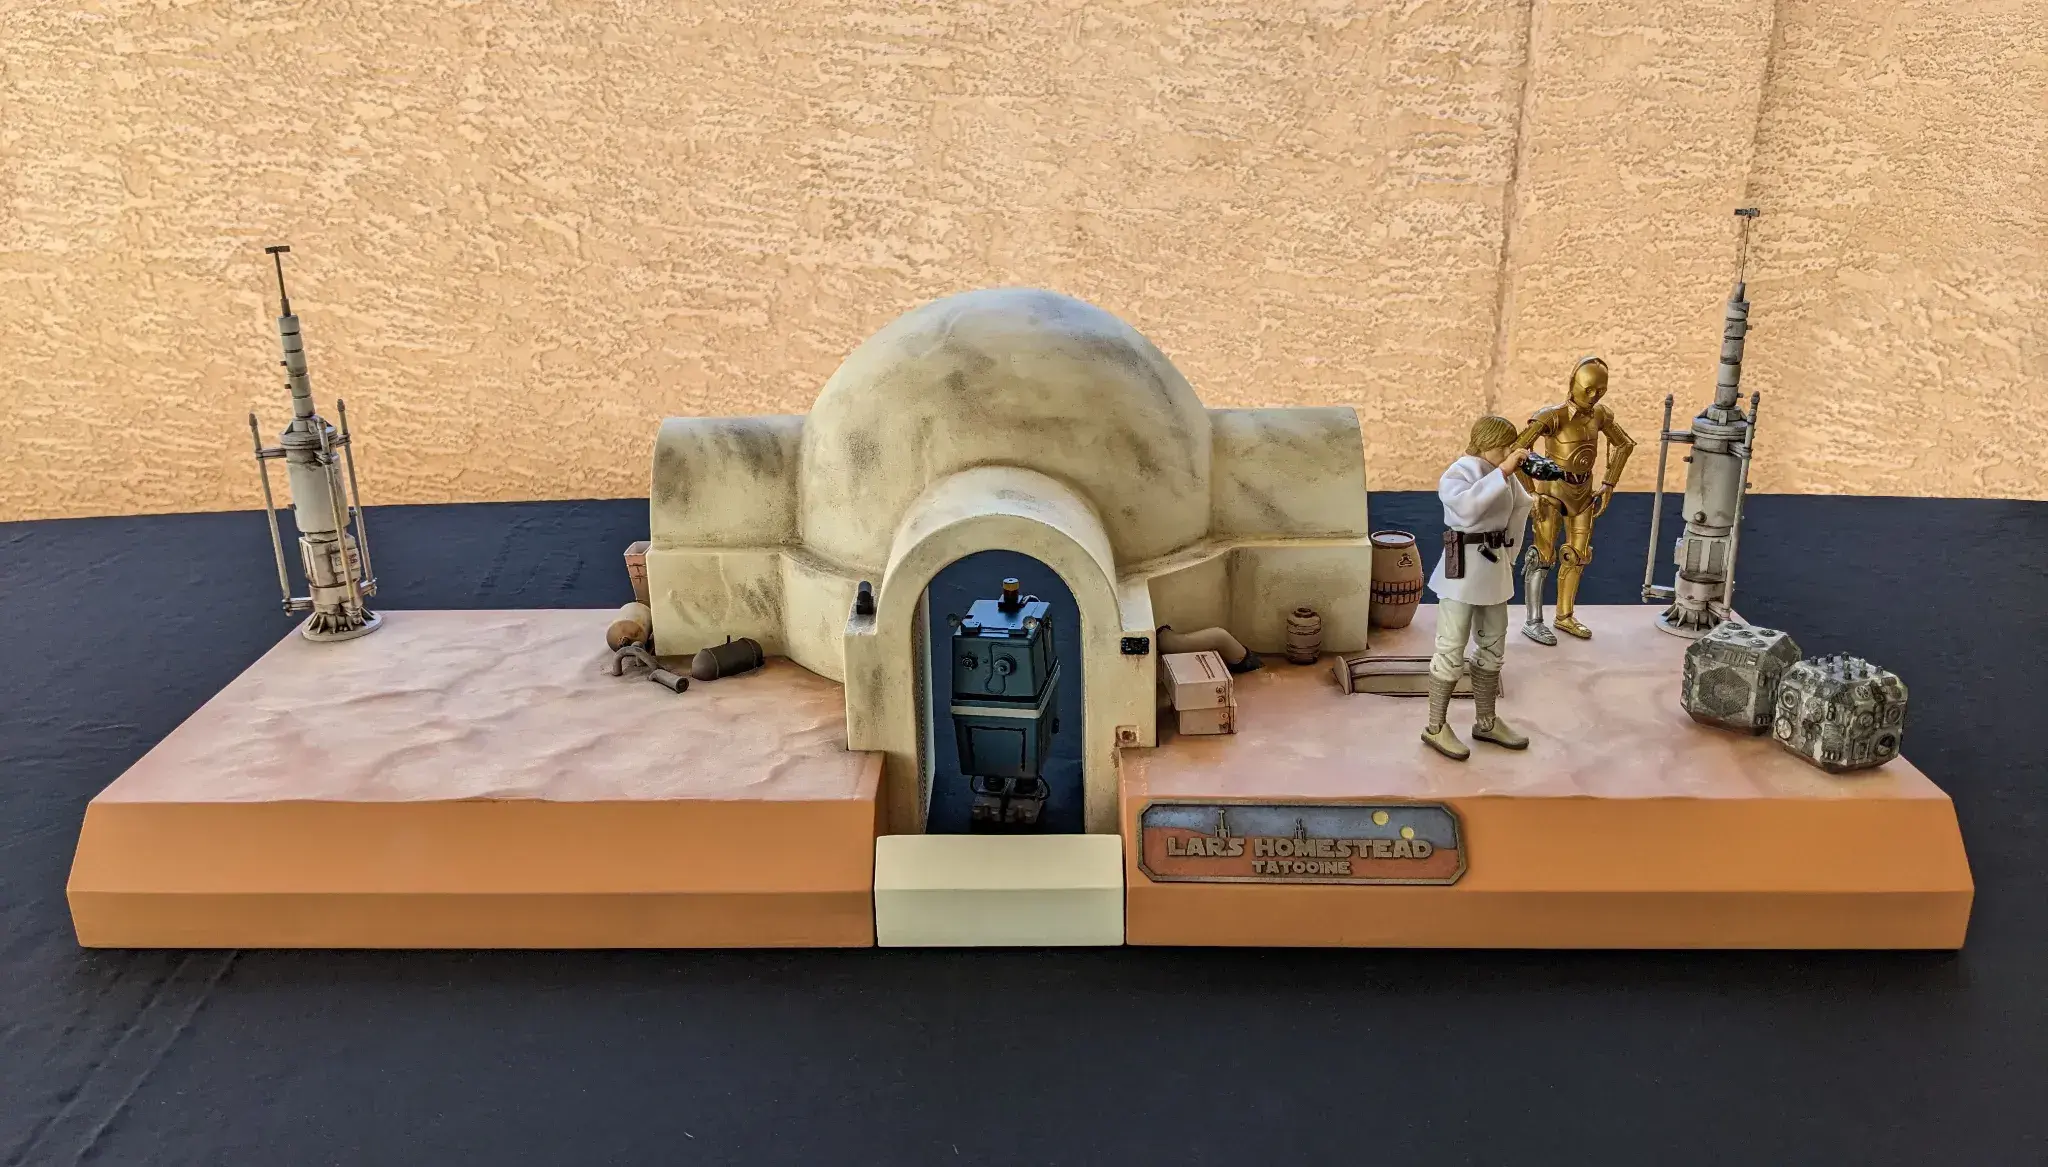
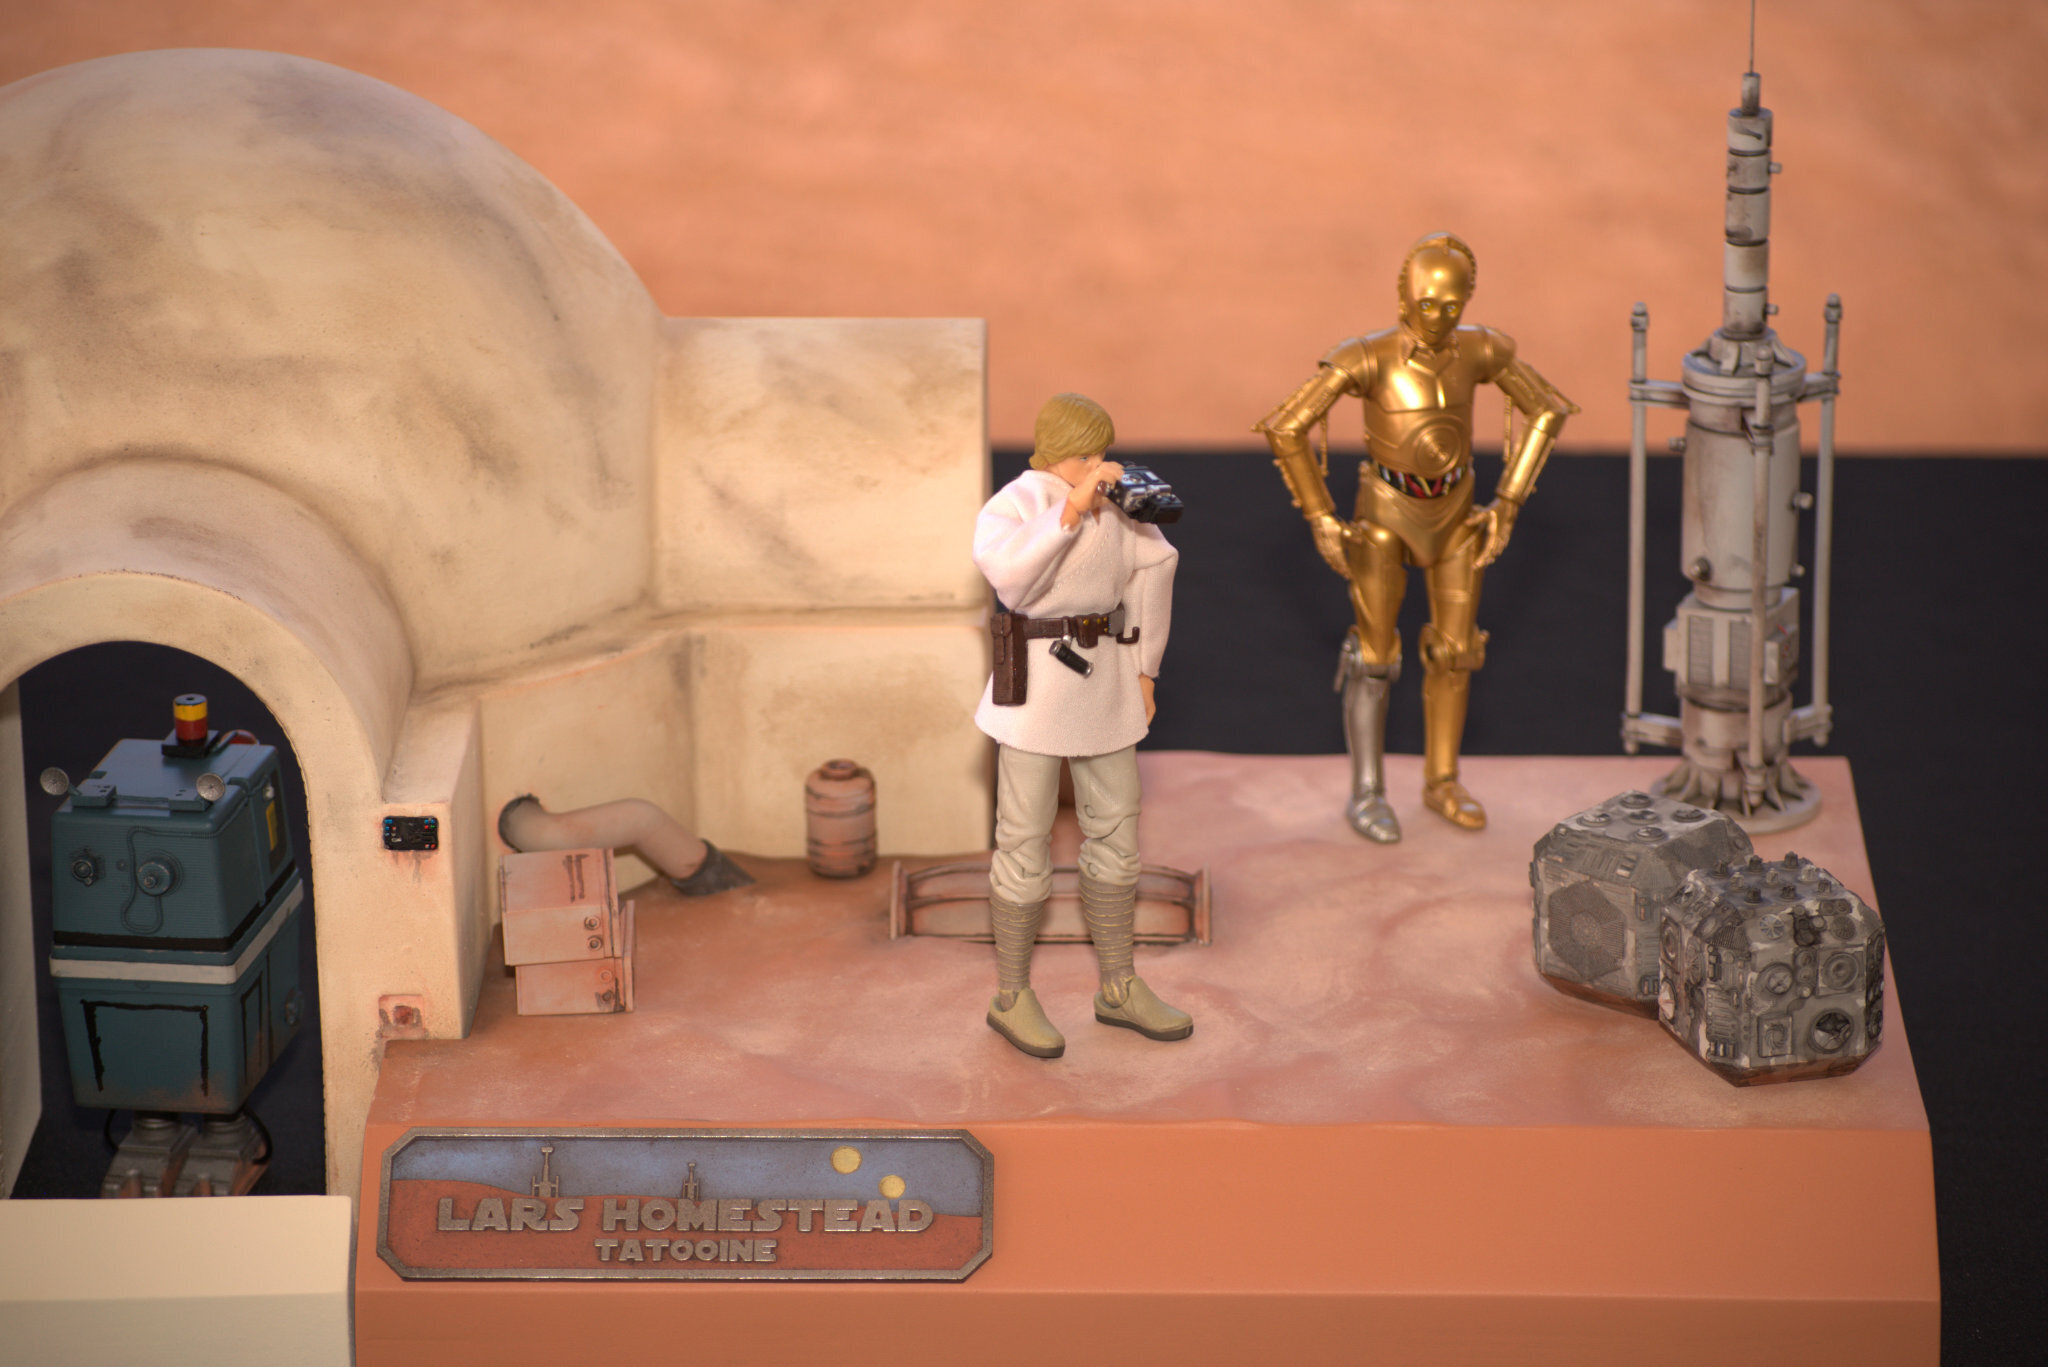
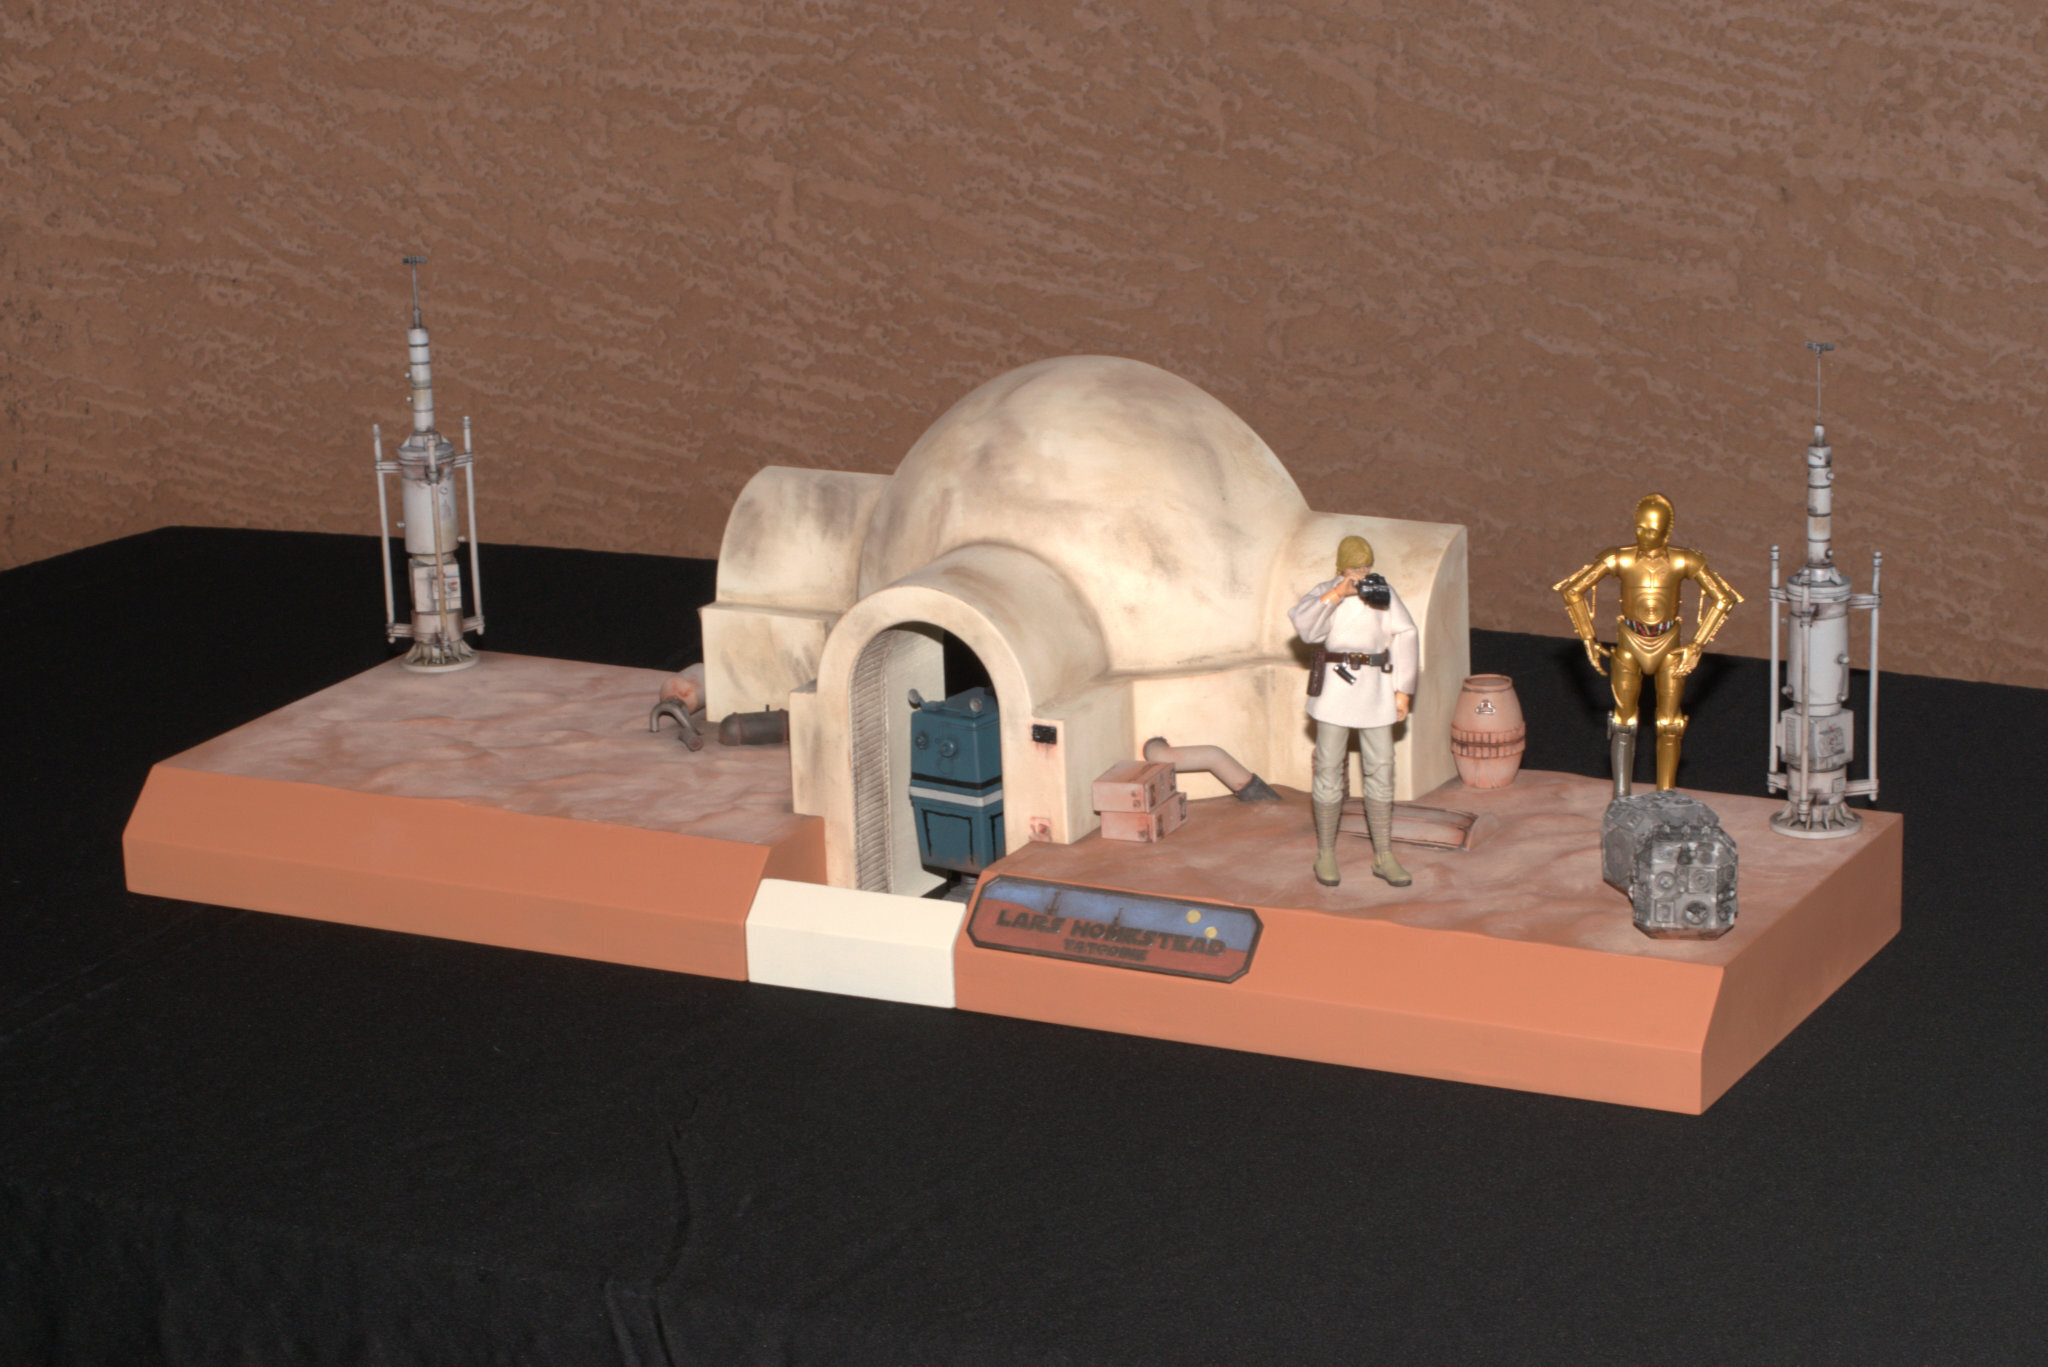
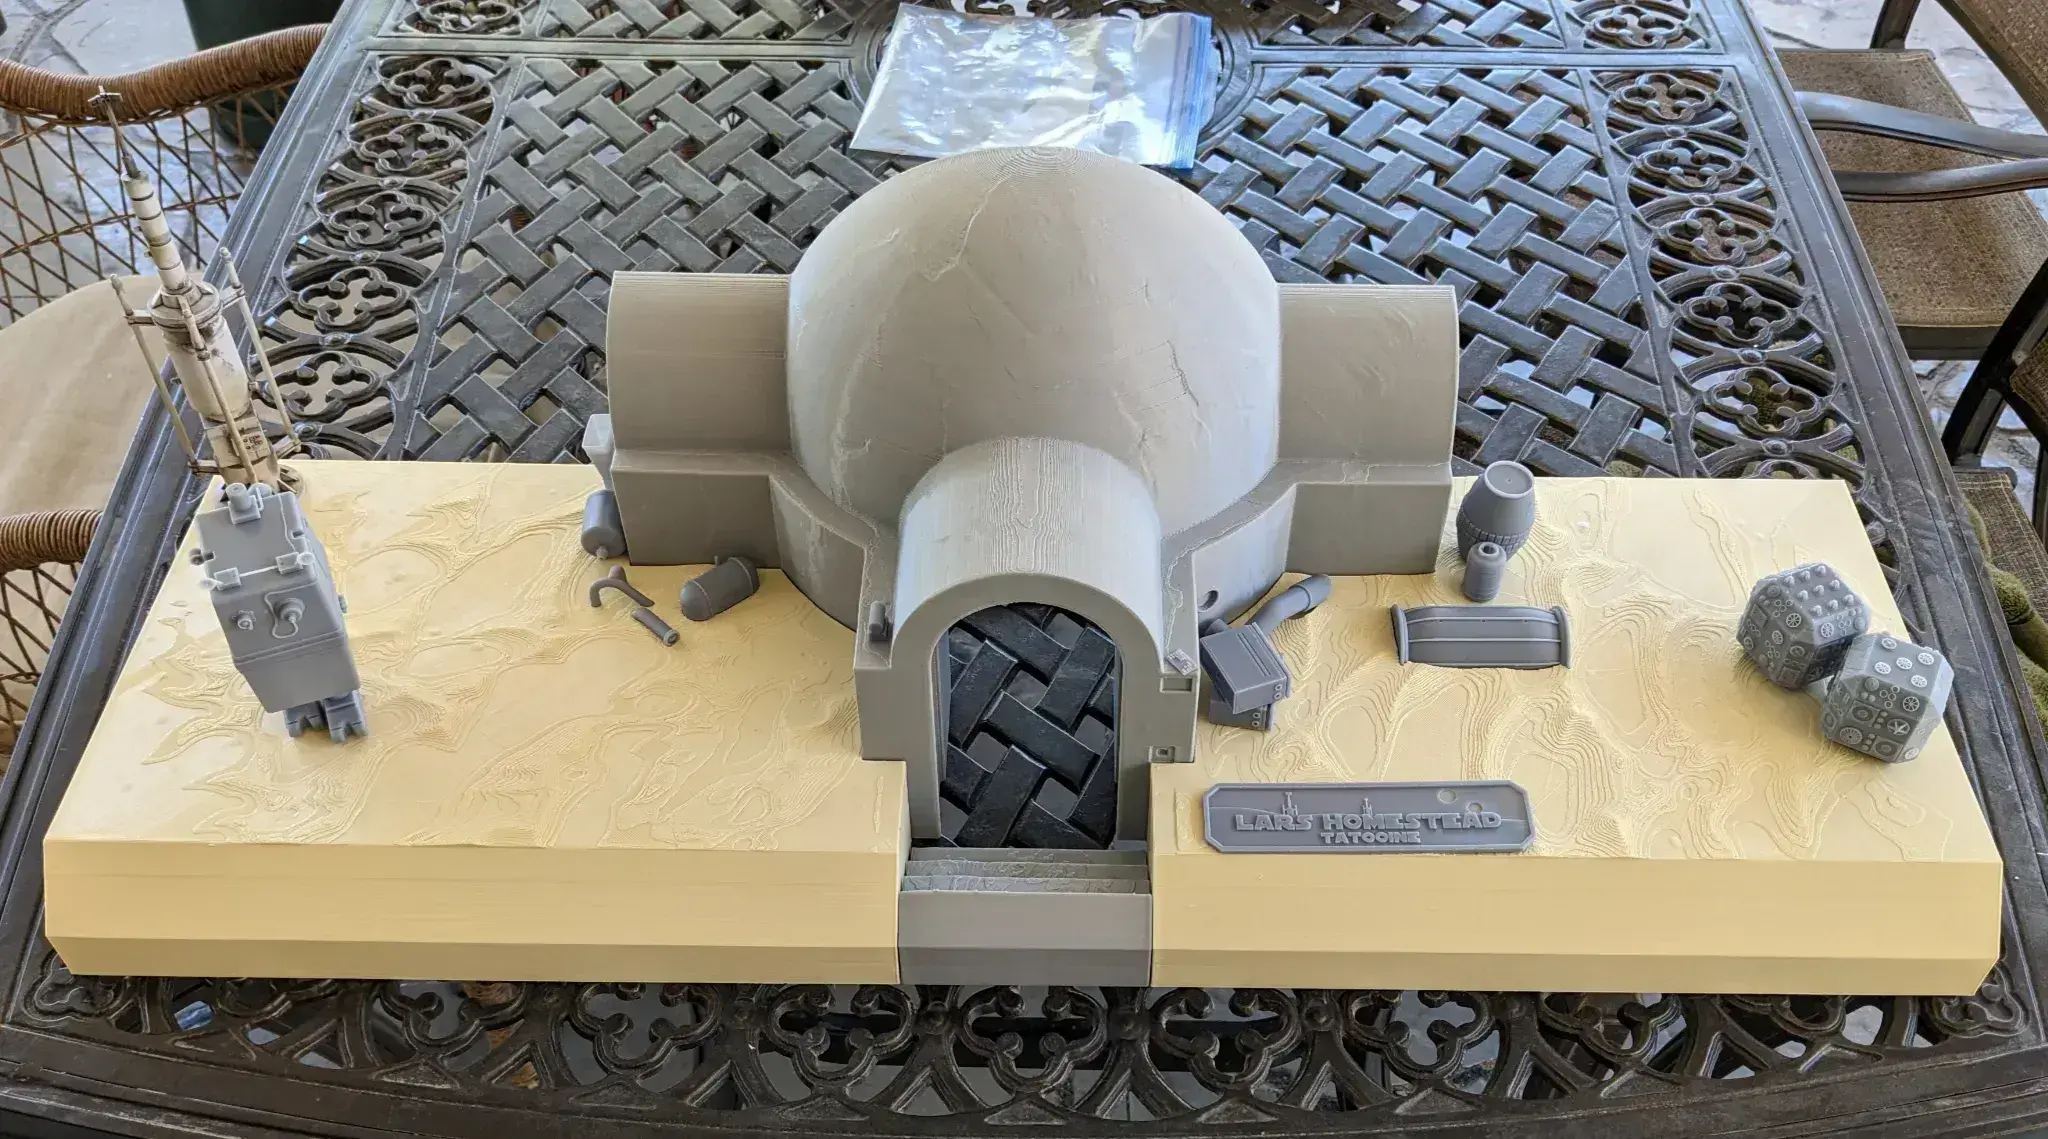
I used Cura 5.7 to slice all the FDM parts. I used tree supports and a skirt. The Entry Hut and both sand plates are supportable from underneath, though the sand plates have sockets for the Steps that will also need supporting. The steps only need supporting on the tabs for the sides. The tabs and sockets will require sanding cleanup, but they're completely hidden when the diorama is complete. I printed the hut in grey PLA, and the sand in tan PLA.
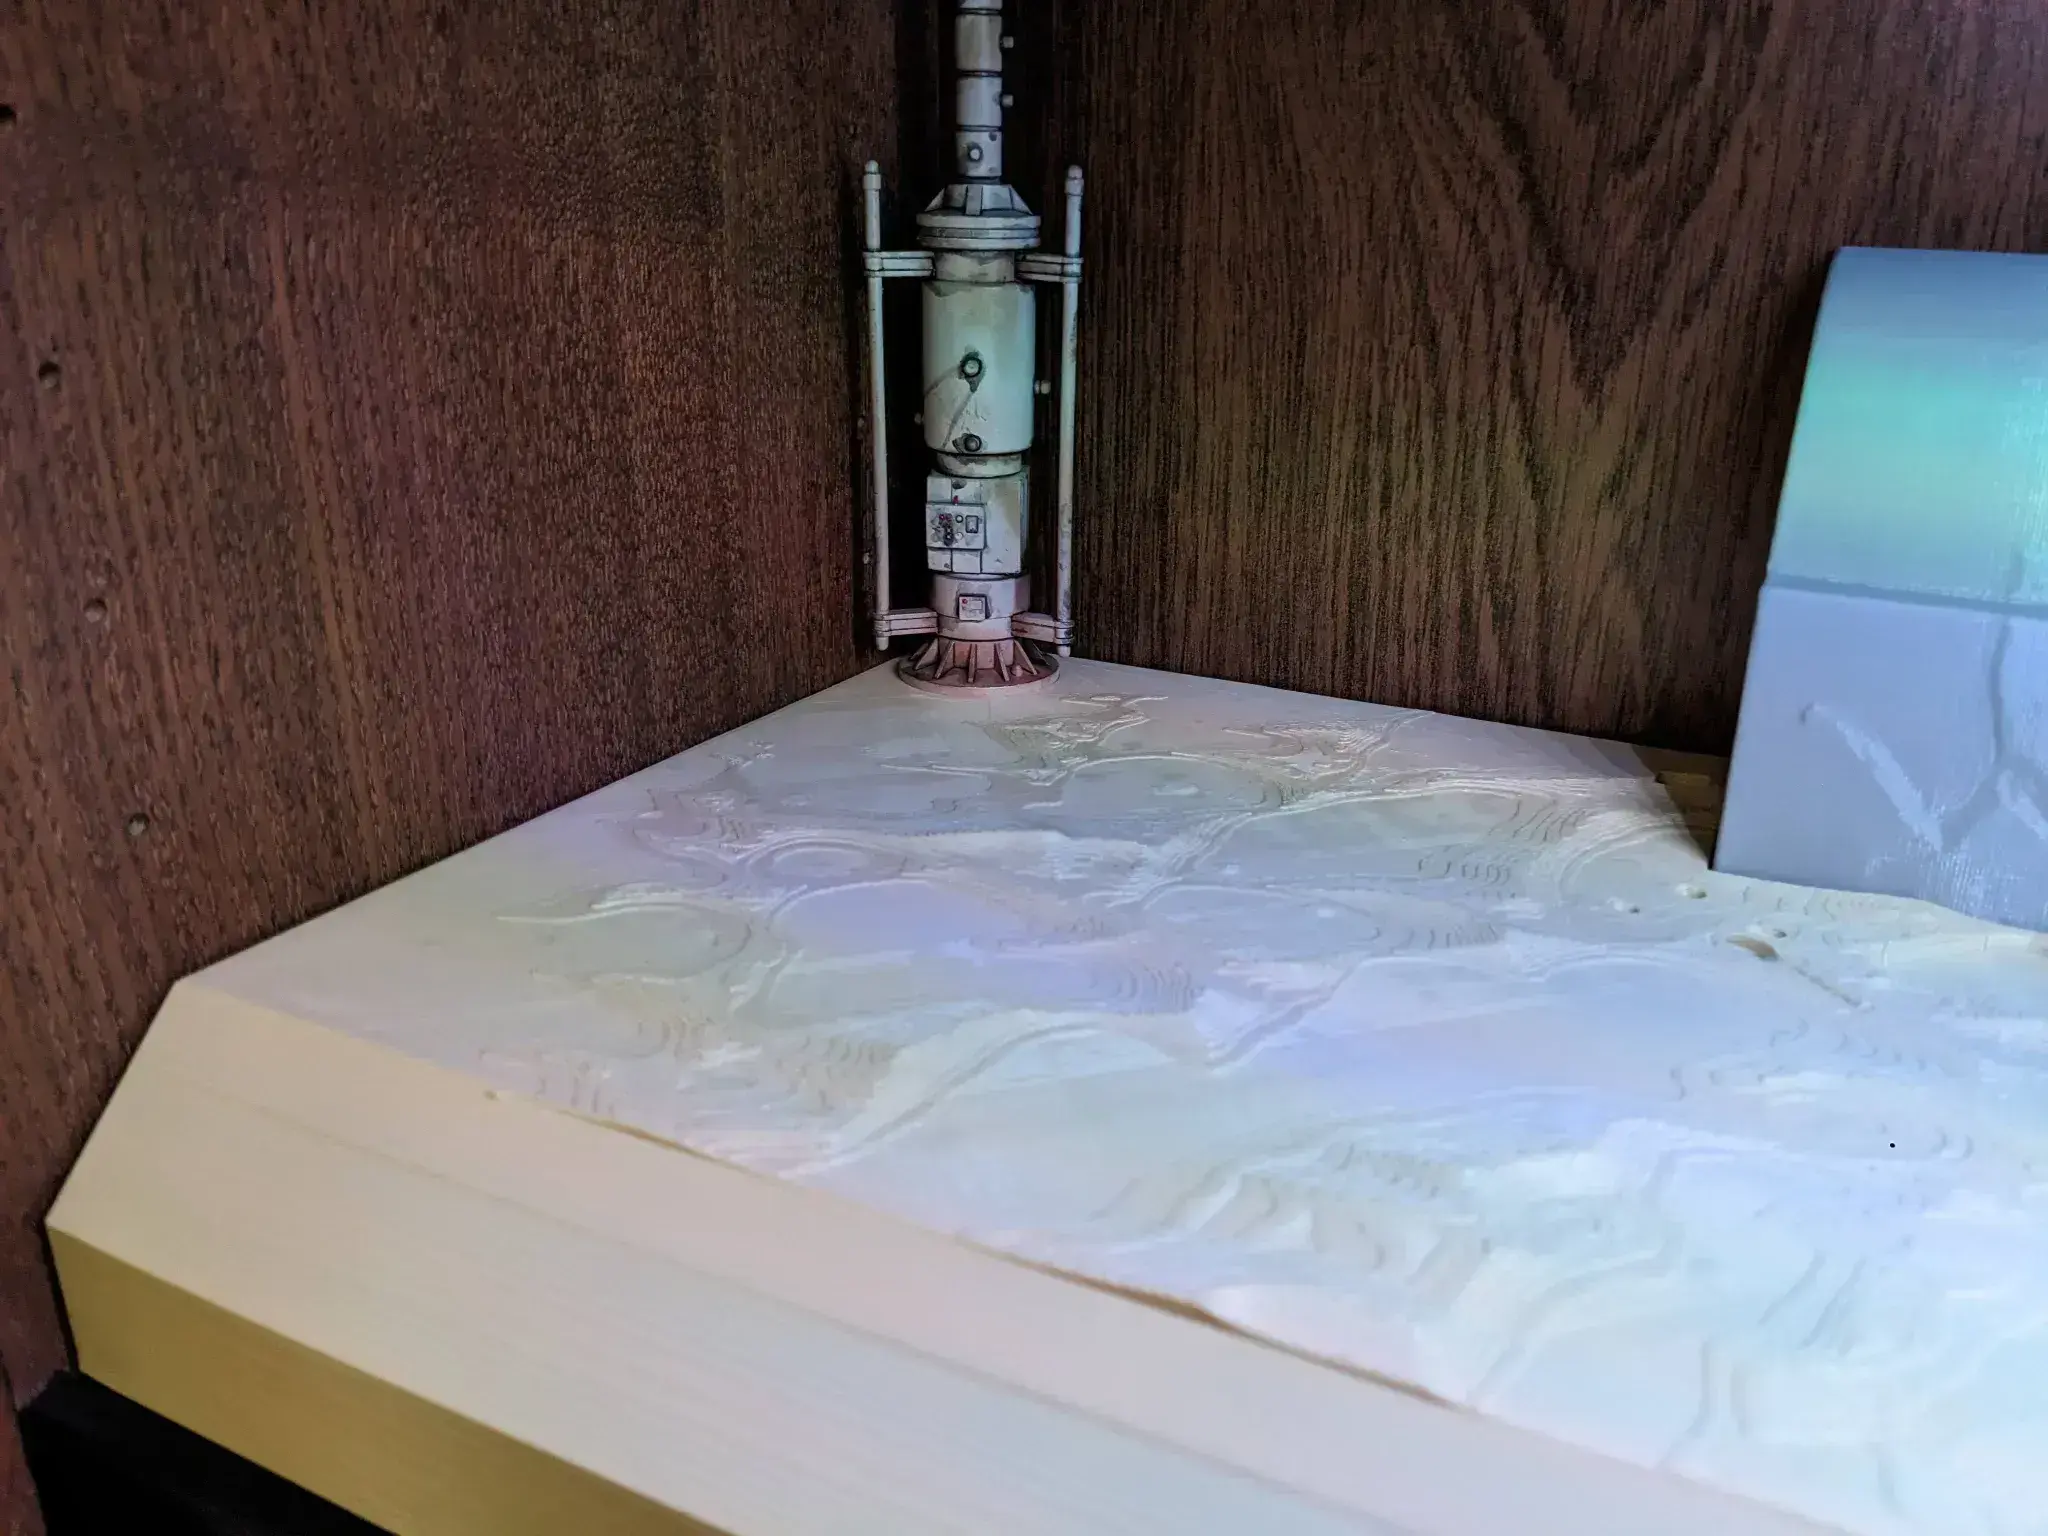
Once the parts were finished printing, I used a chisel and foam sanding block to clean up the tree supports and generally clean up any rough bits. Then I used a clear red 3D printing resin as a coating for the FDM parts. I put the parts on cardboard, used a sponge applicator from your nearest home improvement store to coat the top and sides of each part in a thin coating of resin, taking care to not get resin in any of the "sockets" in the sand plates. Then I quickly used an airbrush to blow out the few bubbles that formed, but canned air should work as well. Just keep the can far enough away to not redistribute the resin, then take it out in the sun and cure it until the resin is completely cured. For me, this took 5 mins under the Vegas sun using the clear red resin. Then I repeat the resin coating process a second time. The reason I do this is because the viscosity of the resin causes it to sit in the troughs that result from FDM printing, resulting in an overall flatter surface that is much easier to sand smooth. PLA . Once all the resin is cured, I start rough sanding with 100 grit, then again with 220 grit, 400 grit and final sanding with 600 grit. For the sand plates, I sanded with the sculpted sand dunes.
Resin Parts
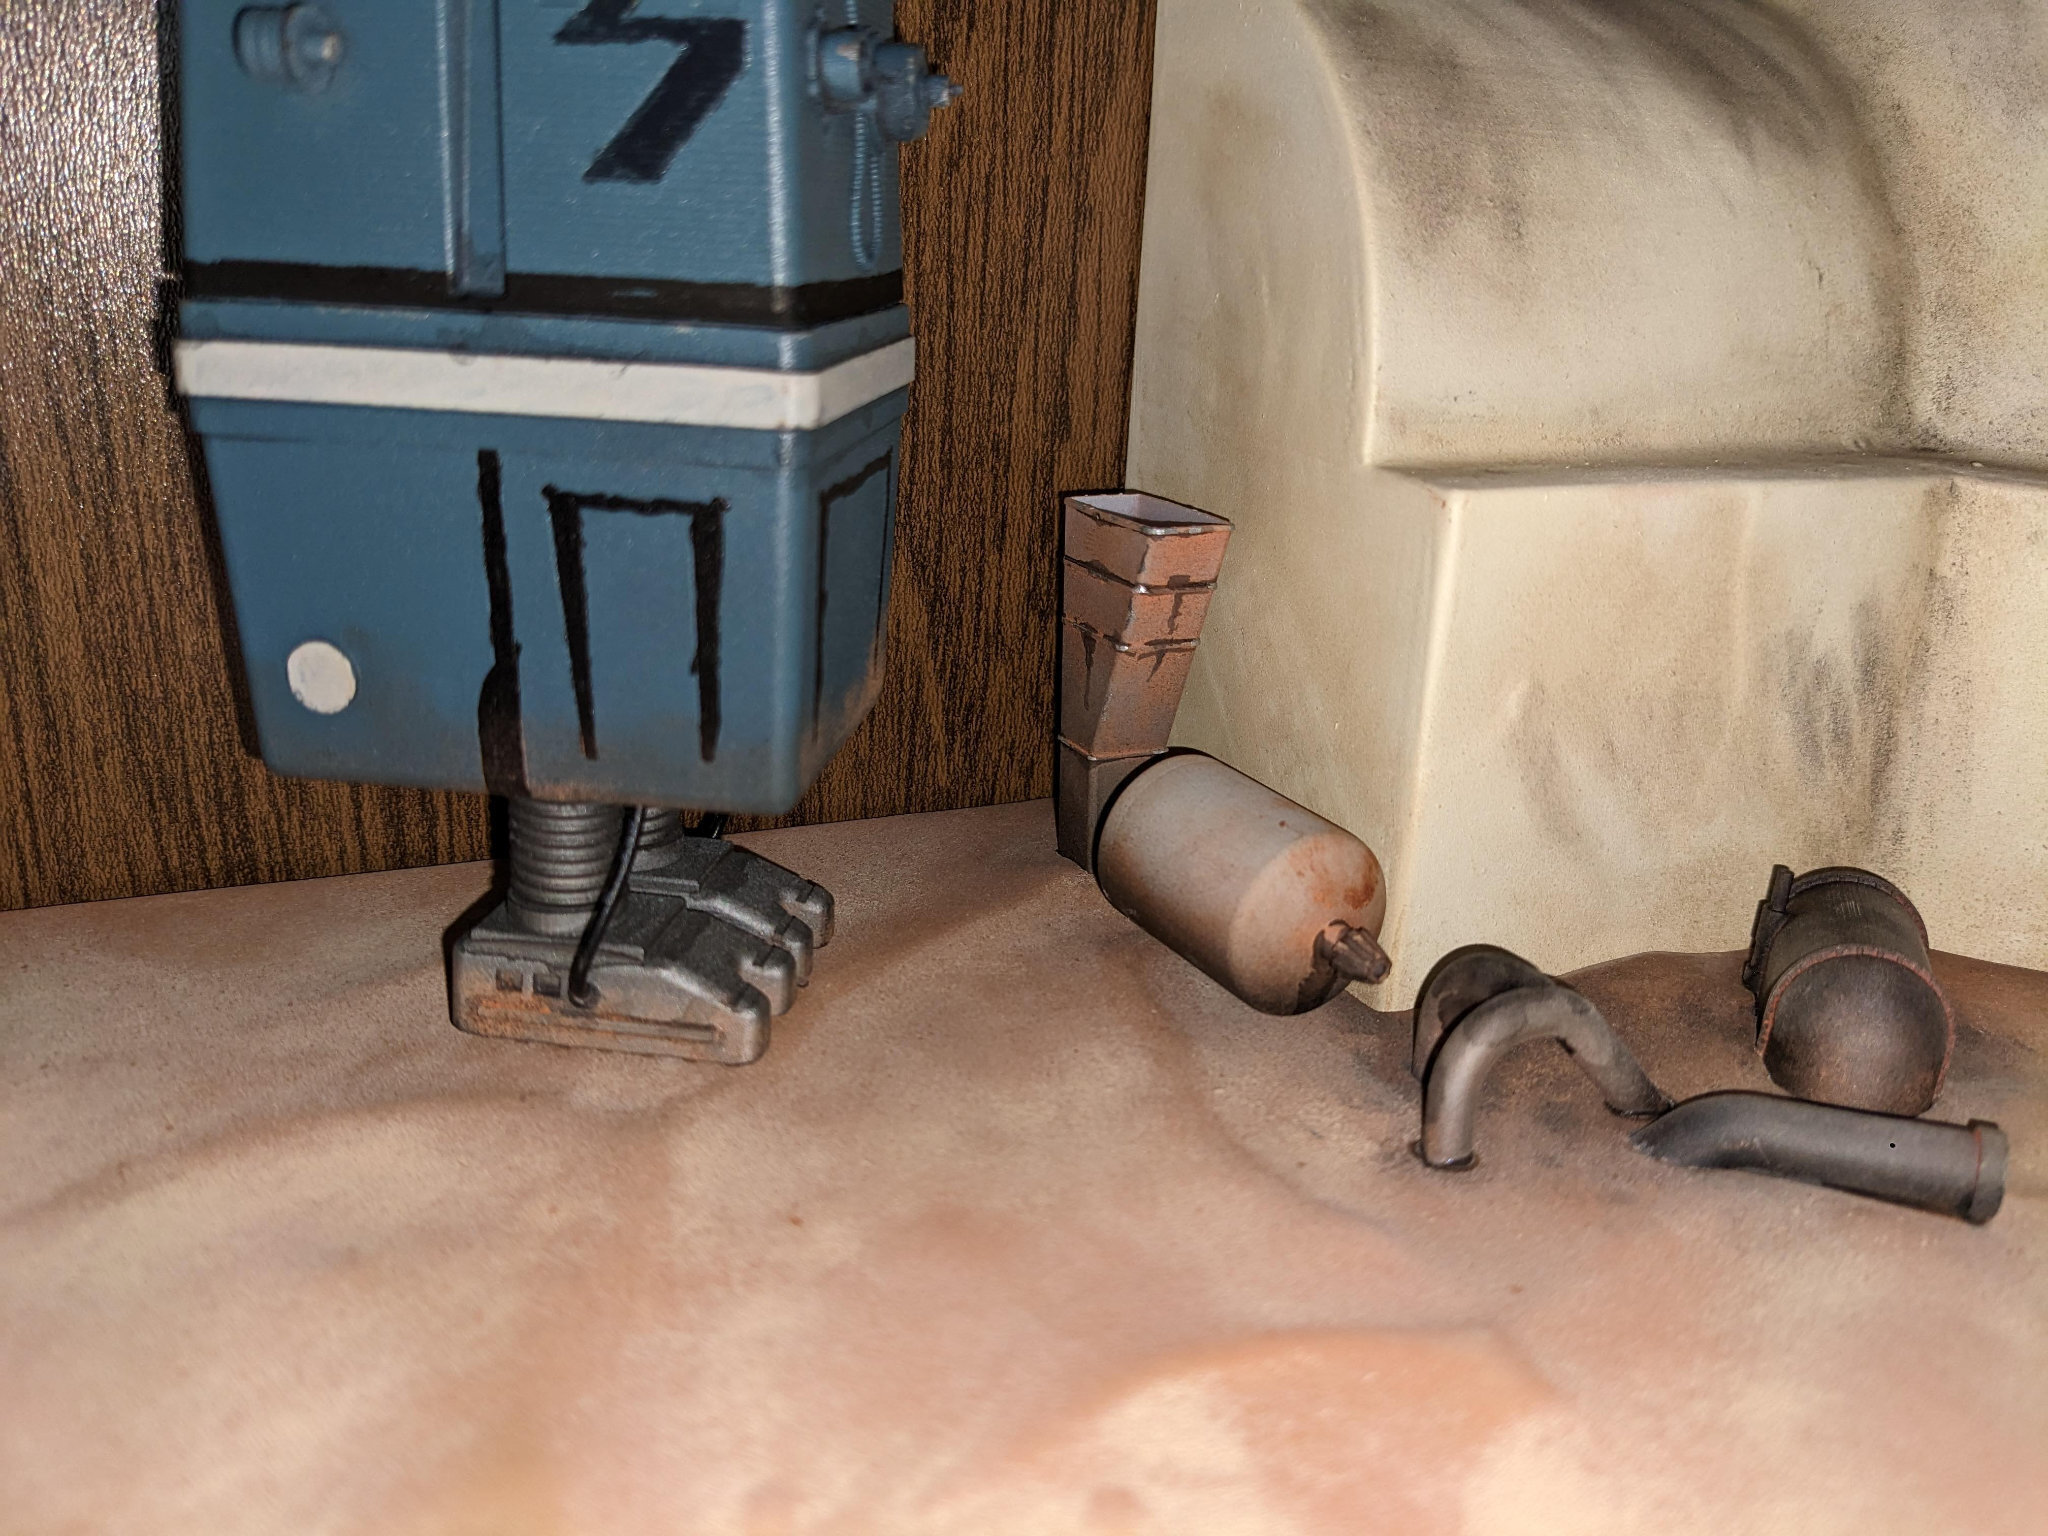
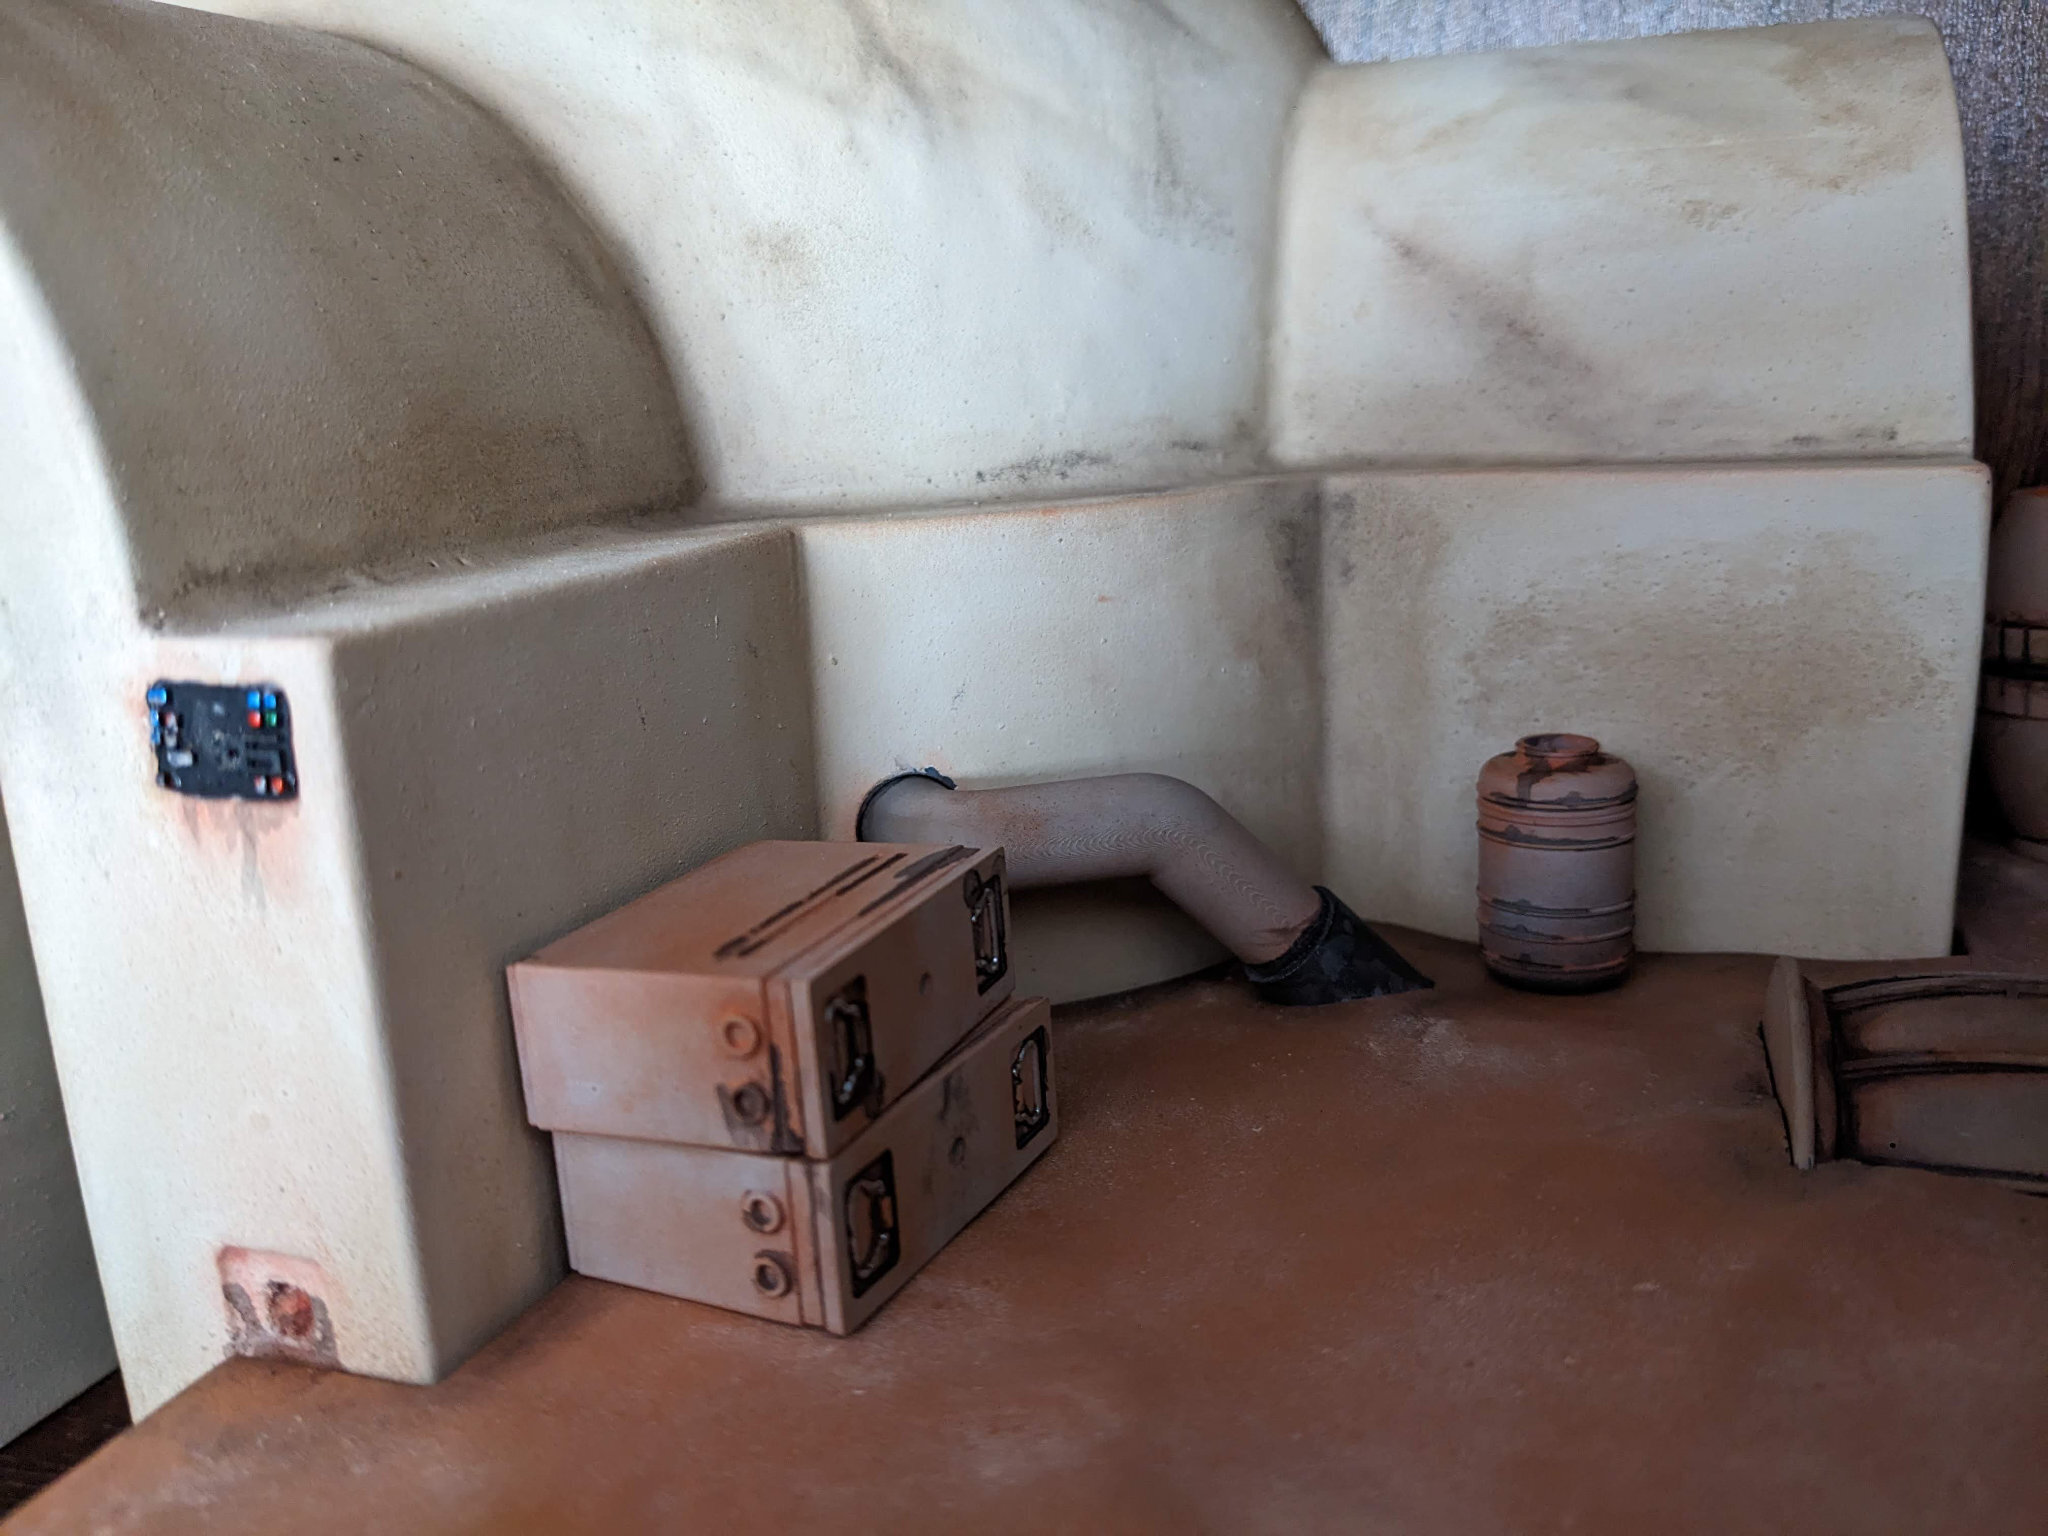
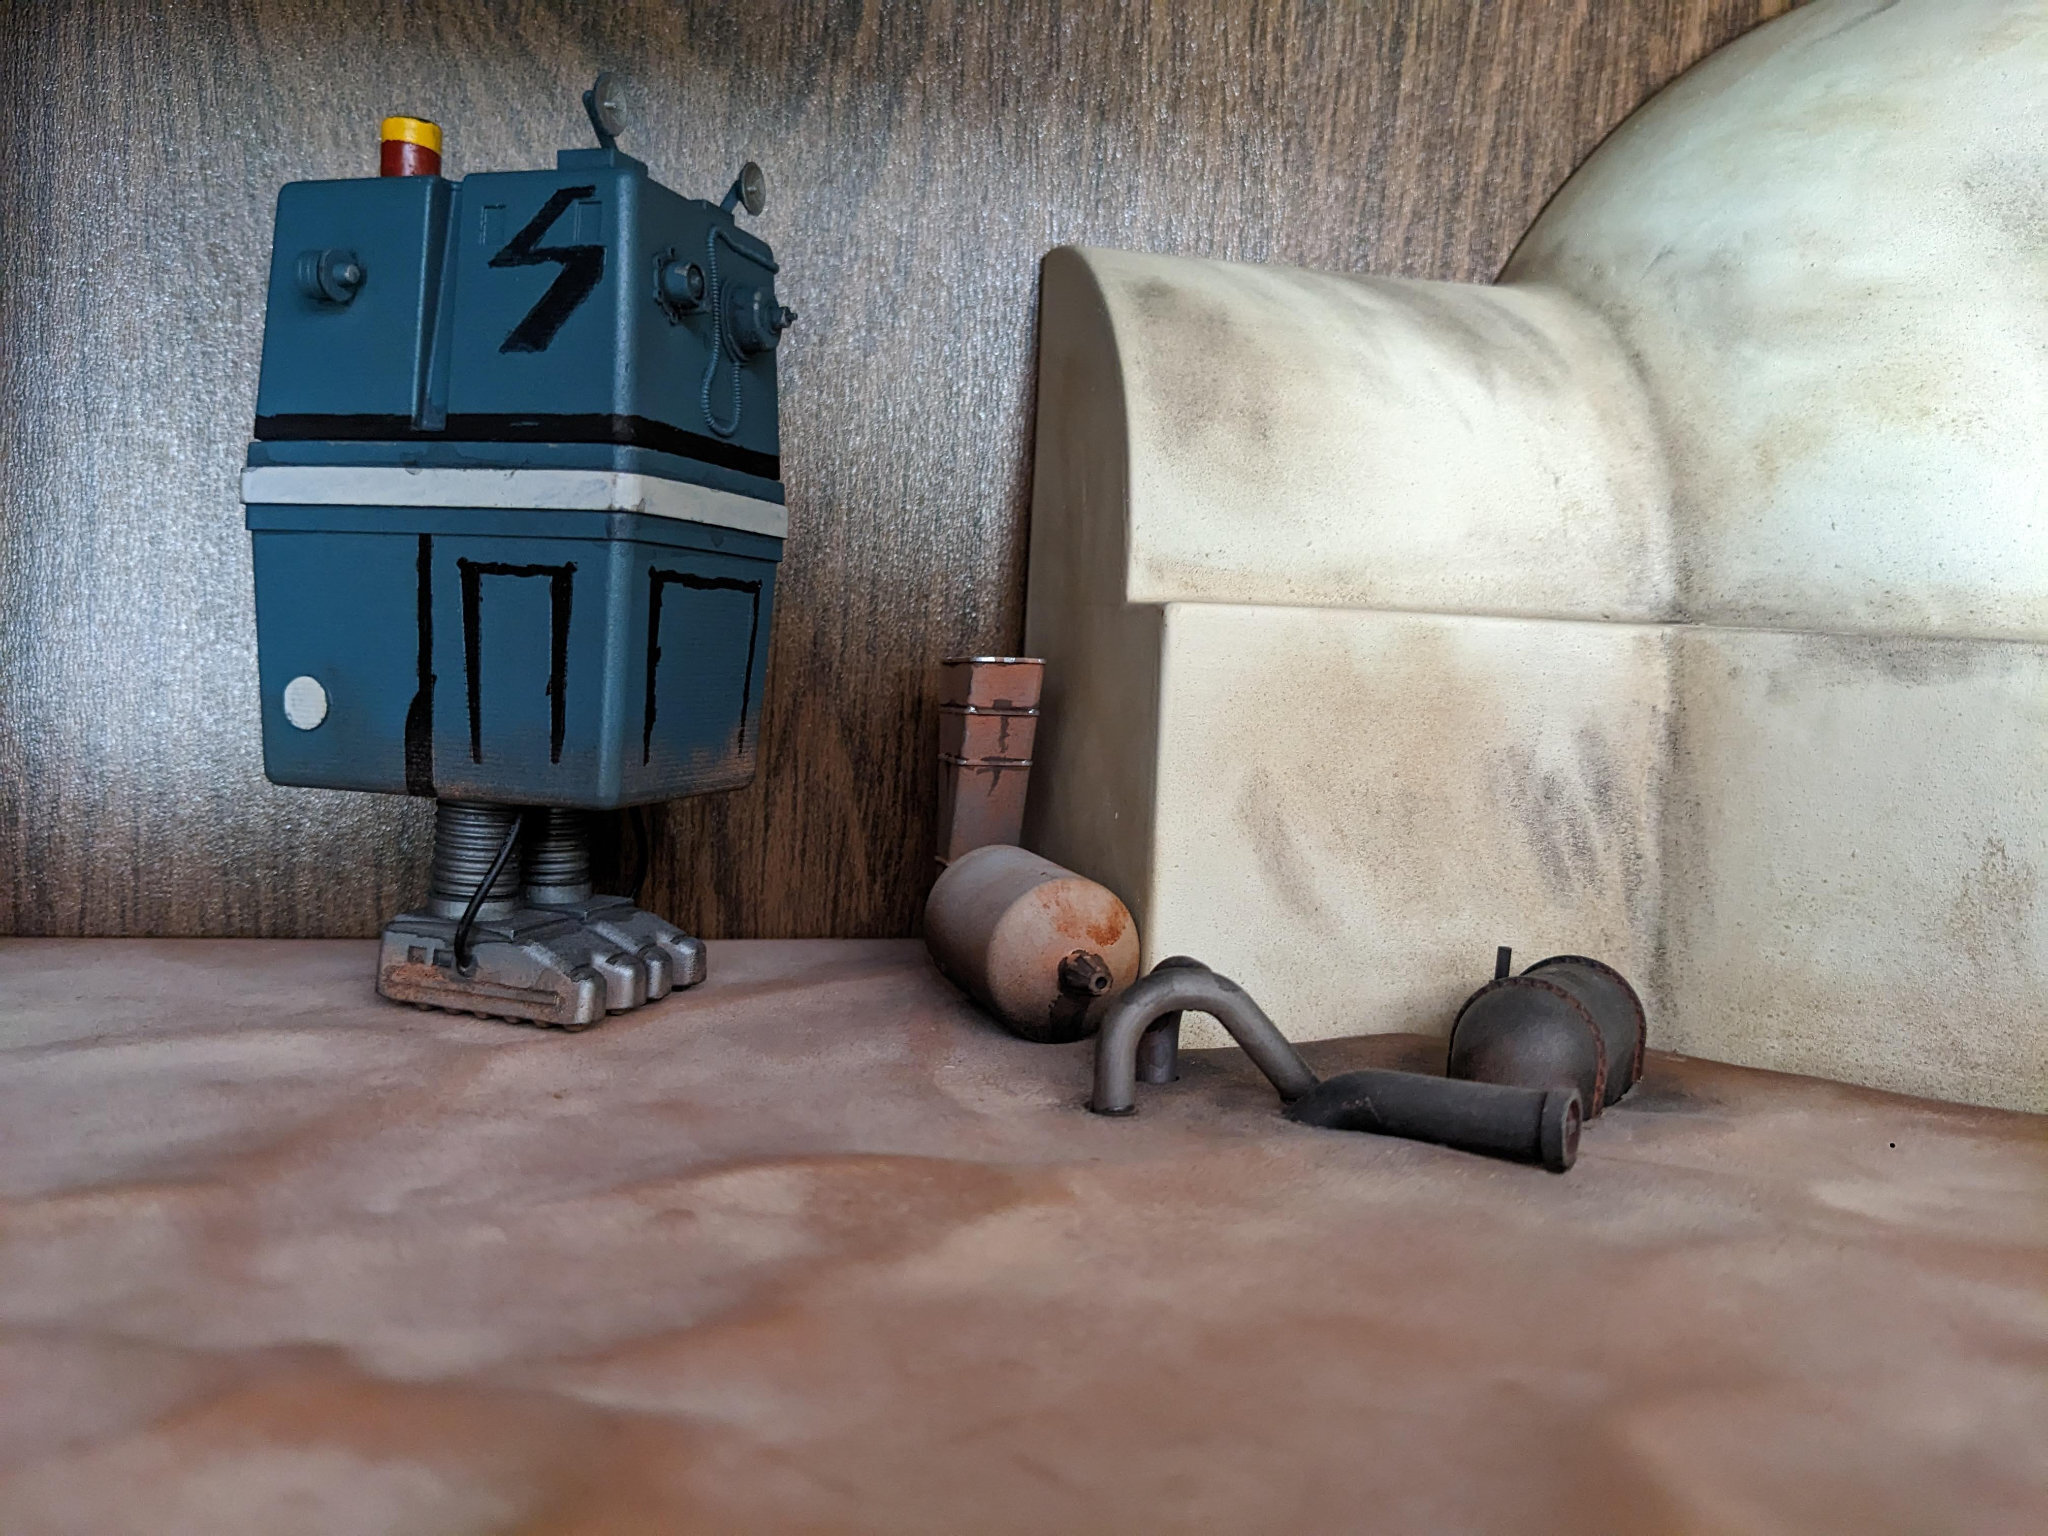
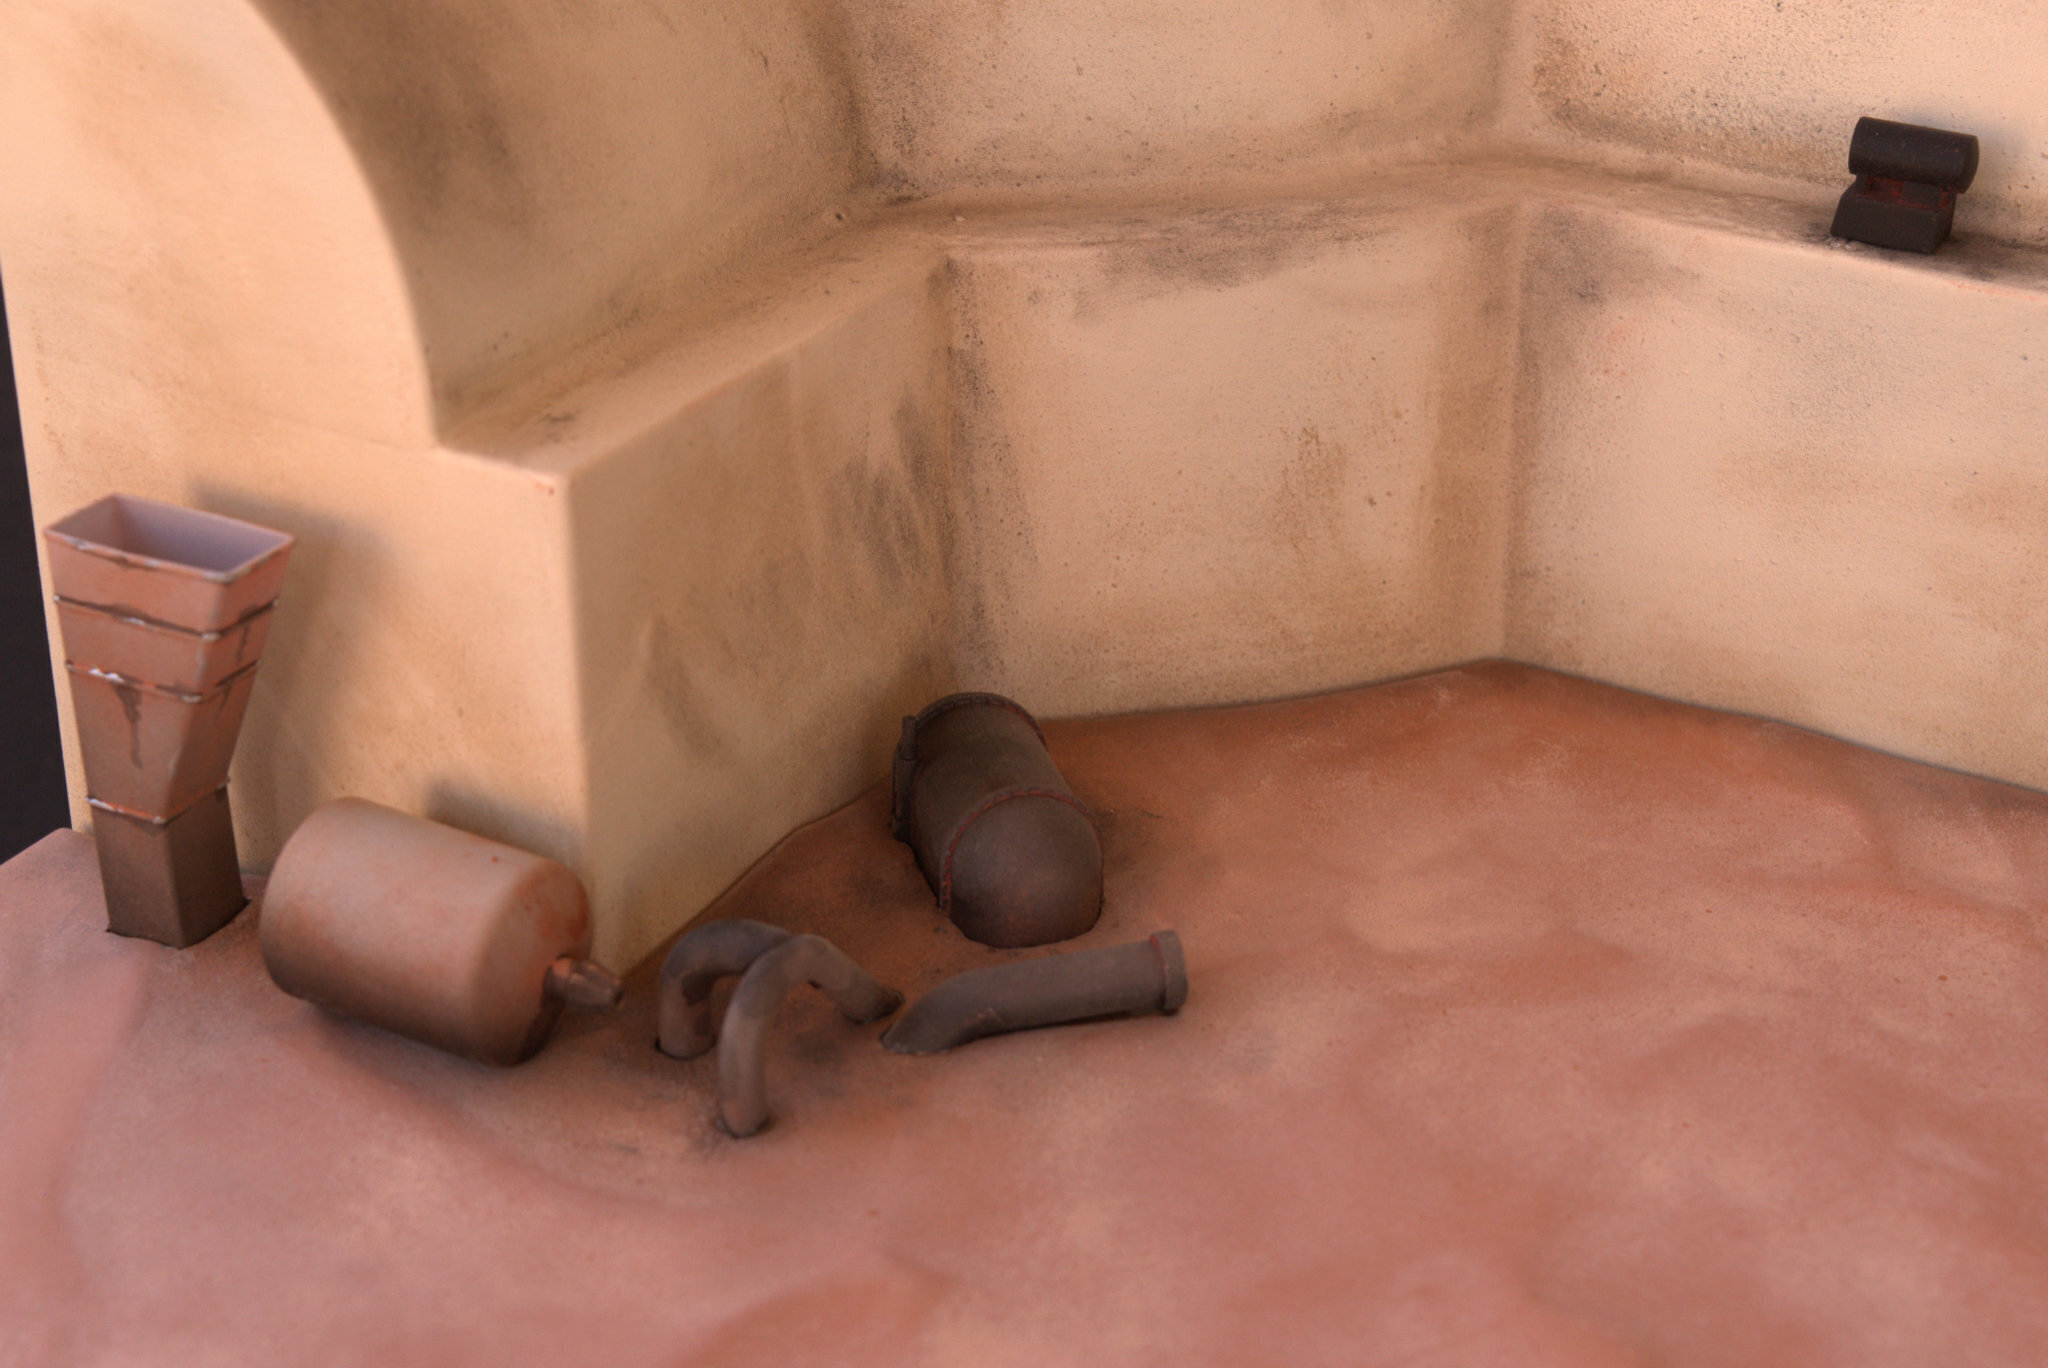
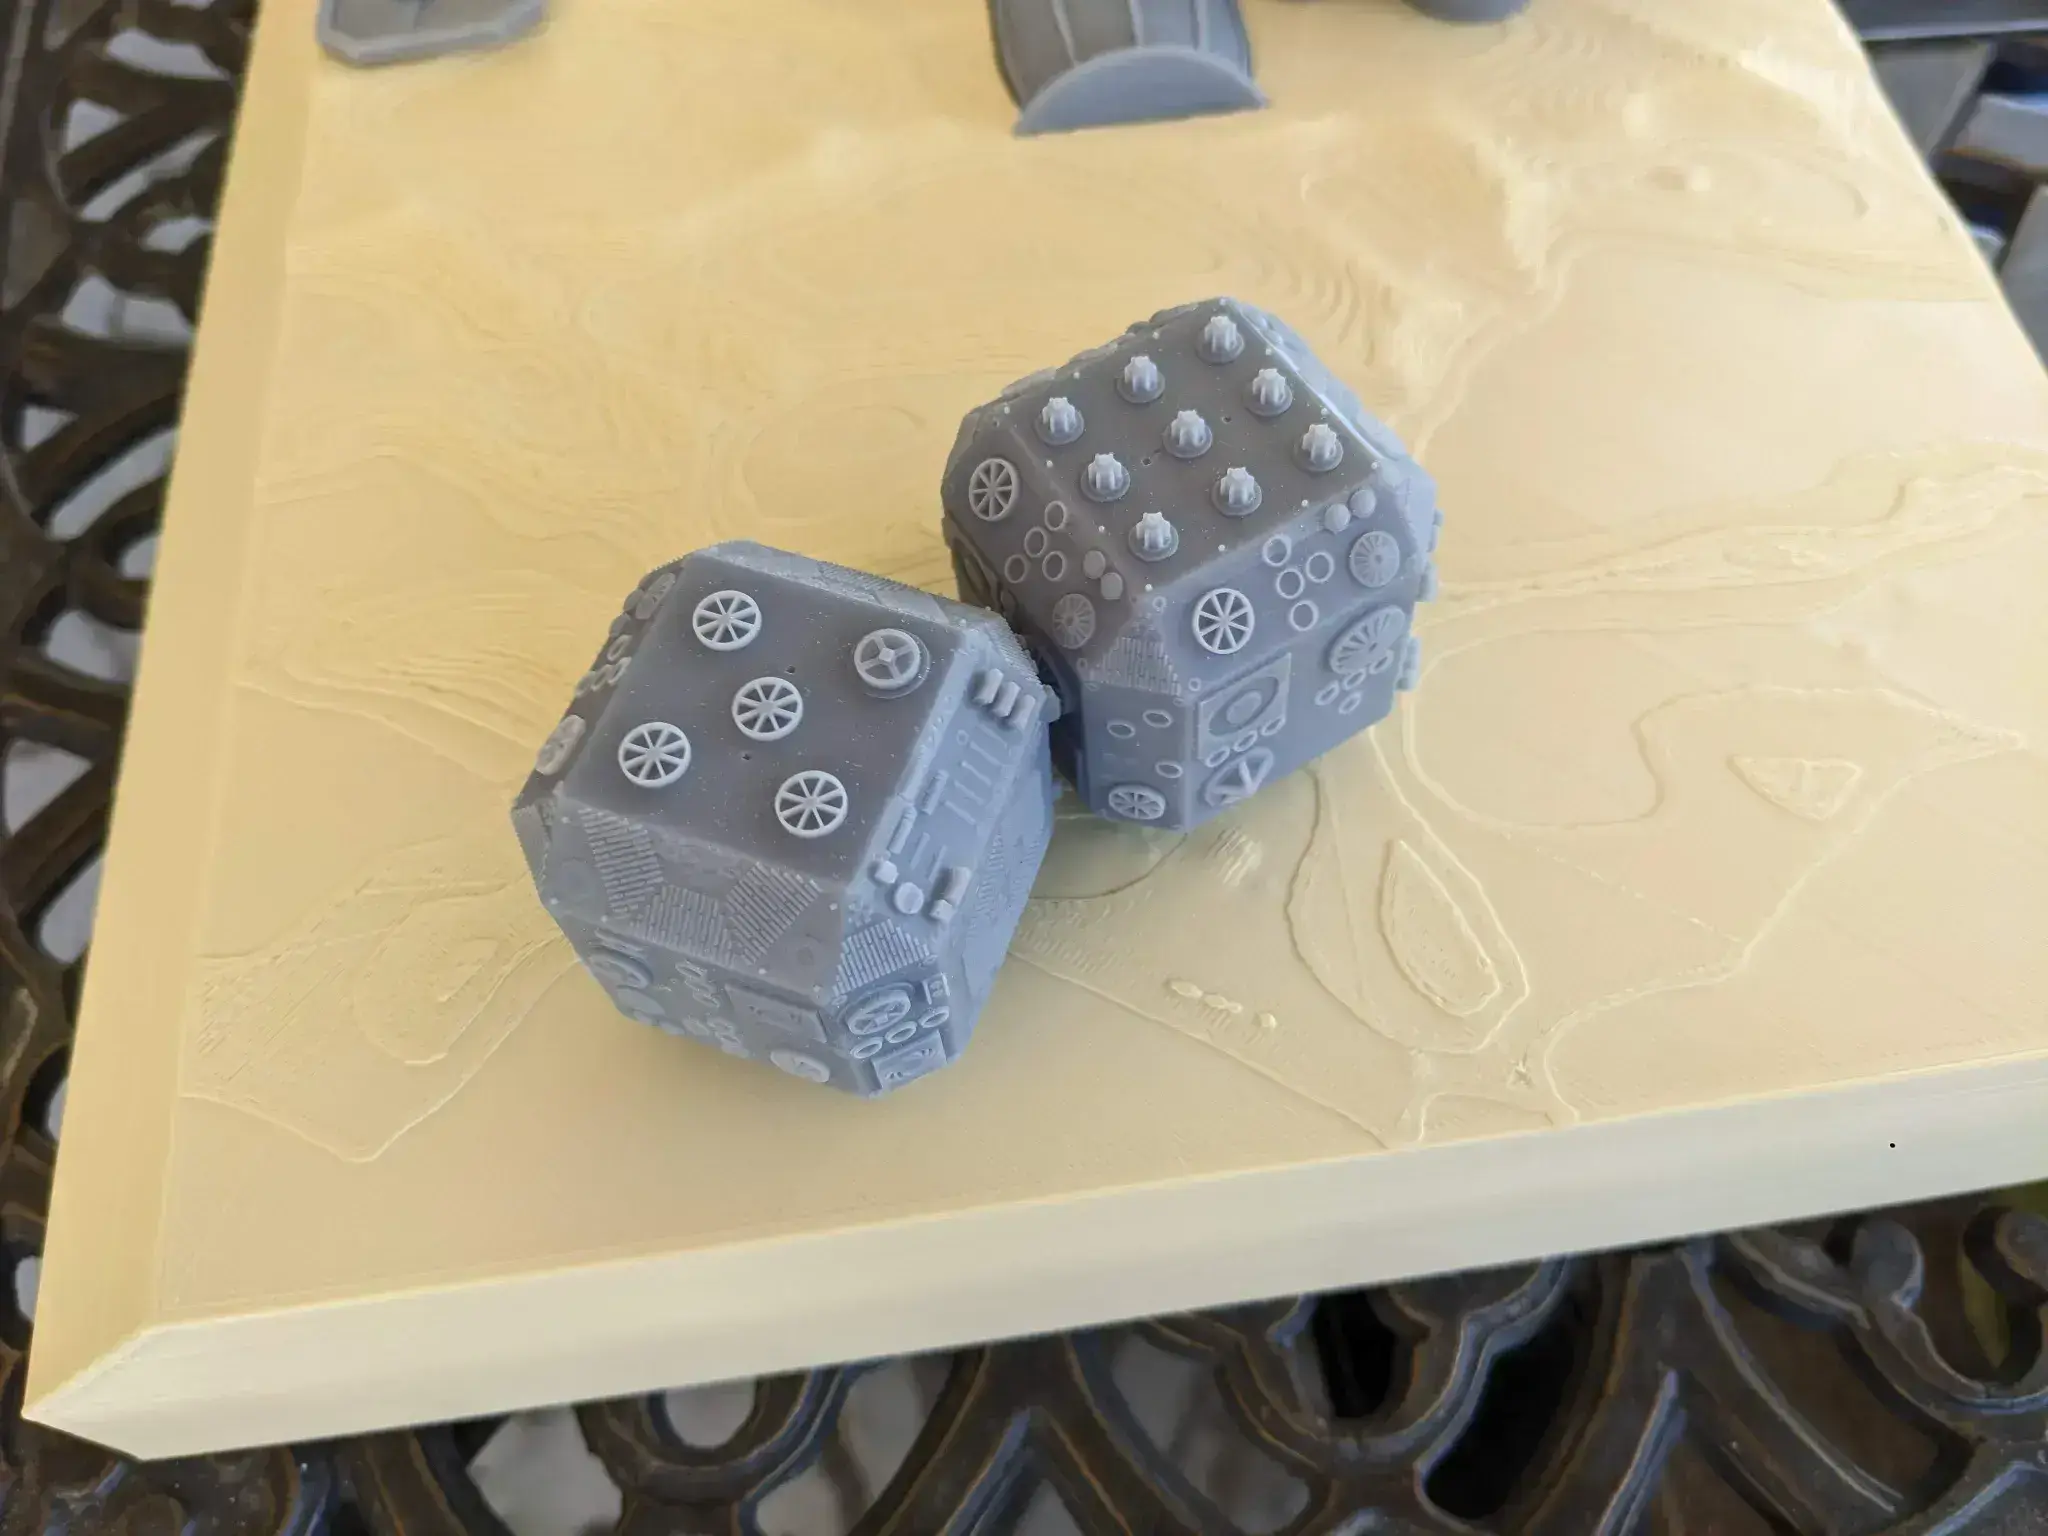
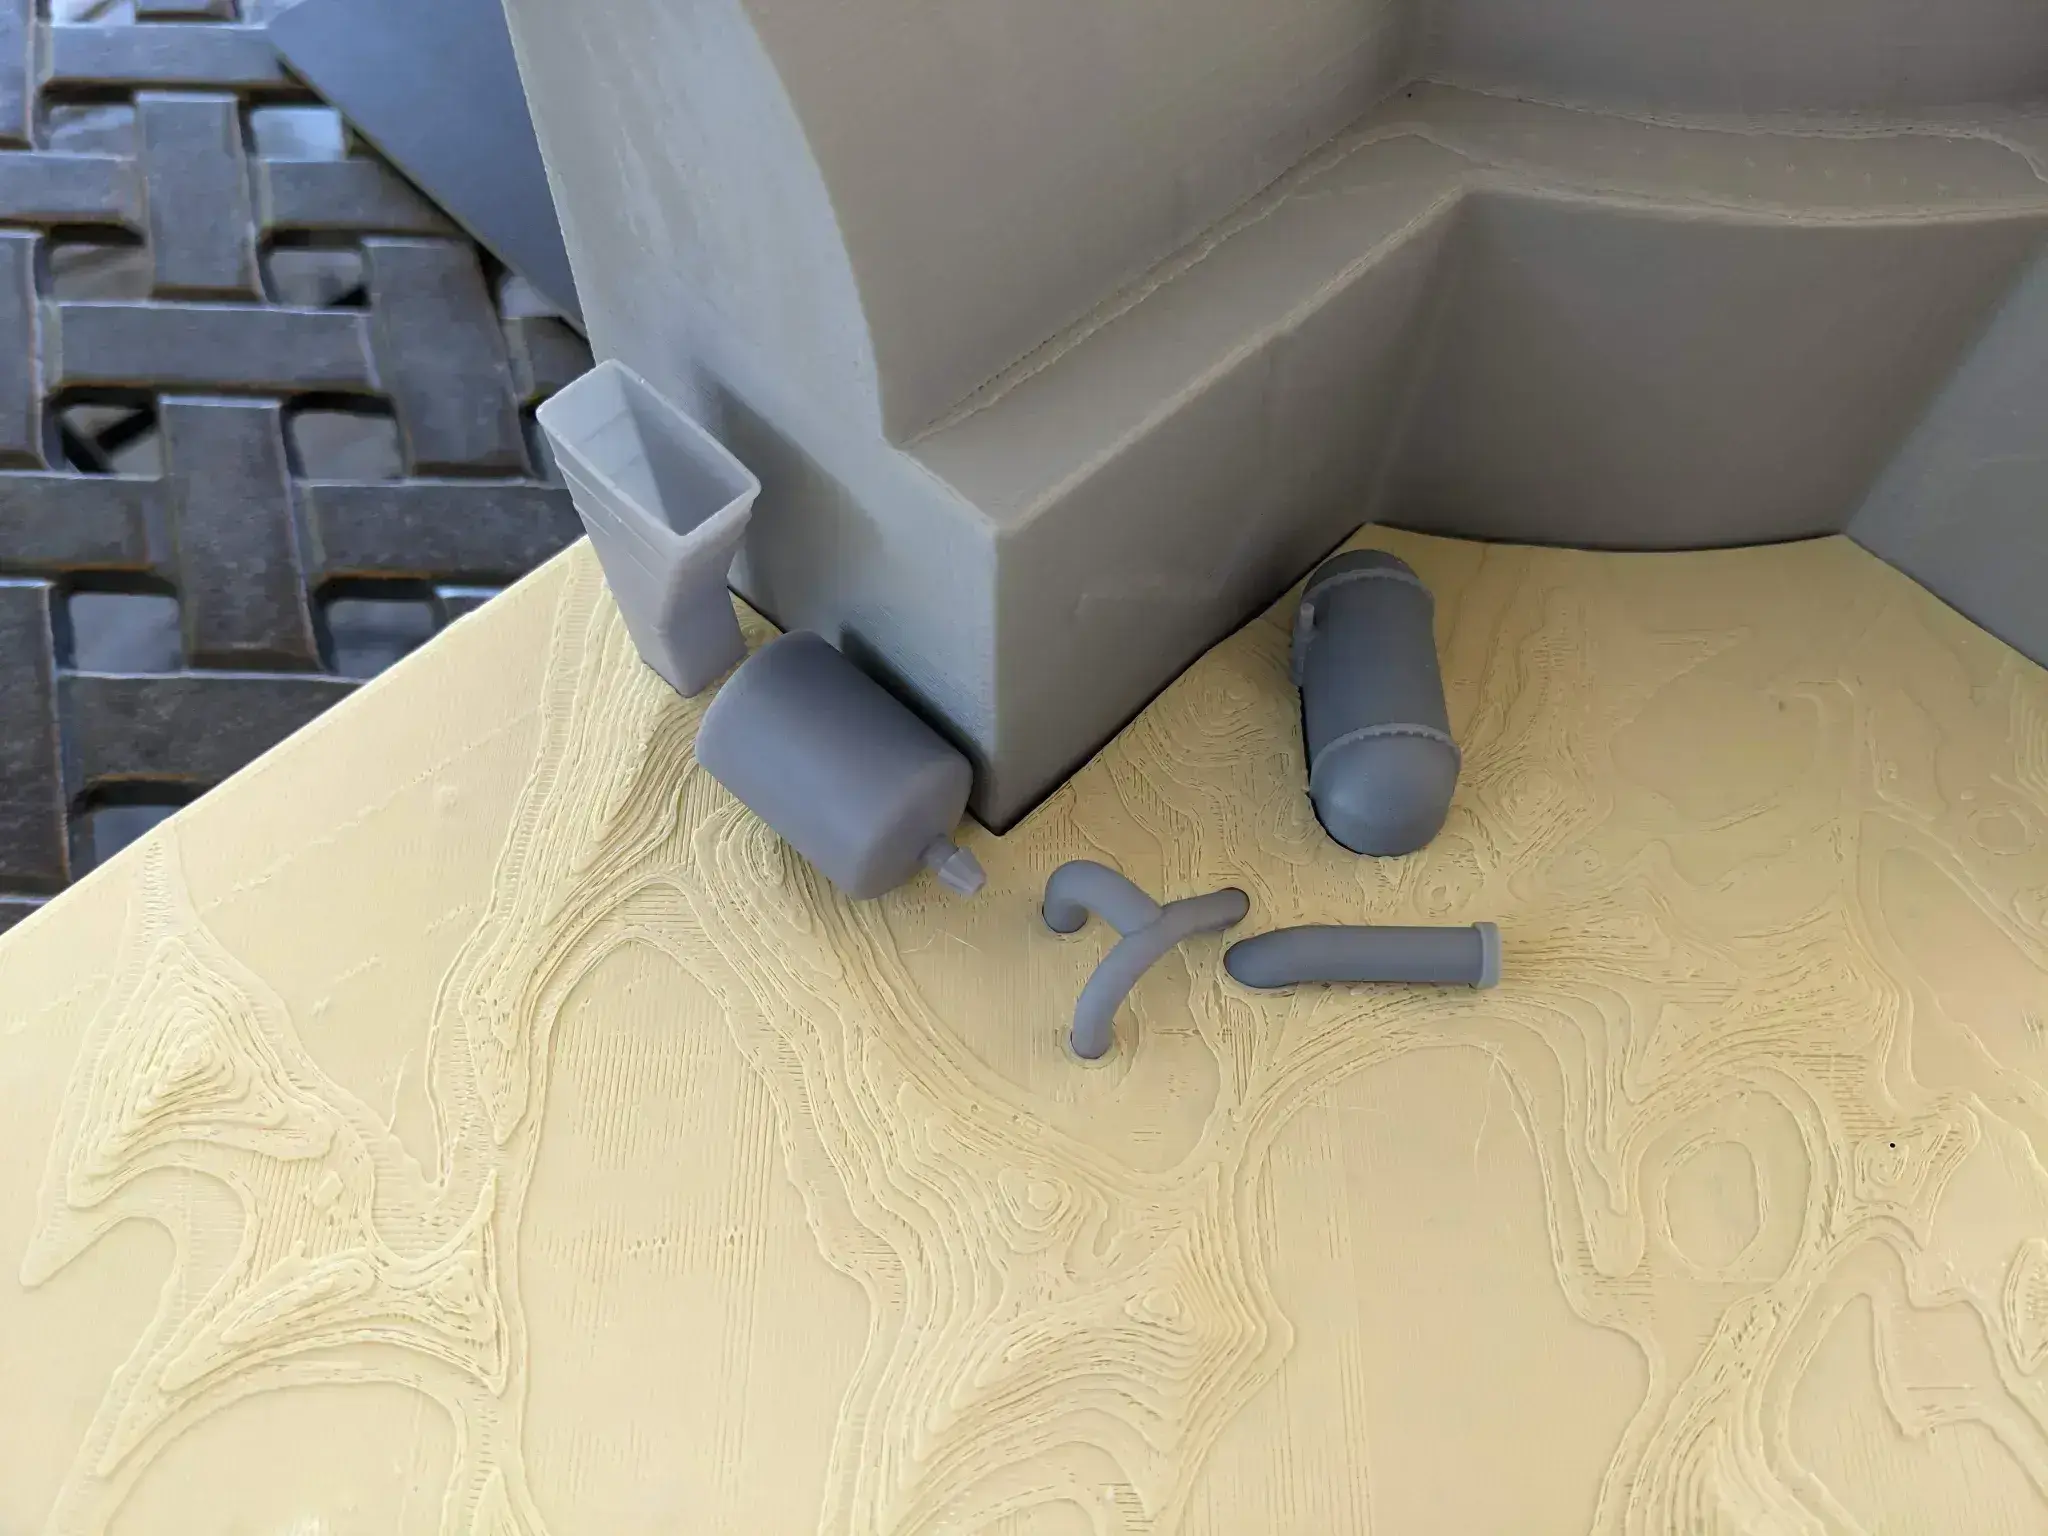
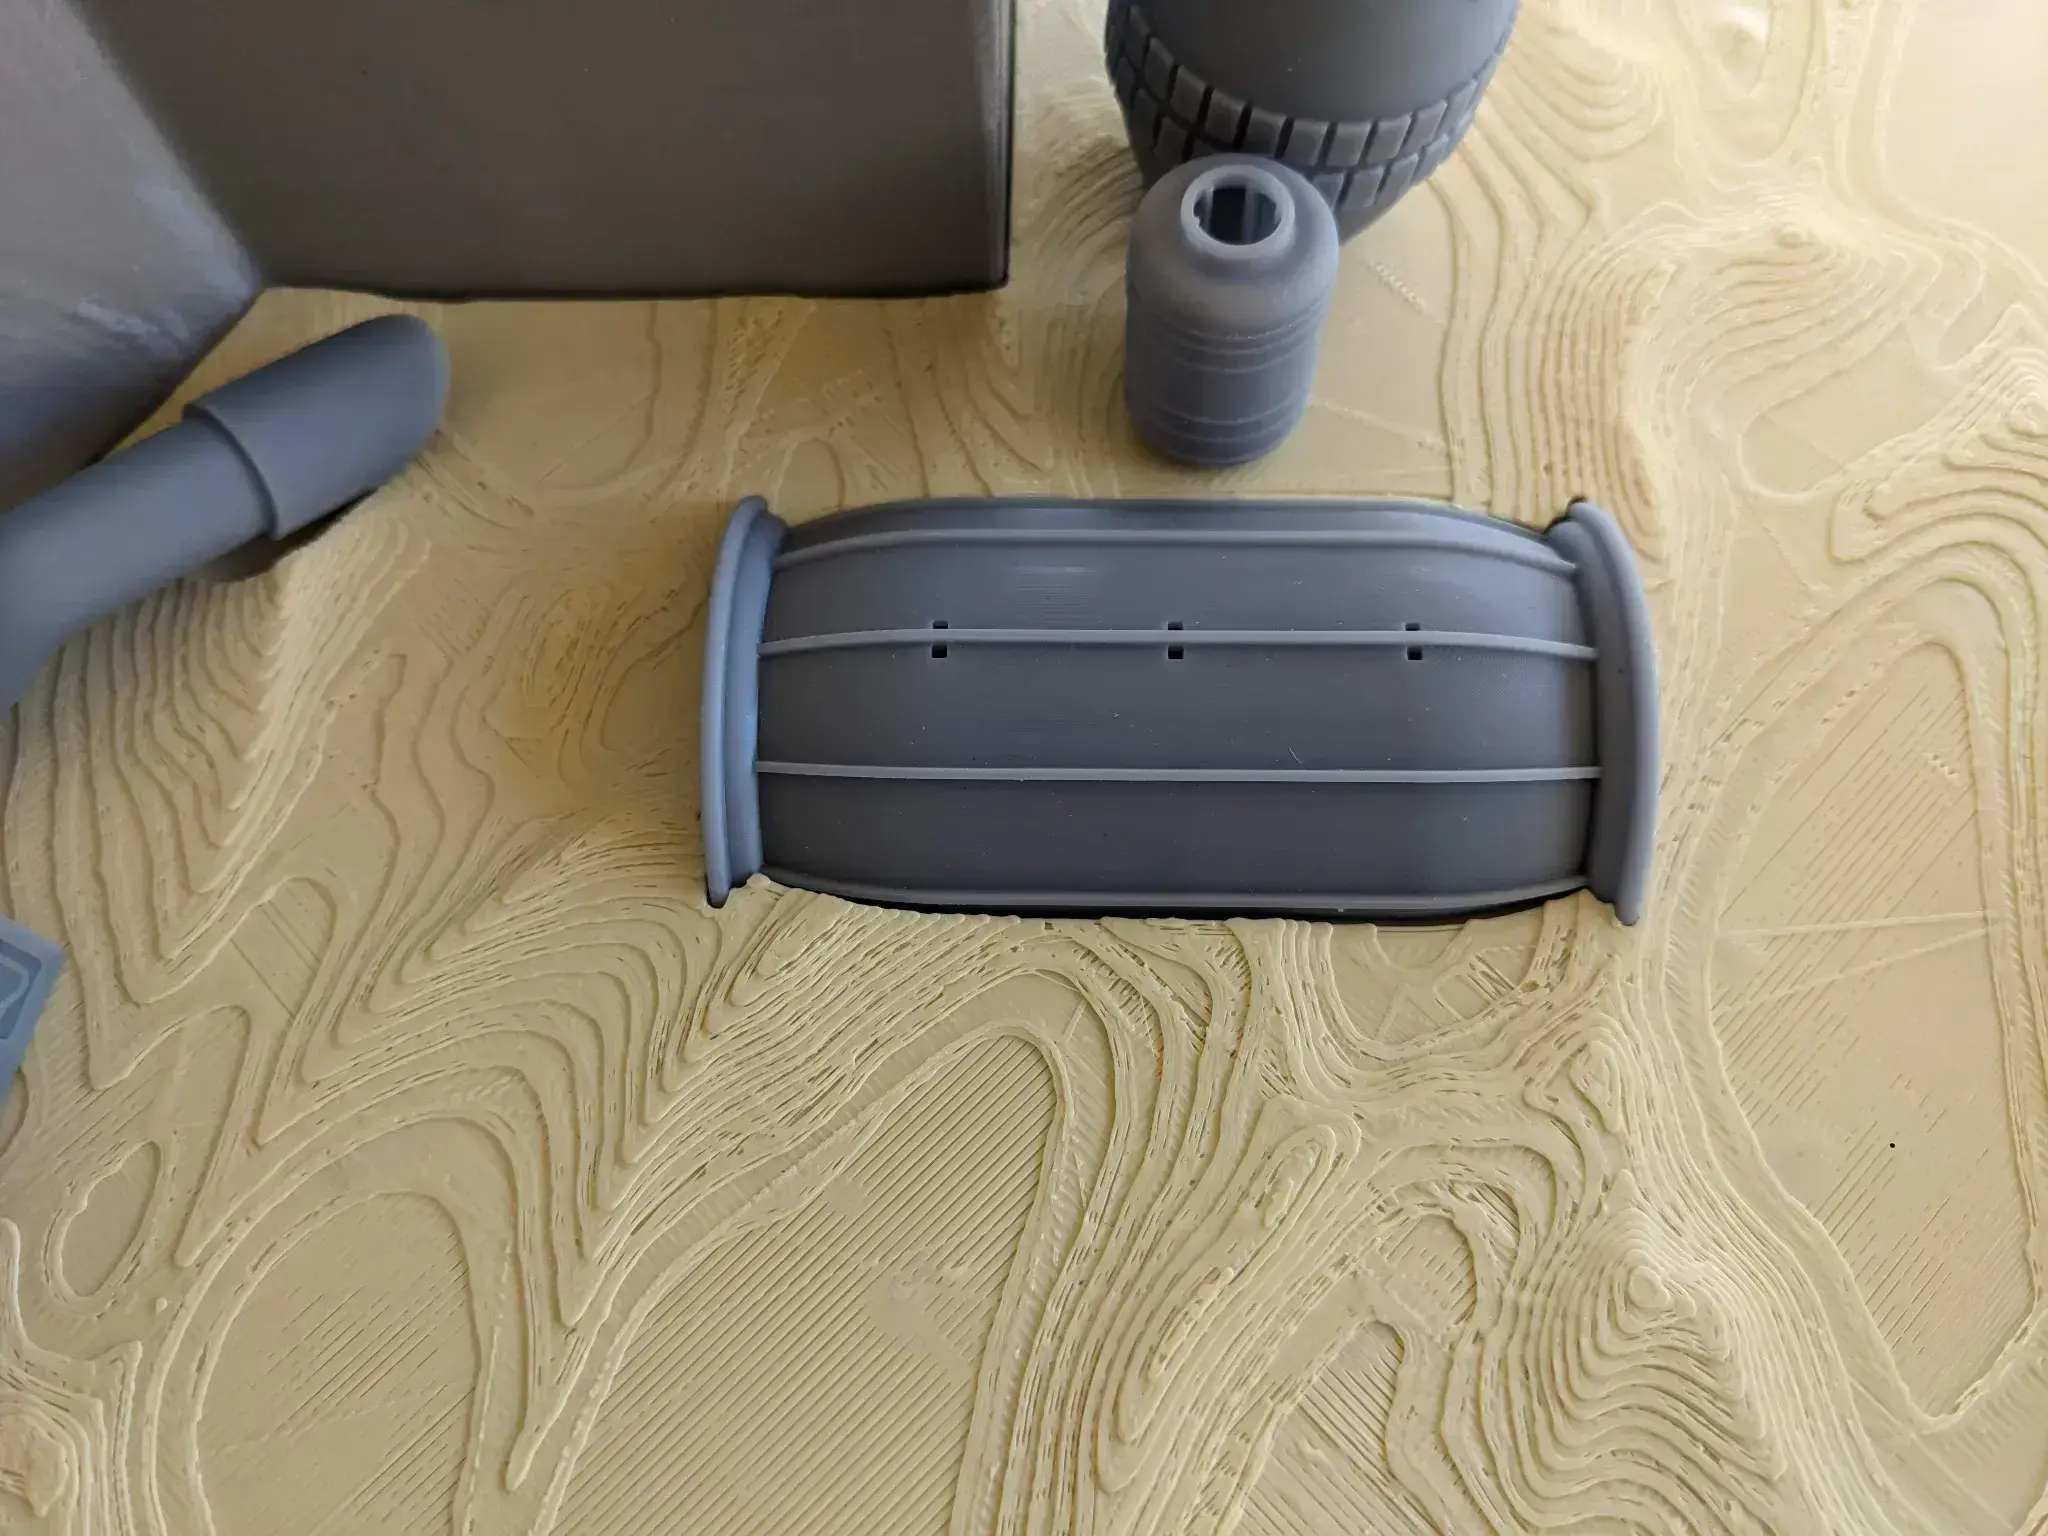
I sliced using Lychee Slicer. I primarily use Anycubic ABS-Like Pro 2 resin. The models are oriented the way I printed them. For resin parts, I generally start with auto generated medium supports, then I remove and add as I have learned by trial and error. Generally speaking, autogenerated supports should be a good starting point. Most of these models are designed to be supported with as few supports on the most visible parts as possible. For example, the greeblie boxes are hollow and are designed to be completely supported from the inside, and incorporate drain holes in the top. Likewise with the Jug, the Box Bottom, Standing Barrel Top and Bottom, and the 3 main parts of the Vaporator. Once the parts are printed, I remove the supports, wash in 91% isopropyl alcohol, then a few minutes final curing in the curing station and a light sanding.
Finishing
Once both sets of parts are done, I try to dry fit the parts and then sand them down so that they fit loosely. This allows room for the paint layers.
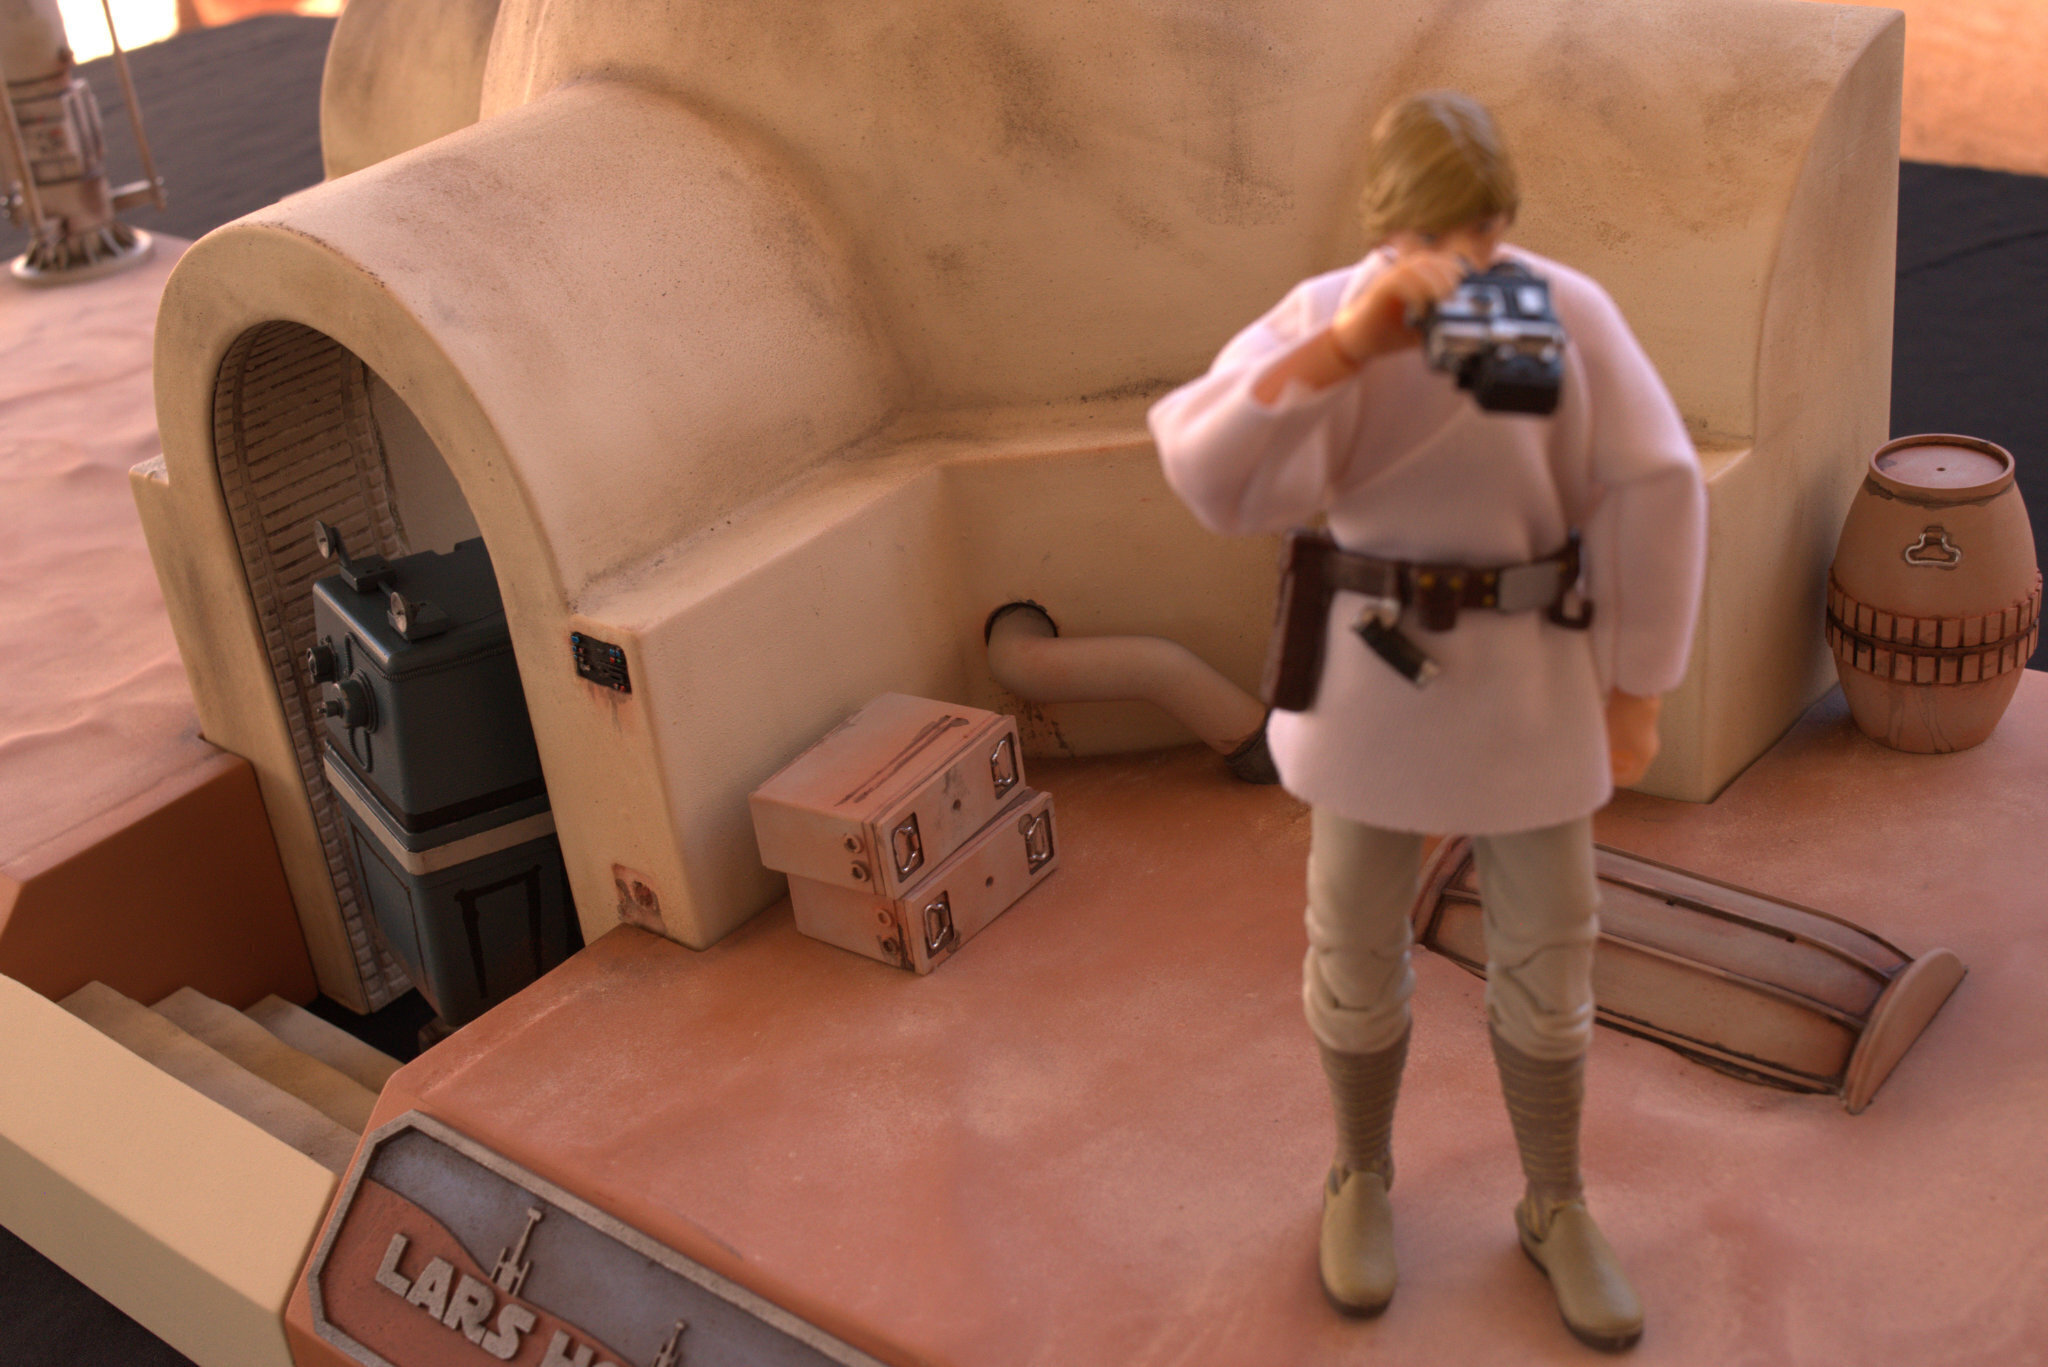
I prime the FDM parts with black rustoleum plastic primer. For the hut, I paint it a matt light cream color, also from Rustoleum. The sand plates, I painted terra cotta (Again, Rustoleum). Once the base colors are dry, I grab some 220 grit sandpaper and some pastel chalks. I use a combination of black, brown, tan, rust and mustard chalks. I grind them into powder on the sandpaper, and then use various paint brushes and my fingers to brush into the recesses and corners, and to shade large sections. Once I am happy, I seal the part with rattle-can flat clear, and then touch things up with some brushed blackwash drips and such. The sand plates took 2 passes each, because I used white and yellow chalk to go lighter on the tops of the dunes, and when I applied the clear, all the high lighting disappeared, so I applied it again, and the second time it stuck.
For the resin parts, I use Vallejo airbrush gray primer. Most of the parts were airbrushed flat grey or black, and than brush accented with chrome silver, black-wash, red/green/blue for the panel buttons, before finally getting weathered with pastels like the FDM parts. For the resin parts, I like to use a satin clear. It helps them pop a bit more.


:format(webp)/https://fbi.cults3d.com/uploaders/35452910/illustration-file/239e25d4-12fa-40ef-b742-e82712d46cd5/GNK_featured.webp)
:format(webp)/https://fbi.cults3d.com/uploaders/35452910/illustration-file/1f7dc73e-8723-42be-b005-6380f63664c7/DSC_0067.NEF.jpg)
:format(webp)/https://fbi.cults3d.com/uploaders/35452910/illustration-file/75d487a0-b92b-4f9b-a930-716eff38ba7c/PXL_20240521_030414062.webp)
:format(webp)/https://fbi.cults3d.com/uploaders/35452910/illustration-file/168edea1-3586-45e2-b358-95f49a9e2ed9/E-Web_ESB.webp)
:format(webp)/https://fbi.cults3d.com/uploaders/35452910/illustration-file/1f7dc73e-8723-42be-b005-6380f63664c7/DSC_0067.NEF.jpg)
:format(webp)/https://fbi.cults3d.com/uploaders/35452910/illustration-file/d9ff31c4-ebb1-4d6f-8a49-b88d054a4f7f/featured.webp)
:format(webp)/https://fbi.cults3d.com/uploaders/35452910/illustration-file/5143aac1-ab0e-439f-aaa0-ed669b881e8b/PXL_20240521_030058047.webp)
:format(webp)/https://fbi.cults3d.com/uploaders/35452910/illustration-file/75d487a0-b92b-4f9b-a930-716eff38ba7c/PXL_20240521_030414062.webp)
:format(webp)/https://fbi.cults3d.com/uploaders/35452910/illustration-file/239e25d4-12fa-40ef-b742-e82712d46cd5/GNK_featured.webp)
:format(webp)/https://fbi.cults3d.com/uploaders/35452910/illustration-file/0a8c01be-8be5-49f3-84ff-4f449fc2e361/Lightsabers.jpg)
:format(webp)/https://fbi.cults3d.com/uploaders/35452910/illustration-file/597a8400-5731-45f5-80db-29ef383cefa9/PXL_20250714_061935465.jpg)