3D model description
UPDATE: Hold off on printing this for the moment. I put this out when my print job was nearing its finish. The problem is that the supports don't give me enough room to add the nut. I'm working on a solution.
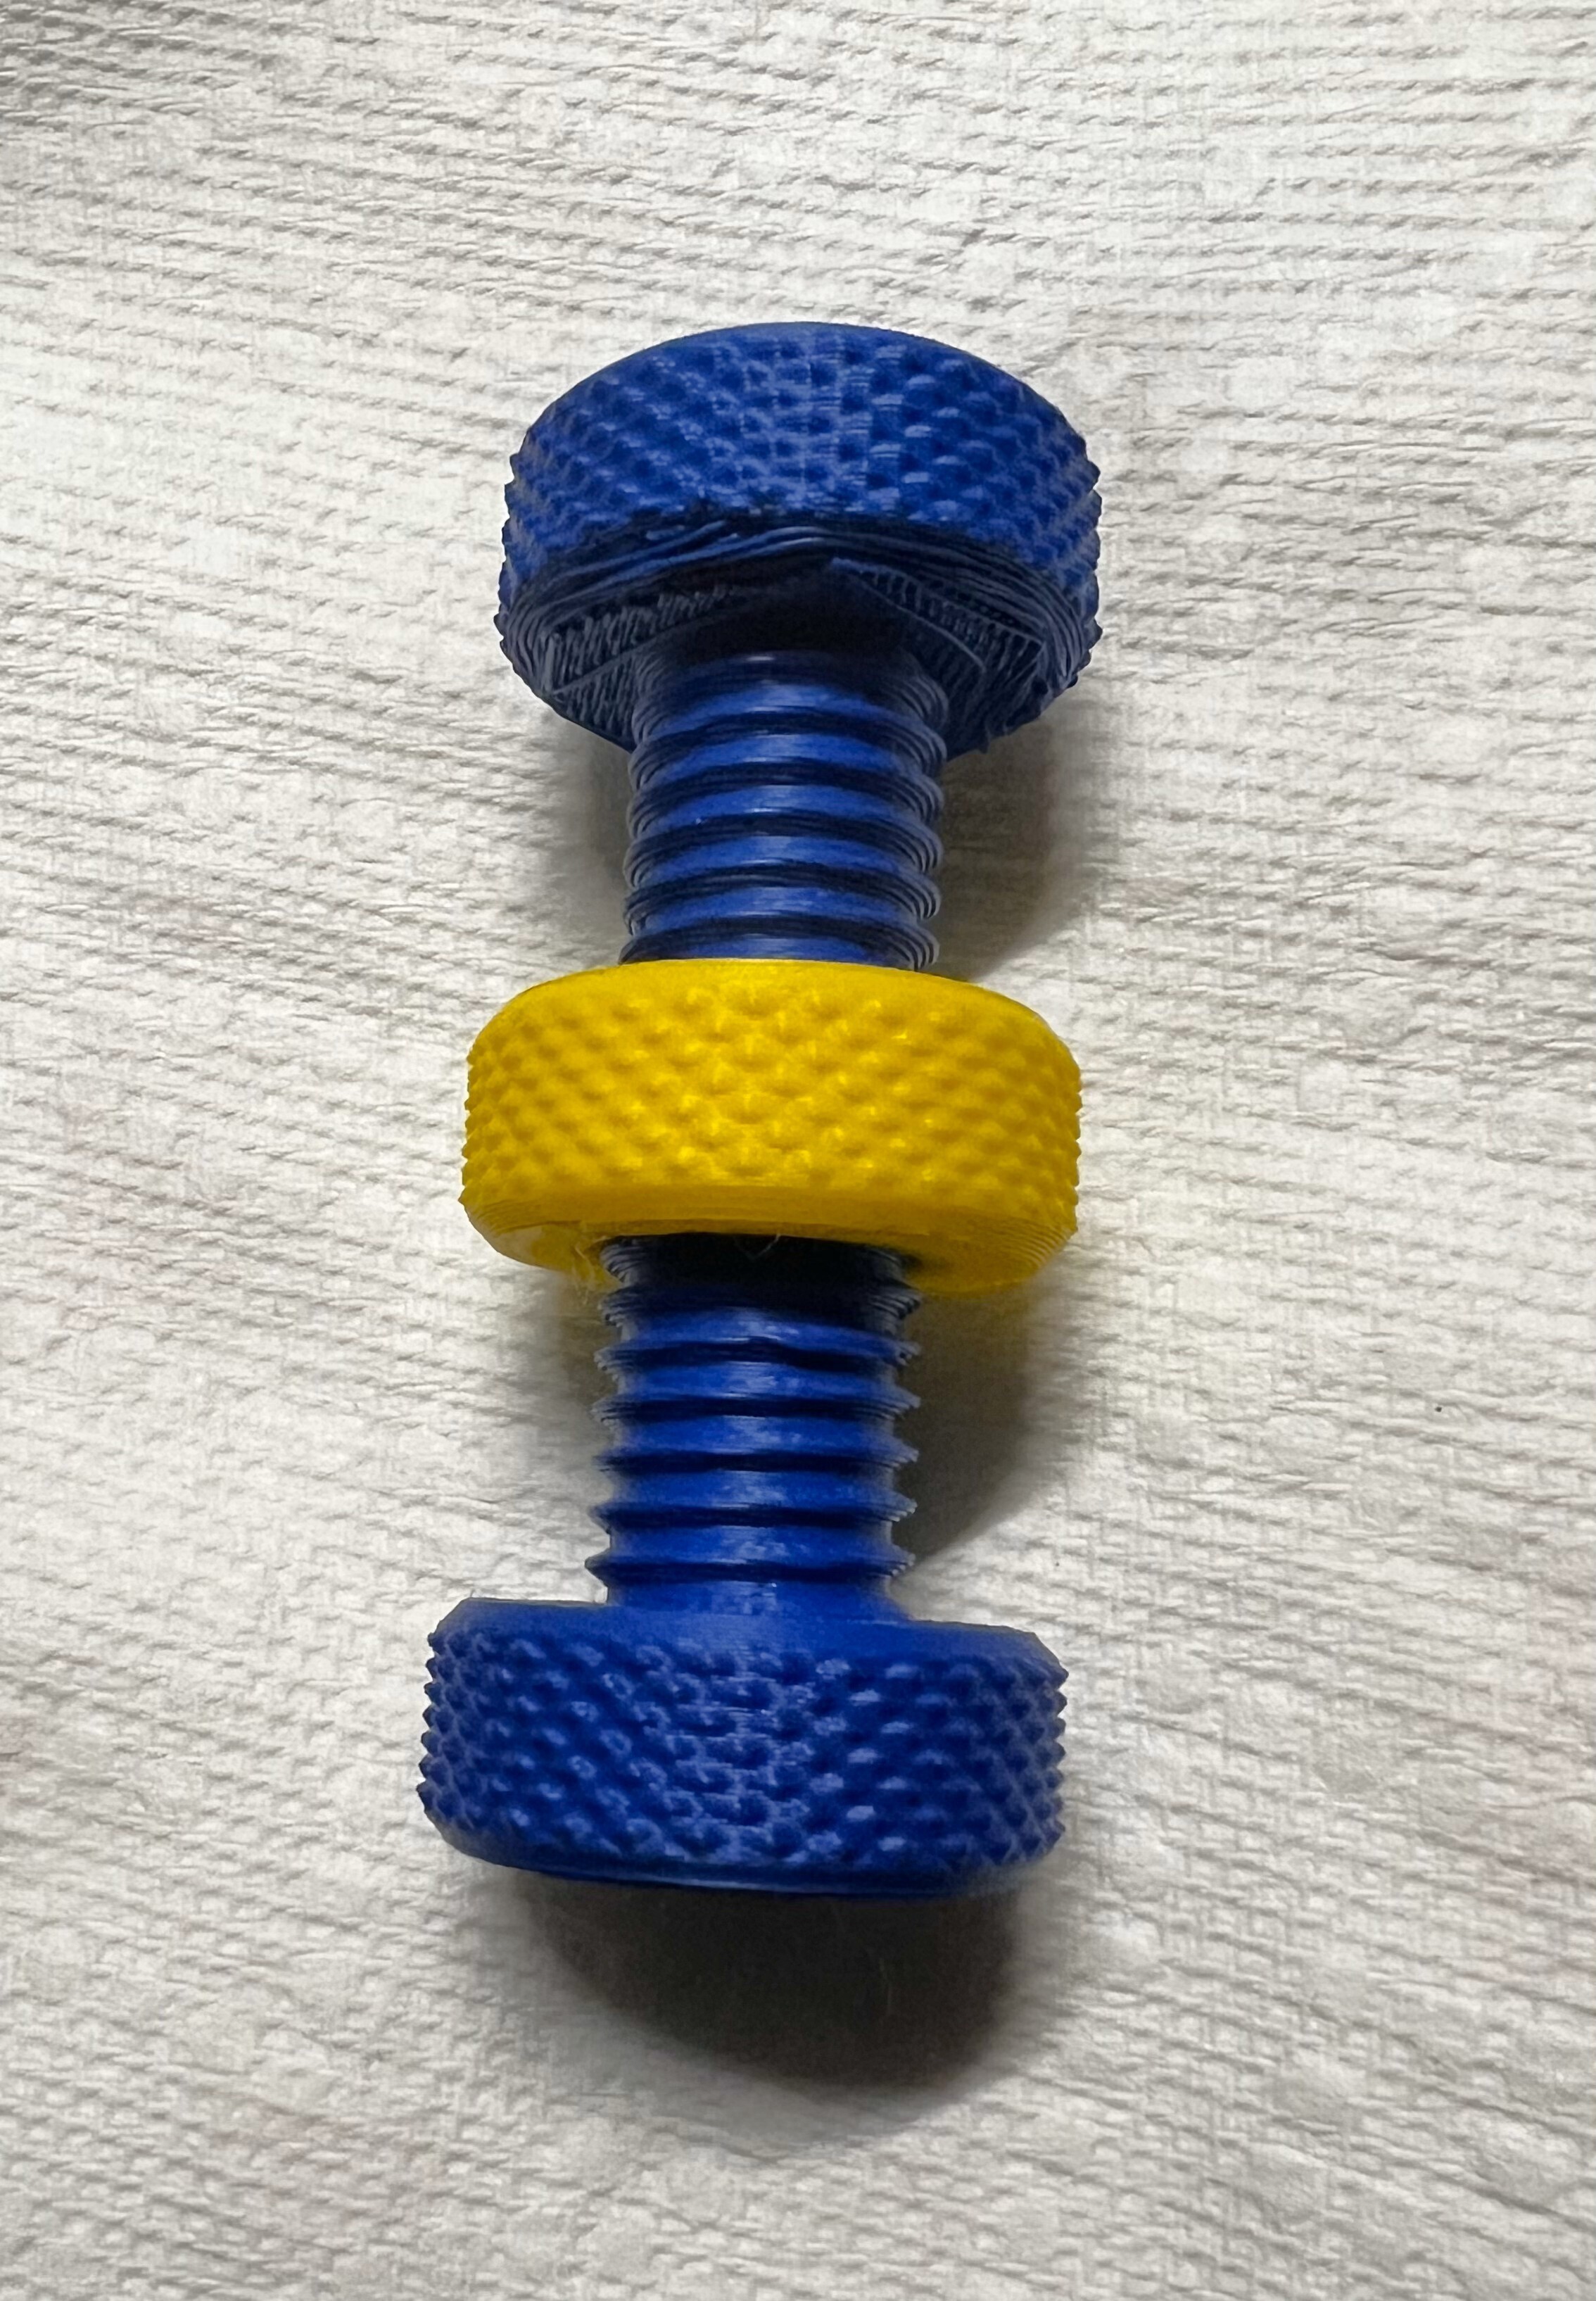
Of the various knurled bolt and screw fidgets out there, my favorite is the one that comes with FLSun printers. When I first got those printers, I printed the included model as a test print and found that I really liked it as a fidget, so much so that I wanted to make them as stocking stuffers for family.
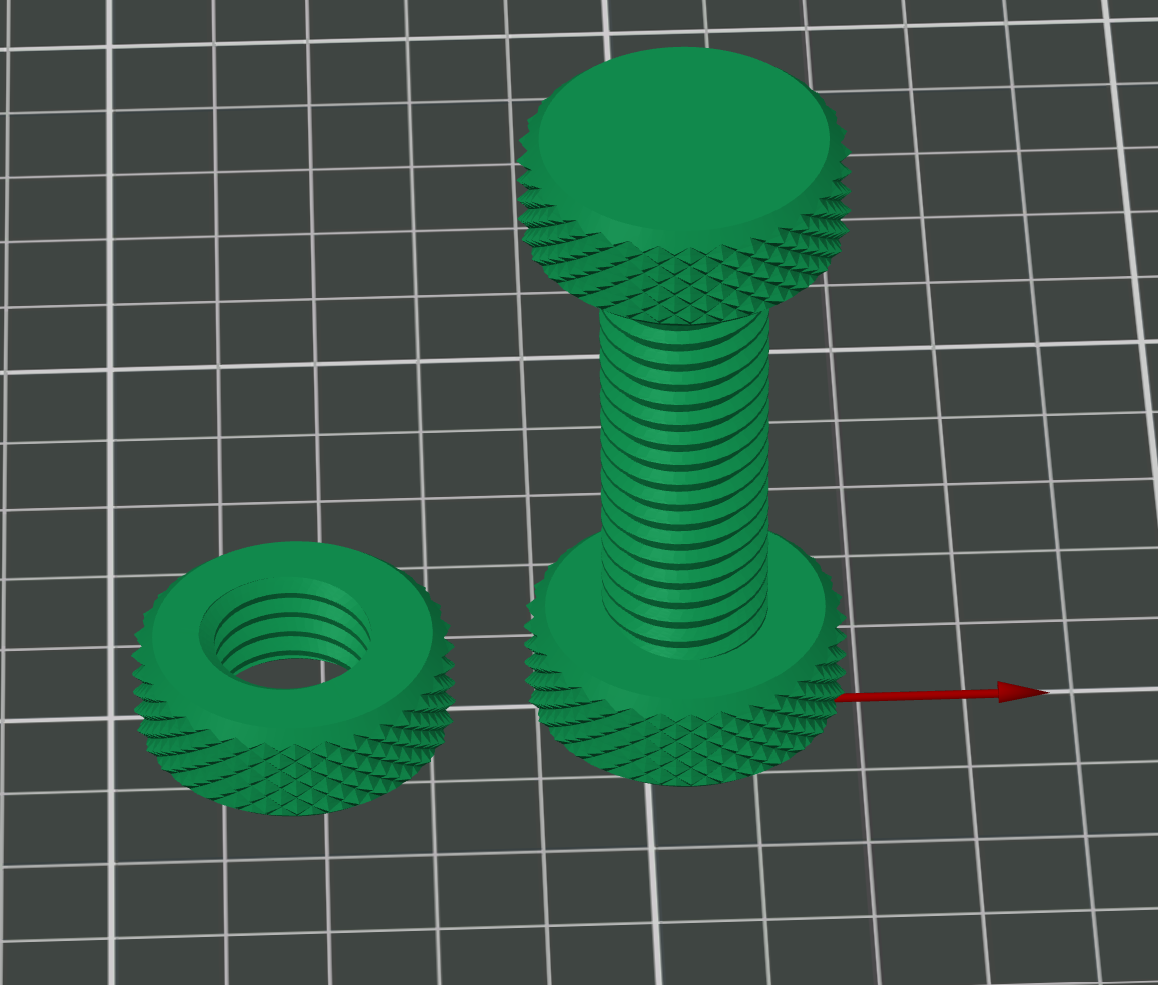
However, I didn't want the nut to be able to escape. So I took the model, copied the head and joined it at the other end. To print, I printed the nut first (the same number as the bolts I planned to print), then, when I sliced the bolt, I inserted a pause part-way up the bolt.
When the pause occured, I then spun the nuts onto the bolts. I then resumed the print. That creates the fidgets!
In Cura you can create a pause using post-processing scripts. In any Prusa/Orca-based slicer, you can go into the preview window, bring the slider to the layer you want to pause at, then right-click and select "Pause."
I'm not sure about other slicers but all of them allow you to insert a pause at the appropriate layer.
Enjoy!
3D printing settings
Print the nut first. Then when you slice the bolt, insert a pause part-way up the bolt. Start the print. When the printer gets to the pause, spin the nuts onto the bolts, then resume the print.
UPDATE #2: I distributed these as gifts, but they proved too fragile. I changed a couple of settings and now all appears well. I originally printed the bolt with two wall loops and 15% infill; I now print it with 5 wall loops and 30% infill. This makes them noticeably heftier (not a bad thing) and much stronger. I found the old ones could be snapped in one hand with two fingers and a thumb; the new one is far, far more sturdy. If you make these changes, it should serve you well.
UPDATE: This is printable, but at least on my printer (Flsun T1 Pro) it takes some setting changes. I didn't want to create a separate cap to glue on, and I didn't want to create a taper on the upper cap to avoid supports - it's less satisfying to use that way. I may update these settings later, because not all of my supports survive, but enough do to make a decent print. The settings noted here work with Orca/Prusa/Bambu/FlSlicer, but similar settings are available on all major slicers. Here are my support settings that have given me a working print:
On the printer profile, I have Z-hop enabled, with it happening whenever the travel goes over .1 mm (pretty much all the time). Here are the rest of the settings to make it work (such as it is; I'll try to improve it [suggestions welcomed]):
SUPPORT BLOCKER: a cylinder over the lower half of the bolt. Honestly, I'm not sure it does any good, since I don't think it blocks supports from passing THROUGH the area. I'm leaving it for now, though I'll probably kill it later.
SUPPORT TAB:
*** SUPPORT SECTION ***
Enable Support: checked
Type: Tree (auto)
Threshold angle: 10 (keeps the supports off the threads)
First layer expansion: 6 (keeps the supports from being easily knocked off)
On build plate only: checked
*** ADVANCED SECTION ***
Support/object xy distance: 10 mm
*** TREE SUPPORT SECTION ***
Tree Support Branch Angle: 30
Preferred Branch Angle: 10
Branch Diameter with double walls: 0.02 (pretty much double walls everywhere - stronger)
OTHERS TAB:
*** BRIM SECTION ***
Brim type: Outer Brim Only
Brim width: 9 mm
Enjoy!
:format(webp)/https://fbi.cults3d.com/uploaders/22285310/illustration-file/439e880d-8c75-4077-9162-cc057ea25b18/Two-Headed-Fidget.jpg)
/https://preview3d-images.cults3d.com/o3ahsbvcrkyhmu88fx2r5mv31rh0)
/https://preview3d-images.cults3d.com/1b3a6kby0ocuzckymvy6aamnkt4z)


:format(webp)/https://fbi.cults3d.com/uploaders/22285310/illustration-file/5cee5669-f895-48f4-950a-cff29cbac0d3/Pencil-Clip-2.jpg)
:format(webp)/https://fbi.cults3d.com/uploaders/22285310/illustration-file/ec6795ab-6ce7-4198-a4e1-54e7c4a67cbb/RJ9-11-47-Clips.png)
:format(webp)/https://fbi.cults3d.com/uploaders/22285310/illustration-file/eb7c4093-85cf-42bf-8b9d-4204ef0150f1/Letterbox-Set-Photo.jpg)
:format(webp)/https://fbi.cults3d.com/uploaders/22285310/illustration-file/36648575-e7d9-43f7-a467-cb1ca19560a8/Bathroom-Sign.jpg)
:format(webp)/https://fbi.cults3d.com/uploaders/22285310/illustration-file/59983a9c-fc49-46b1-954f-36b3e0722303/Bathroom-Sign.jpg)
:format(webp)/https://fbi.cults3d.com/uploaders/22285310/illustration-file/beac727d-df70-4225-bb86-3d19ba2141a9/Double-Bolt-3.jpg)
:format(webp)/https://fbi.cults3d.com/uploaders/22285310/illustration-file/ea4562fb-2067-4509-975a-116b25e8c117/Infernape-Clock.jpg)
:format(webp)/https://fbi.cults3d.com/uploaders/22285310/illustration-file/2e4eff40-9176-4e49-a57b-7e877f934ec1/Nakatomi-on-Printer.jpg)