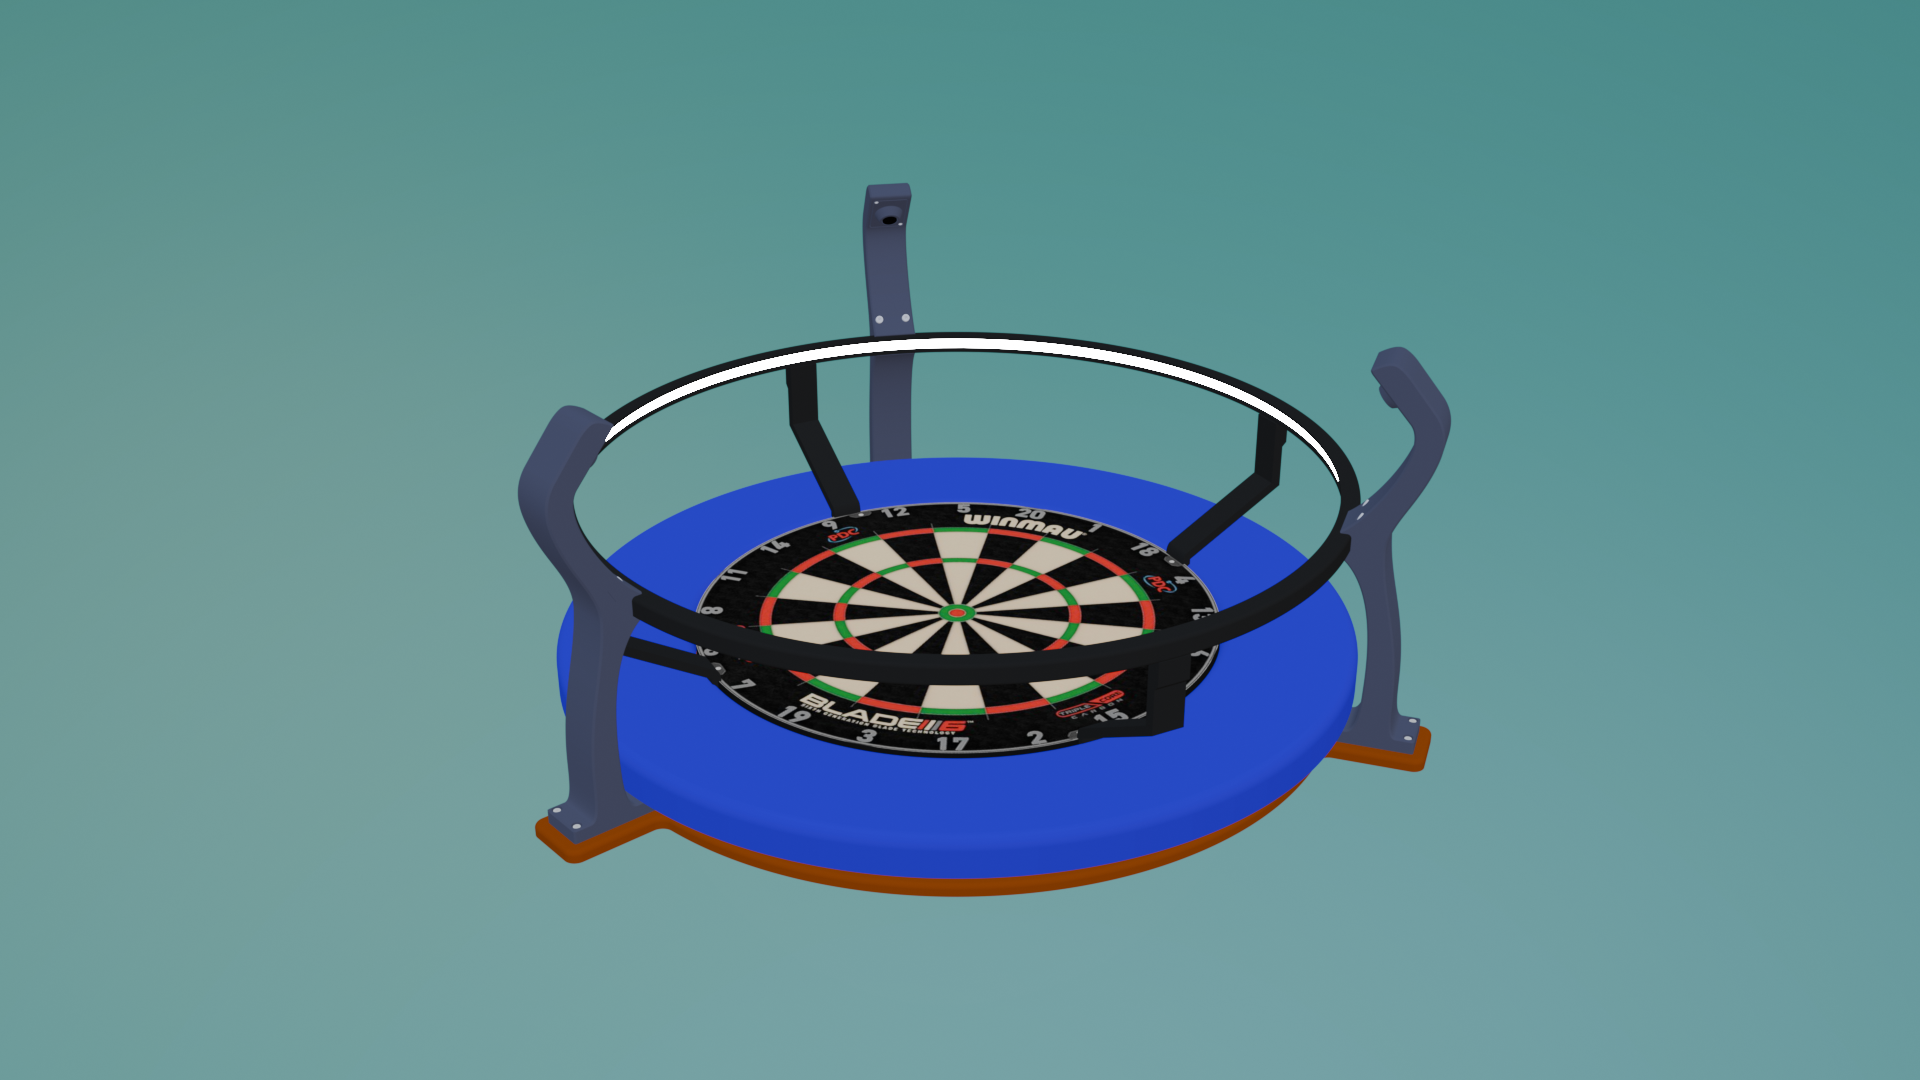
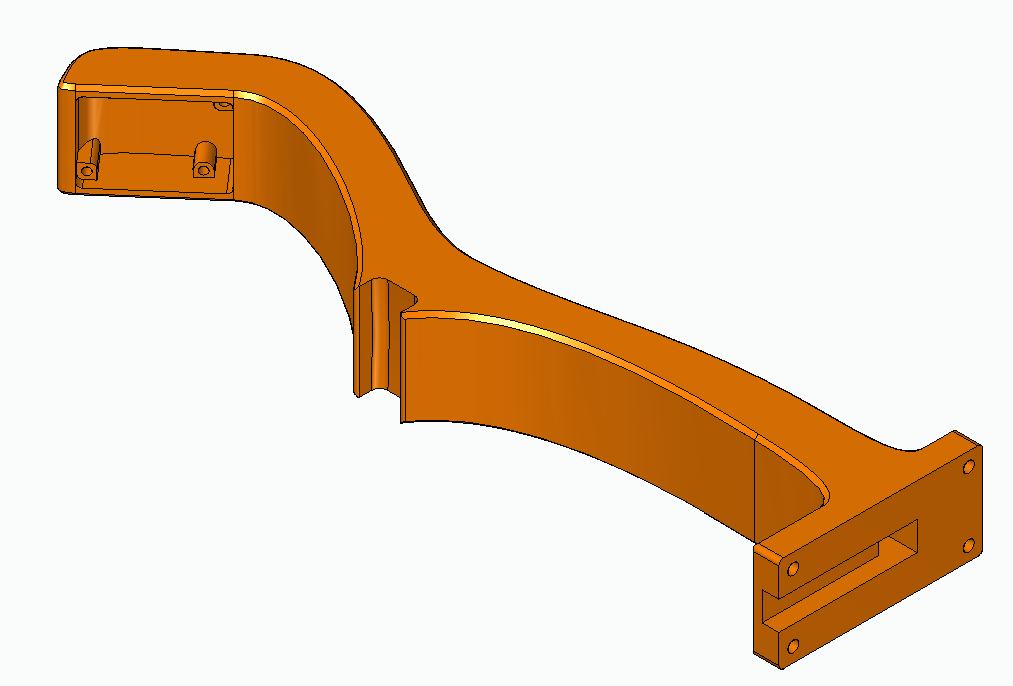
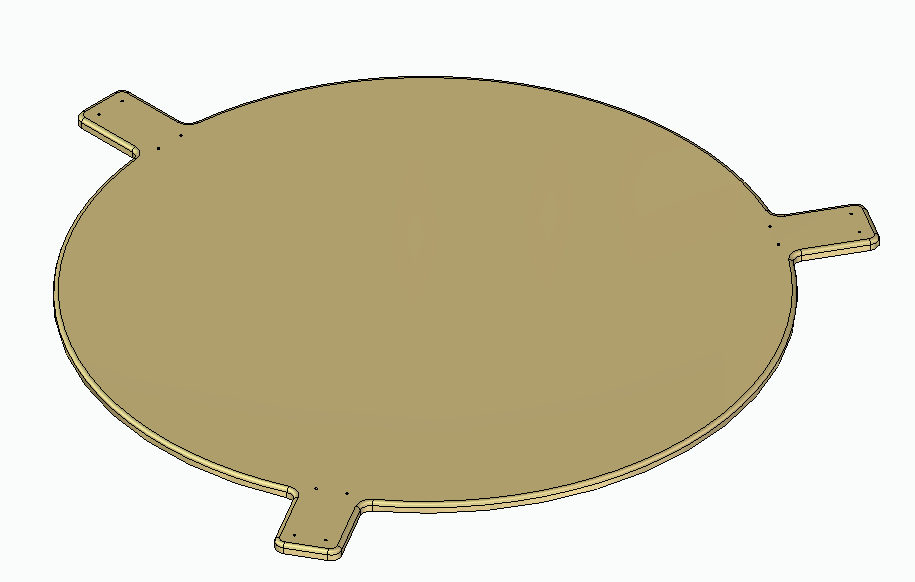
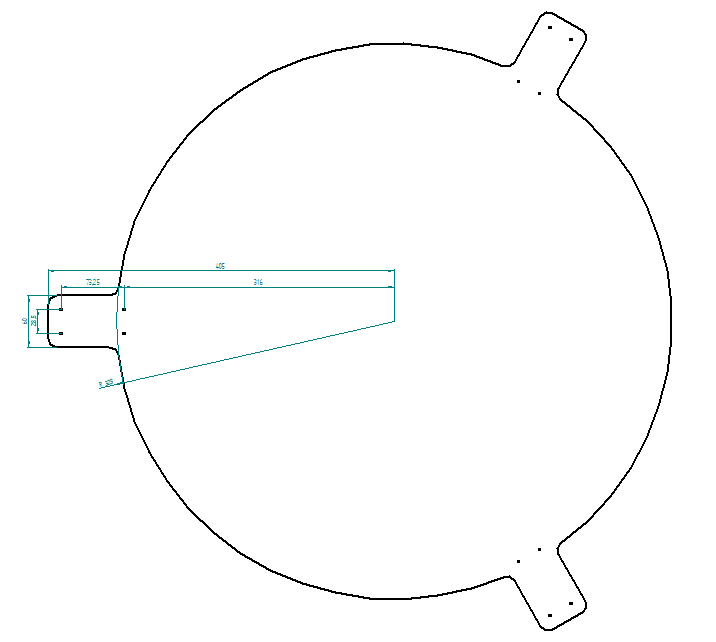
This is a custom-designed AutoDarts camera mount system specifically for the Target Vision Corona dartboard light ring.
Unlike other designs that only clip onto the ring (which tends to wobble), this model mounts securely to the wall, adds structural support to the light ring, and provides a rock-solid base for your cameras.
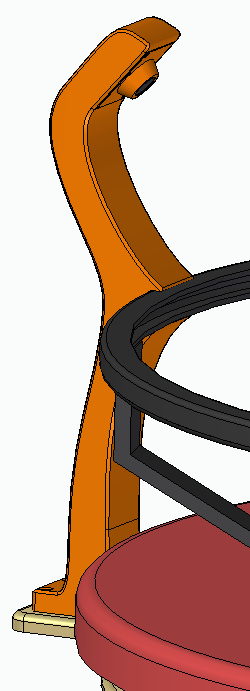
While it does touch the ring, this design uses the wall connection to stabilize and support the entire setup, making it more durable and less prone to misalignment caused by movement or impact.
Key Advantages:
-Tailored for the Target Vision Corona light ring
-Wall-mounted = zero camera shake and better alignment
-Supports the light ring instead of relying on it
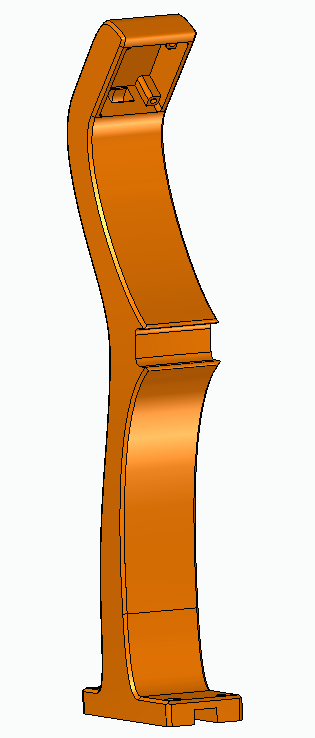
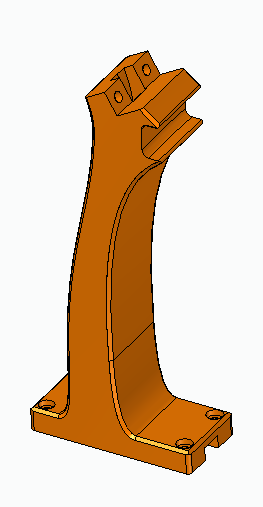
-Modular: 3 separate camera mounts with sleek protective covers
-Available for either 32×32mm or 38×38mm USB camera modules
-Optional 2-part version for small printers (fits 20×20cm beds)
-Clean and discreet cable routing
Requirements:
32mm-1part & 38mm-1part:
- 3x Mount.stl
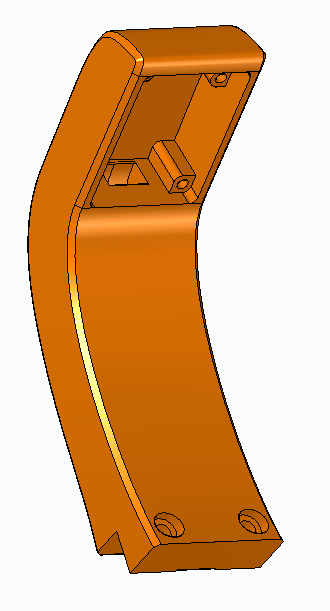
- 3x Camera_cover.stl
- 3x GXIVISION OV9732 1MP 30FPS 2M cable 100 degree USB camera module
- 12 Screws to attach the mounts to the plate
- 6x M2x4mm Head Cap Bolt
- 6x M2x6mm Head Cap Bolt
- 12x M2 Insert Nut
32mm-2part & 38mm-2part:
- 3x Mount part1.stl
- 3x Mount part2.stl
- 3x Camera_cover.stl
- 3x GXIVISION OV9732 1MP 30FPS 2M cable 100 degree USB camera module
- 12 Screws to attach the mounts to the plate
- 6x M2x4mm Head Cap Bolt
- 6x M2x6mm Head Cap Bolt
- 6x M4x14mm Head Cap Bolt
- 12x M2 Insert Nut
- 6x M4 Insert Nut
Assembly Instructions:
To assemble the mount, first select the correct version for your camera size—either 32mm or 38mm—and choose between the one-piece or two-piece design depending on your printer’s build volume. Print all required parts, including the three mounts and camera covers. If you’re using the two-piece version, ensure you have both part1 and part2 for each mount.
Use a soldering iron or heat tool to insert the M2 and (for two-piece versions) M4 insert nuts into the appropriate holes. Once the nuts are in place, attach each camera module to the mount using the included M2x4mm and M2x6mm bolts. Secure the protective covers over the camera modules for a clean and finished look.
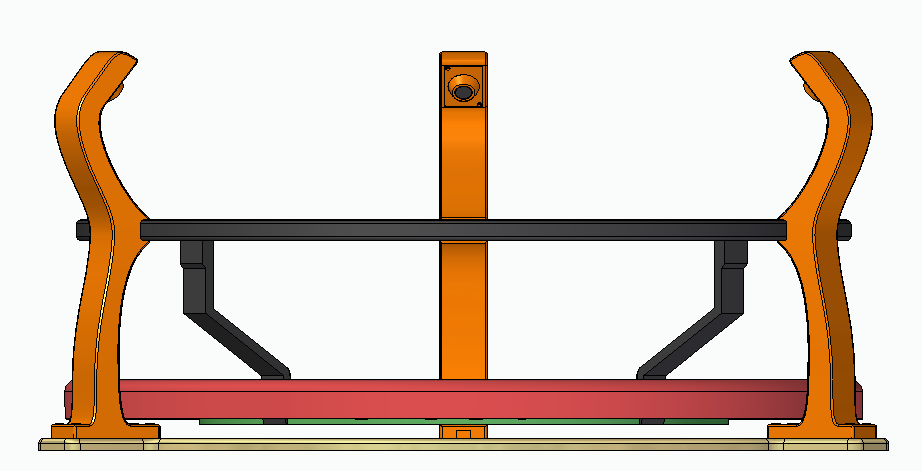
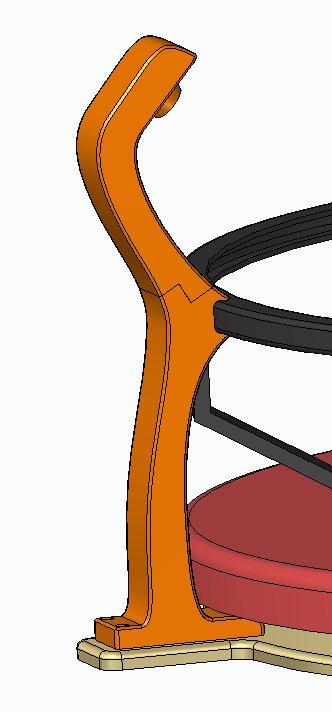
Next, position and screw each mount firmly to the wall or to a solid structure behind your dartboard, making sure the whole assembly gently touches the Corona light ring. This gentle contact provides support without relying on the ring for stability, effectively preventing wobble.
Finally, plug in the cameras and configure them within the AutoDarts software. When mounted correctly, the three-camera setup forms a stable triangular layout around the board, ensuring proper calibration and consistent accuracy during gameplay.
Notes:
Though the mount touches the light ring, its strength comes from being wall-mounted, which eliminates instability.
Make sure the three mounts form a stable triangle around the board for proper calibration.
This setup has been tested for hours of play with no movement or need for recalibration.


:format(webp)/https://fbi.cults3d.com/uploaders/13976756/illustration-file/66138613-da7e-4a0b-8d51-128a7b240c64/4.png)
:format(webp)/https://fbi.cults3d.com/uploaders/13976756/illustration-file/65078274-d0c8-4116-8be0-395847232909/4.jpeg)