3D model description
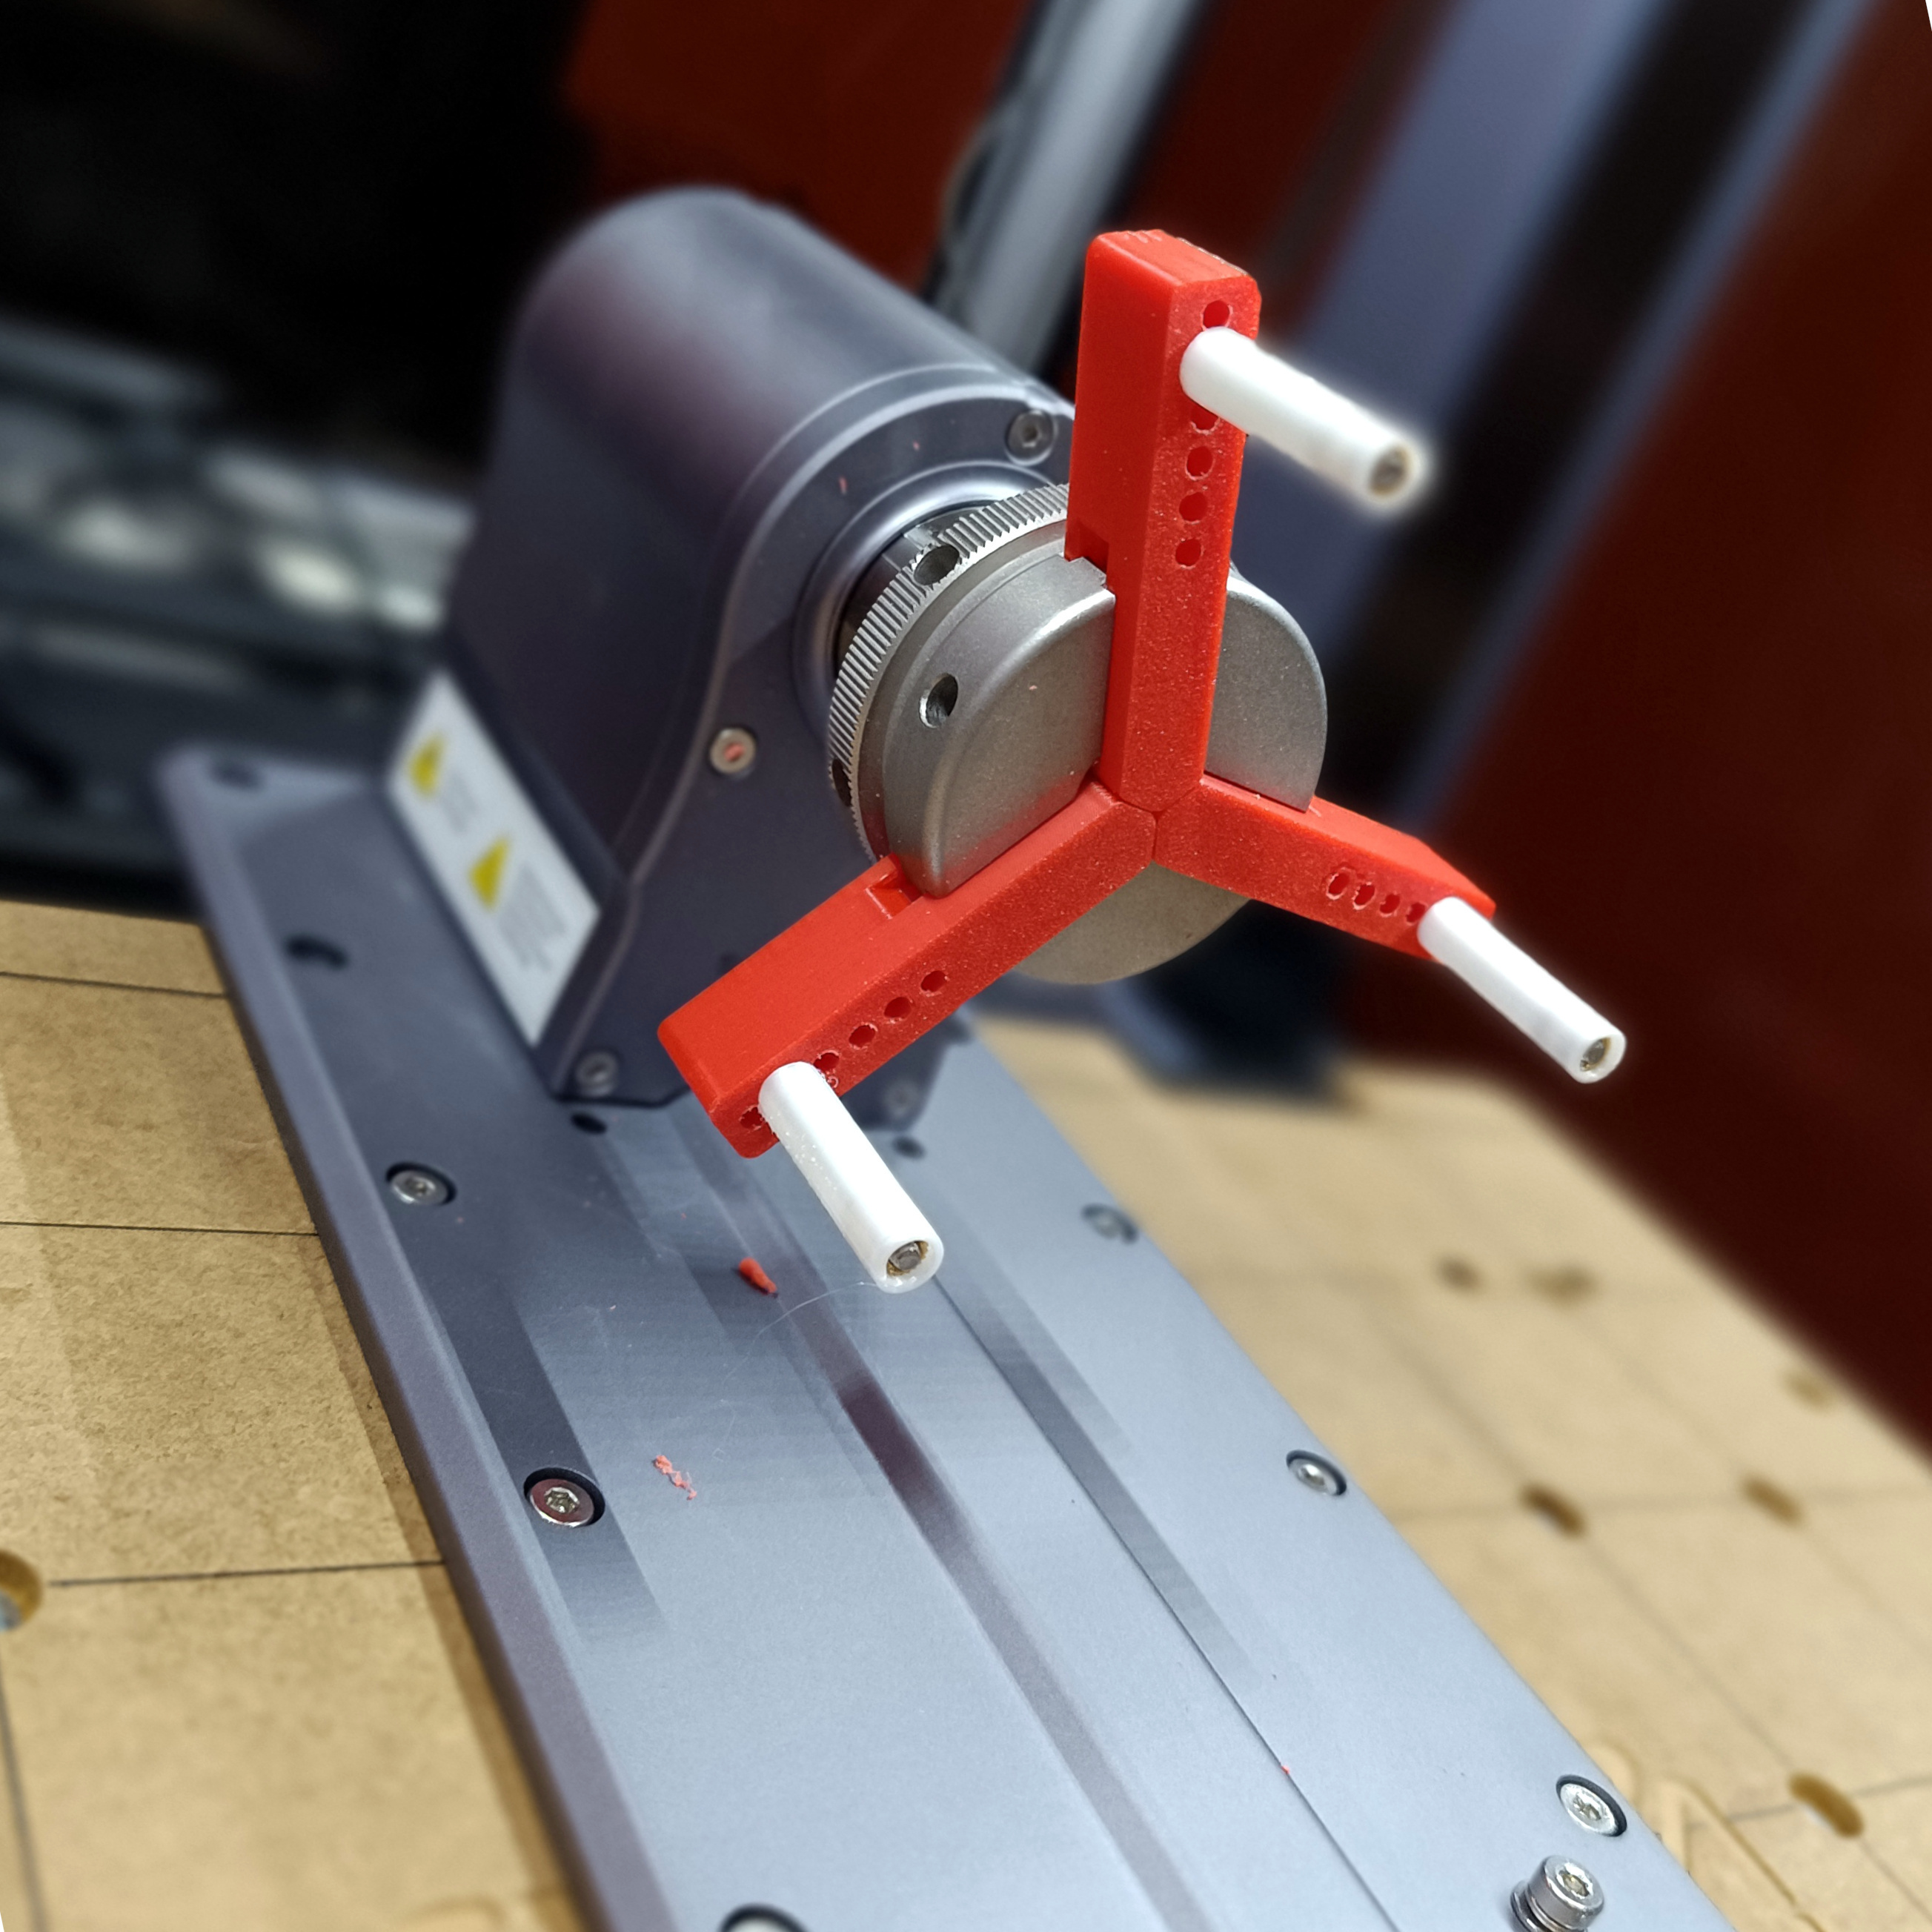
Unfortunately, the Rotary Module from Snapermaker comes with very short clamping jaws, which are also made of metal. This unnecessarily restricts you to smaller diameters and you have to be careful when clamping glass objects in particular. I have solved this problem with the clamping jaws offered here. These more than double the diameter that can be clamped and as the supports can be printed from any soft material, even fragile objects can be clamped without any problems.
To attach the supports, you need an M3x40mm screw and an M3x6x5mm threaded insert. The latter is optional if you only need to attach the supports.
Printing and general information:
- Please note that the longevity of the clamping jaws depends heavily on your layer adhesion and the angle at which you print them. If you print the clamping jaws horizontally, the small guide ripples are only held to the clamping jaws by the layer adhesion. It can therefore make sense to print at an angle of 45-90°. Try out what works best for you.
- The tolerances are kept low so that the clamping jaws do not wobble in their guides. If your printer is not perfectly calibrated in terms of dimensional accuracy, you may need to scale a little or experiment with "Horizontal Expansion" in the slicer. For this purpose, a smaller test file is also included for each of the three clamping jaws.
German Description/Deutsche Beschreibung
Leider kommt das Rotary Modul von Snapermaker mit recht kurzen Spannbacken, die noch dazu aus Metall sind. Dies schränkt einen unnötigerweise auf kleinere Durchmesser ein und inbesondere bei Glasobjekten muss beim Einspannen aufgepasst werden. Dieses Problem habe ich mit den hier angebotenen Spannbacken gelöst. Diese mehr als verdoppeln den einspannbaren Durchmesser und da die Stützen aus beliebig weichen Material gedruckt werden können, sind auch zerbrechliche Objekte problemlos einzuspannen.
Zum Befestigen der Stützen benötigt ihr jeweils eine M3x40mm Schraube und einen M3x6x5mm Gewindeeinsatz. Letzteres ist Optional, wenn es dir reicht, die Stützen nur aufzustecken.
Druck- und allgemeine Hinweise:
- Bitte beachtet, dass die Langlebigkeit der Spannbacken stark von euer Schichthaftung und dem Winkel abhängt, in dem ihr diese Druckt. Druckt ihr die Spannbacken liegend, werden die kleinen Führungsriffel nur durch die Schichthaftung an den Spannbacken gehalten. Es kann also sinnvoll in einem Winkel von 45-90° zu drucken. Probiert aus, was für euch am Besten funktioniert.
- Damit die Spannbacken nicht in ihren Führungen wackeln, sind die Toleranzen gering gehalten. Wenn euer Drucker in Bezug auf Maßgenauigkeit also nicht perfekt kalibriert ist, müsst ihr ggf. etwas Skalieren oder mit "Horizontal Expansion" im Slicer experimentieren. Für diesen Zweck liegen für jede der drei Spannbacken auch ein kleinerer Testfile bei.
:format(webp)/https://fbi.cults3d.com/uploaders/16330833/illustration-file/68cfe50f-1396-4fed-b268-7a75065d08f8/pic02.gif)
/https://preview3d-images.cults3d.com/z9wkedv7d3y84a1tjncz5ya341lv)
/https://preview3d-images.cults3d.com/oiw15g11laxtocfa8uzjiqluhzzr)
/https://preview3d-images.cults3d.com/2jw7vfnx63z2n7bbyns0kouqsqqb)
/https://preview3d-images.cults3d.com/lzsf025cjxb7eg4oinwvtnm3f2ha)
/https://preview3d-images.cults3d.com/mwp1m438frn2rp0ppcug69qtmjtt)
/https://preview3d-images.cults3d.com/z4i8a7xyp1auotepm7gi5yielnia)
/https://preview3d-images.cults3d.com/qy2l777wng8fem077j78zvlhf3zr)

/https://preview3d-images.cults3d.com/4omw9cic6ryuuccgg3vvm4lcun3t)
/https://preview3d-images.cults3d.com/nqw3xkzgjltntxmp6rw2arhsv40x)
/https://preview3d-images.cults3d.com/hn334ct7ook66teivohv1ipfs4kk)
/https://preview3d-images.cults3d.com/9xvyfkt47u9w8e3juo0k22vn7nzy)
/https://preview3d-images.cults3d.com/z20ei2e4z0vvit1aetxit0yiyzez)
/https://preview3d-images.cults3d.com/1isgtjrsdb7sz58x821260o554c2)
/https://preview3d-images.cults3d.com/qd003hj77qf29geggzqn6vzyikls)


:format(webp)/https://fbi.cults3d.com/uploaders/16330833/illustration-file/e062120c-e531-46e5-a869-eb4950419aca/title.gif)
:format(webp)/https://fbi.cults3d.com/uploaders/16330833/illustration-file/61045dd0-a4fa-41bc-80fd-a36bf3519d80/title2.gif)
:format(webp)/https://fbi.cults3d.com/uploaders/16330833/illustration-file/87805759-a815-4099-9956-2dc951200dd6/title.gif)
:format(webp)/https://fbi.cults3d.com/uploaders/16330833/illustration-file/c949c420-615d-4cbd-9275-bab33345d0b9/title.gif)
:format(webp)/https://fbi.cults3d.com/uploaders/16330833/illustration-file/d688b63d-84d7-4857-bdf5-b3ce53b36c69/title.gif)
:format(webp)/https://fbi.cults3d.com/uploaders/16330833/illustration-file/7a841007-be6a-45f2-8365-1c42104d84c7/Bild01.jpg)
:format(webp)/https://fbi.cults3d.com/uploaders/16330833/illustration-file/b7511dc4-0786-4a71-8906-66b5d4eaa2c7/MA_GR_Bild.jpg)
:format(webp)/https://fbi.cults3d.com/uploaders/16330833/illustration-file/c1cff925-6c29-415a-996a-53cb794c6009/Pic00.jpg)