3D model description
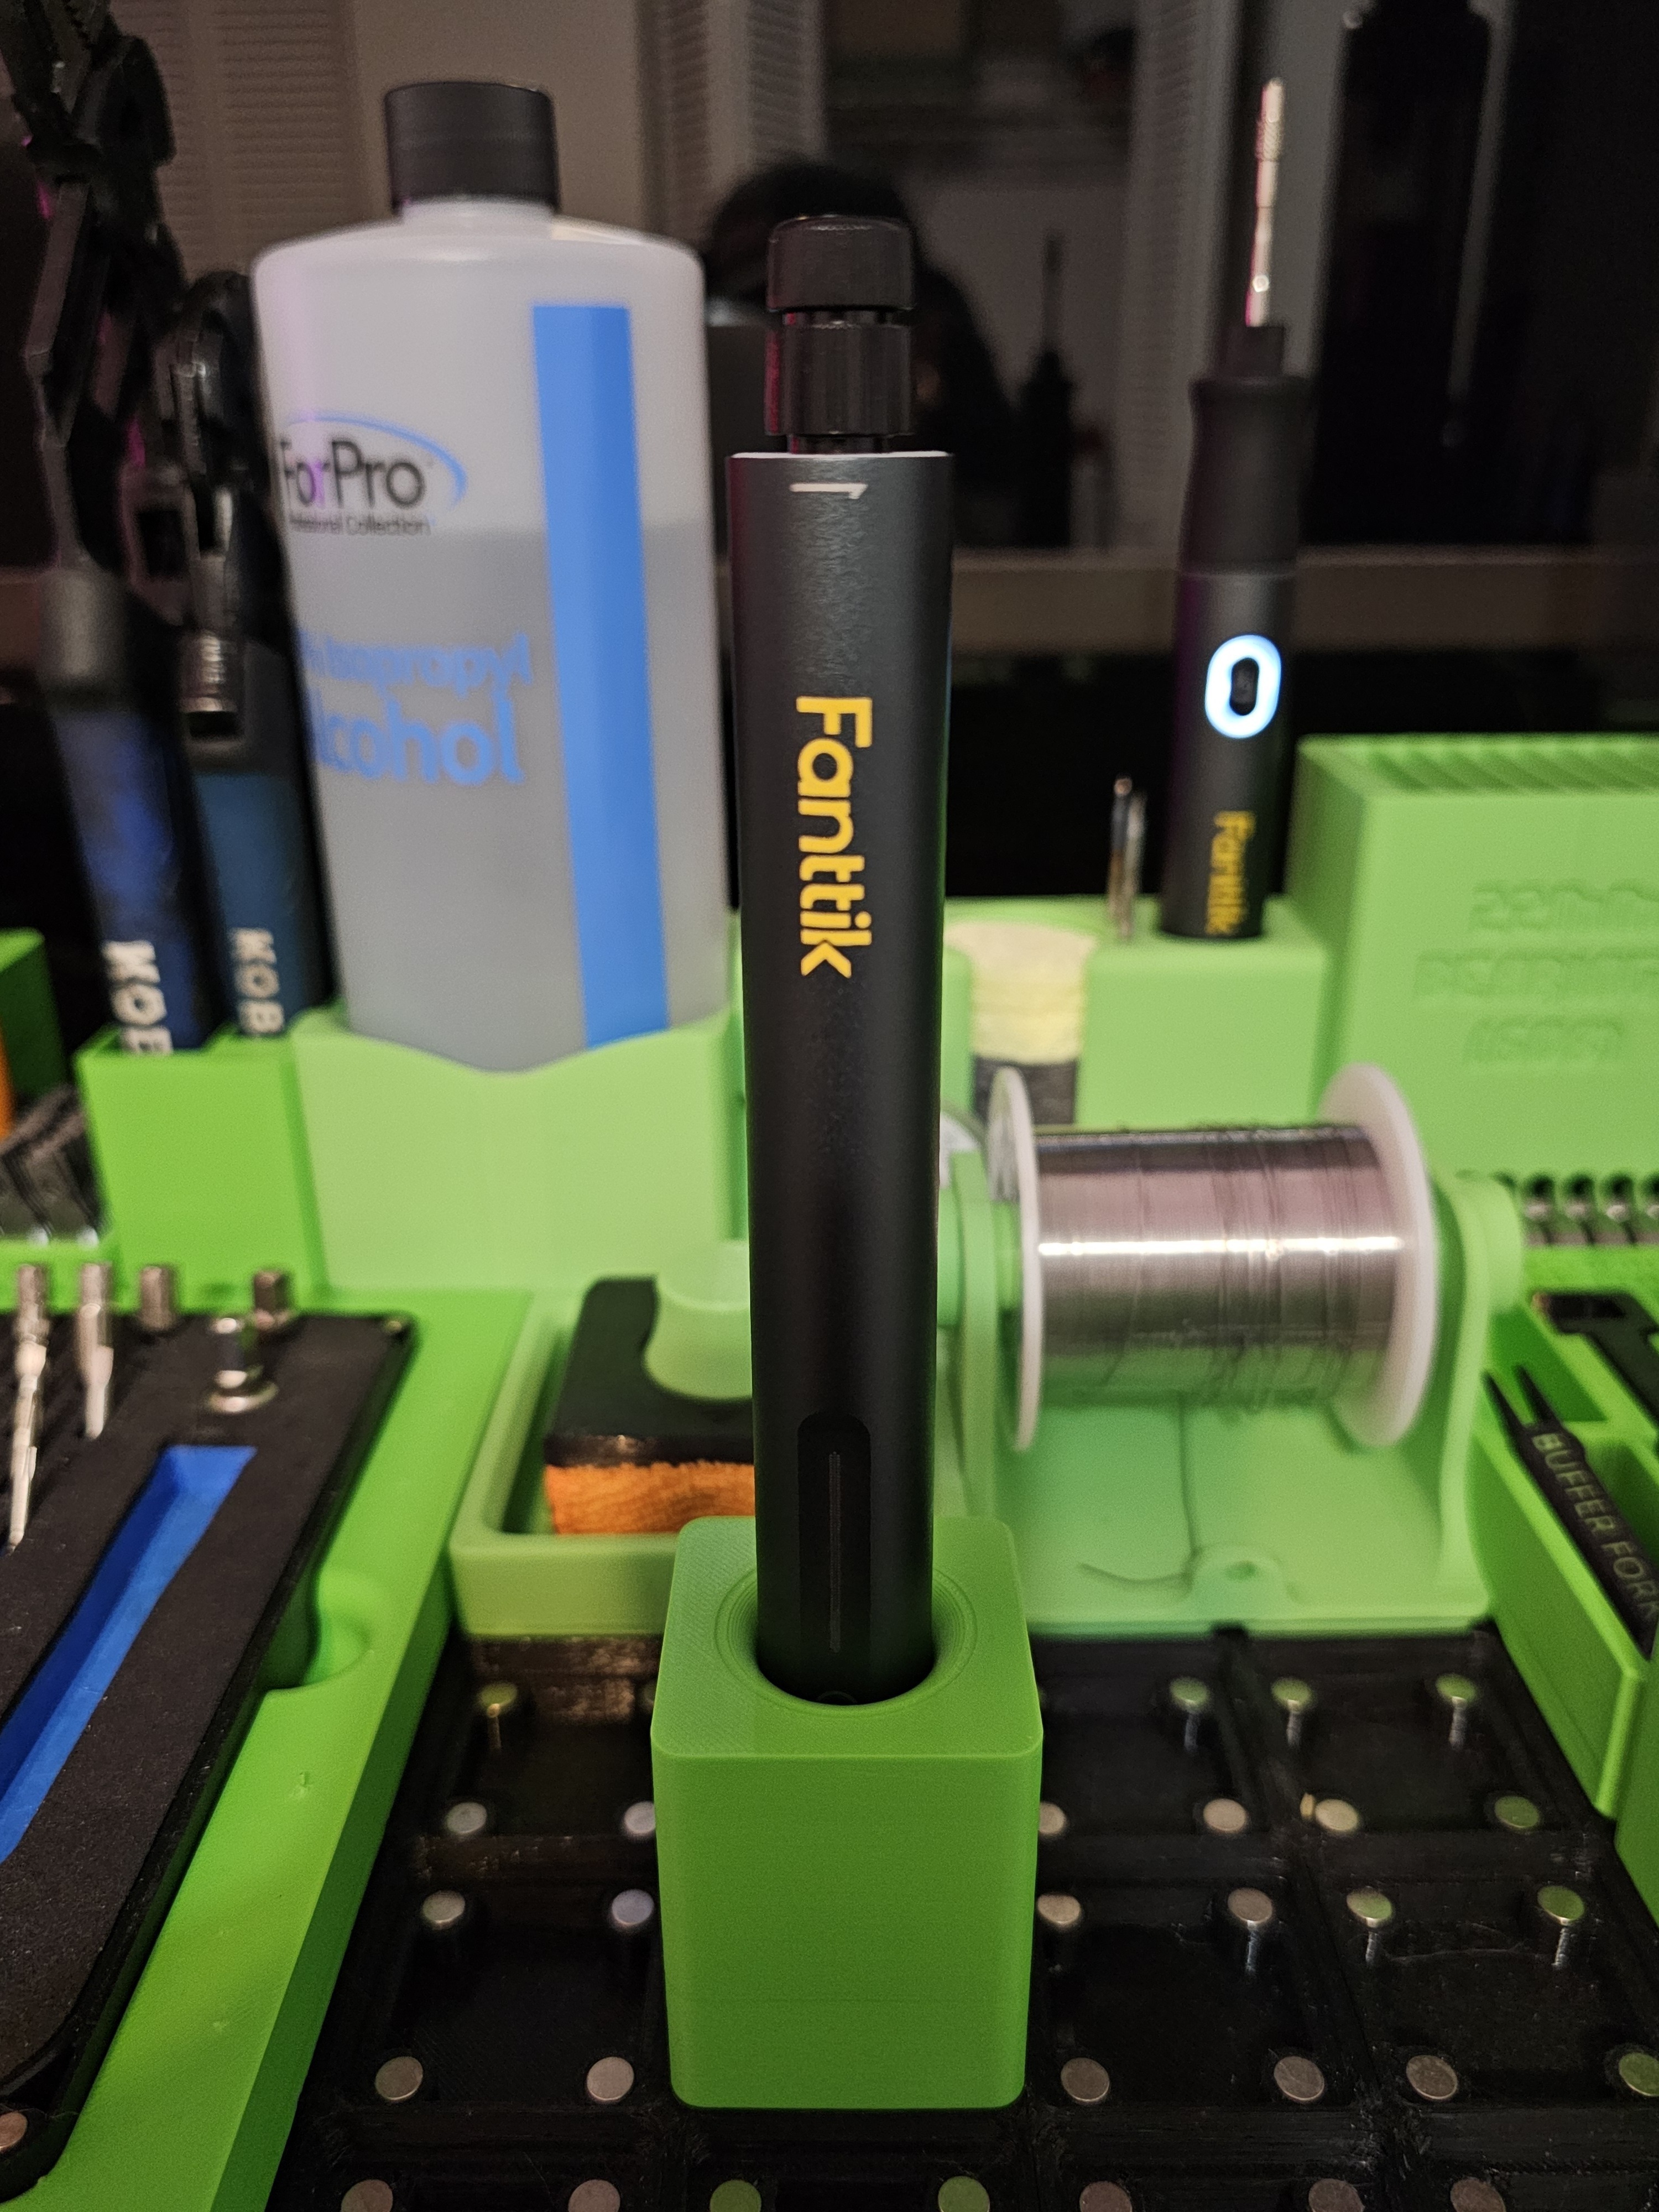
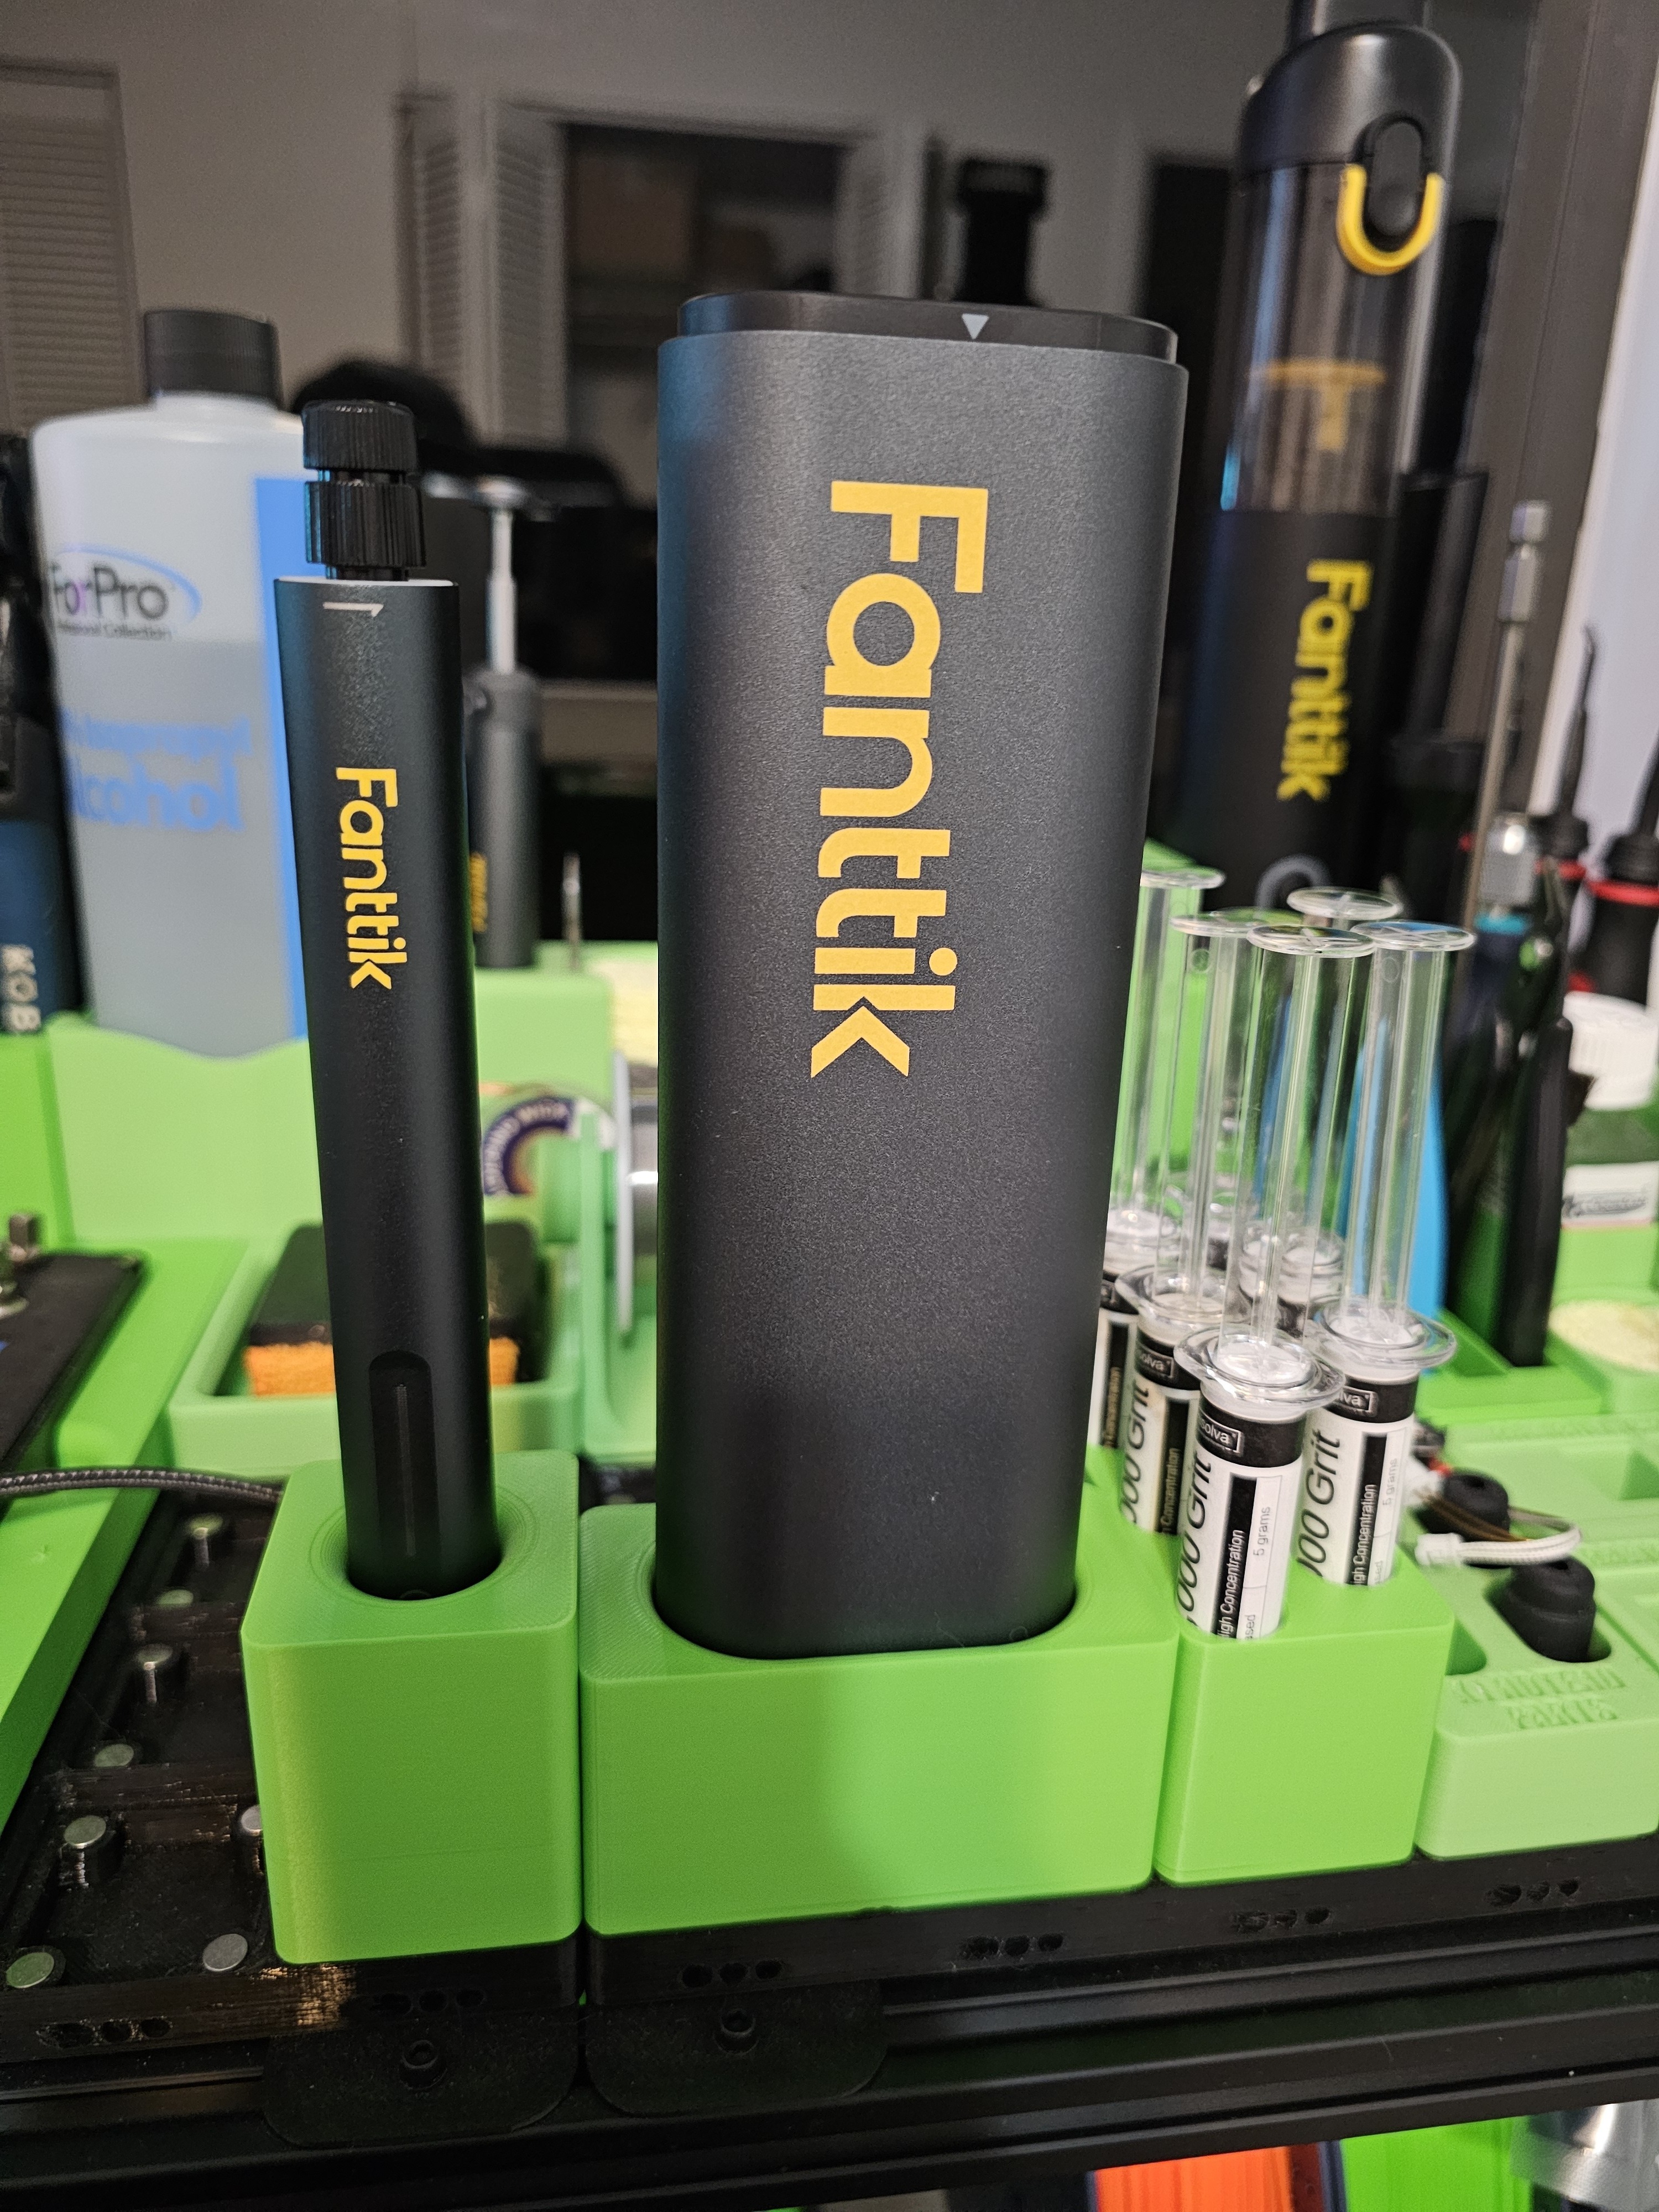
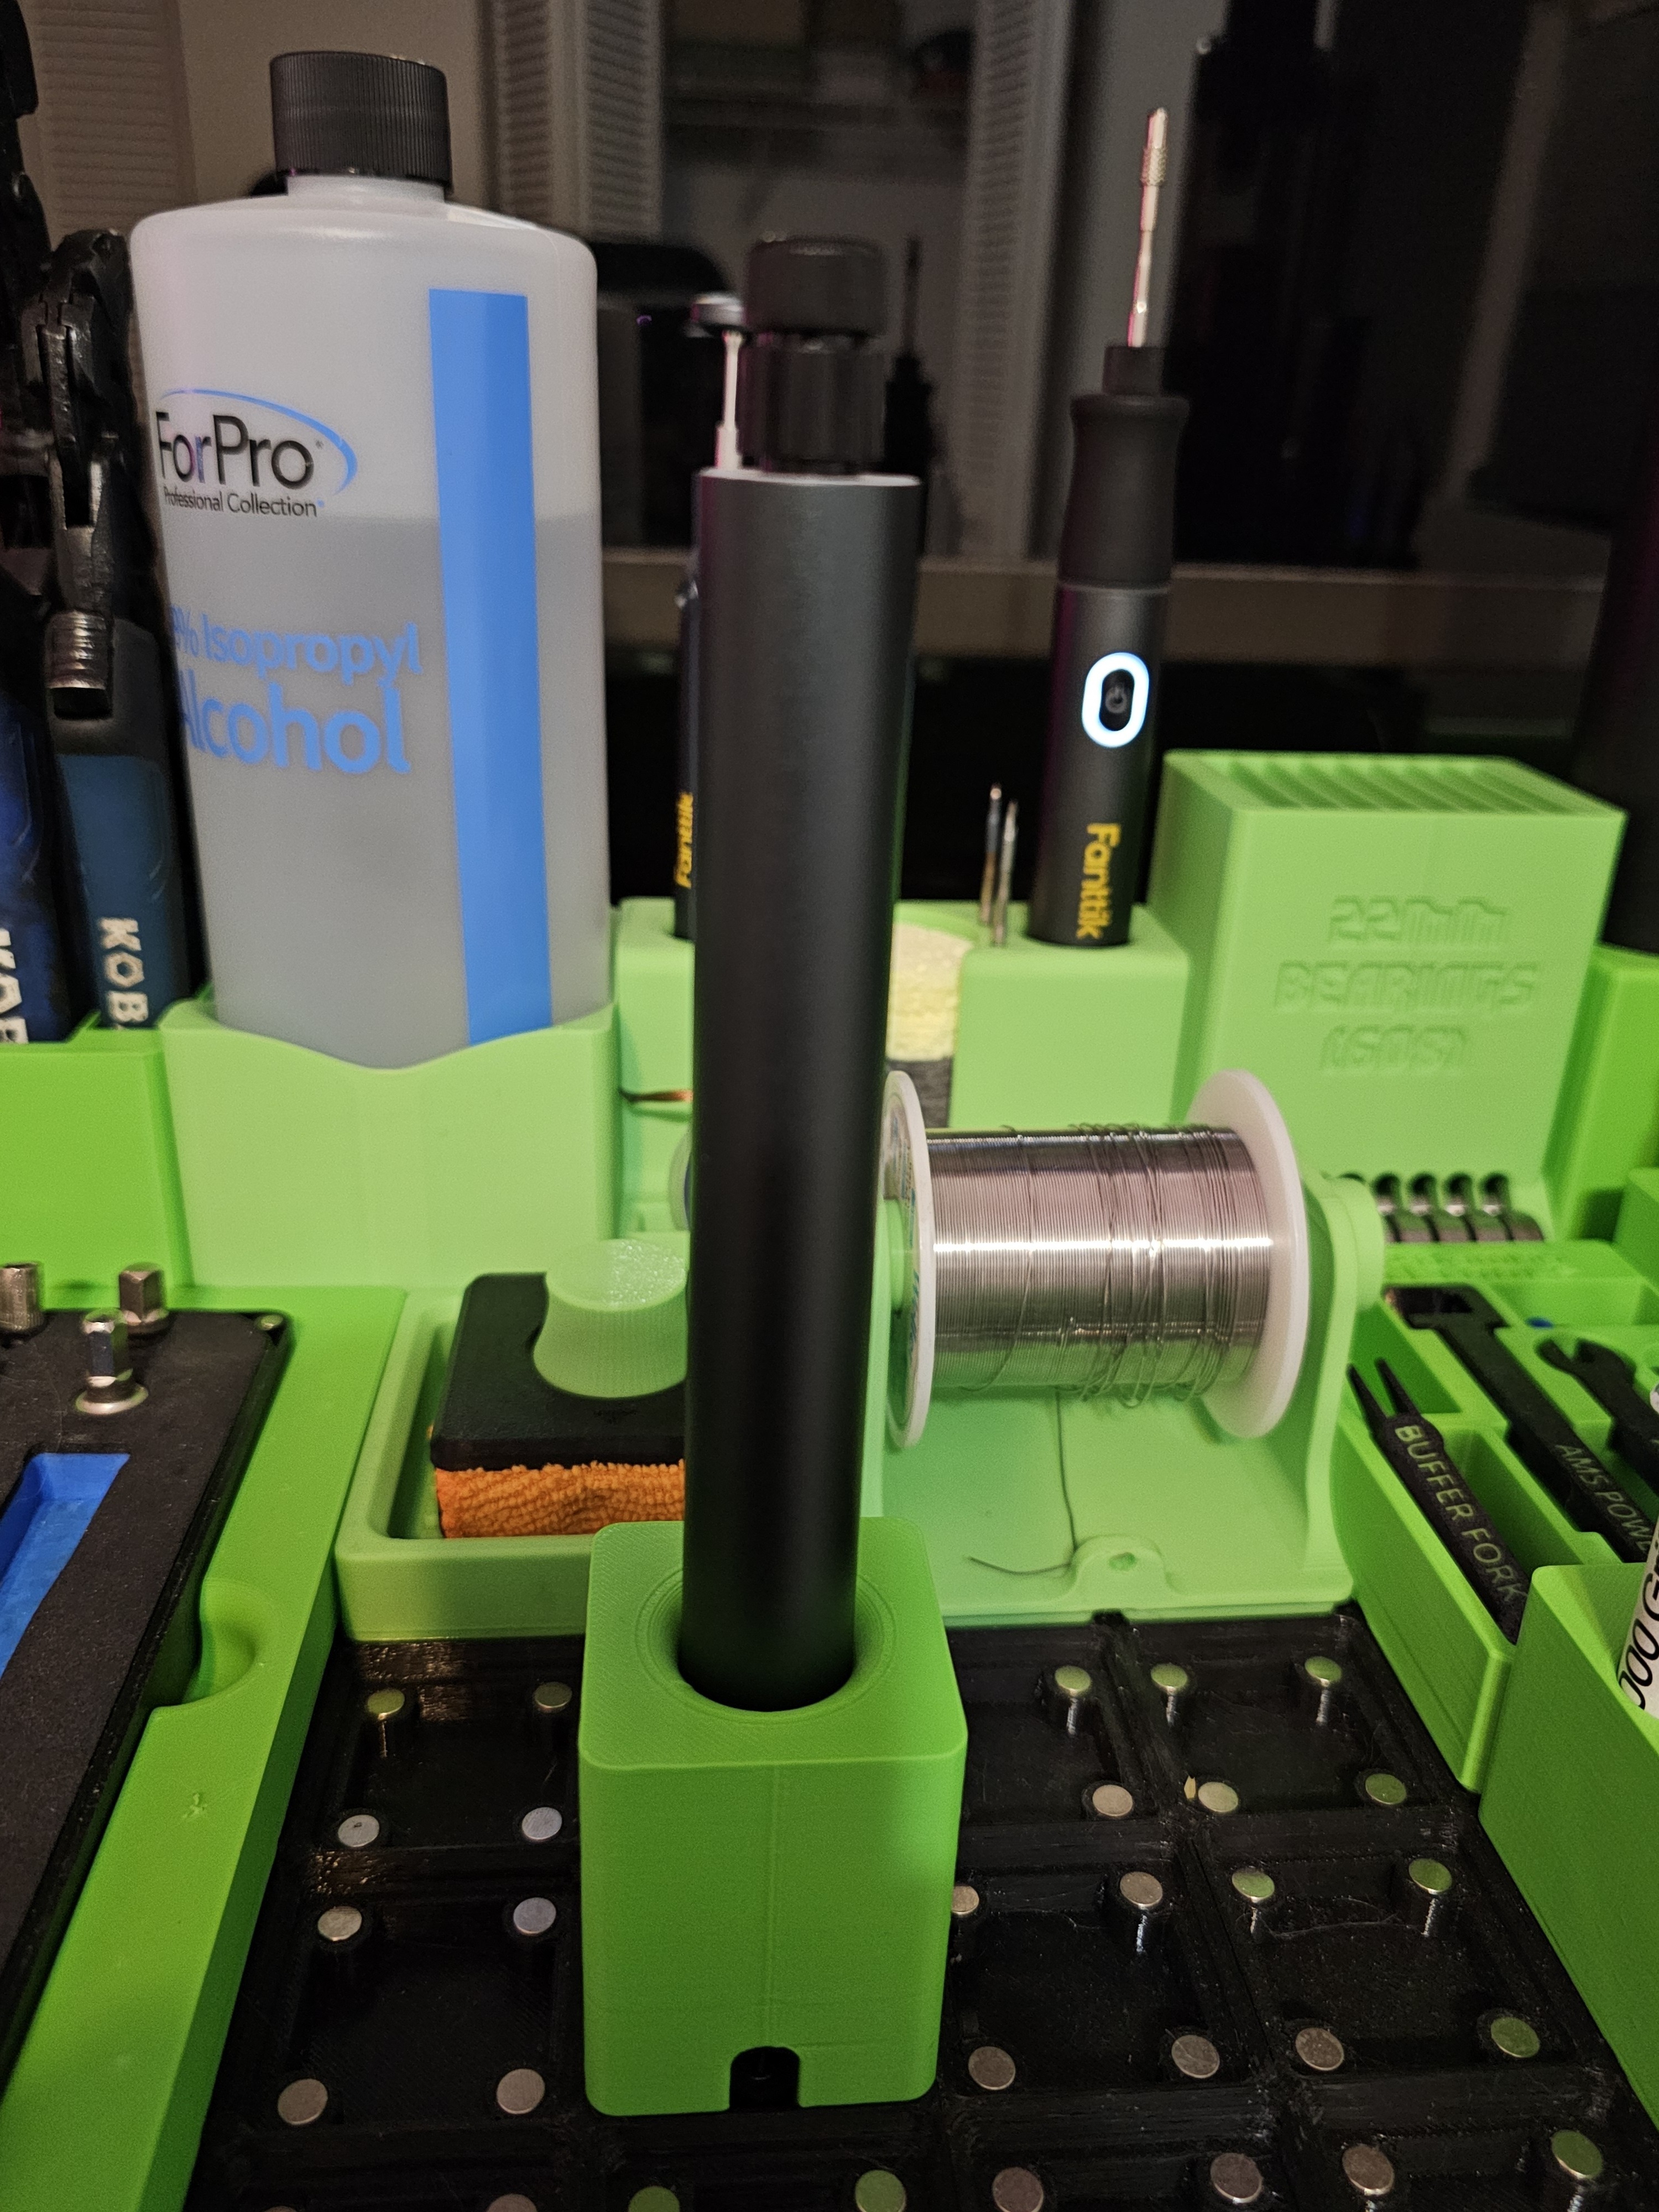
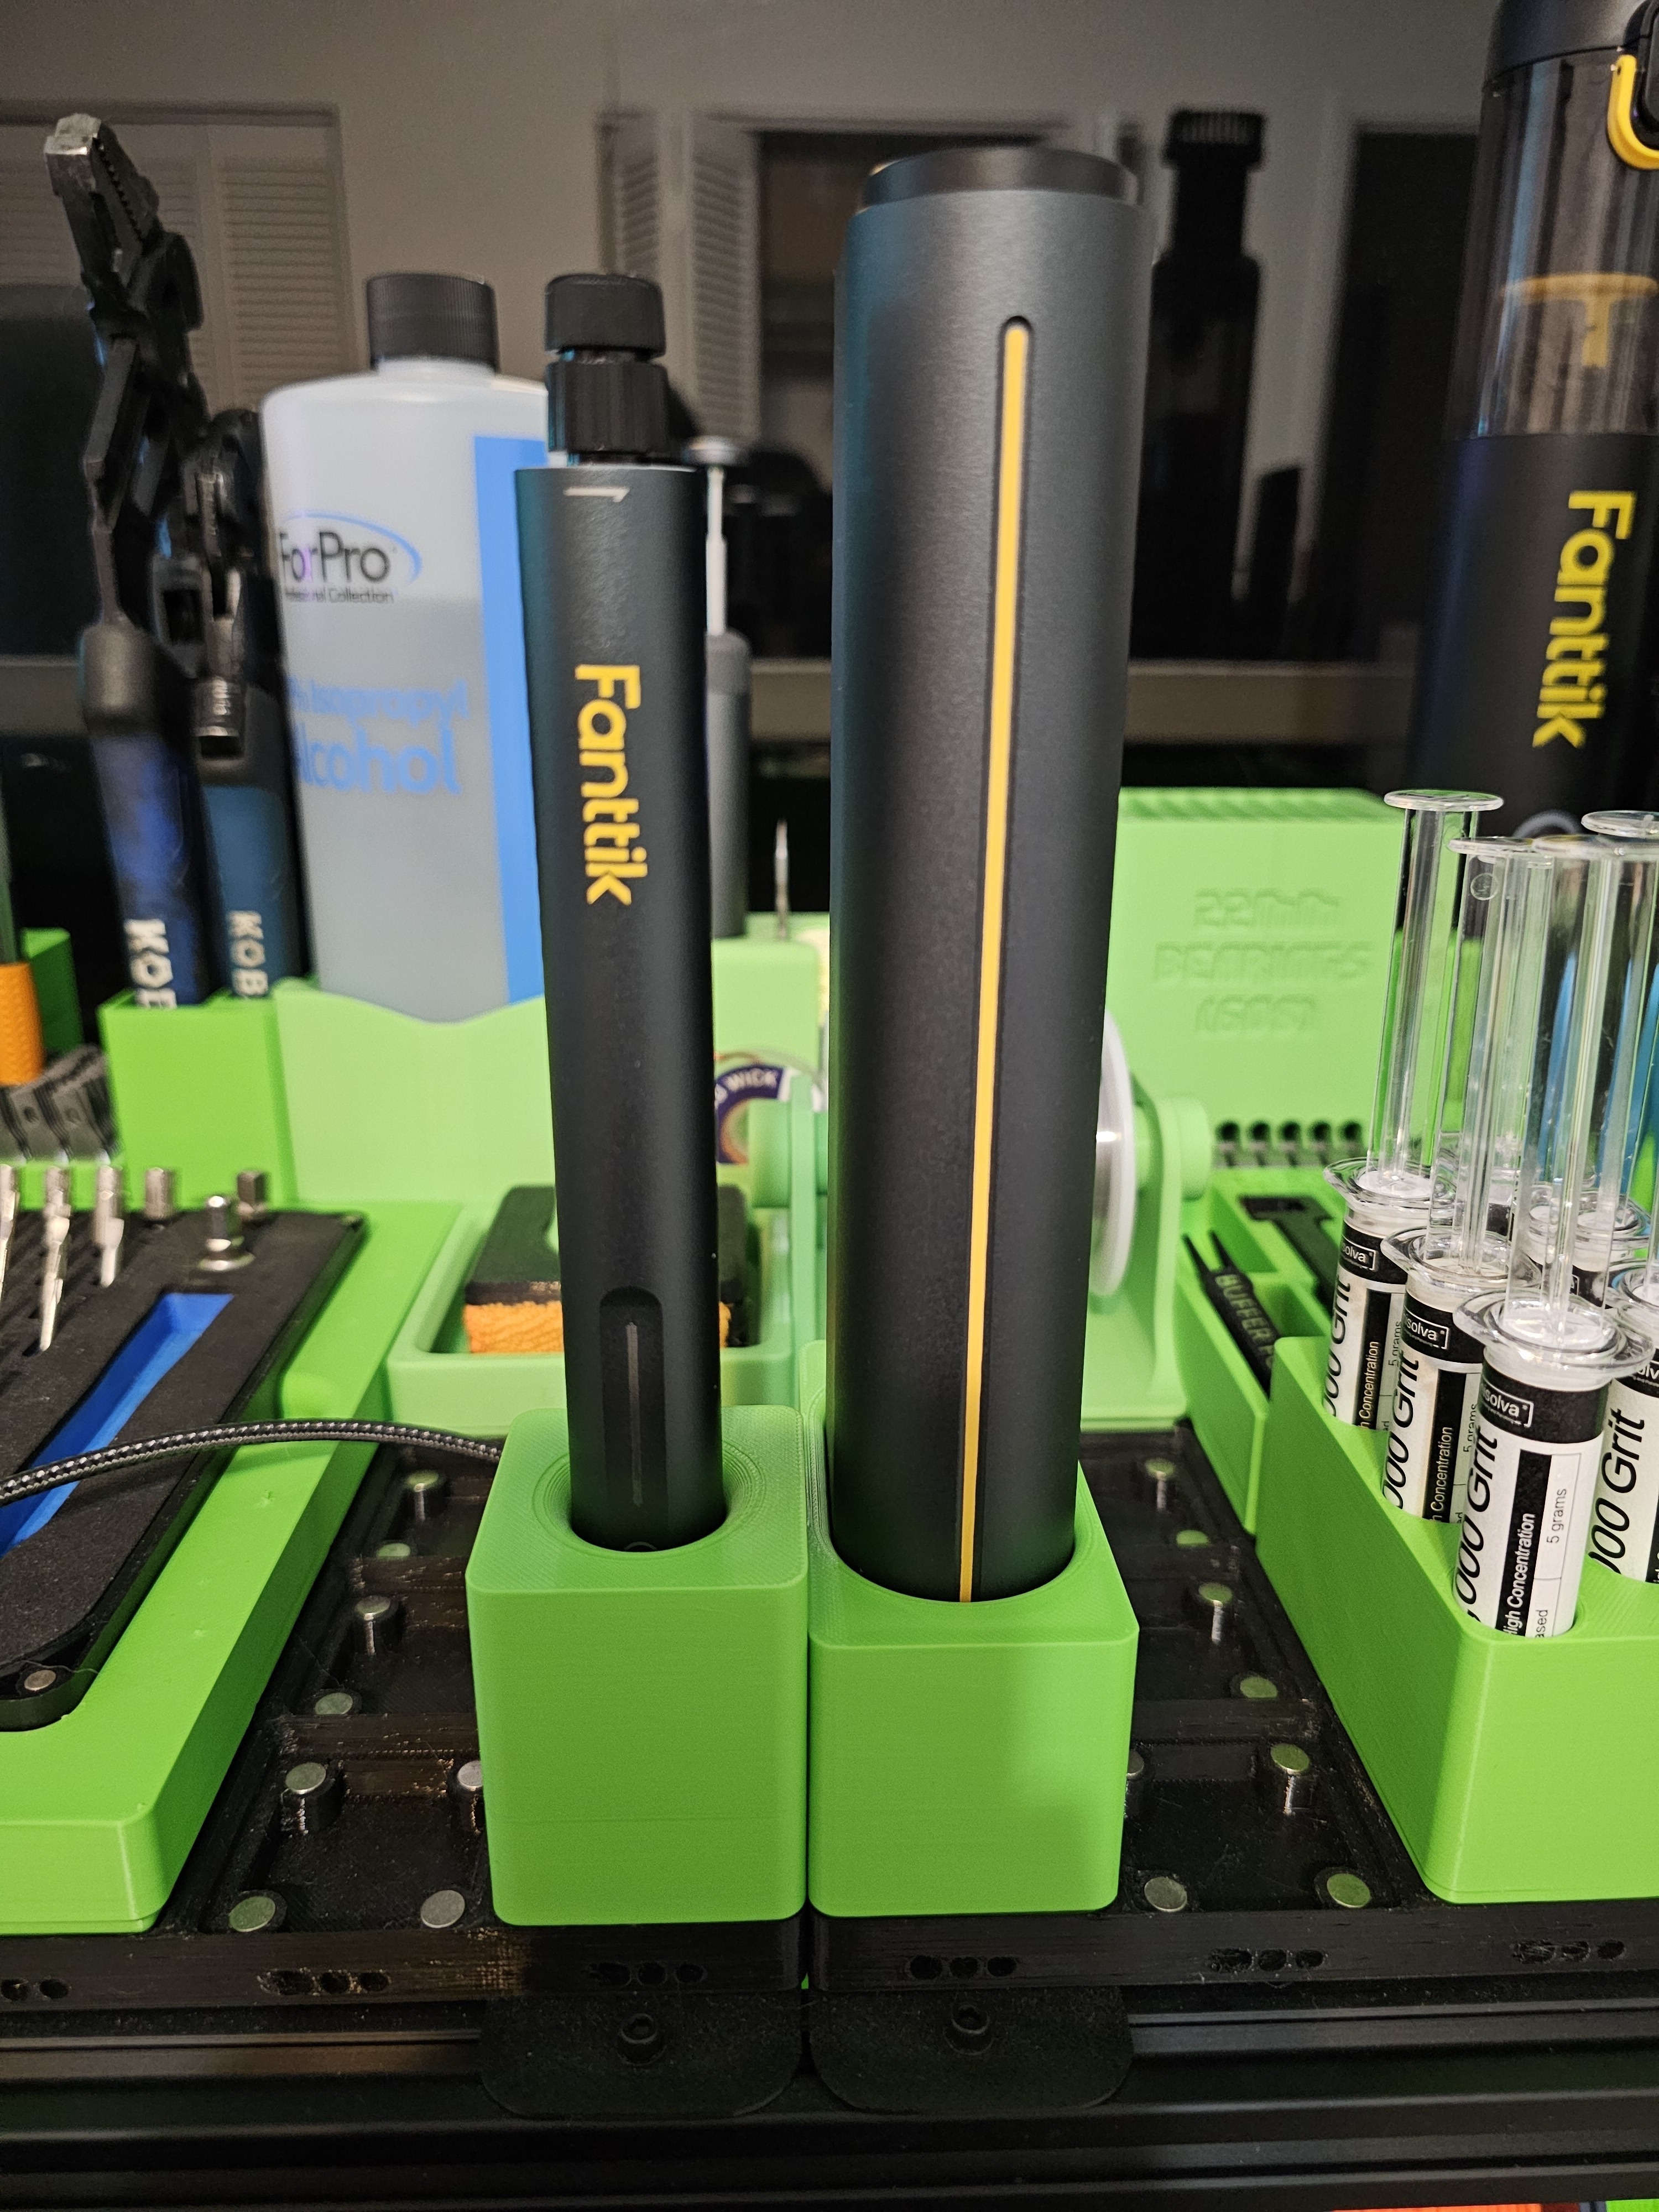
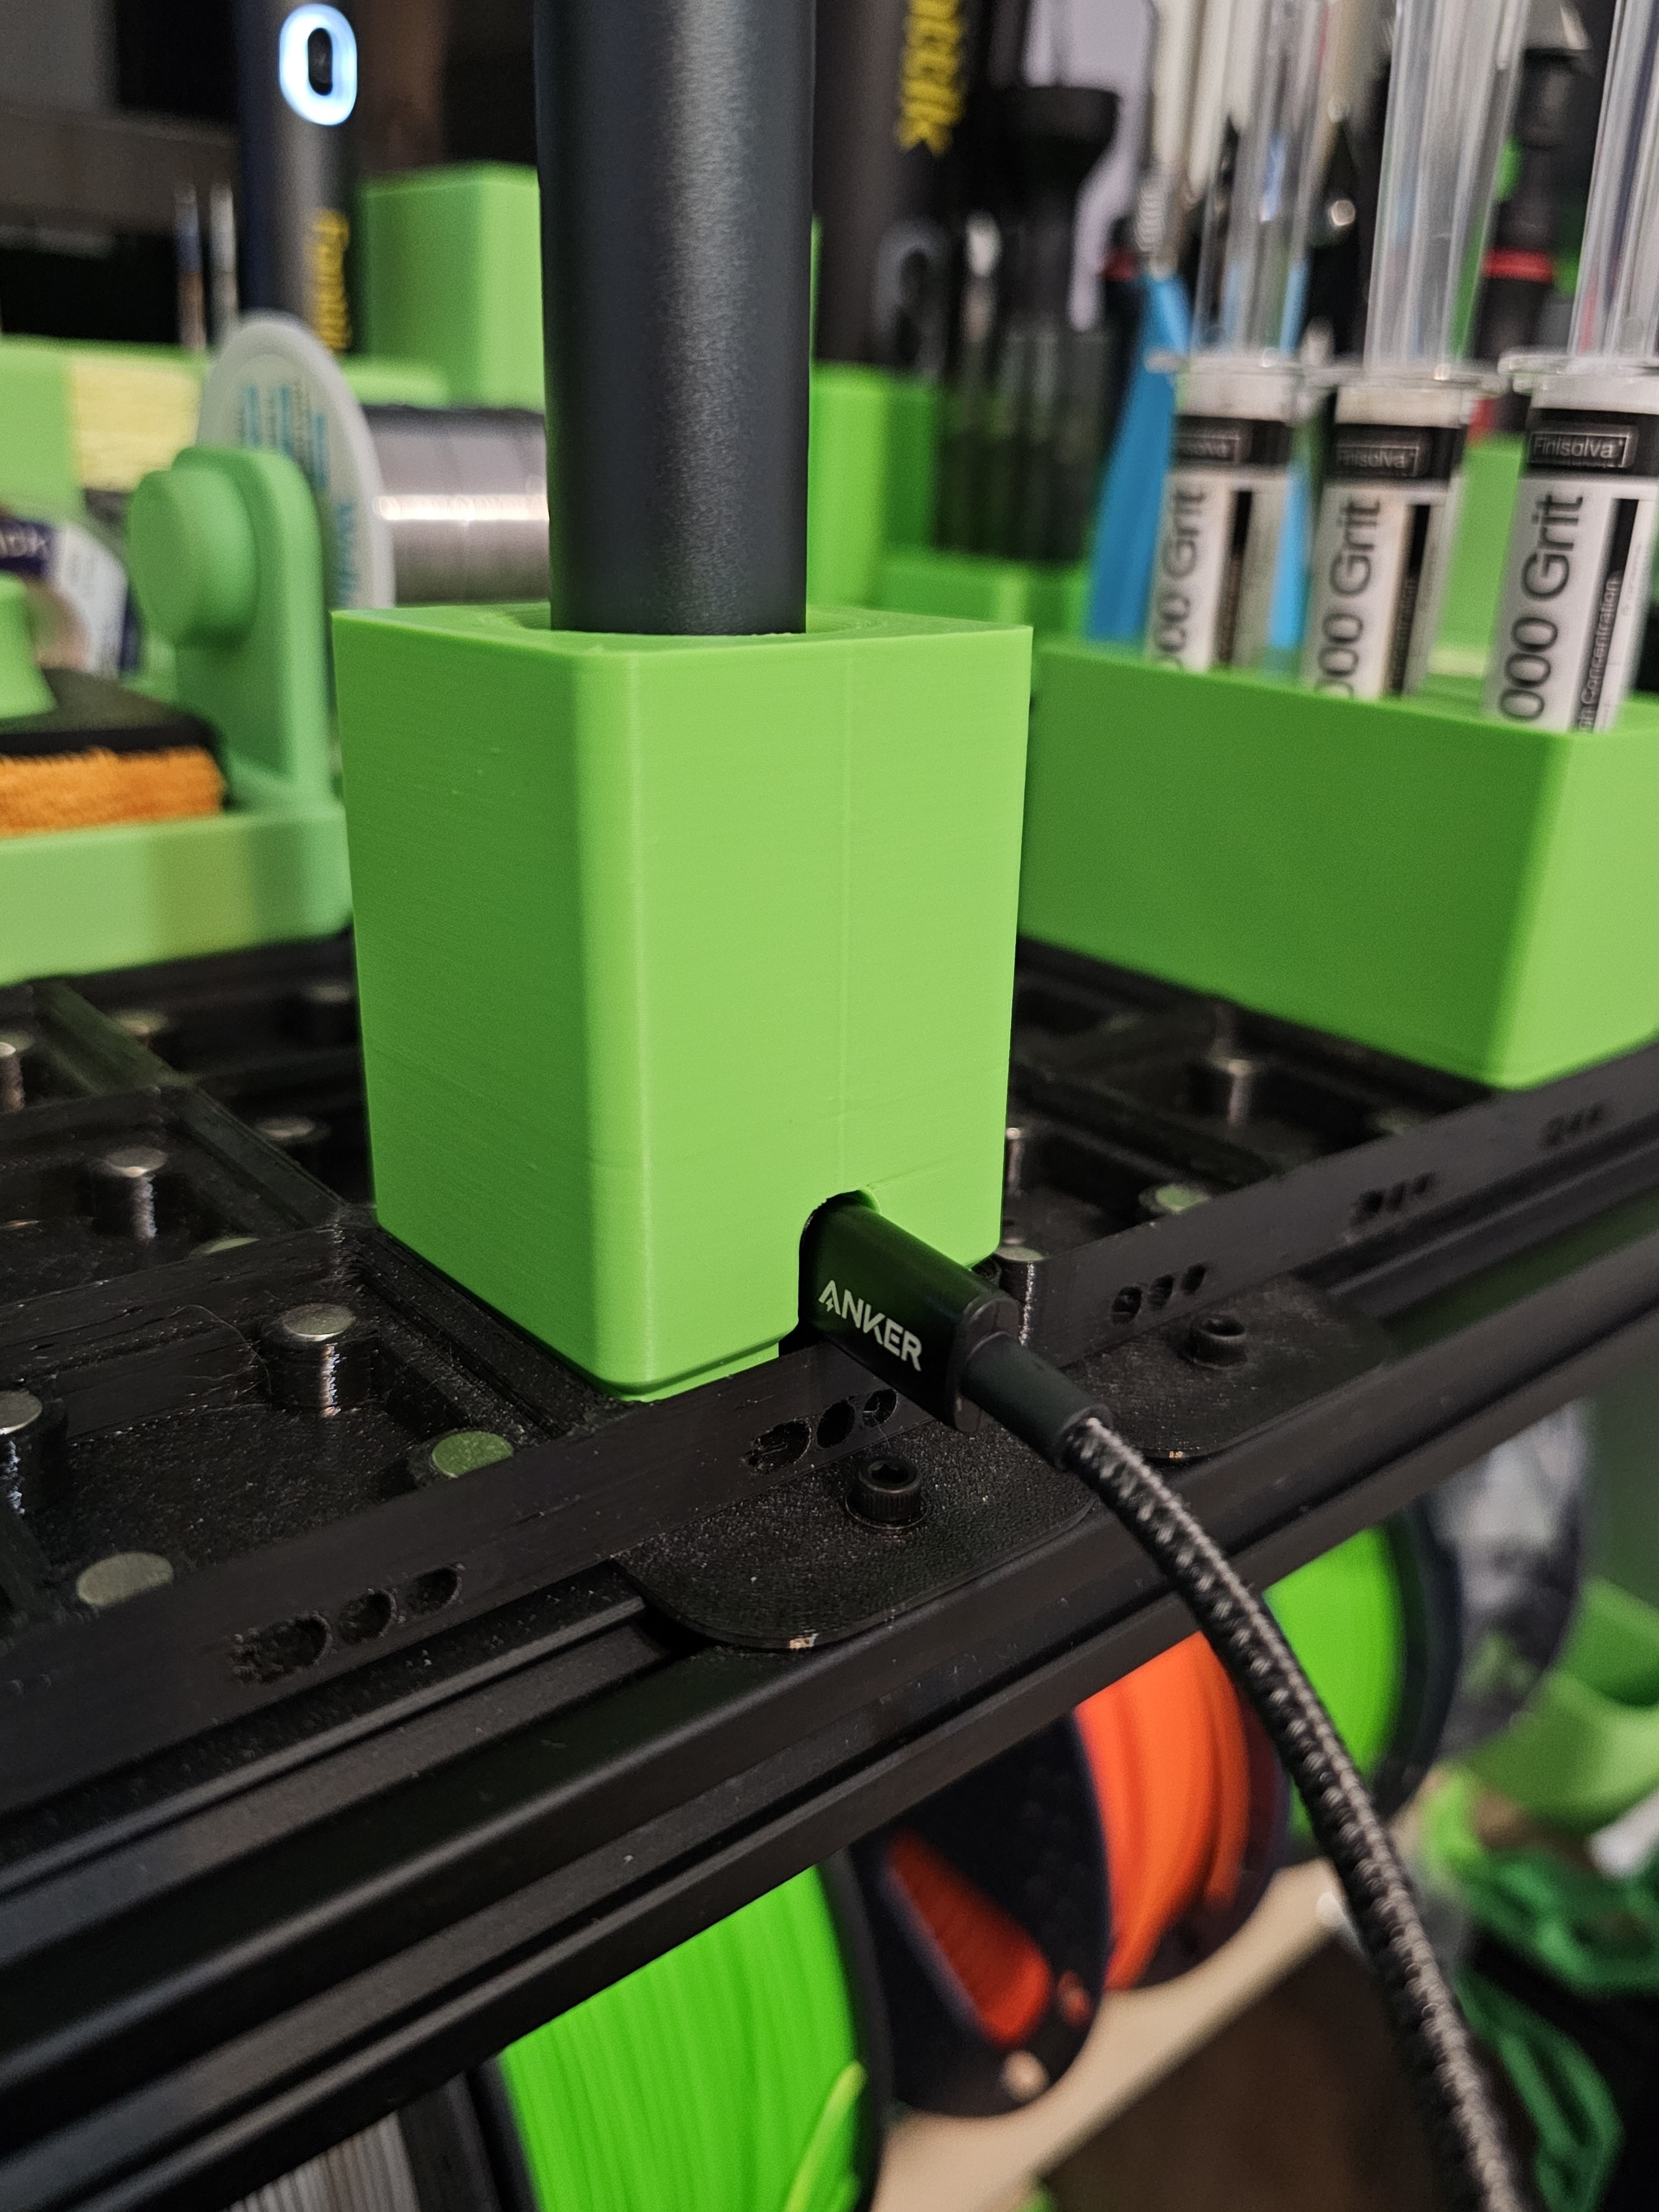
This 1×1 Gridfinity bin is designed around the Fanttik F2 Master pencil rotary tool and gives it a dedicated “home base” that keeps it charged and ready. It securely parks the tool in a compact cradle that fits cleanly into any Gridfinity system without wasting drawer space.
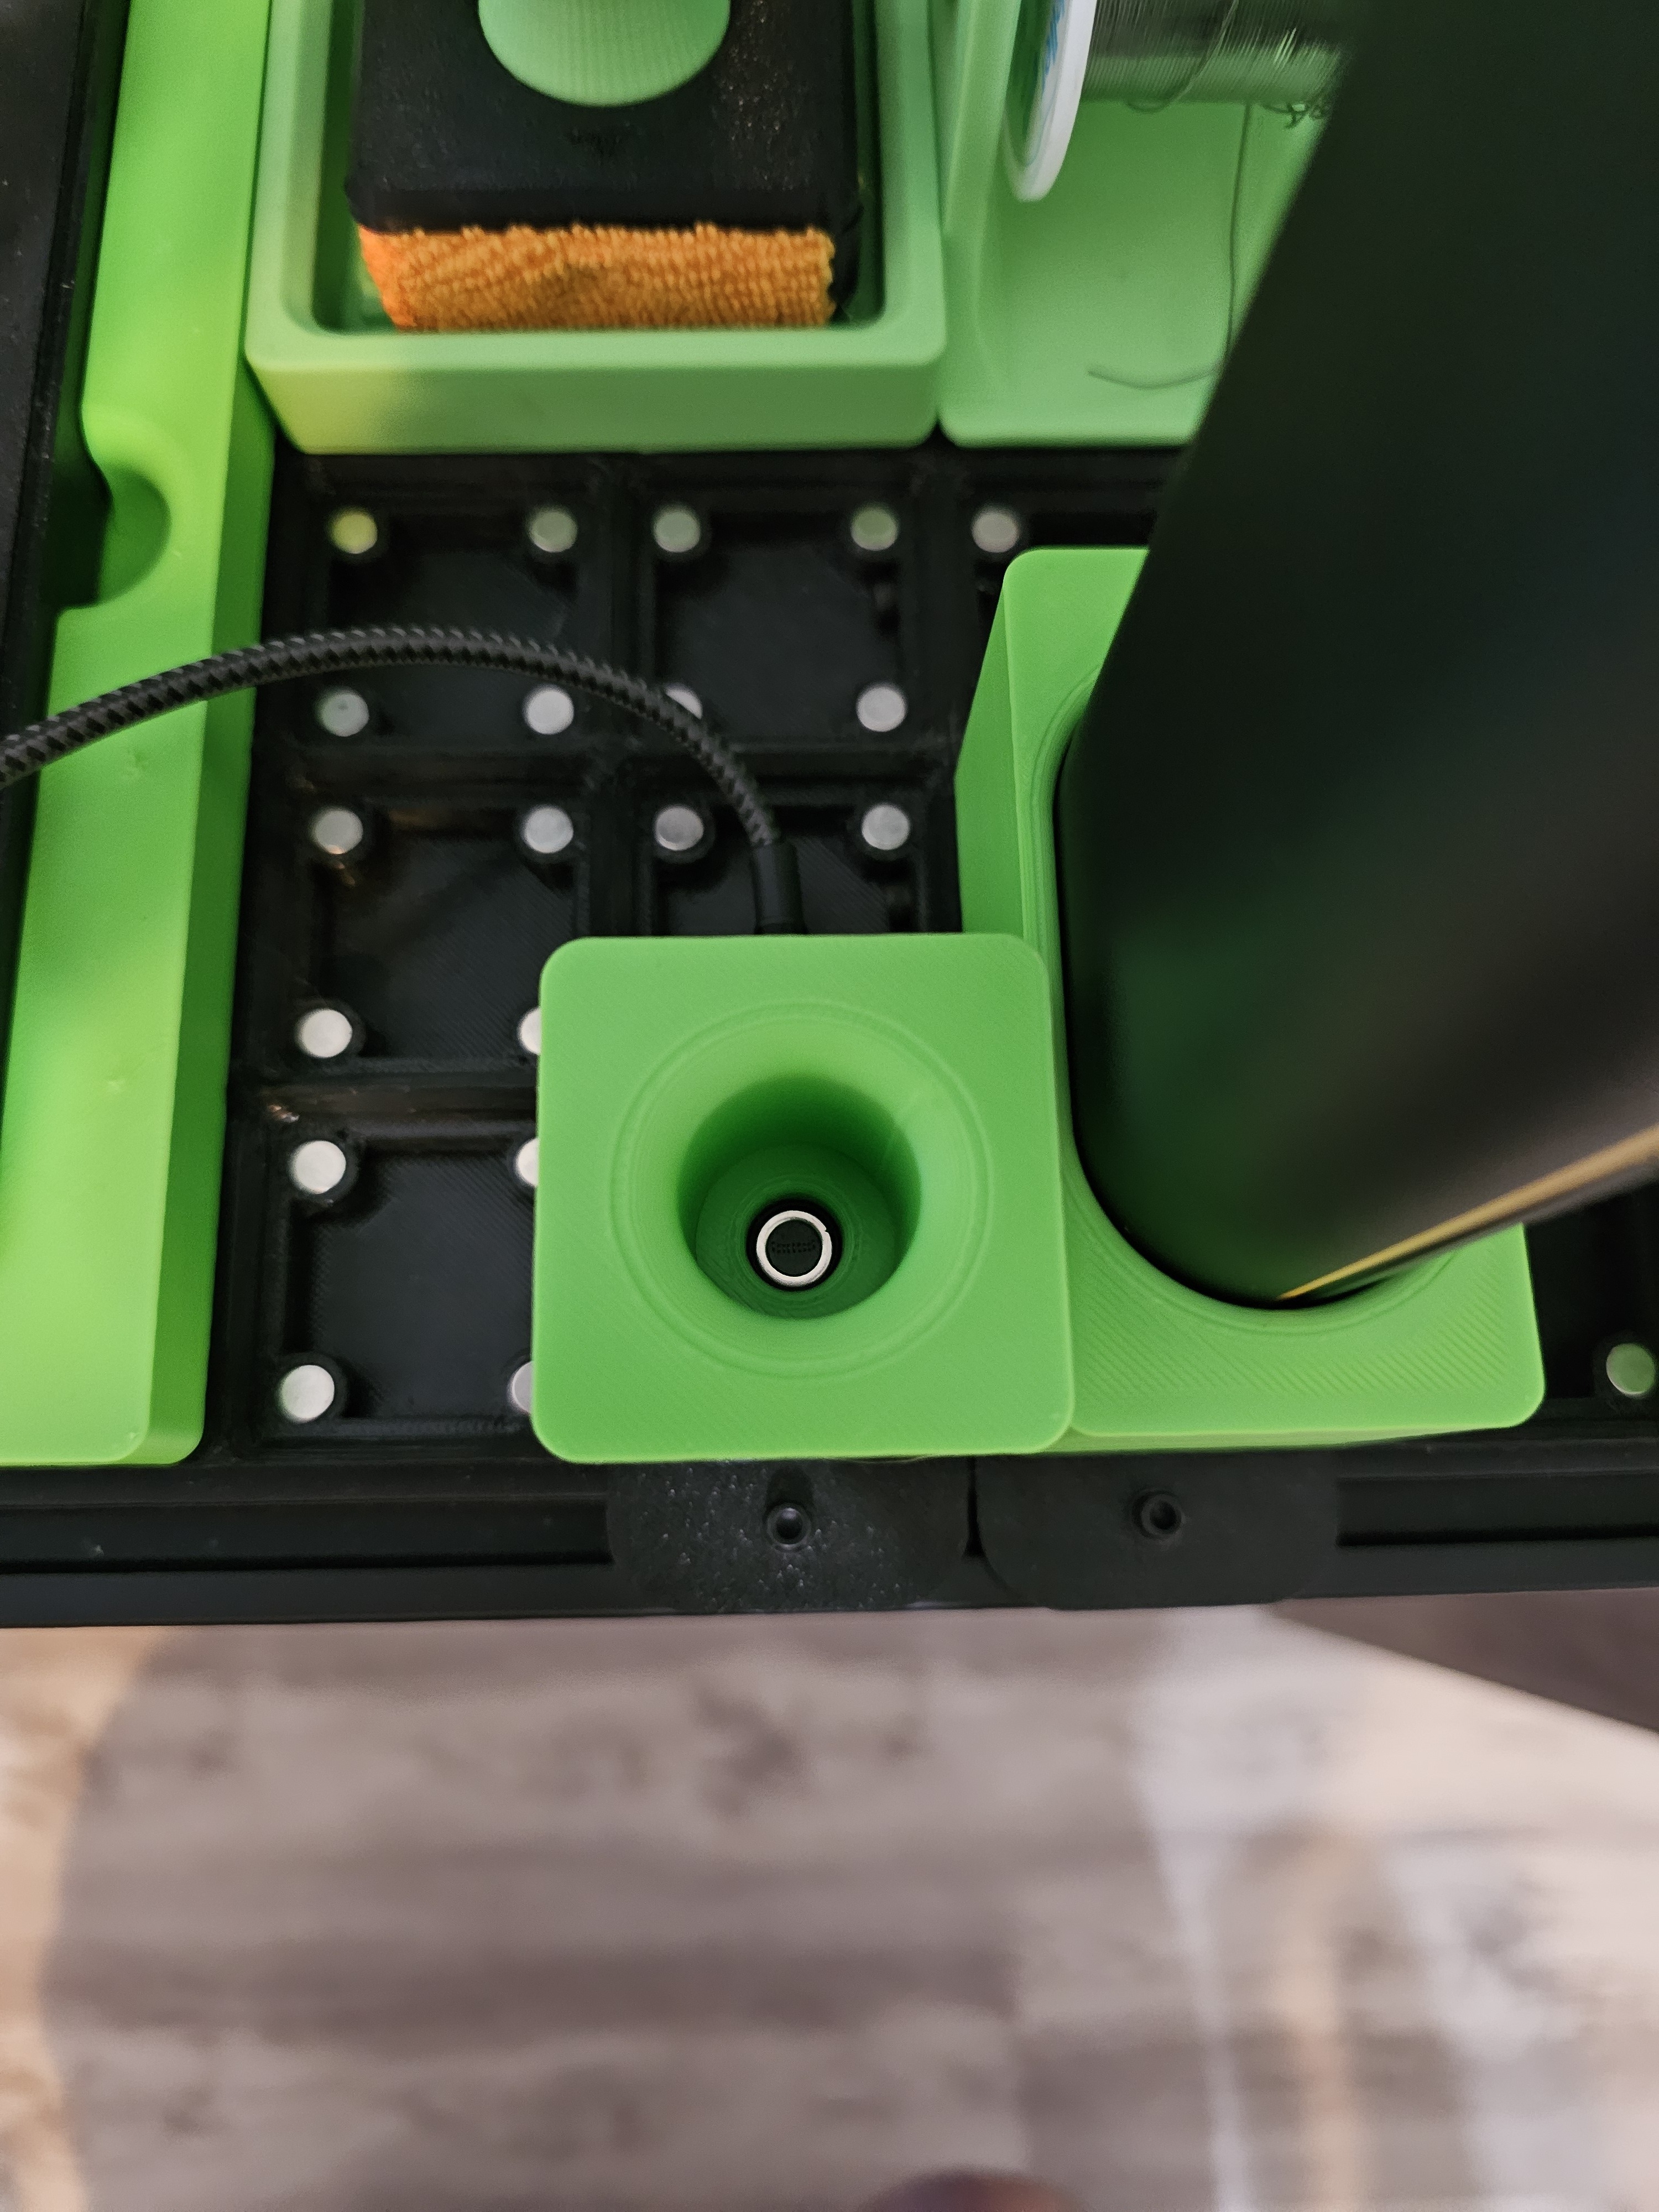
The fun part: it supports “wireless” charging via a magnetic USB-C adapter embedded into the print. Drop the tool into the slot and it automatically mates and begins charging. Pick it up and go—the magnetic connector cleanly separates. No more dead rotary tool and no cable fiddling.
FEATURES:
- Gridfinity 1×1 footprint “drop-in” charging dock for Fanttik F2 Master
- Magnetic USB-C charging (“drop-in” charging behavior)
- Clean, compact cradle designed for quick grab-and-go
- Optional companion bin: Gridfinity 2×1 holder for the included bit/carry case
- 6x2 Magnets to secure fixture to Gridfinity baseplate
PROJECT BOM:
- Magnetic USB-C Charger: link
- 6x2 Magnets: link
ASSEMBLY / INSTALL NOTES (how to get the “drop-in charging” feel):
1. Print the Gridfinity Fanttik F2 Master Charging Dock
1a. Print the Gridfinity Fanttik F2 Master (Non-Charging) holder if desired.
2. Print the Connector Support you want to use. These are different to account for printer and slicer deviation.
2a. Printing the _Custom-Grind Connector Supports will require trimming to fit. These provide the best retention and fitment as they can be made custom to suit your exact print. But, the tab must be sanded to size to work.
3. Insert the USB-C magnetic tip into your Fanttik F2 Master (leave it there permanently).
4. Mount the magnetic cable head into the connector pocket on the 1×1 charging dock.
4a. If your printer runs slightly tight/loose, scale XY by ±0.3–0.8% or lightly sand the pocket for a perfect press fit.
5. Install the Connector-Support_xxx that you printed.
5a. If using the _Custom-Grind be sure to sand before performing final install.
6. Install 6x2 Magnets into holes with superglue if desired.
7. Plug into your preferred USB power source.
Tip: If you want extra security, a tiny dab of hot glue or double-sided tape can lock the magnetic head in place—useful for high-traffic shop drawers.
COMPATIBILITY:
Designed specifically for the Fanttik F2 Master pencil rotary tool and the included Fanttik bit/carry case (separate 2×1 bin).
Magnetic USB-C adapters vary slightly by brand; this model is built around the reference connector above—minor fit tuning (light sanding or tiny XY scale) may be needed.
SEE MY SIMILAR FANTTIK MODELS HERE!
Gridfinity Auto-Charging Dock for Fanttik B10 Pro Max Duster + Accessories link
Gridfinity Auto-Charging Dock for Fanttik T1 Max + Accessories link
3D printing settings
Material: PLA, PETG, or ABS/ASA all work
PLA is fine for drawers/benches
PETG/ABS/ASA recommended if you expect heat (garage, shop, car trunk)
Layer height: 0.20 mm (0.16 also great if you want extra clean edges)
Walls: 3–4 perimeters
Infill: 12–20% (gyroid/grid/whatever you trust)
Supports: Typically not needed (depends on your slicer/overhang rules)
Orientation: Print flat on the base (as modeled)
:format(webp)/https://fbi.cults3d.com/uploaders/38803276/illustration-file/614c29b9-16e9-4ed3-9a7d-6ee7b5b26ff8/20260112_205915.jpg)
/https://preview3d-images.cults3d.com/nh5vqgy937q3x7p13kuhabs8g9v3)
/https://preview3d-images.cults3d.com/9g1e9becsvc2wnttgf85abpuol2z)
/https://preview3d-images.cults3d.com/6ylux90qqgkhpu0gbe4piv211pmm)
/https://preview3d-images.cults3d.com/dnb9pgzgz0edjqcuc7um1ha0e553)
/https://preview3d-images.cults3d.com/fv38221b53rmreydmkw0p1ewx25e)
/https://preview3d-images.cults3d.com/2k6xo3iis9ydjqxrfqg3t1l9vb92)
/https://preview3d-images.cults3d.com/o1zab6rnpsuijw5zarfvfmju02rb)
/https://preview3d-images.cults3d.com/hcazr5ayy3nceecmlhf8gtmikb0r)
/https://preview3d-images.cults3d.com/cqgrilomvwjggy6ekhfutzovuzz6)
/https://preview3d-images.cults3d.com/7xkr70fchtgf3vx2g26wntj1bk9t)
/https://preview3d-images.cults3d.com/ujx1wqkcmxmgs9whzuqwqxg33286)
/https://preview3d-images.cults3d.com/lzfj0zsmr3jhvu66g7fglgc4bj4y)
/https://fbi.cults3d.com/uploads/user/avatar/38803276/logo_b.png "HeraTech3D")


:format(webp)/https://fbi.cults3d.com/uploaders/38803276/illustration-file/b9f7ab67-9e34-4332-8c53-60f8db8c0759/Front_Close.jpg)
:format(webp)/https://fbi.cults3d.com/uploaders/38803276/illustration-file/1530fe1e-864e-4a1d-a98b-9a698ac13591/20250111_210537.jpg)
:format(webp)/https://fbi.cults3d.com/uploaders/38803276/illustration-file/d66e2f35-fa3f-4d4e-b781-0b728a3cbafc/20260112_202718.jpg)