✨ Elevate Your Room Aesthetics with a Stunning Geometric Glow! ✨
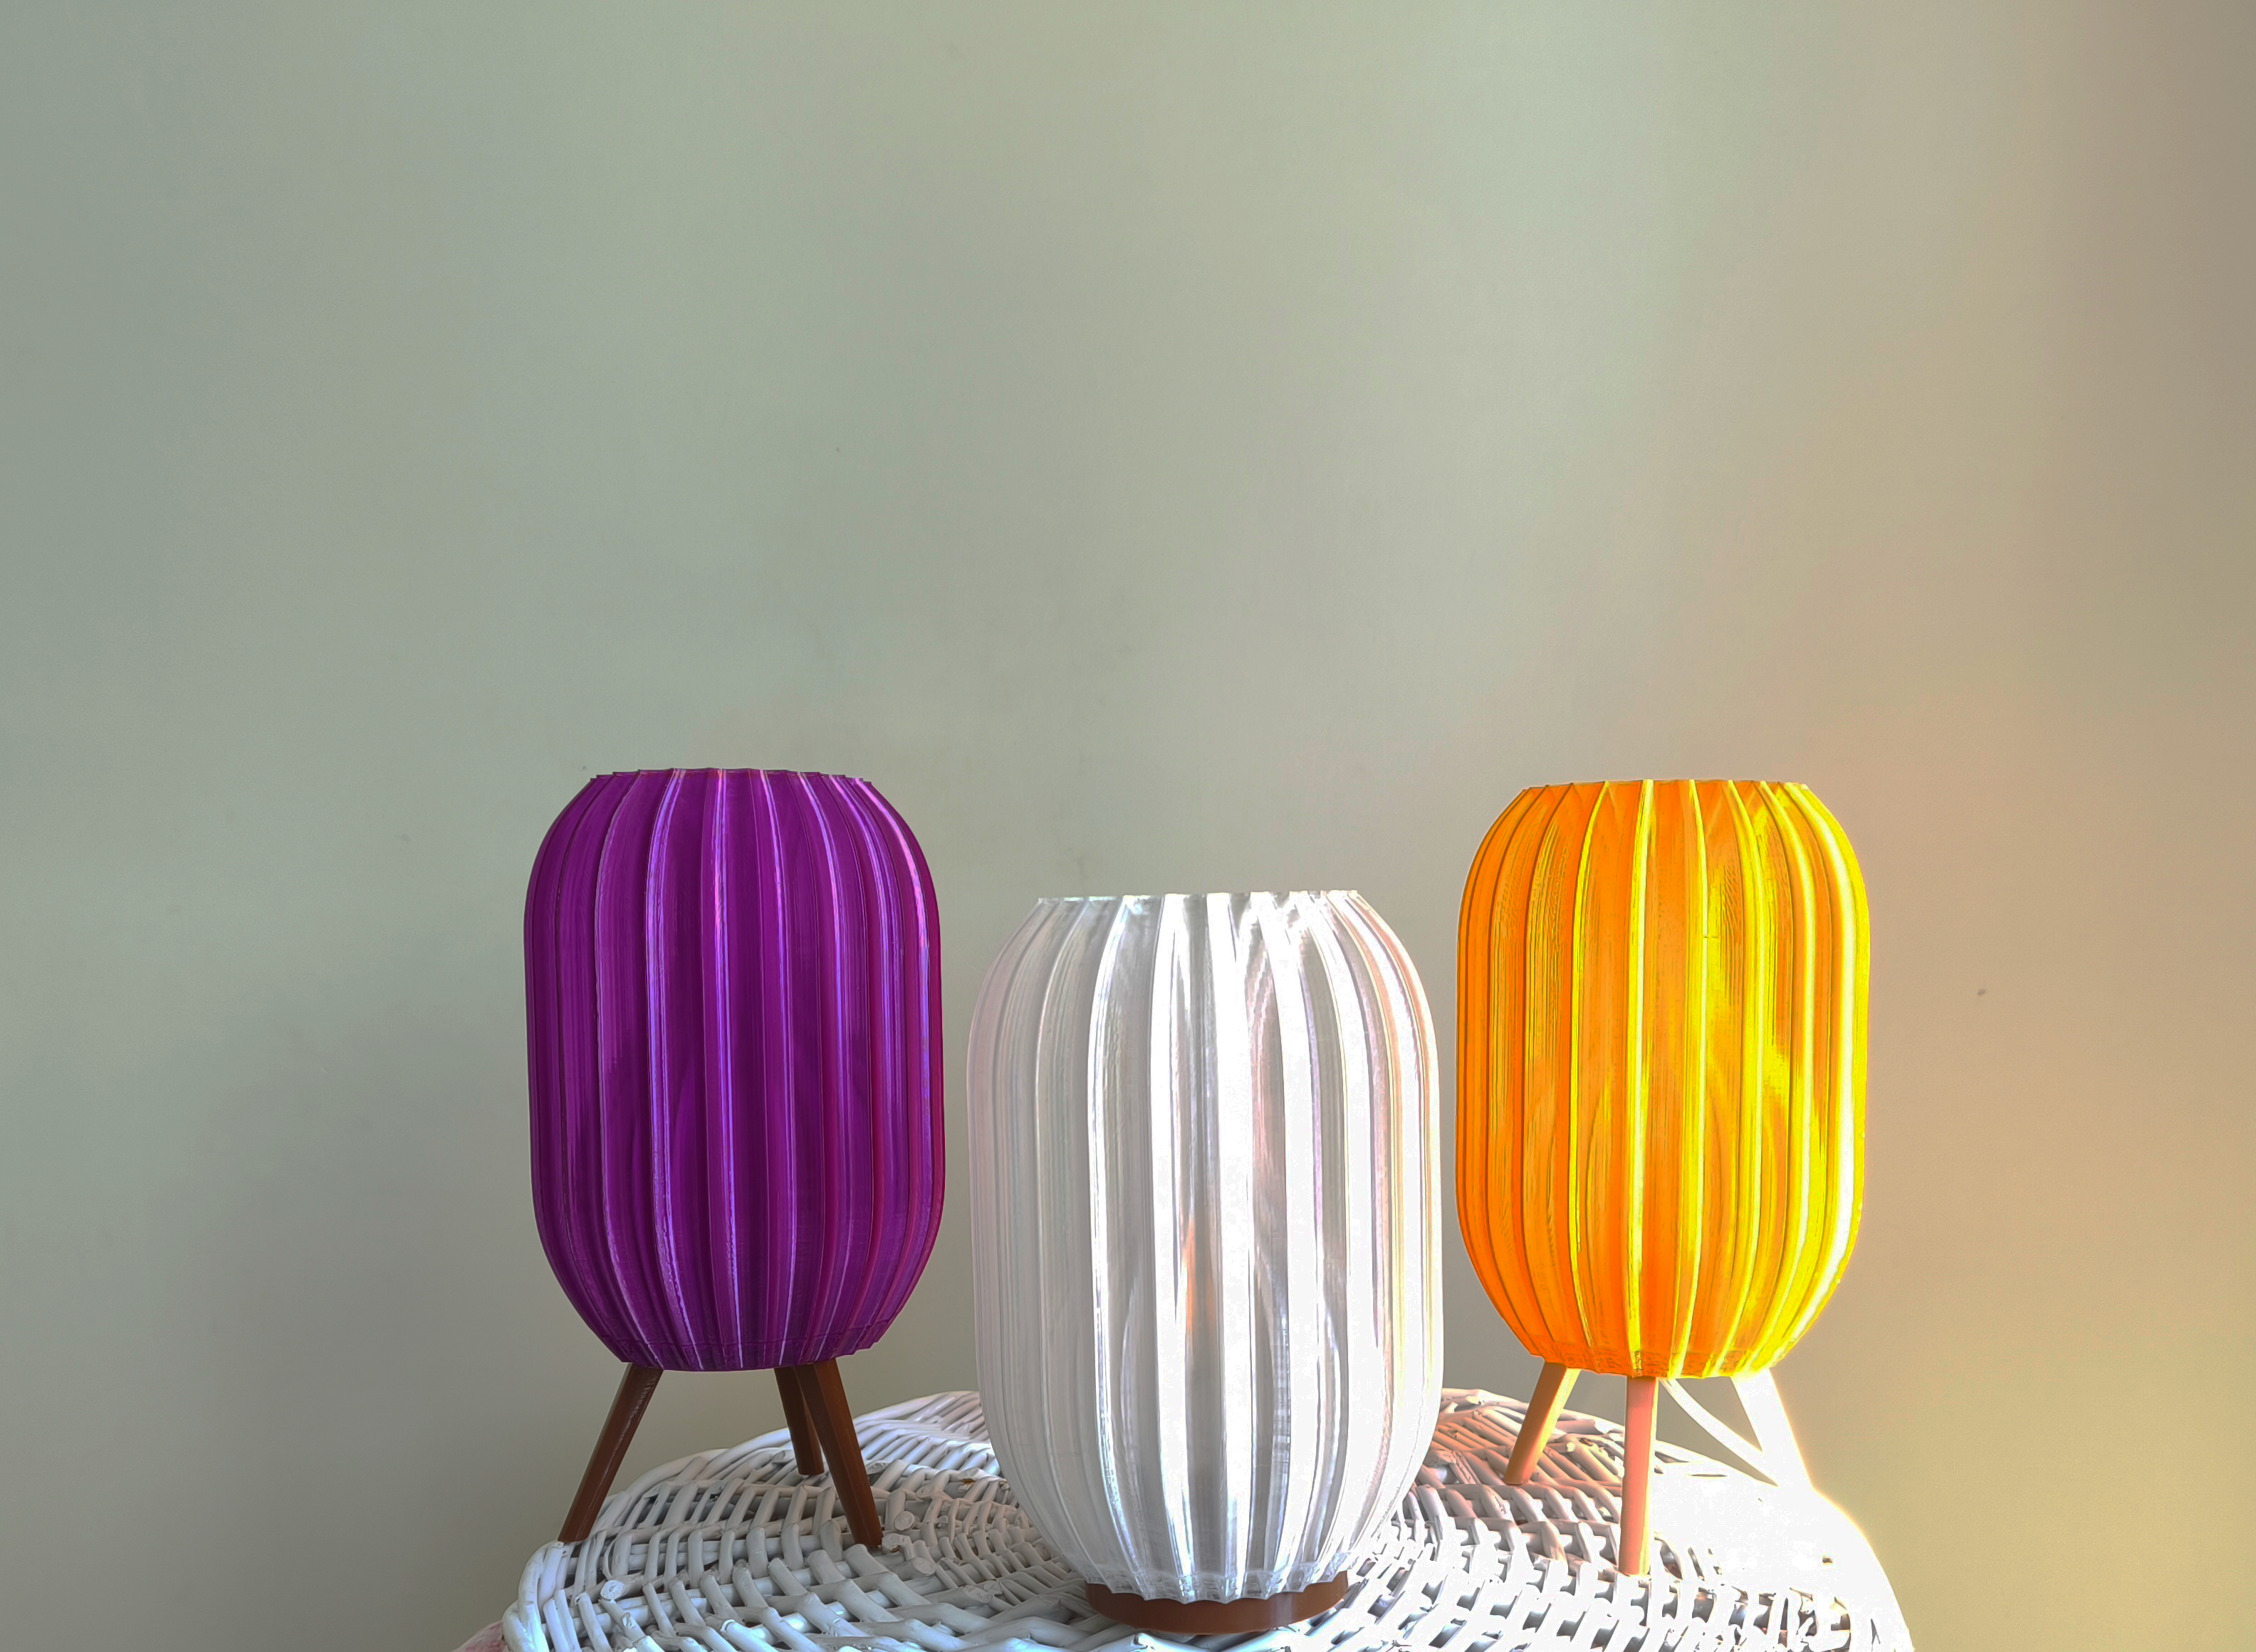
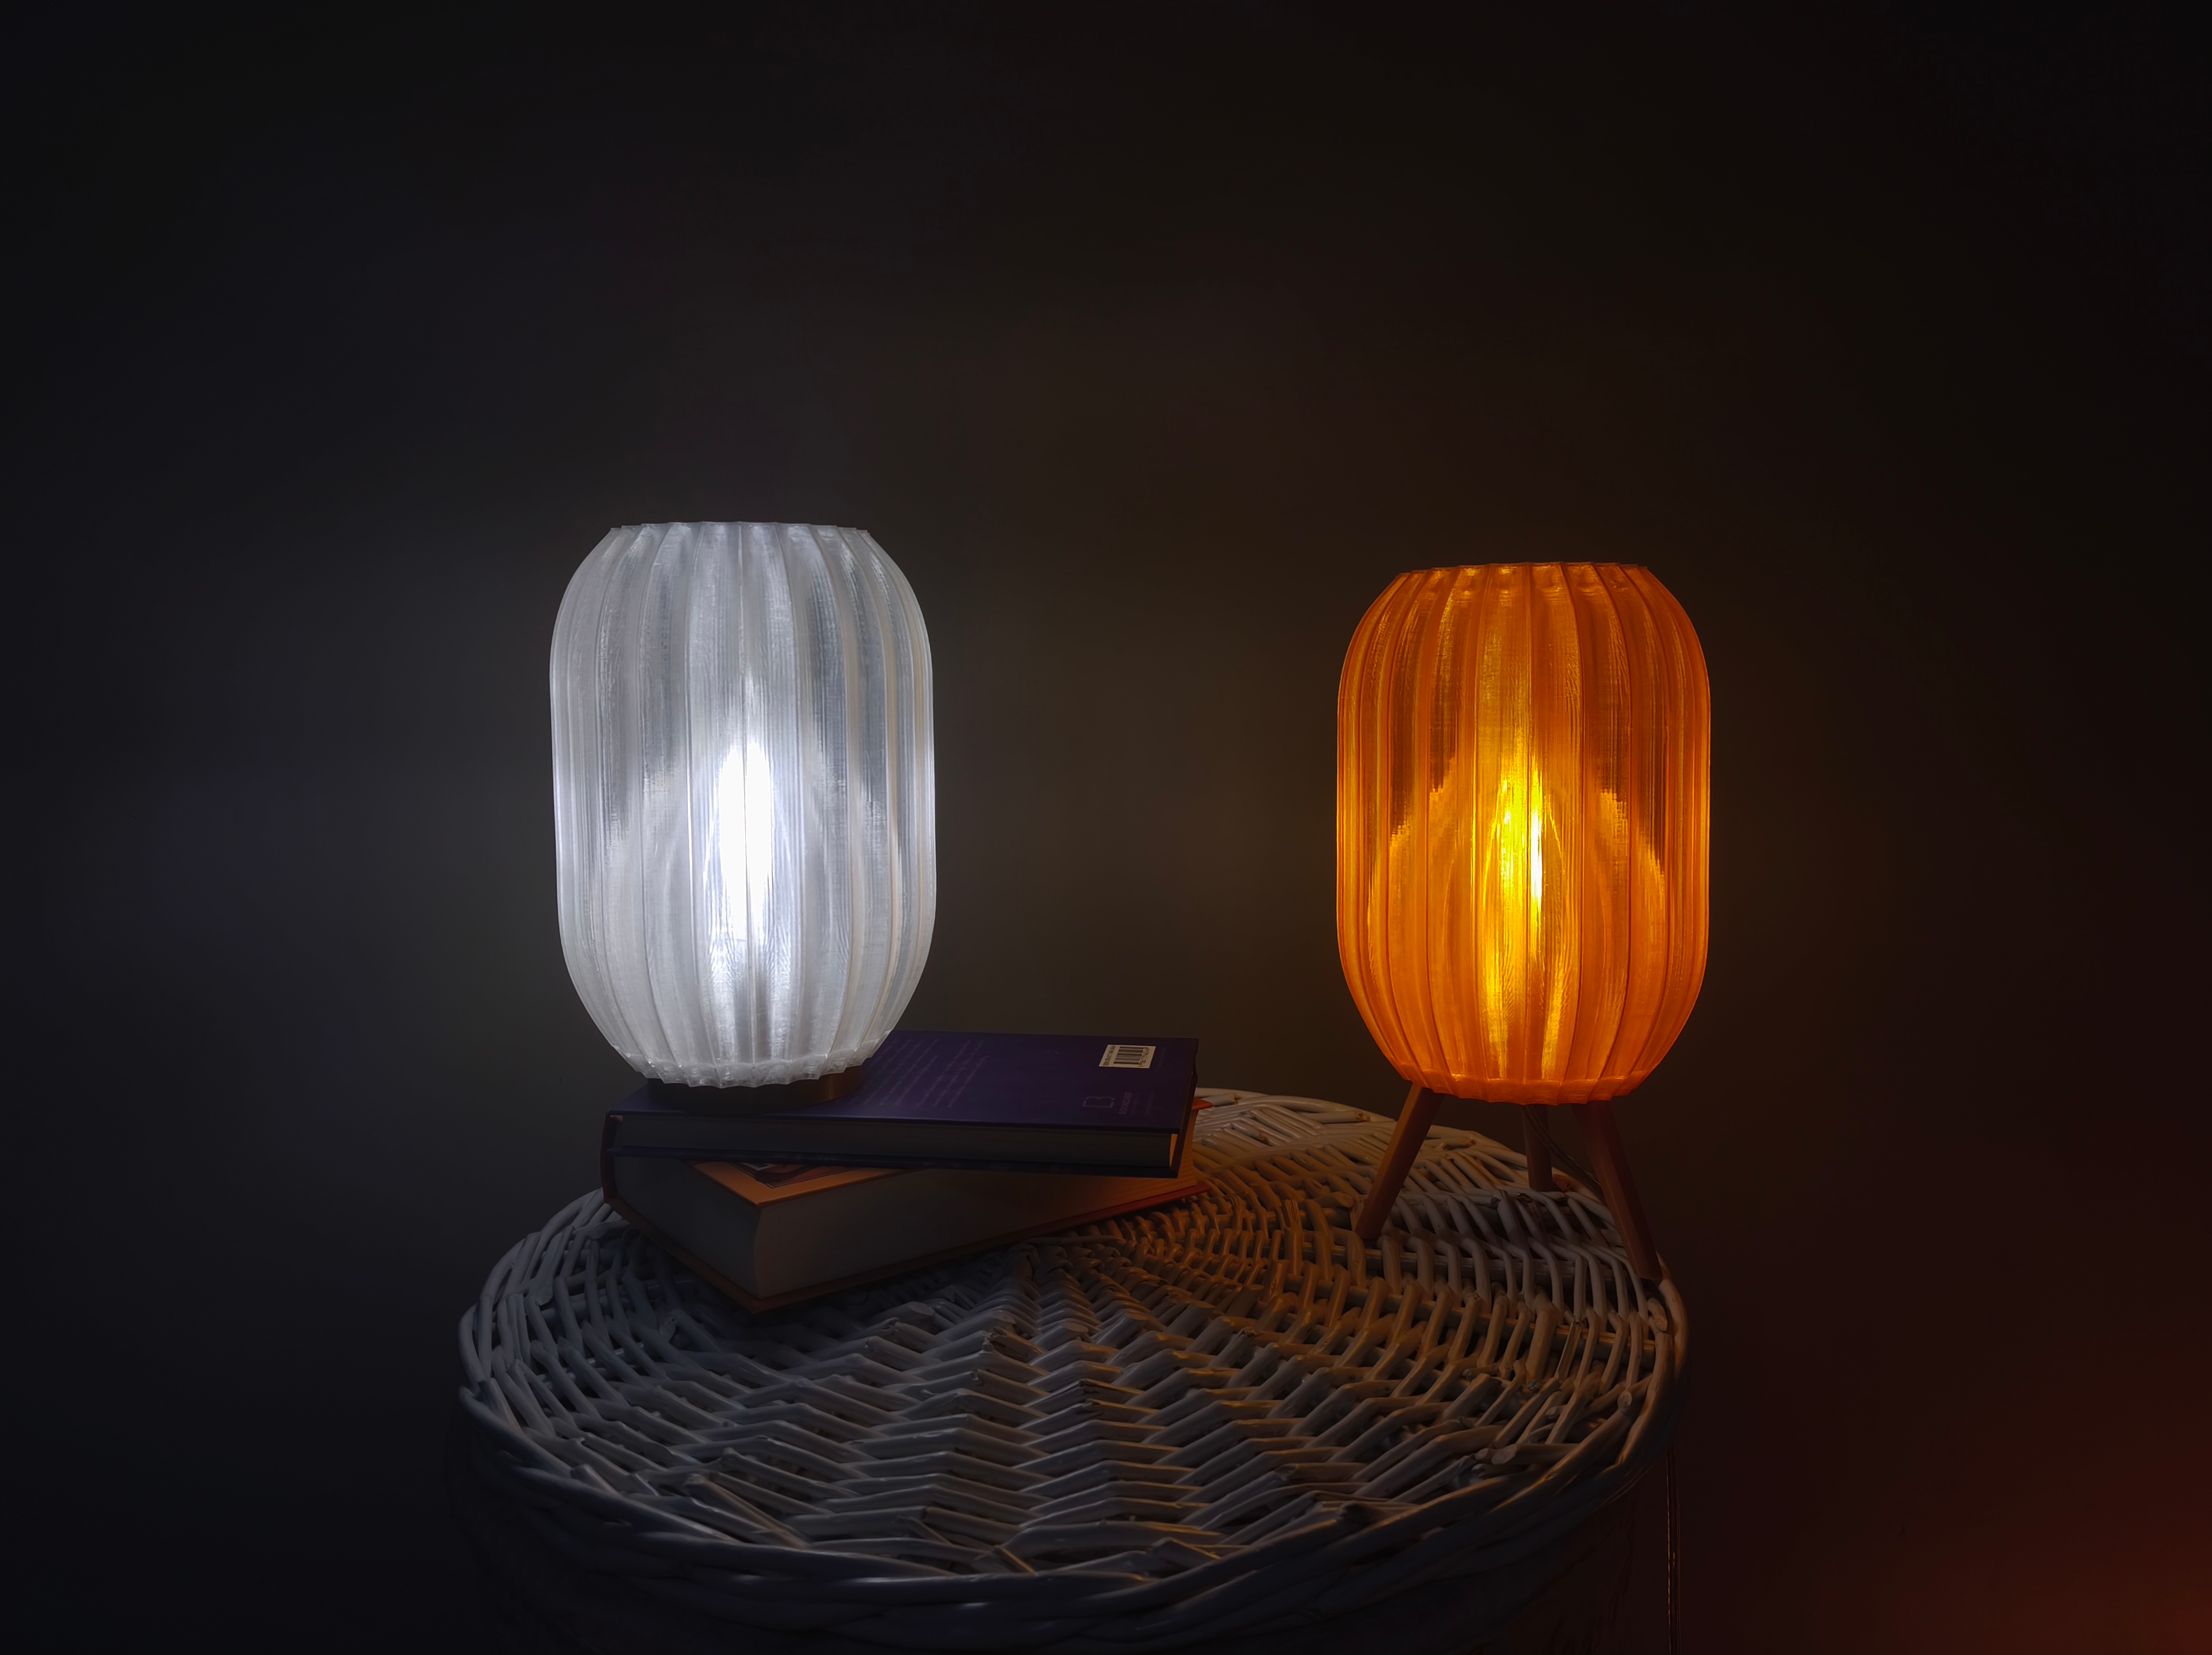
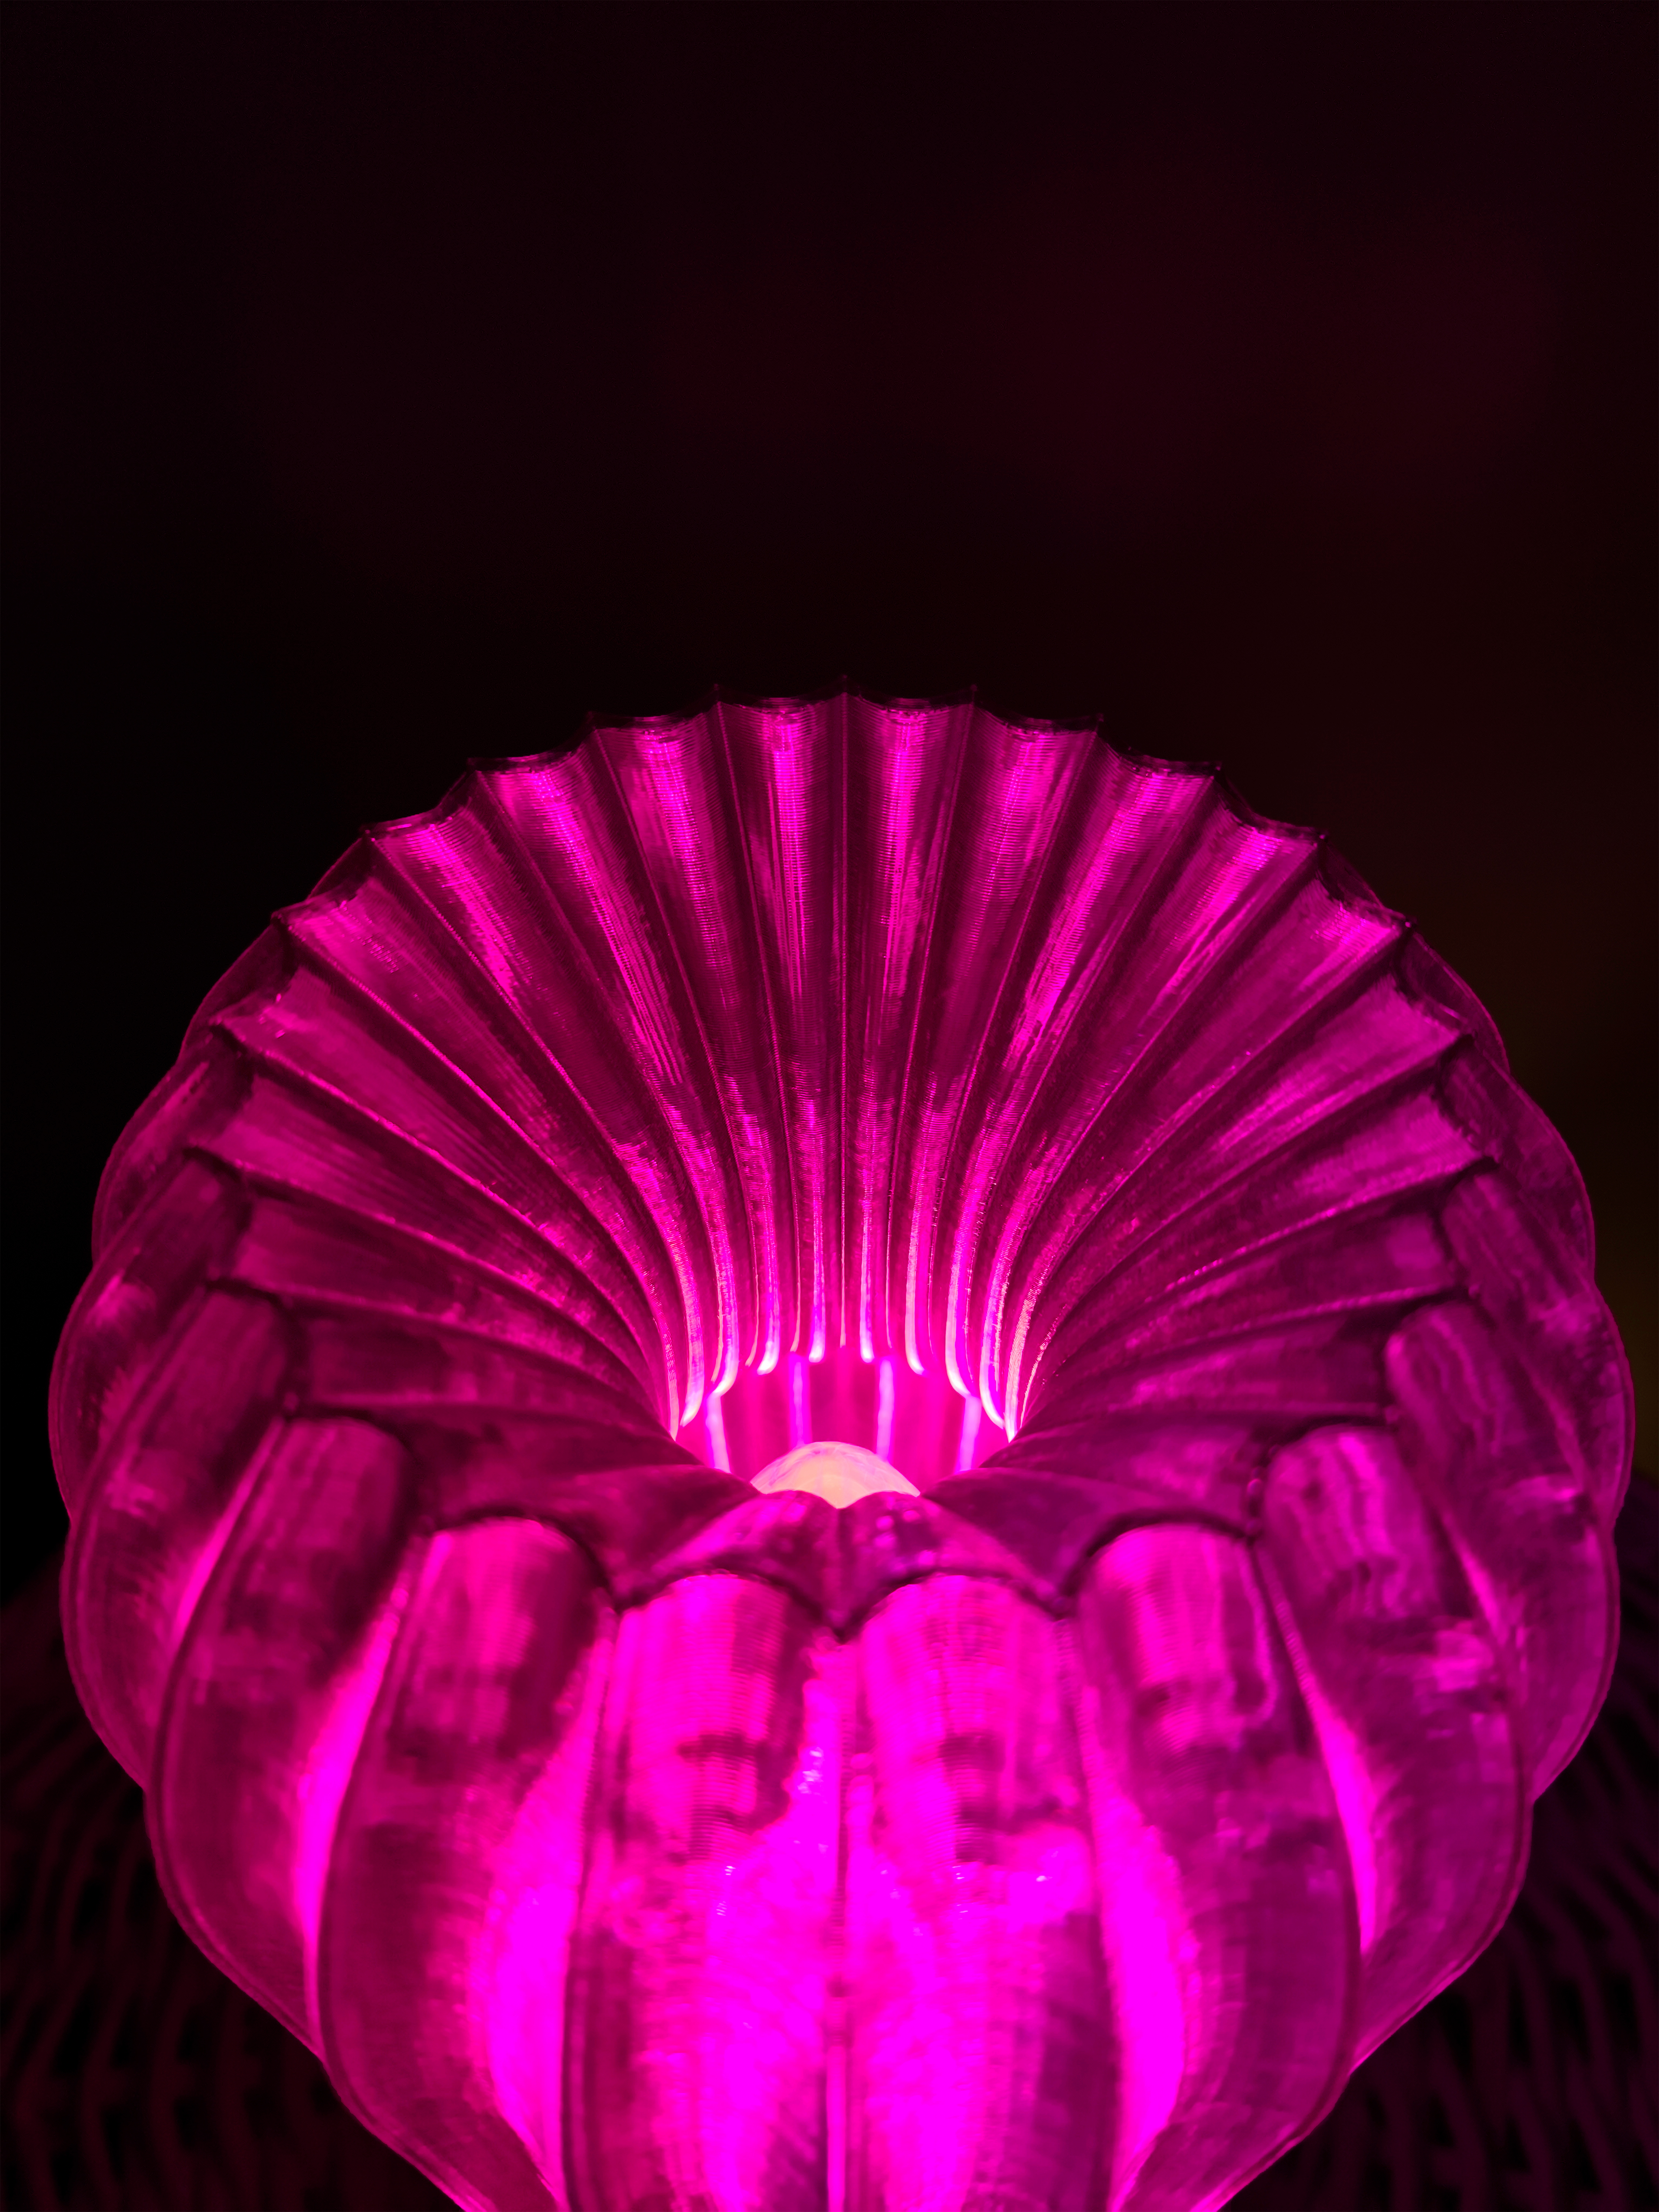
Say hello to the VORTEX Parametric Table Lamp — a cutting-edge 3D printable lighting project engineered for flawless printing, toolless assembly, and maximum visual impact. Featuring an intricate, mathematically styled double-wall lampshade with complex internal and external geometric shapes, this lamp creates a jaw-dropping optical illusion. When illuminated, the overlapping structures diffuse light into a rich, multi-layered pattern of geometric shadows and warm highlights.
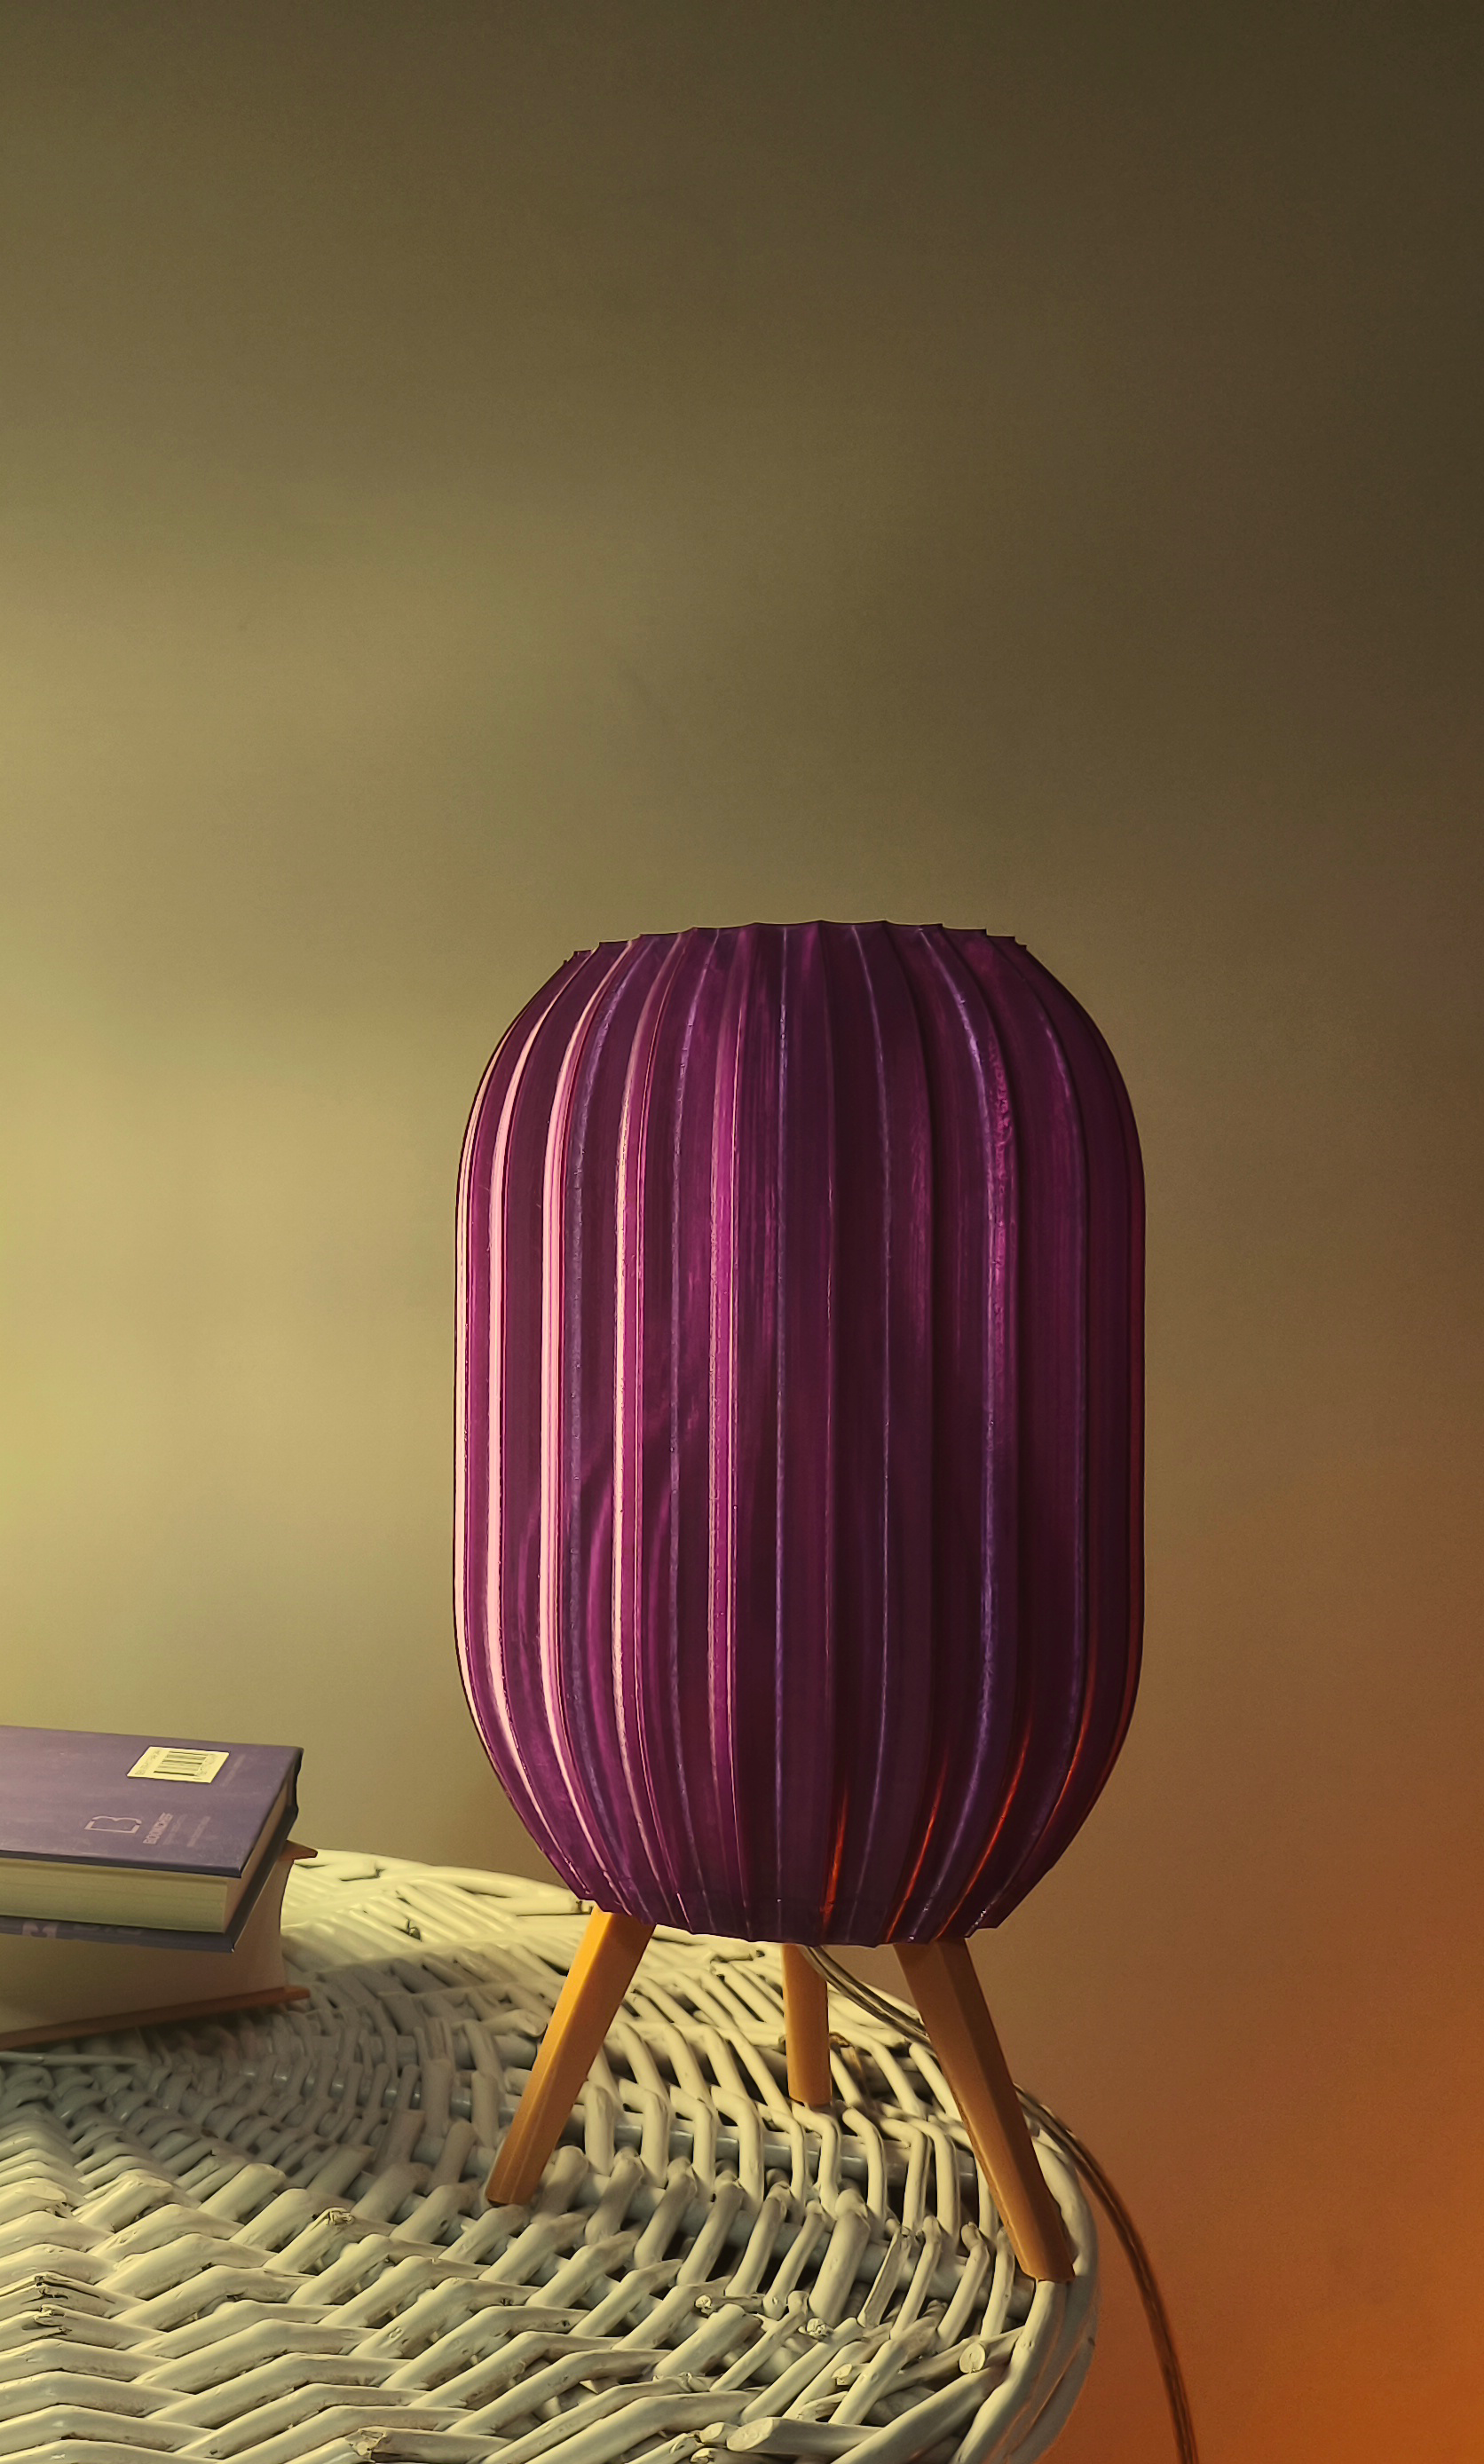
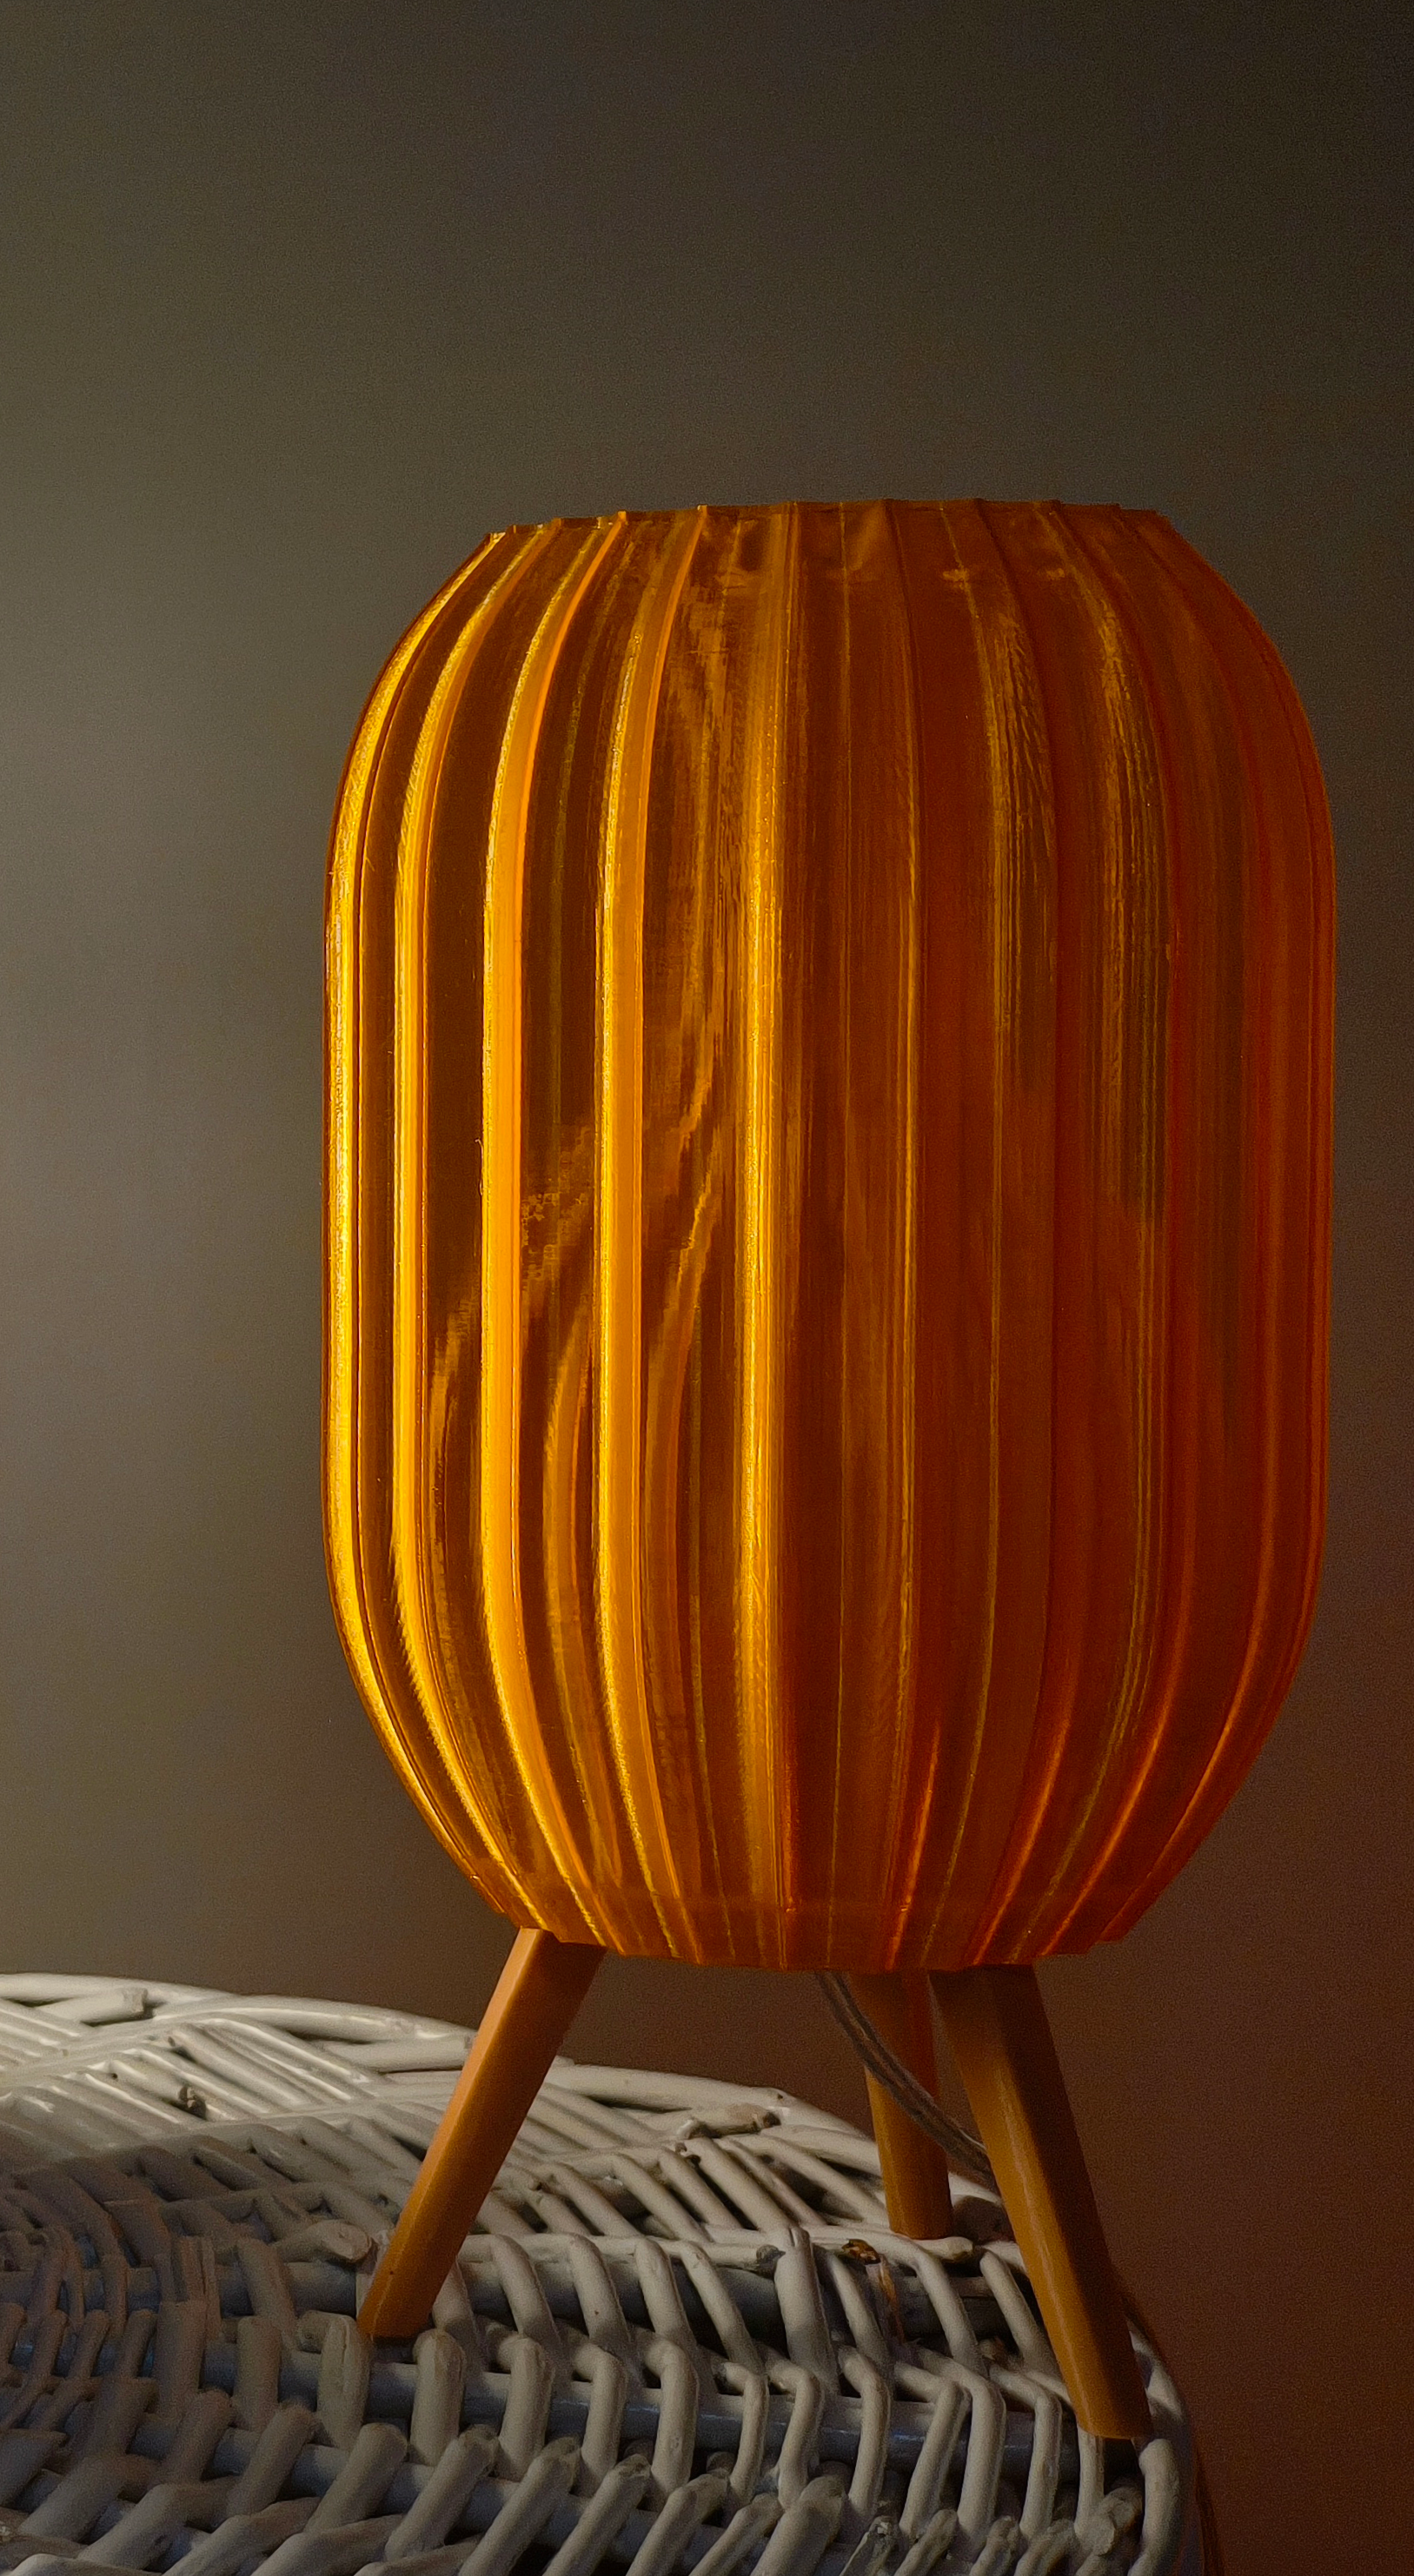
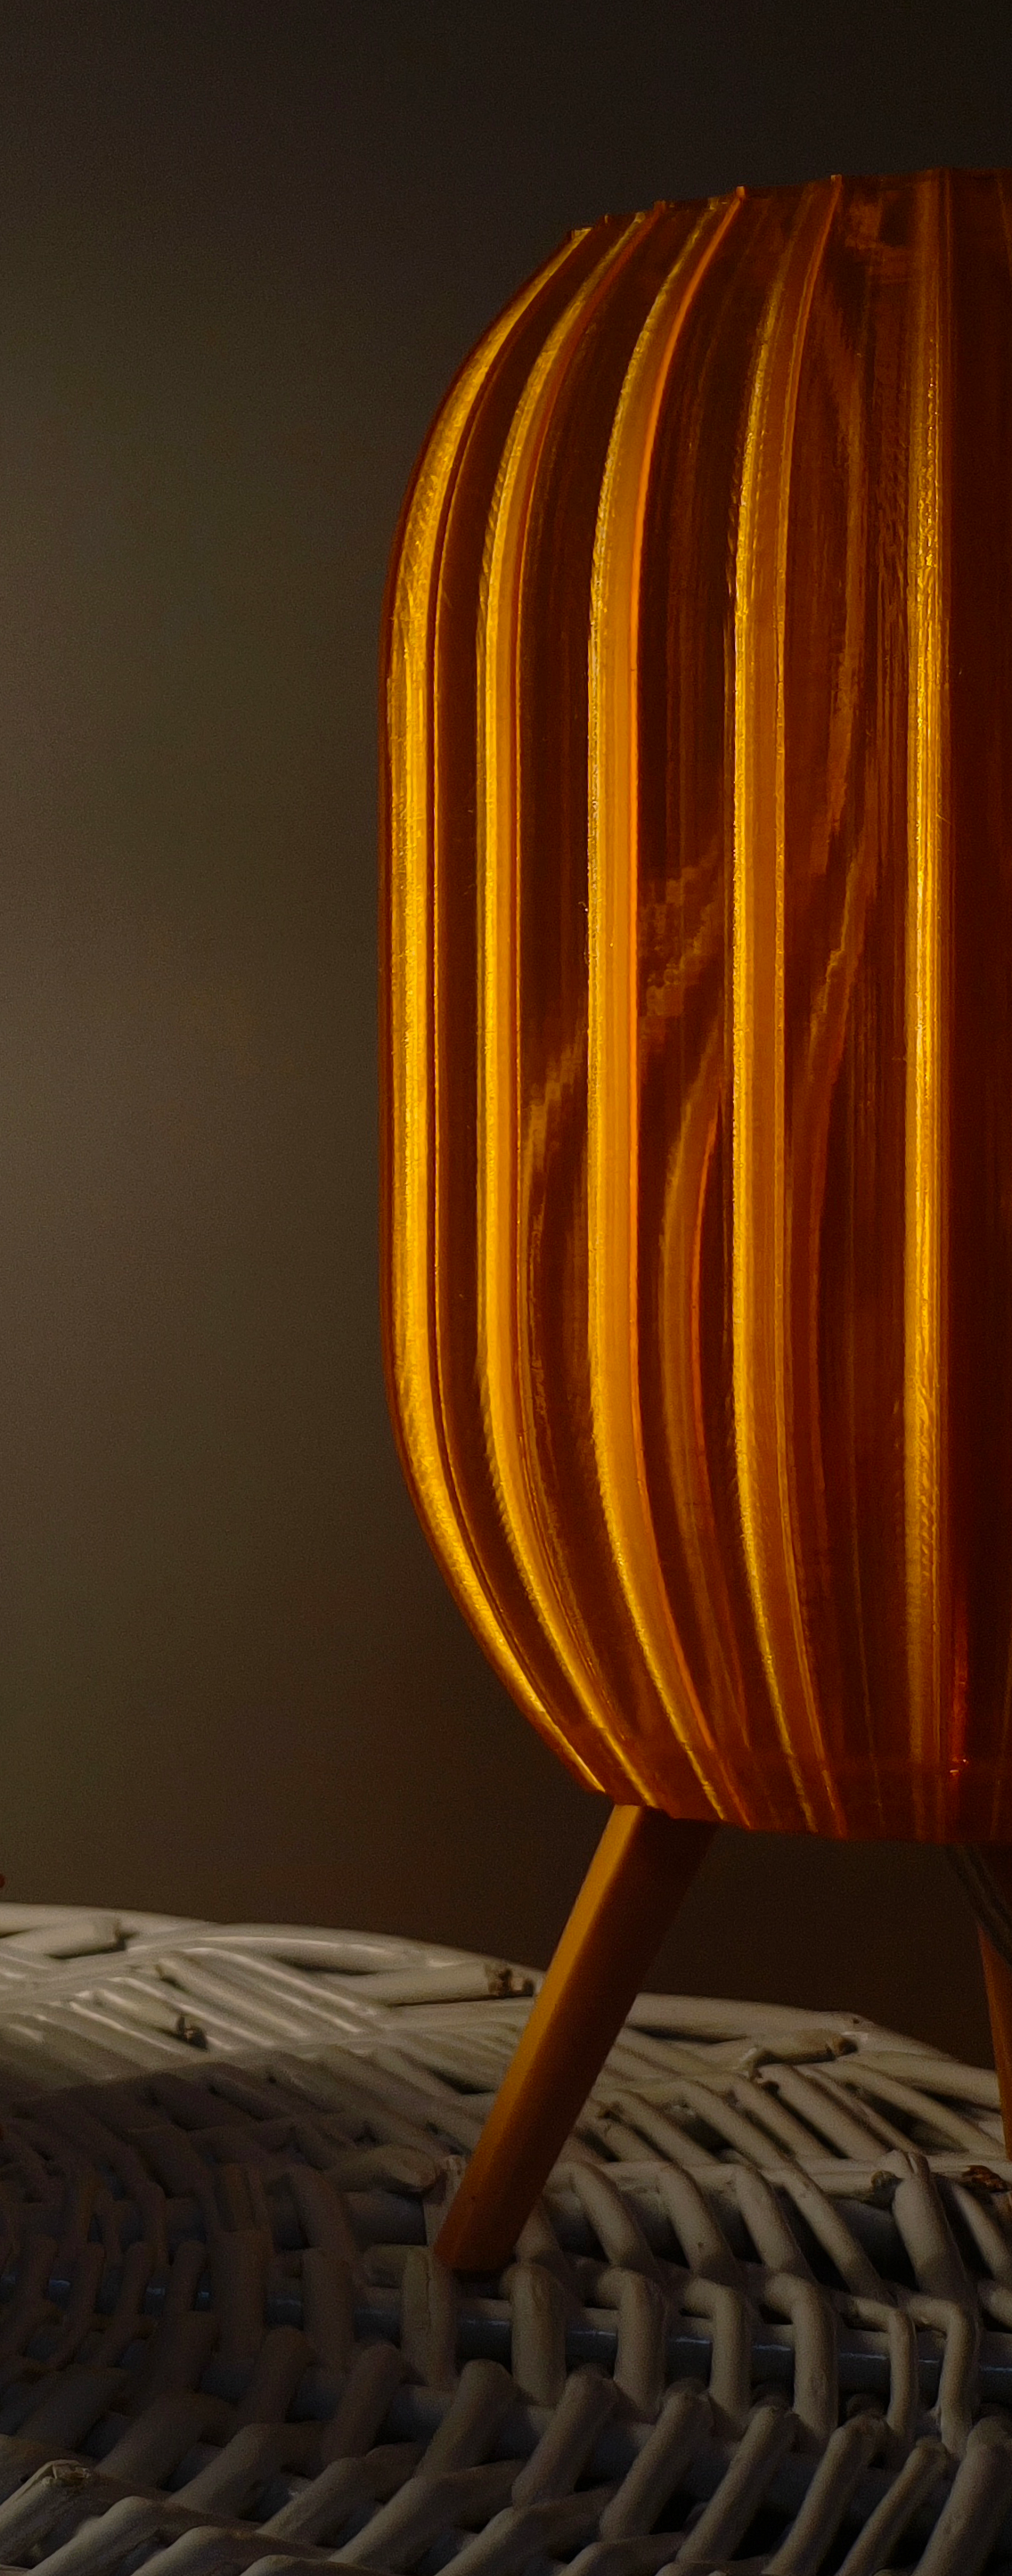
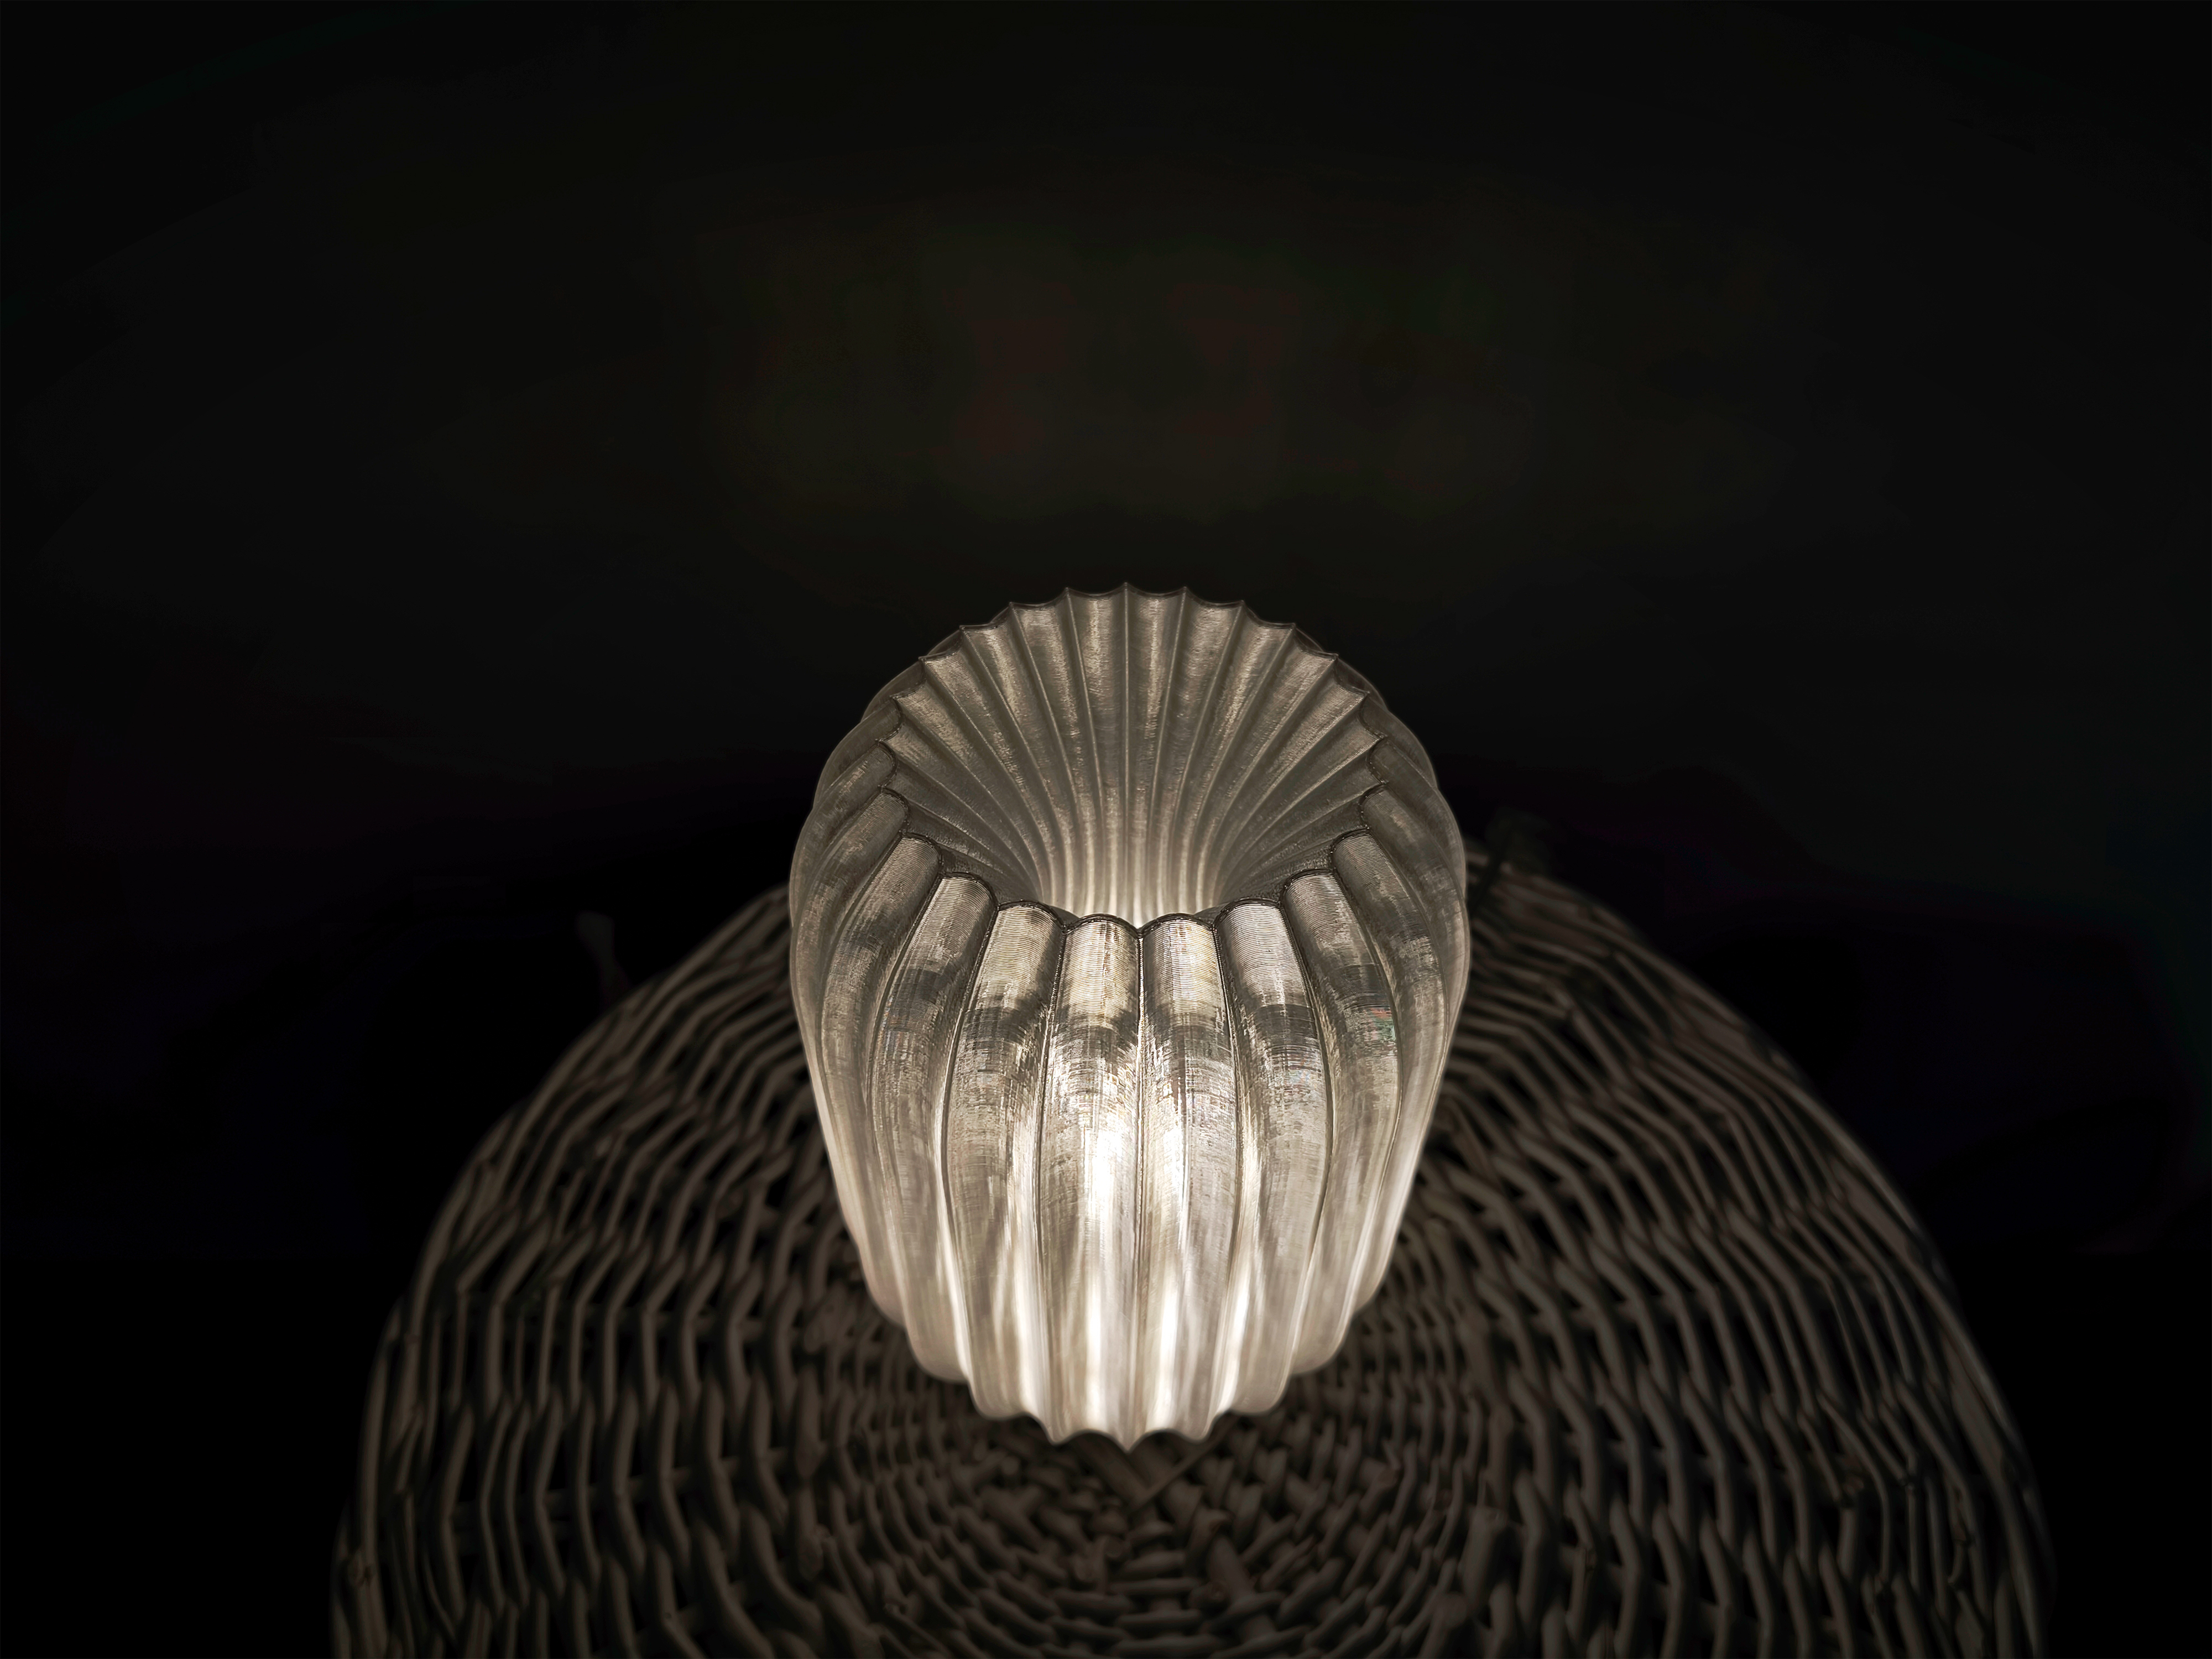
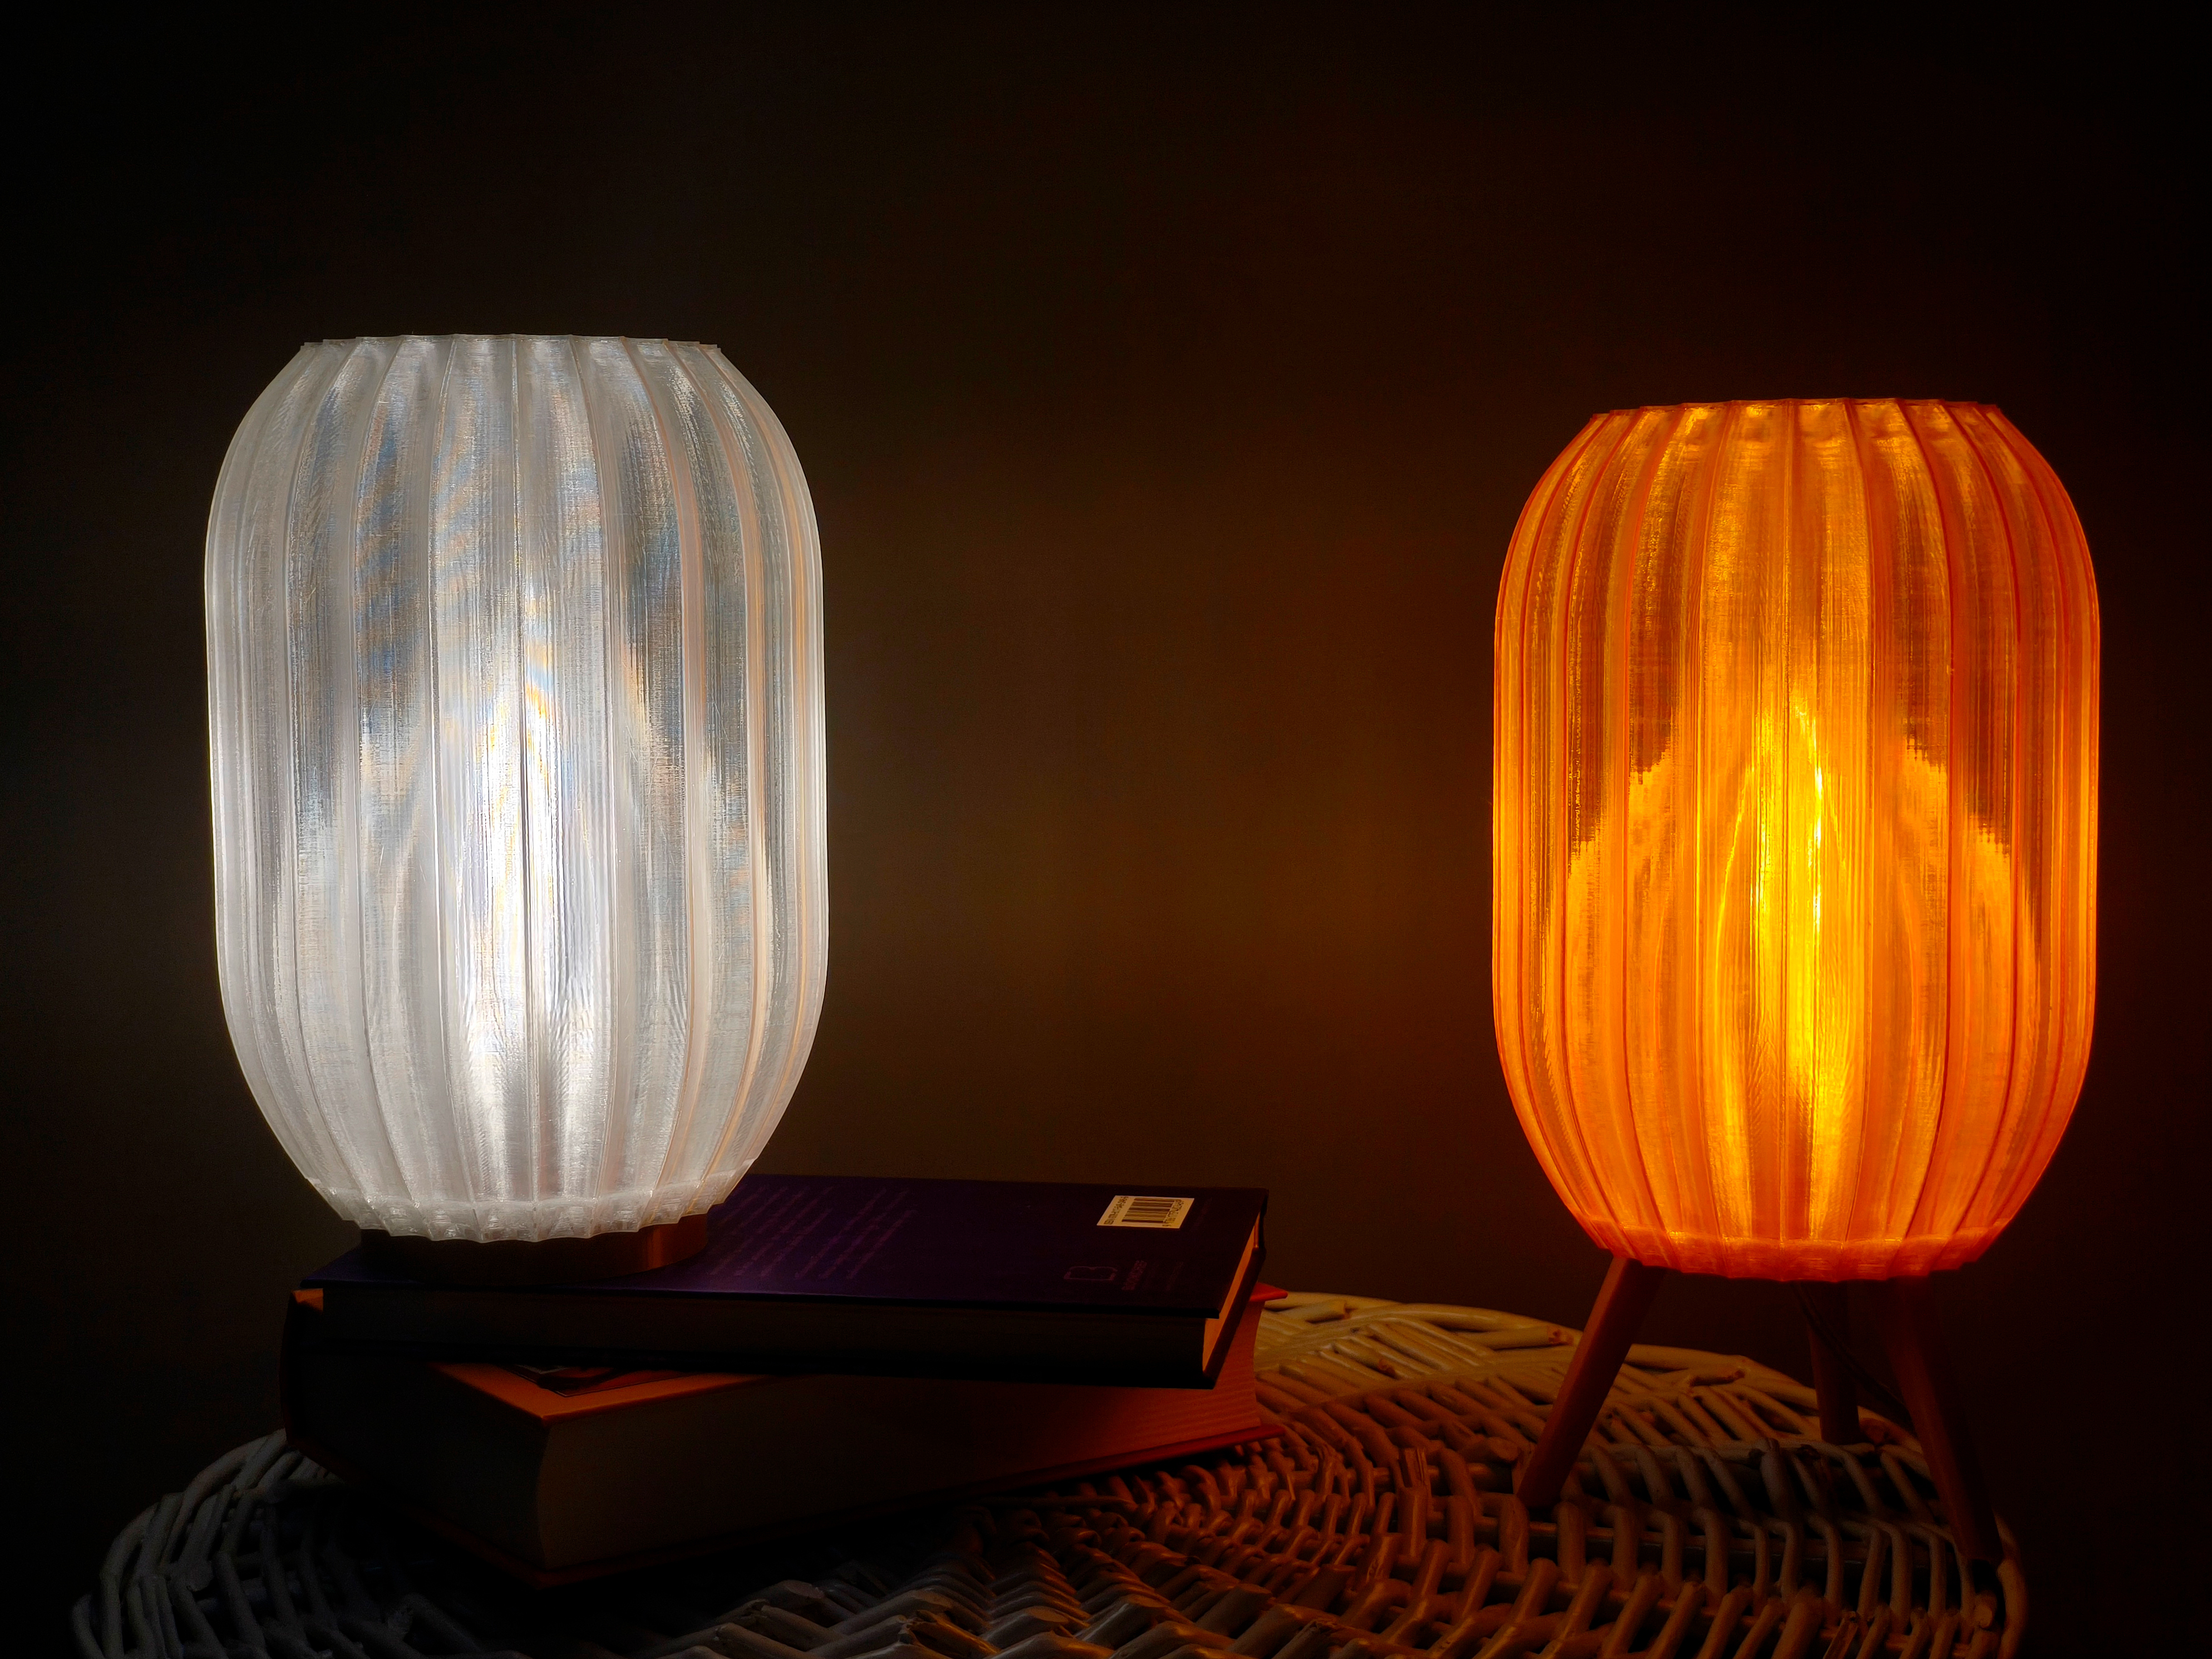
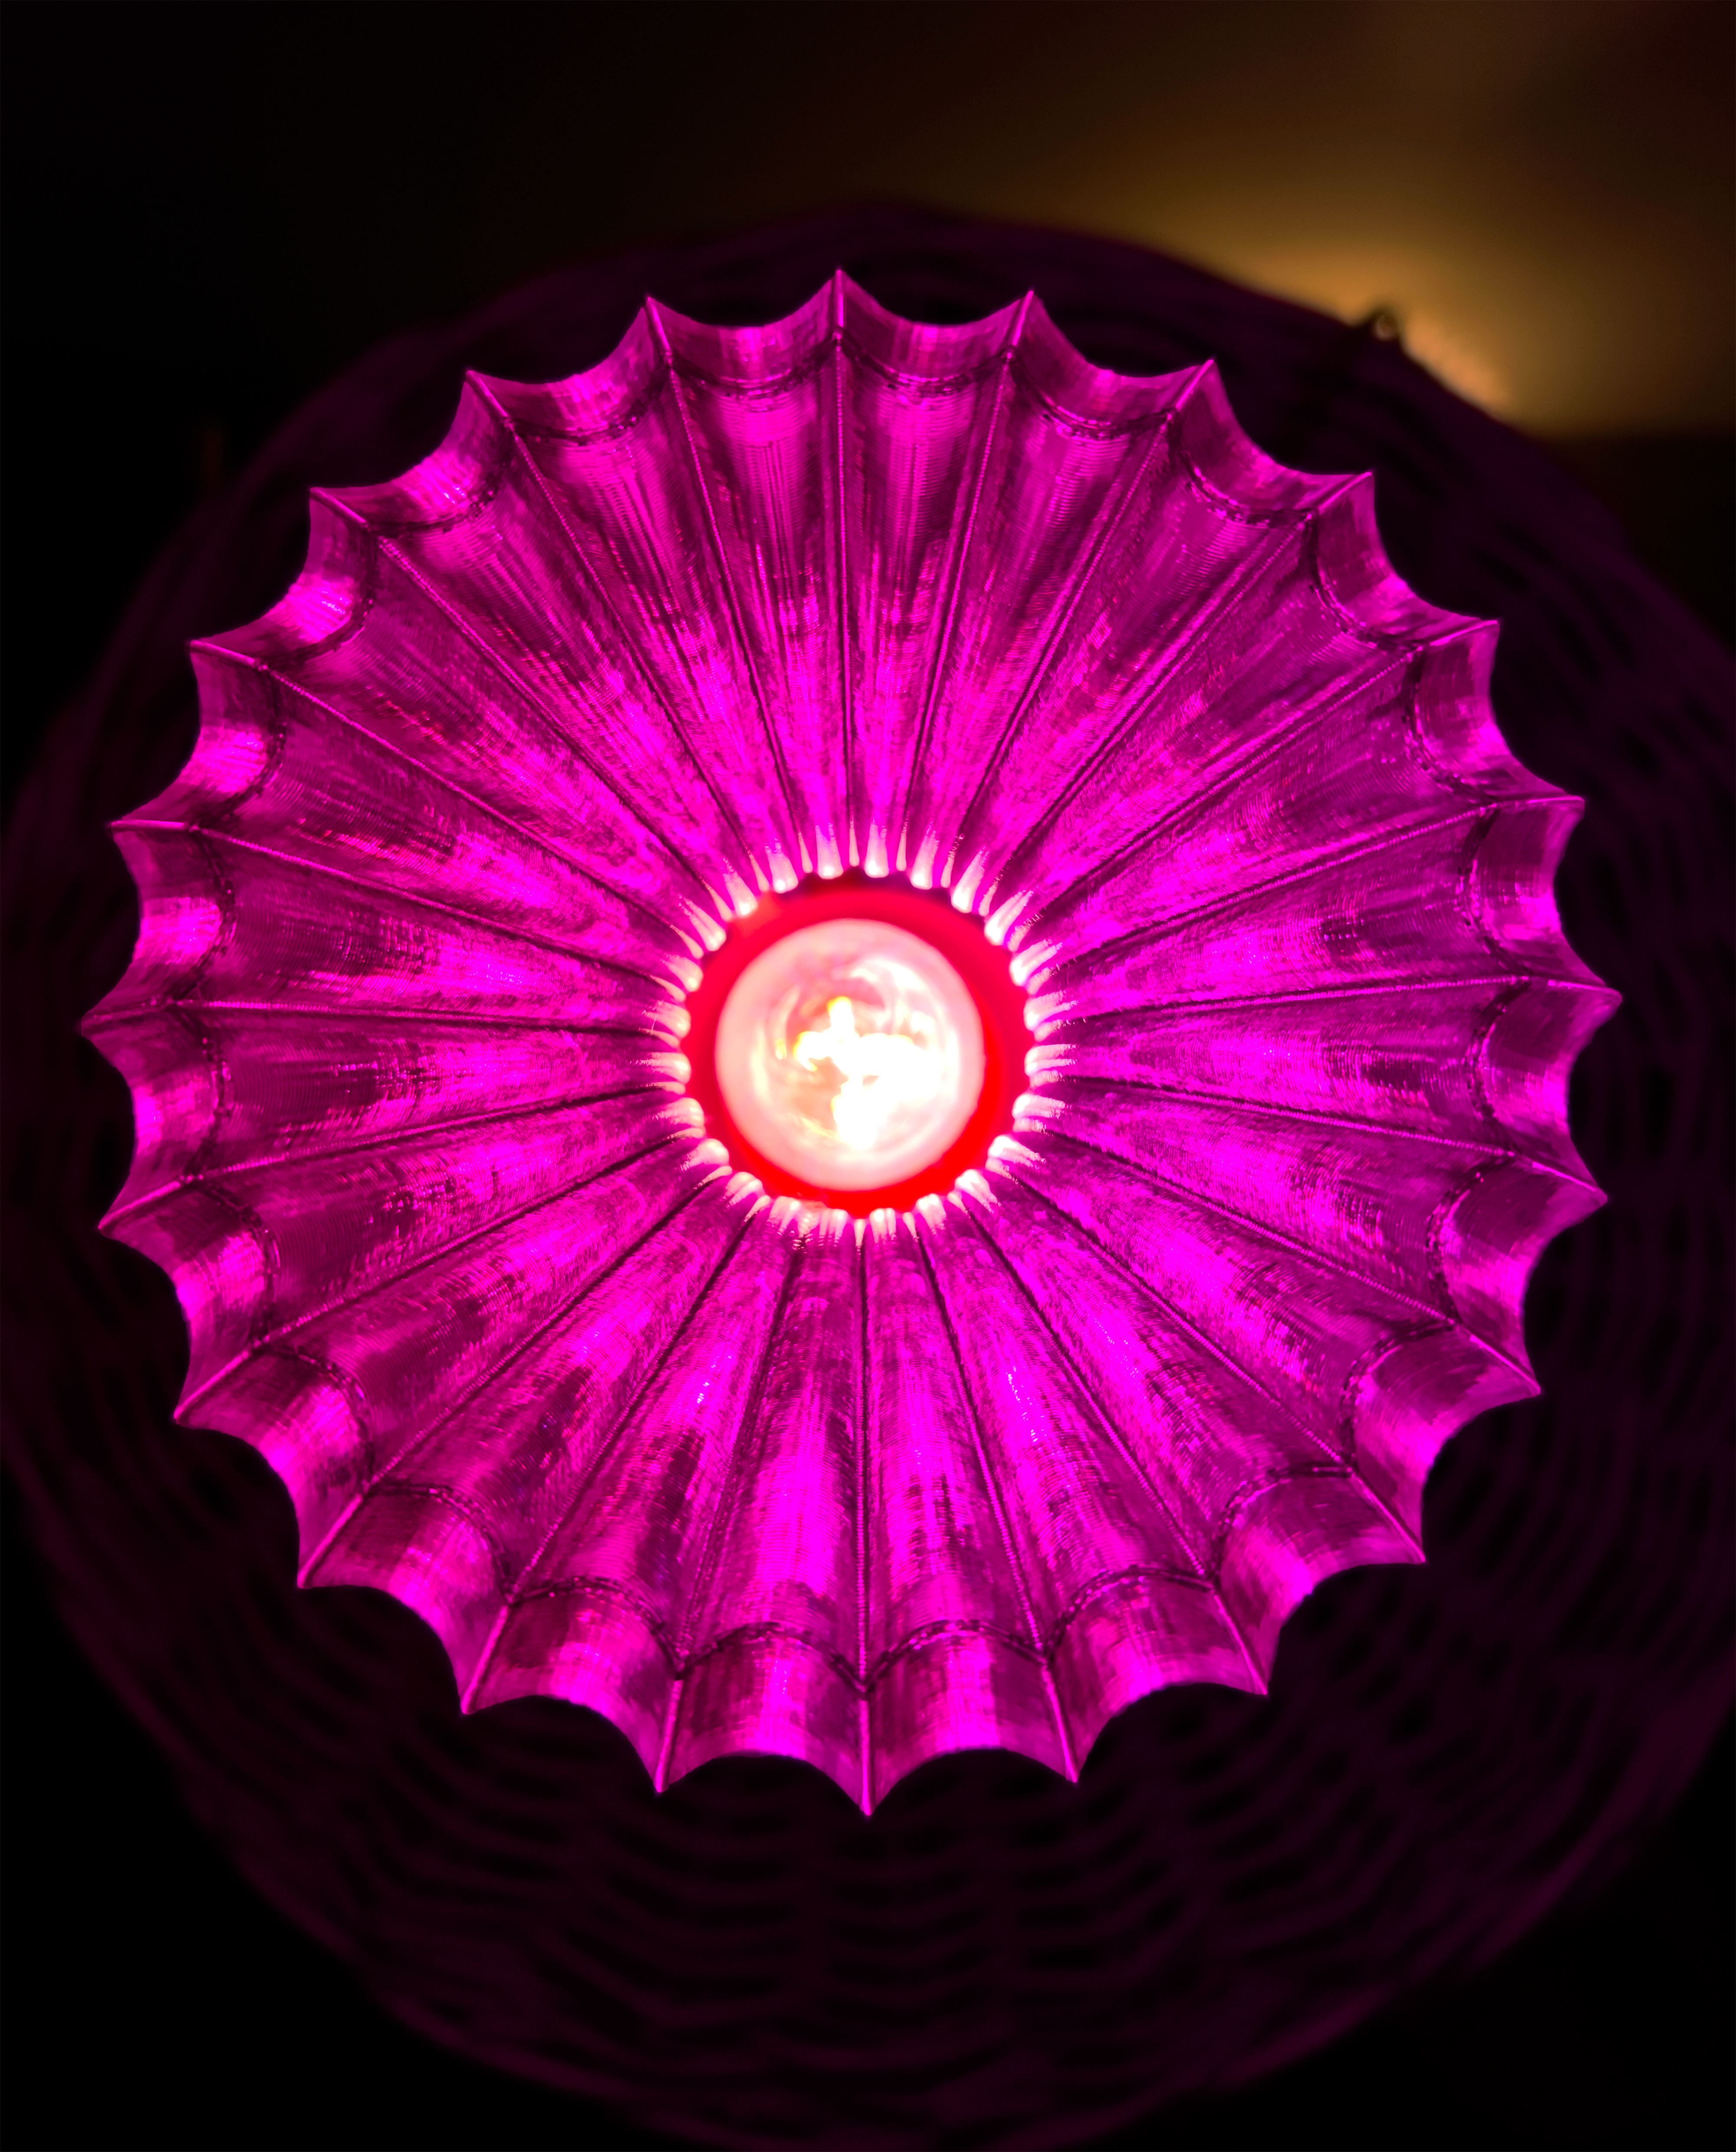
As you can see in the image, this fully modular design acts as both a functional accent light and a striking piece of modern parametric art for your home.
🛠️ MODULAR FILE PACKAGE INCLUDES:
This premium STL & 3MF package offers 2 distinct base options and 2 tailored lampshade (plafon) variants:
The Tripod Base: An elegant, mid-century modern 3-legged stand that lifts the lamp for a more dramatic, elevated presence.
The Low-Profile Base: A clean, minimalist disk base designed to sit neatly on flat surfaces, desktops, or stacked books.
Lampshade Variant A (For Low Base): Features a specialized, built-in cable routing channel at the bottom to keep the power cord completely managed and invisible.
Lampshade Variant B (For Tripod Base): Designed without the lower channel to flush-mount perfectly on top of the elevated 3-legged stand.
🔧 STEP-BY-STEP ASSEMBLY GUIDE:
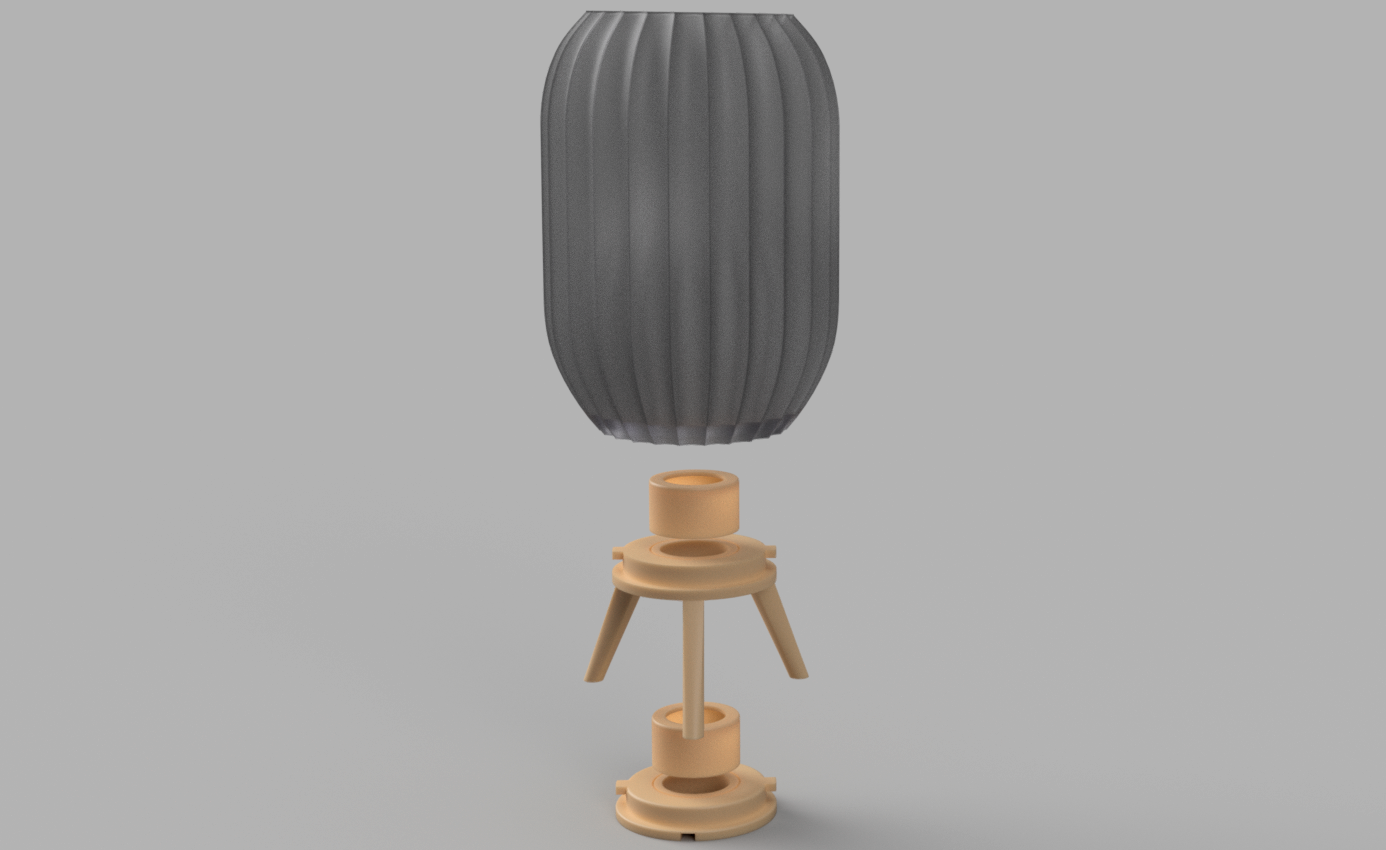
The lamp is engineered for a secure, wiggle-free build. For a complete visual breakdown of how the components layer together, please refer to the exploded view diagram in bochkz V3 POSLEDNYY v41.jpg.
Step 1 (Glue the Socket Insert): Take the small designated component meant to hold the lamp socket and glue it into the matching custom recess/slot on your chosen base.
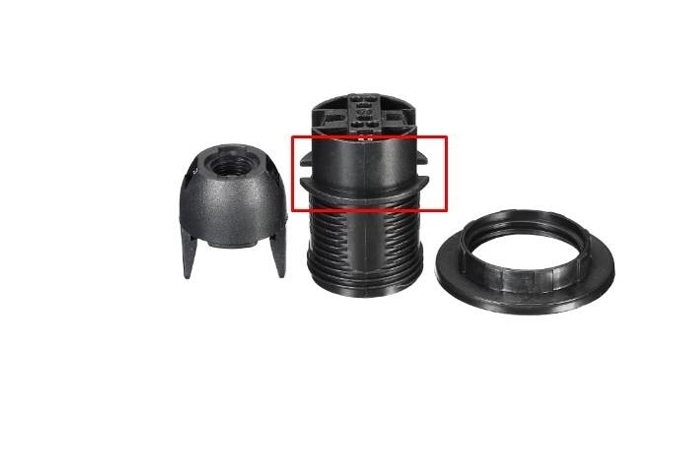
Step 2 (Install the Hardware): You must use a standard E14 lamp socket equipped with a threaded collar / shade ring (exactly as highlighted in the reference image. Push the main socket body up from the underneath/bottom of the base, then firmly screw down the included shade ring from the top side to lock the hardware securely in place.
Step 3 (Lock the Lampshade): The base features integrated rectangular tabs (protrusions). Simply align and insert these tabs into the corresponding rectangular slots on the bottom of the lampshade, then give it a smooth twist to firmly lock the lampshade onto the base.
💡 MATERIAL SPECIFICATIONS:
Socket & Bulb: Designed for E14 LED bulbs (strictly use LED to prevent heat accumulation inside the lampshade).
The Filament Secret: To achieve the mesmerizing, premium crystalline transparency and glowing depth shown in the image, you must print the lampshade using Translucent/Transparent PETG filament. Opaque materials will block the internal dual-wall geometry and nullify the optical illusion effect.
📦 WHAT YOU WILL DOWNLOAD:
Production-ready, clean.STL files.
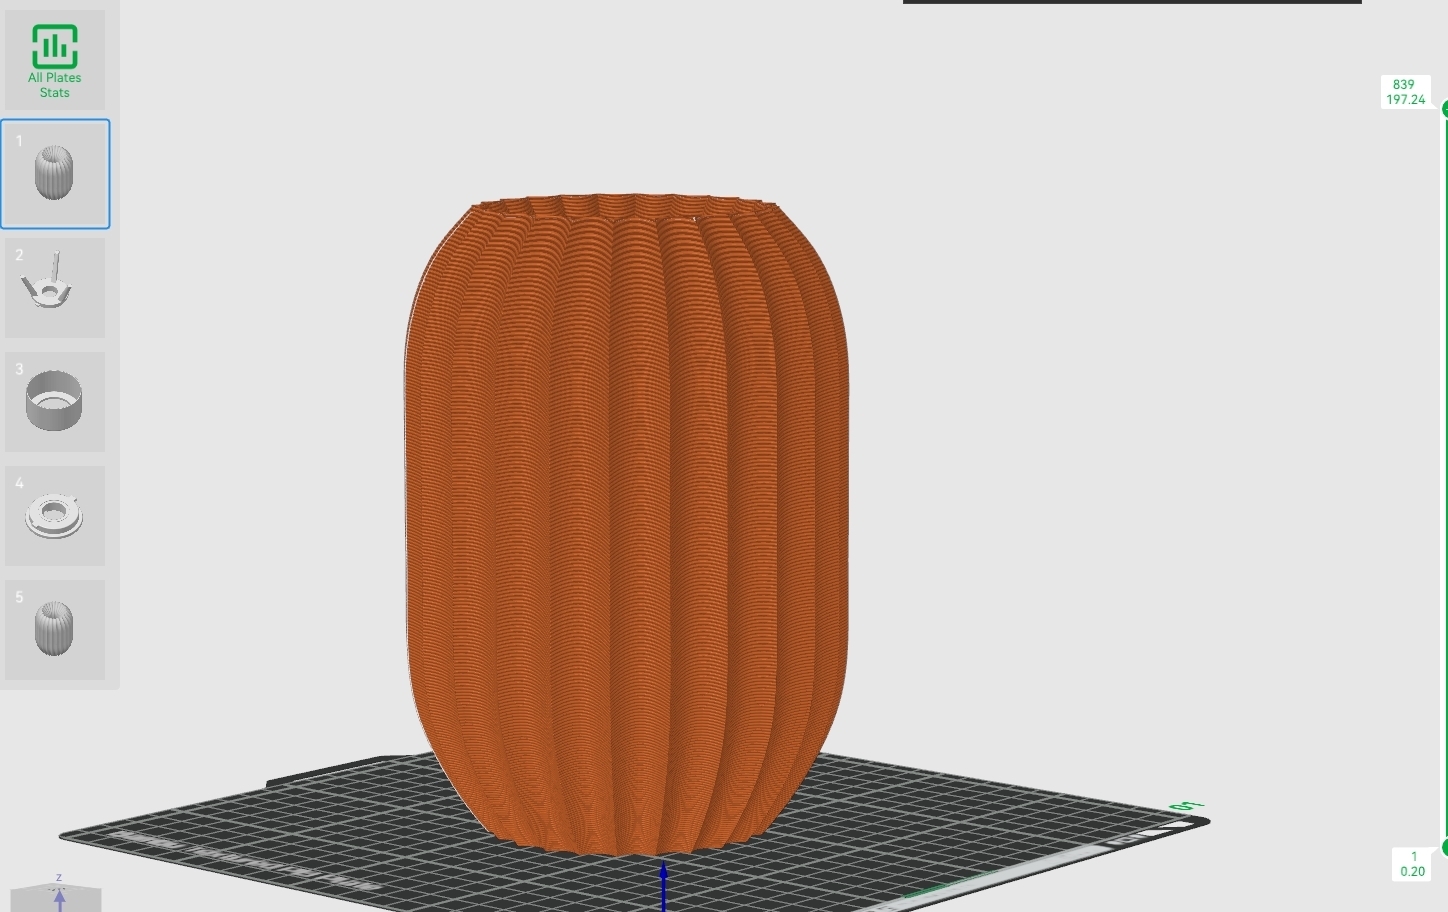
A pre-configured .3MF project file built in Bambu Studio and verified on the Bambu Lab A1 for a guaranteed successful print right out of the box.
For personal use only. If you wish to sell physical 3D prints of this design, please contact us for commercial licensing options.



:format(webp)/https://fbi.cults3d.com/uploaders/49150943/illustration-file/f30c7477-b891-43d2-8d3d-b5107ea6e3bd/7.jpg)
:format(webp)/https://fbi.cults3d.com/uploaders/49150943/illustration-file/f2de6d85-1f50-456e-af90-fa67deec9fa9/1.jpg)
:format(webp)/https://fbi.cults3d.com/uploaders/49150943/illustration-file/8ae2555c-a332-4f80-b0e3-4074e74883a6/6.jpg)
:format(webp)/https://fbi.cults3d.com/uploaders/49150943/illustration-file/8e0a4aab-adda-4a2d-8376-ccec0a3ea3db/4.jpg)
:format(webp)/https://fbi.cults3d.com/uploaders/49150943/illustration-file/c39a48df-9501-4fa8-946c-9febcca5d24a/1.jpg)
:format(webp)/https://fbi.cults3d.com/uploaders/49150943/illustration-file/01efc27a-21b1-4d4c-bf87-e987d5f90906/Screenshot_473.jpg)
:format(webp)/https://fbi.cults3d.com/uploaders/49150943/illustration-file/7dd2599e-bc5b-4e3e-adb7-7bd7ac38f764/1.jpg)