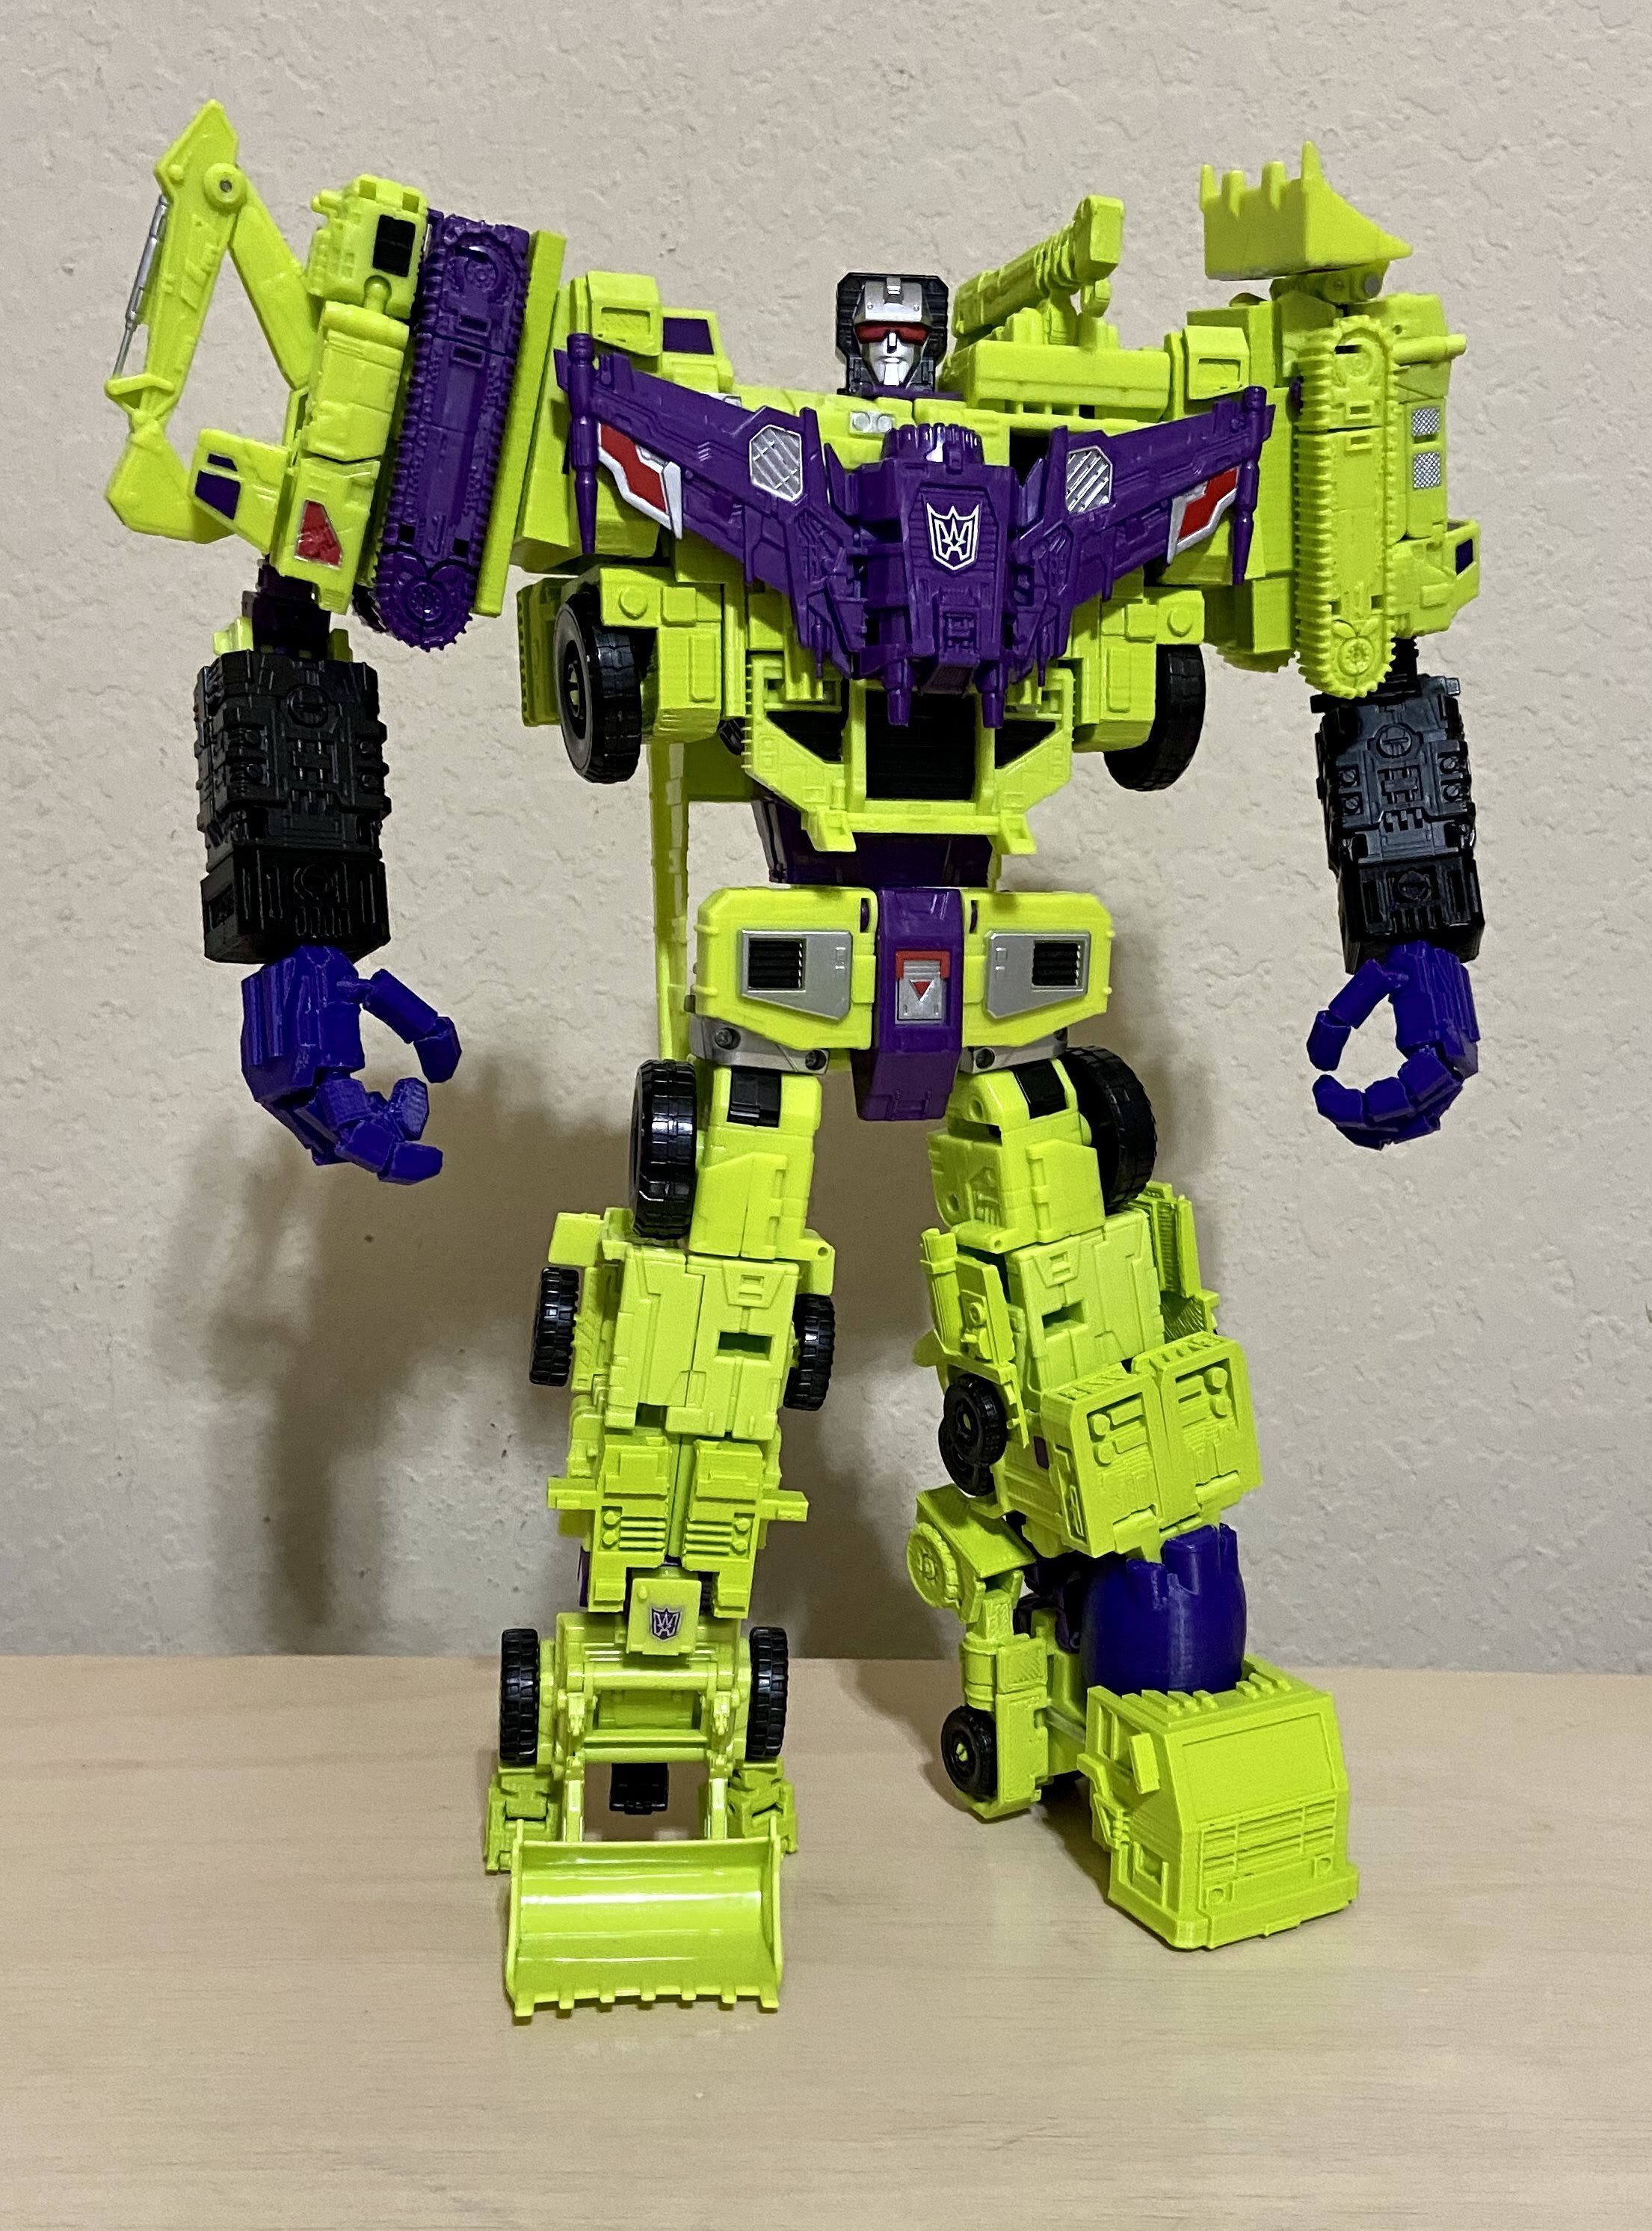
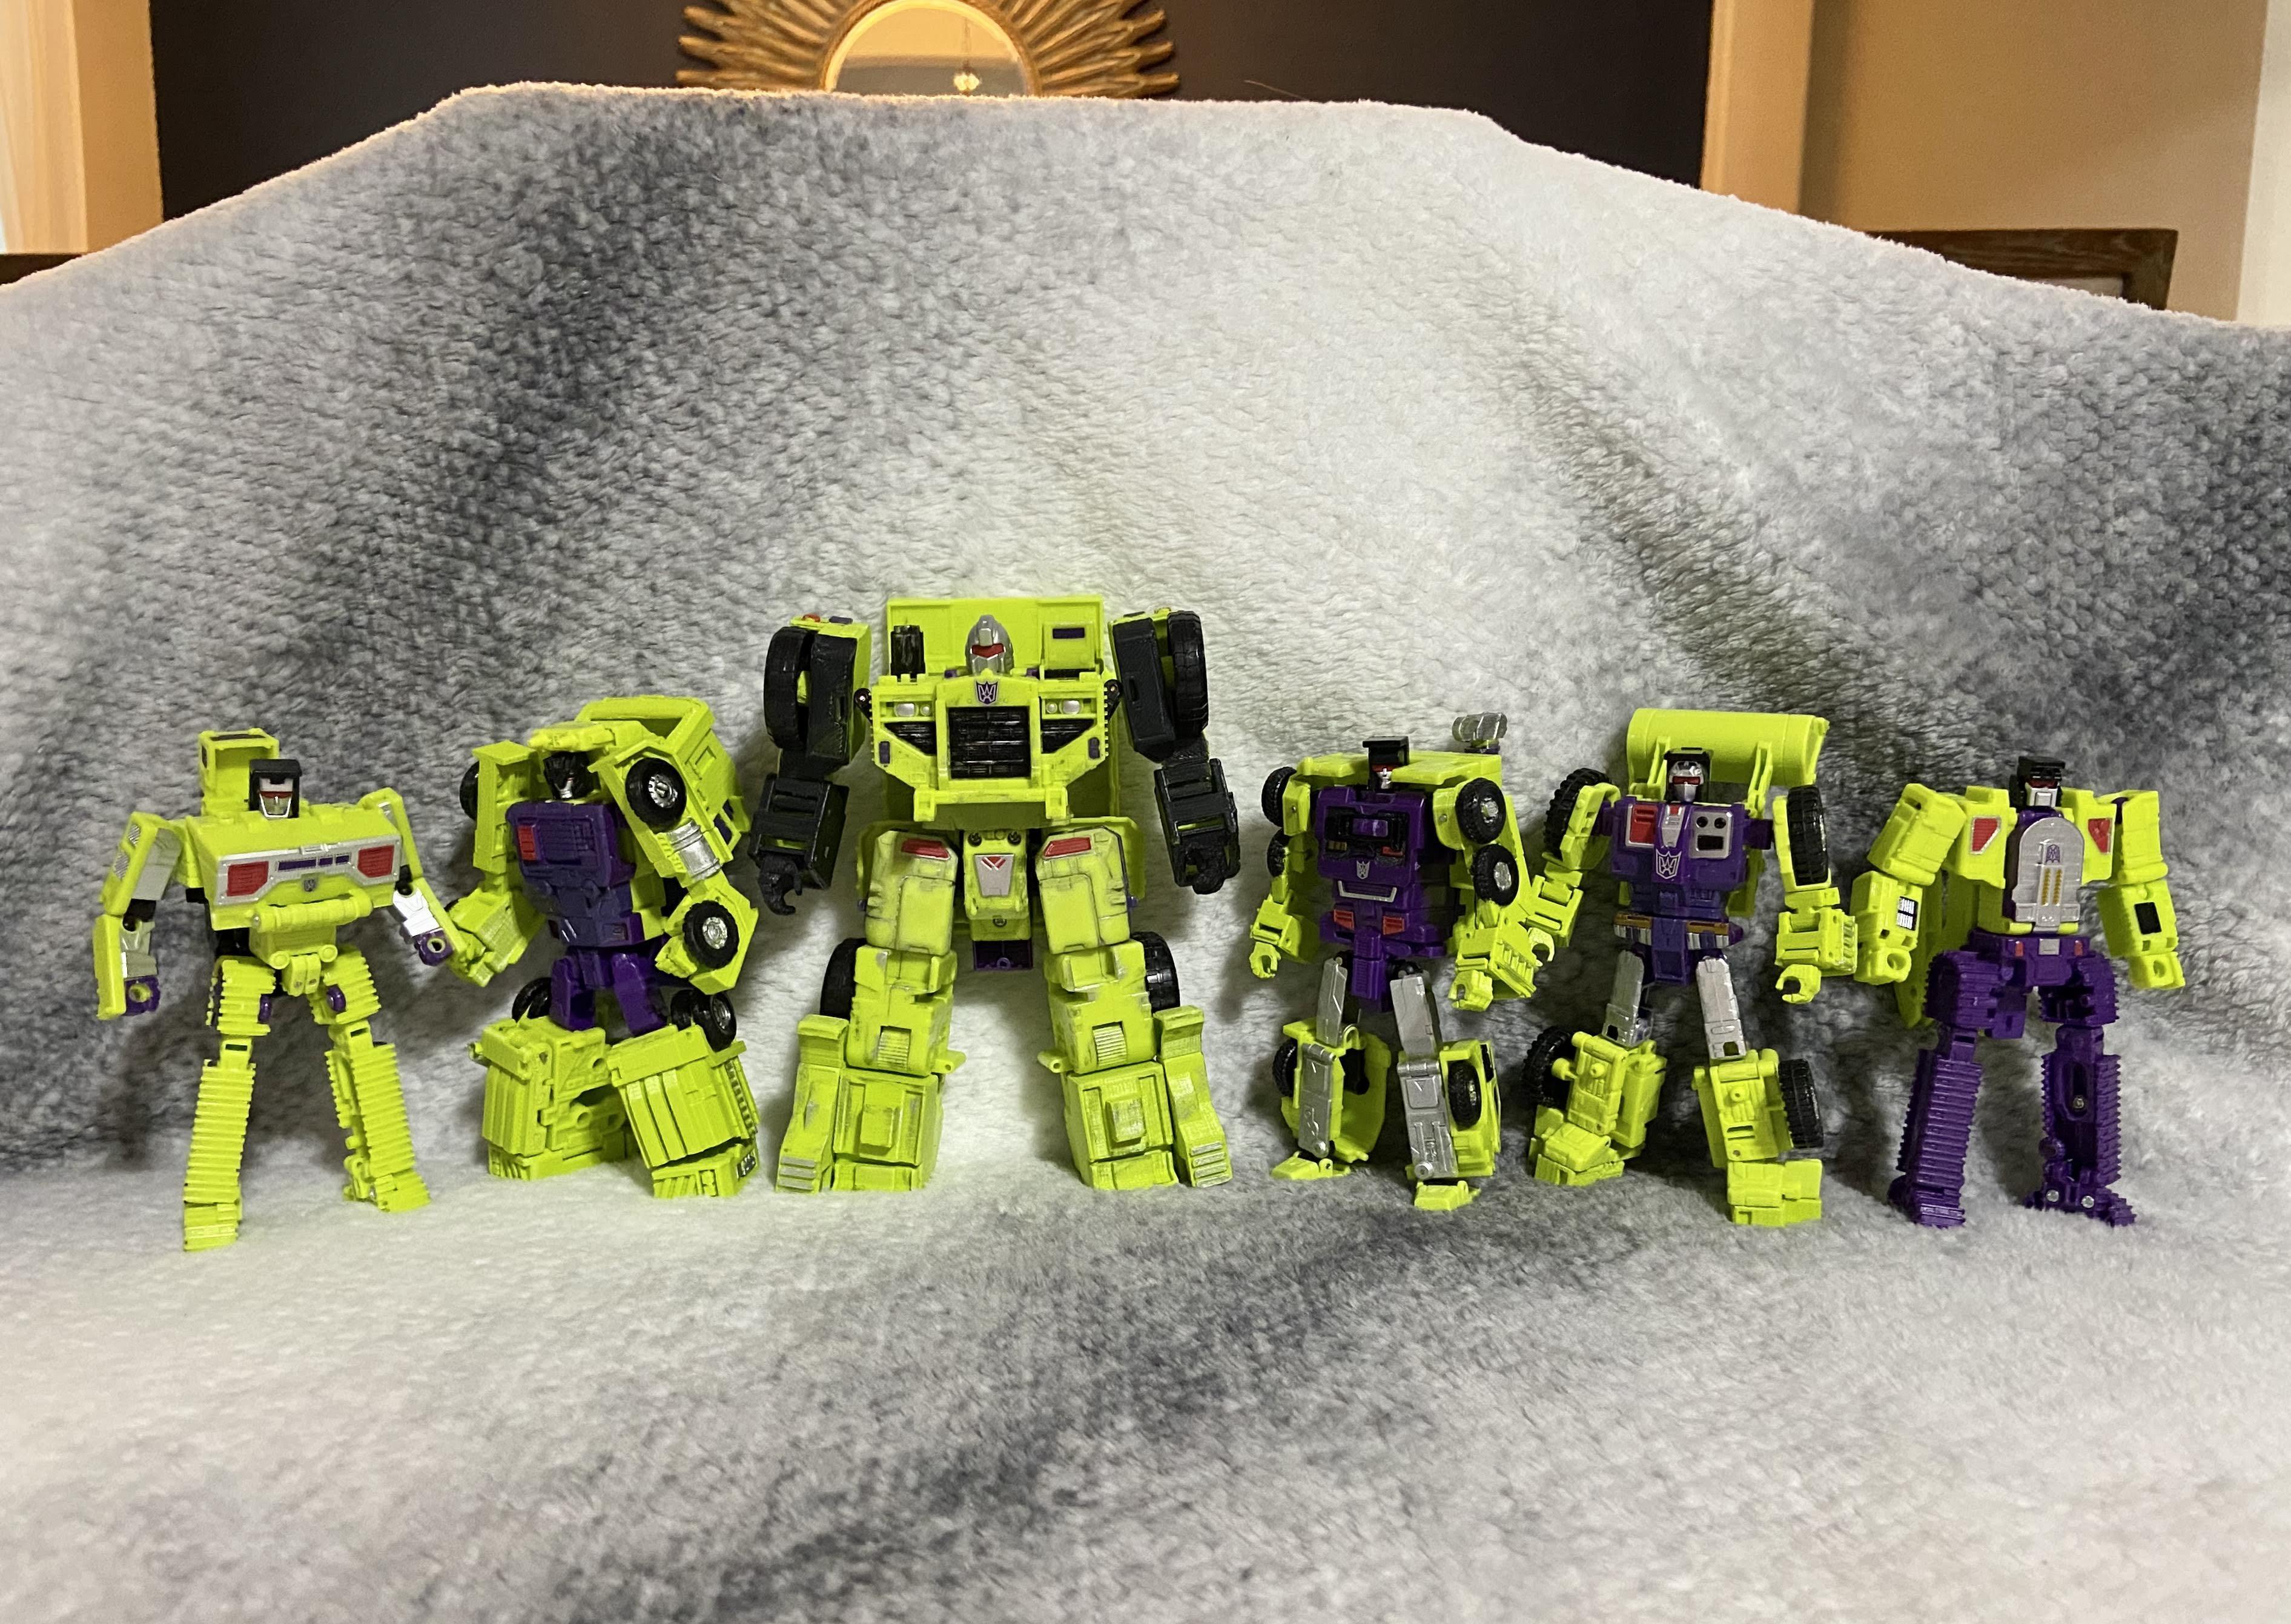
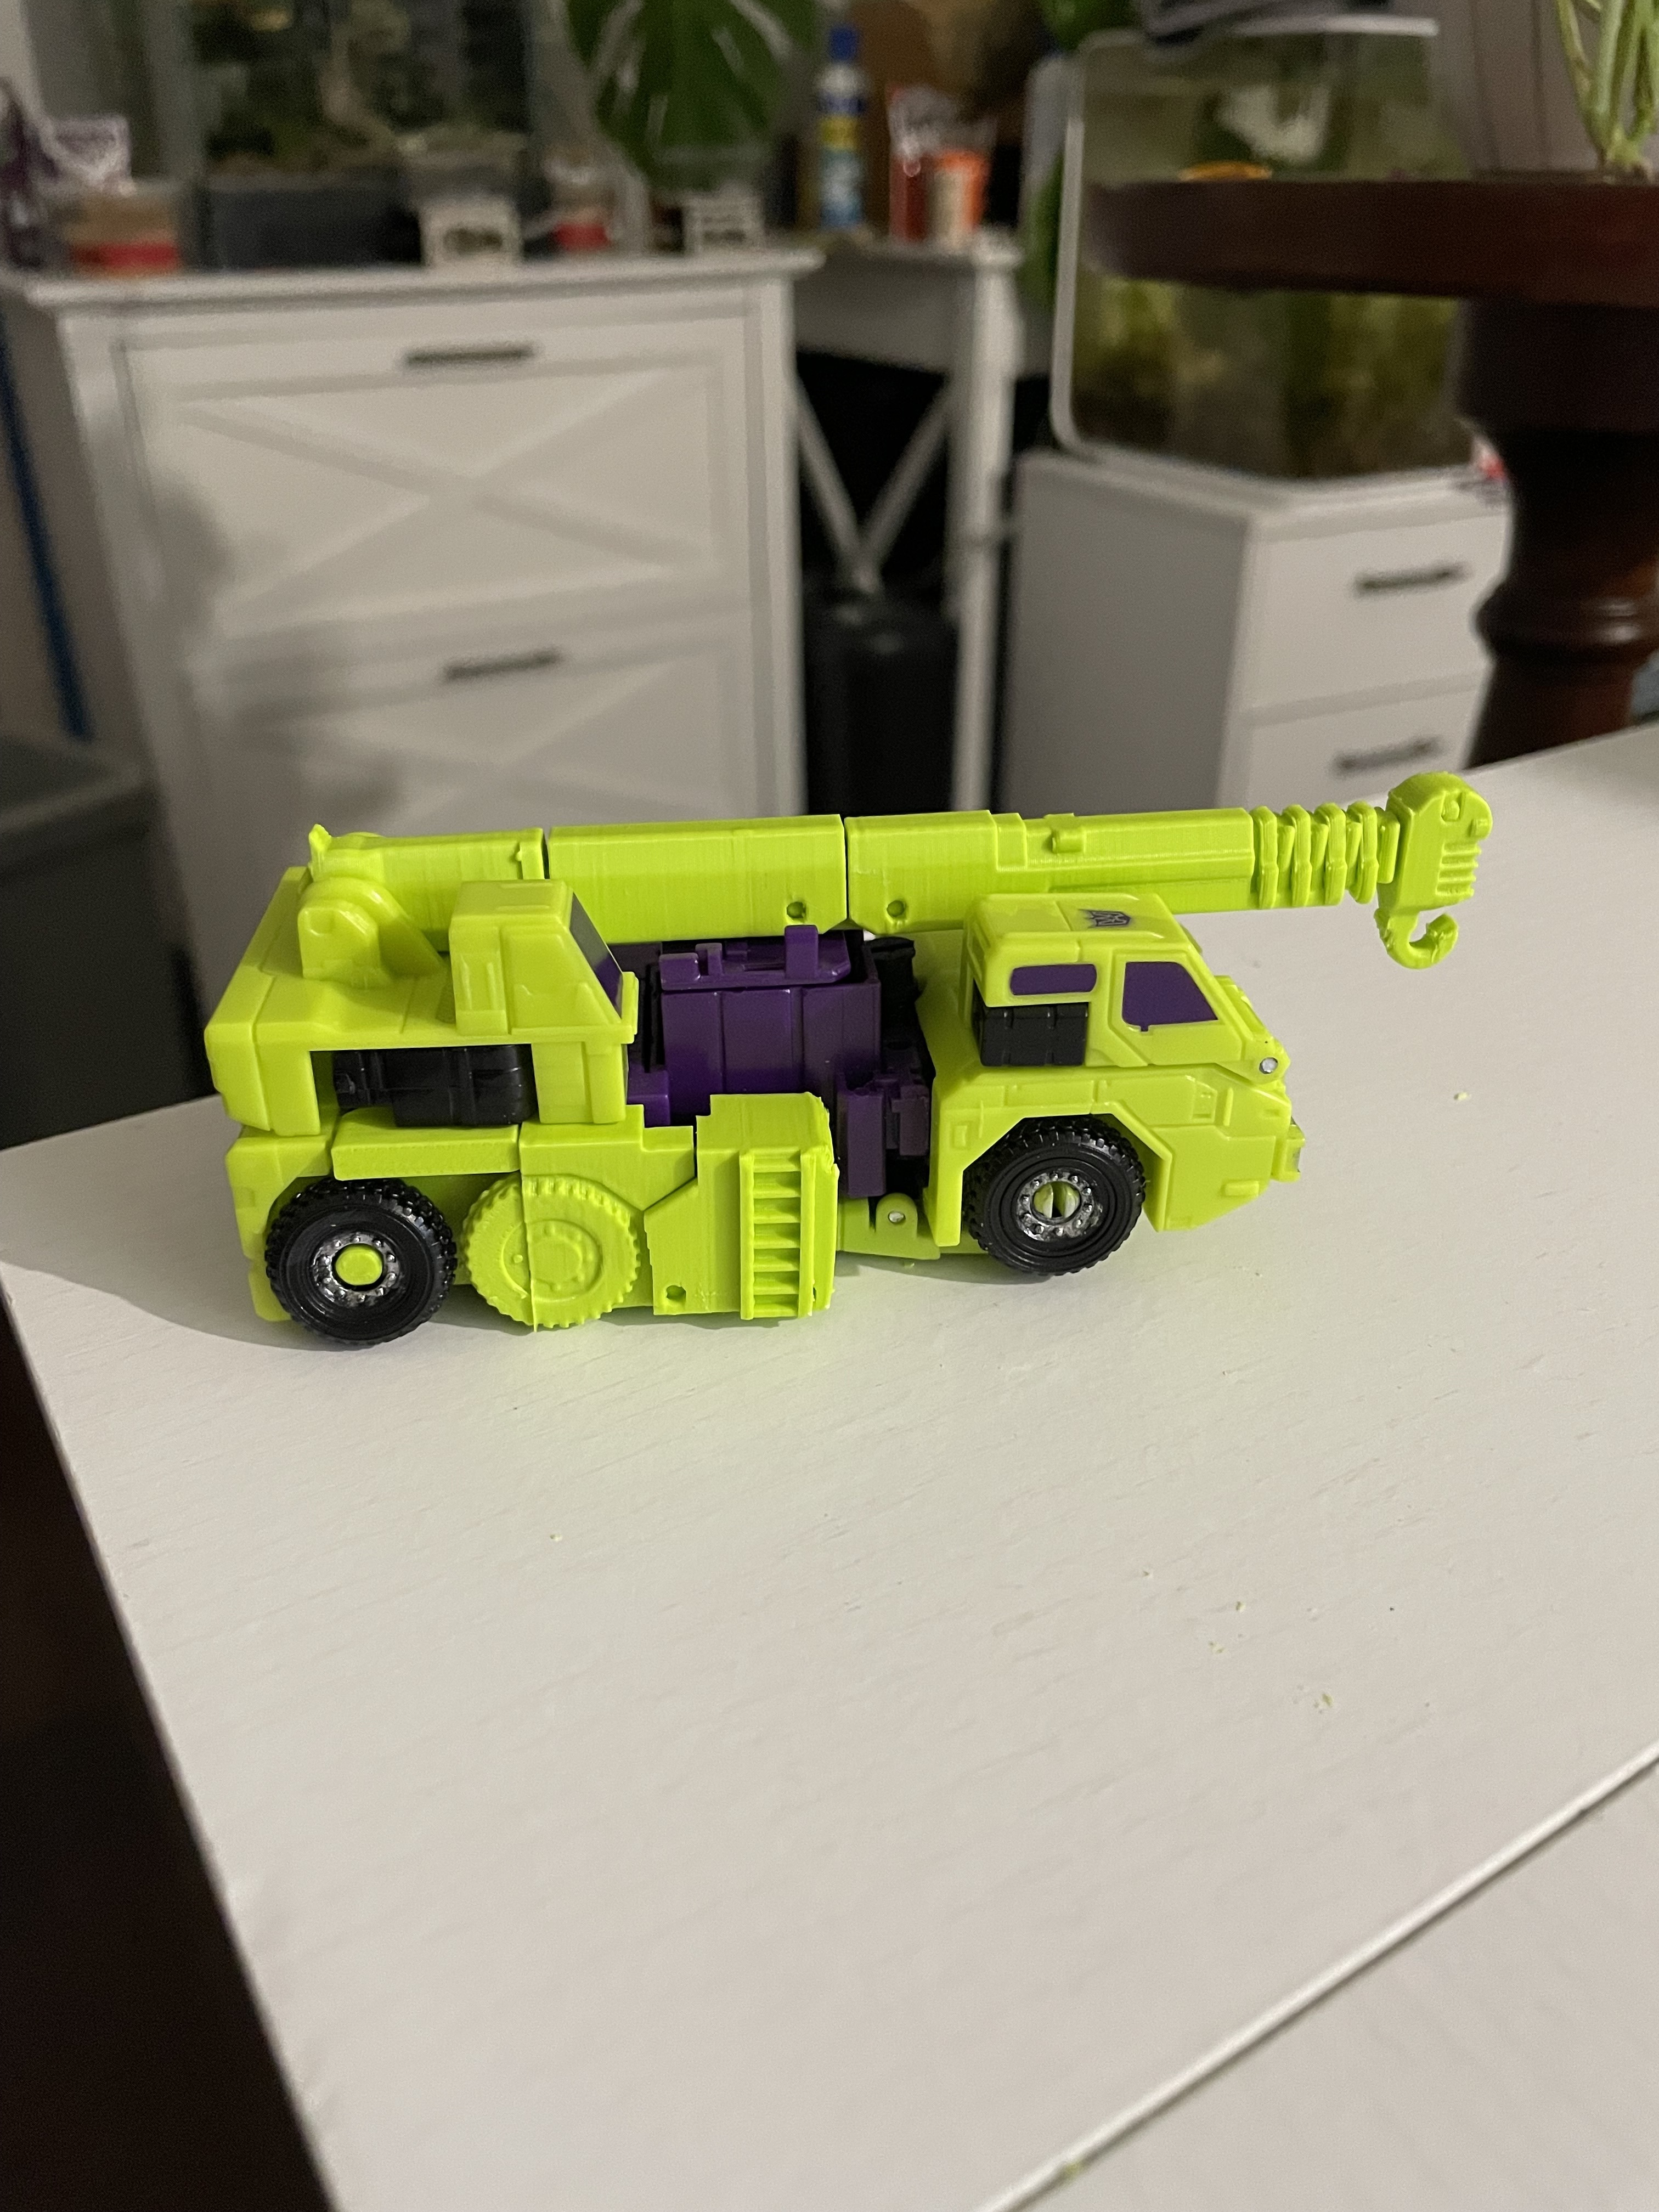
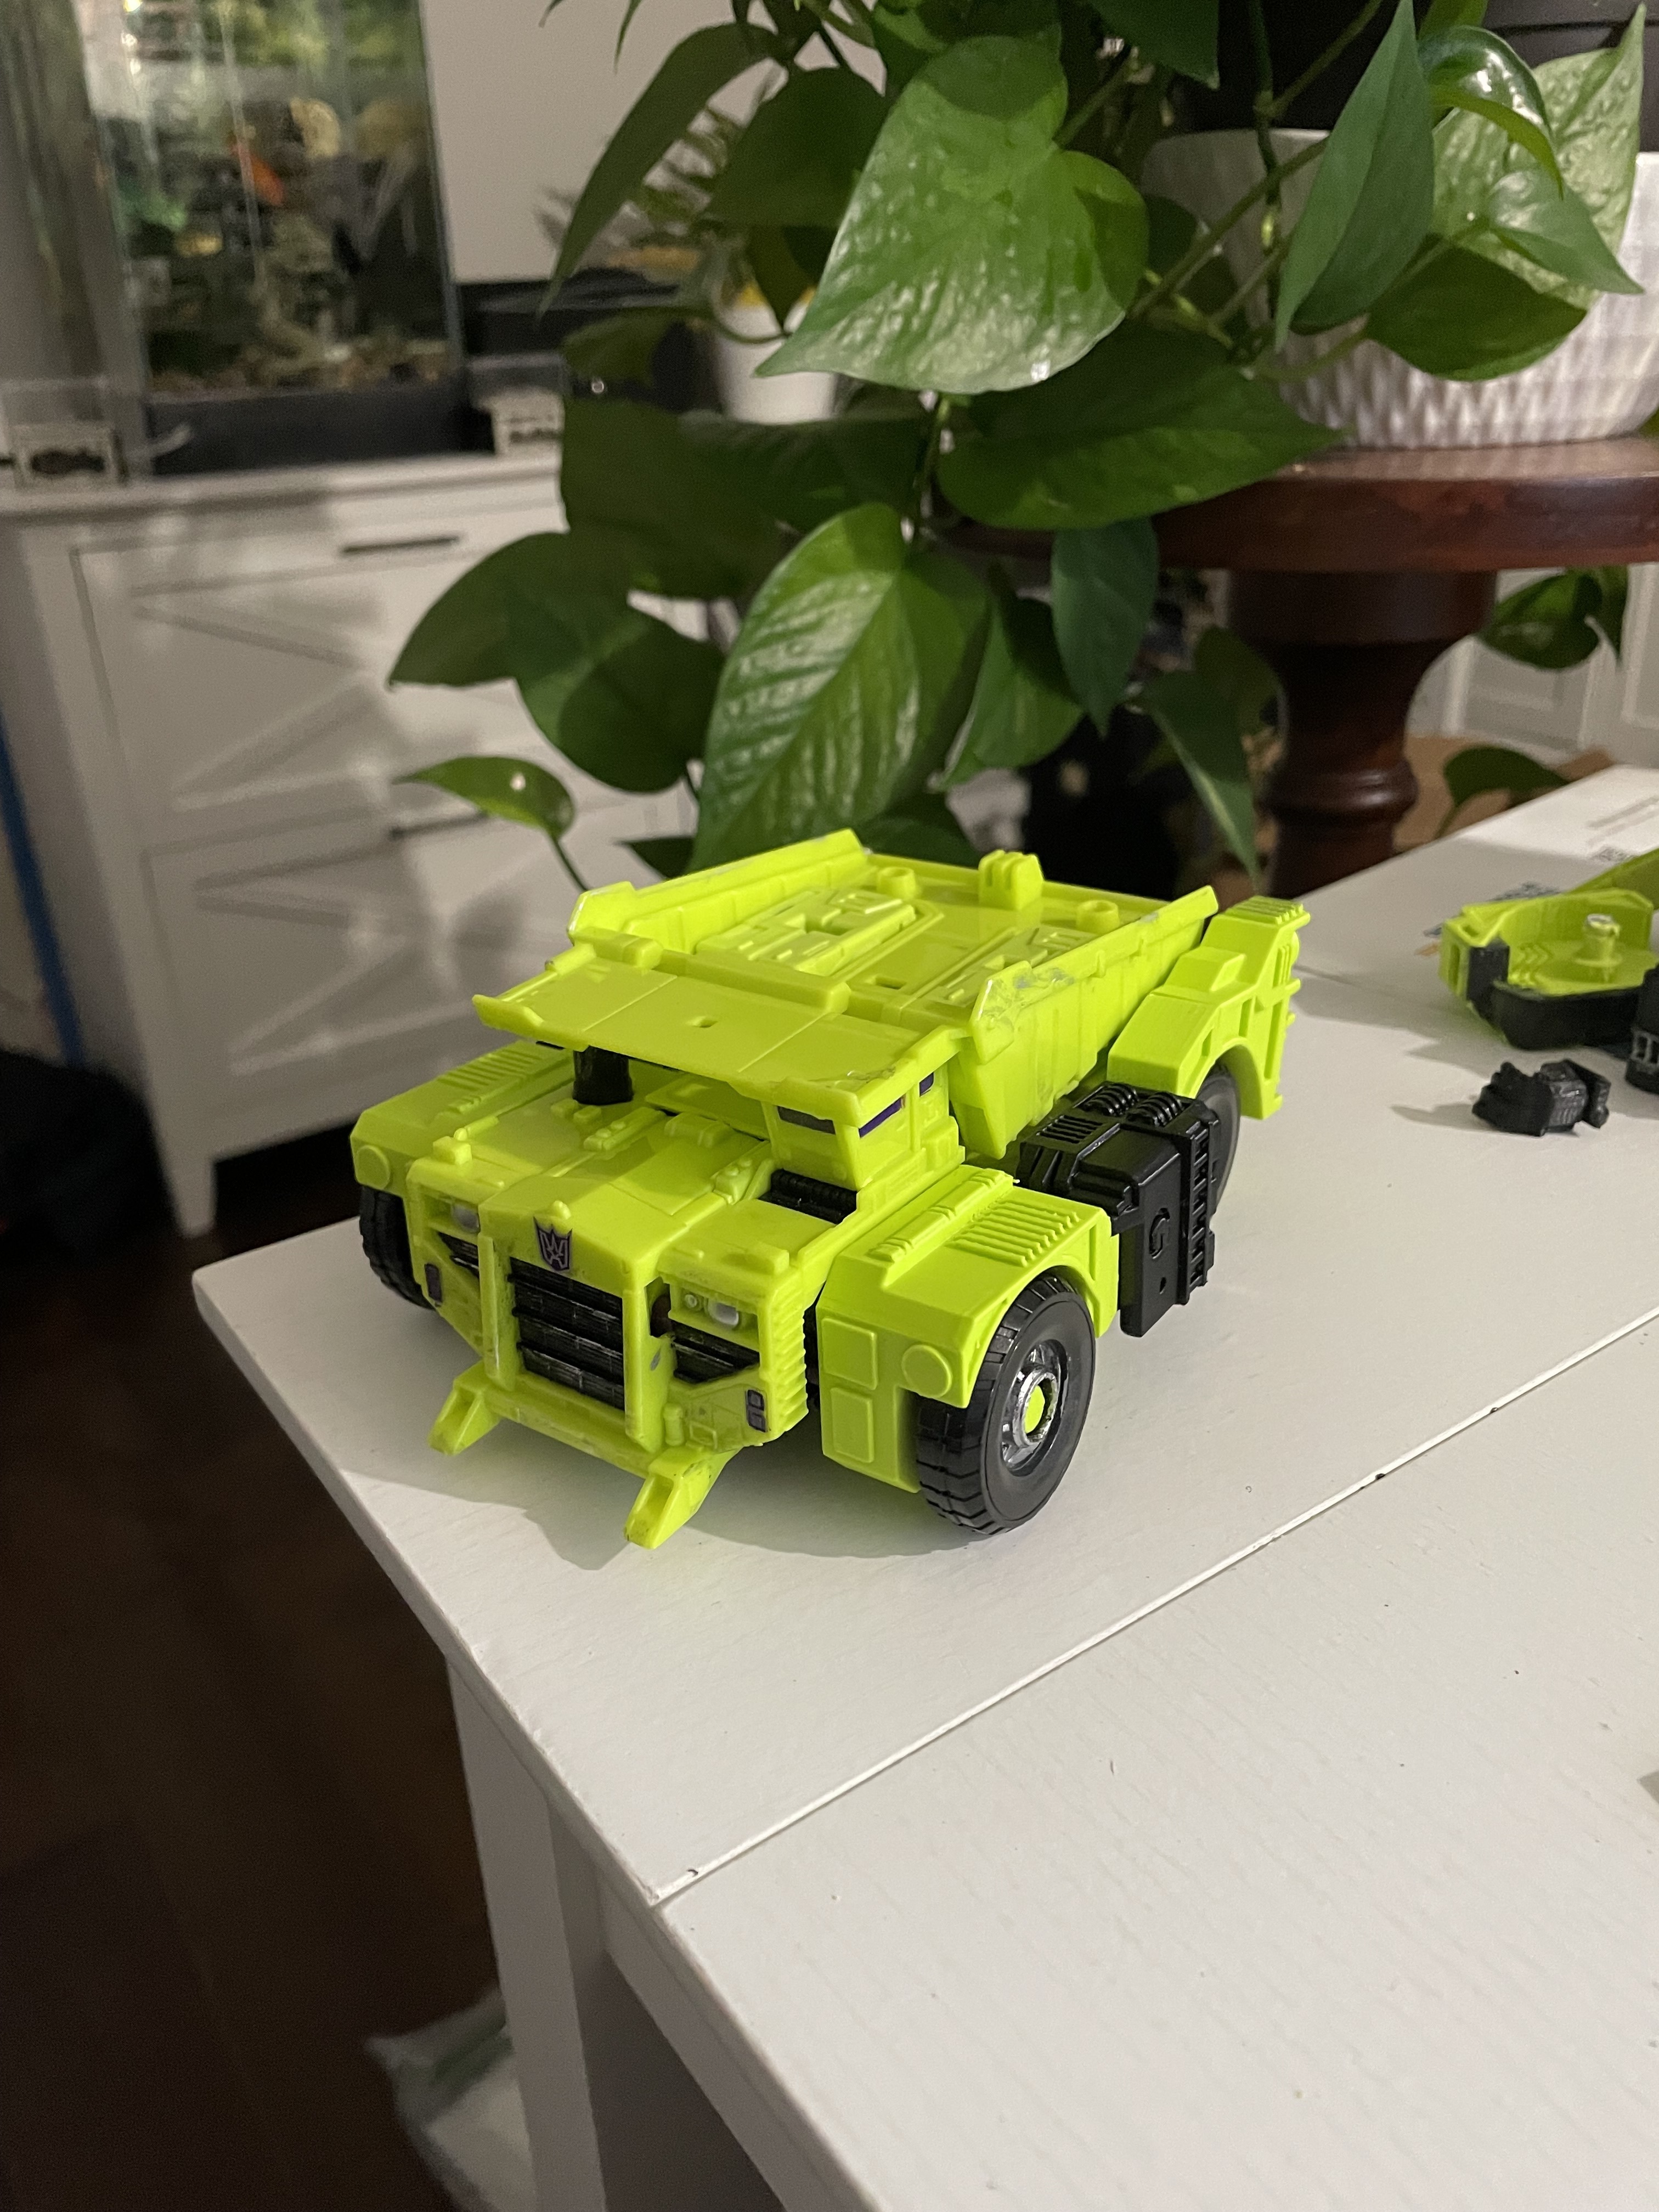
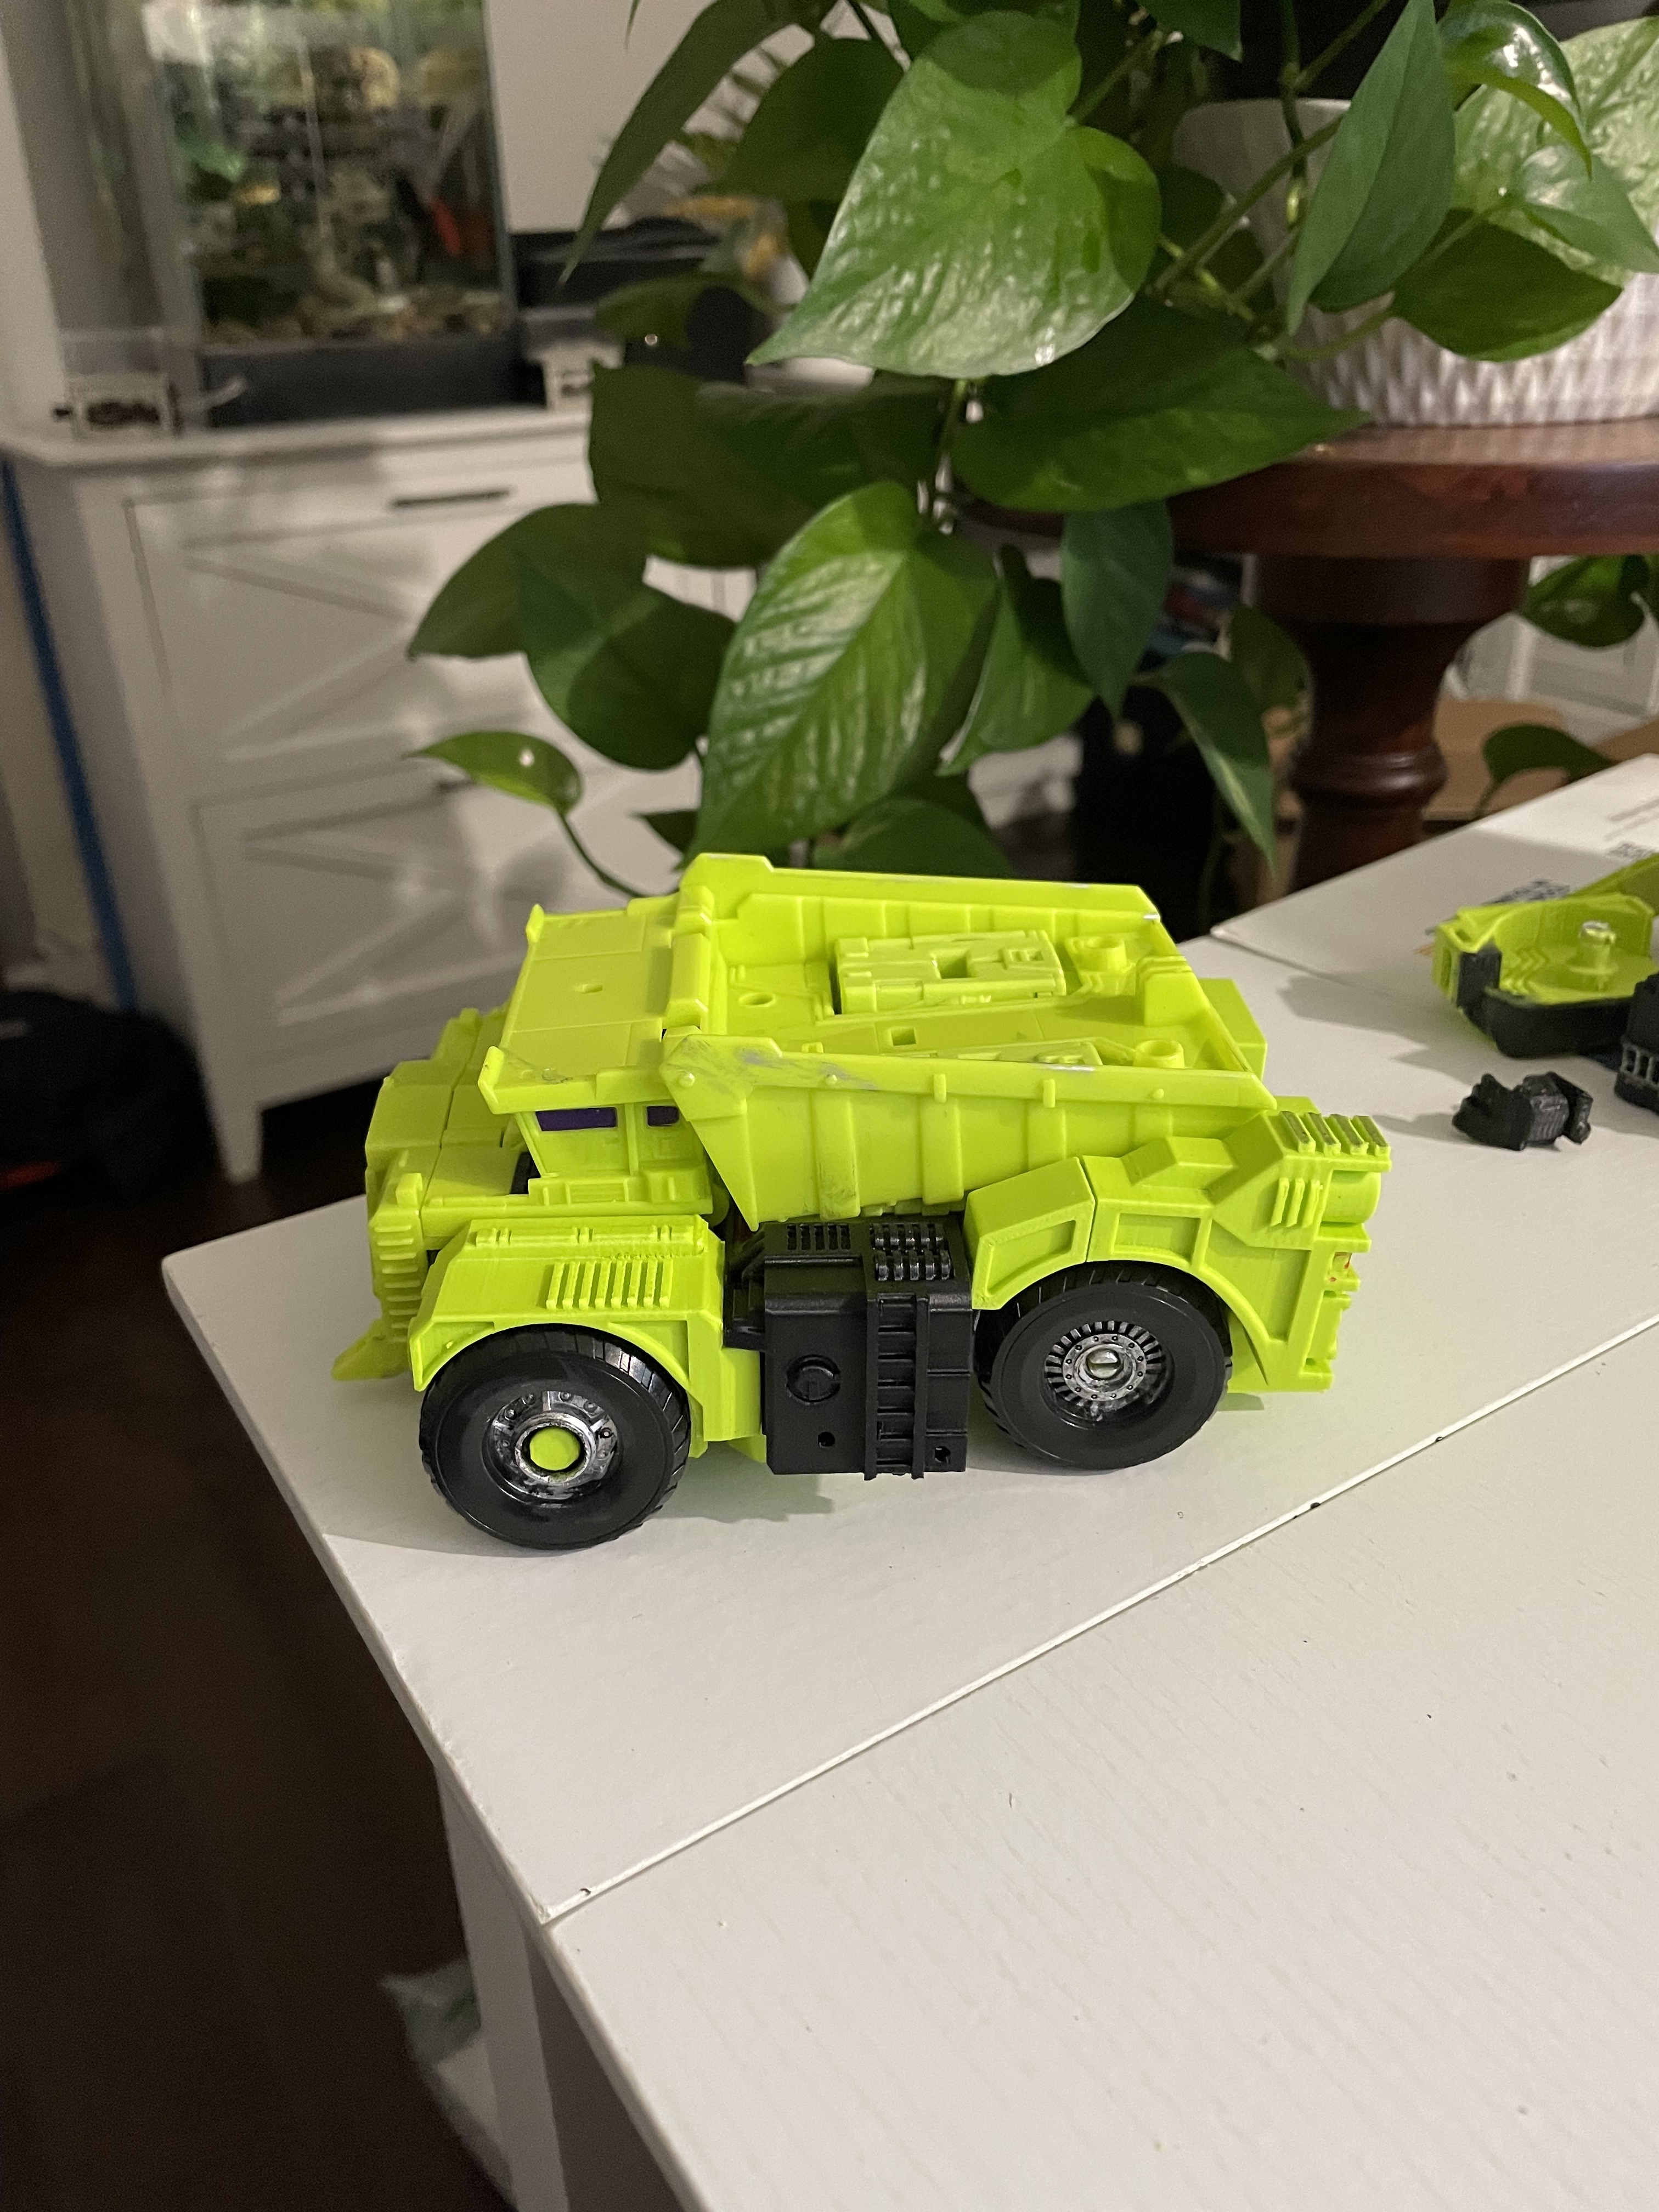
This package is the complete set of parts to upgrade the KO Mini CW Devastator and Constructicons.
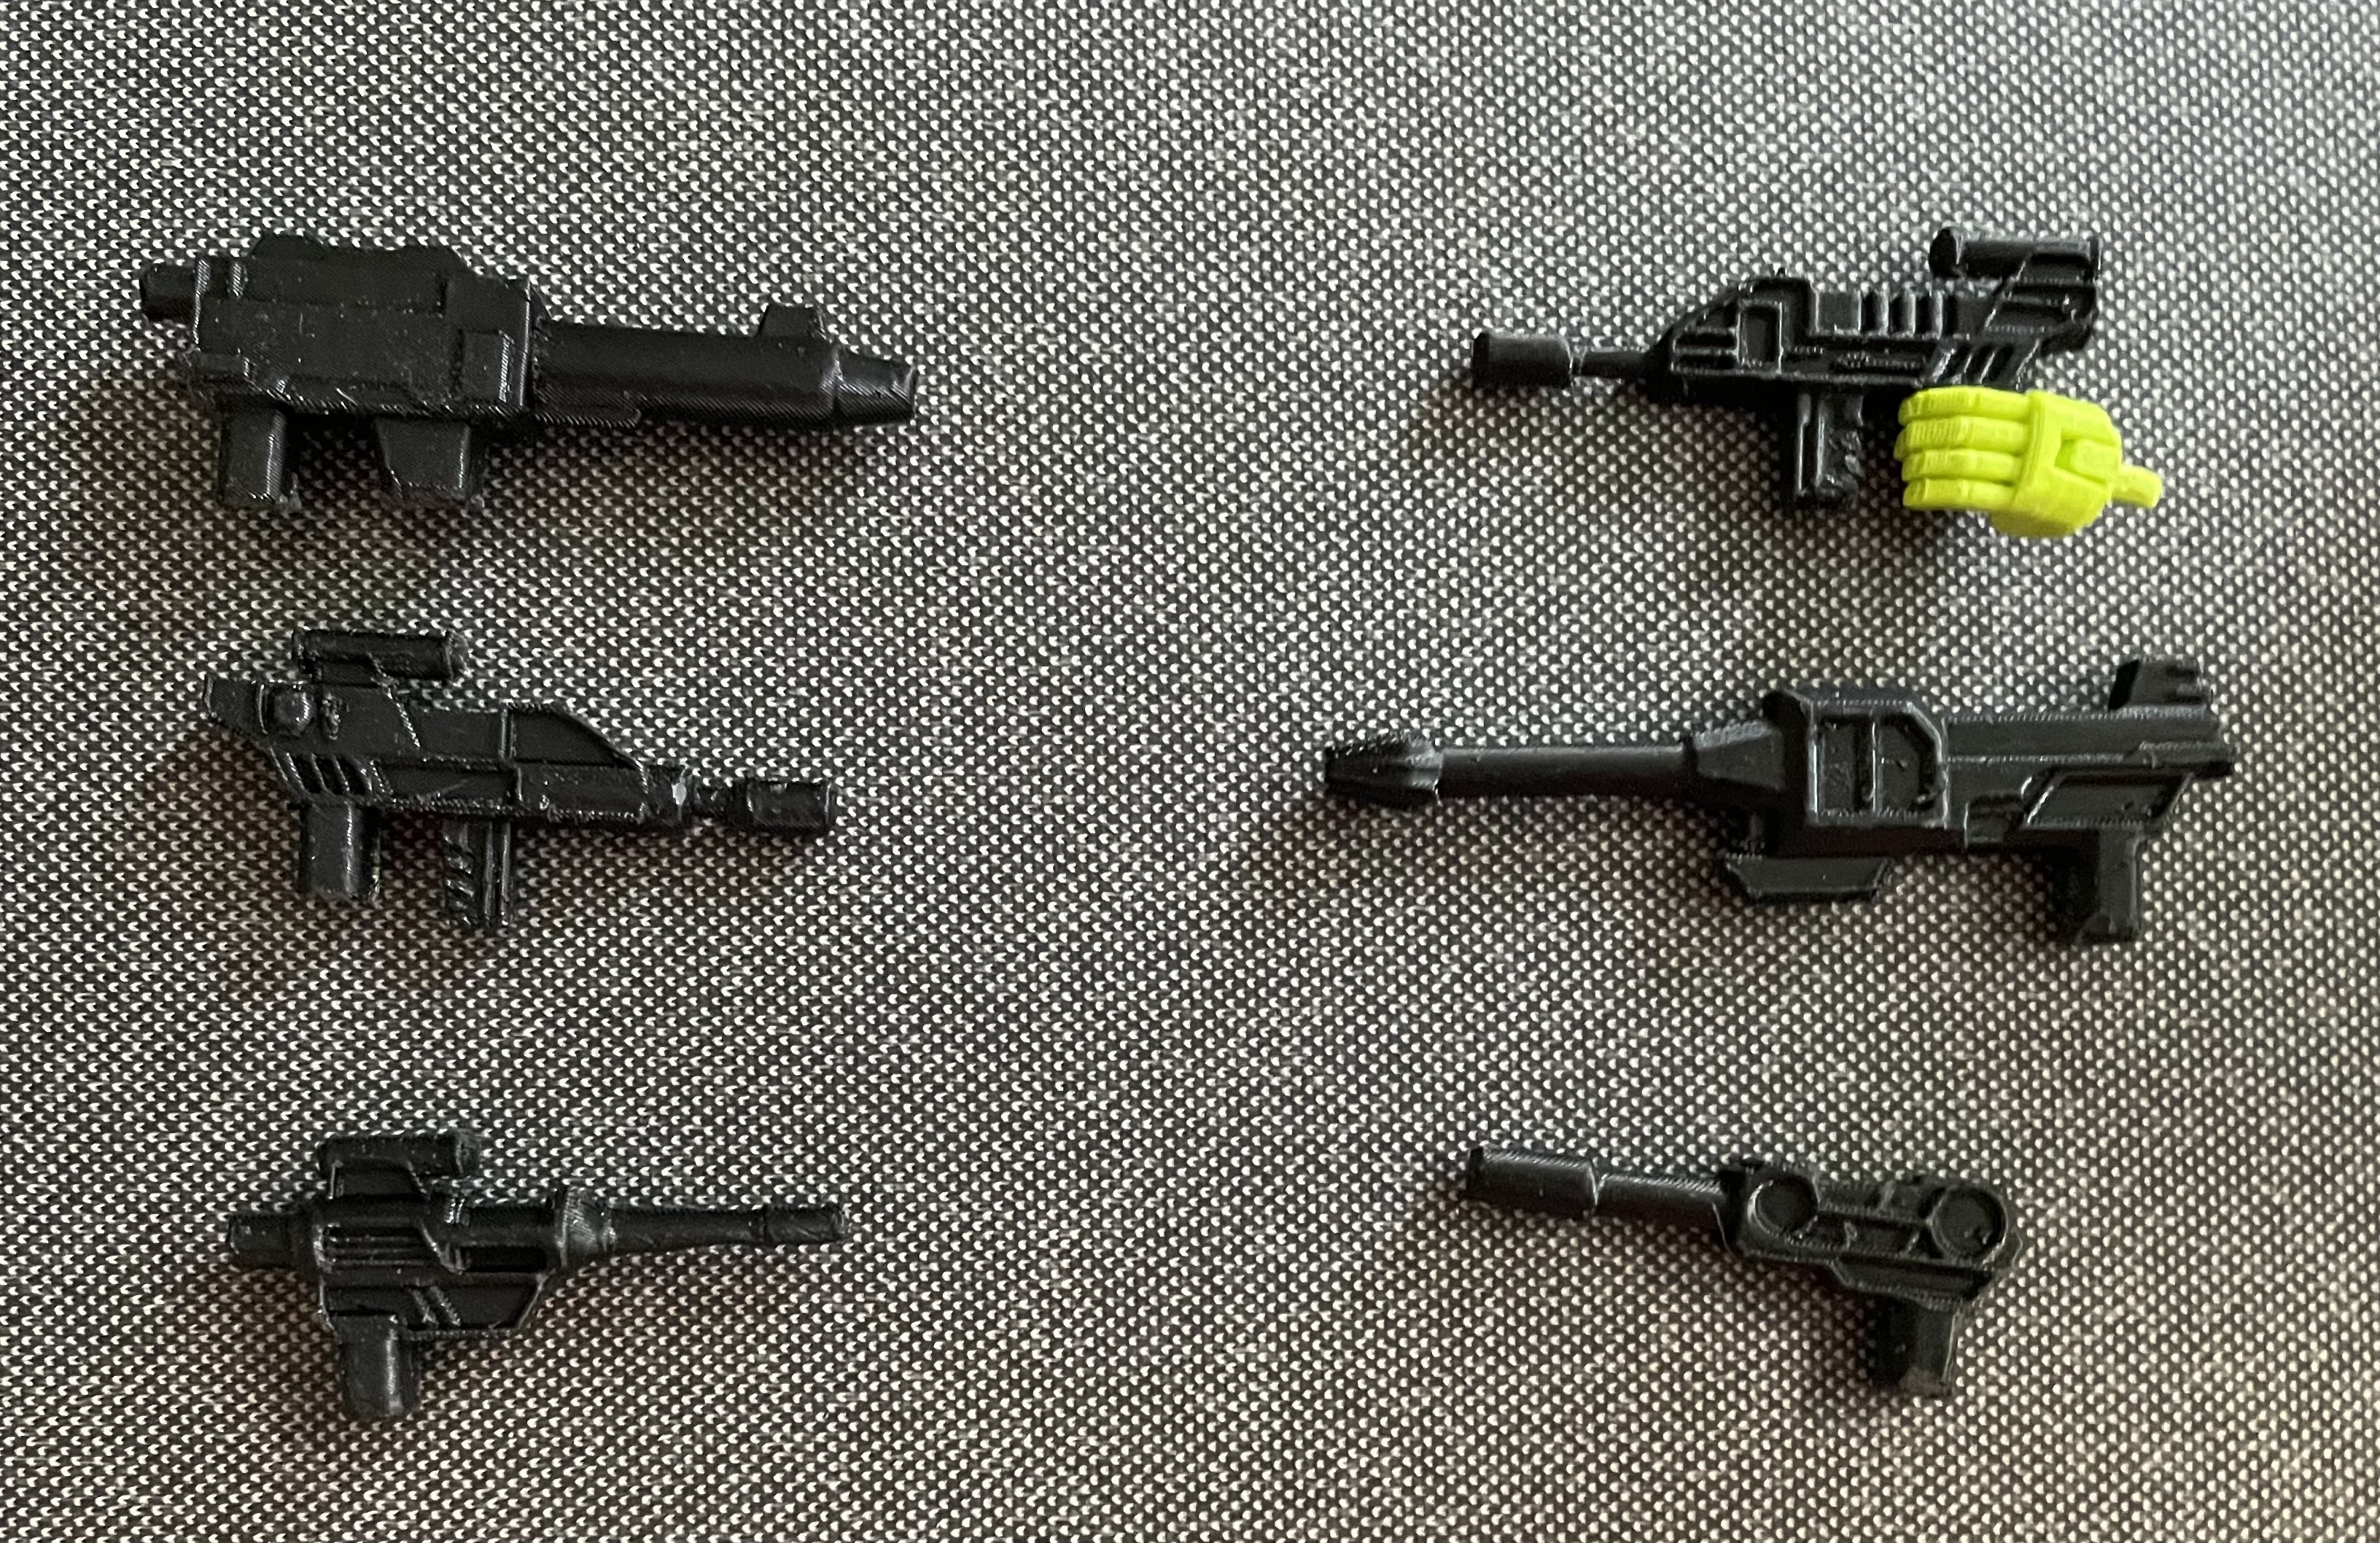
Includes 6 weapons in mini and full CW scale.
Also includes new hand package with 2 design variants.
Hand pack A (small)
Hand pack B (large - Longhaul)
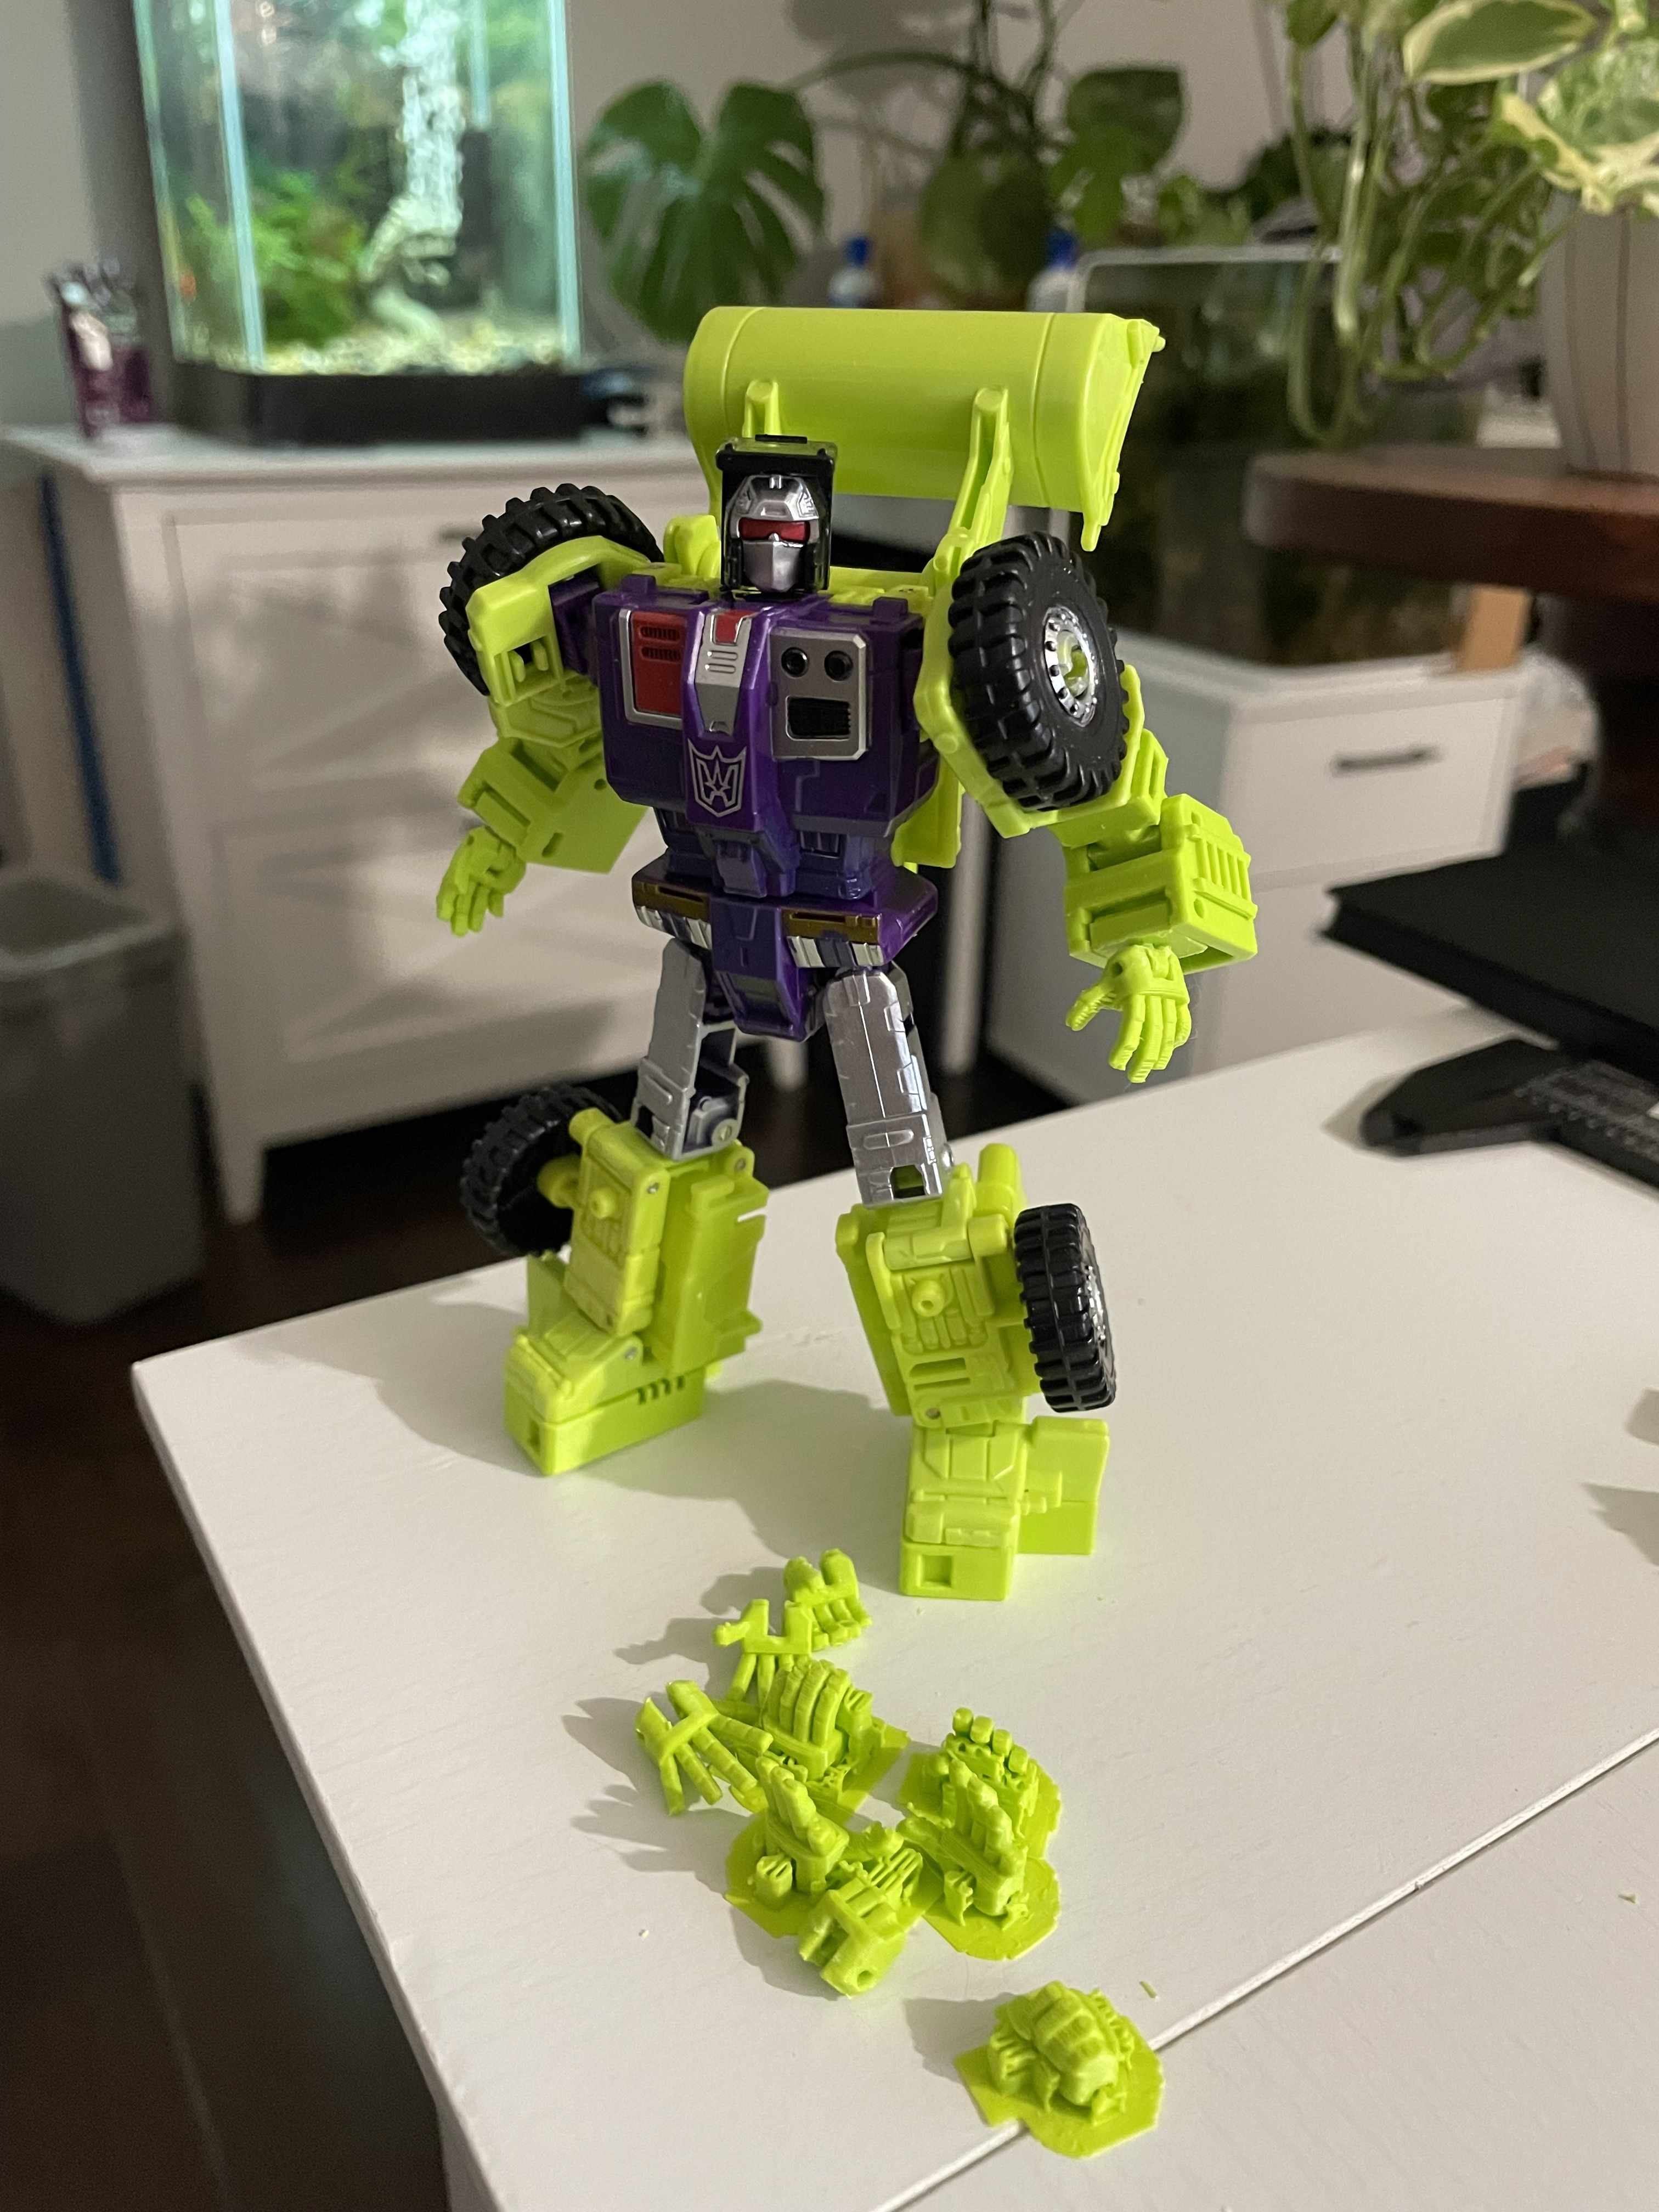
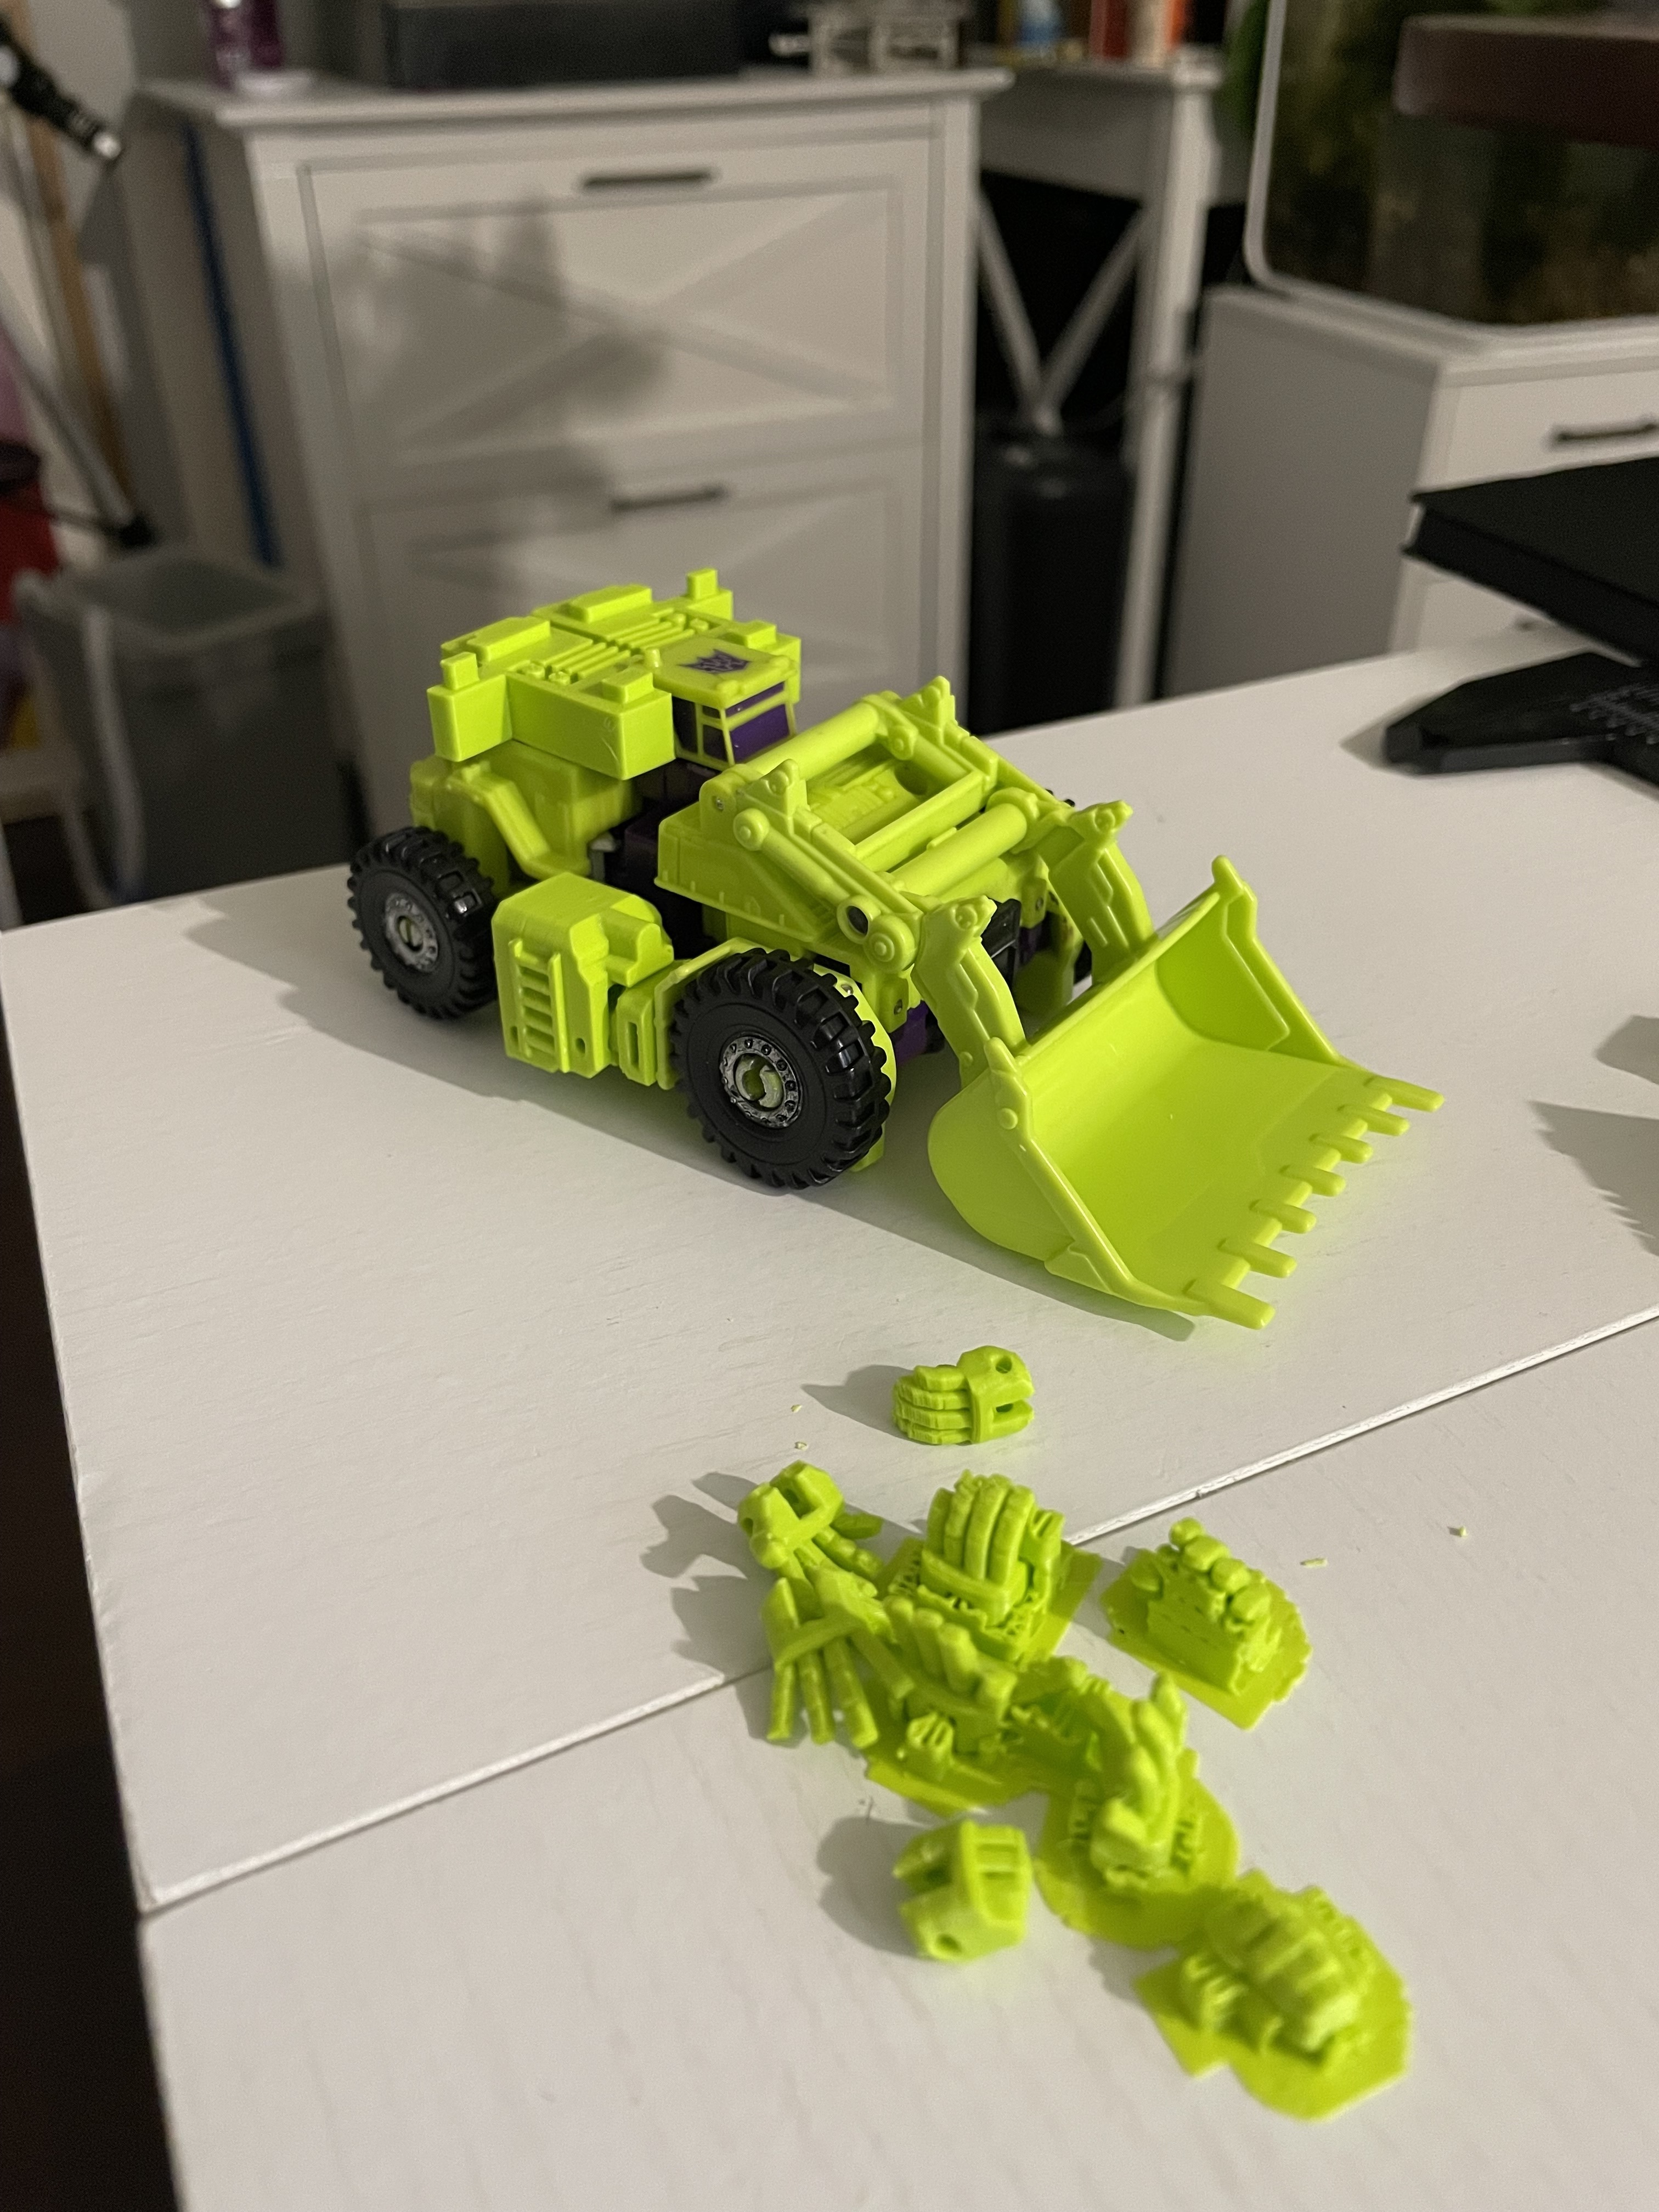
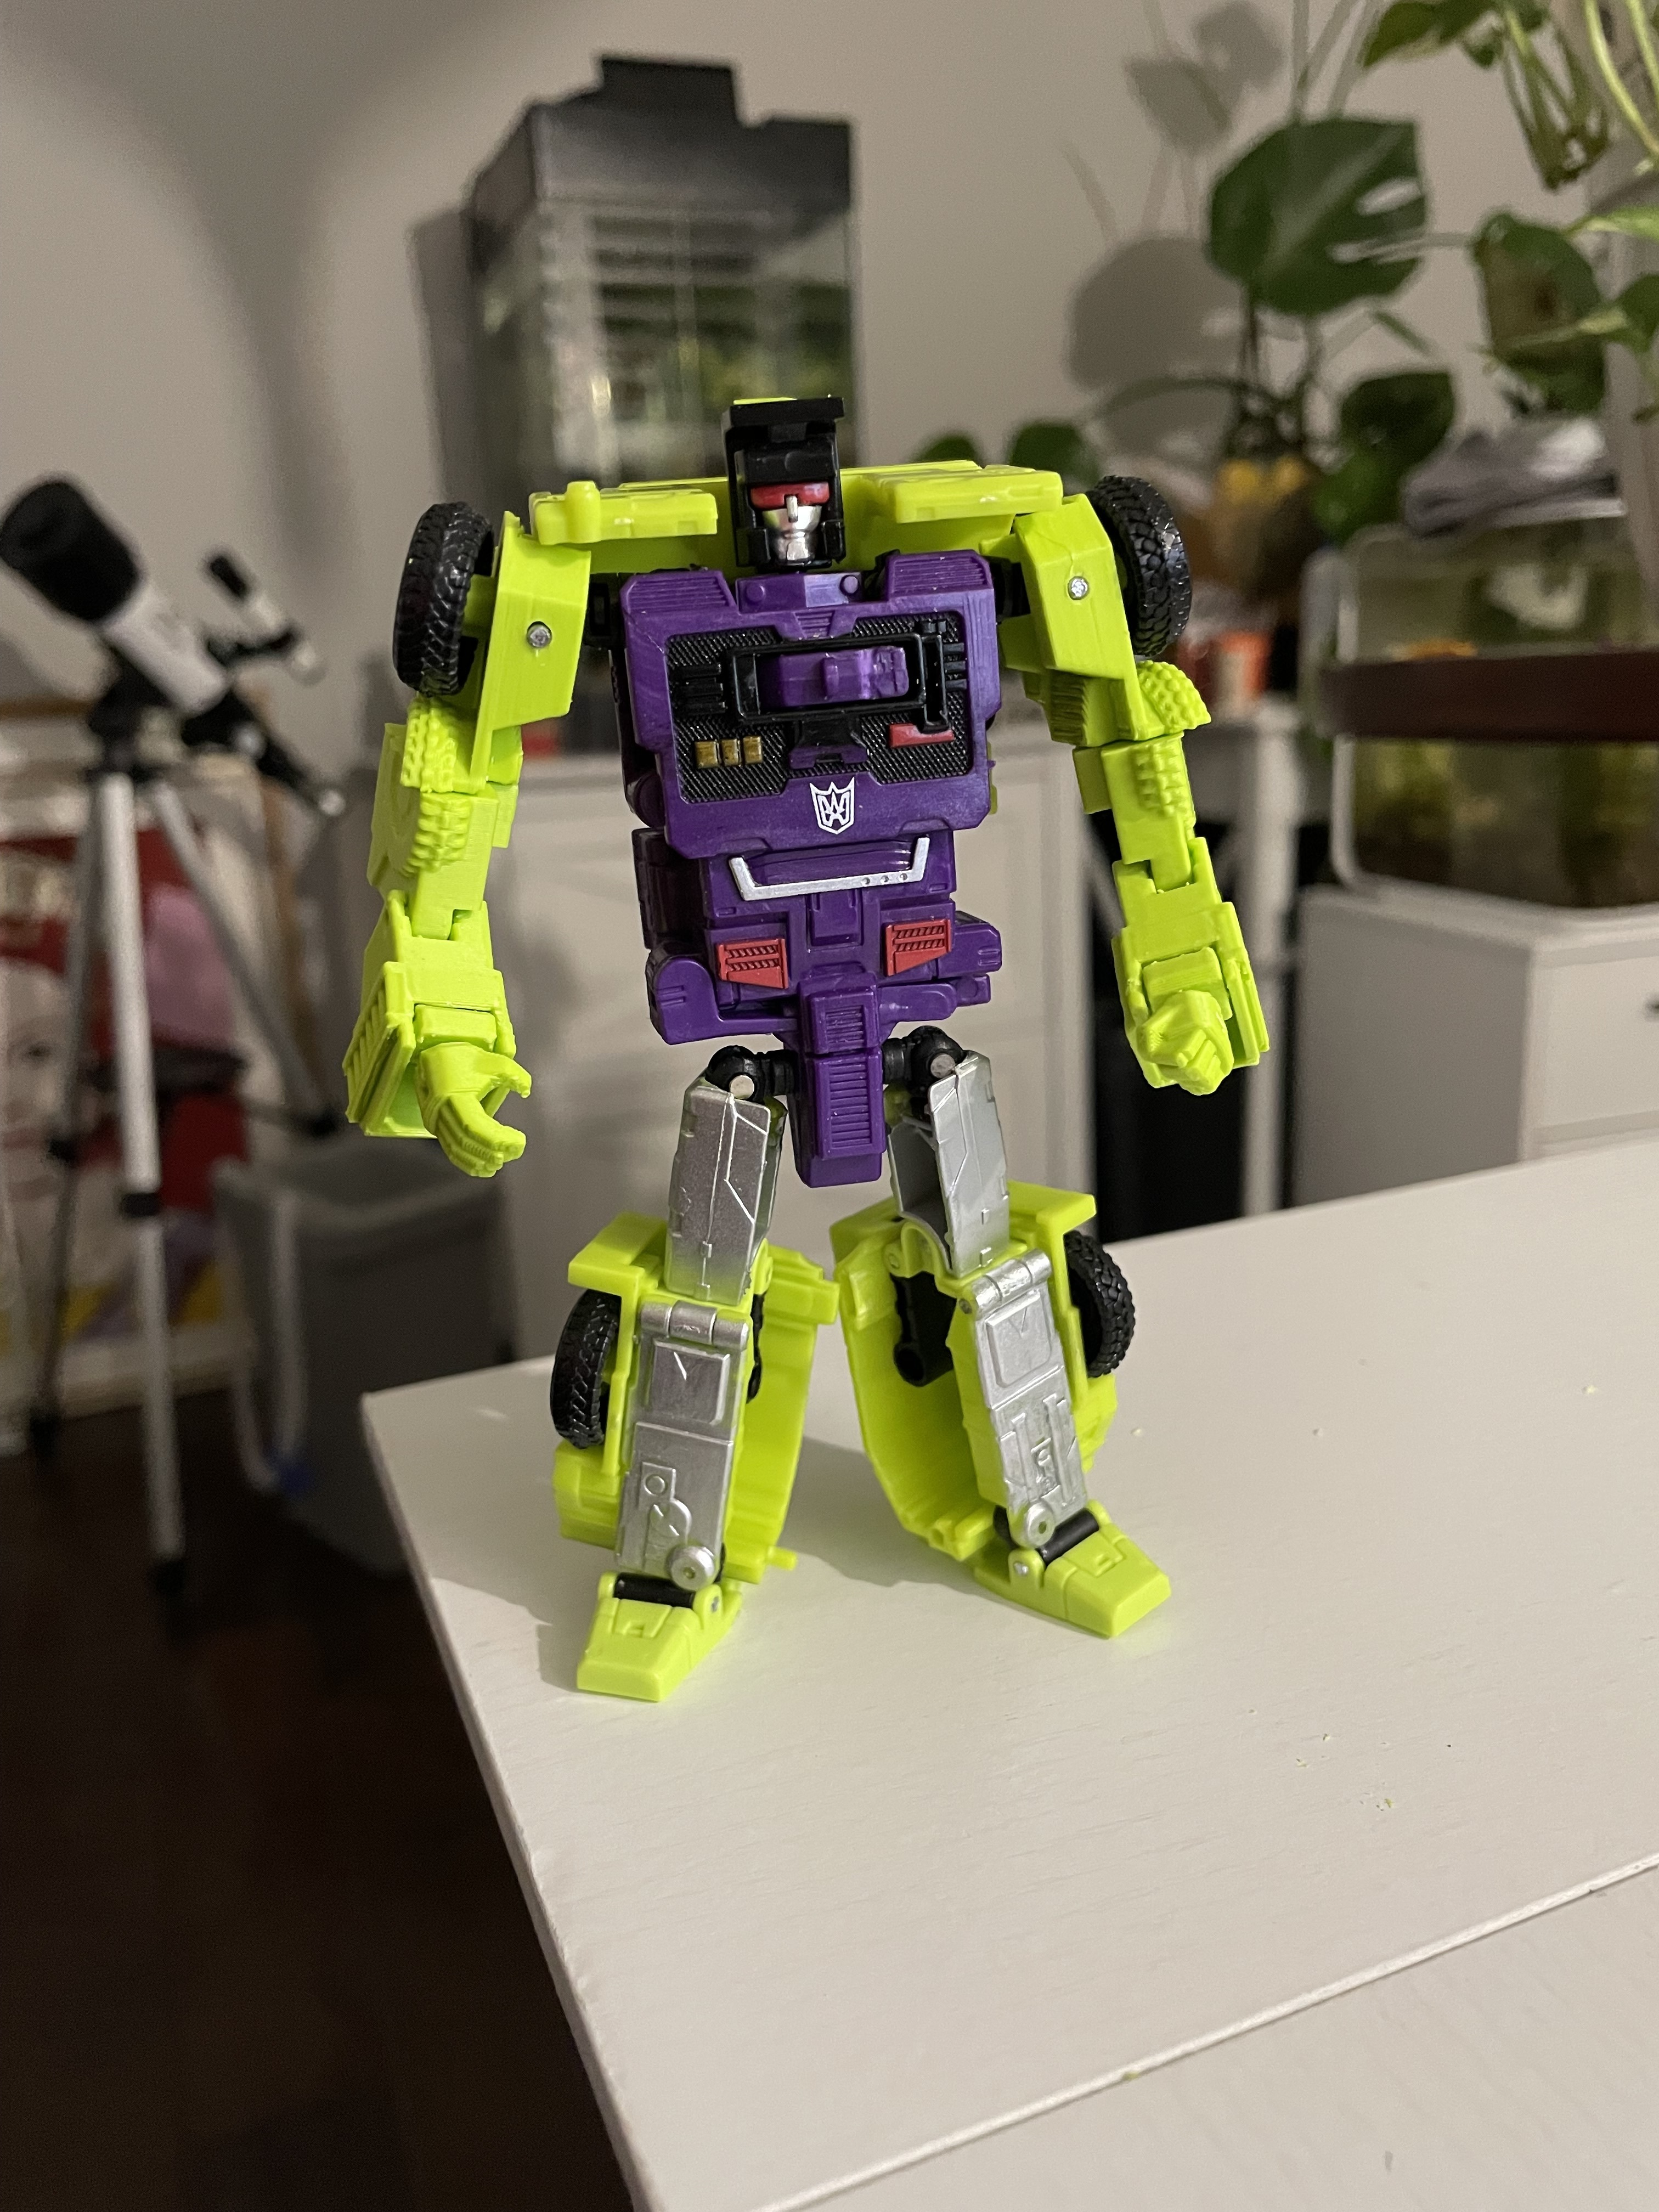
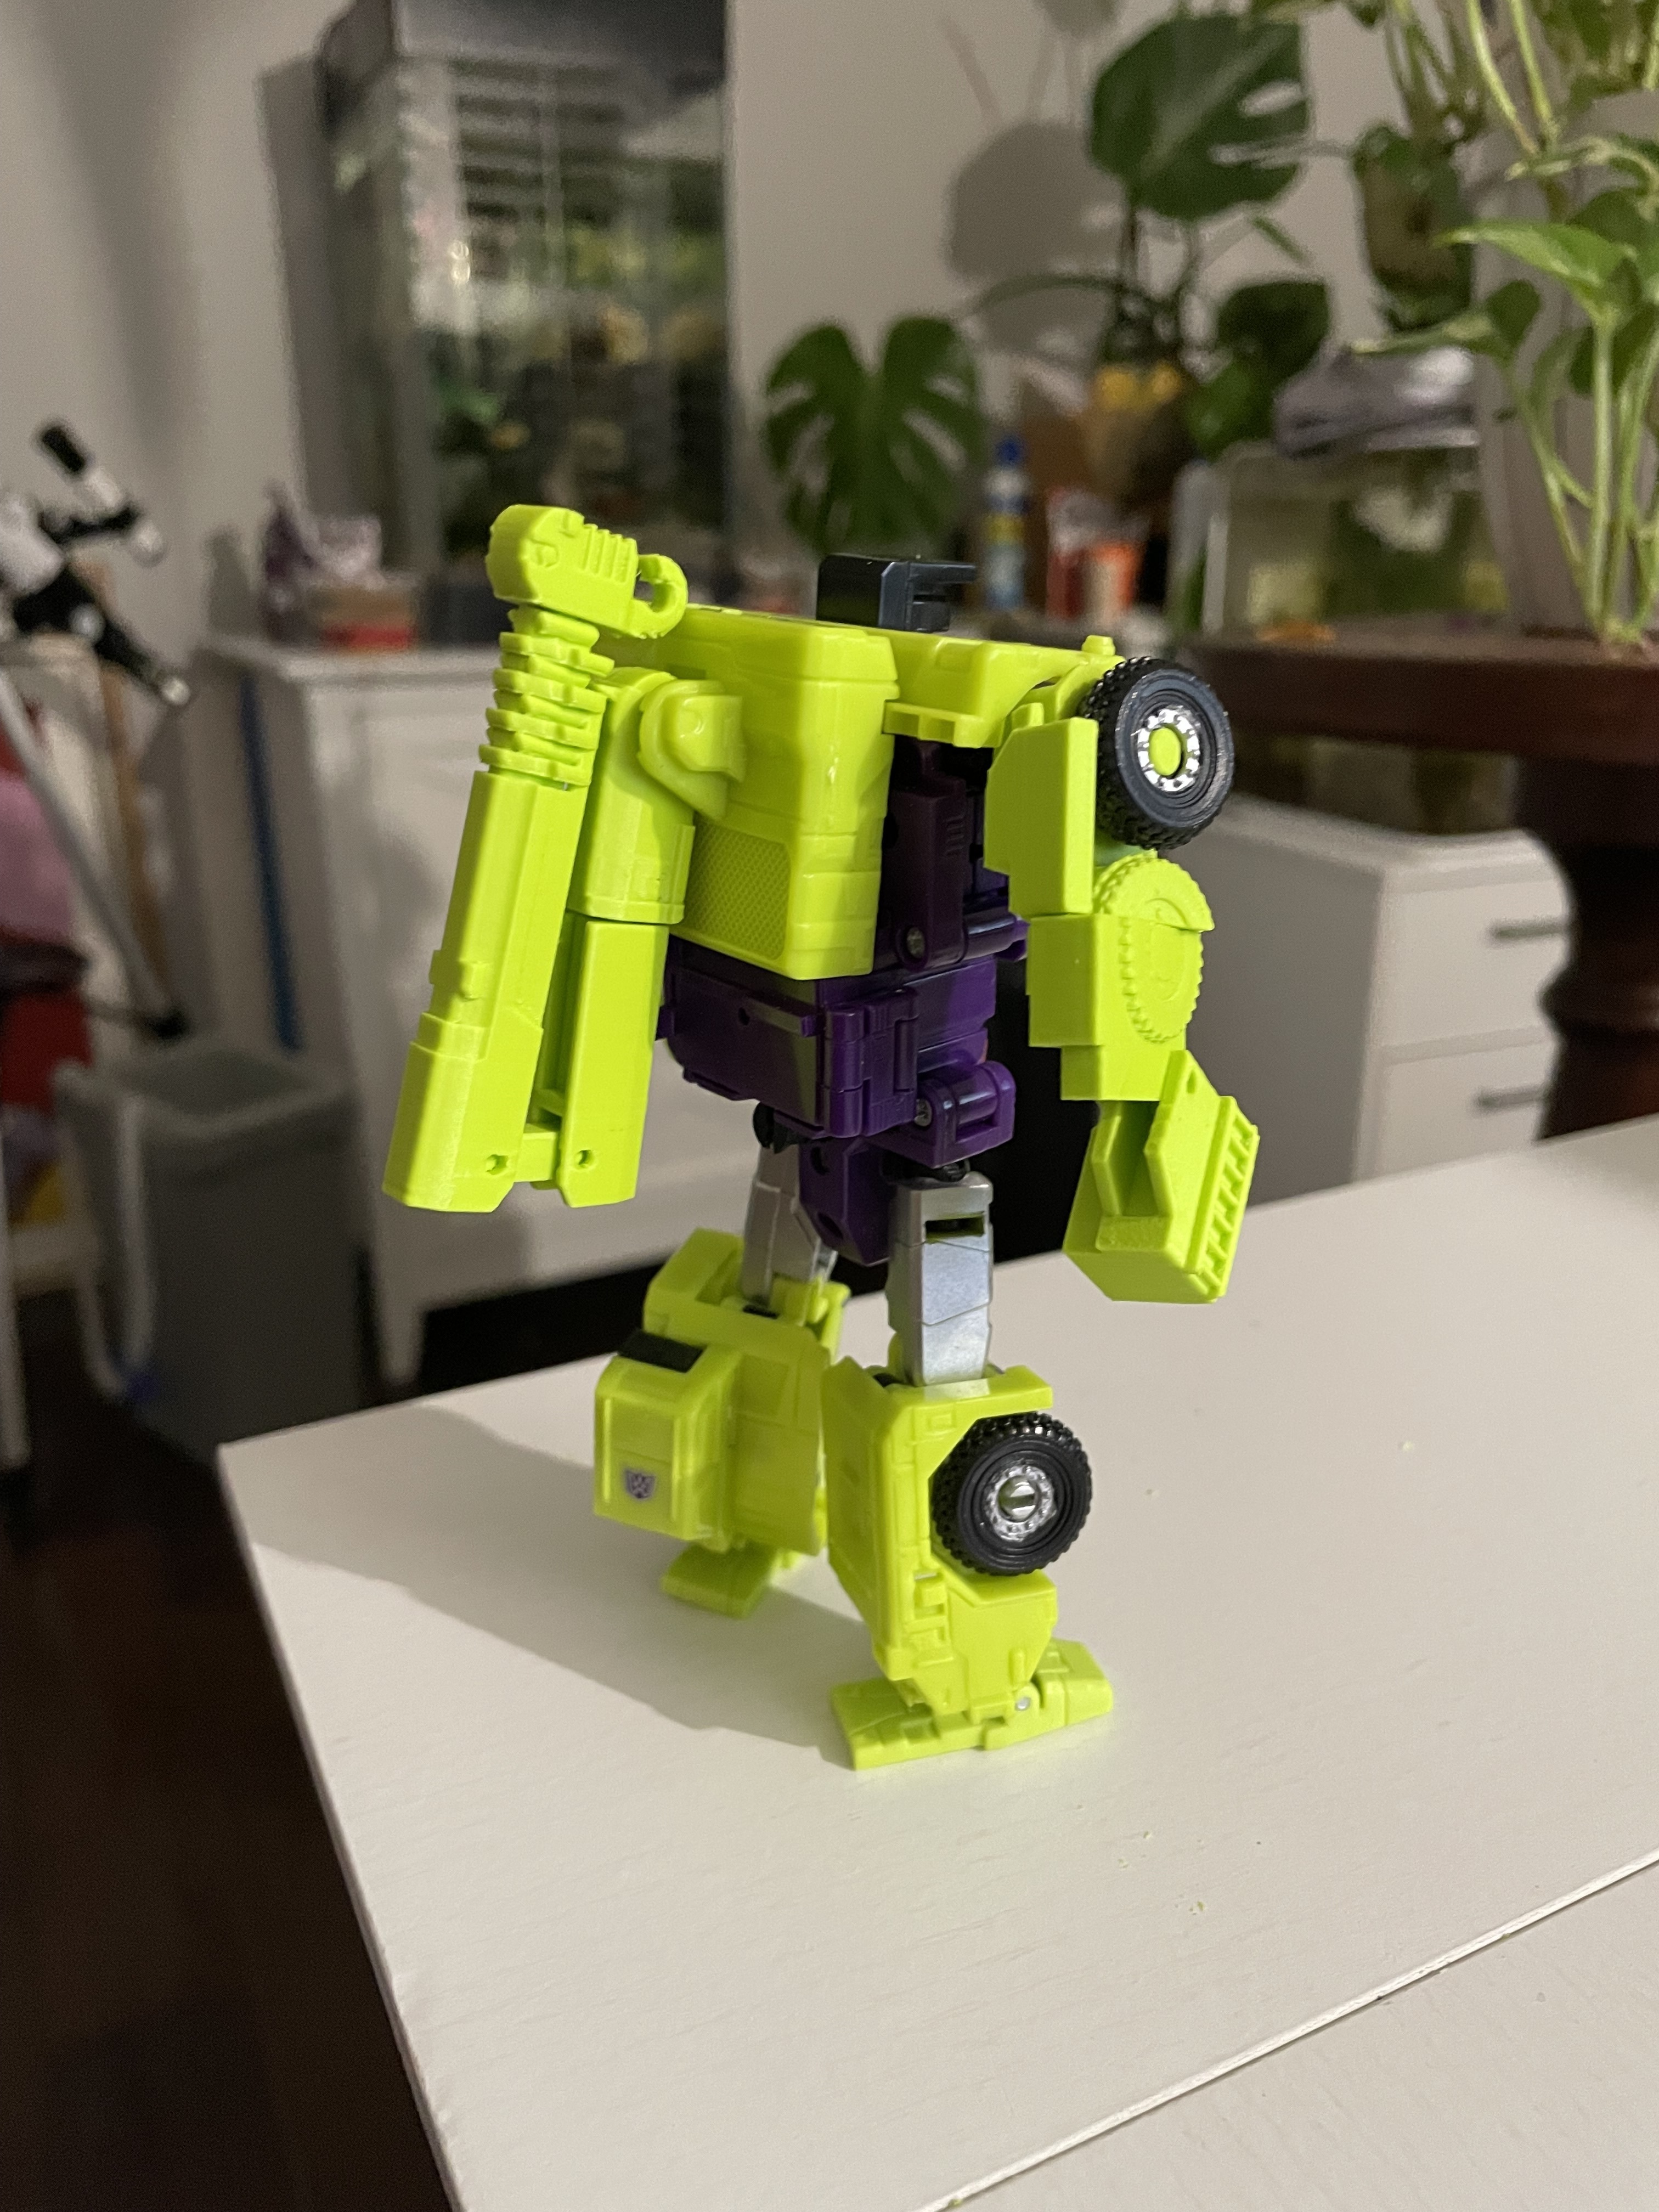
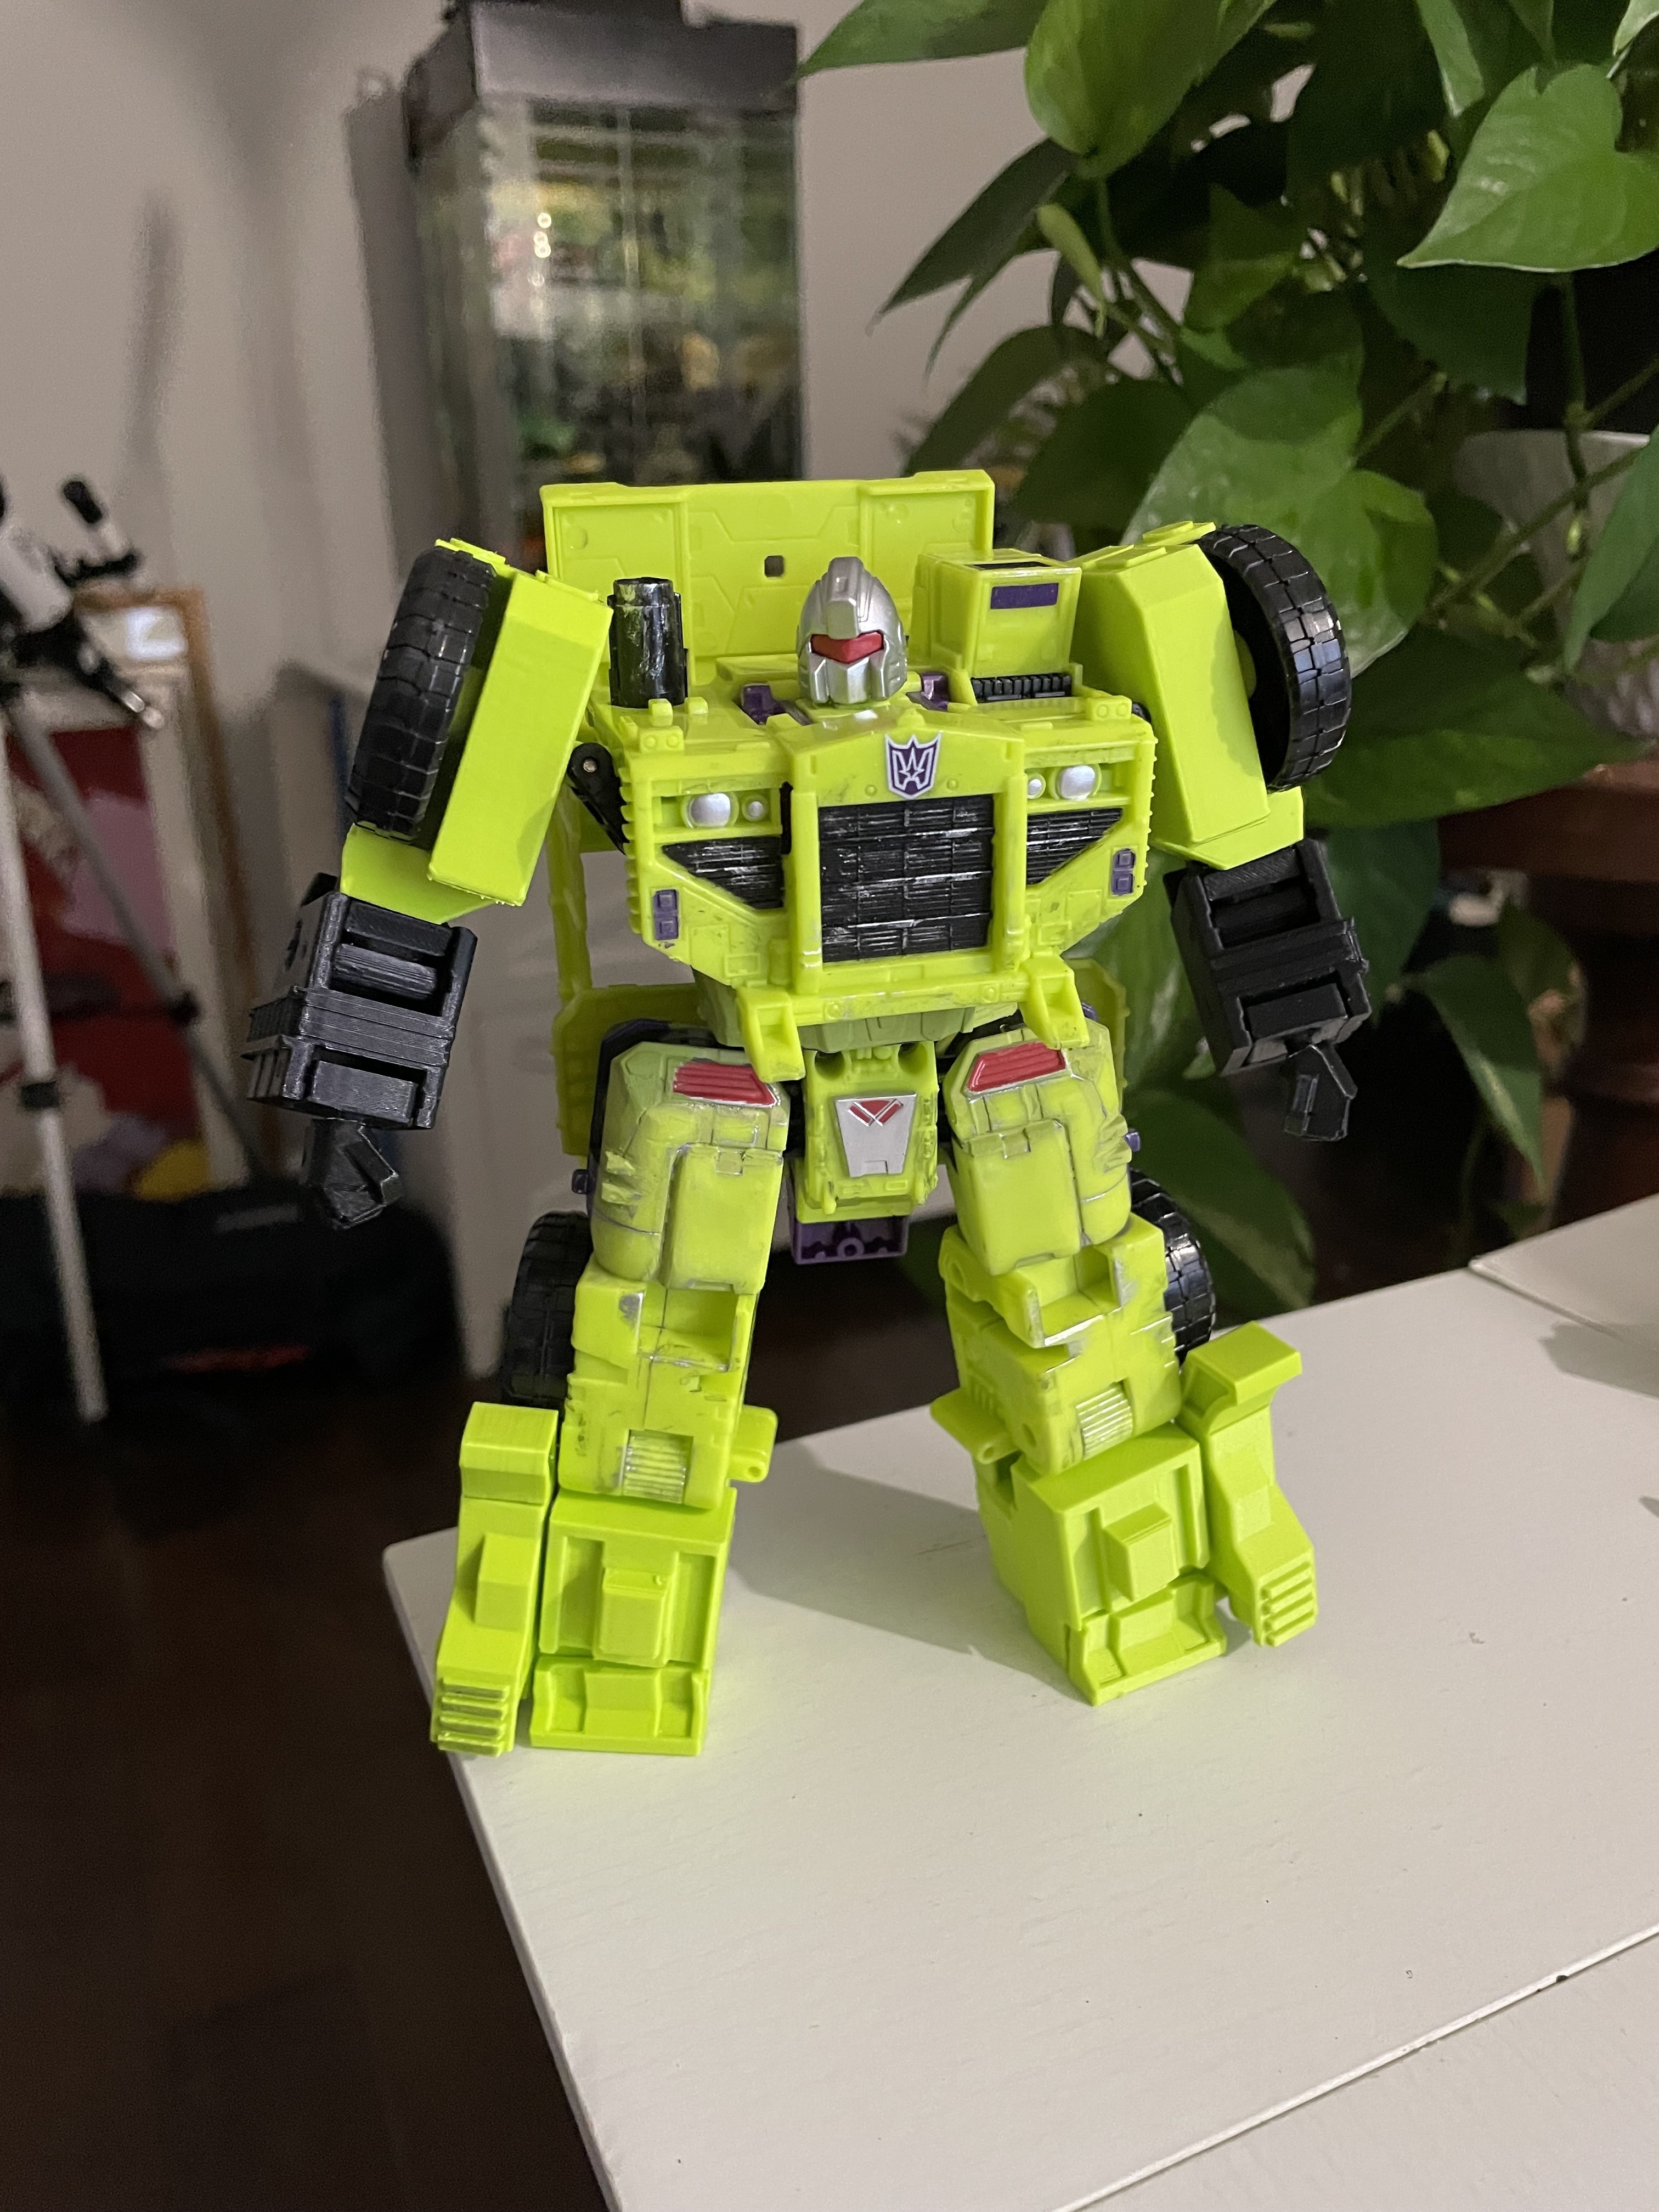
Scrapper.
These files contain the new arm parts ( a mid and lower section, and a new wrist/hand) and foot extension parts.
Just added a new version called Scrapper Improved. Its an updated design. One file includes all L+R parts.
The parts are very simple to change from the stock arms.
Just pop the stock arms out of the mushroom peg.
Take the new, mid arm and connect to the lower arm. Then attach the wrist and hand. And, combine to the lower arm.
Once the arm is assembled, attach to the mushroom peg on the figure.
No pin removal required on this upgrade.
You now have bicep swivel, elbow and wrist rotation. Ta da!
This Scrapper upgrade alone is such a massive upgrade for this set.
The foot extension simply plugs into the bottom of Scrappers foot in robot mode.
For vehicle and combined mode, the foot extension needs to be removed and plugged into the peg that is on the figures shin. So, the parts are stowable in non robot modes.
If you can get it, Polymaker Lime or Lulzbot green takes care of all Scrappers upgrades. It is a near perfect color match.
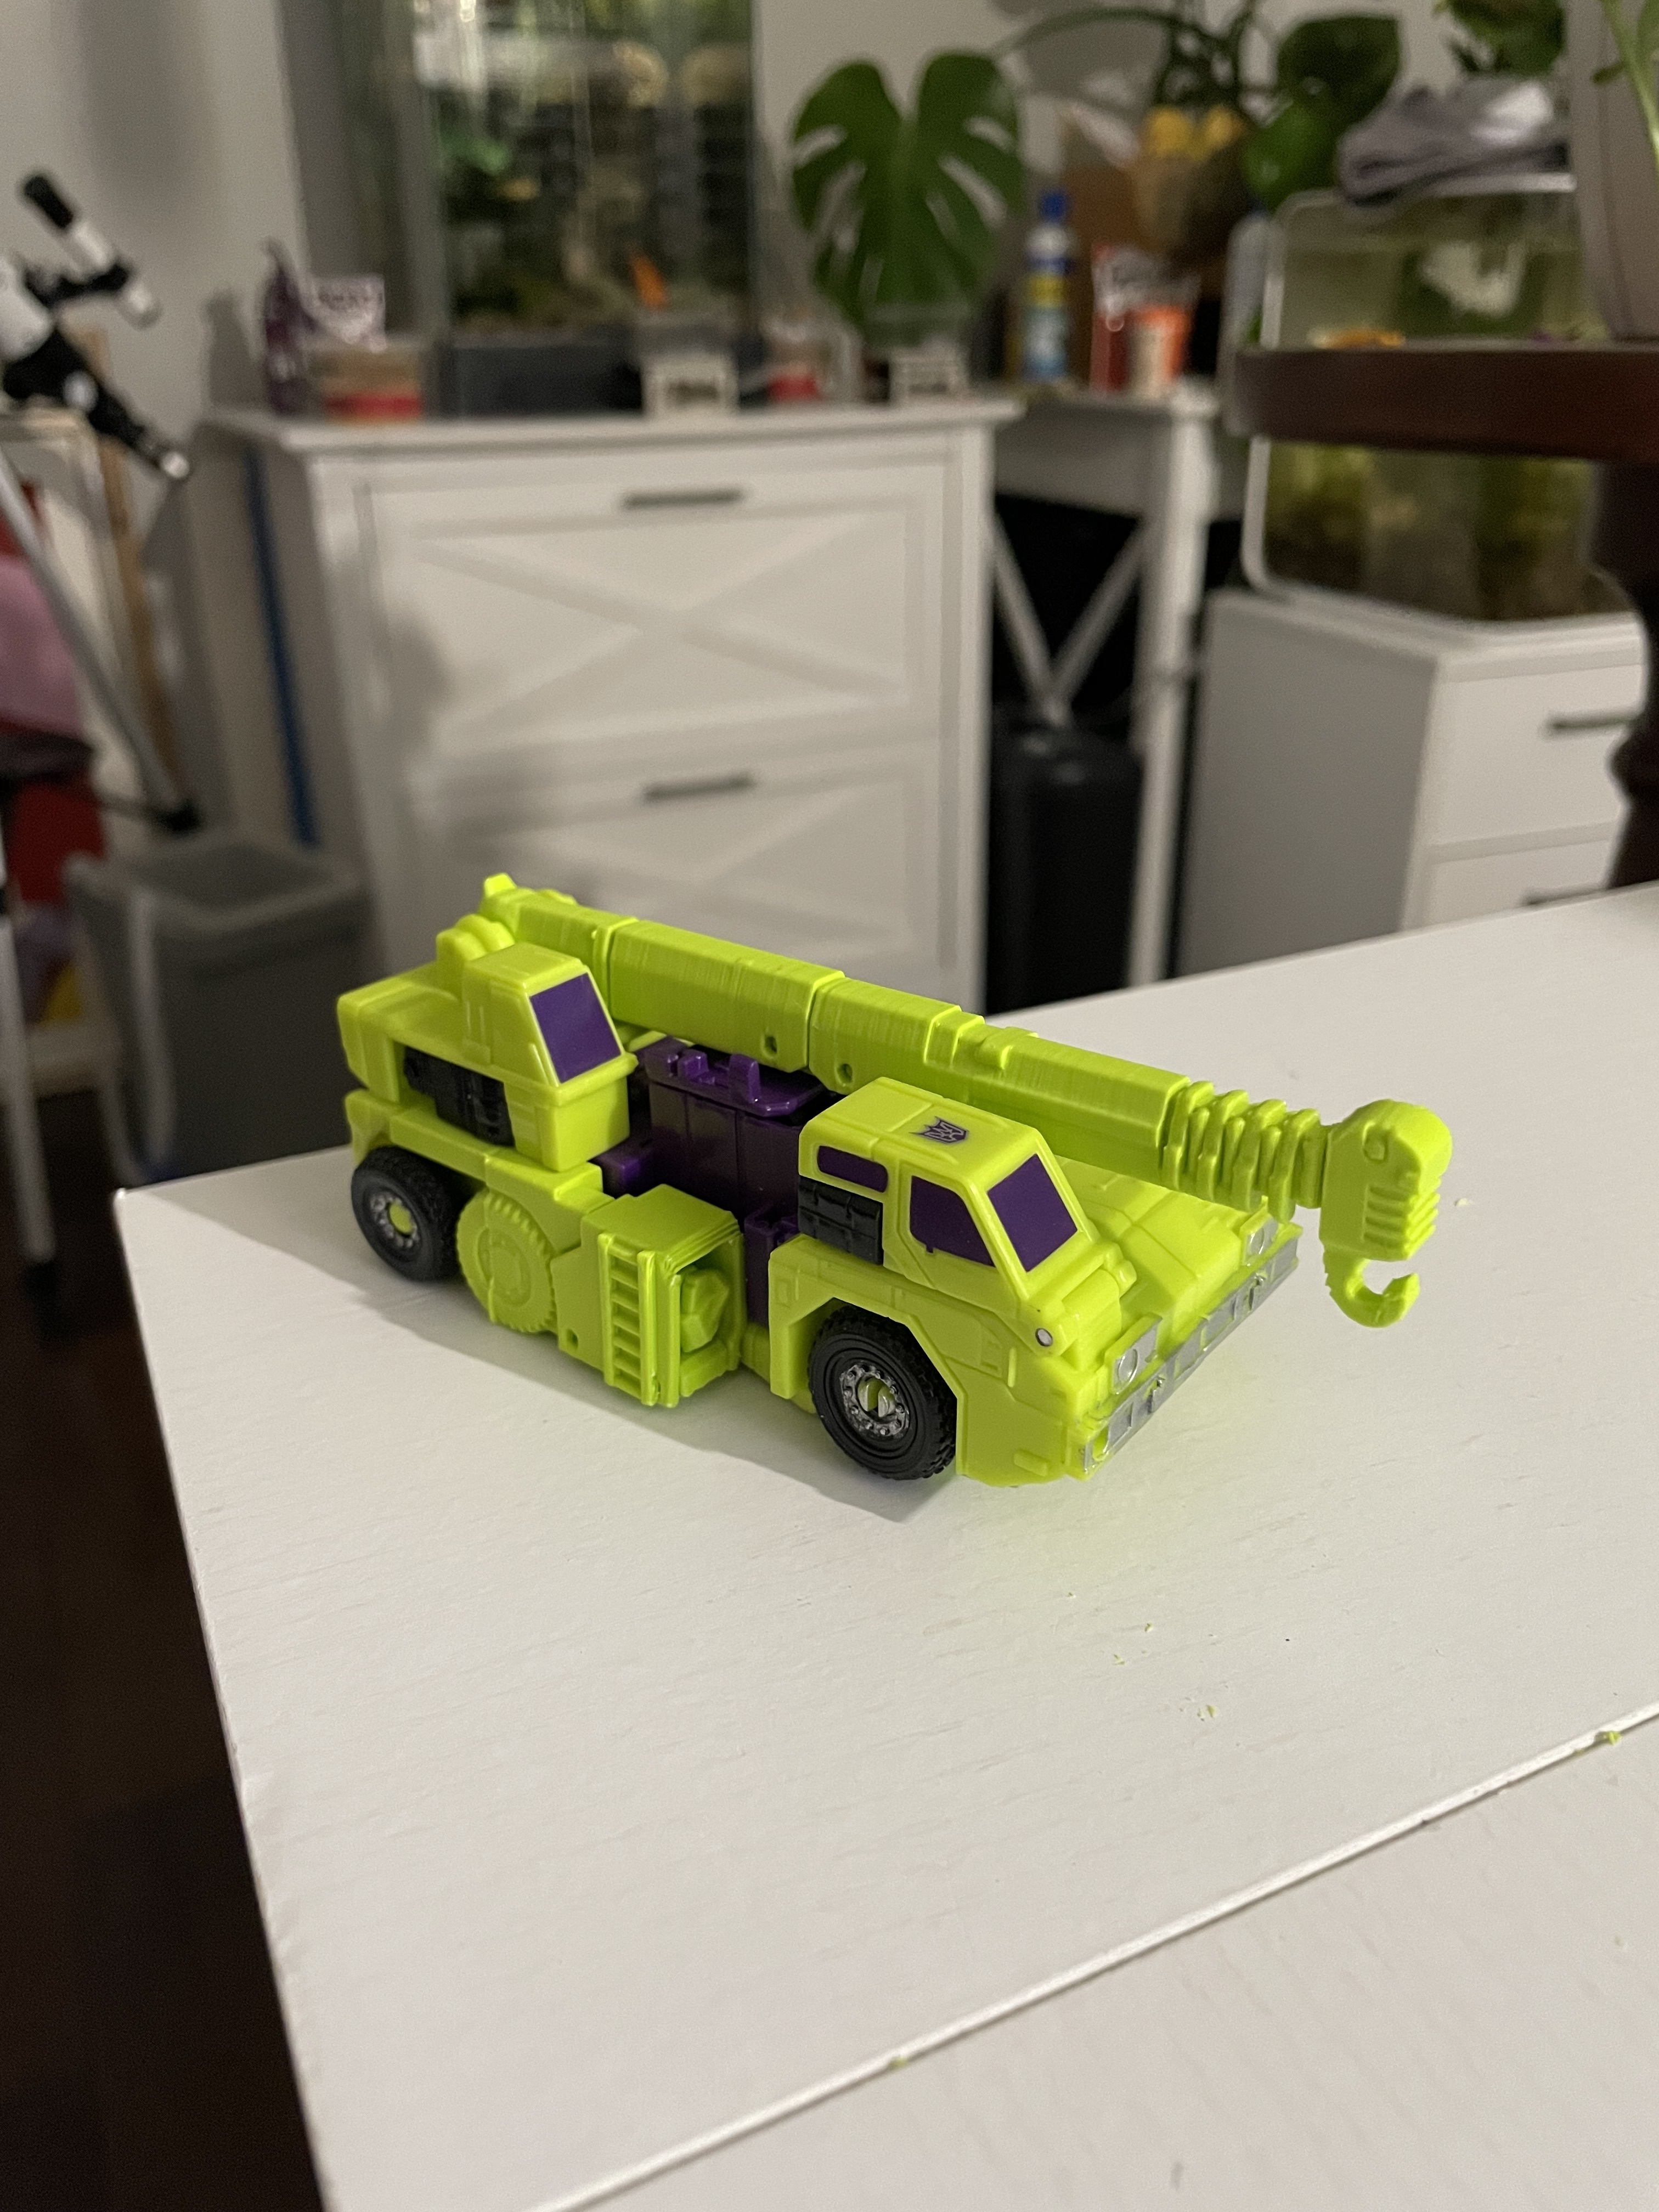
Hook.
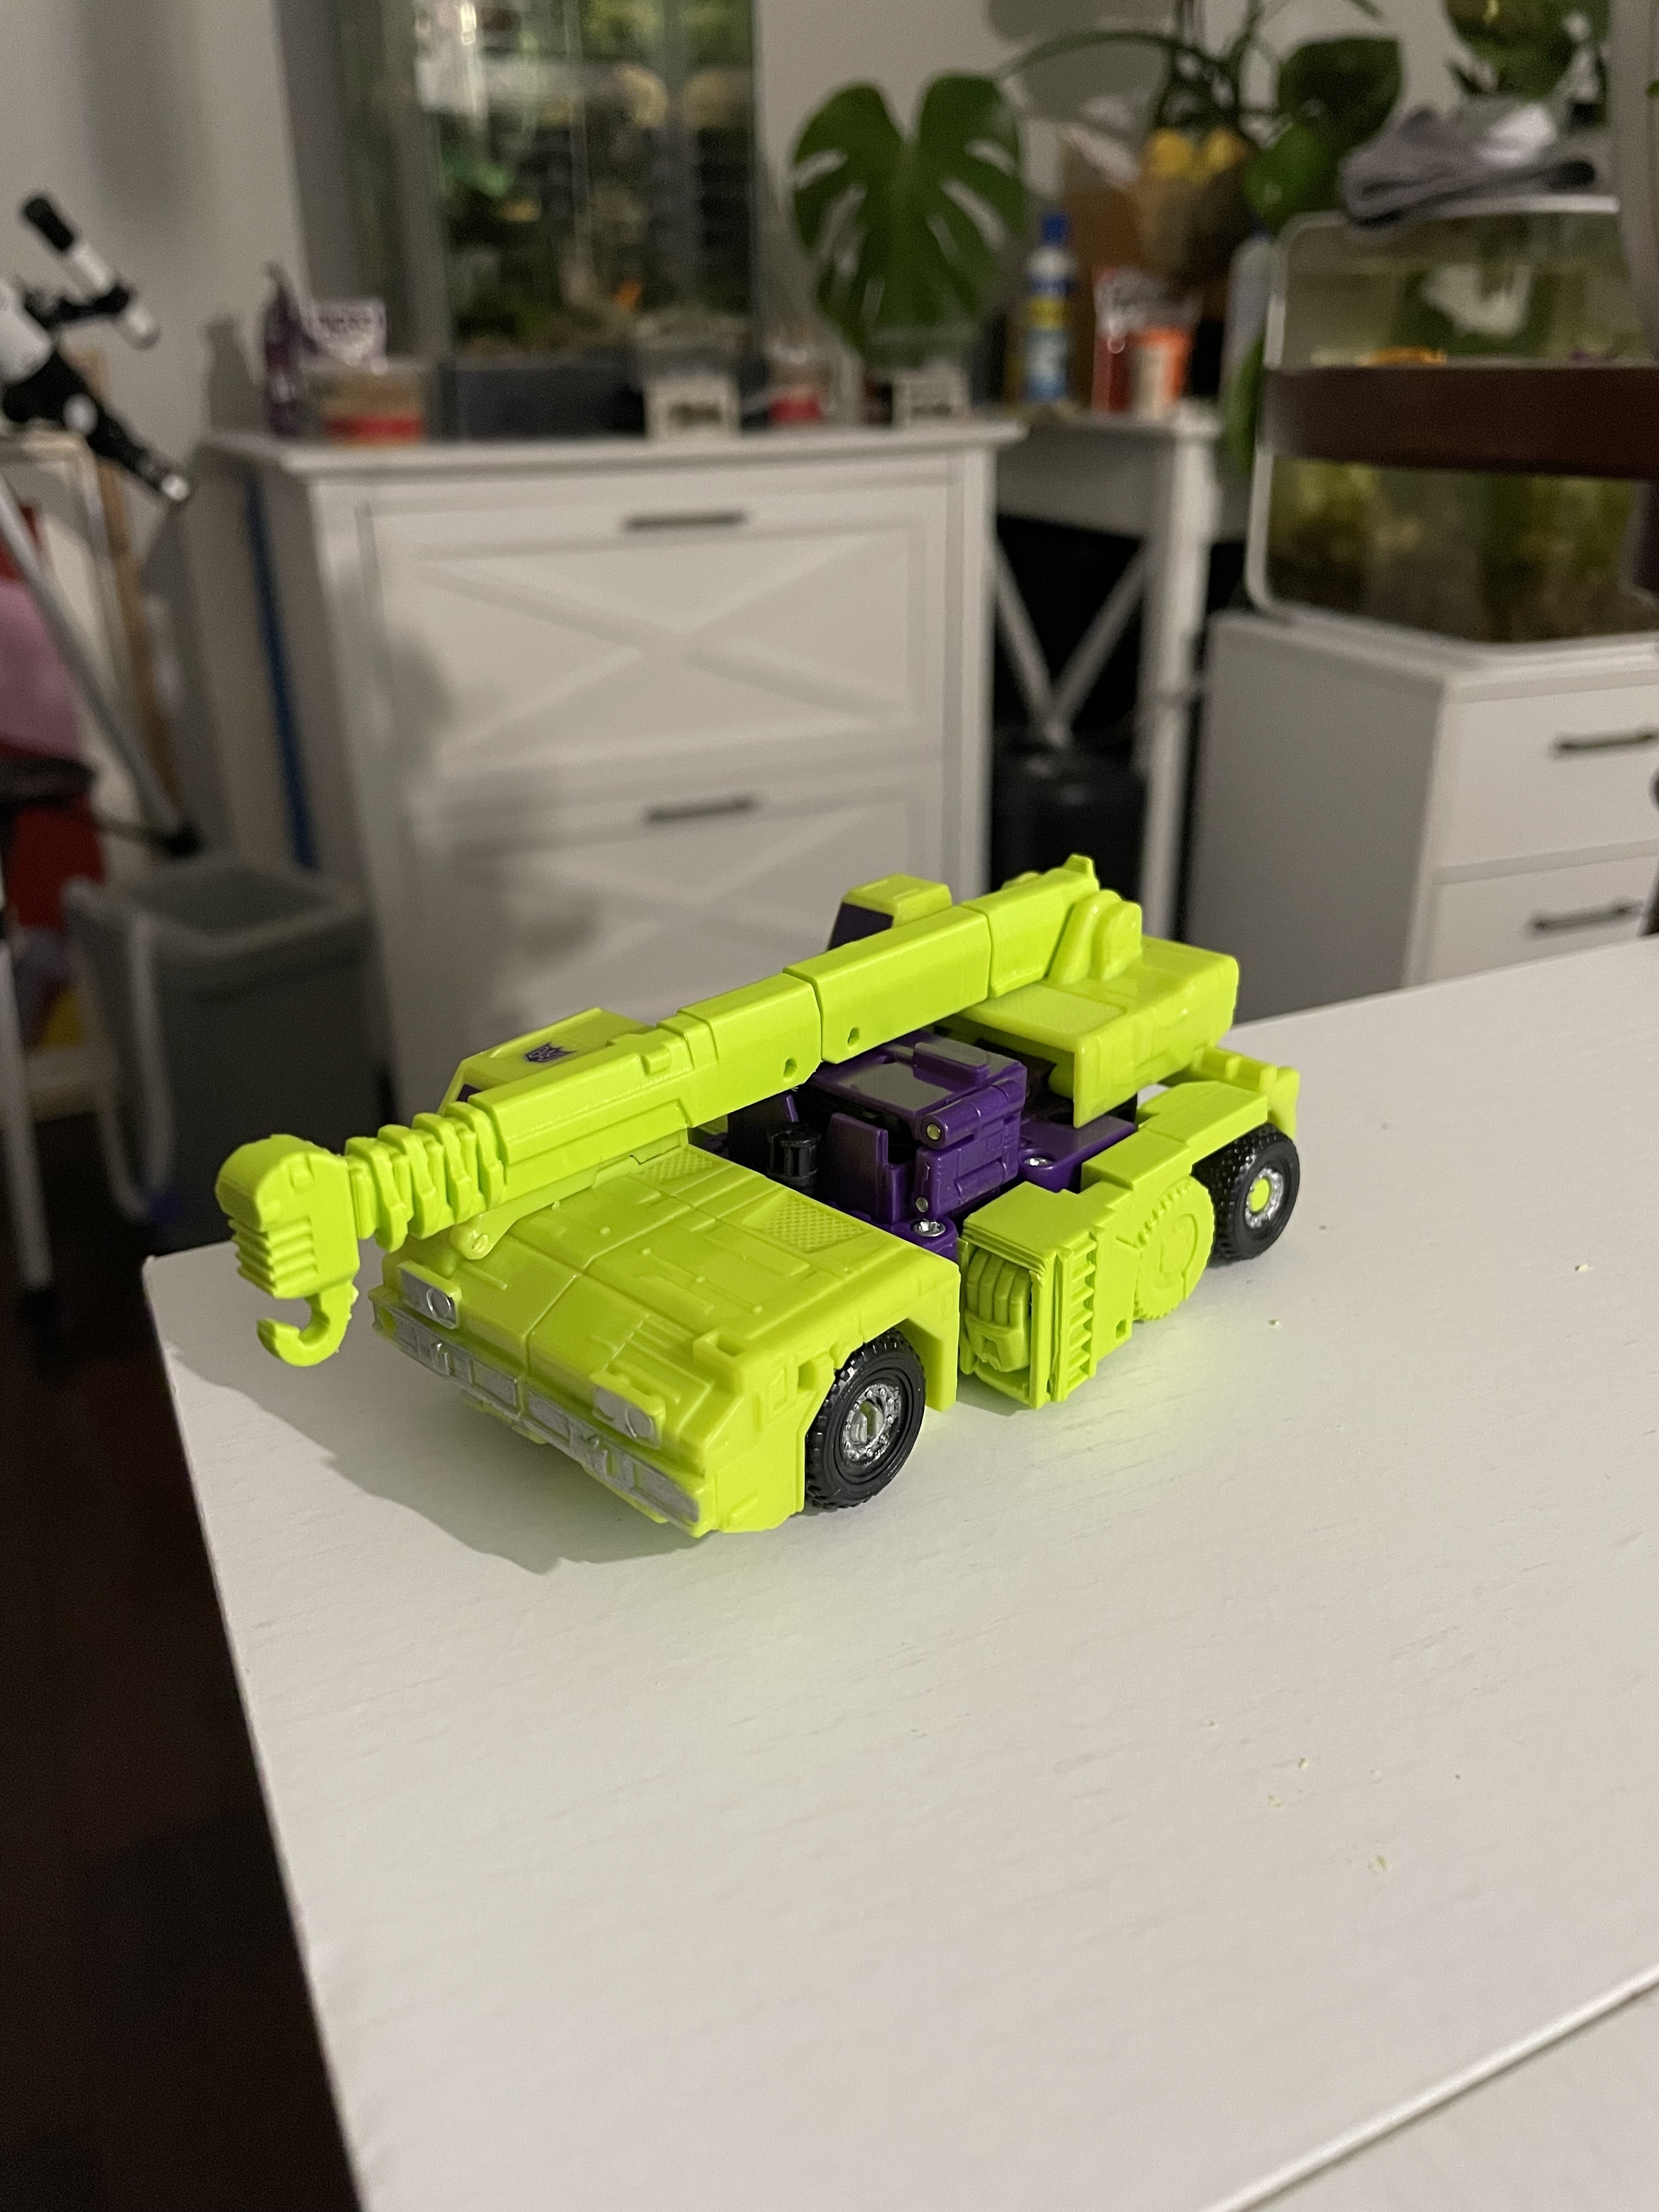
These files contain the new arm parts (an upper a mid and lower section, and a new wrist/hand) and a new crane assembly that can be folded up in robot/combined mode.
Just added a new version called Hook Improved. Its an updated design. One file includes all L+R parts.
These are not very straight forward to change out in place of the stock arms. So, take care.
The whole arm needs to be removed from the pin at the shoulder joint. I would suggest using a center punch to dislodge the pin. Once the pin is dislodged, use some pliers to gradually rotate and pull the pin from the hole.
But, go slowly and support the shoulder joint and upper arm section as you punch the pin out. The shoulder joint has some bend to it but the plastic everywhere on this figure is pretty thin.
Take the new, upper arm, and connect via the mushroom peg to the mid arm. Then, connect to the lower arm via the friction joint 2mm hole/port connectors. Finally, attach the wrist and hand. And, combine to the lower arm.
Once the arm is assembled, move the upper arm hole into position over the hole in the shoulder joint and insert the pin. You may need to file out the hole a little to make sure the pin goes in. It may be too tight depending on print tolerances. But, you want it to be a snug fit.
Once done, you now have bicep swivel, an elbow joint and wrist rotation. Ta da!
This upgrade really lets Hook express himself much more.
The crane kit is great. All the parts fit together via a dowel and friction joints.
Once completed, it gives you a crane that looks similar to the stock version for vehicle mode but in robot mode, can be folded up neatly on Hooks back, giving the figure much better balance and aesthetics. Again, just be careful during assembly and be ready to slowly file down any areas of contact between parts, particularly at the joints, if necessary.
The arm components will need to be mirrored and printed for the alternate side.
Polymaker Lime or Lulzbot green takes care of all Hooks upgrades.
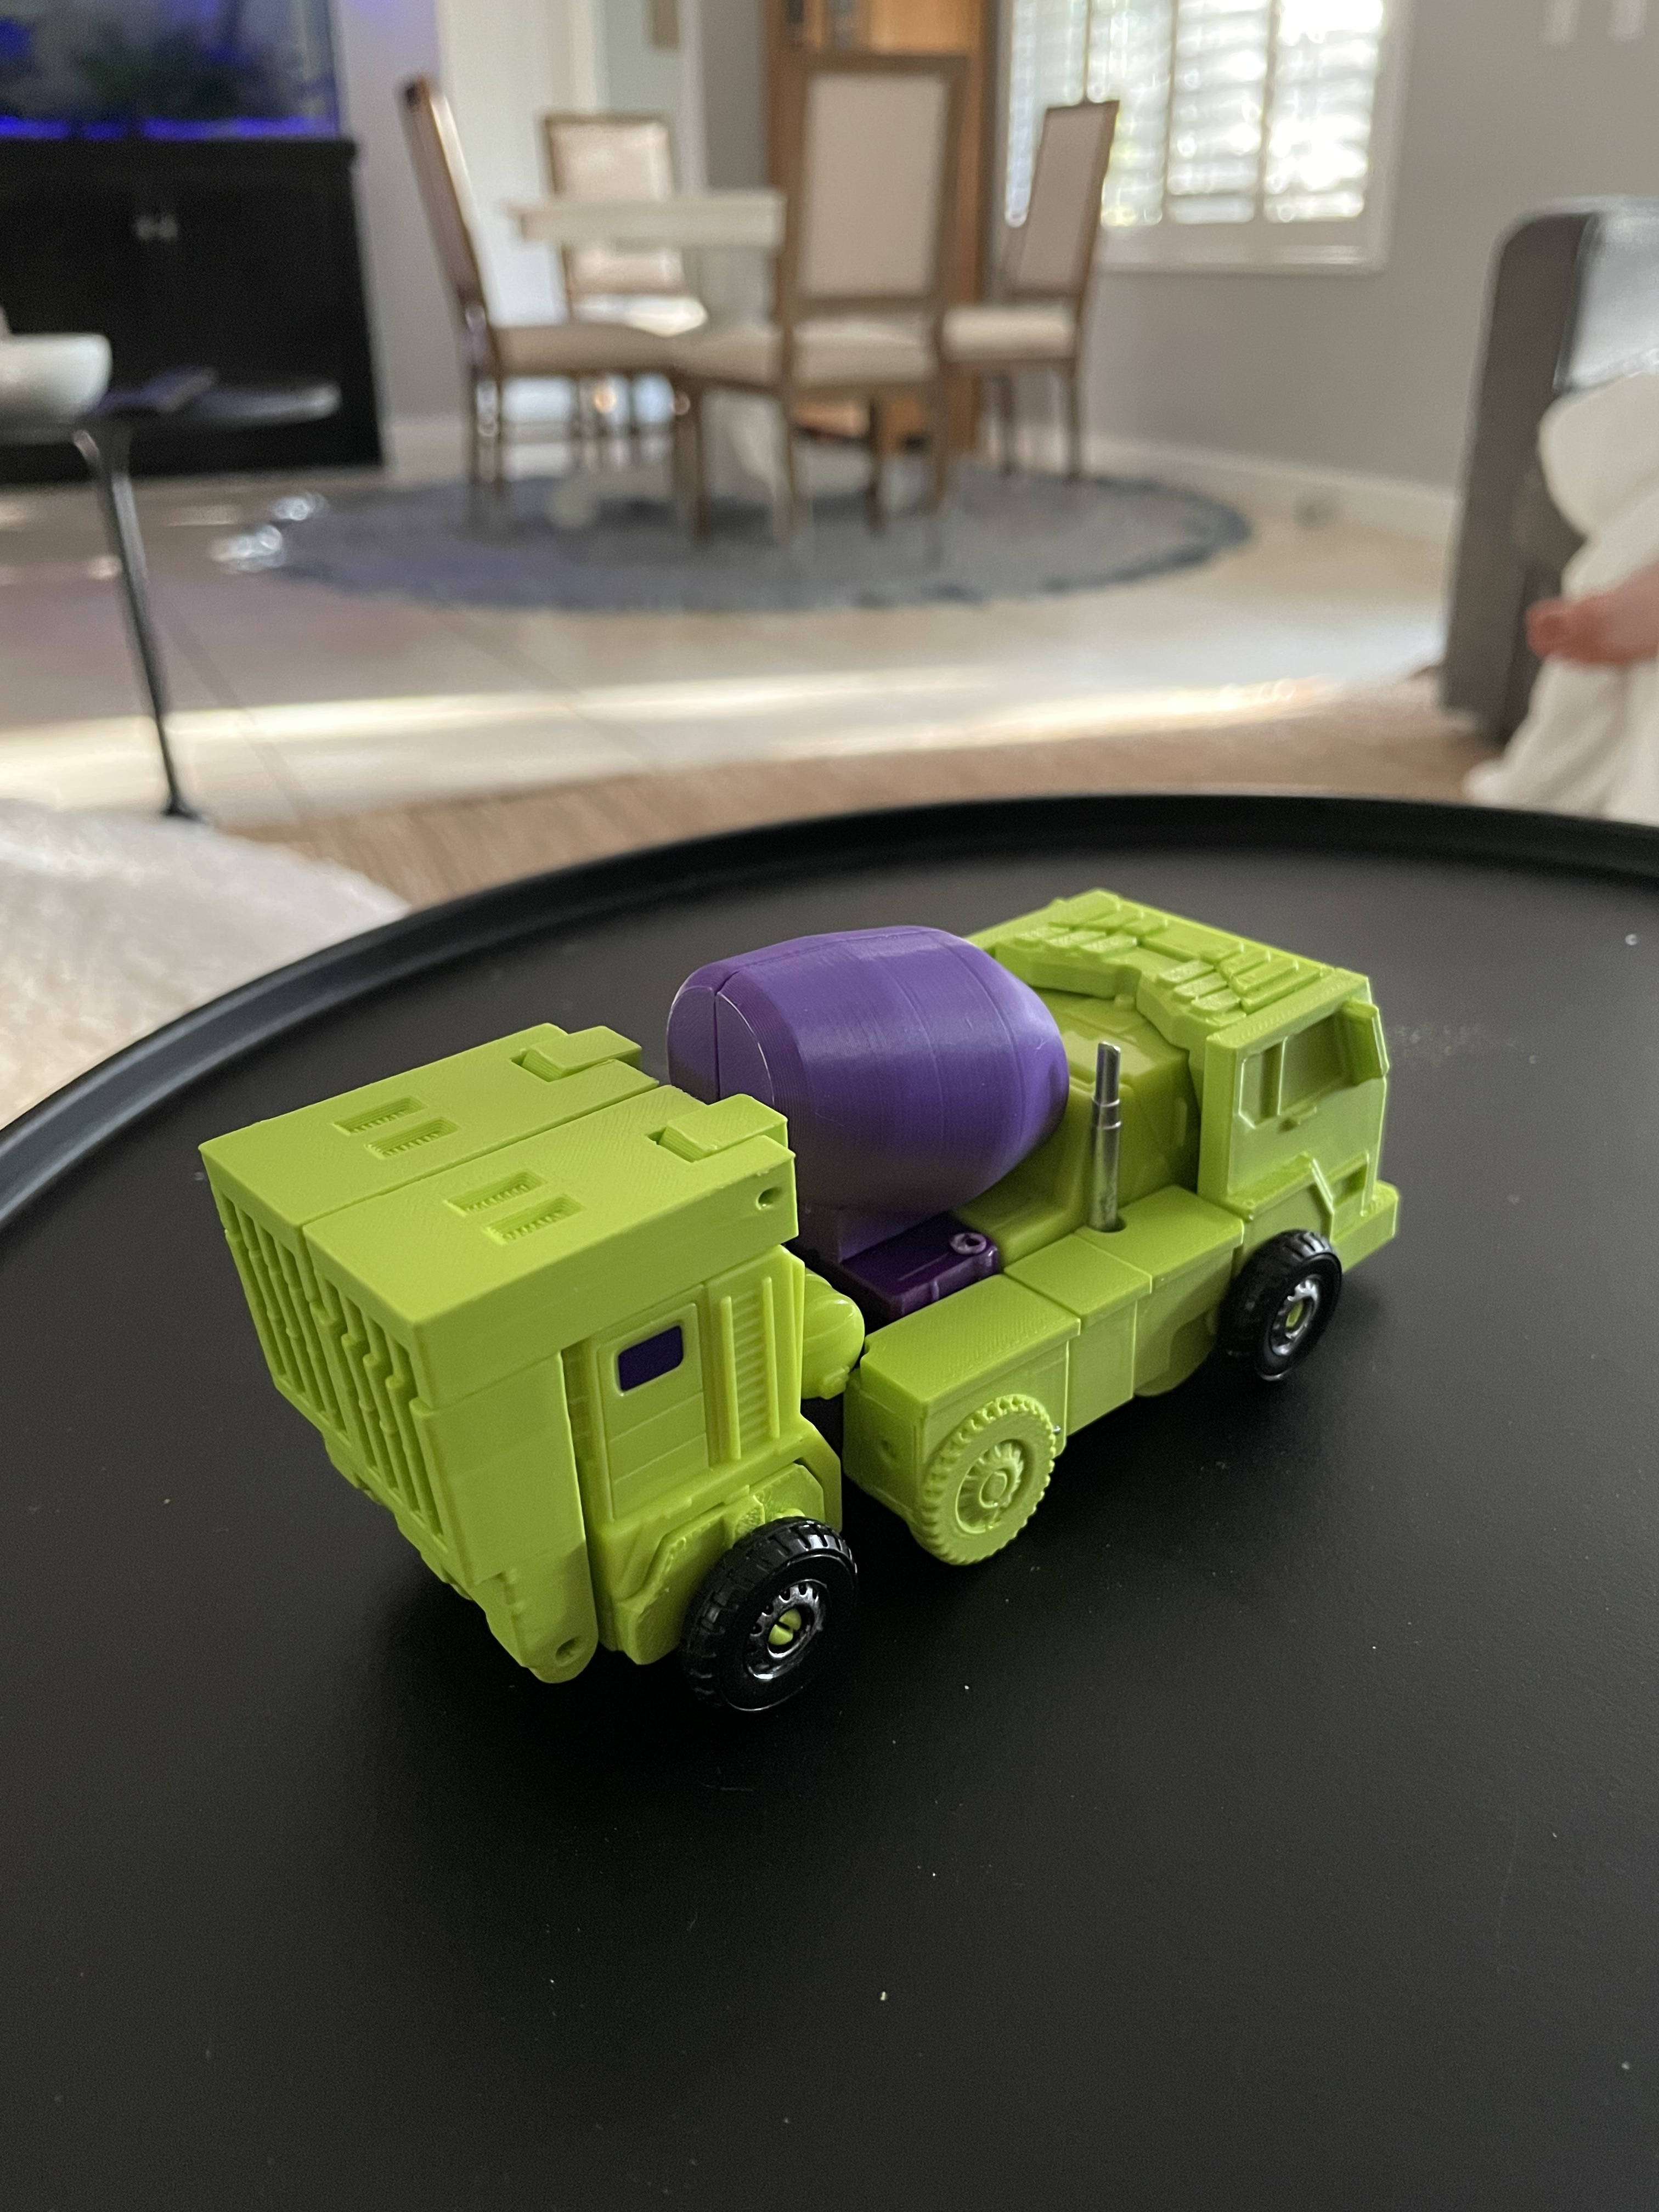
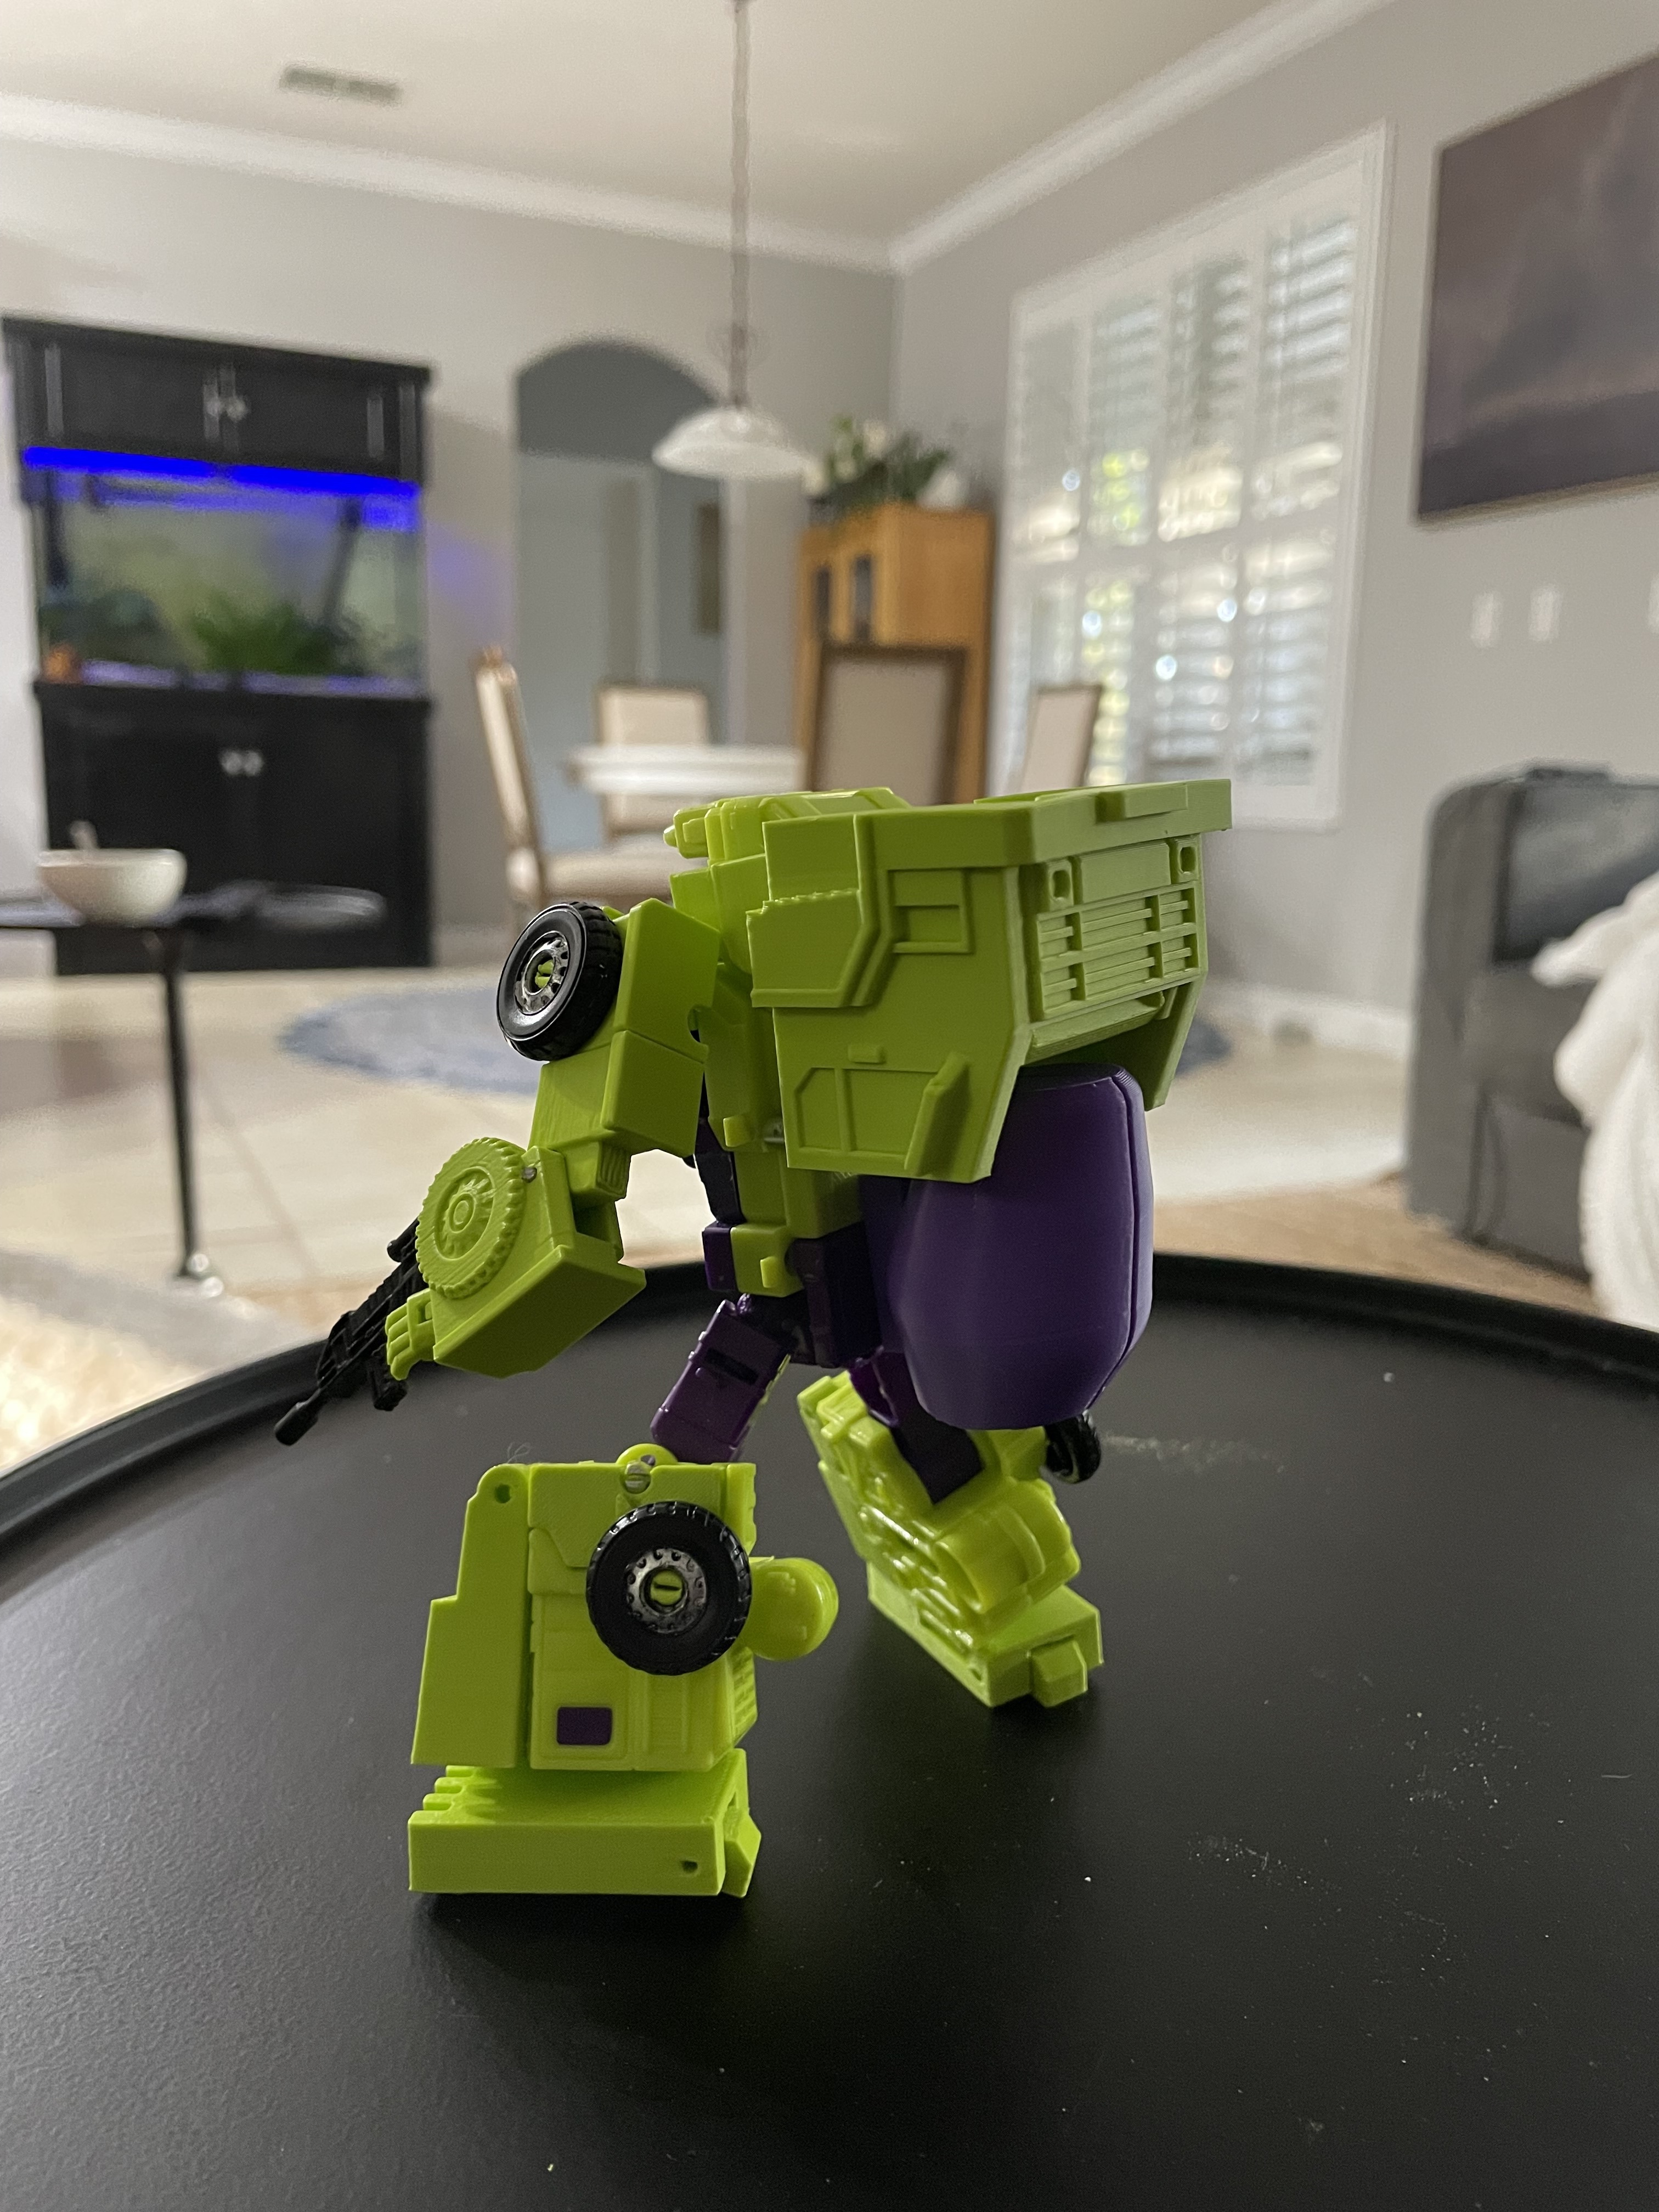
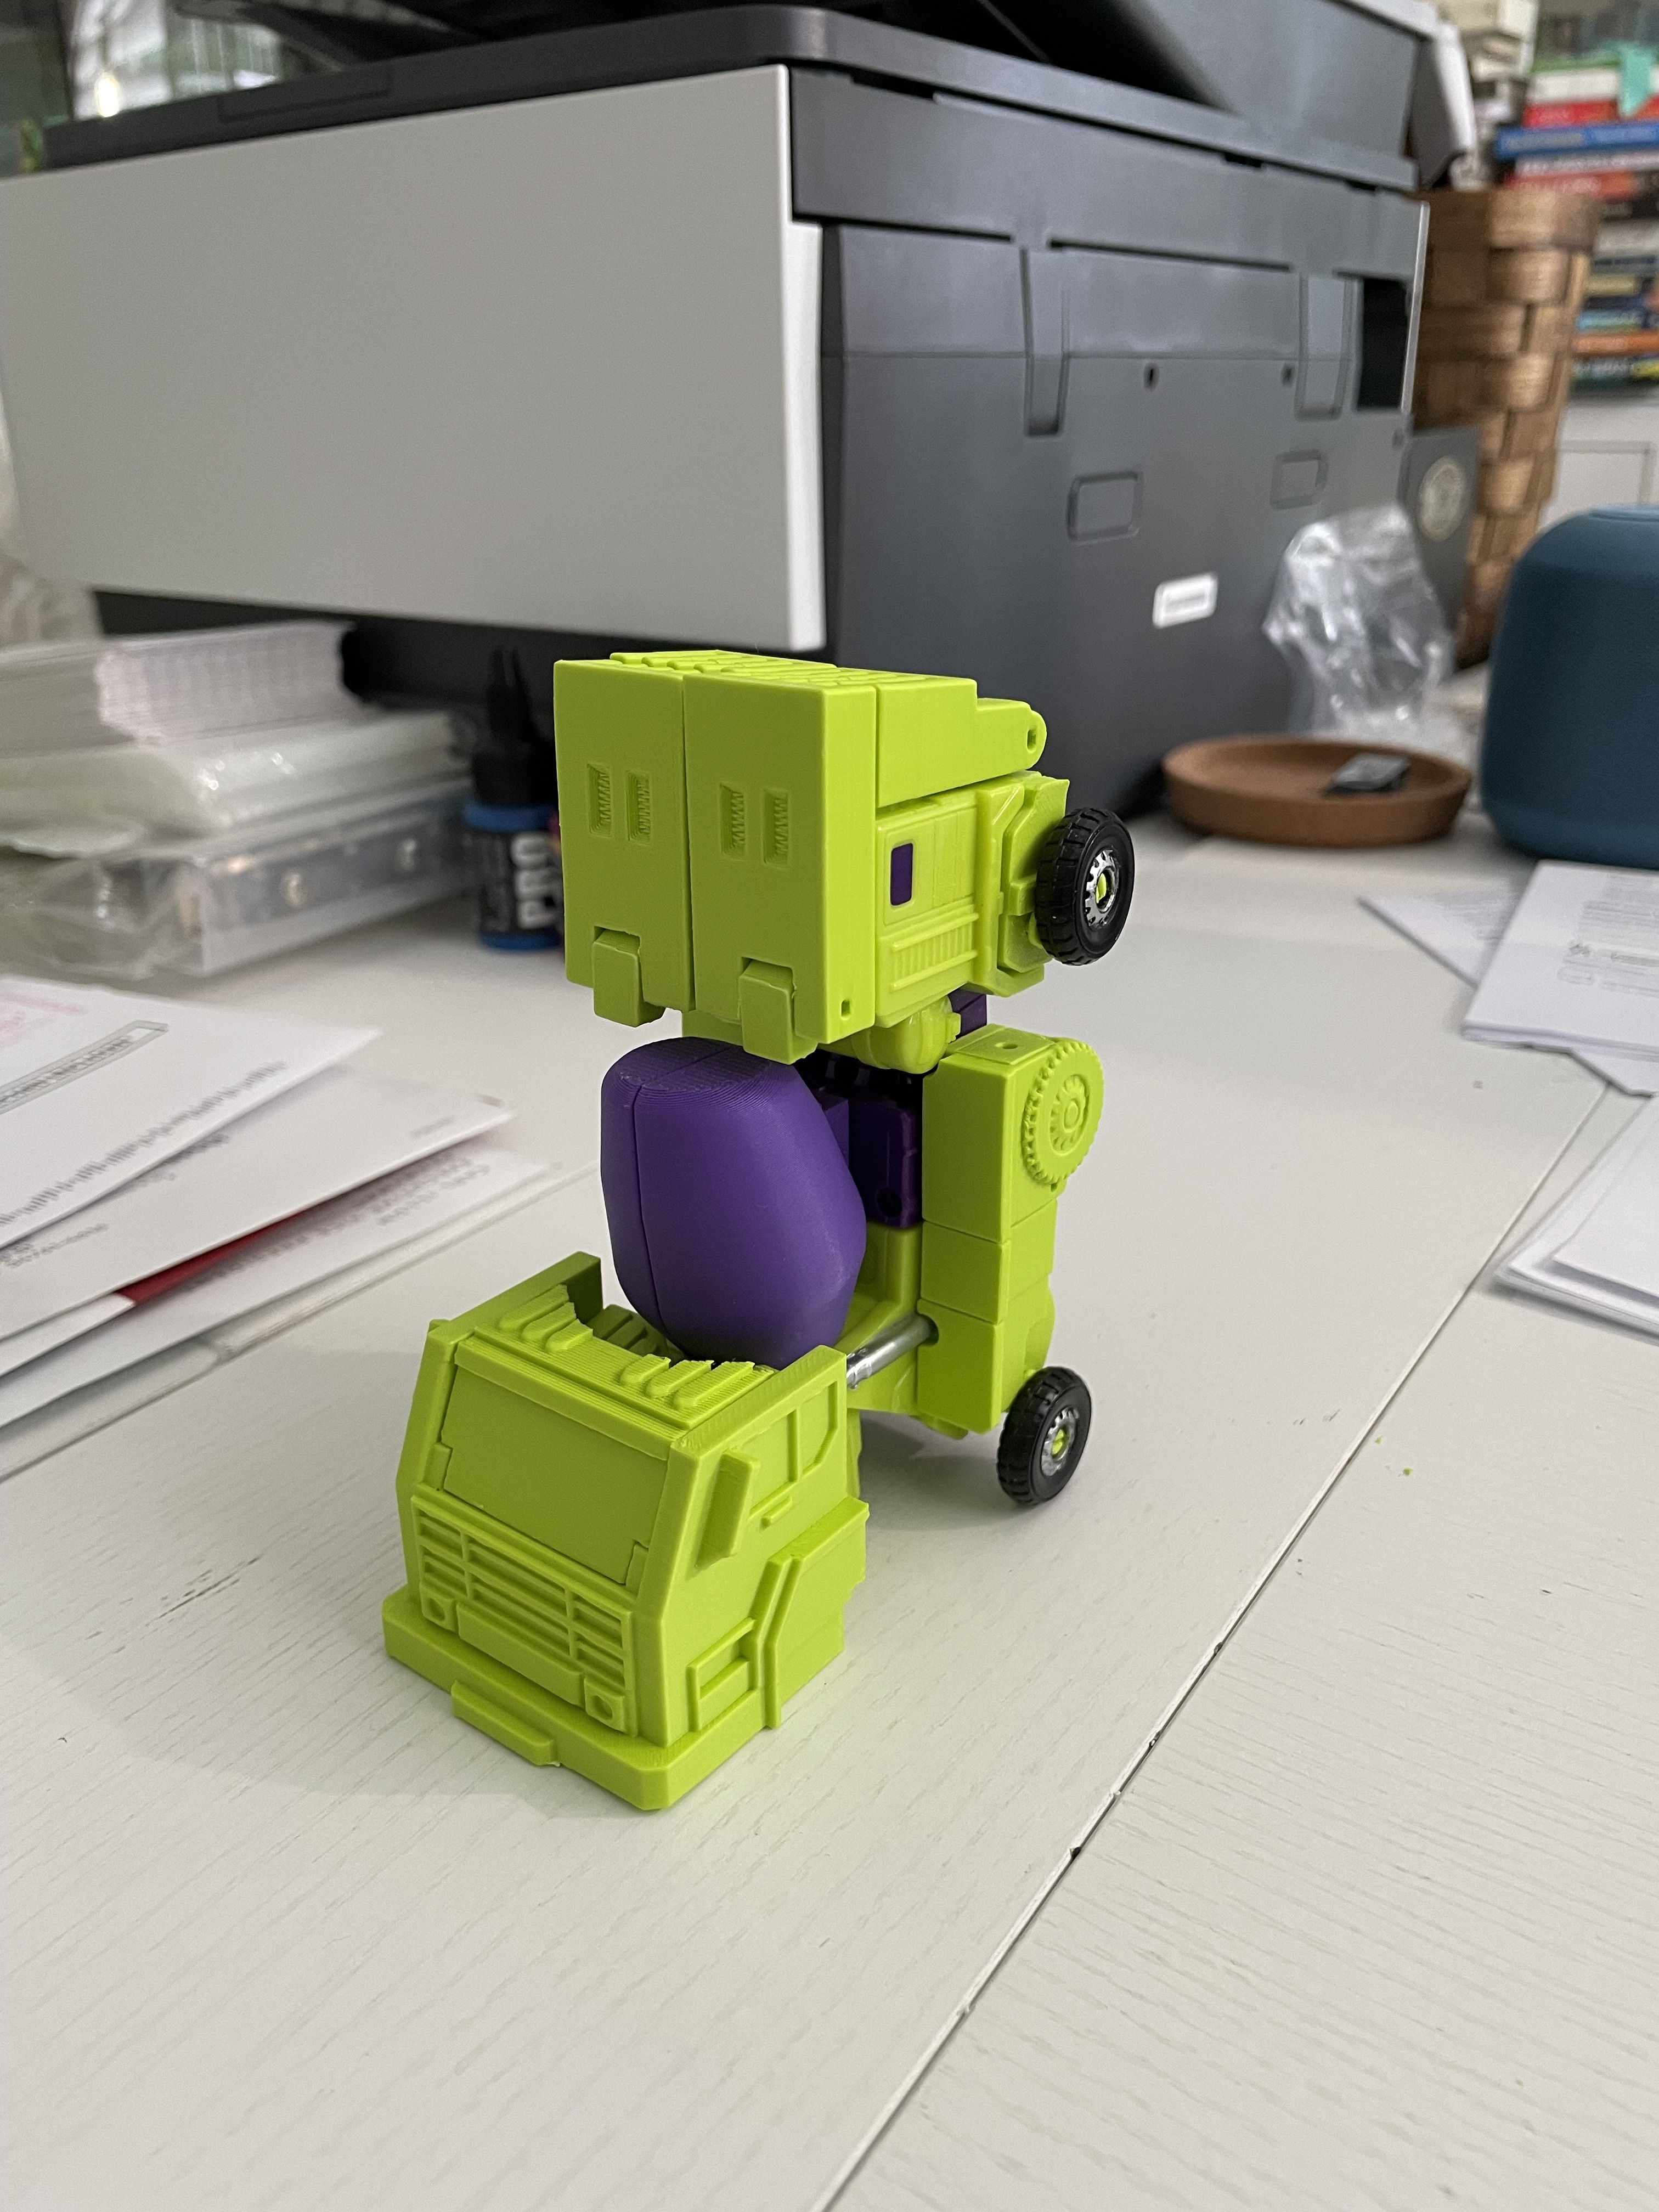
MixMaster.
Original Version:
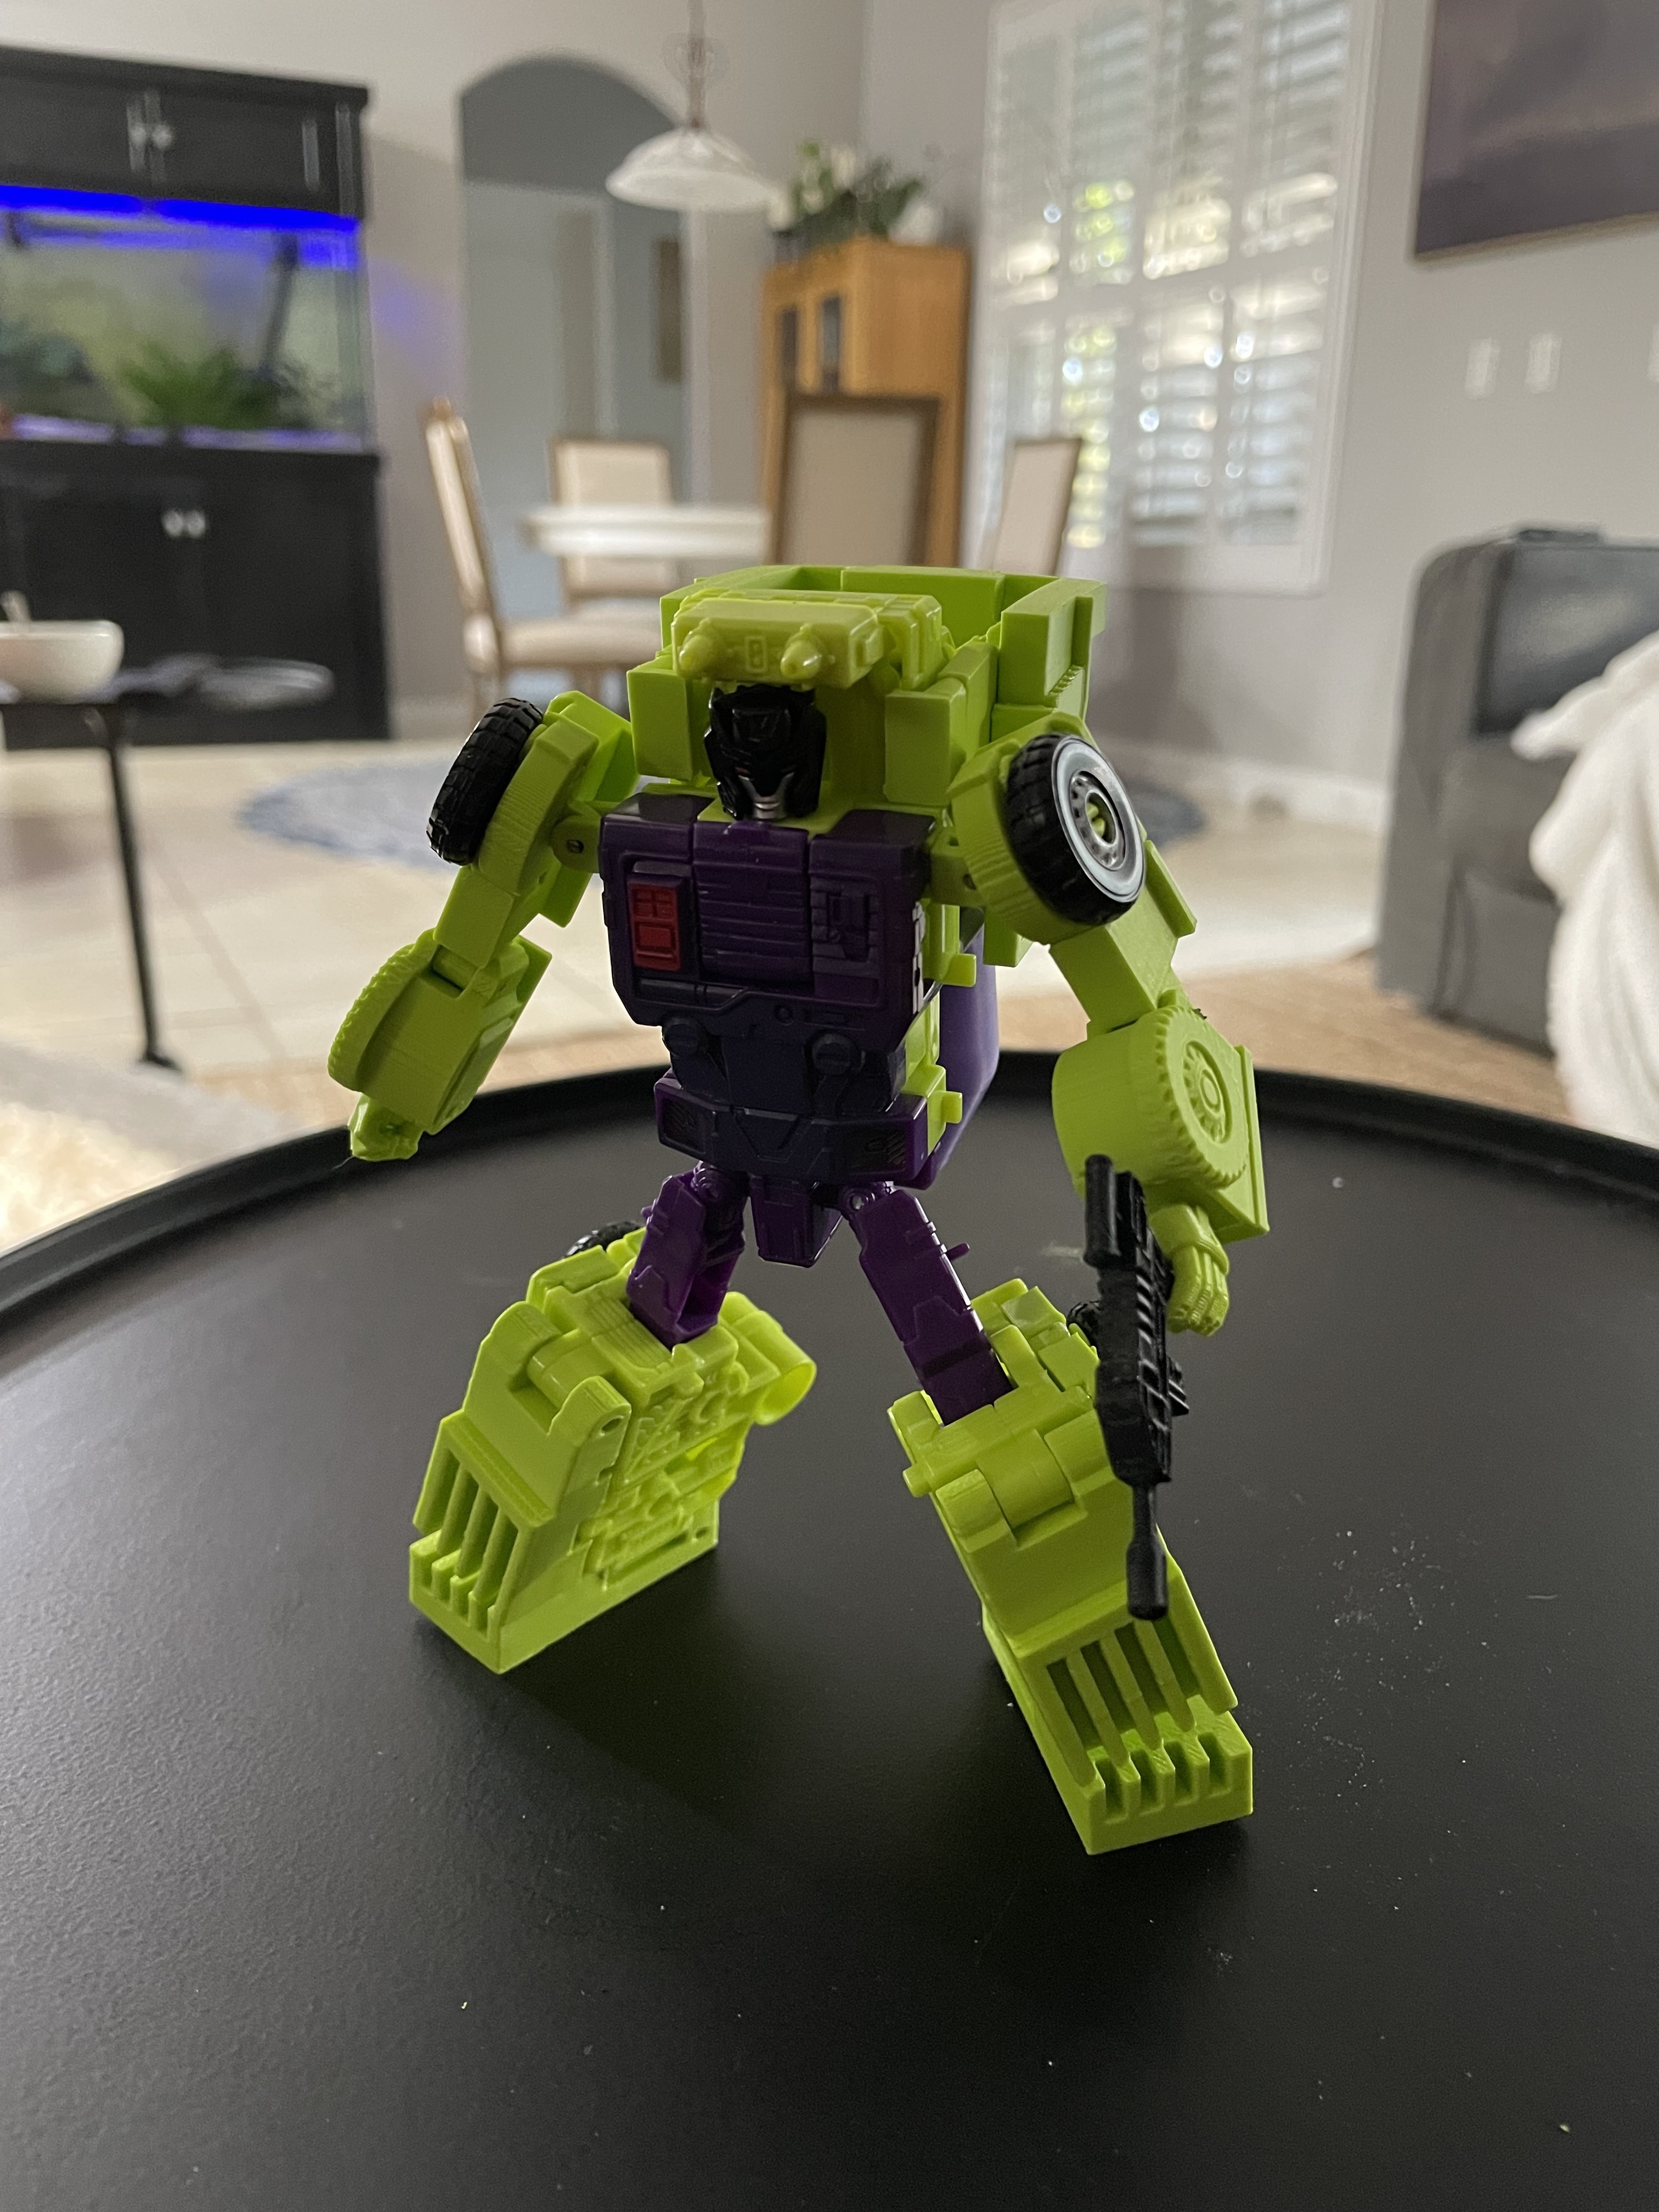
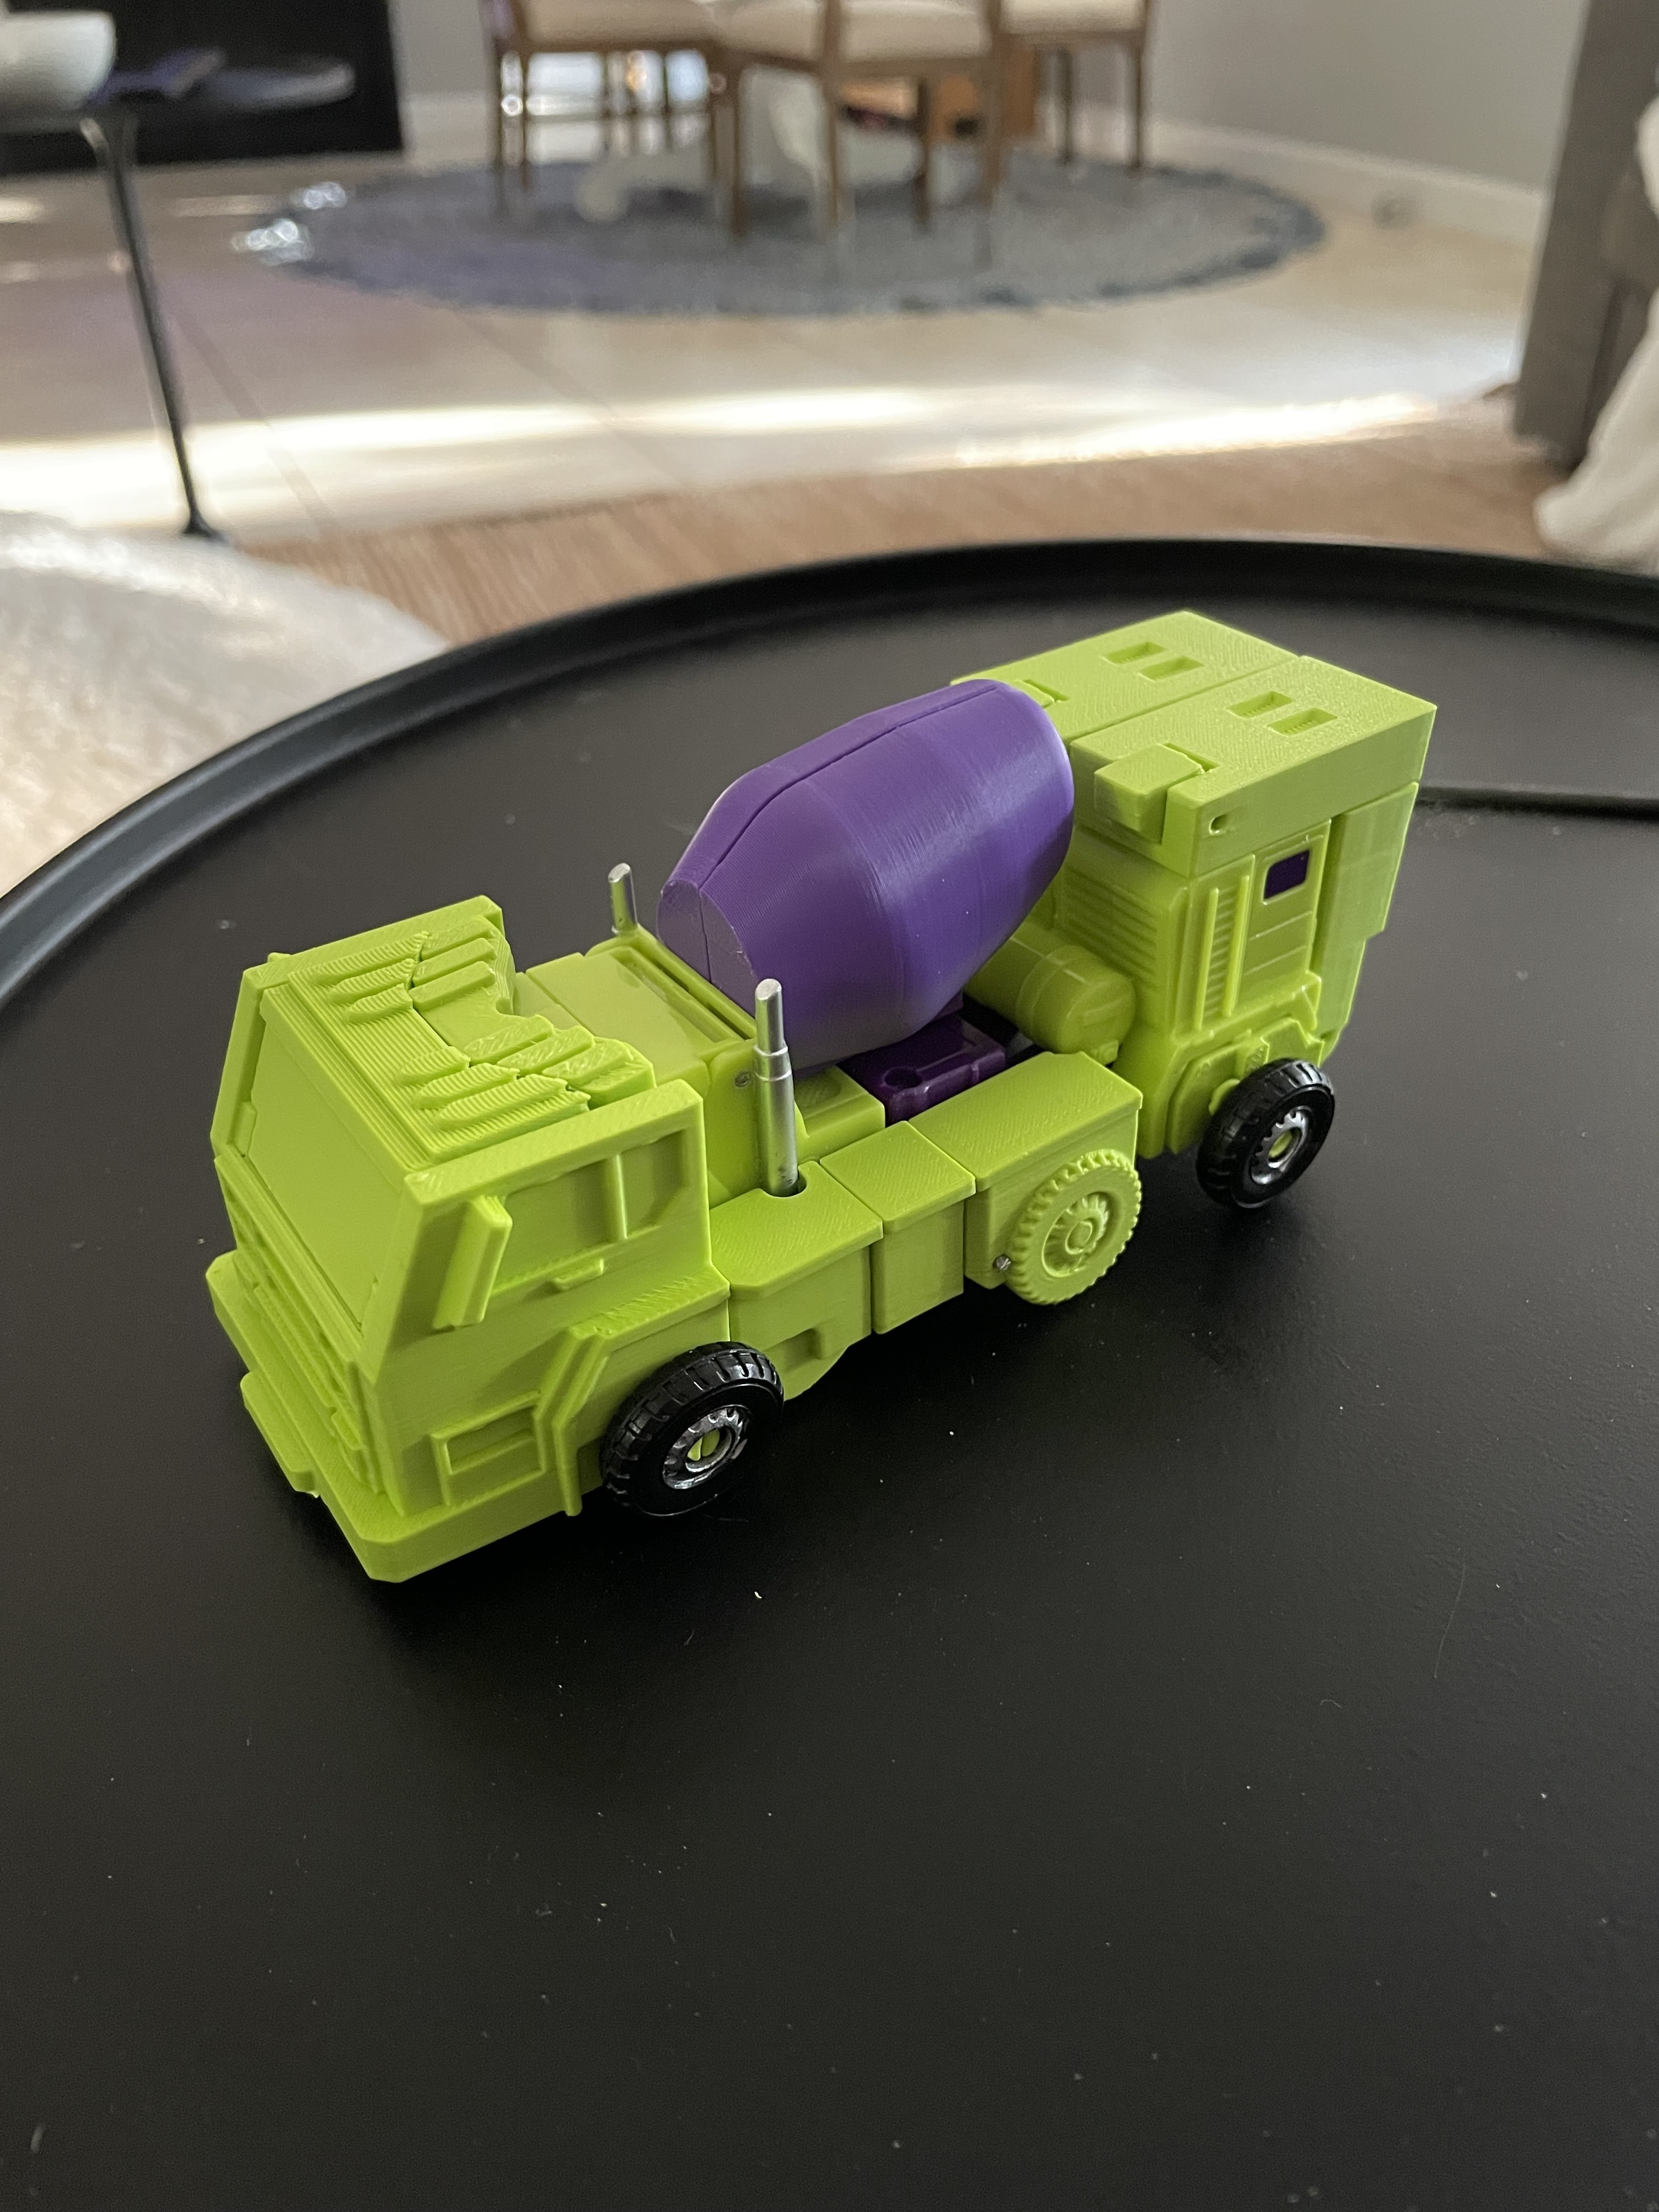
These files contain the new arm parts ( a mid and lower section, and a new hand), drum, cab (2 variations), shin and foot parts.
So, you can scale up what you want to do to this guy. If you do all the mods, he looks awesome and goes from being one of the meh figures of the set to possibly one of the best.
That said, the cab change alone is huge for combined mode and vehicle mode.
If you go all in however....this is what you're in for...
The arm changeover is complex, like Hook. Same kind of process. So, be very careful and handle the joints securely while removing the pins. The plastic is very fragile.
I found it easier to take the whole upper body apart for the arm upgrade. If you do that, you can actually pull the shoulder joint out of its little socket and remove the pin while holding just the joint and arm; instead of having to maneuver your grip around the whole figure.
I would recommend this approach. You can also change over the drum at this same time by removing all of the screws that hold the stock one in place. The replacement drum just pegs into a port on the back via a post. That bit is easy...getting the stock drum off however is not. You do have to take the figure apart. So, might as well change the drum and the arms at the same time.
The new feet replace the stock ones. I would change these before the shins. Just because you may have to grip the figure pretty tight during the removal and install process.
You have to lever the stock feet off the friction joint holding them in place. It's not easy. Go careful, slow and with patience. The new feet come in two parts. Join them together at the friction joint and you will have a moveable heel which gives the figure much better poseability and stability. Once they are together, attach to the lower leg.
The new shins replace the stock ones. Punch out the pins and remove the stock ones. Then put the new shins on in their place.
The cab comes in 2 pieces. One is the frame on which the cab sits and needs to be installed on the stock cab. Then, the new cab needs to be installed on the frame. It sits in a runner that allows it to slide and rotate to the correct position. There are a couple of cab options for you to look at.
The shins are designed to print together, but arm sections will need to be mirrored and printed for the alternate side. So will the foot.
Improved Version:
There are a lot of changes to the MixMaster kit in the improved version. Most of the installation however, is very similar to the original version, with a few exceptions.
The shoulder part has been completely redesigned. The wheel peg has been removed and the shoulder has been shortened to significantly improve range of movement. The front wheel now needs to be installed onto a new part that has 2 pegs on it, facing in opposite directions. One peg holds the wheel and the other installs the part into the shoulder. The new part can rotate around to allow the wheel to be specifically positioned for vehicle or robot mode.
The cab is different. It now comes in 3 parts. The front windshield is one of those parts and is designed to fold into the cab in robot mode. This allows the drum to sit higher on the figures back and stop hanging off its ass.
The drum. This has been completely redesigned. it is now multiple parts that when put together, allow the drum to be pivoted into place specific to the robot mode and vehicle mode.
The wheel arches. There are a couple of parts that now slot into the wheel arches. First you need to remove the wheels. Then, you just push the parts into the spaces that are left.
These parts have a small hole in them. This is for another part that is the same part used in the shoulder. The one with 2 pegs facing in opposite directions. On one peg, install the wheel. Push the other peg into the hole in the wheel arch part. This allows the wheel to be rotated into position specific to the robot and vehicle modes.
Improved Version 2.0
Added Mixmaster Improved 2.0 which allows for included plastic pins to be used for the heel rocker in the foot. This means no additional steel pins are required over and above what comes with the stock figure and can be reused with these mods.
Polymaker Lime or Lulzbot green is good for the arms, shins, feet and cab. For the drum you may want to consider a purple. I use Gizmo Dorks ABS Dark Purple. ABS does need more careful attention than PLA for printing.
Longhaul.
Just added a new version called Lonhaul Improved. Its an updated design. It includes all parts for 1 side. Just mirror for the other side.
Longhaul uses the Constructicon Hands B set.
These files contain the new arm parts (shoulder joint, upper arm, a mid and lower section, and a new wrist/hand) and new leg attachments.
Similar to Hook and Mixmaster, the arm change is a little complex but not quite as challenging.
You do need to remove the stock shoulder joint and replace it with the new one that has a mushroom peg on it.
Then take the new, upper arm and connect it to the mid arm via the mushroom peg. Then, connect to the lower arm via the friction joint. Then attach the wrist and hand by the friction joint, to the lower arm.
Once the arm is assembled, attach to the mushroom peg on the shoulder joint. You now have Longhaul Schwarzenegger.
You now have bicep swivel, elbow joint and wrist rotation. Ta da!
This is a pretty swell upgrade for the arms but, when you combine with the leg upgrade, this figure goes from being the absolute disaster zone of the bunch to by far the most incredible robot (in my opinion). To attach the leg parts together, just use the pegs and ports on the individual components. The foot attaches to the bottom of the shin section and allows rotation around the peg joint for better poseability. The two outer leg parts attach together. And then the outer leg attaches to the shin section, via the port at the bottom end.
To attach all the leg components in robot mode, you need to have Longhauls stock legs in the position like you would when transforming to Devastator.
Once done, and these parts are attached, this figure looks like he means business.
It is worth saying that there is a negative. The vehicle mode loses some form as it becomes super wide. But, it was a sacrifice that I was willing to make.
To transform to vehicle, the arms peg into the sides, like stock. Hands fold in.
The leg sections need to be removed. The lower legs need to be folded in like normal.
The leg sections then need to pegged into the back of the vehicle and the outer section rotated into a wheel arch position.
For transformation to combined mode, the leg sections need to be removed completely and set aside. The arms need to be rotated 90 degrees to the rear and hands folded in.
The rest of the transformation is the same as normal.
Unfortunately, there's only so much that can be done with this figure with add on parts but, I think this gets the best out of him....at least in robot mode.
Arm and leg parts will need to be mirrored for printing both sides.
Polymaker Lime or Lulzbot green will work for the upper arms and legs. I would suggest a black or dark grey for the lower arms and hands.
Devastator
This set comes with the:
- Hands; palm of hand and individual finger sections. I didn't add a hole for the rifle to tab into because I never pose Devastator with his rifle. But, you could add one in any design software if you wanted to experiment and modify the design. Recommend Gizmo Dorks Dark Purple.
- Forearm extension; this slots into the mushroom peg for the stock hands, extends the forearm and has a port for the new hand to be inserted. Recommend Gizmo Dorks Black.
- Shoulders; these are separated into multiple parts and there is a specific left and right because the adapters on Bonecrusher and Scavenger are different. Recommend Lulzbot Green for each component.
- Each side has a unique Shoulder Base. This is what attaches to Hook on either side.
- Each side has a unique Shoulder Adapter. This is what plugs into Scavenger and Bonecrusher.
- The Shoulder Lever is universal to both sides and is what connects the Shoulder Base to the Shoulder Adapter.
- The Shoulder ratchet sits at the bottom of the Shoulder Base and creates friction with the Lever. That said, I never installed this part. The friction created by the tight tolerancing is enough to keep the joints tight.
- The Shoulder Component A is a universal L & R and one print is for one side. The two components are installed in the holes at the top of the Shoulder Base, at the front and back (there is a specific front and back component). They hold the Lever in place and also provide a small amount of detailing.
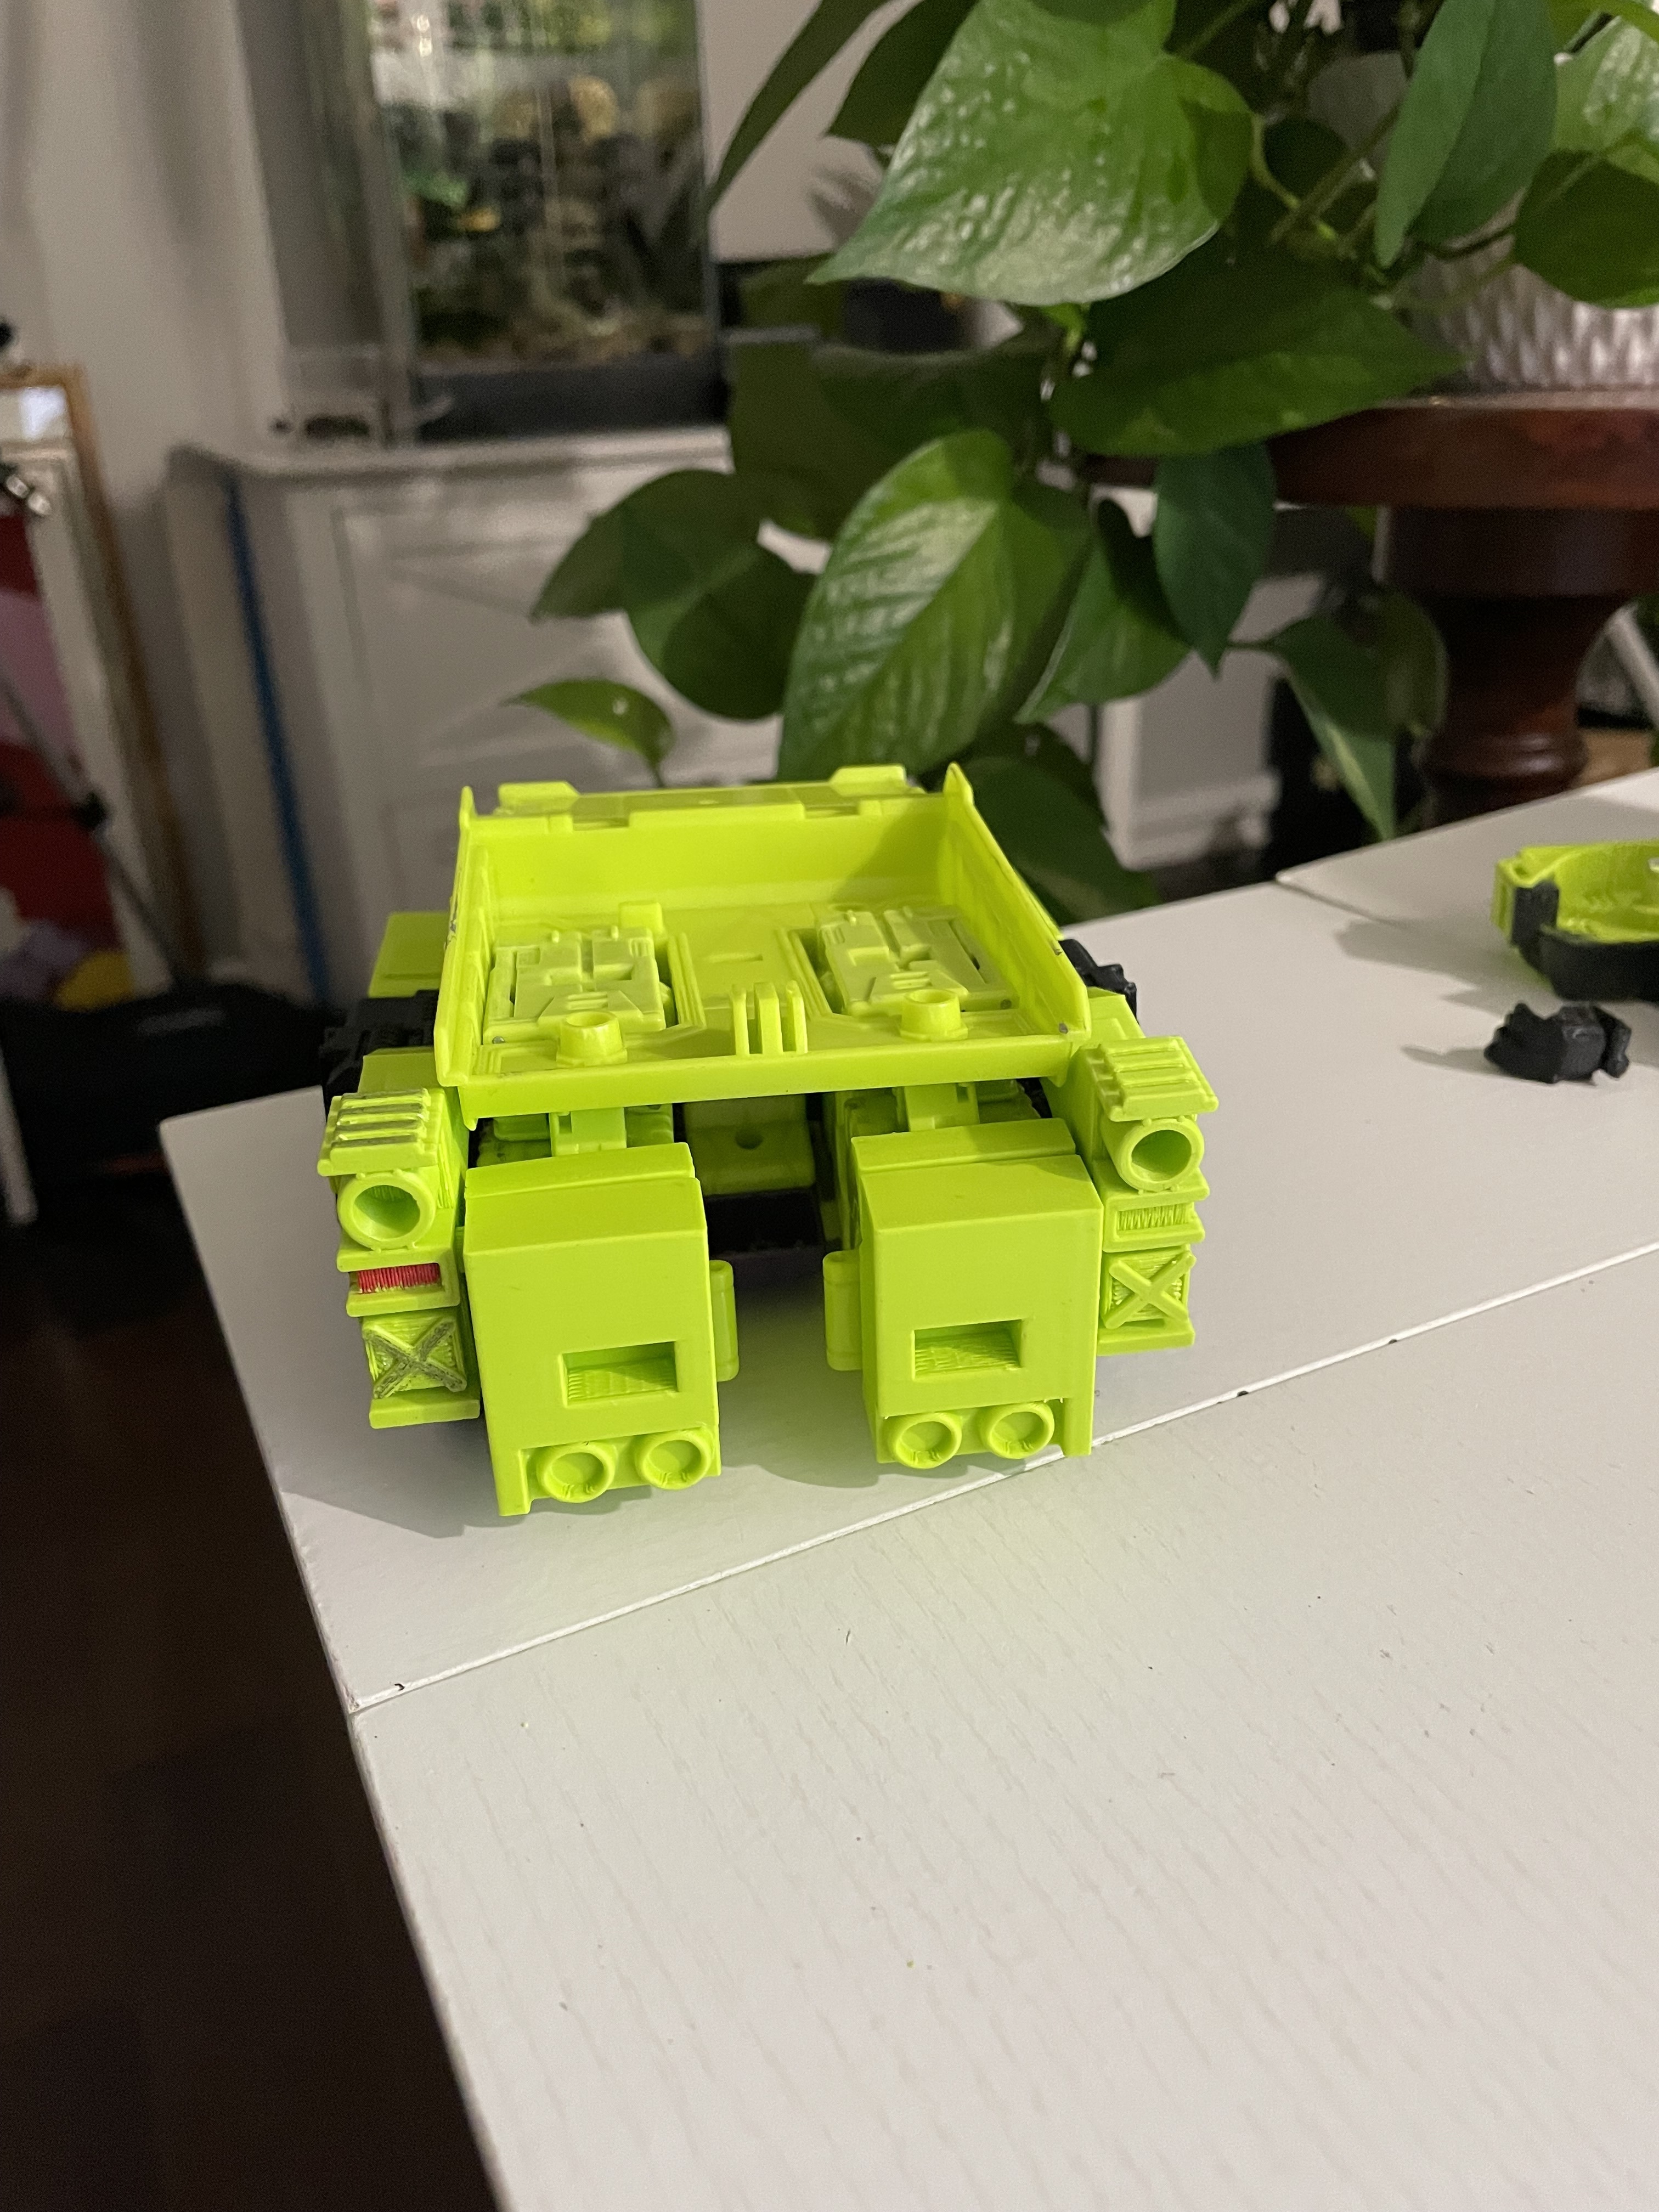
- Torso Lift; this file includes 3 components and the largest is inserted between Longhaul and Hook. Hook has to be tabbed into the part at two locations (the circular hole and the rectangle - just like for the stock set up). Once tabbed in, the two smaller components need to be tabbed into the holes on the front of the large component. The aim of these smaller components is actually to hook under part of Longhauls detailing and just stabilize the assembly. Recommend Polymaker Lime or Lulzbot Green.
That's it. The full set.
Quite a project this one if you're up for it.
Most of these mods do not require pins. However, the forearm and ankle on the improved MixMaster design do require 1.5mm pins.
That said, I suggest printing the pins in plastic first to see if that will work before purchasing the steel rods from Amazon. If you do purchase the rods, they are pretty cheap and can work for a lot of mods.
At some point, I will probably work on an upgrade to Longhauls dumper to widen it and cover his new width more.
:format(webp)/https://fbi.cults3d.com/uploaders/15274971/illustration-file/83c46910-8b71-41fe-bda6-4f7e20c27d46/IMG_0223_Original.jpg)
/https://preview3d-images.cults3d.com/e8104lna6zbtodo0hk77l5ygk1ps)
/https://preview3d-images.cults3d.com/u0784tj2e7xqsmhnycltxmyl9mp9)
/https://preview3d-images.cults3d.com/rtdz2fm1pc0oywn5bg89xmnrulb0)
/https://preview3d-images.cults3d.com/vamagcxlo3309oghaeern630laz4)
/https://preview3d-images.cults3d.com/on6bpzc402nt4vhdz6g0d789r8ve)
/https://preview3d-images.cults3d.com/hqb3gp14wukcqn49f56u7yhii0j0)
/https://preview3d-images.cults3d.com/p9xf1tq1u56fozfnfxdci0lwffst)
/https://preview3d-images.cults3d.com/vsi21goyu4ypqxi6crm07qzze4j9)
/https://preview3d-images.cults3d.com/g6h48cgcv4rabvt9f9ne20qrz6oc)
/https://preview3d-images.cults3d.com/onwnatc4xvsvnrqvnoodptmhrjd8)

/https://preview3d-images.cults3d.com/ck0r5esoj0auwbl3z00vrljvjwx7)
/https://preview3d-images.cults3d.com/sn2178ku66korpevn06onb954lkm)
/https://preview3d-images.cults3d.com/s2i1btma4y5kgm4utx48f989ofl3)
/https://preview3d-images.cults3d.com/3yrqfs5d3fec3sygpu9m8efxrkmy)
/https://preview3d-images.cults3d.com/68rfozj1fvsnnbp9ks3d2vn4bc4s)
/https://preview3d-images.cults3d.com/6kaliuk2t36u6jitxoxpr0uvyhxk)
/https://preview3d-images.cults3d.com/lj5cl02uc7fyox55hyd5jv606myd)
/https://preview3d-images.cults3d.com/be0v0n5yuol6ho4xgkitk0ufljcl)
/https://preview3d-images.cults3d.com/6kmbappg63ghnk0k0mv1rdx2690w)
/https://preview3d-images.cults3d.com/ra9l4rbxcog9vvby7vqogvqji69m)
/https://fbi.cults3d.com/uploads/user/avatar/15274971/Omegaonline.jpg "afcmods")


:format(webp)/https://fbi.cults3d.com/uploaders/15274971/illustration-file/fdf292f5-70bd-4fc1-8501-e6667b6760bb/Hand-kit.jpeg)
:format(webp)/https://fbi.cults3d.com/uploaders/15274971/illustration-file/cf55378f-6d0c-49a4-8cad-53d2c69d9fce/IMG_6232.jpg)
:format(webp)/https://fbi.cults3d.com/uploaders/15274971/illustration-file/033bd62d-6fee-461e-b93c-9c29bd101252/IMG_3175.jpg)
:format(webp)/https://fbi.cults3d.com/uploaders/15274971/illustration-file/b3b17bc5-6c42-4a50-9d4a-0f4c432c506b/IMG_3210.jpg)
:format(webp)/https://fbi.cults3d.com/uploaders/15274971/illustration-file/eeb89d1a-a30d-47fc-942c-6d3b58d475e2/IMG_3309.jpeg)
:format(webp)/https://fbi.cults3d.com/uploaders/15274971/illustration-file/18c718bb-784e-42f2-9552-17703bade132/E7A6272C-8741-4EC1-8EFC-B1D4E696FD92.jpg)
:format(webp)/https://fbi.cults3d.com/uploaders/15274971/illustration-file/b1dcb23c-c949-402a-8a9b-d19d53562d46/IMG_2766.jpeg)
:format(webp)/https://fbi.cults3d.com/uploaders/15274971/illustration-file/37c712c5-5942-47c9-9808-0cfb888b1804/IMG_6471-Copy.jpg)