Nosfet Aero Toe Clip Brackets
*PLEASE READ8
*includes only toe clips and mounting brackets--no extra pads
*mounts screws into the bare sides of the wheel. Remove velcro for all points of contact with the bracket. Not compatible with grizzla kits or other kits that flatten the sides of the wheel.
*material choice is VERY IMPORTANT.
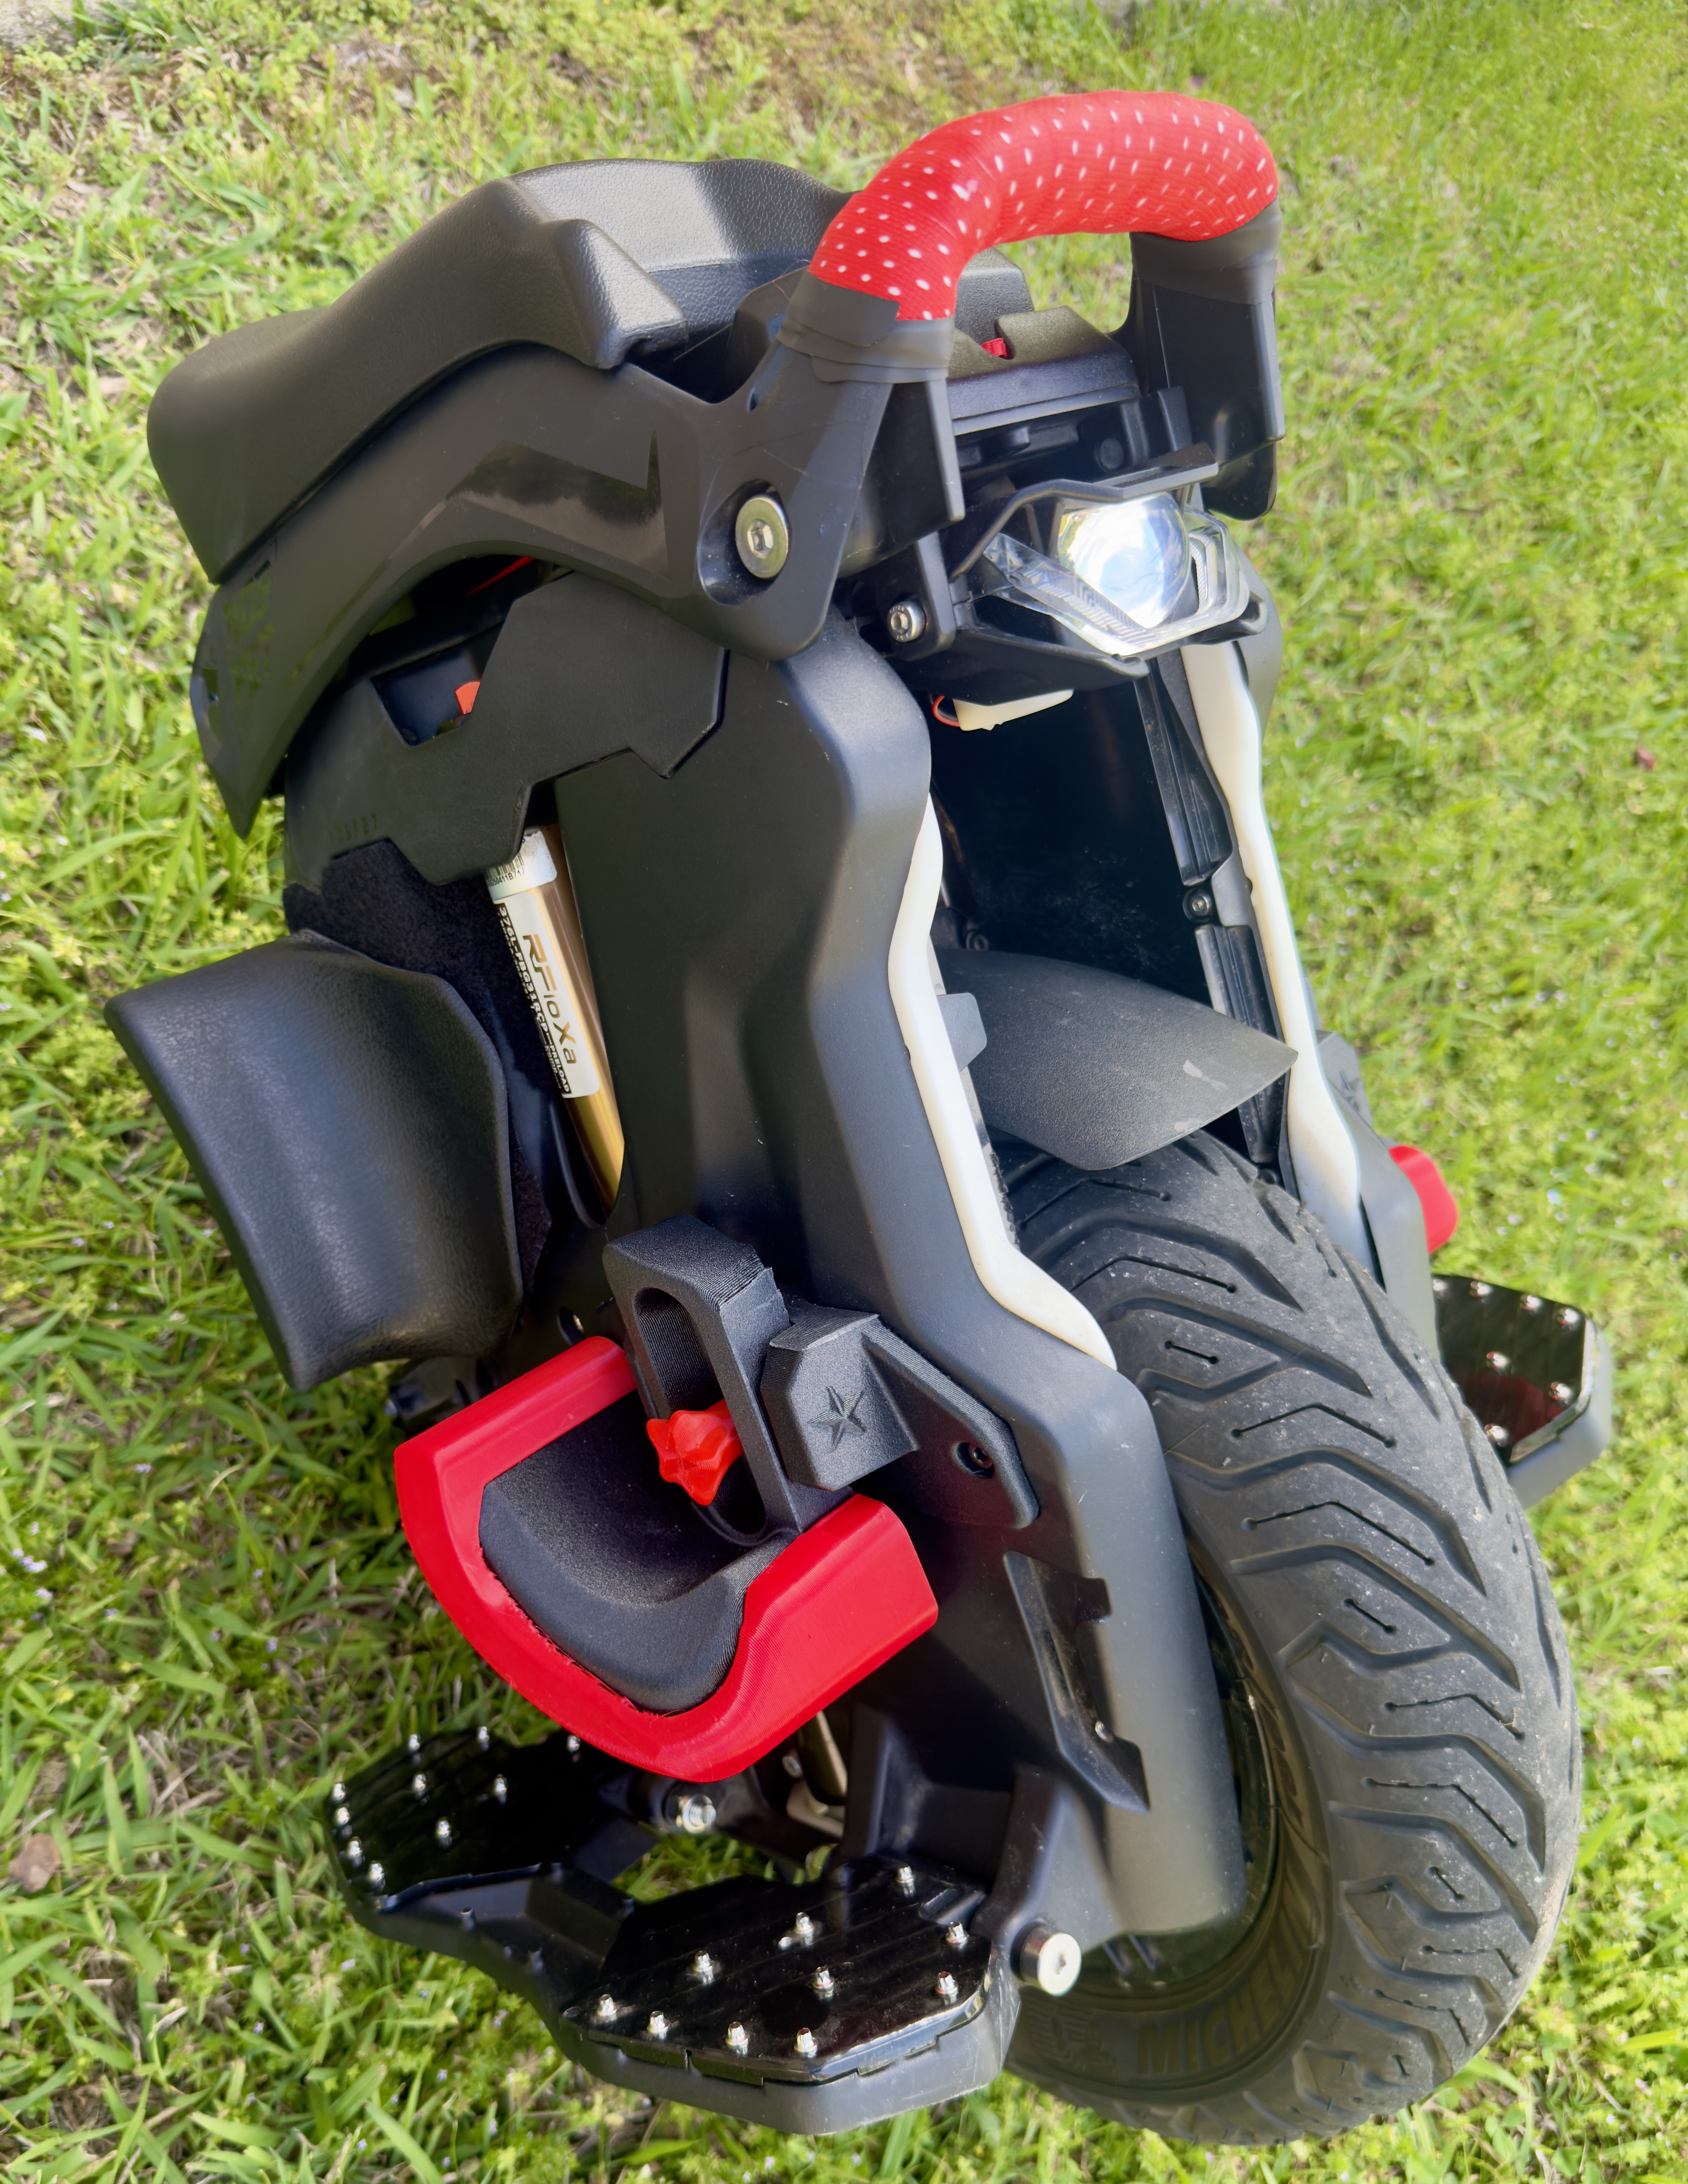

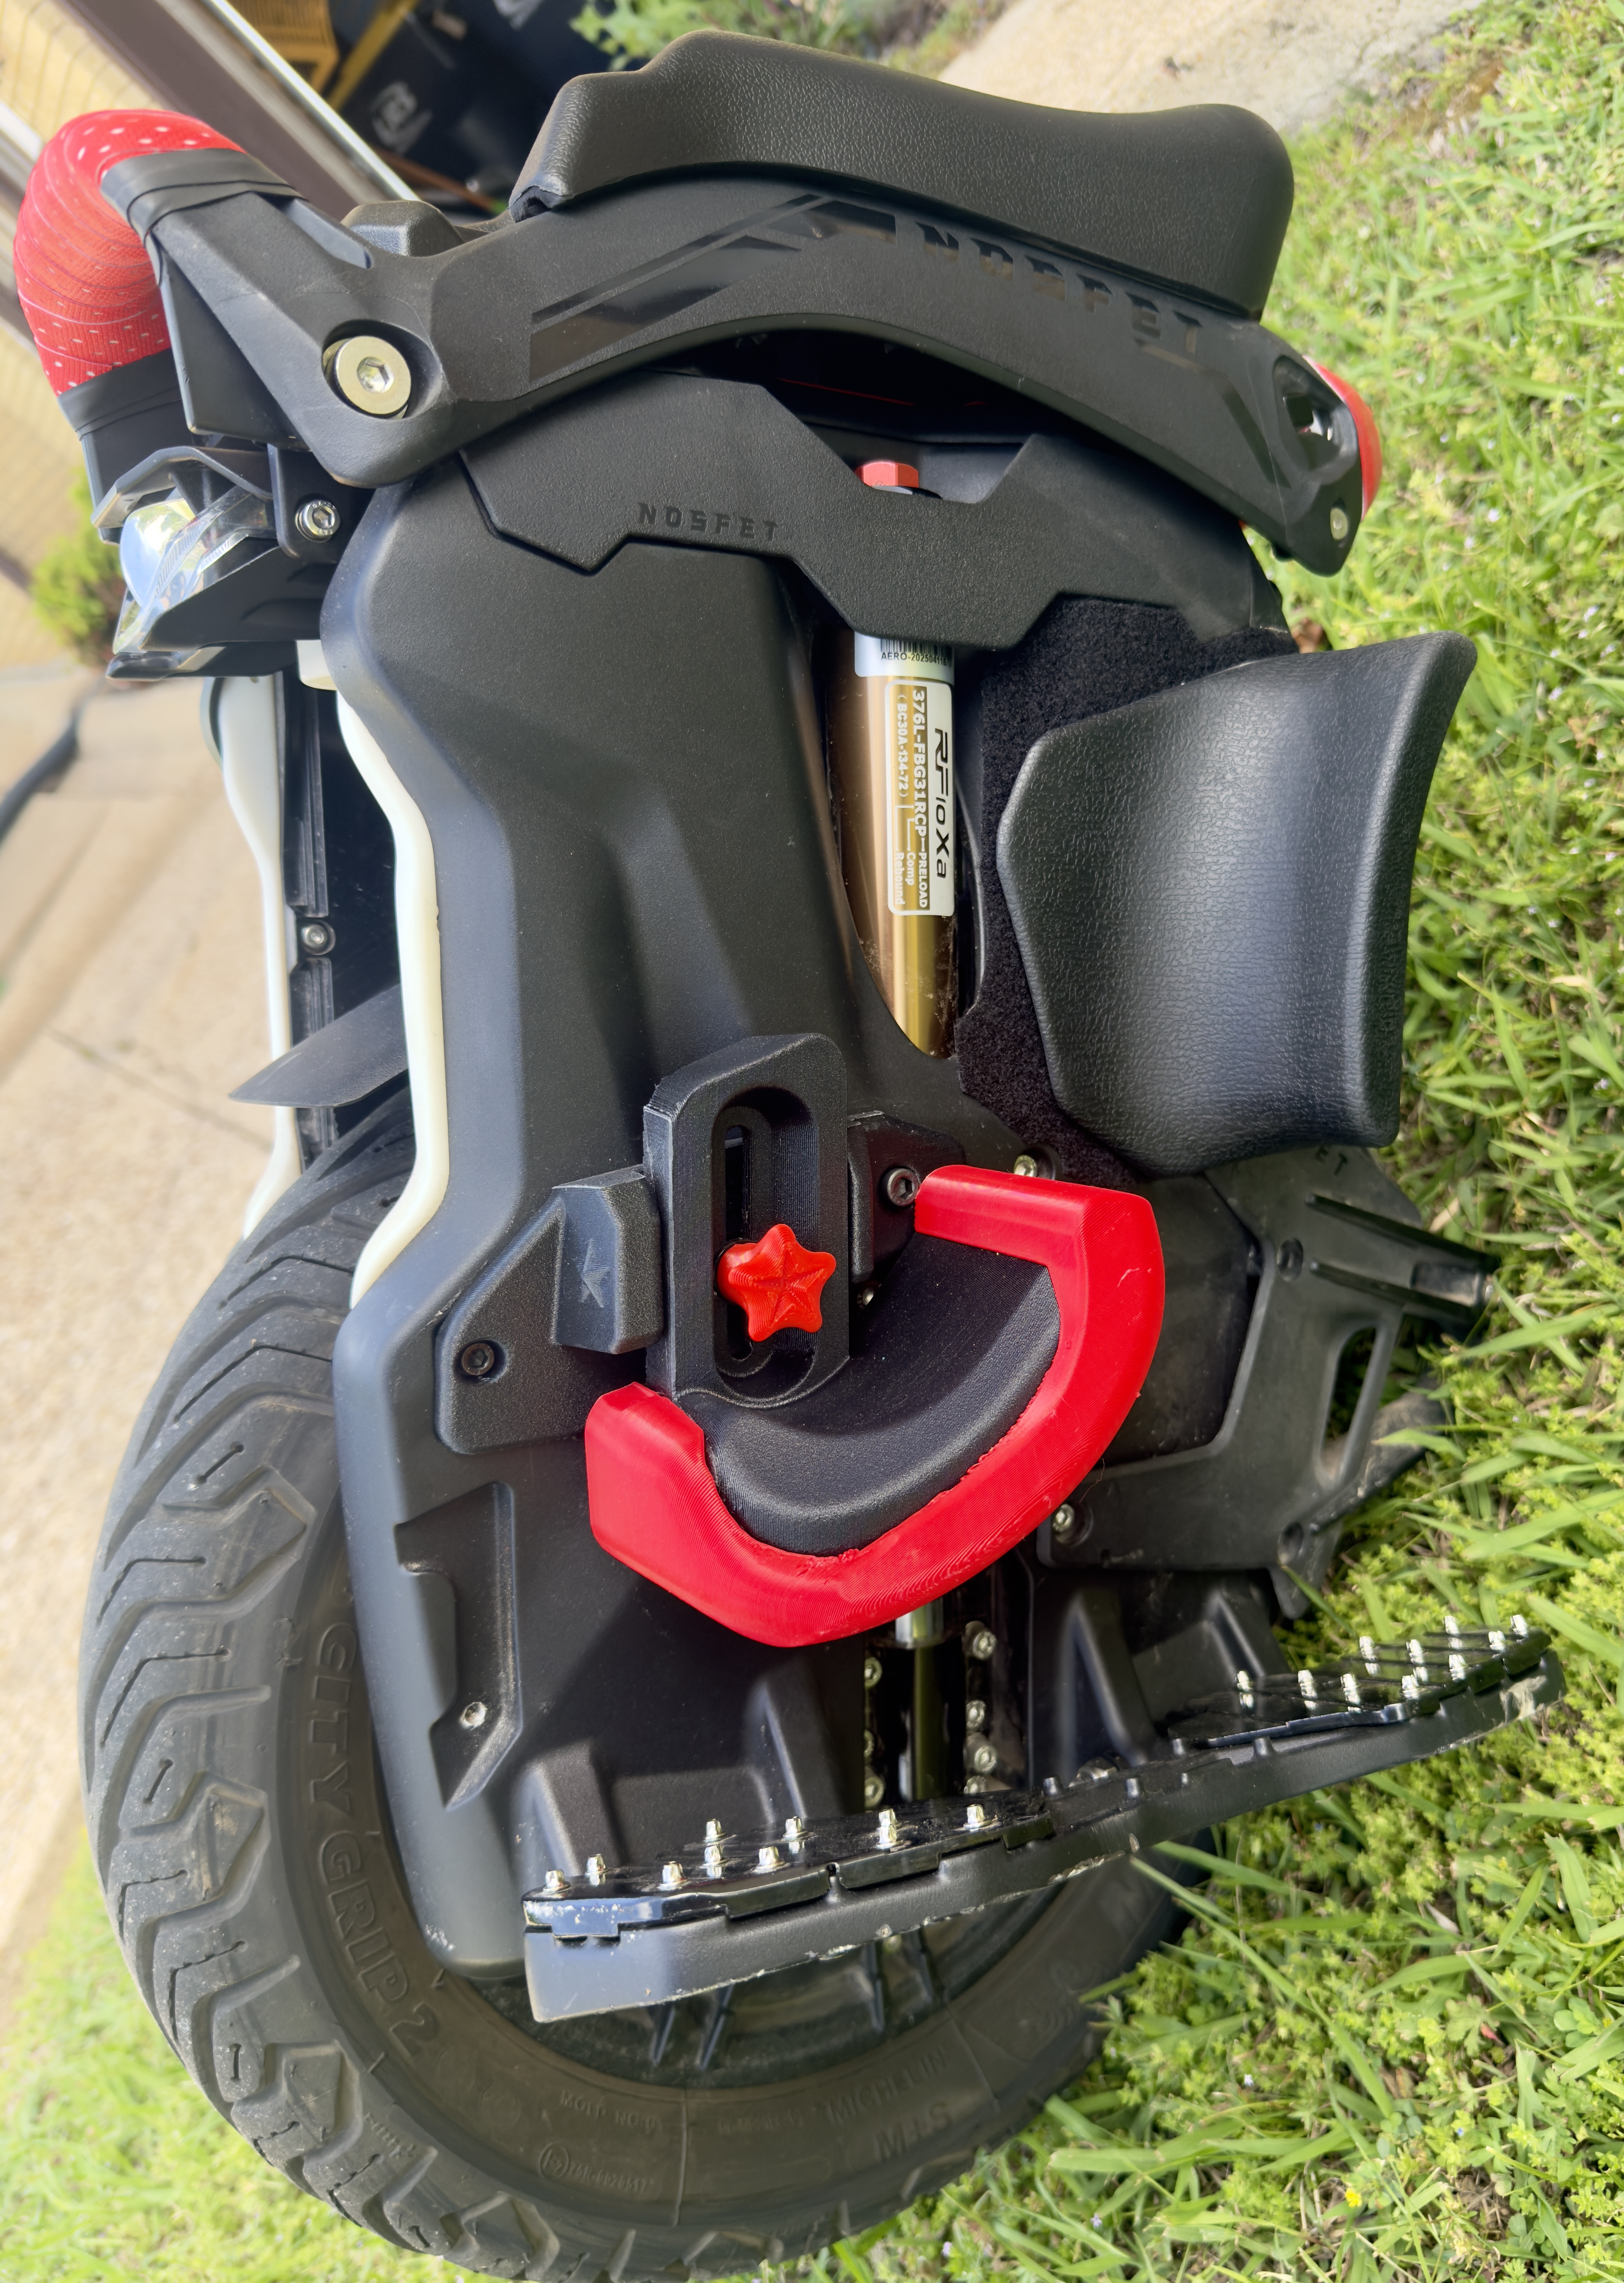
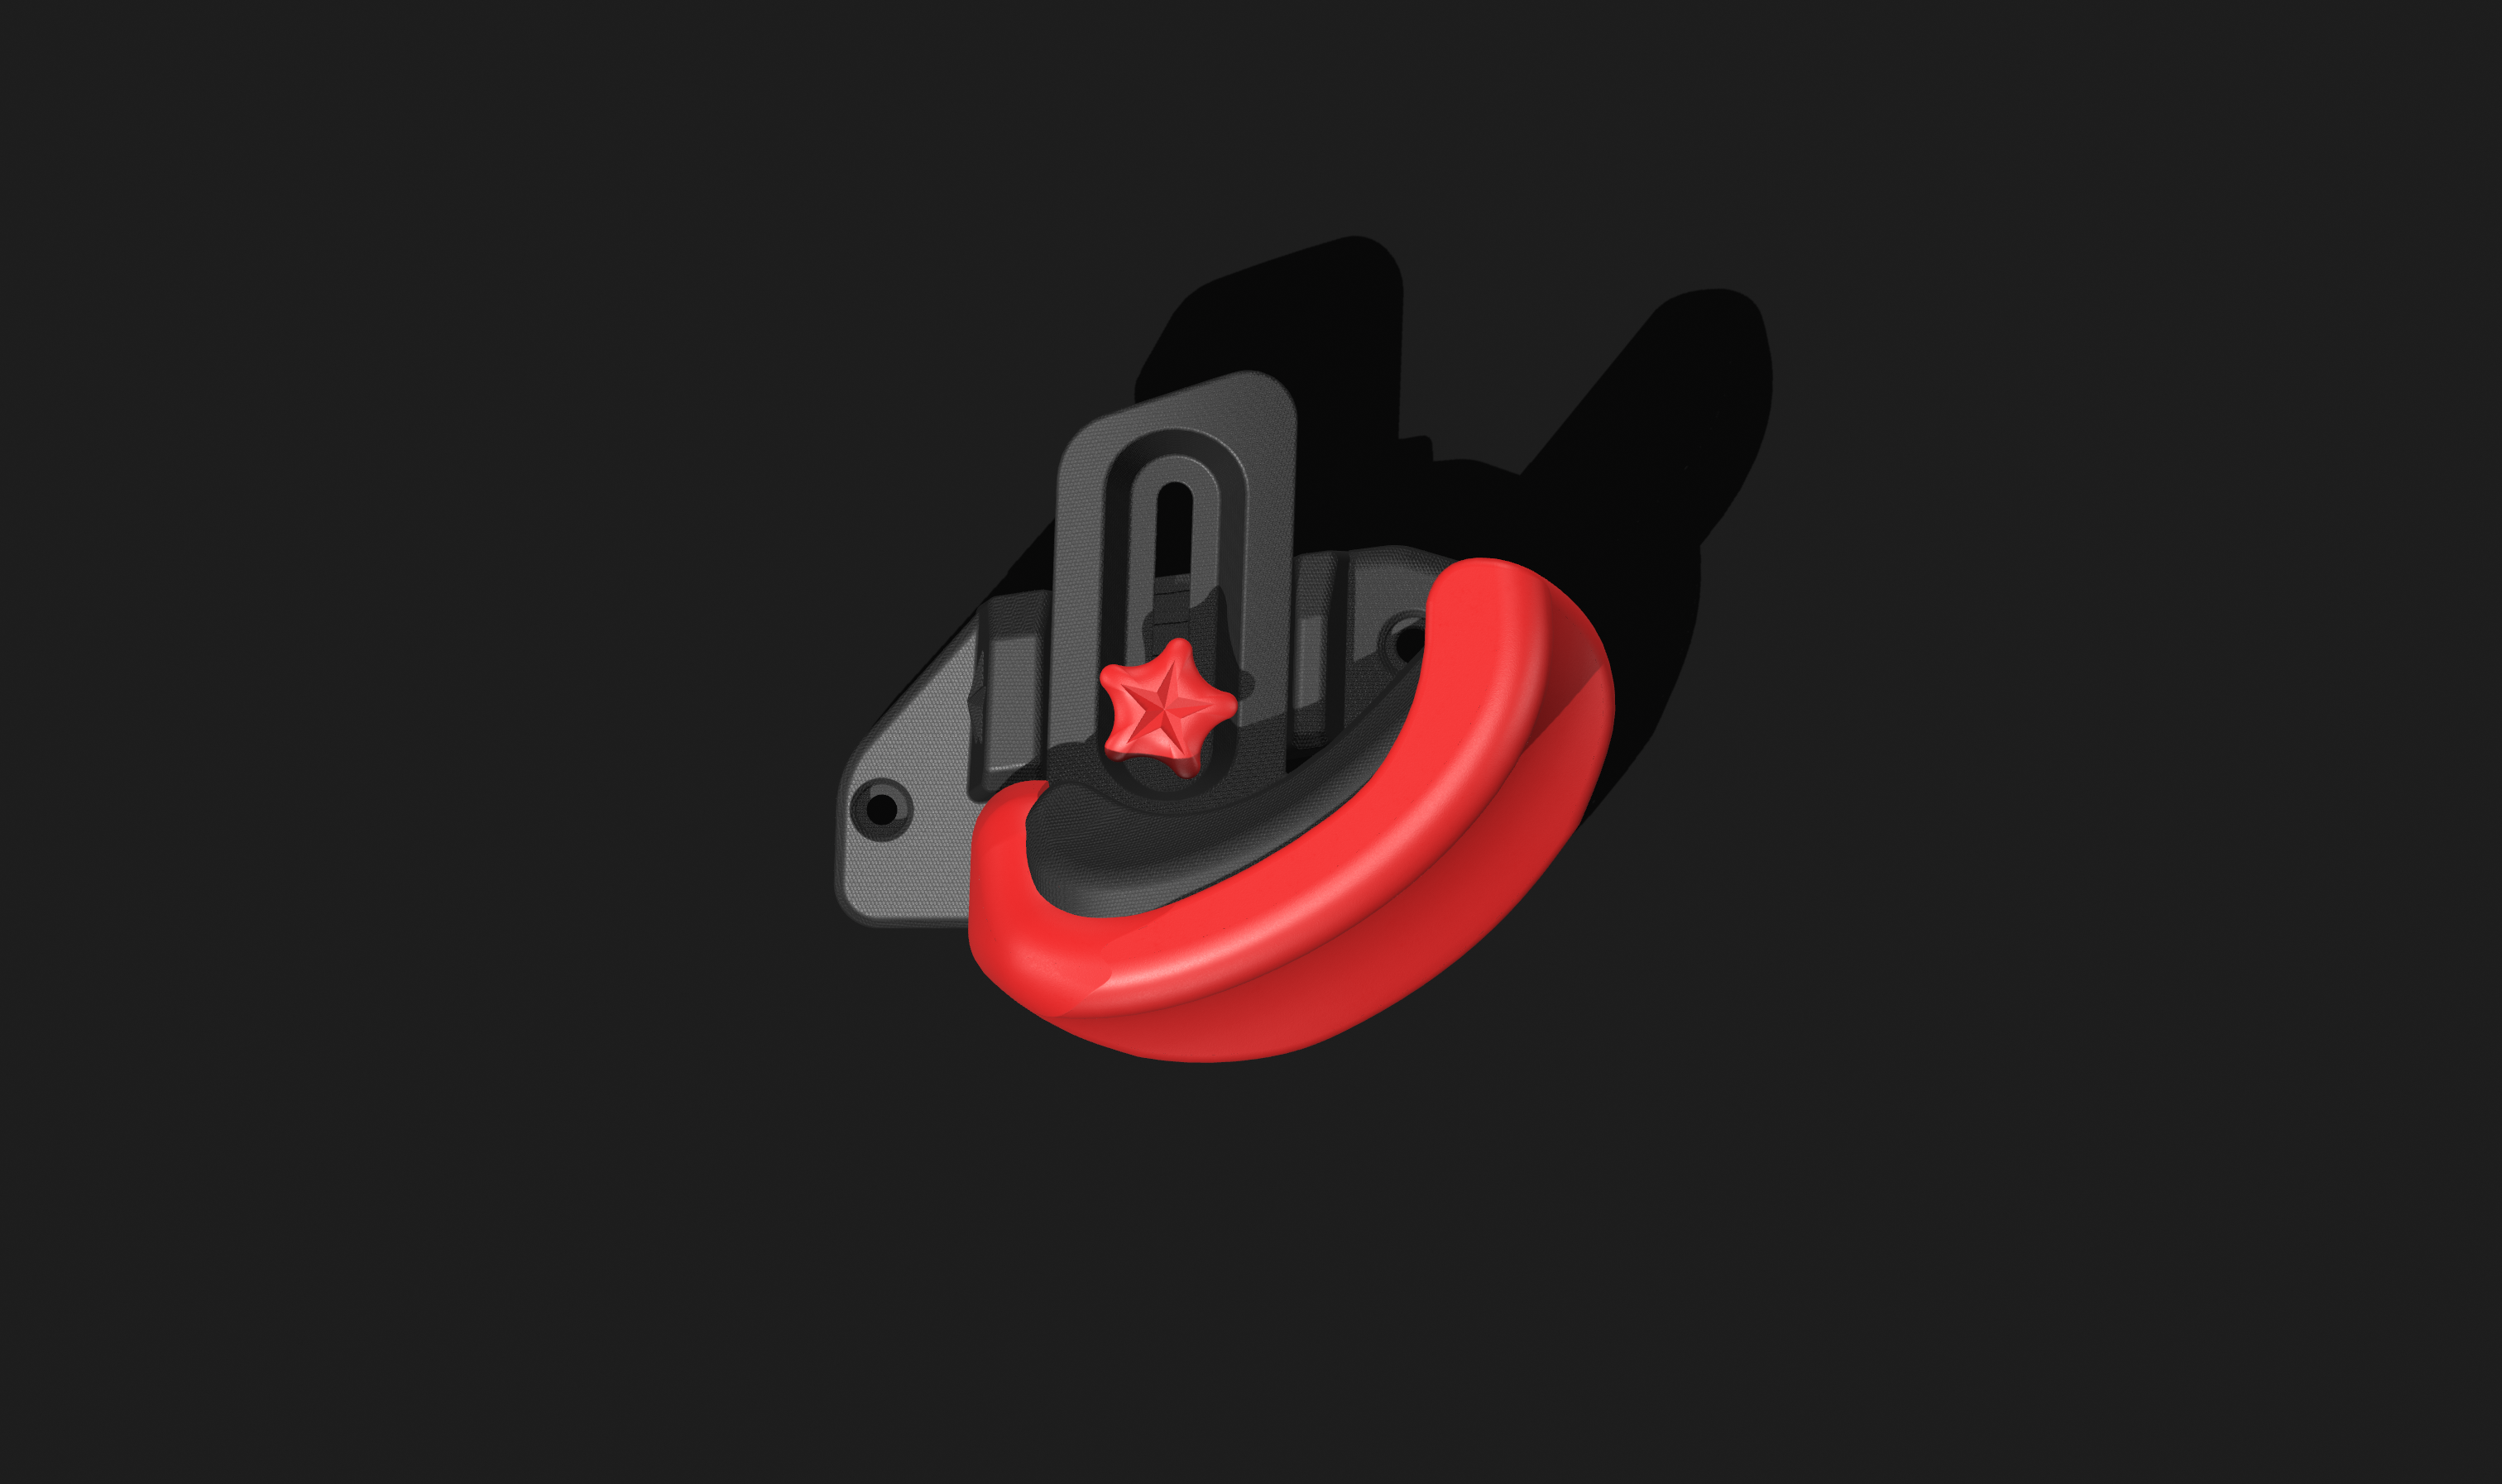
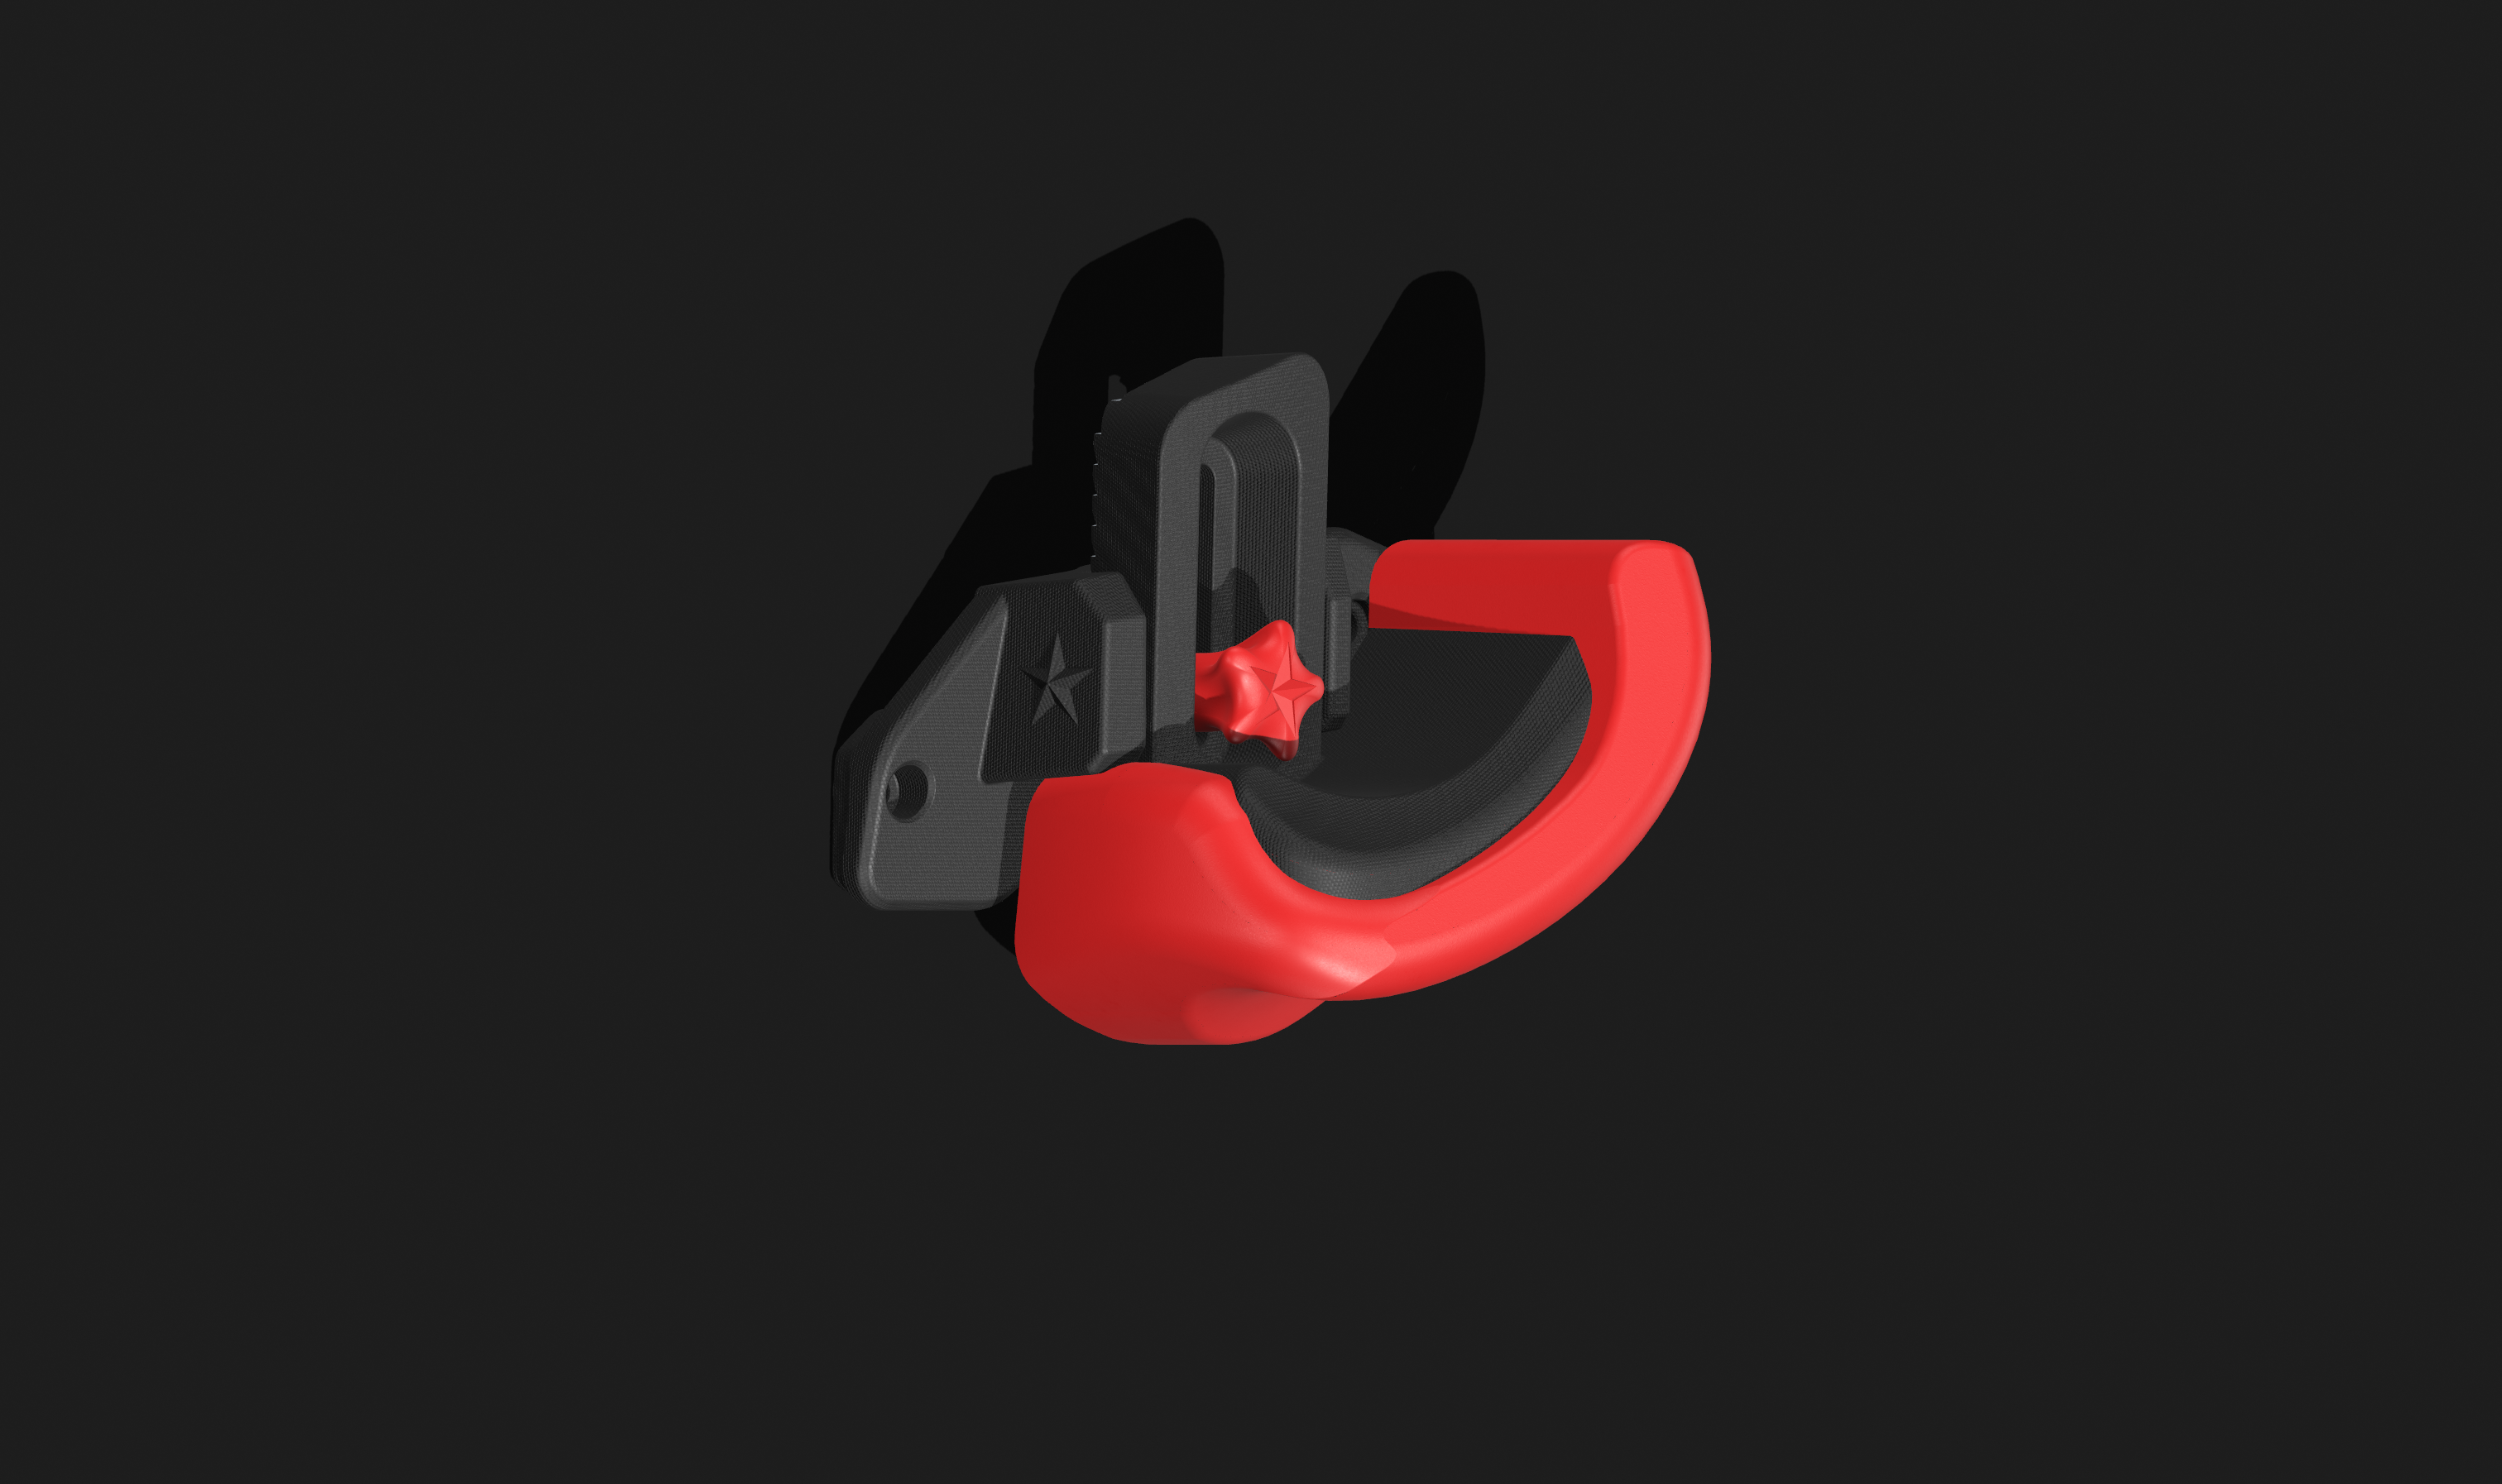
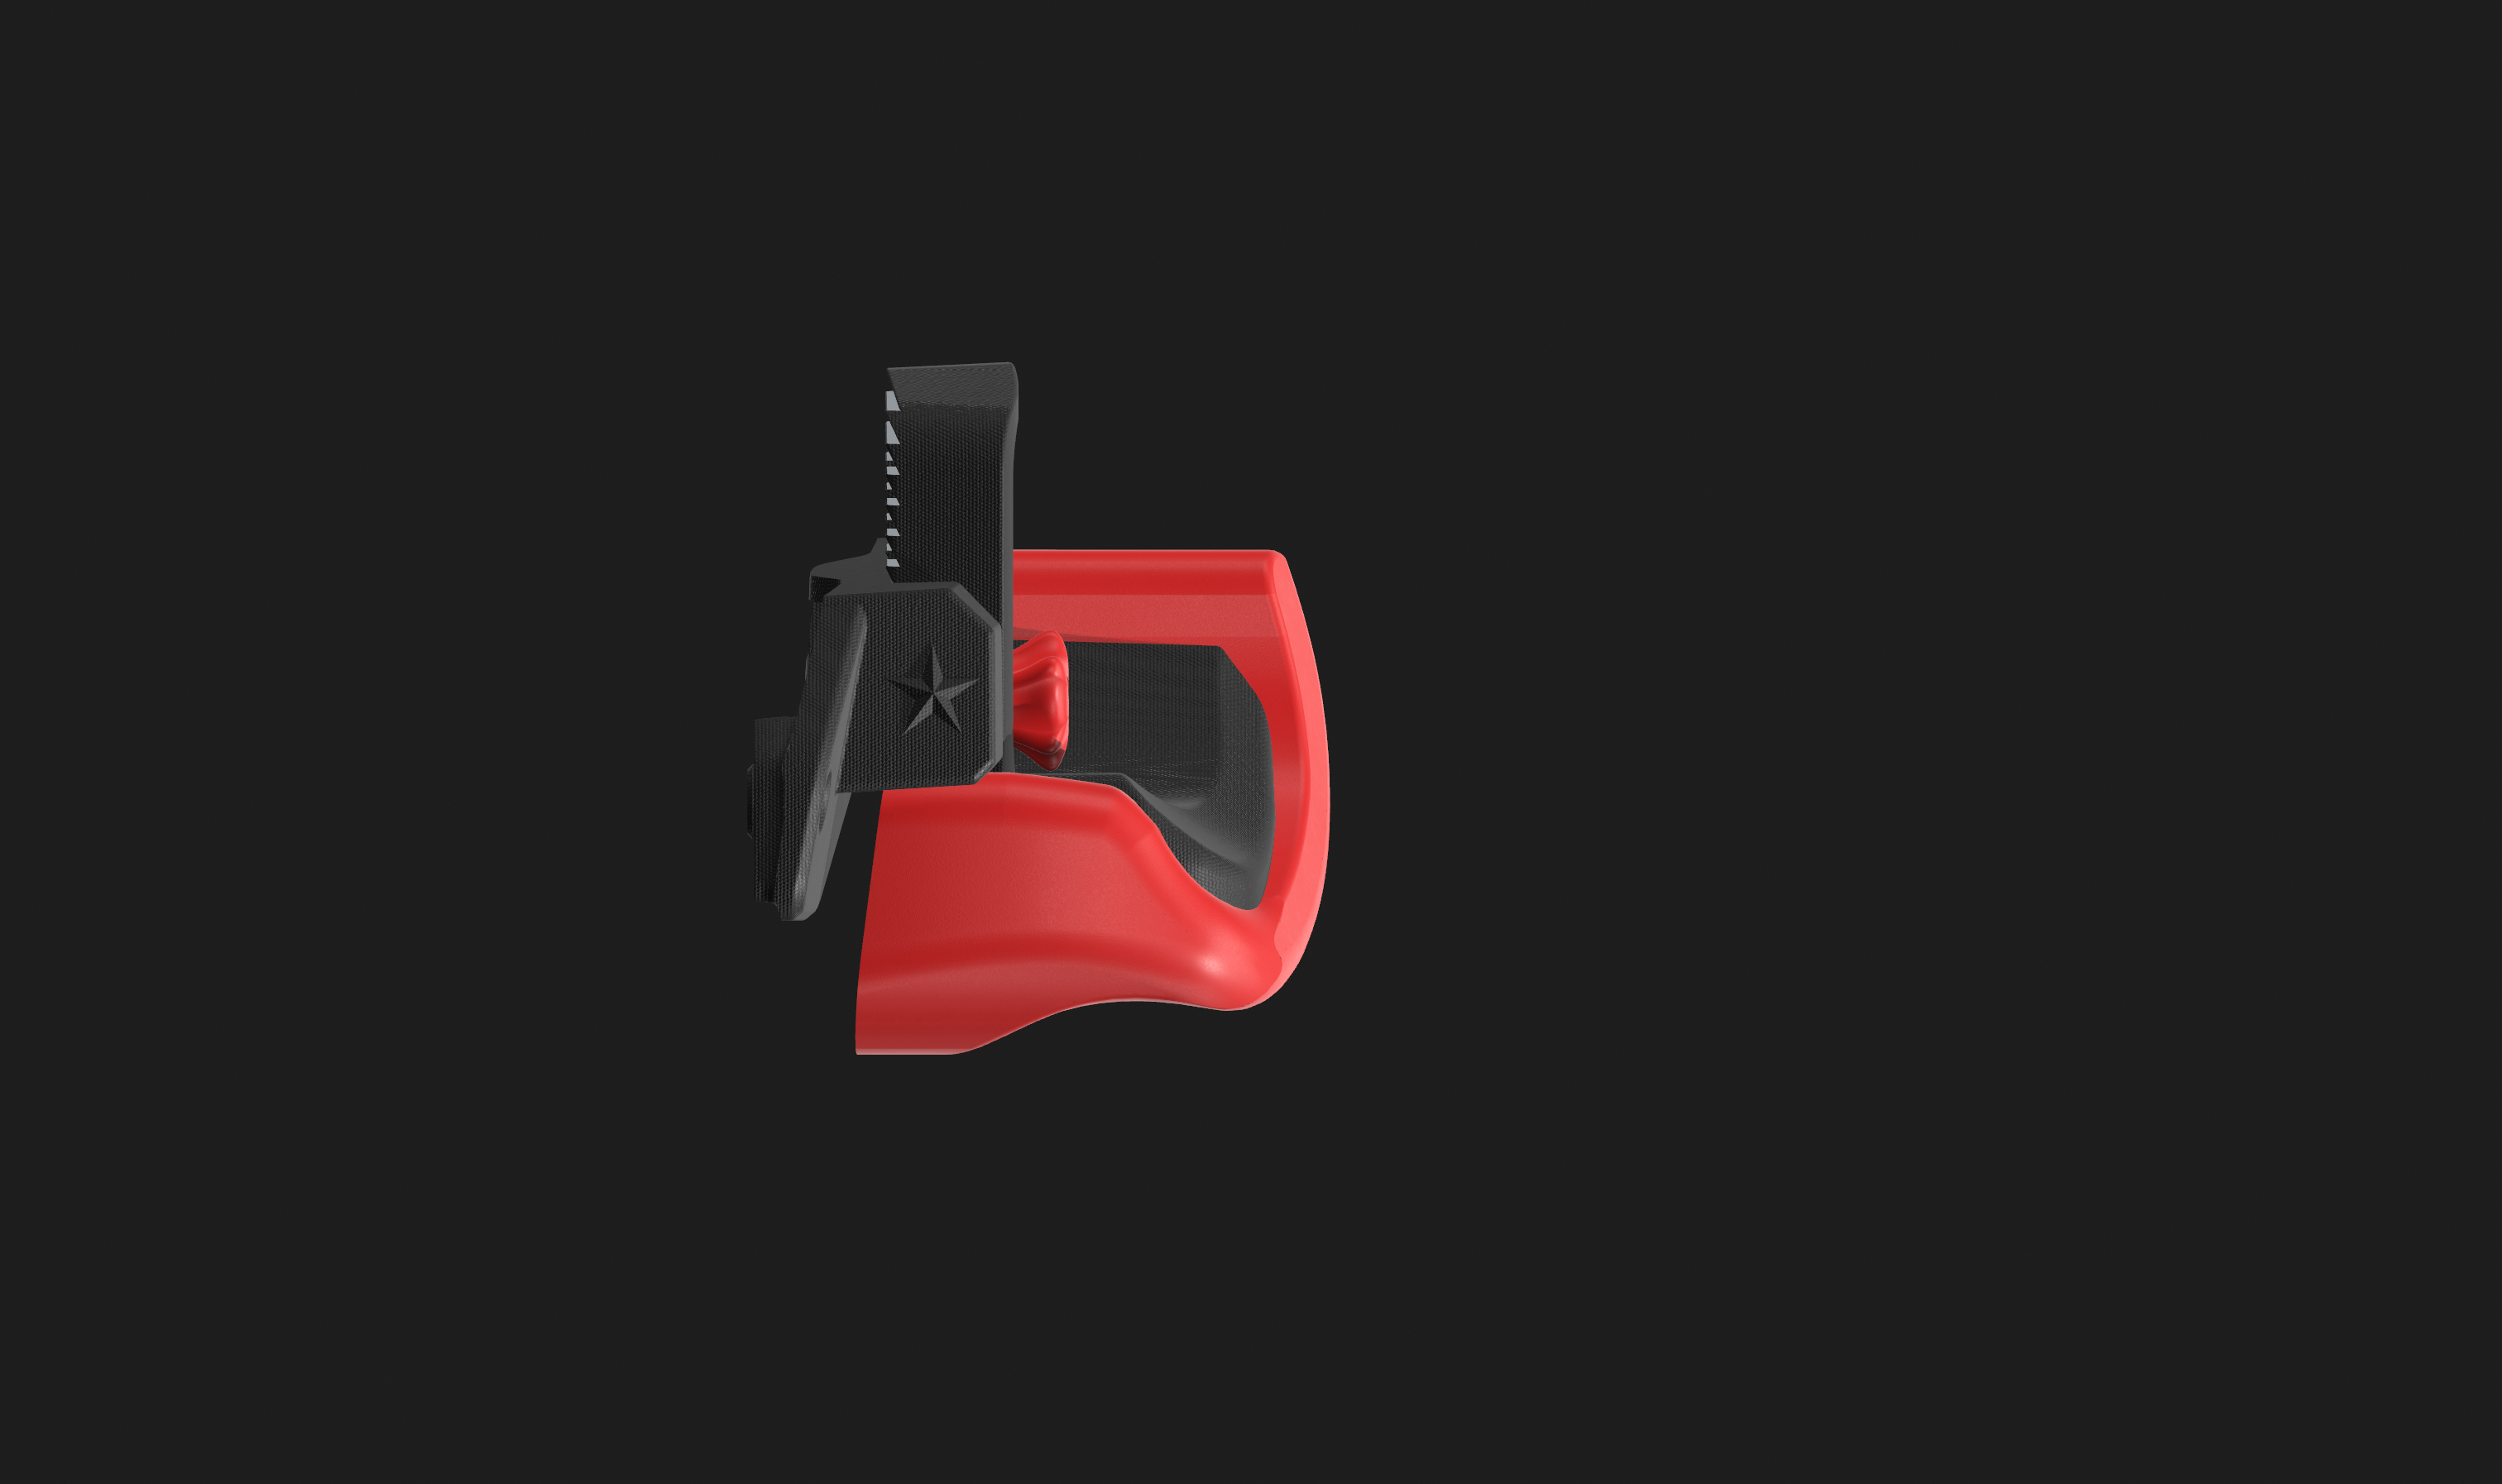
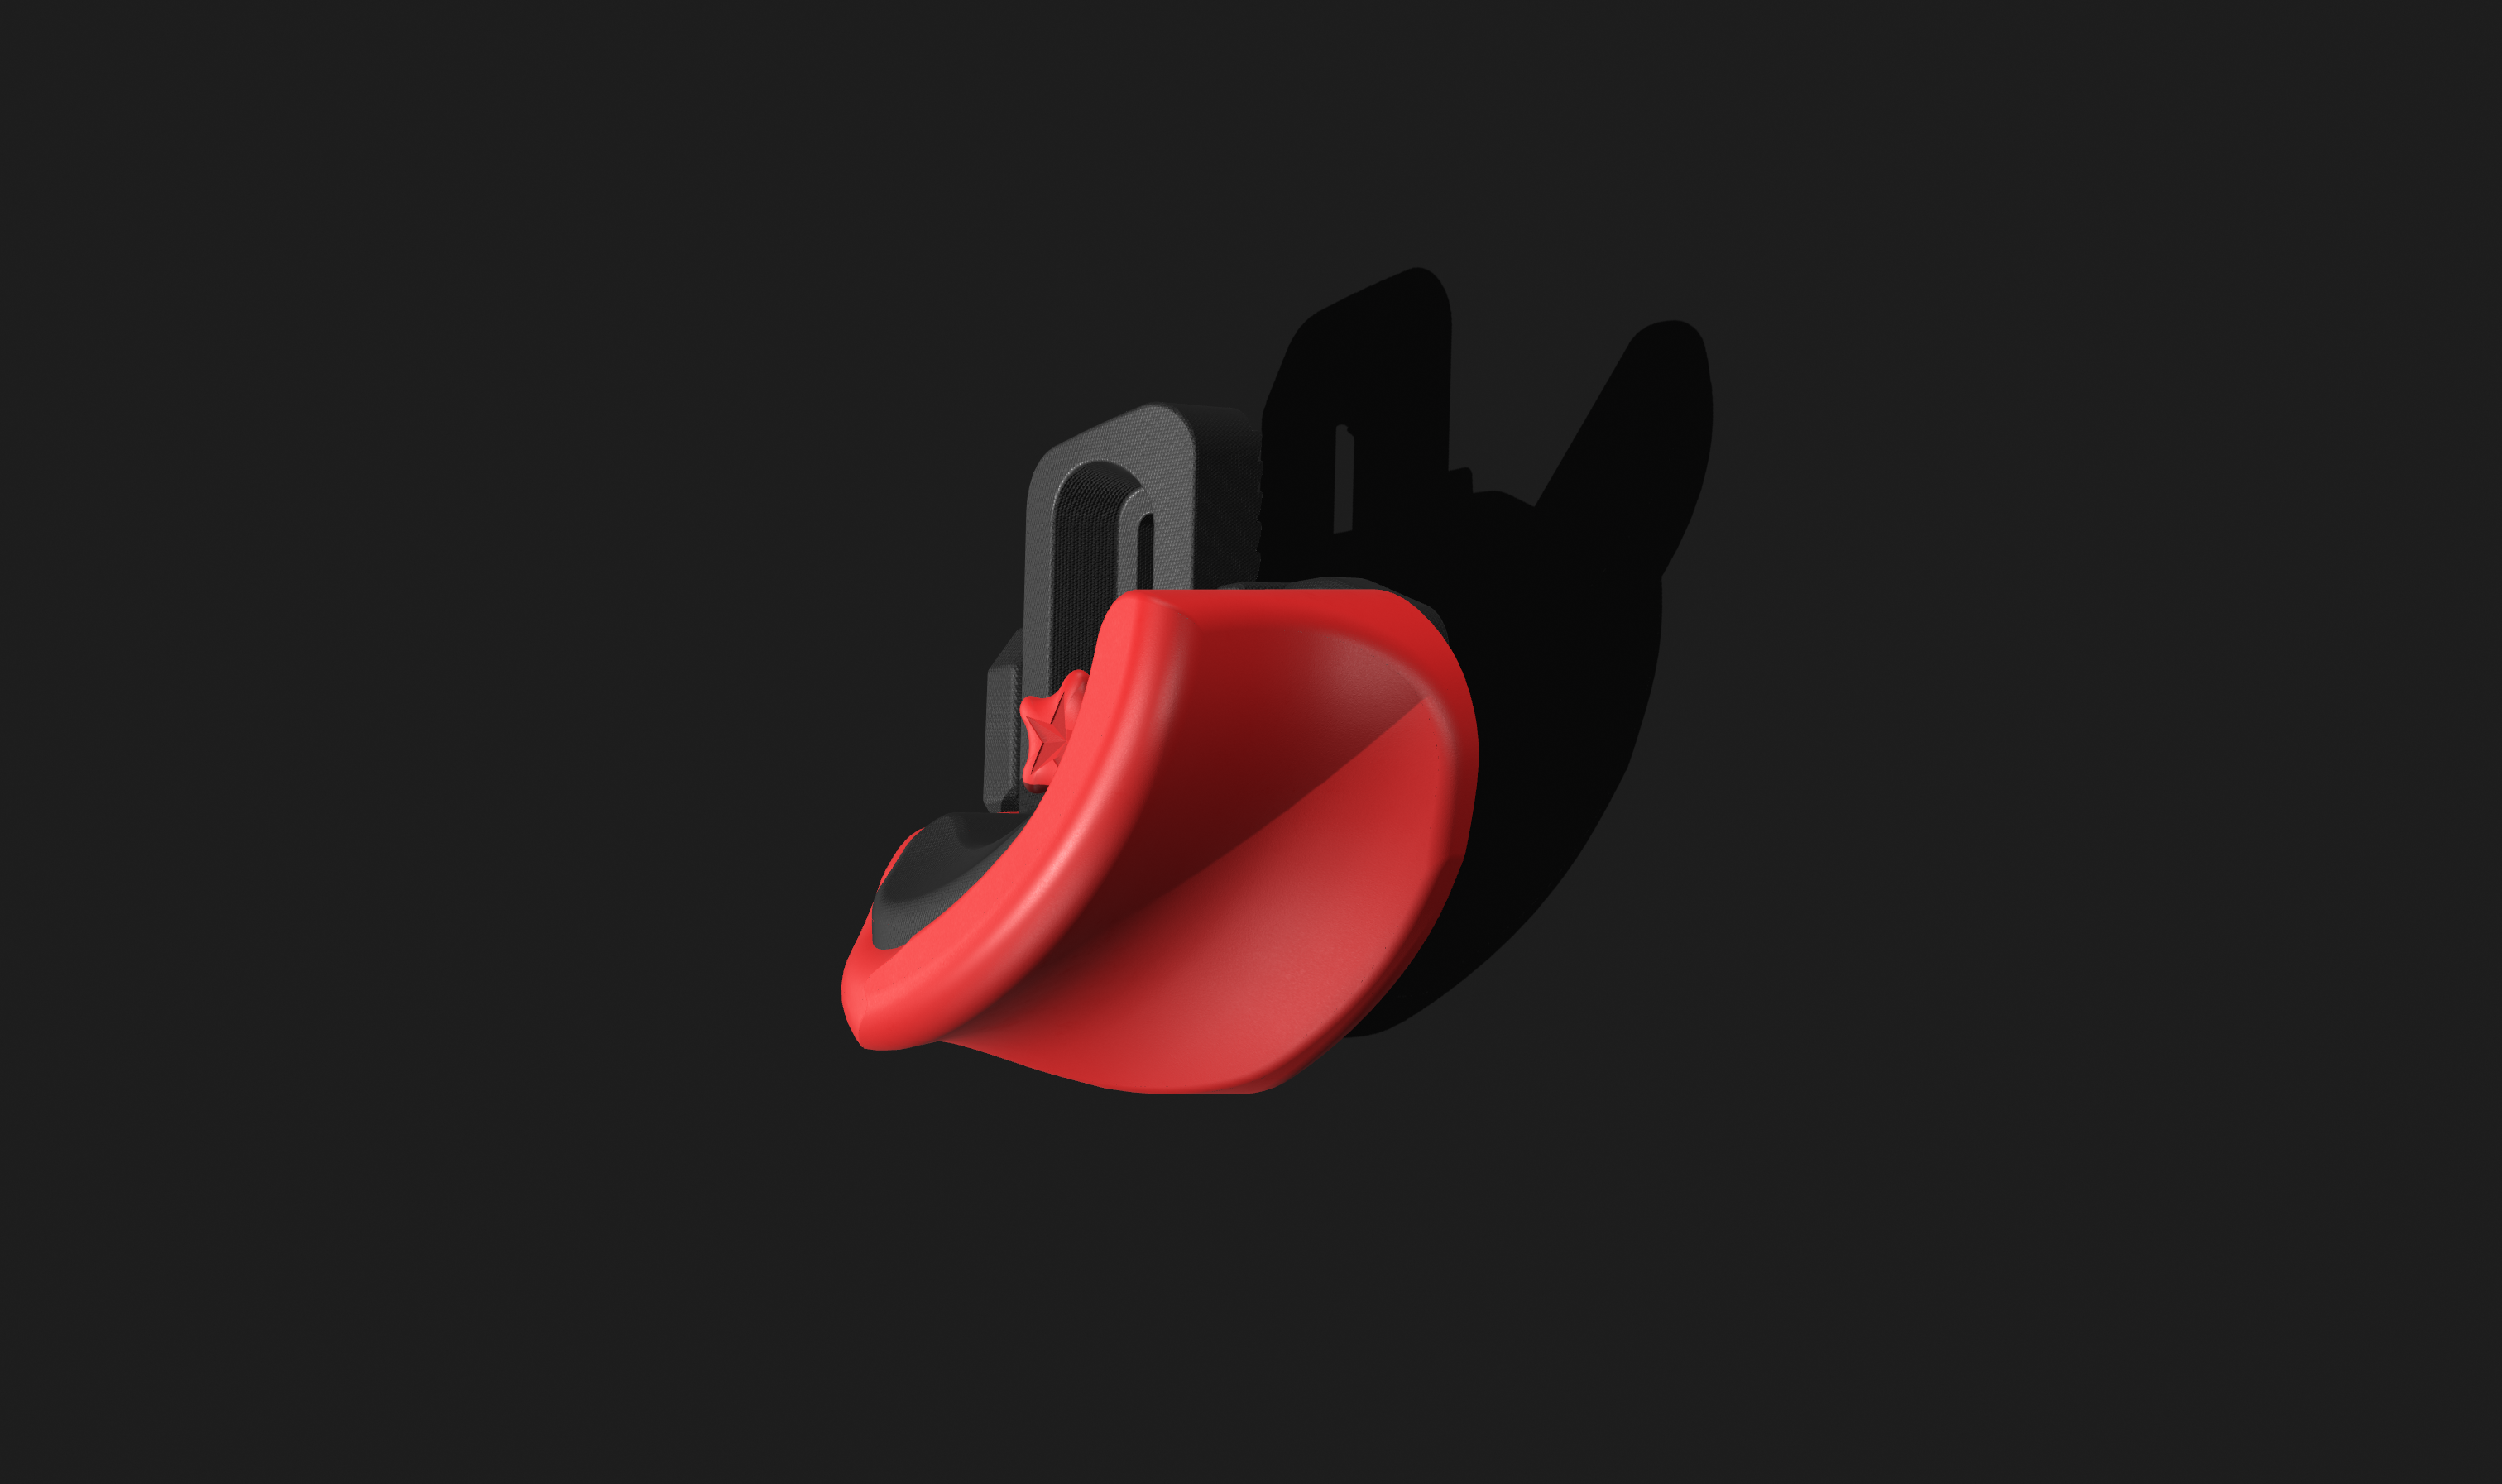
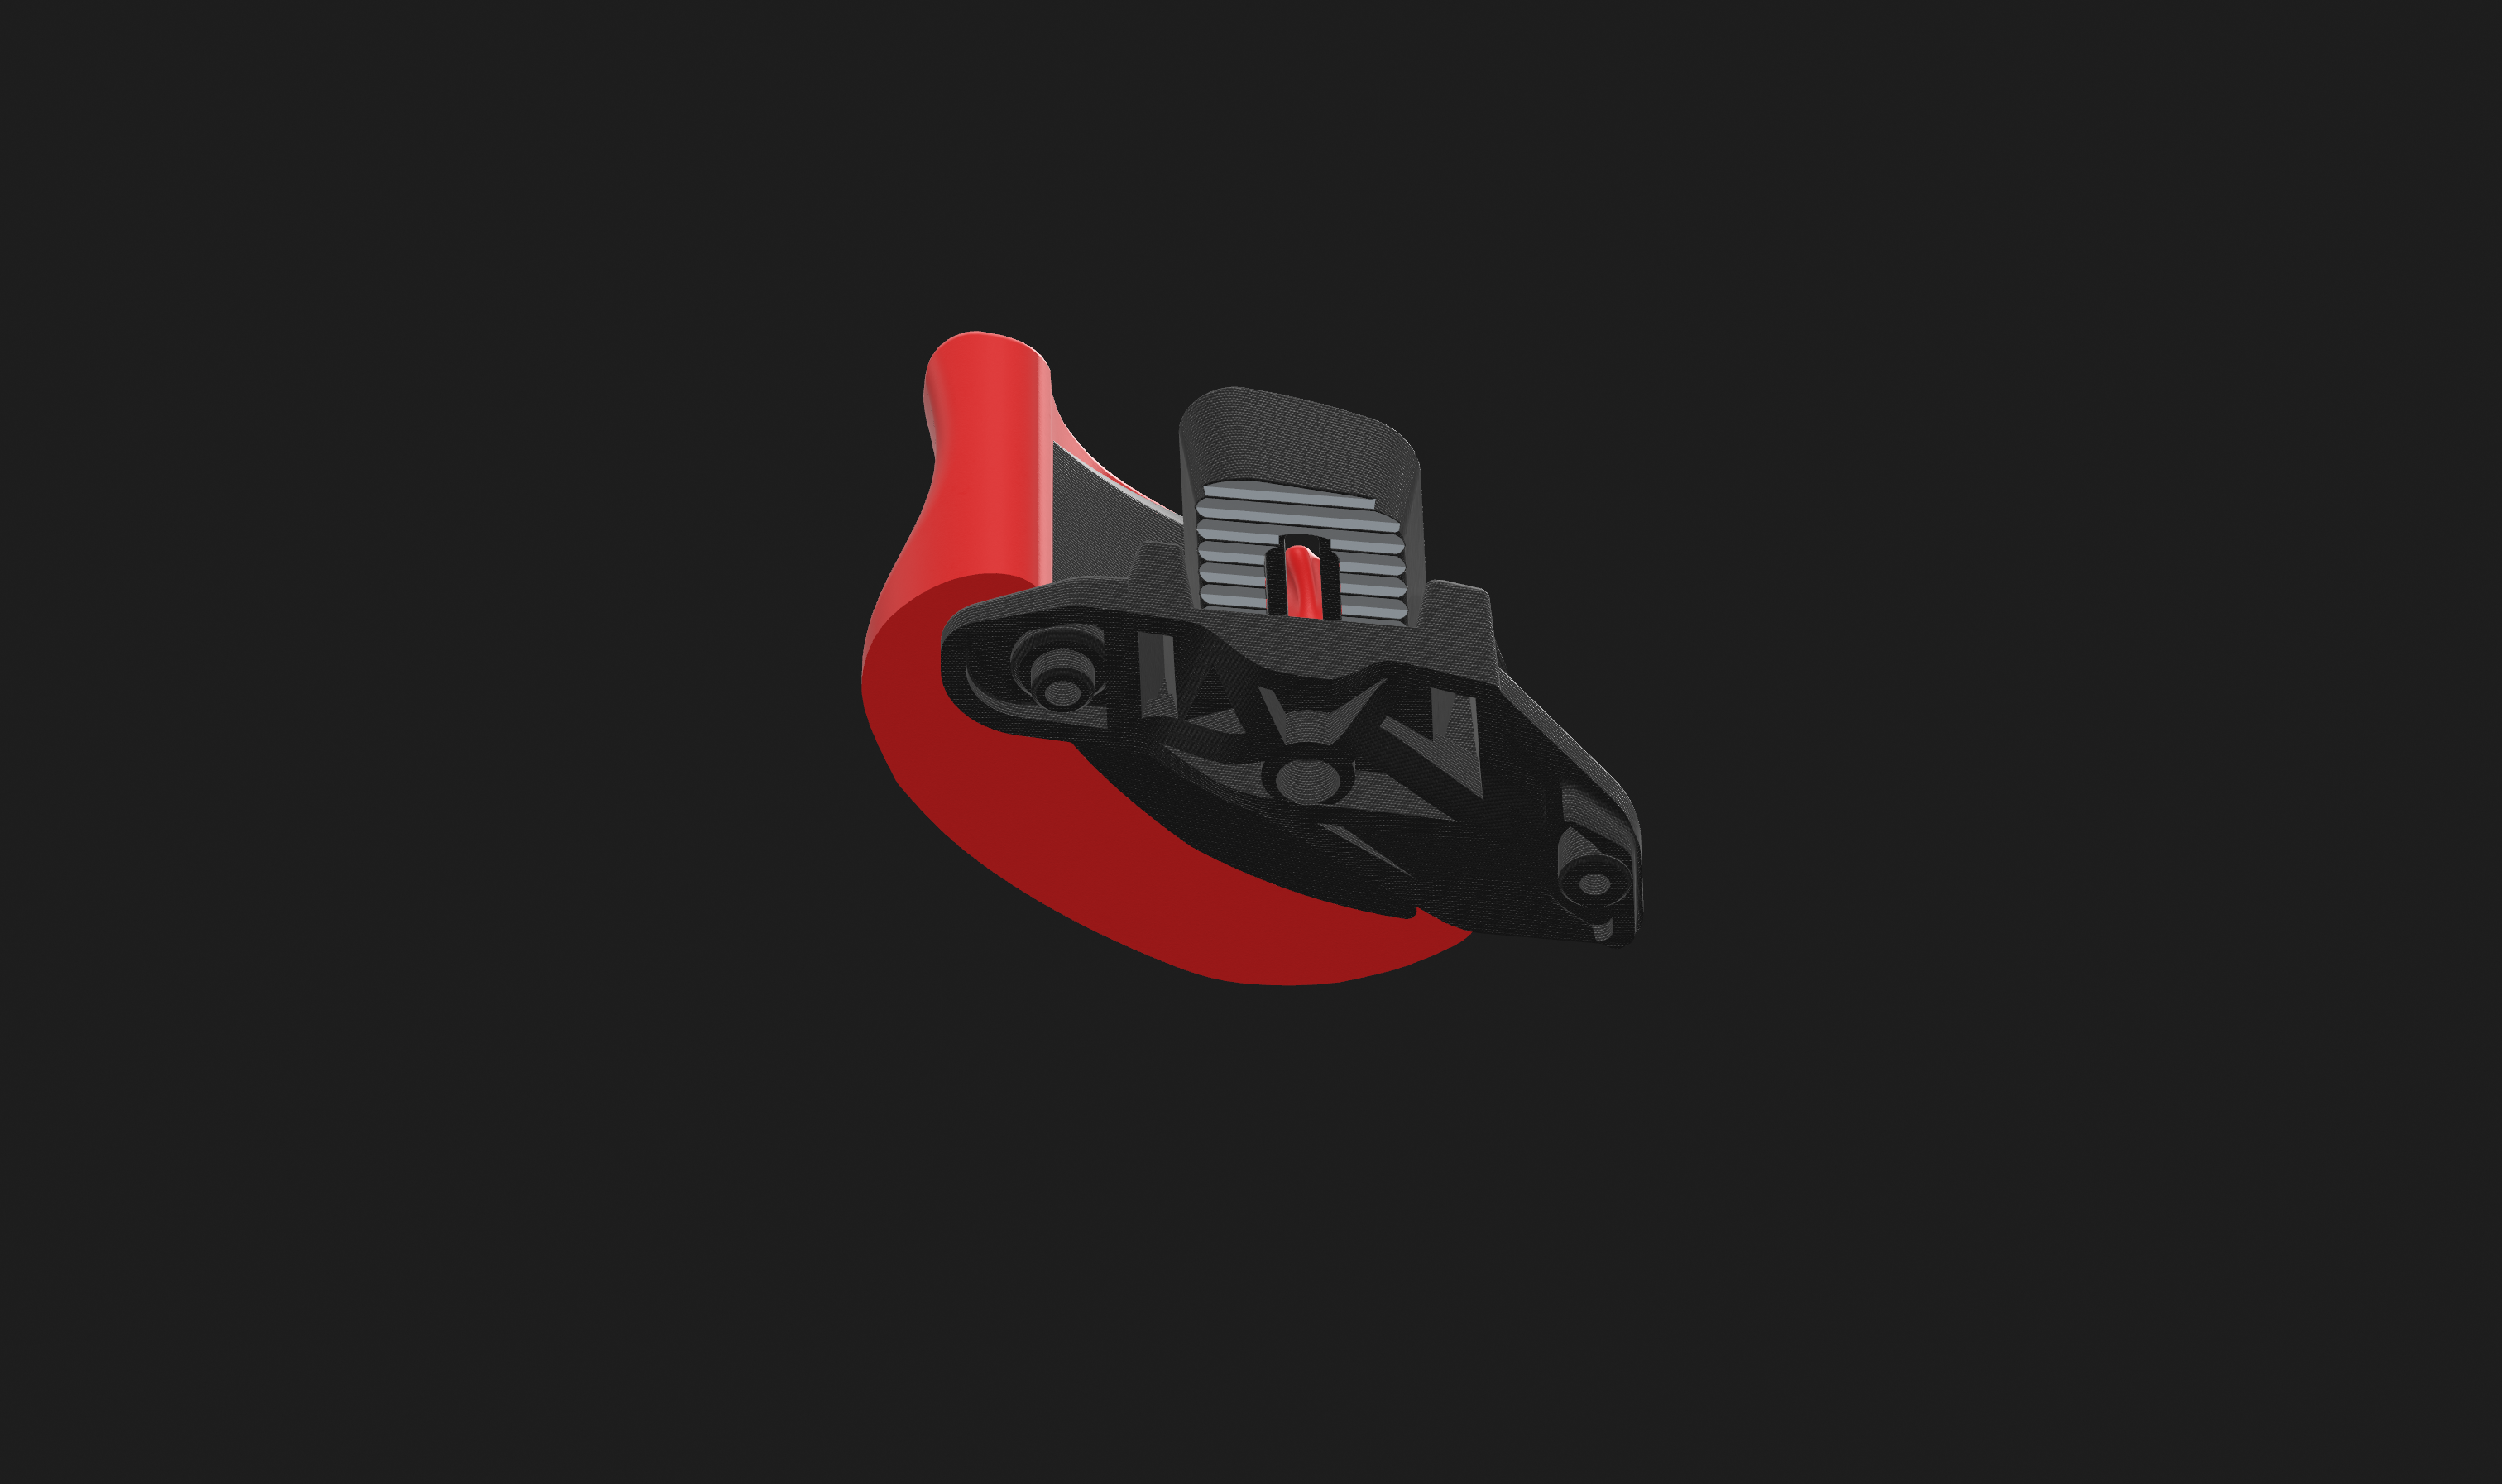
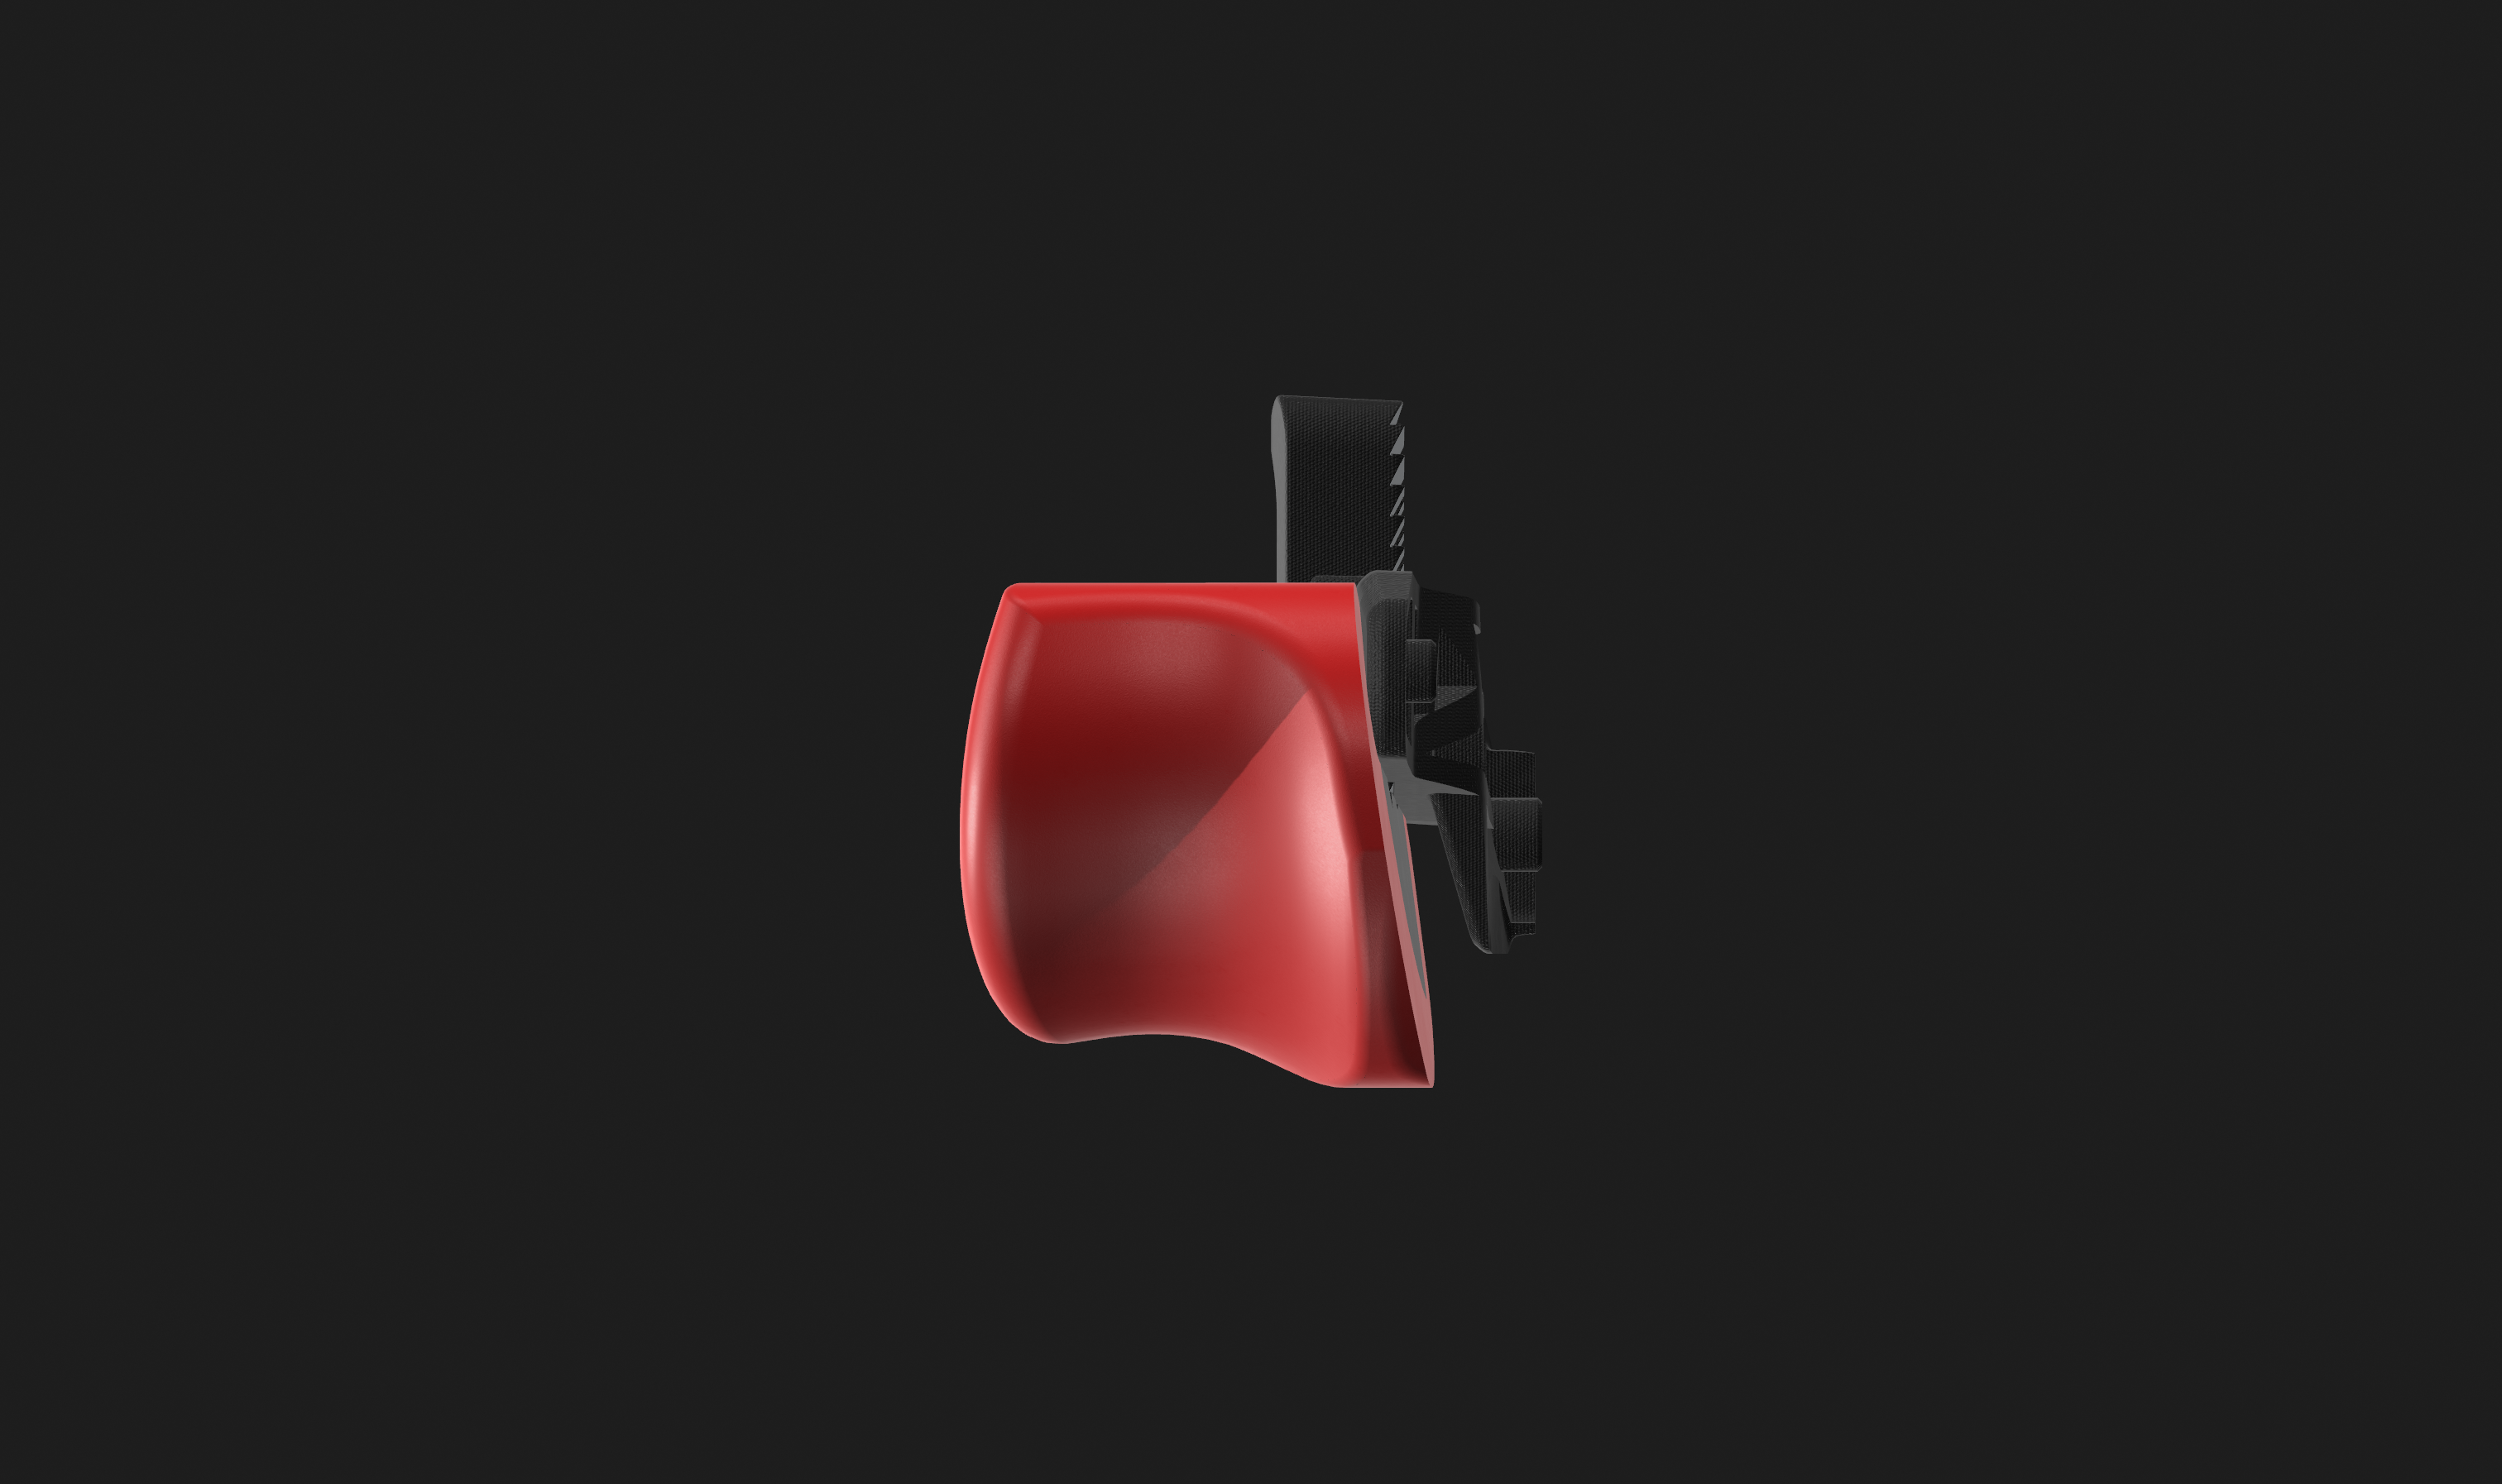
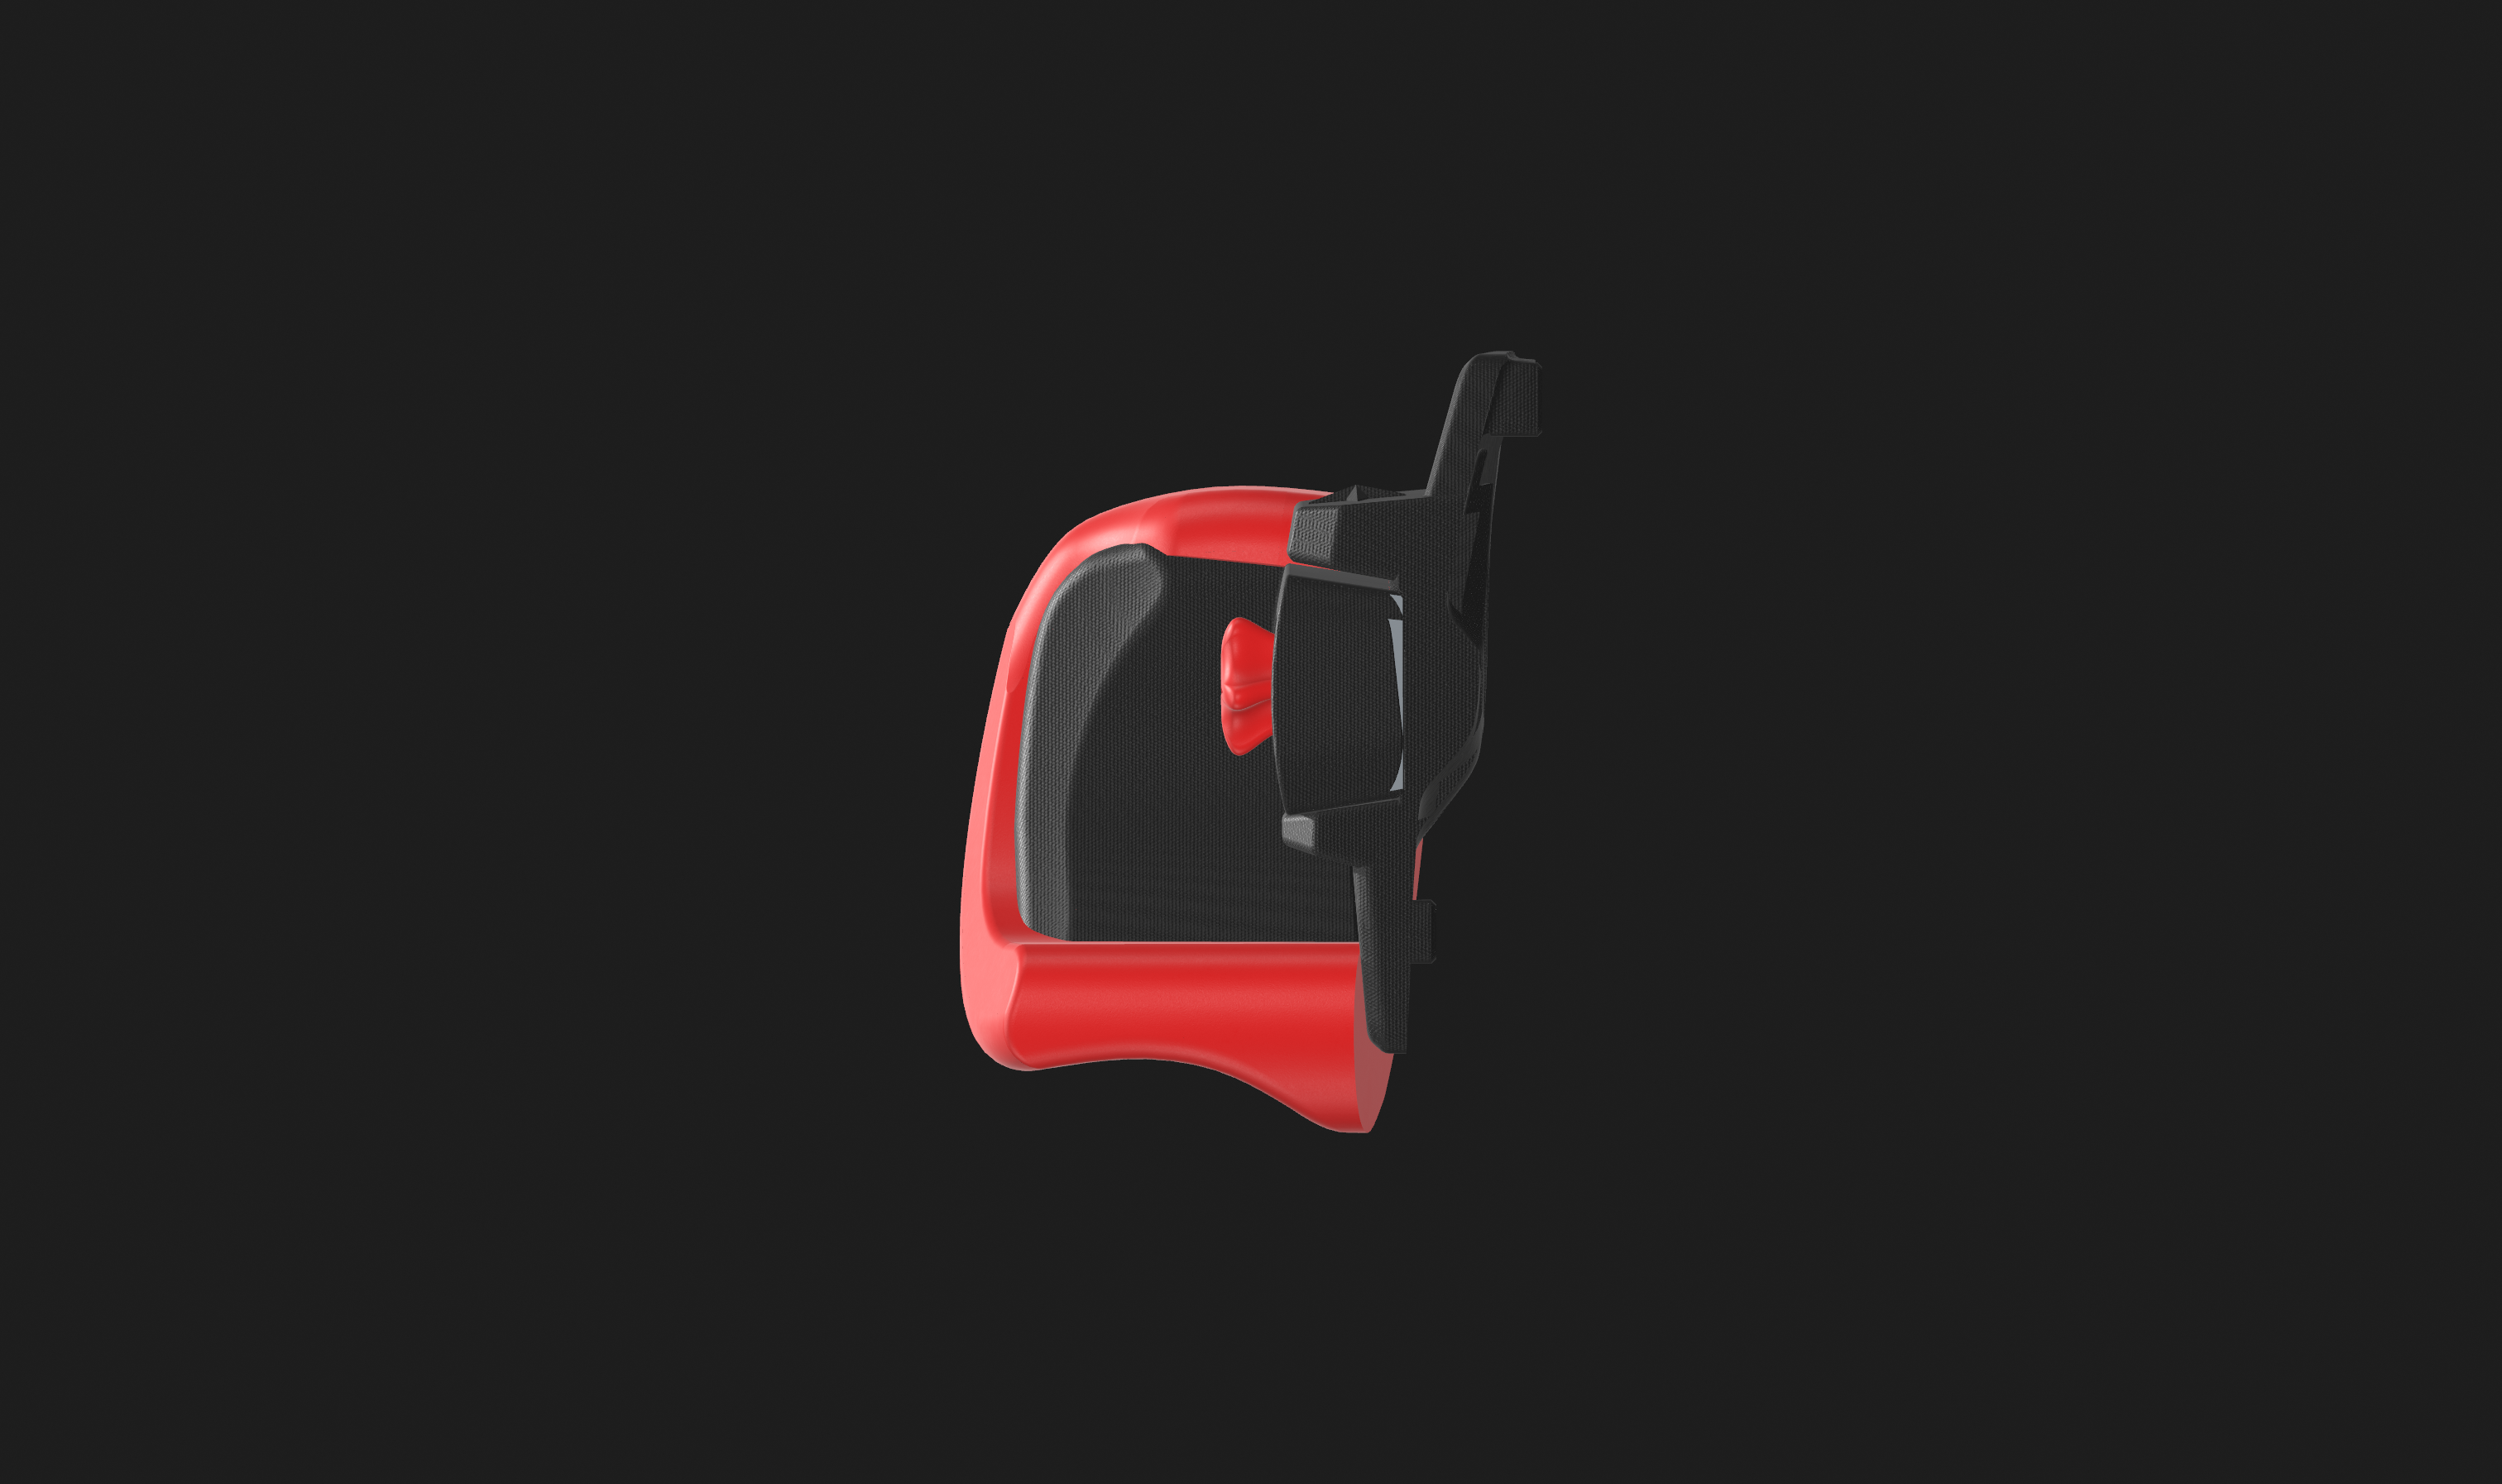
This kit includes Trailstar toe clips and brackets for the Nosfet Aero electric unicycle. The toe clips consist of a rigid core and an outer pad.
This file reflects the design, testing, and documentation required for a safety-critical, load-bearing part. I’ve ridden prototypes for months now and I really enjoy the feel and haven't had a single failure. I hope you love them. The Aero is such a blast.
The toe clips are designed for enhanced comfort and control and offer many advantages over stock clips. The clips consist of a central core, which is clamped into the bracket and a pad which locks onto the core. Pads can be printed to preference, softer usually being better as the contoured core offers support over the top of the foot.
Follow TrailstarEUC on Telegram for help with printing and updates! https://t.me/+6UHjNJ9Pnx42MzQx
⸻
Important: Material Choice for Brackets and Clip Cores
These brackets are load-bearing parts. Material choice has a major effect on strength, heat resistance, and long-term durability.
Material suitability:
PLA ❌
Too brittle and softens easily with heat. Still useful for fit-checking prints.
PETG 🟡
Usable for light-medium riding, but can creep and deform over time under load and heat.
PCTG 🟢
A good balance of strength, toughness, and ease of printing. A strong option for riders without nylon-capable printers.
PETG-CF 🟢+
Improved stiffness over PETG with better dimensional stability. Good performance if your printer handles CF materials well.
PC Blend 🟢+
Very strong and heat resistant when printed well. Requires higher temperatures and careful tuning. Supports can be a bear.
PA-GF / PA-CF / PAHT-CF 🔵
Best overall choice. Highest strength, toughness, and fatigue resistance for demanding riding conditions. My own testing was done using QIDI PAHT-CF and YXPolyer PA-GF. I currently prefer the YXPolyer partly because it has a deep black color that goes well with the AERO. If you’re printing with nylon, save yourself some heartache and use a garolite plate or an advanced heat-activated printer adhesive like nano polymer or hyperlock. Both have worked well for me. Garolite is the cheat code for nylon though.
⸻
Suggested Print Settings for Brackets and Clip Cores
Settings will vary by printer, but the following guidelines work well:
General Guidelines
• Layer height: 0.25–0.30 mm
• Walls: 4–6 perimeters aim for at least 5mm thick.
• Infill: varies by filament.
• Nozzle: 0.6 or .08 mm recommended for strength and layer bonding
Material Choice and other considerations for Pads
Any flexible filament can be used but I really enjoyed these options in my testing:
Regular Overture TPU 95a. Firm and printable. Kind of nice.
Fiberflex 30d
Terrific stuff.
Cushy and Grippy but expensive
My preferred settings:
2 walls
4-5 top layers
3 bottom layers
9-11% gyroid infill
Esun TPE
Also great. Honestly just as good as Fiberflex. As long as you like black. Much more affordable and super cool satin finish.
My preferred settings:
2 walls
3 top layers
3 bottom layers
8-10% gyroid infill
Siraya PBE Air
So cool. Very cloth-like feel. A roll is expensive but you’ll be shocked at how long it lasts. The foaming means you’ll use less material per cubic cm, so it’s a better deal than it seems. Collects/shows dust a bit, but I kind of liked that about it. Probably my favorite of these three.
My preferred settings:
3 walls
3 top layers
3 bottom layers
8-12% gyroid infill
Materials:
You’ll need the following
For heat-melt version:
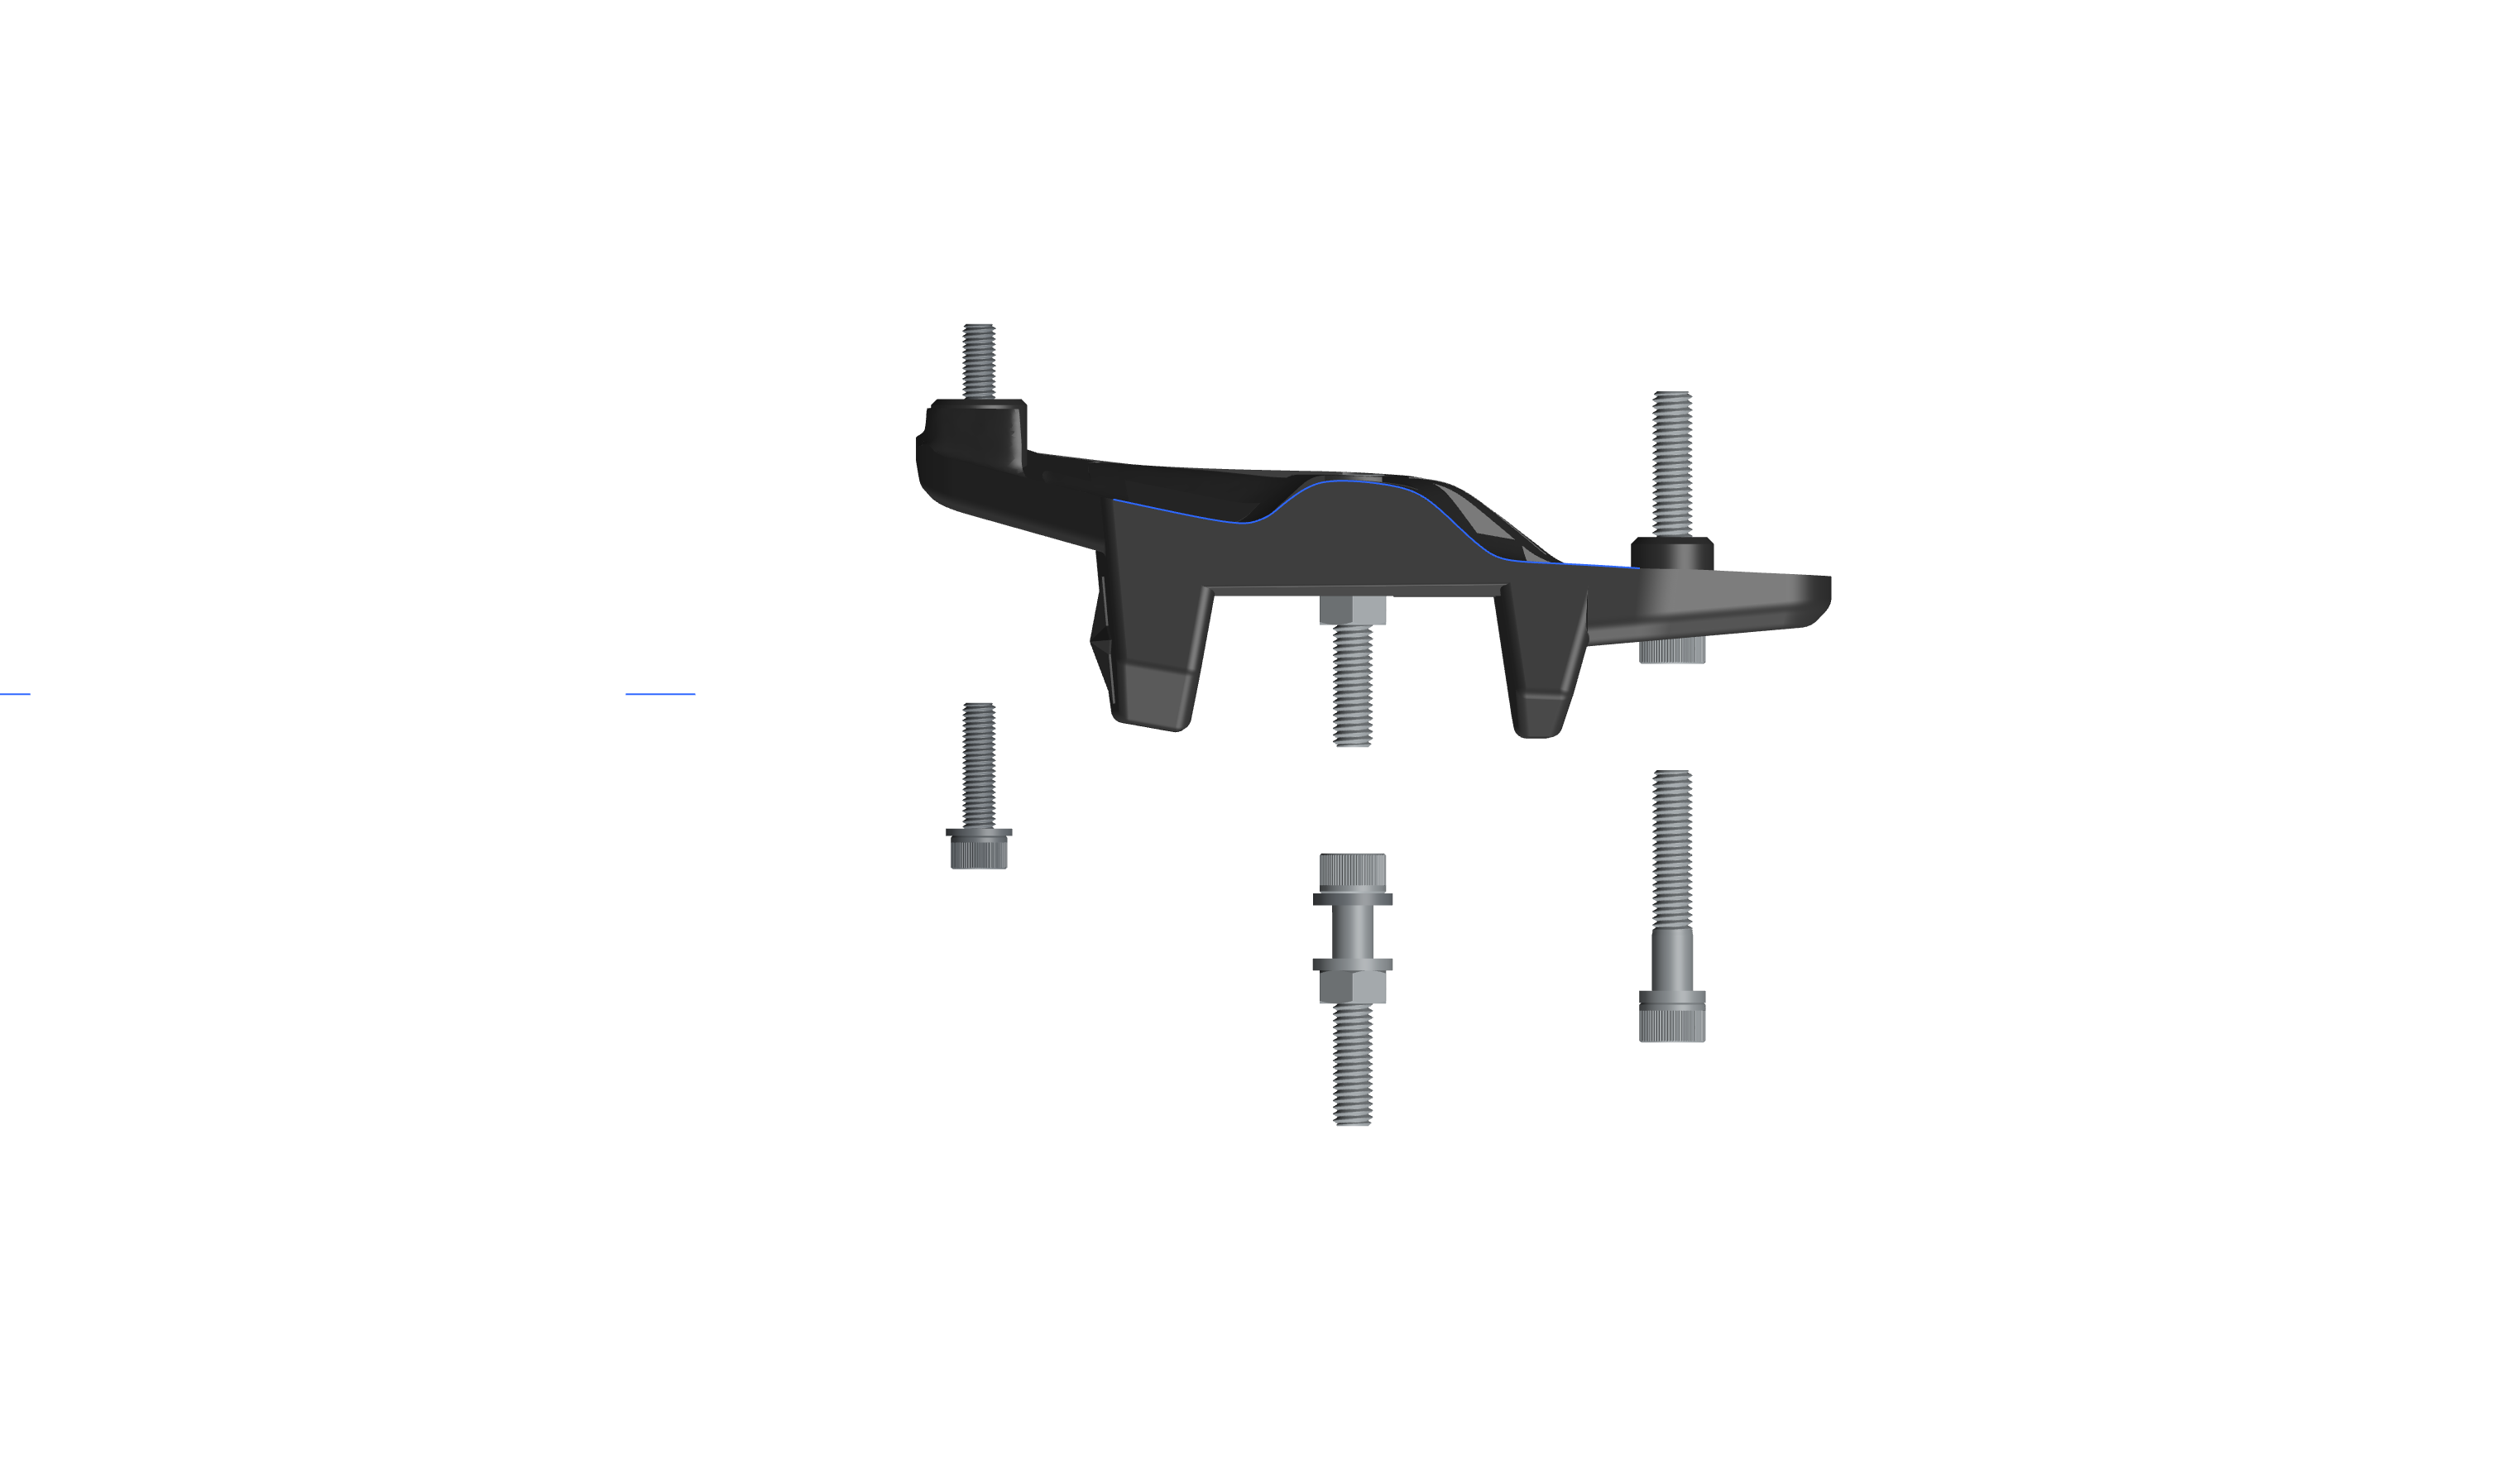
4 heat melt inserts (if you’re using the included knobs) m6x8x8
4 M6 35mm socket cap head screws (2 for attaching bracket to body and 2 for center mount)
2 M6 12mm washers for inside the center mount)
2 M5 20mm socket cap head screws for attaching bracket to body
2 M6 10mm washers (12mm washers took up too much space in the socket and weakened the assembly a lot)--please don't mount without washers.
2 M6 16mm nylon washers for mounting toe clip to bracket with knob
2 M5 standard washers (I think they’re also about 10mm)
Washers are necessary for the integrity of the bracket.
For no-melt version:
2 heat melt inserts (if you’re using the included knobs) m6x8x8
4 M6 35mm socket cap head screws (2 for attaching bracket to body and 2 for center mount)
2 M6 Hex Nuts
4 M6 12mm washers for inside and outside the center clamp mount
2 M6 10mm washers (12mm washers took up too much space in the socket and weakened the assembly a lot)--please don't mount without washers.
2 M6 16mm nylon washers for mounting toe clip to bracket with knob
2 M5 20mm socket cap head screws for attaching bracket to body
2 M5 standard washers (I think they’re also about 10mm)
Washers are necessary for the integrity of the bracket.
:format(webp)/https://fbi.cults3d.com/uploaders/37462129/illustration-file/6702d794-592b-47cf-b86b-ca1b73402b15/IMG_2828.jpeg)
/https://preview3d-images.cults3d.com/k8ph56dt3qvf5c8vlo4eerpu2aa4)
/https://preview3d-images.cults3d.com/lsk0byrgo3fojehyg3zhm6j79sqy)
/https://preview3d-images.cults3d.com/iu72v7x1b1msq90j6mql4le42ly7)
/https://preview3d-images.cults3d.com/rzxdu4t6fhi4bncfauy235sot54g)
/https://preview3d-images.cults3d.com/bzgphase8y9hmvcs5sf8rhwoz5ro)
/https://preview3d-images.cults3d.com/xcw6bo39m2zwmwv94new5vg2dbpd)
/https://preview3d-images.cults3d.com/h0gtnemkwtk0882hcqbdti05lv2l)
/https://preview3d-images.cults3d.com/wic778nxf3yzst8rcxit71zb8d42)
/https://preview3d-images.cults3d.com/y72jubtbrbliaxjor8hl4efvir8r)
/https://preview3d-images.cults3d.com/j95mt02k9omsnf3a8wcj6l0bz1zc)
/https://preview3d-images.cults3d.com/am5b6koeabt25x293x1ybxk69036)
/https://preview3d-images.cults3d.com/7wlmrfbydpnv4895efivlpmxnsz5)
/https://preview3d-images.cults3d.com/u8ioel80jks16h8xexnfs37gmirq)
/https://preview3d-images.cults3d.com/5dfmbwnjbtz3bd1wlzn91jlx2ete)
/https://preview3d-images.cults3d.com/3vnbpyejc6kel6f8b437kt44ncn7)
/https://preview3d-images.cults3d.com/e27wpnkodwie2gzp4fprkwb2i2um)
/https://preview3d-images.cults3d.com/z79hf8po6kn7kxcd1sh7tycl9dld)
/https://preview3d-images.cults3d.com/arf4ucohzary7twdzba0wn82di2g)
/https://fbi.cults3d.com/uploads/user/avatar/37462129/IMG_2346.jpeg "Trailstar")


:format(webp)/https://fbi.cults3d.com/uploaders/37462129/illustration-file/9224a26b-c5b2-4f40-988c-18e7eefda903/5F18BA4B-D8B4-457E-B5E2-36A2C3FD6869_1_102_o.jpeg)
:format(webp)/https://fbi.cults3d.com/uploaders/37462129/illustration-file/0a4f031b-1cc7-44ac-8d51-9a3adbe444e5/aero-star.png)
:format(webp)/https://fbi.cults3d.com/uploaders/37462129/illustration-file/d264817e-3d44-4aa3-9c91-89a3584a6f4a/IMG_2839.jpeg)
:format(webp)/https://fbi.cults3d.com/uploaders/37462129/illustration-file/055b2f6d-96c4-4d02-943a-1f1807fea7ef/main.jpeg)
:format(webp)/https://fbi.cults3d.com/uploaders/37462129/illustration-file/5ef5a847-fa5d-4bfa-a387-2269f92c96d3/IMG_20260520_181639.jpg)
:format(webp)/https://fbi.cults3d.com/uploaders/37462129/illustration-file/9995338e-de96-4fb1-b8d8-c6daa9eb7435/157071D1-5D2B-404C-A893-59ABDD966A4F_1_102_o.jpeg)