Ender 3 Pro "Ender Dragon" Cable Chain and Celtic Braid Decorations
:format(webp)/https://fbi.cults3d.com/uploaders/19336627/illustration-file/135d0c22-6c7e-4c51-bde1-a501e83e157d/Ender-Dragon.jpg)
/https://preview3d-images.cults3d.com/610sr6ecmgajyogllshxrno0hh7s)
/https://preview3d-images.cults3d.com/zfk5dwawimbmnswel30l6t18gni7)
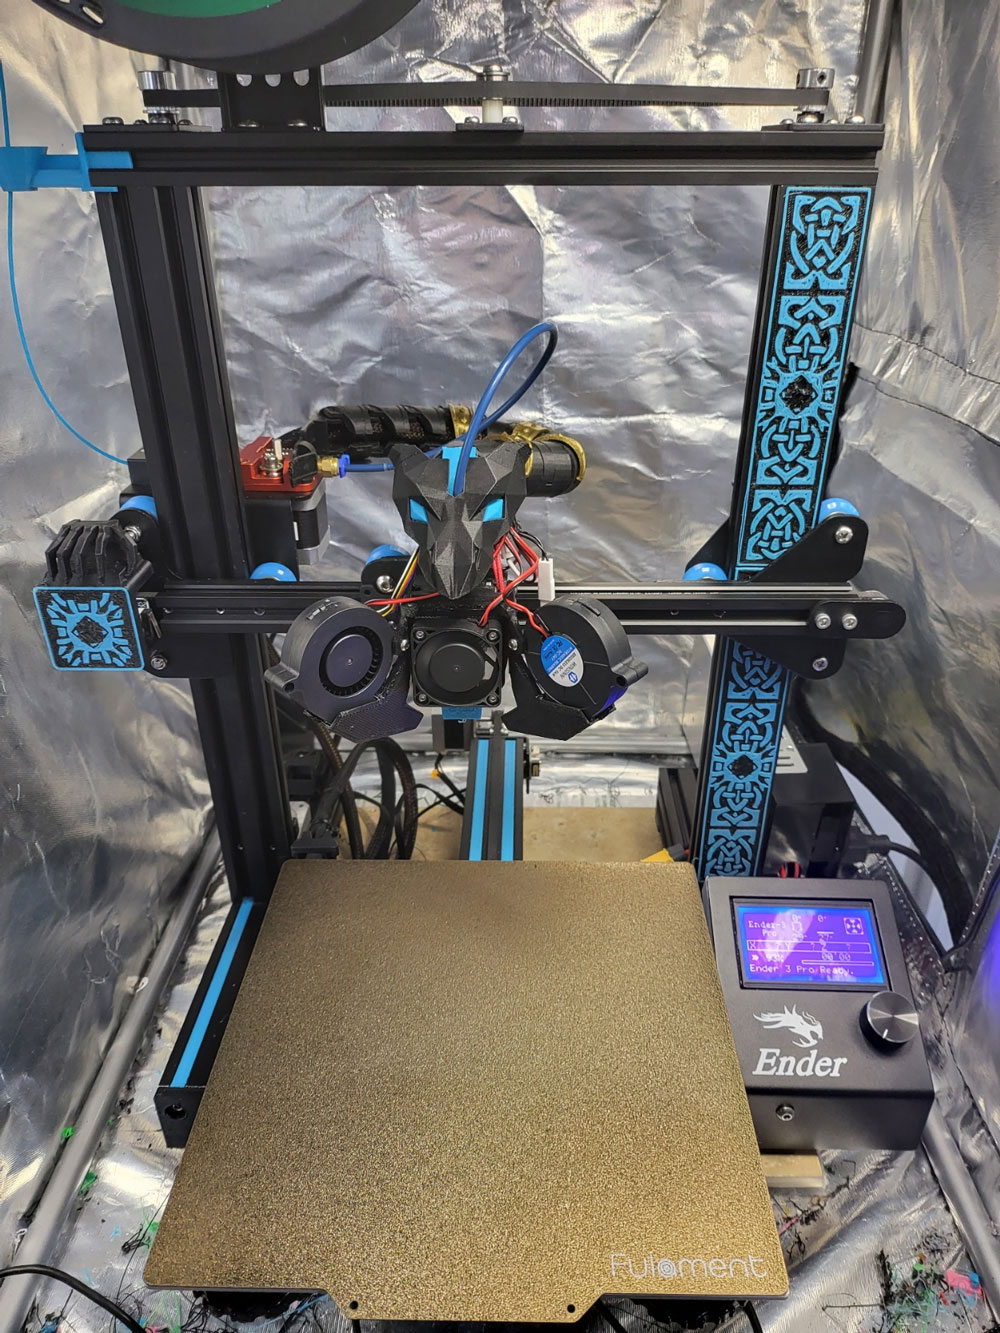
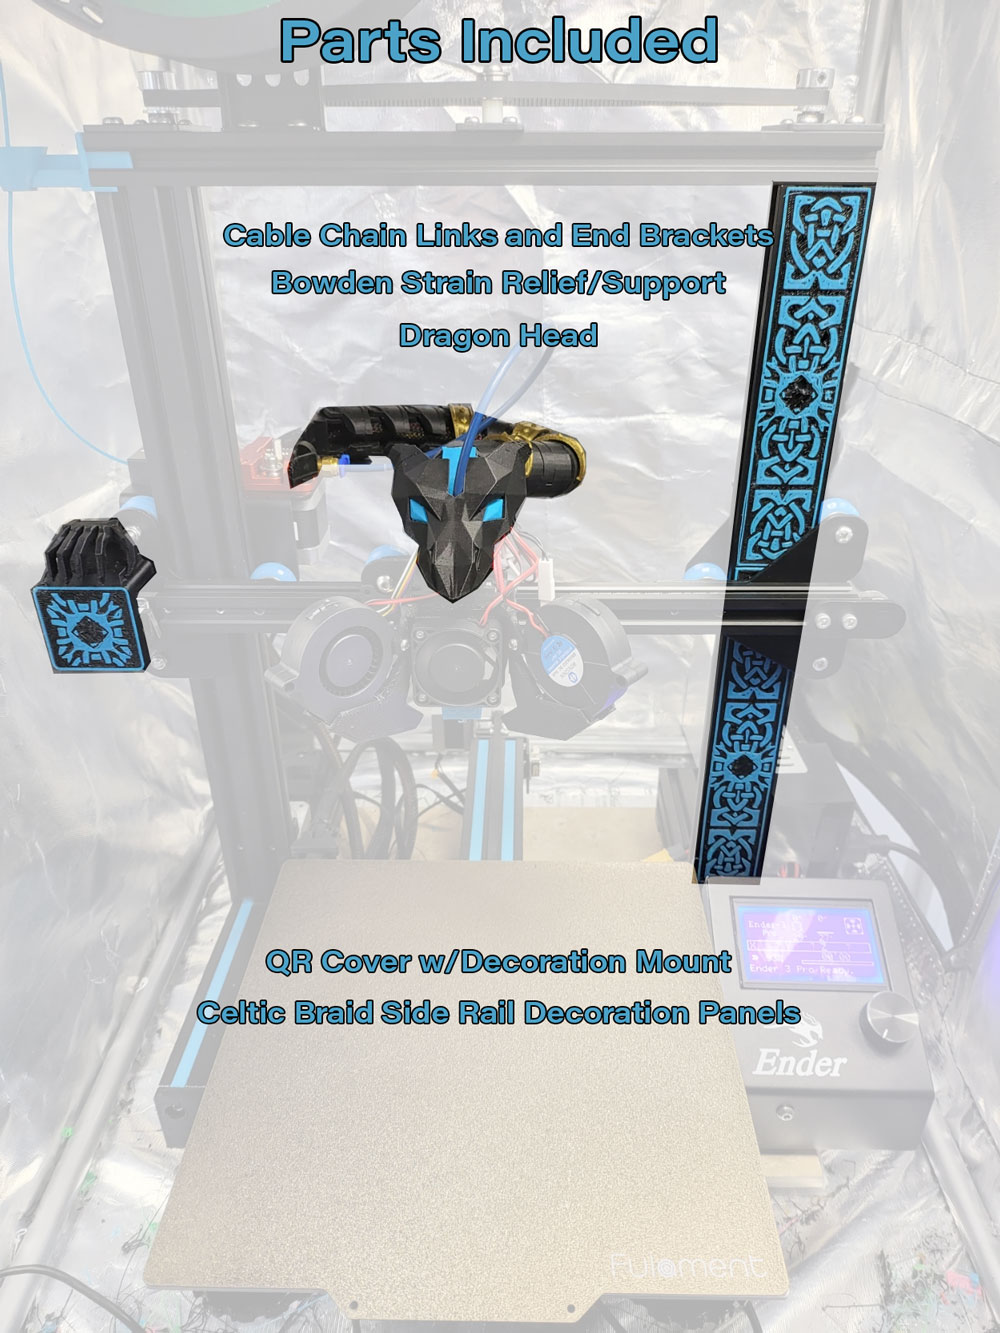
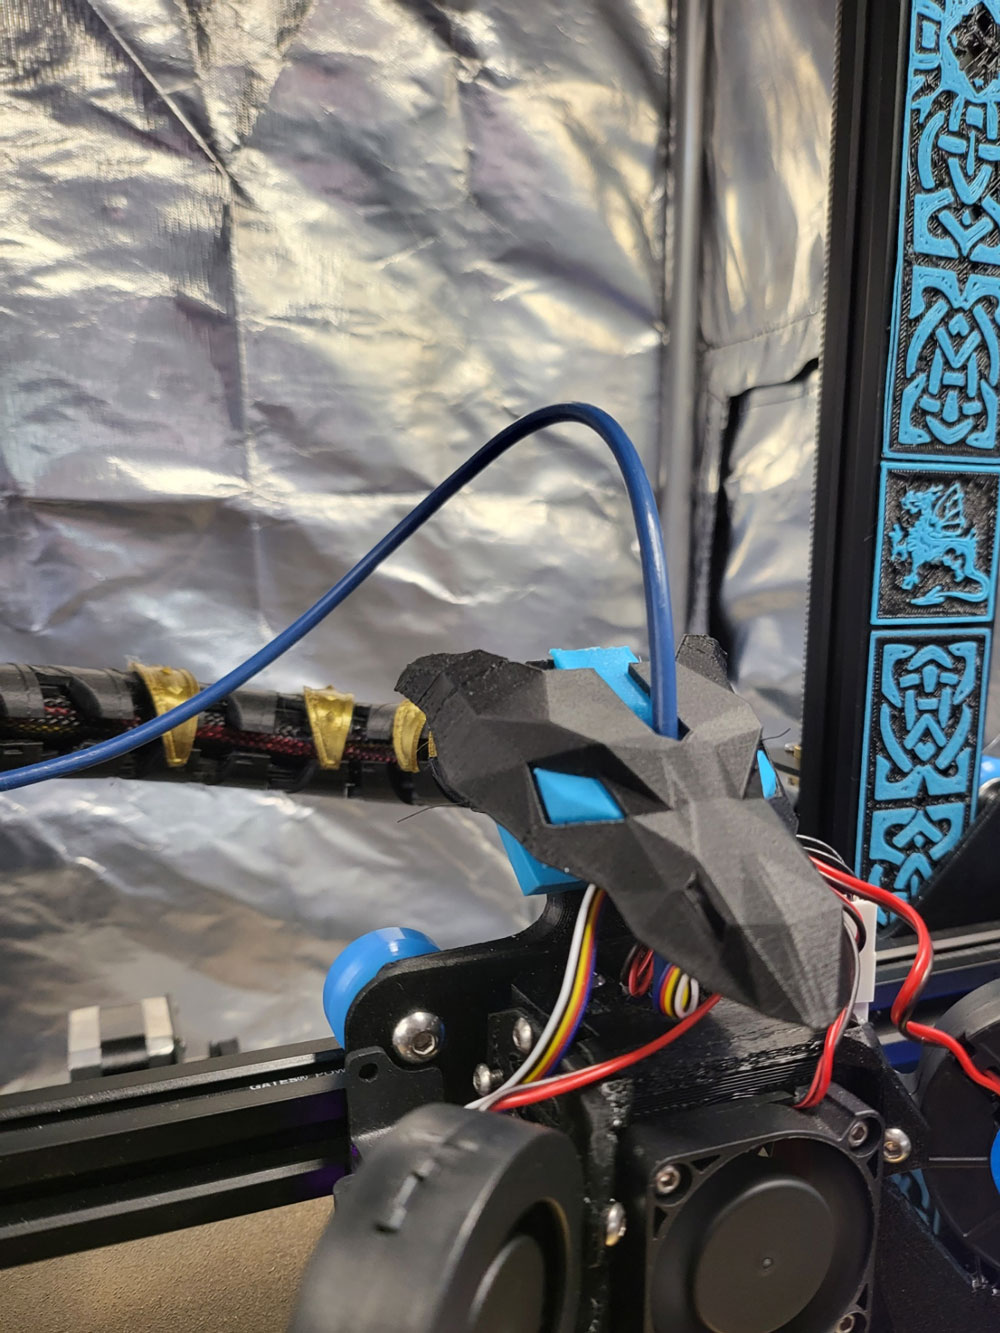
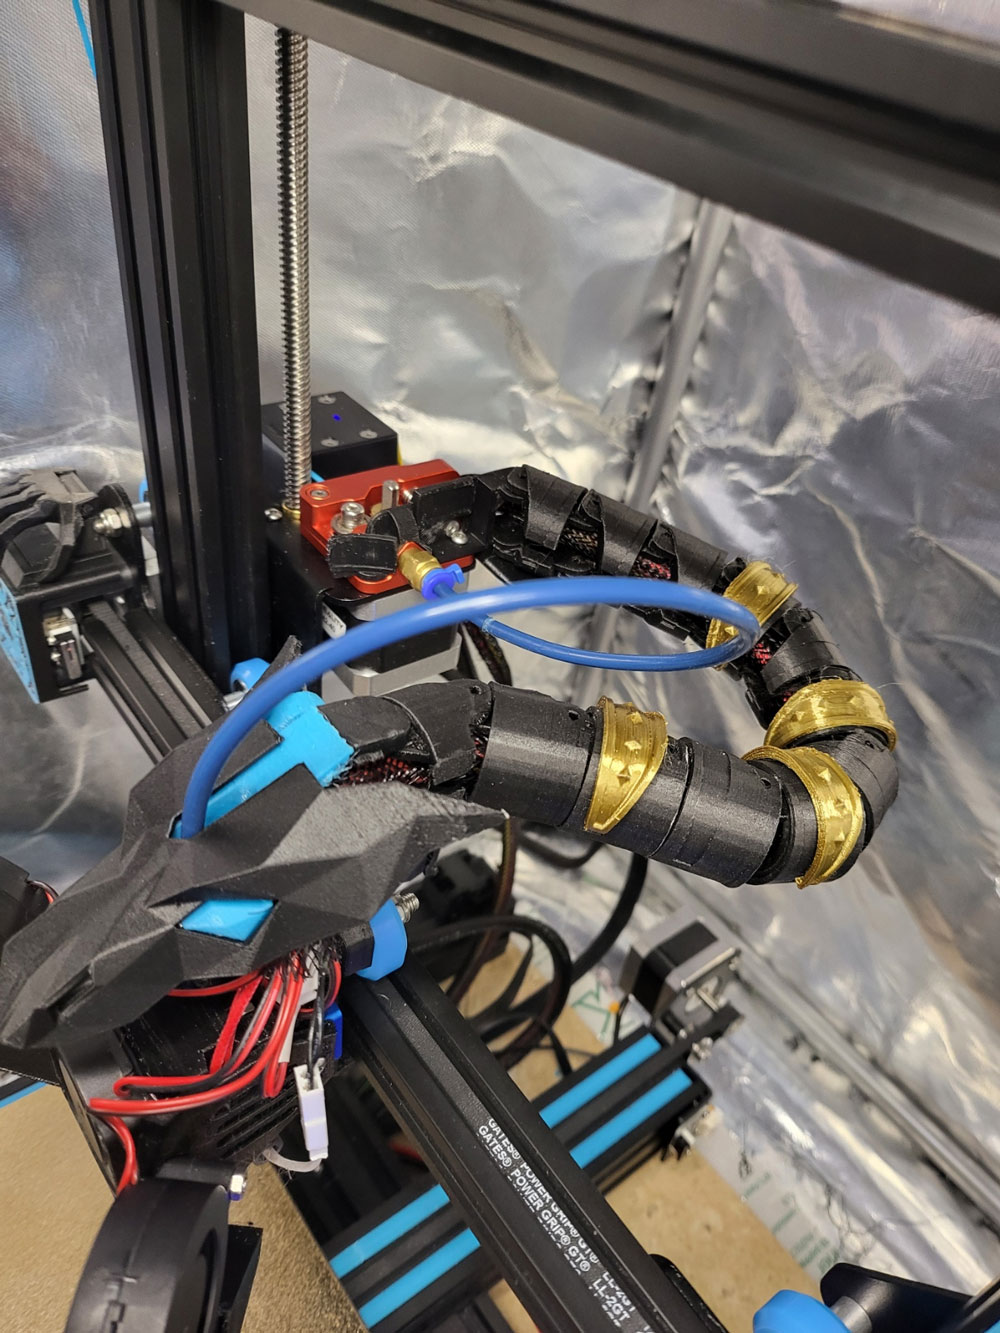
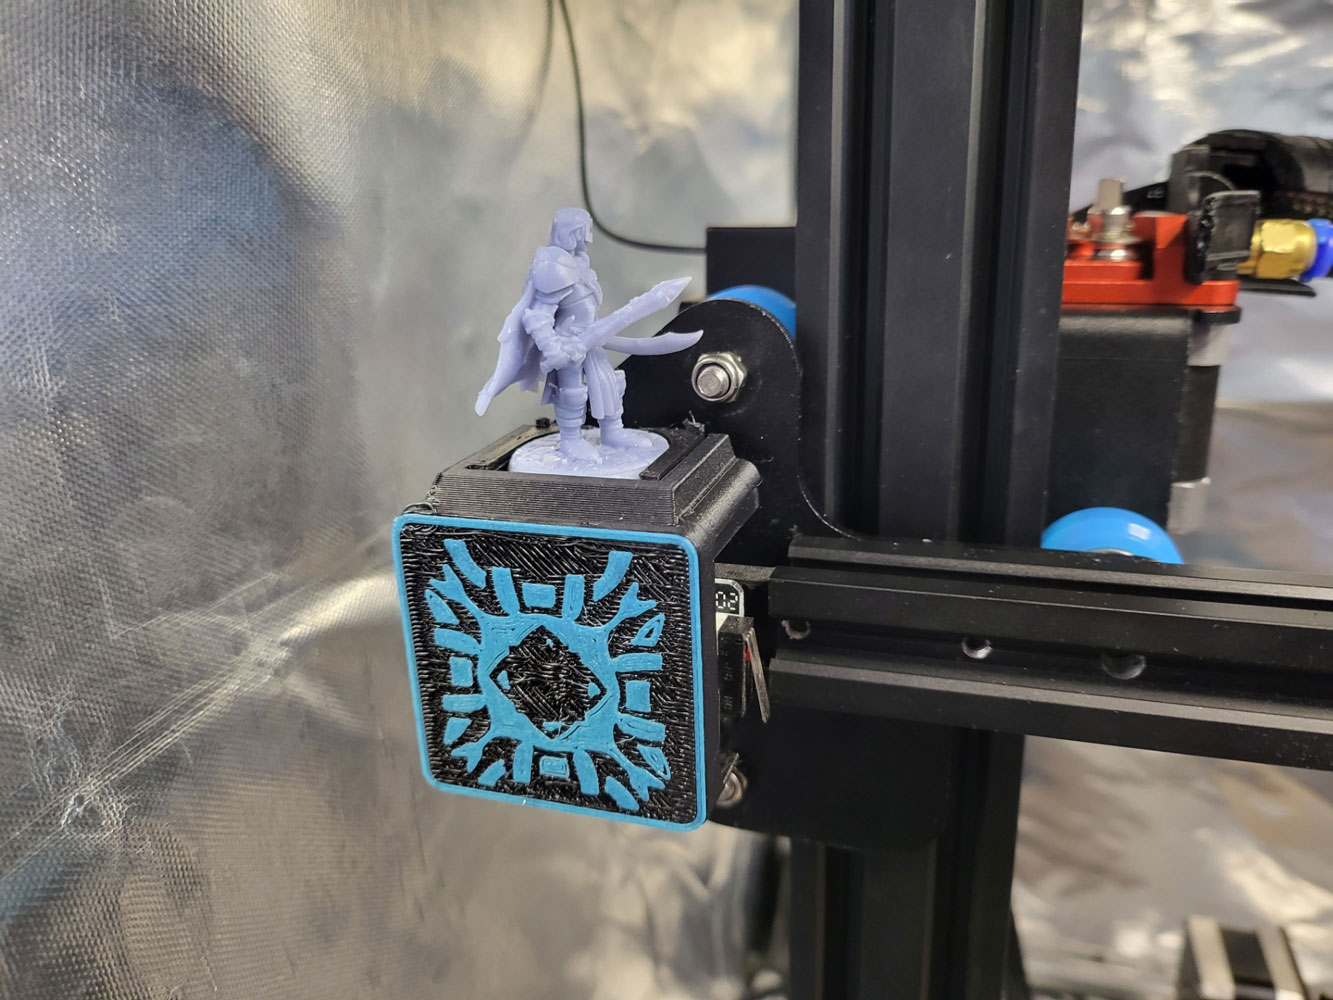
/https://preview3d-images.cults3d.com/8k331fryz9e2l252gfytkr30gr3y)
/https://preview3d-images.cults3d.com/q7p1vybpclxrrncu7maxfushjcn8)
- 9.1k views
- 36 likes
- 26 downloads
- 1 collection
- 0 comments
- 0 makes
| License | |
|---|---|
| Usages | |
| 3D design format |
3 files (STL and ZIP) Close
|
| Last update | |
| Publication date | |
| Design number | 709734 |
| Design author | Arturis |
/https://fbi.cults3d.com/uploads/user/avatar/19336627/GreenEyedMonster.jpg "Arturis")


:format(webp)/https://fbi.cults3d.com/uploaders/19336627/illustration-file/c43b81fa-549f-4ba6-b67d-9ac1a6fe9200/Ender_Enclosure_Pole_Tray.jpg)
:format(webp)/https://fbi.cults3d.com/uploaders/19336627/illustration-file/51d0ff75-8a74-487c-9e18-dce239b2c5a2/E3P_CP_Swivel.jpg)
Would you like to support Cults?
You like Cults and you want to help us continue the adventure independently? Please note that we are a small team of 4 people, therefore it is very simple to support us to maintain the activity and create future developments. Here are 3 solutions accessible to all:
- ADVERTISING: Disable your ad blocker.
- DONATE: Make a donation via Ko-Fi Donate
- WORD OF MOUTH: Invite your friends to come, discover the platform and the magnificent 3D files shared by the community!
Sharing and downloading on Cults3D guarantees that designs remain in makers community hands! And not in the hands of the 3D printing or software giants who own the competing platforms and exploit the designs for their own commercial interests.
Cults3D is an independent, self-financed site that is not accountable to any investor or brand. Almost all of the site’s revenues are paid back to the platform’s makers. The content published on the site serves only the interests of its authors and not those of 3D printer brands who also wish to control the 3D modeling market.