3D model description
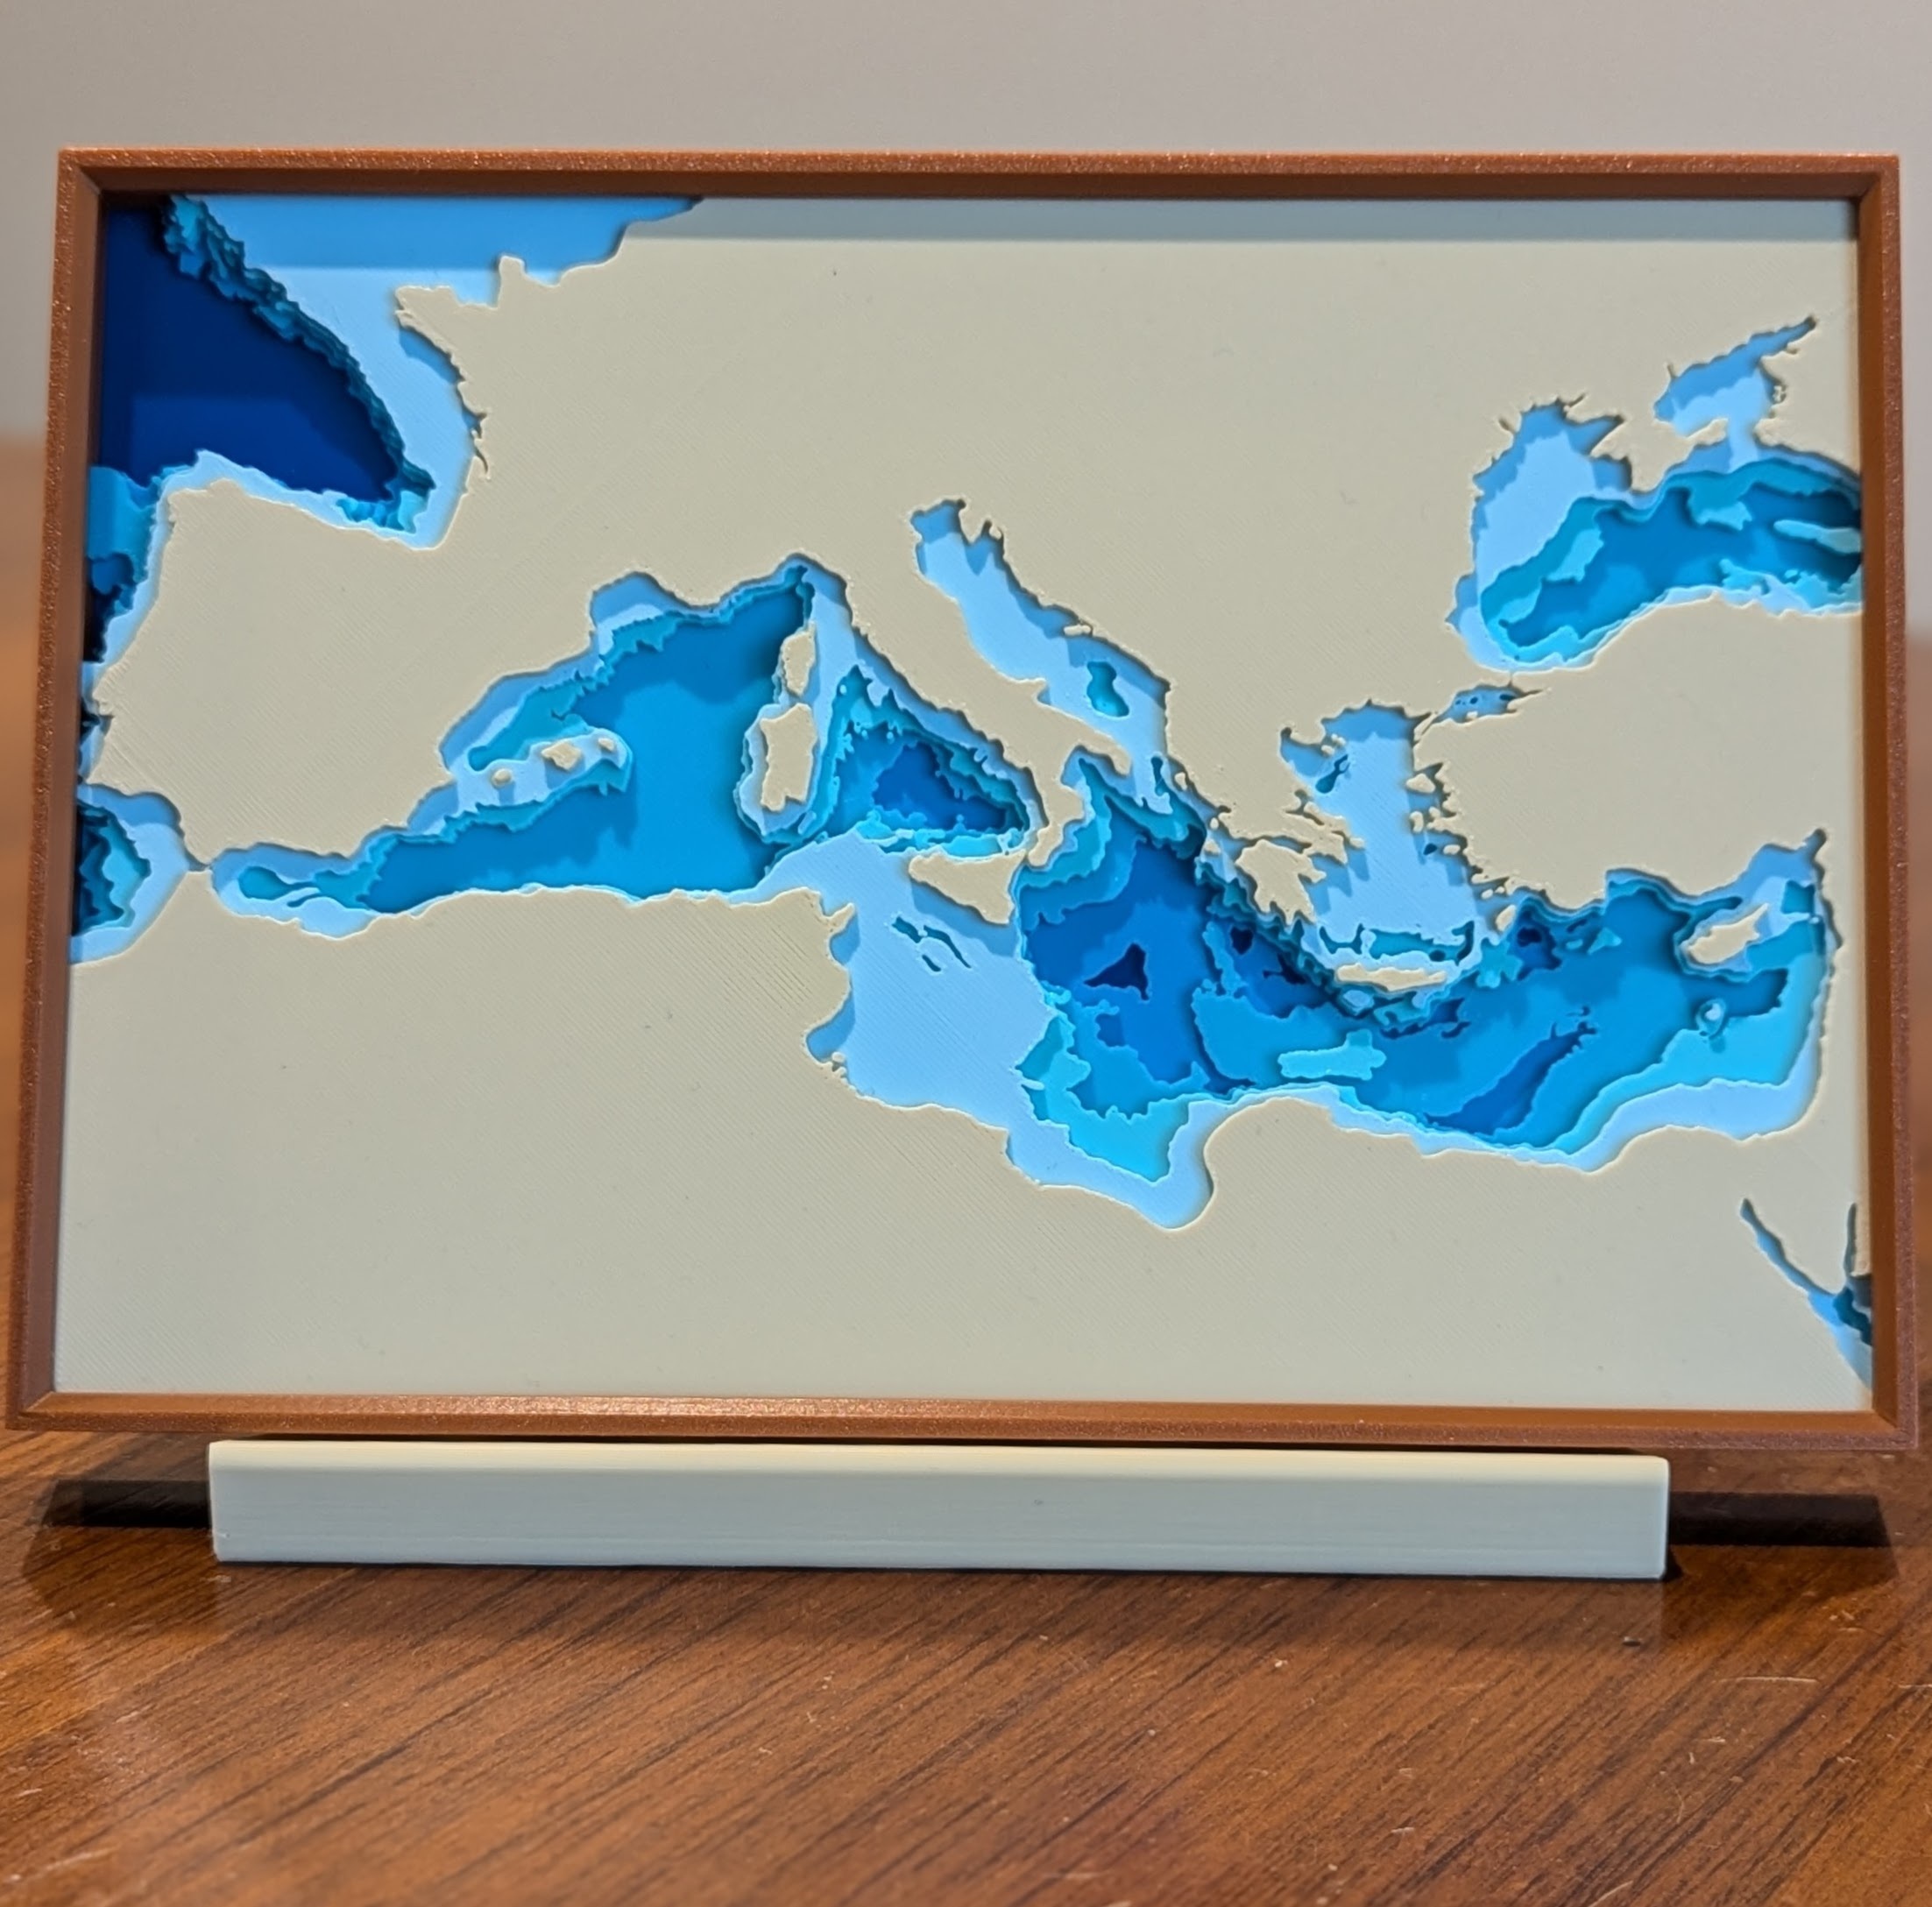
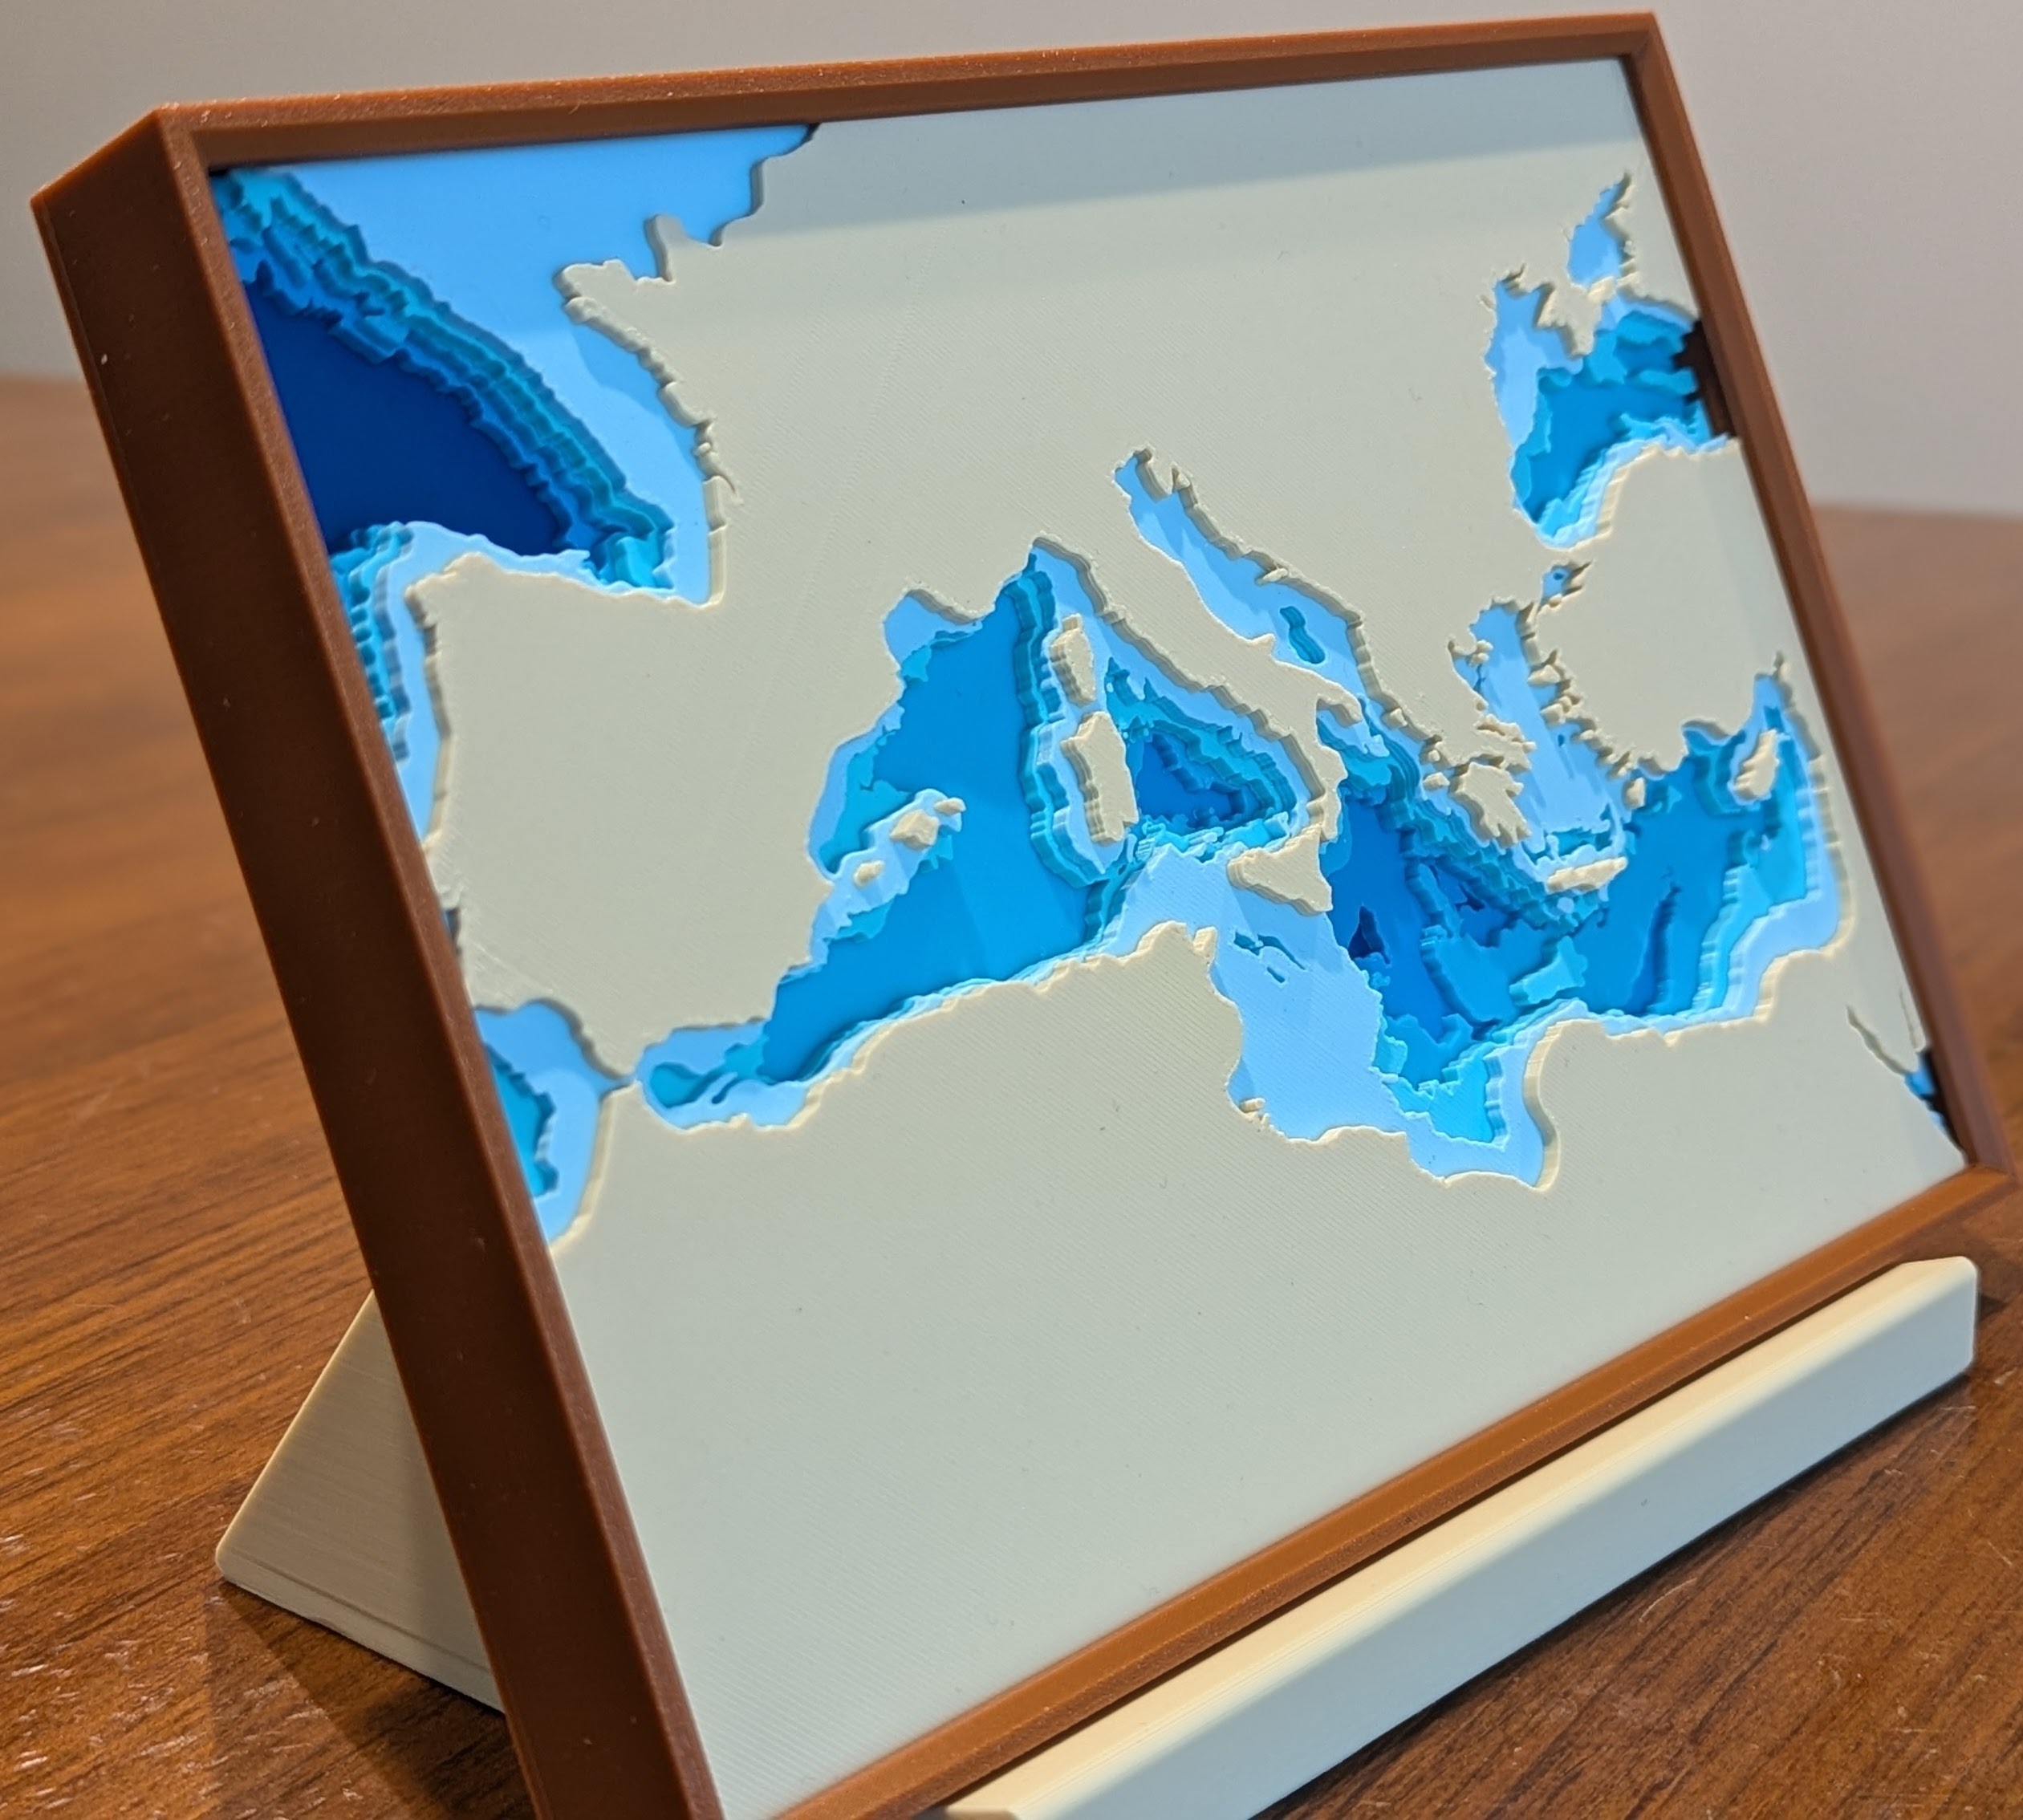
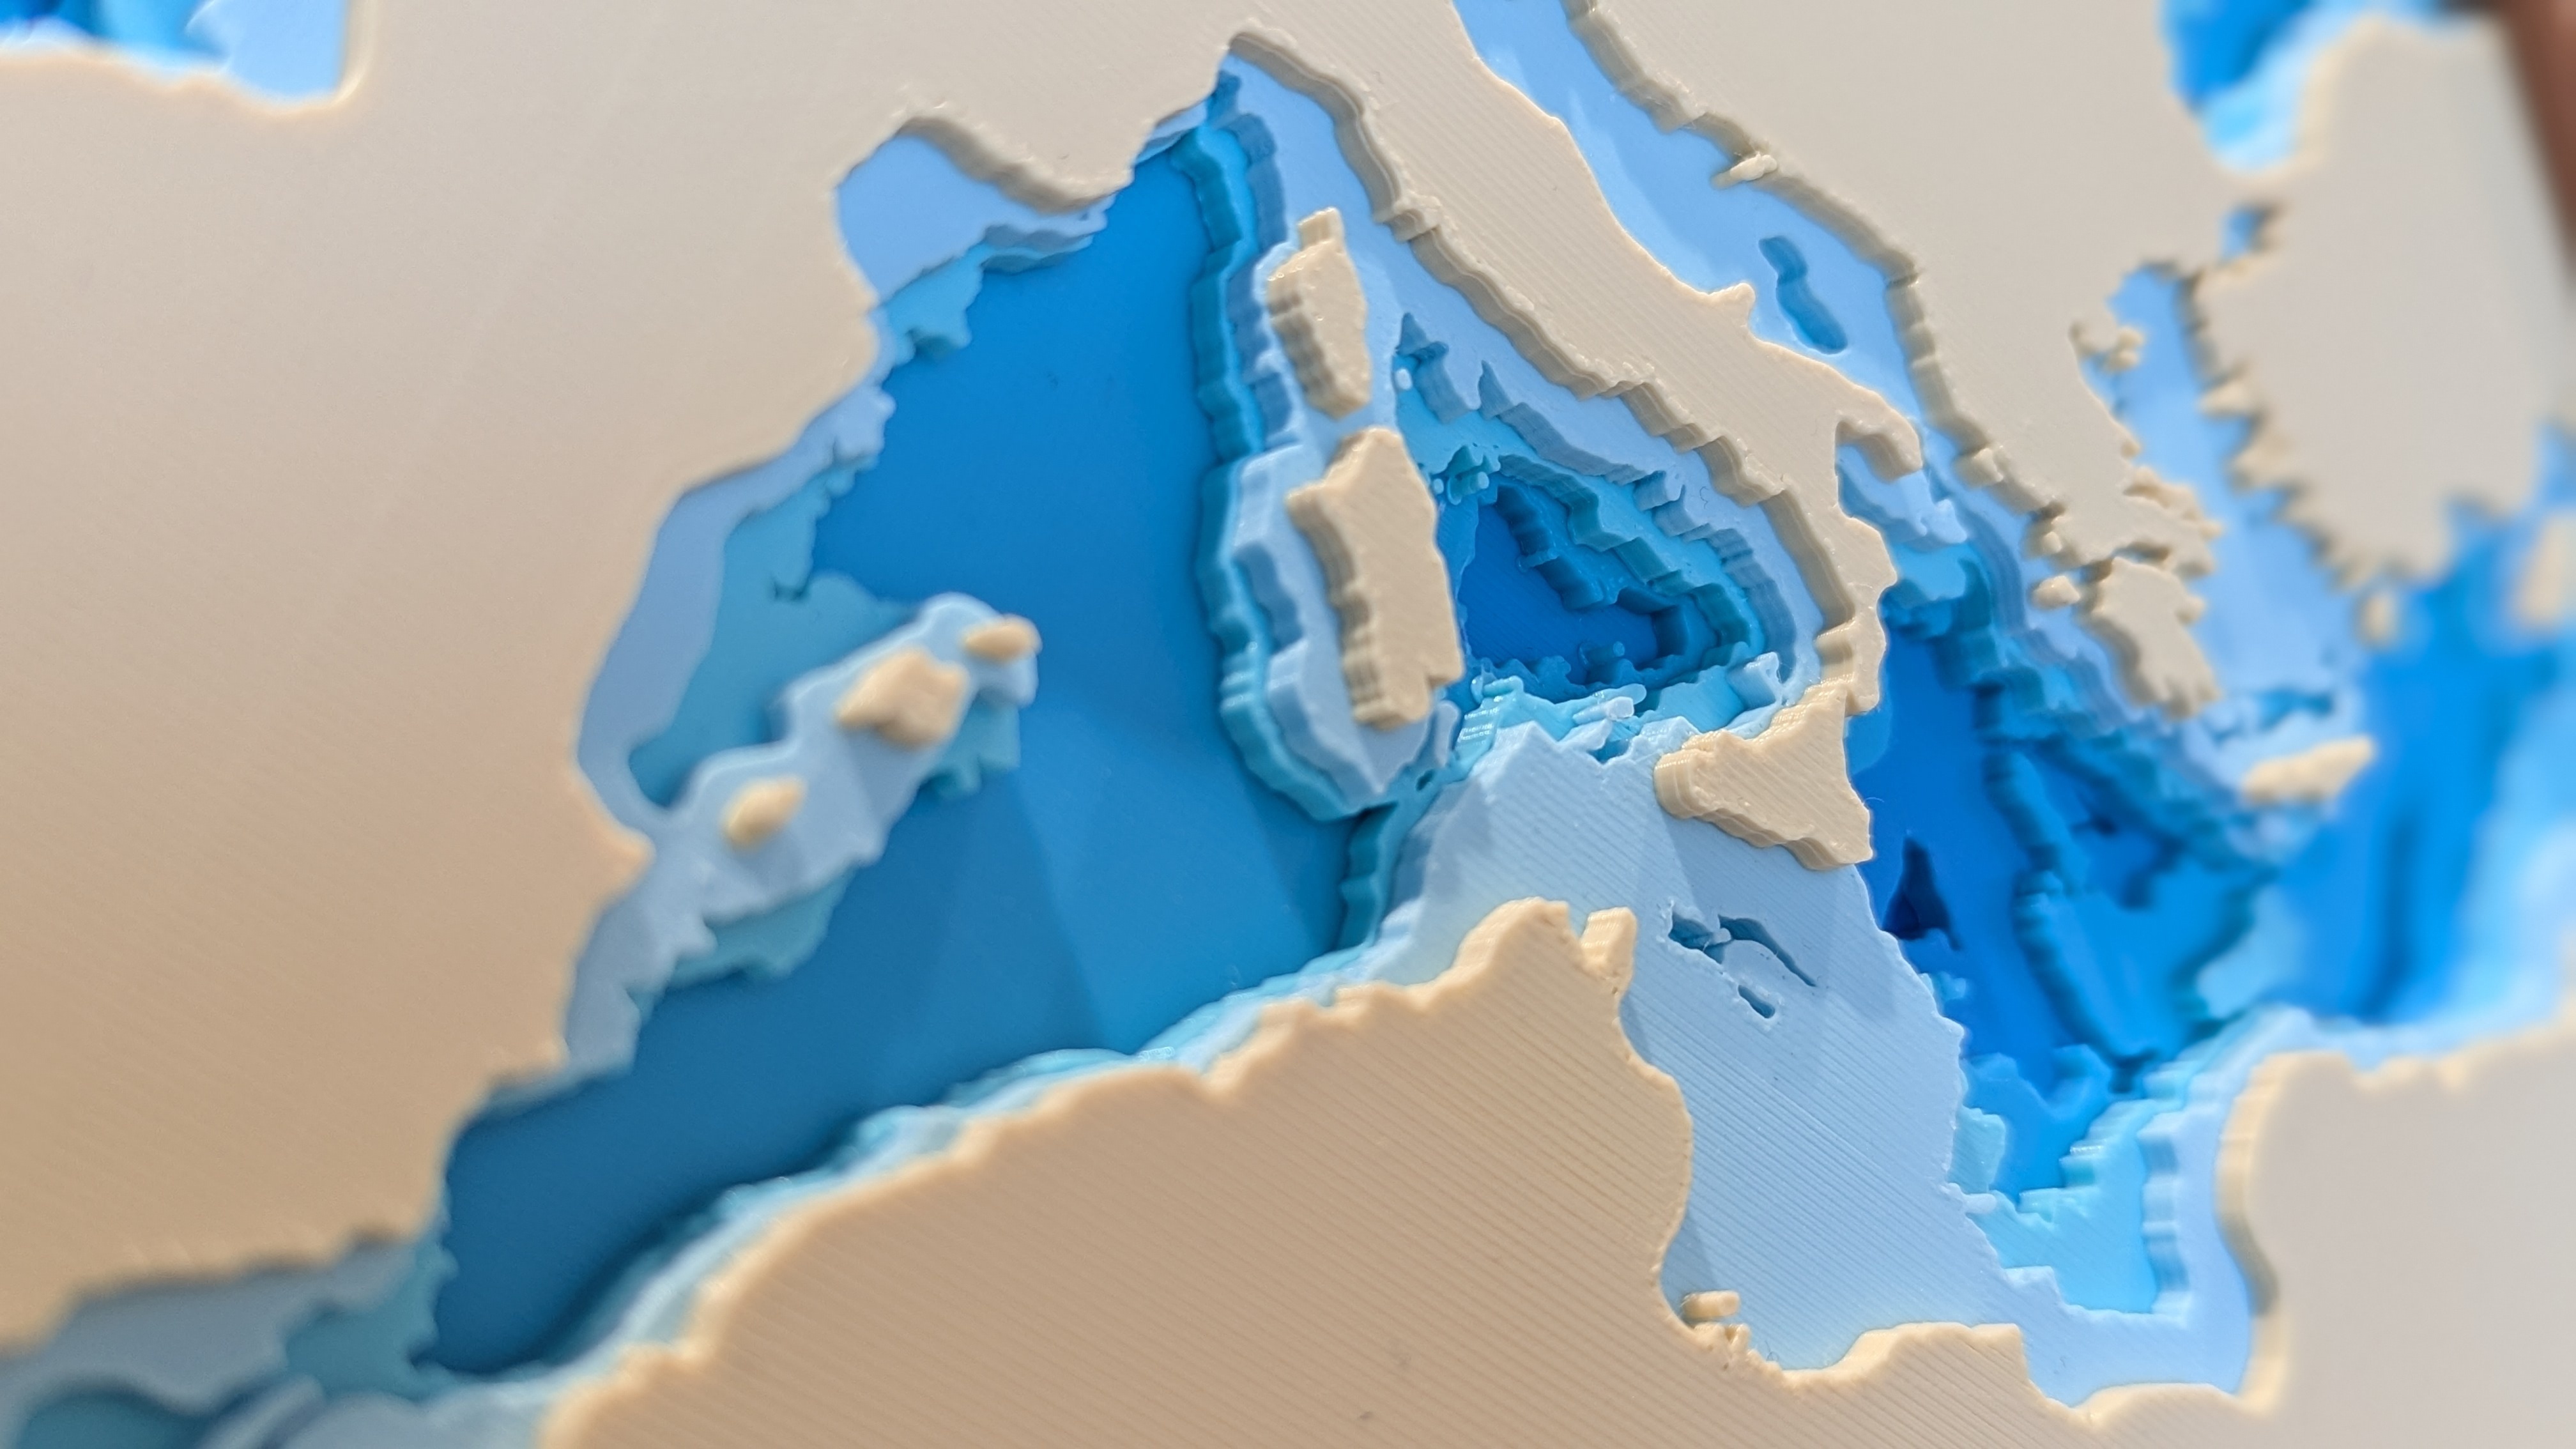
Capture the iconic image of the Mediterranean Sea and coastline with this stunning 3D depth map. Based on bathymetric data, this print creates a beautiful, detailed, and true to scale representation of the Mediterranean Sea, Black Sea, and Bay of Biscay.
Versatile Printing Options
Easily print layers in different colors without needing AMS.
Each map layer is 2.4mm deep, which lets you choose from a wide range of layer heights (0.24, 0.20, 0.16, 0.12, or 0.08mm), and the beginning of each map layer will line up exactly with a filament layer line in your slicer. Simply add a pause in the slicer whenever you want to change filament colors for a given map layer (see 3D printing settings section below for more details).
Frame and Stand Files Included
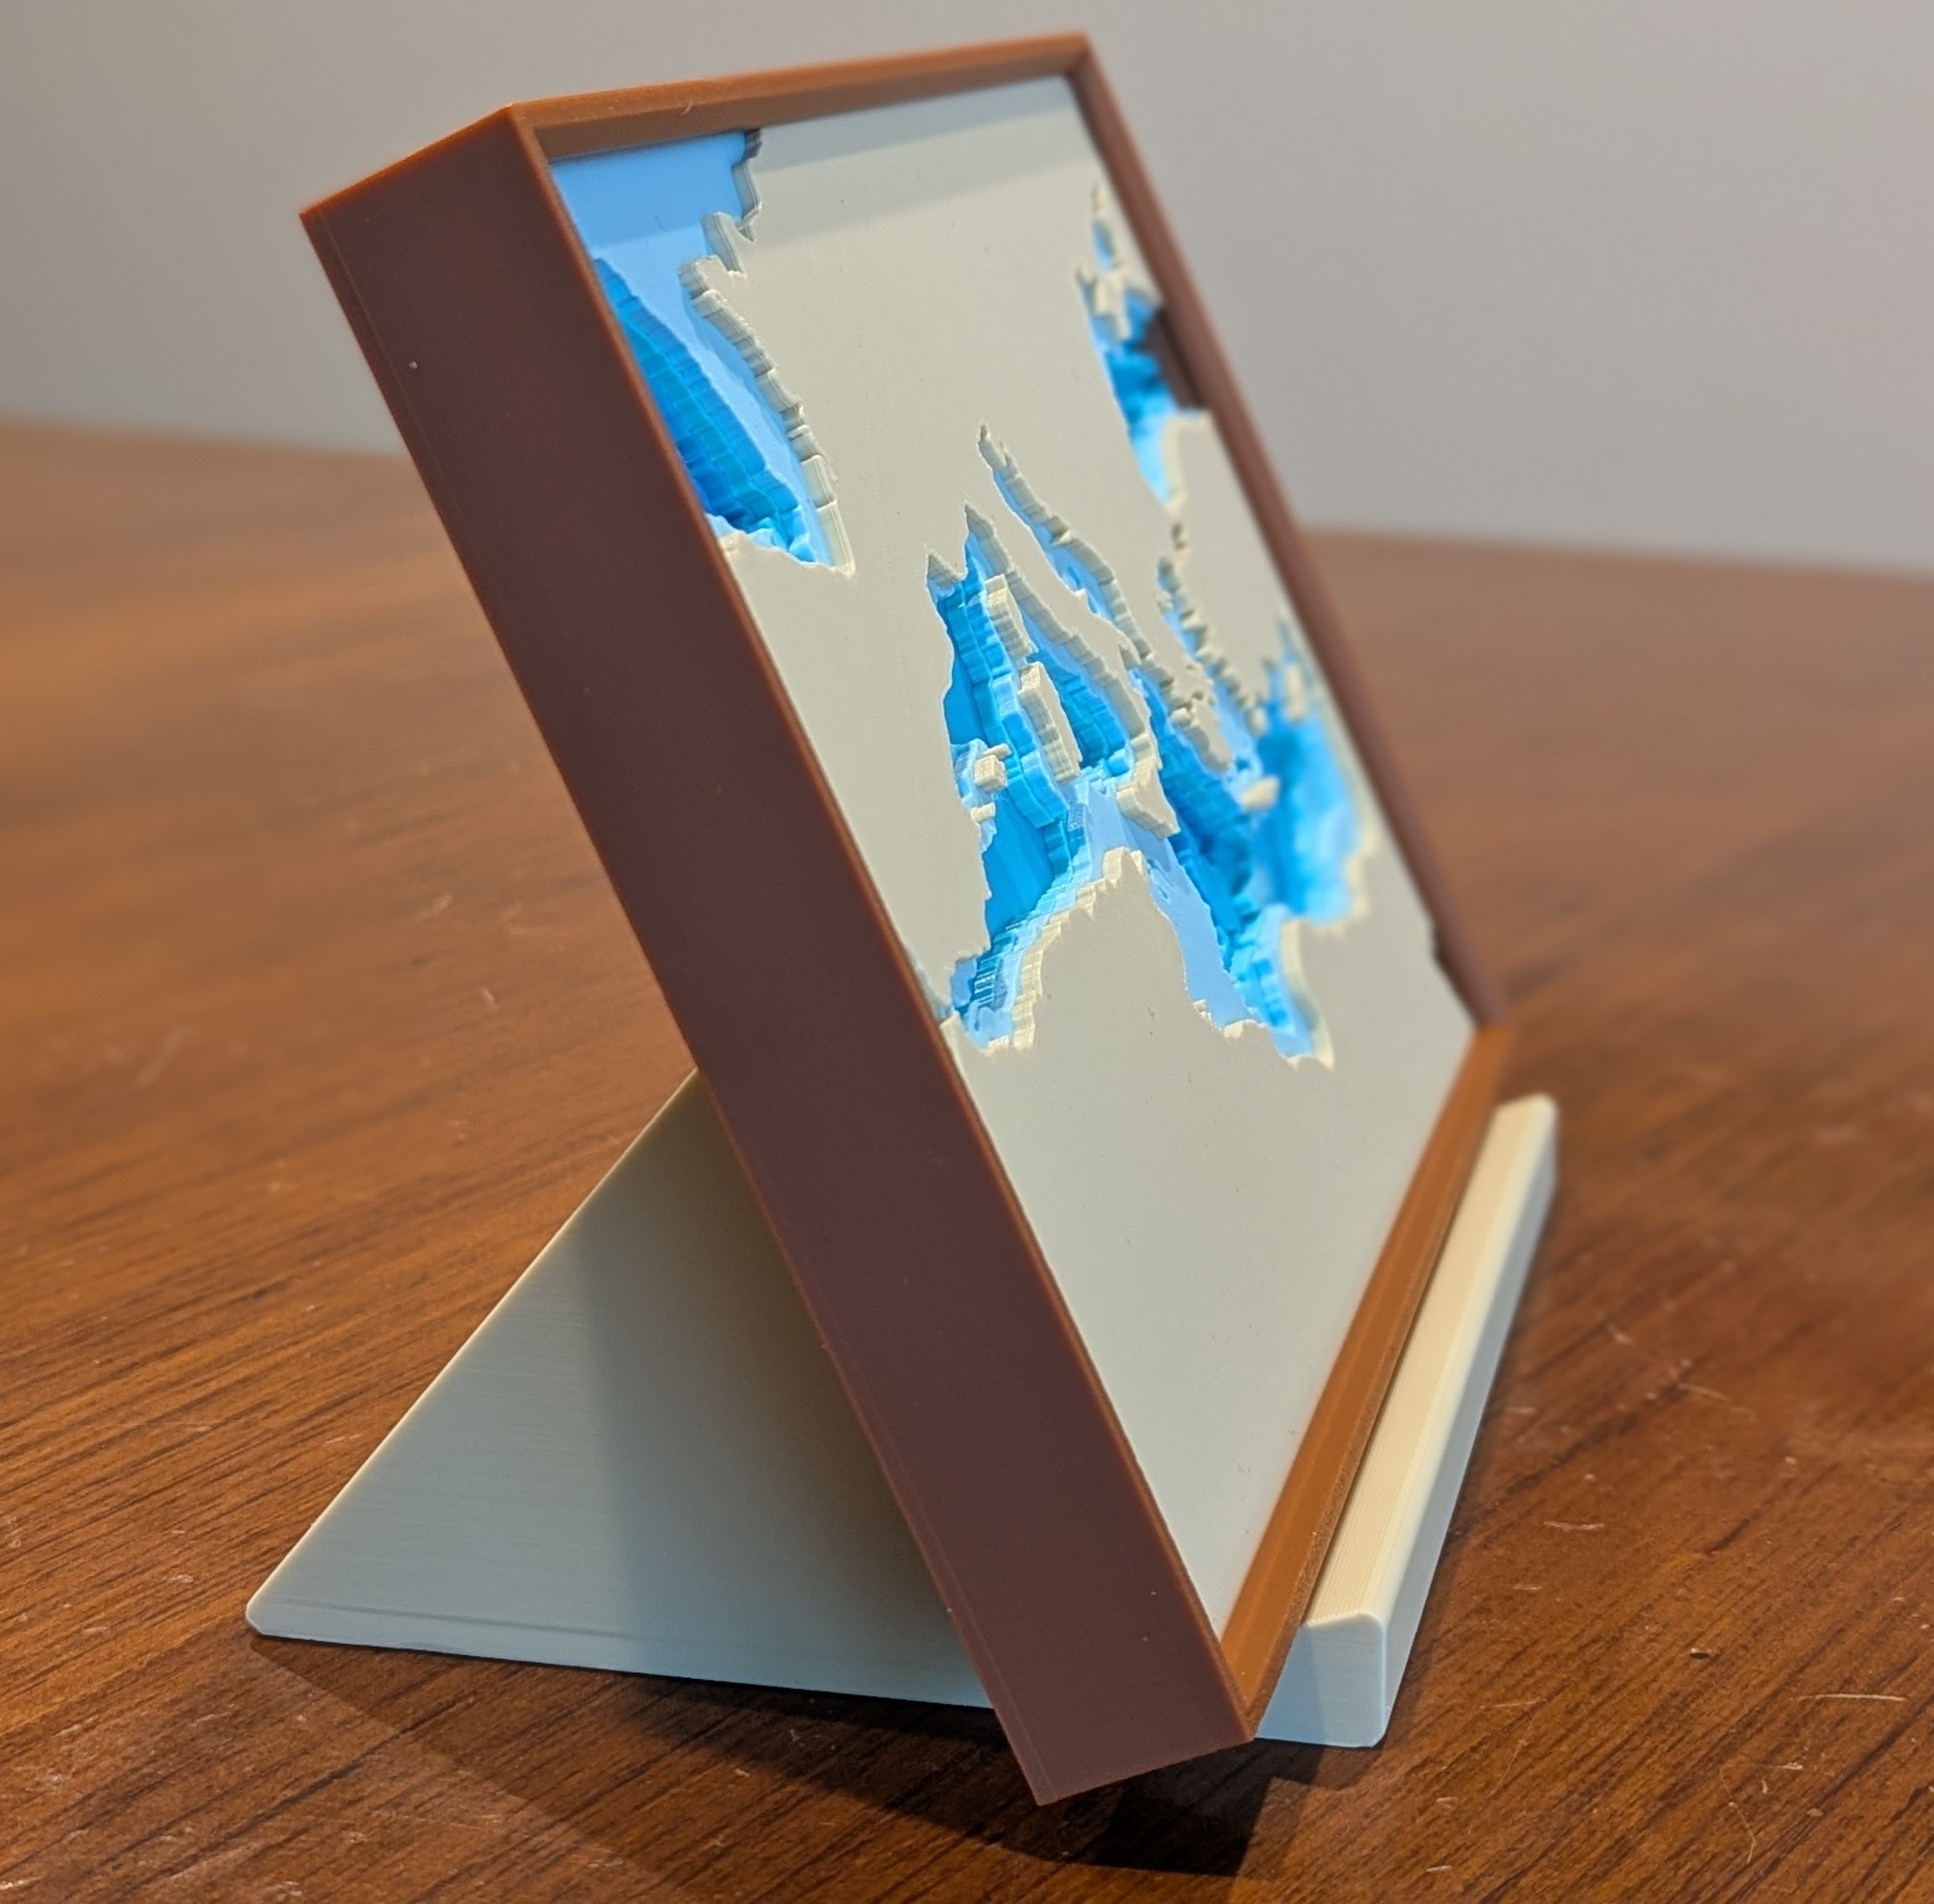
A custom frame and stand are also included to help showcase the finished piece and hide the multi-color layers on the sides.
The stand is angled for a better viewing experience and is hollow on the inside (no supports needed).
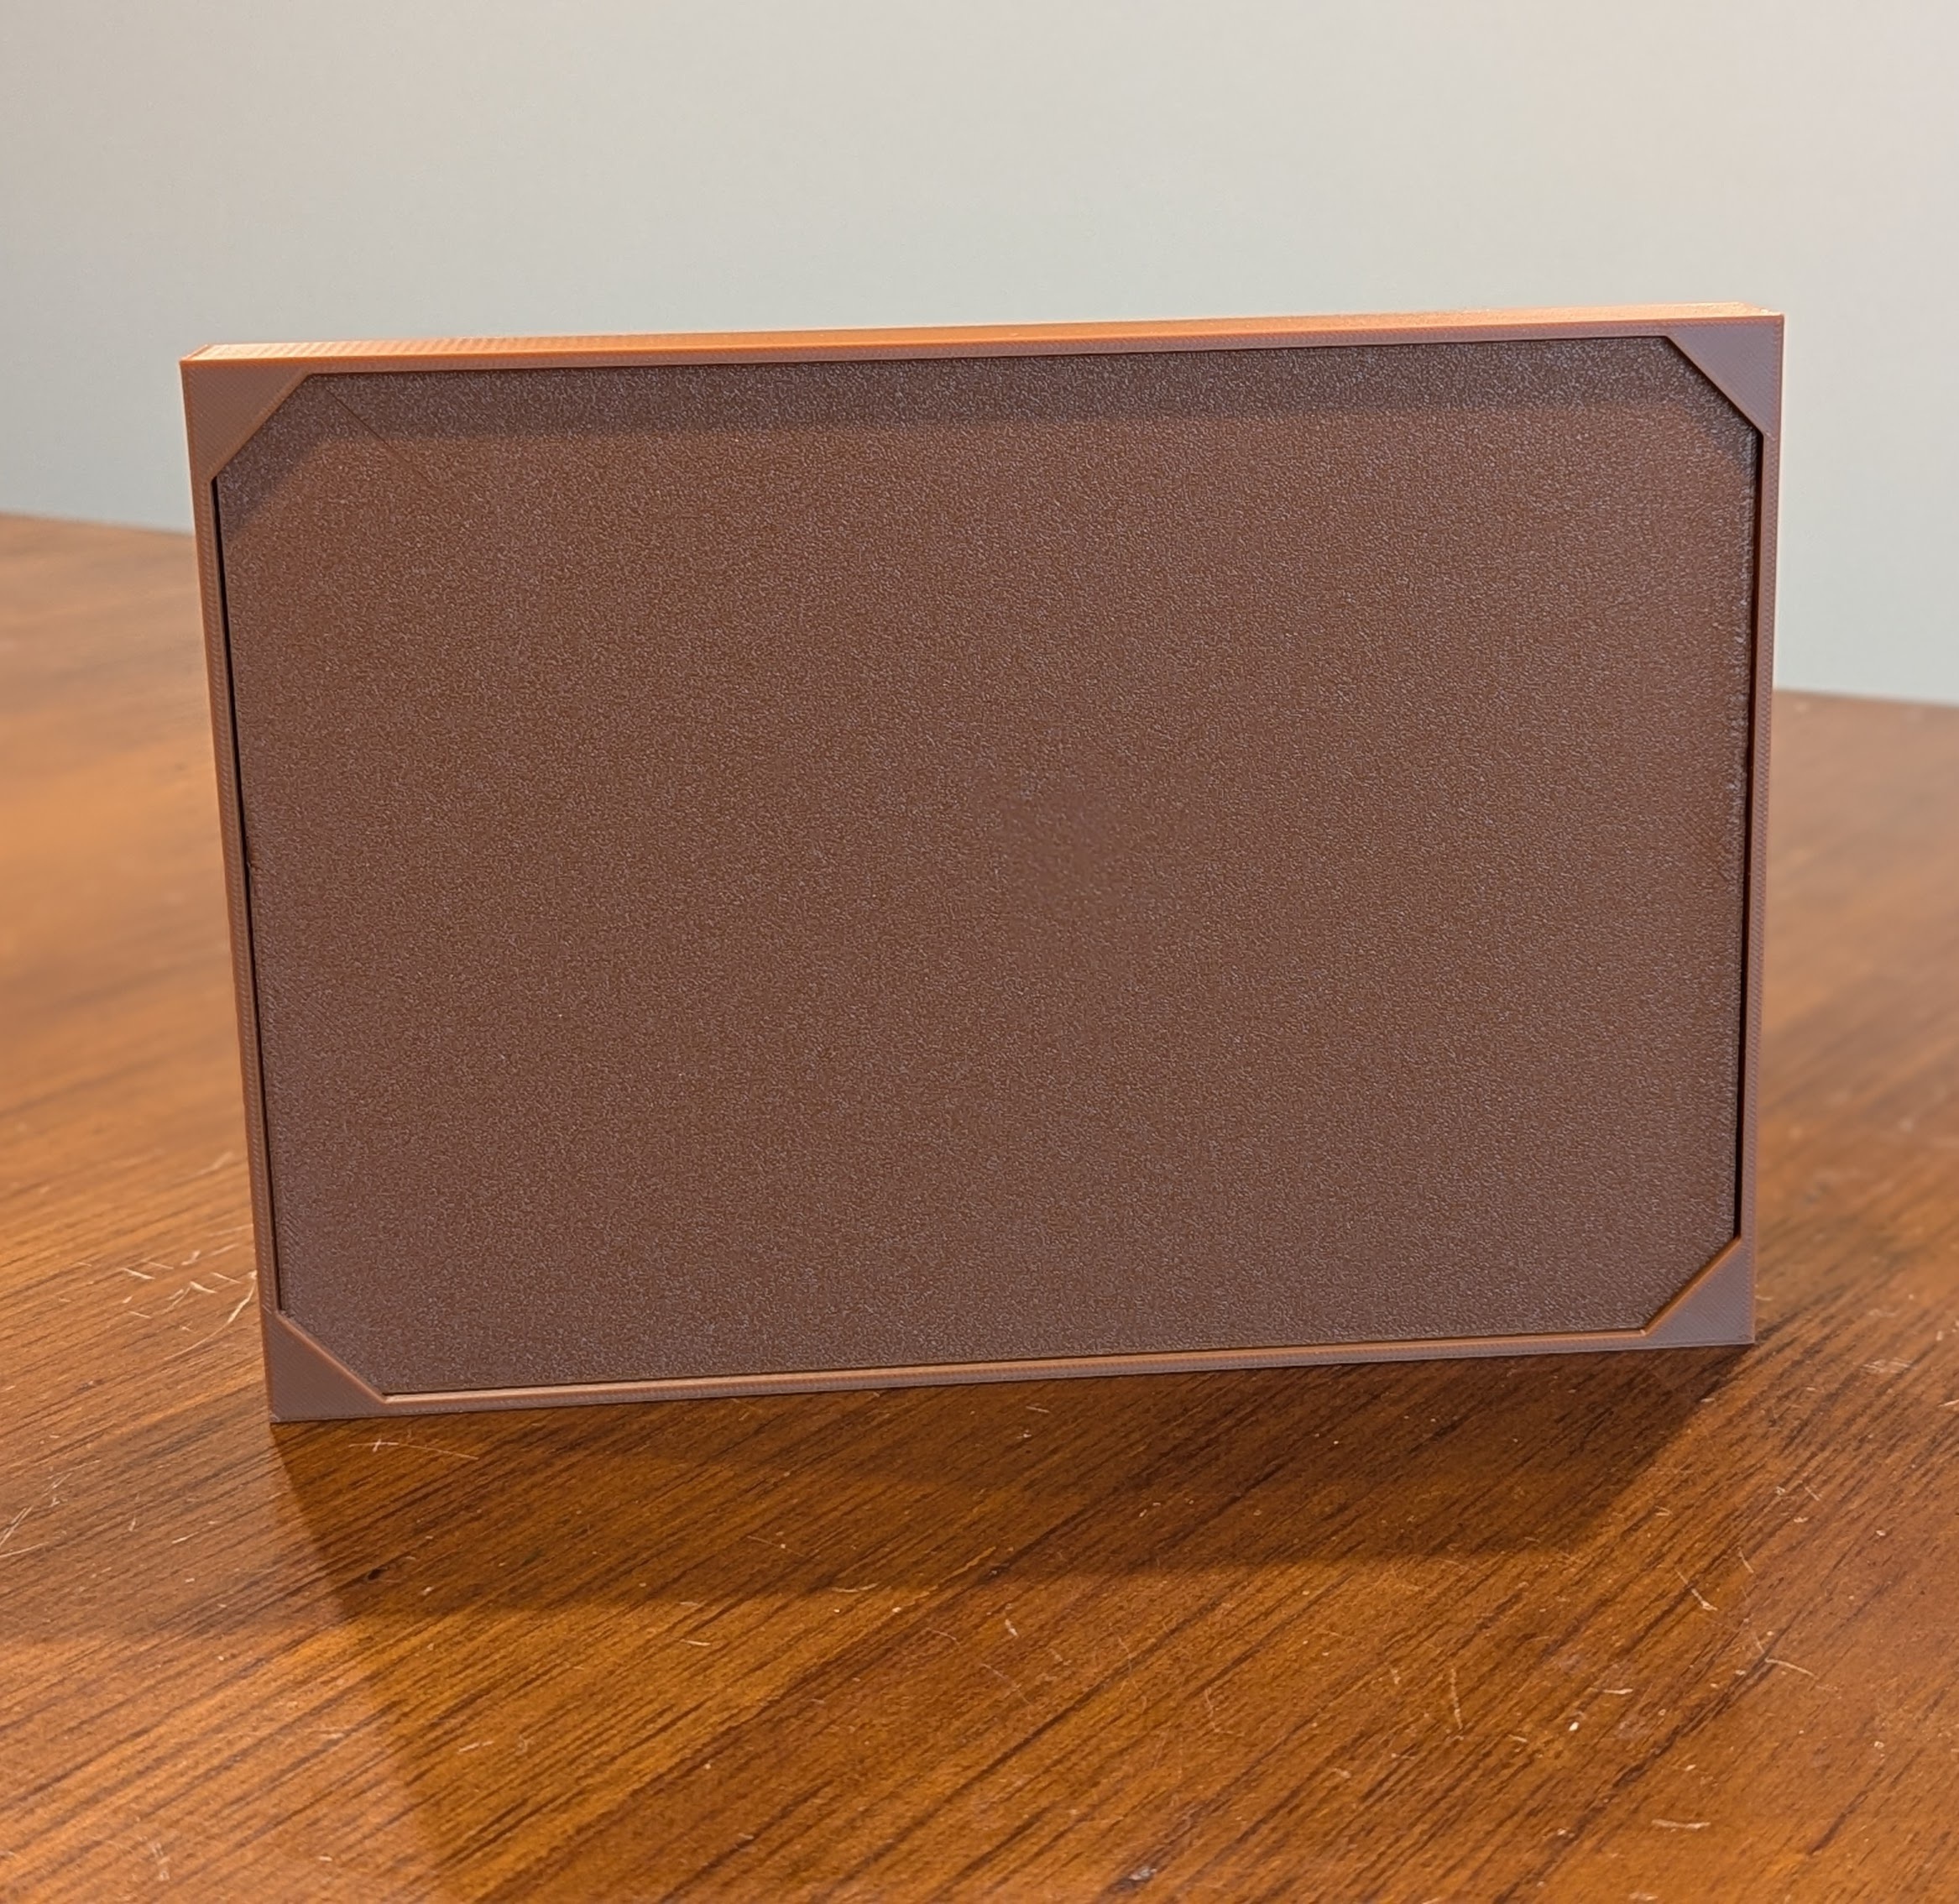
The frame comes in three versions: backless frame, corner frame, and full frame:
- The backless frame has only a front edge and four sides.
- The corner frame has four corners on the back that permanently enclose the finished map.
- The full frame has a completely solid back. Similar to the corner frame, it permanently encloses the finished map.
- See the 3D printing settings section below for more details.
Dimensions
- 3D Map (no frame): 241mm x 166mm x 16.80mm
- 3D Map (with backless frame): 247mm x 172mm x 21.60mm
- 3D Map (with corner or full frame): 247mm x 172mm x 23.40mm
- Stand: 185mm x 124.20mm x 83.29mm
Interested in more 3D Maps?
This 12 layer depth map of the Great Lakes basin is an exquisite representation of one of the most recognizable fresh water basins in the world.
Download and enjoy!
3D printing settings
General Information
- Designed for use in FDM 3D printing using PLA
- 0.24, 0.20, 0.16, 0.12, or 0.08mm layer height (the finished piece in the images above used 0.20mm)
- No supports needed
Multi-Color Layers
- If you want to print map layers in different colors, add a pause in the slicer at the beginning of the first filament layer for a given map layer.
- You can either determine this visually in the slicer or calculate it using your chosen layer height. Divide 2.4mm by your chosen layer height to determine how many filament layers make up each map layer.
- For example, if using a 0.20 layer height: 2.4mm / 0.20mm = 12. So the second map layer would begin with the 13th filament layer in the slicer.
- Note: There are a total of 7 map "layers" in this print. The top 6 layers make up the map (sea and land). The bottom 2.4mm layer is not visible in the front exterior; instead, it can be used to match the color of the back of the map to the (optional) frame.
Printing the (Optional) Frame
- You may want to either use a brim or slow your printer speed to improve results for the frame.
The backless frame has no back to it, only a front edge and four sides. Once printed, simply slide it over the top of the finished map.
The corner frame has four corners on the back that permanently enclose the finished map.
In the slicer, add a pause at the start of the very first layer that the corners appear. When the print pauses, slide your finished map upside down into the frame, then resume printing. The back of the map will be flush with the frame, resulting in the frame corners printing directly onto the back of the map.
The full frame has a completely solid back. Similar to the corner frame, you'll need to schedule a pause in the slicer in order to insert the printed map upside down and then print the back of the frame directly onto the back of the map.
The finished piece in the images above uses the corner frame, and the bottom layer of the map was printed in the same color filament to match.
:format(webp)/https://fbi.cults3d.com/uploaders/30289928/illustration-file/79b39d82-b5a8-451d-b1bd-325a81824d8f/Mediterranean_Sea_Depth_Map.jpg)
/https://preview3d-images.cults3d.com/6x03o2pcmnyl42vabd0g6xtkow5u)
/https://preview3d-images.cults3d.com/16wttipvxtn0nkdwr7wajdrfh1pw)
/https://preview3d-images.cults3d.com/x8pzyjy0ox2dbs02jeqa30sesuvp)
/https://preview3d-images.cults3d.com/trsrz96ag0o947zexvembzxmg33l)
/https://preview3d-images.cults3d.com/ay12yros7wb18j1cx7aubqhciayv)
/https://preview3d-images.cults3d.com/ptajtnmwp3a2bcnmfwepgpm06tfq)
/https://preview3d-images.cults3d.com/2926fchsav8r8tsz0nq3fjg98rle)
/https://preview3d-images.cults3d.com/4n3jp7i4im914bif9o6r1vs5eo4q)


:format(webp)/https://fbi.cults3d.com/uploaders/30289928/illustration-file/e0b468e2-ad08-493a-a6ff-d5ed2a39f97b/PXL_20240701_003053644.PORTRAIT.ORIGINAL.jpg)
:format(webp)/https://fbi.cults3d.com/uploaders/30289928/illustration-file/e0b468e2-ad08-493a-a6ff-d5ed2a39f97b/PXL_20240701_003053644.PORTRAIT.ORIGINAL.jpg)
:still()/https://fbi.cults3d.com/uploaders/30289928/illustration-file/624517cf-1bd5-4856-884e-68ec787fcfe6/US_Travel_Map_Animation.gif)