3D model description
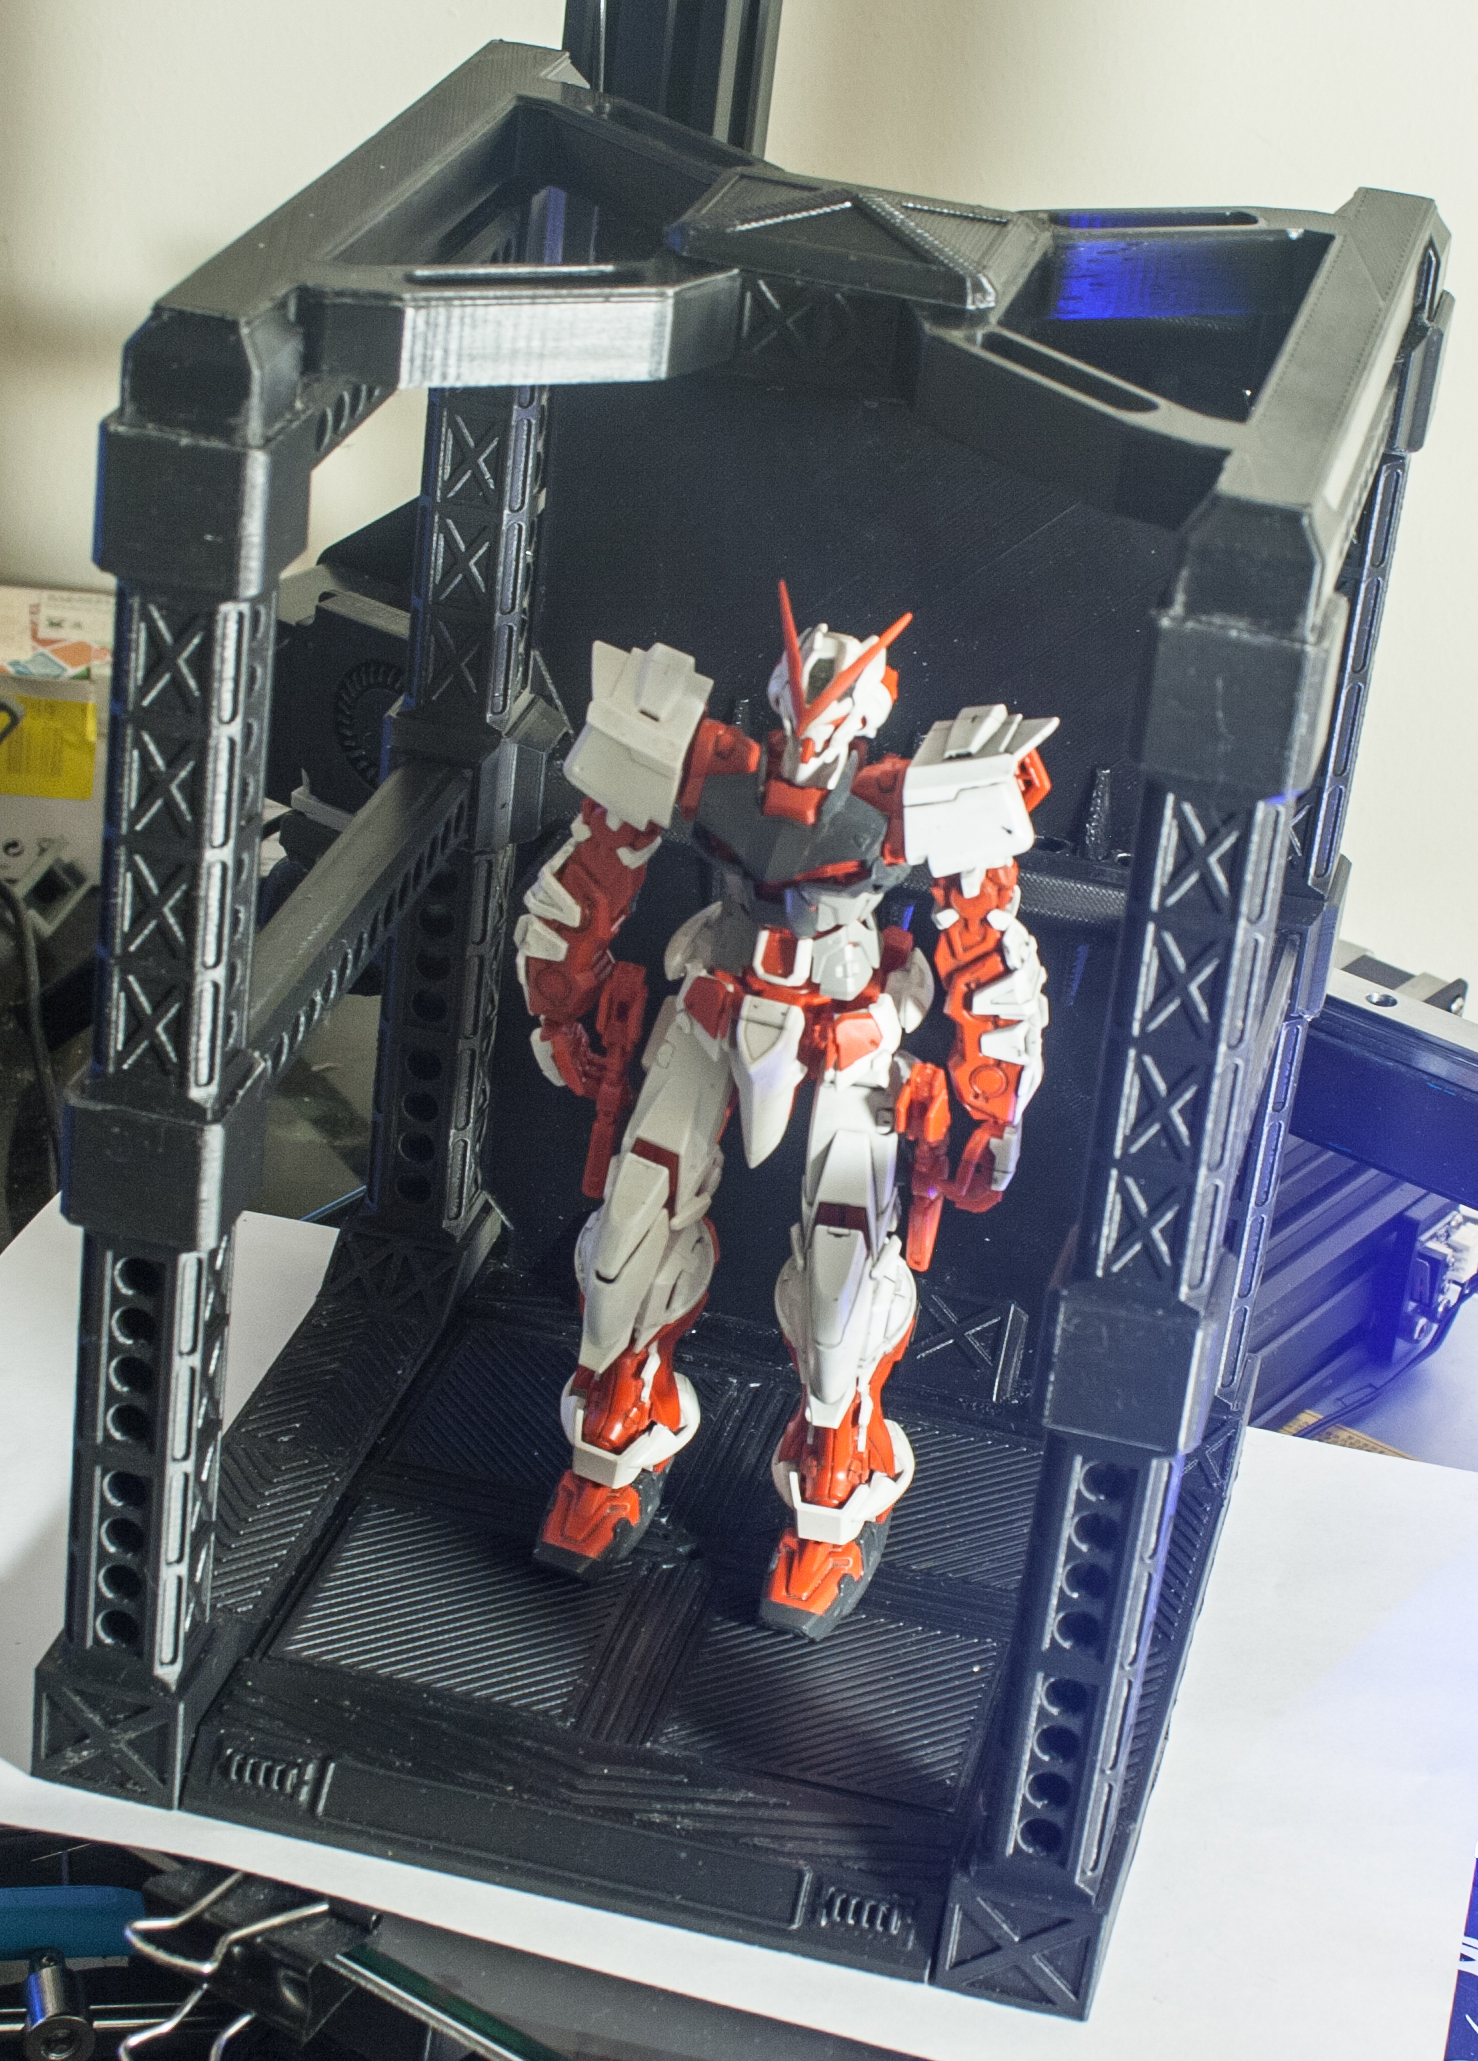
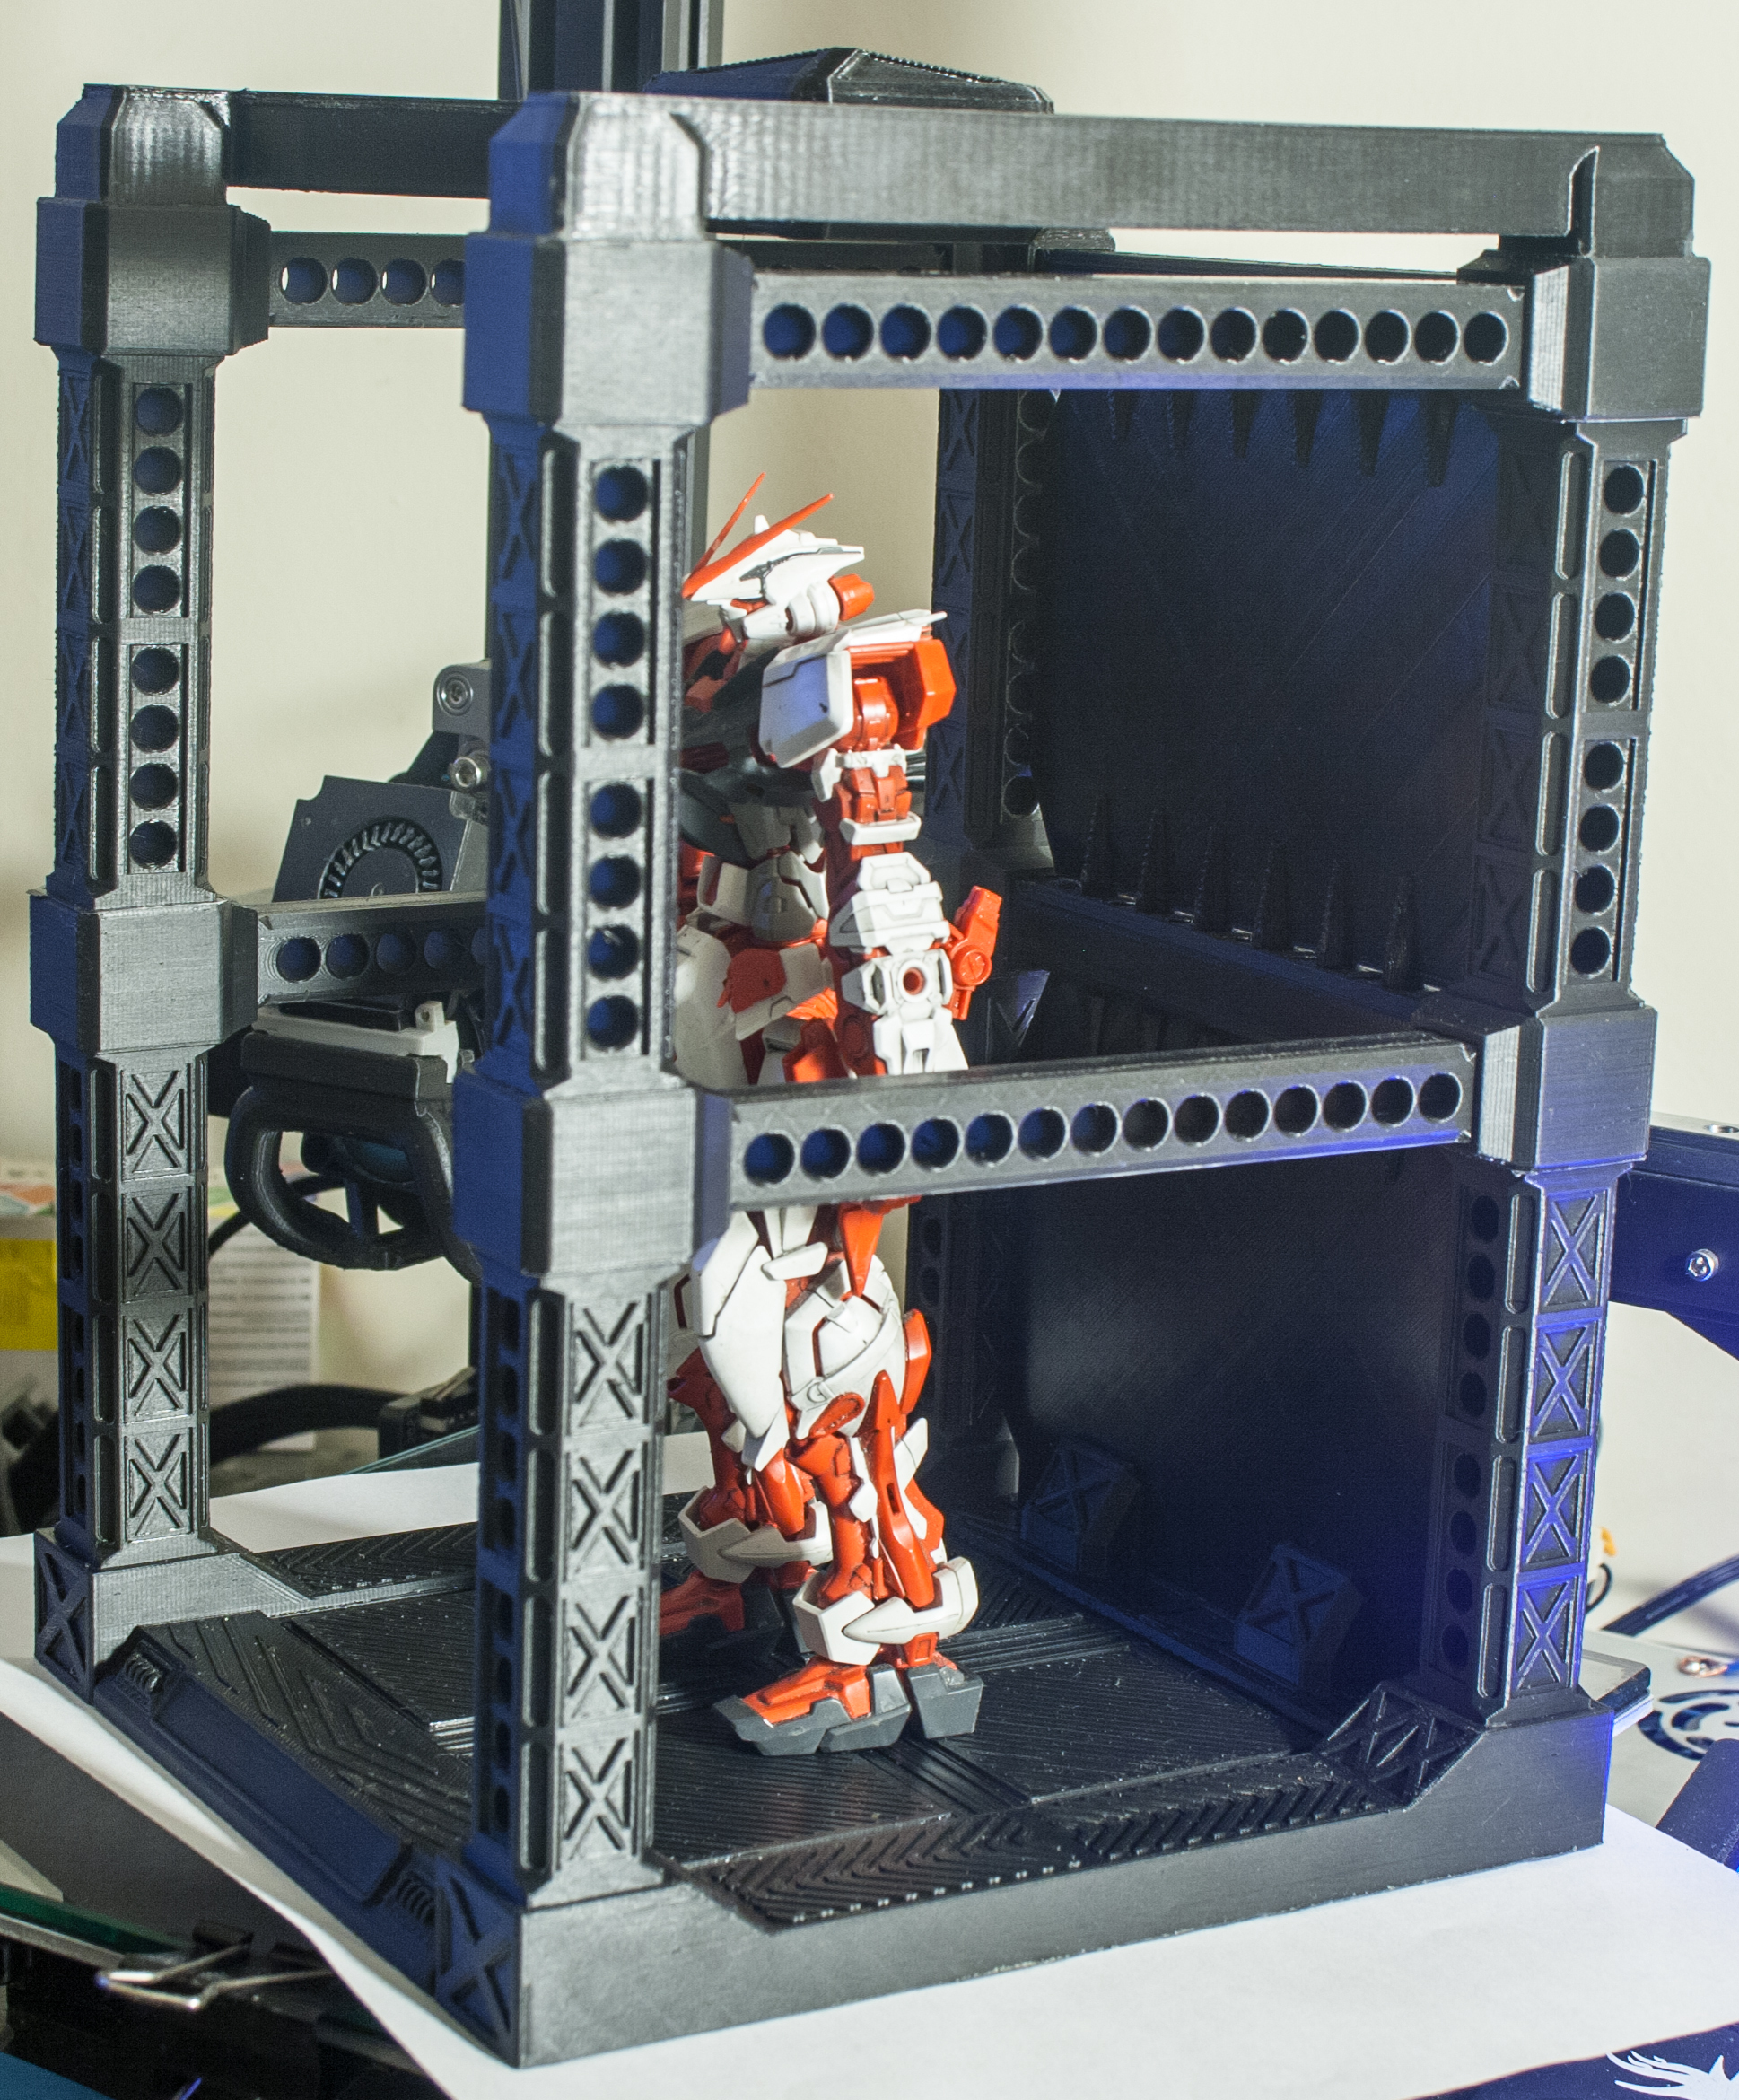
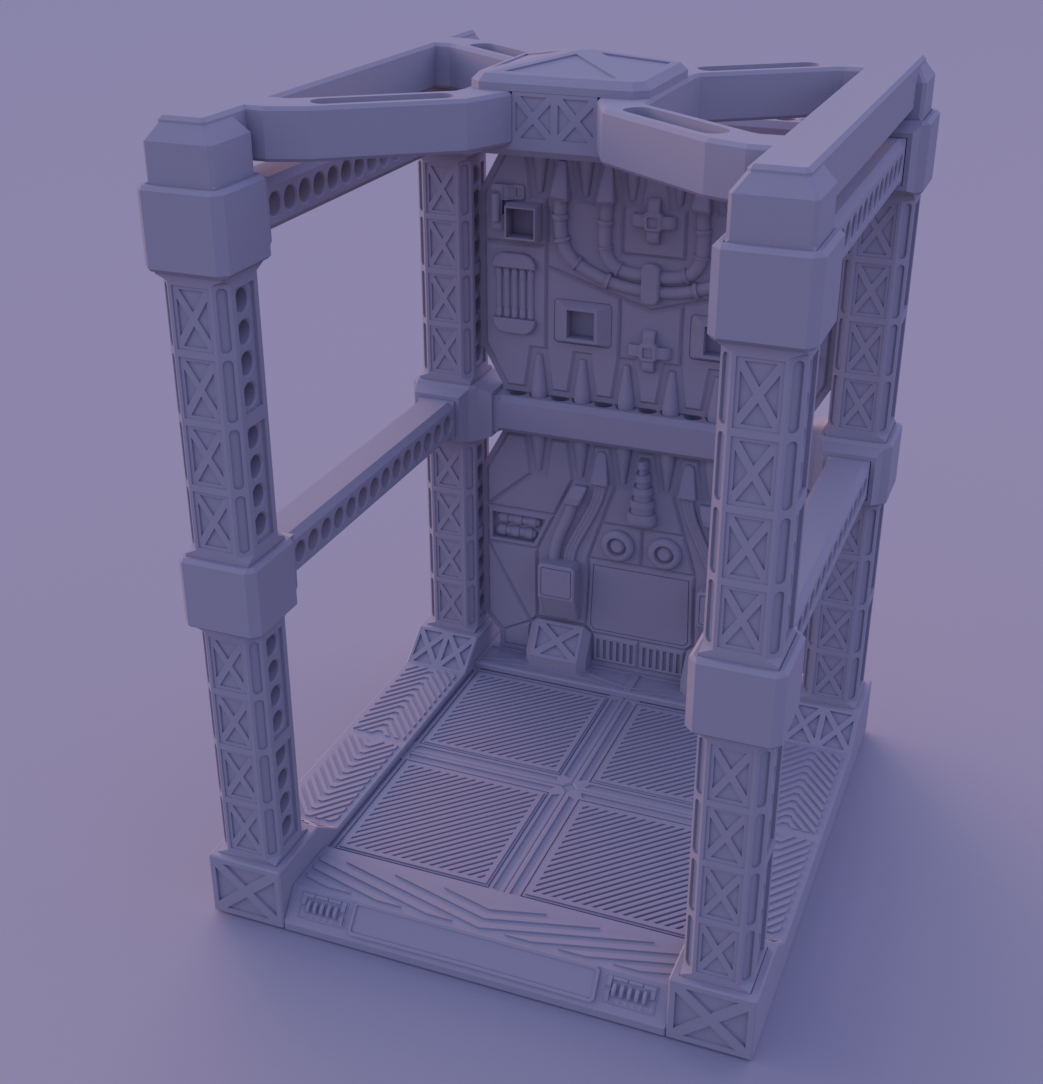
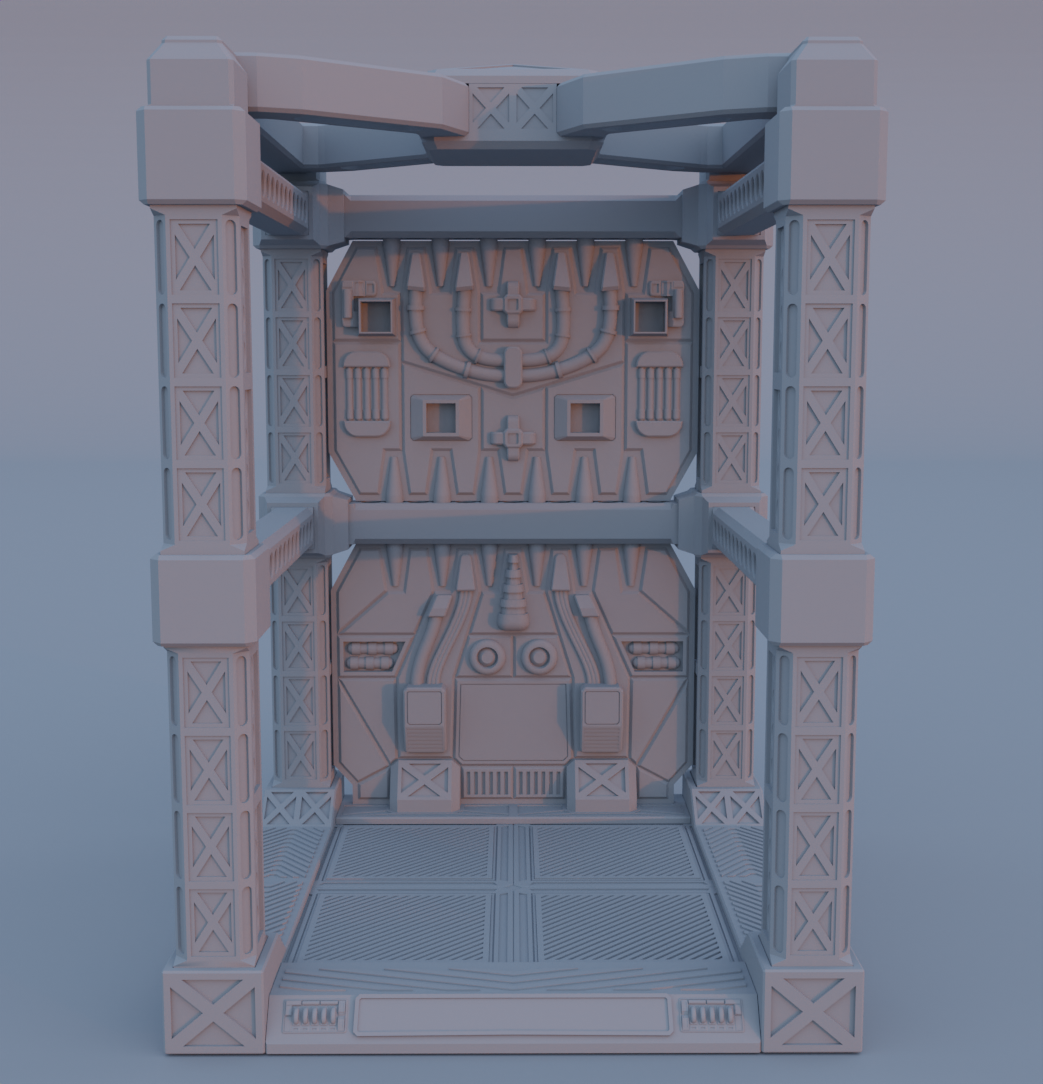
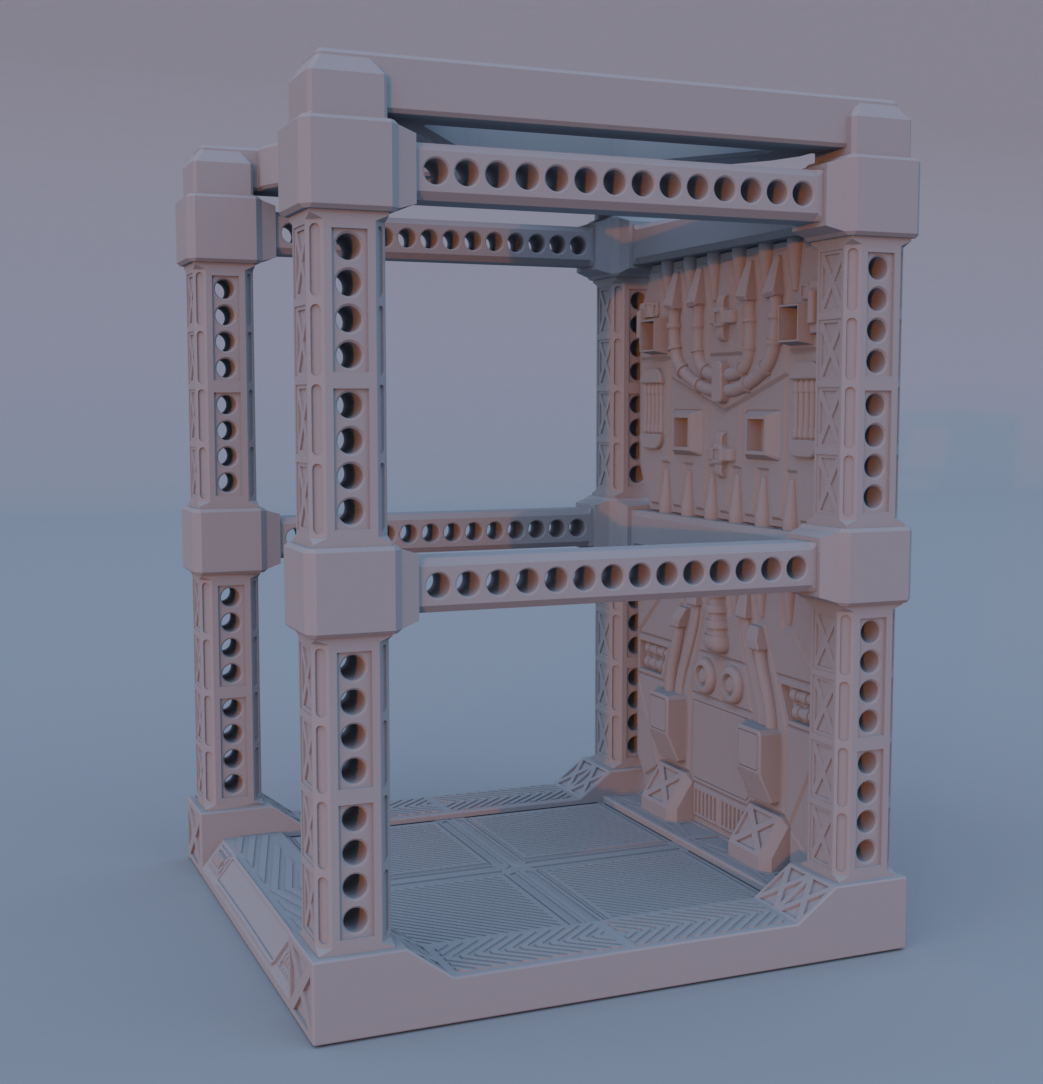
This is the first version of a modular Gunpla/general figurine display I wanted to build for the various Gundam and other scifi models I own.
The idea is that this can be extended from just being a single unit, to eventually being able to connect hangers together both vertically and horizontally, along with a variety of optional parts to hold weapons etc.
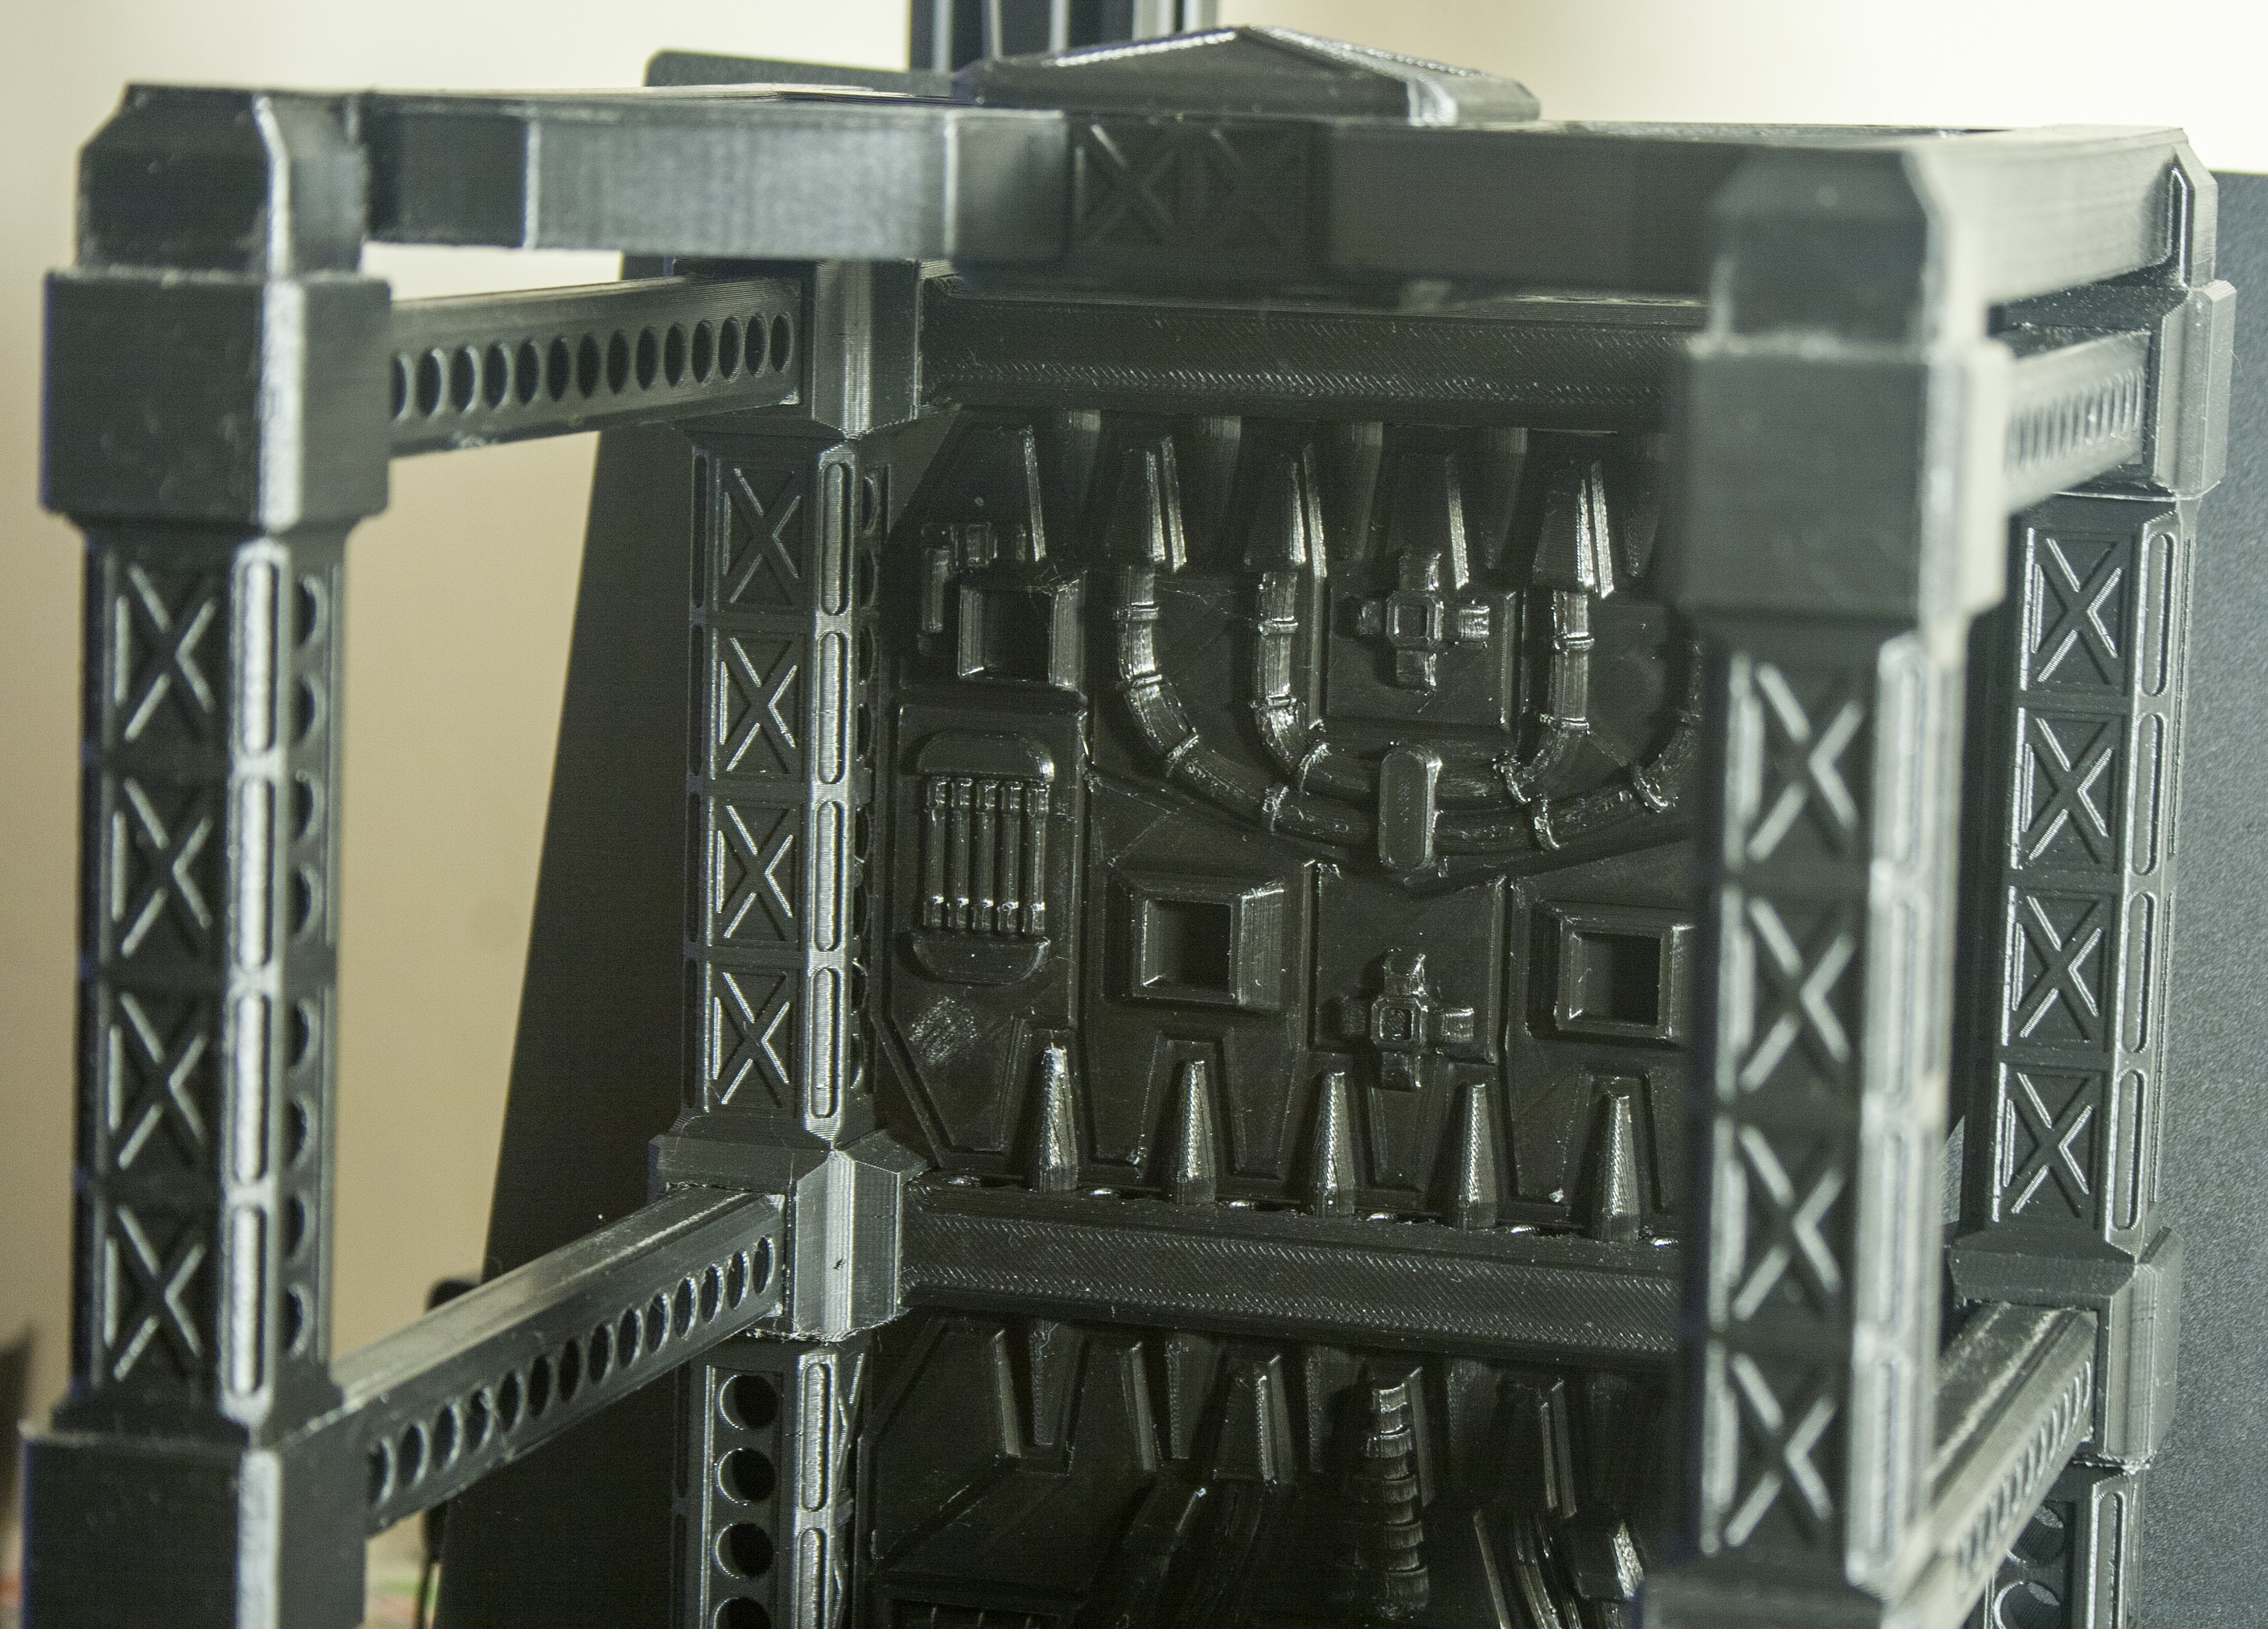
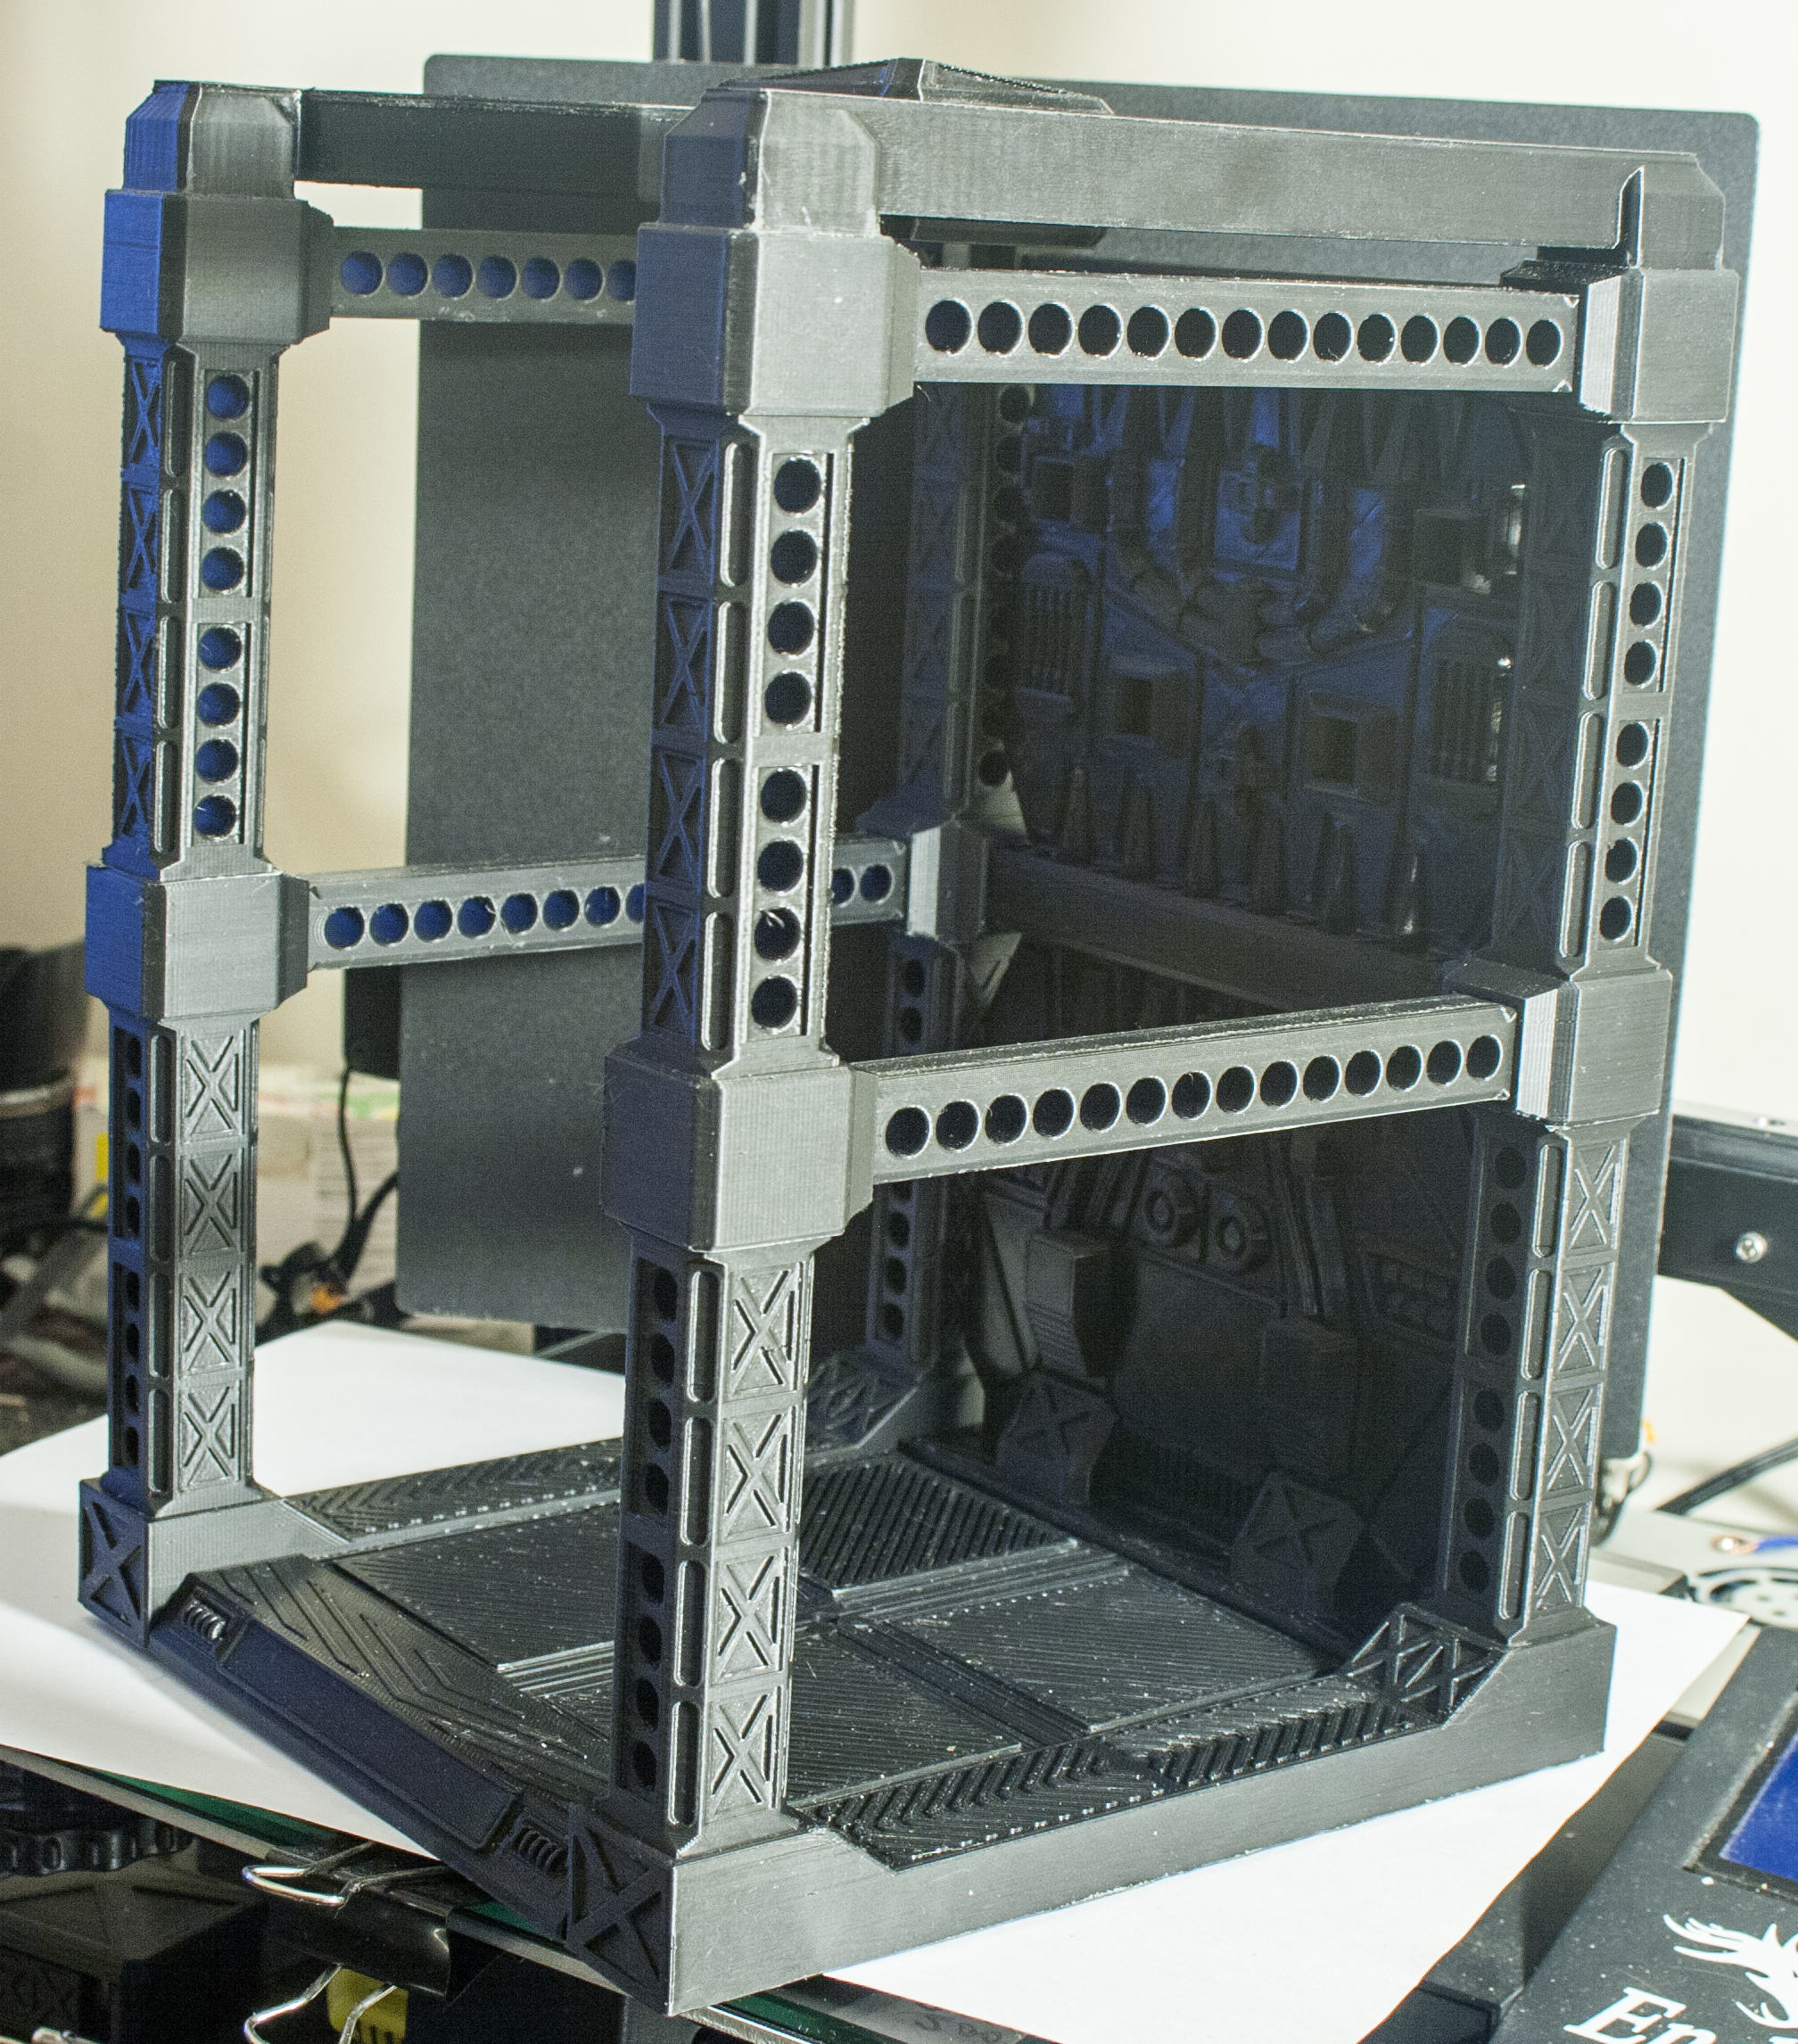
This pack contains the parts required to print a complete, basic single item display frame that can be used as is to stand your figures etc in. An accessories pack of basic storage racks, figure clamps and walkways is in development and will be added as a separate free download later on.
The extra parts required to extend more displays horizontally and vertically will be added as an extre free download shortly!
A more detailed version of both the main display and extras will also be available for a small fee in the next few months, with a possibility of making a version that can be rigged with lighting!
I've tried to keep the design simple enough that it doesn't require you to be a rocket scientist to build it, but is still quite sturdy. Although it can just all slot together, I do suggest gluing in place to keep it as robust as possible, I've kept fitting tolerances as tight as I can without needing to do a lot of sanding (although some may still be required), but this does mean it can come apart if handled too roughly! The fitting method is something I hope to work on over time so that eventually it won't need glue at all. This will probably appear in V2 later in the year.
If you have any feedback etc, please leave a comment either here on Cults or on my Facebook page linked in my bio. If you print one and use it in your display, show me pics!
NEW! An alternate version of this display is currently in development. You can follow the progress of this at: https://kurosanart.blogspot.com/2025/06/modular-japanese-style-temple-for.html
3D printing settings
The print in the photos is a combination of parts printed on a modified Ender 3 Pro, in PLA with both 0.2 and 0.1 layer lines using a 0.4 nozzle. You can print this faster with 0.2 layers although sanding will be required for fitting. For best results though 0.1 layers are recommended, some sanding may still be required depending on the quality of your printer. Infill is to your own preference, but I used 20% grid.
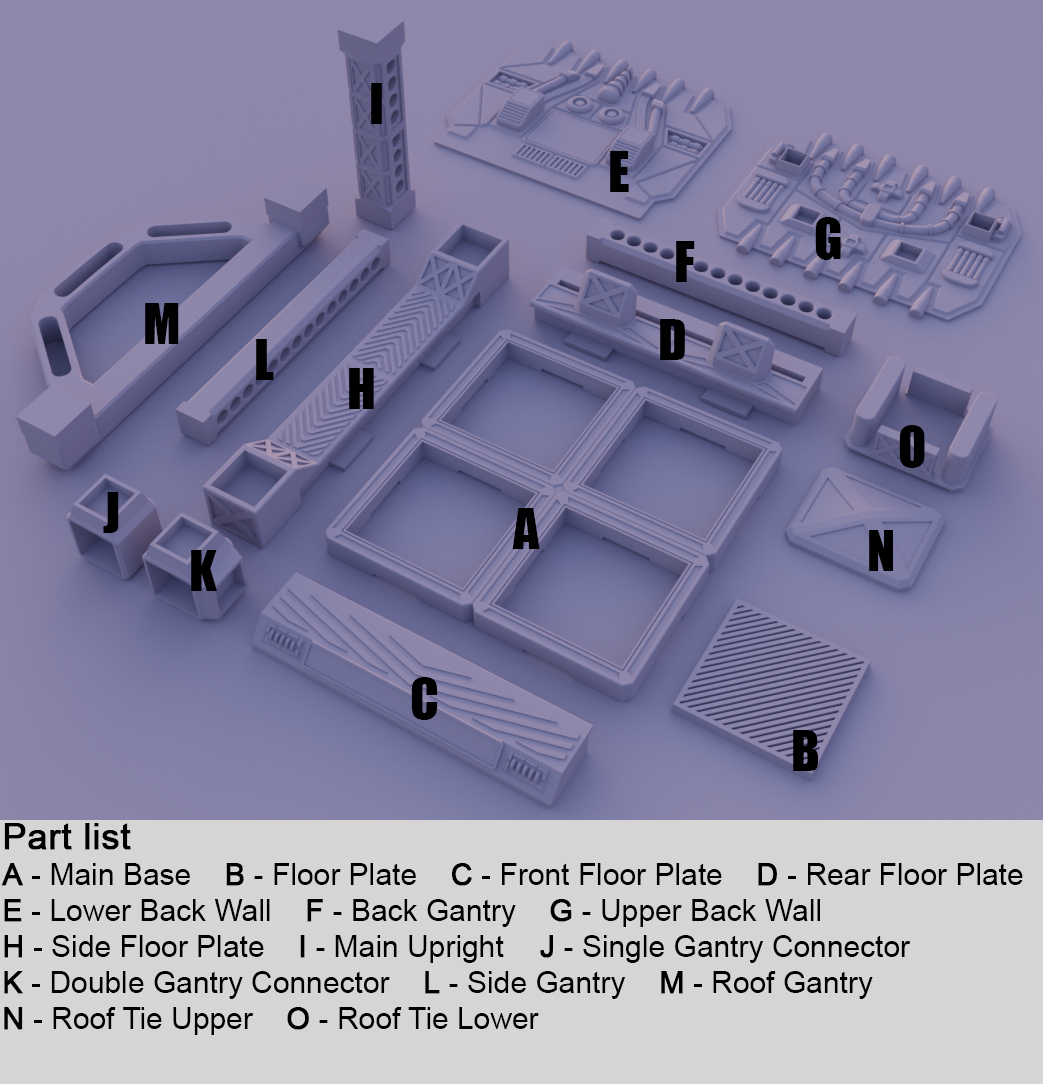
All files are oriented in the optimal position to print. The main upright (object "I") is printed vertically with a large brim due to recessed areas on the sides. If you're confident your printer can print this part laying flat and keep detail then please let me know how it turns out!
The gantry connectors (parts J & K) and front/side floorplates (parts C, D & H) require supports. I used tree supports on these parts but again, use whichever works best for you.
I also printed everything with a brim to ensure nothing lifts while printing, this may not be necesarry for your printer but it worked for me.
Also depending on the accuracy of your printer calibration, you may need to sand any edges of the uprights and gantries to get them to fit into the connectors.
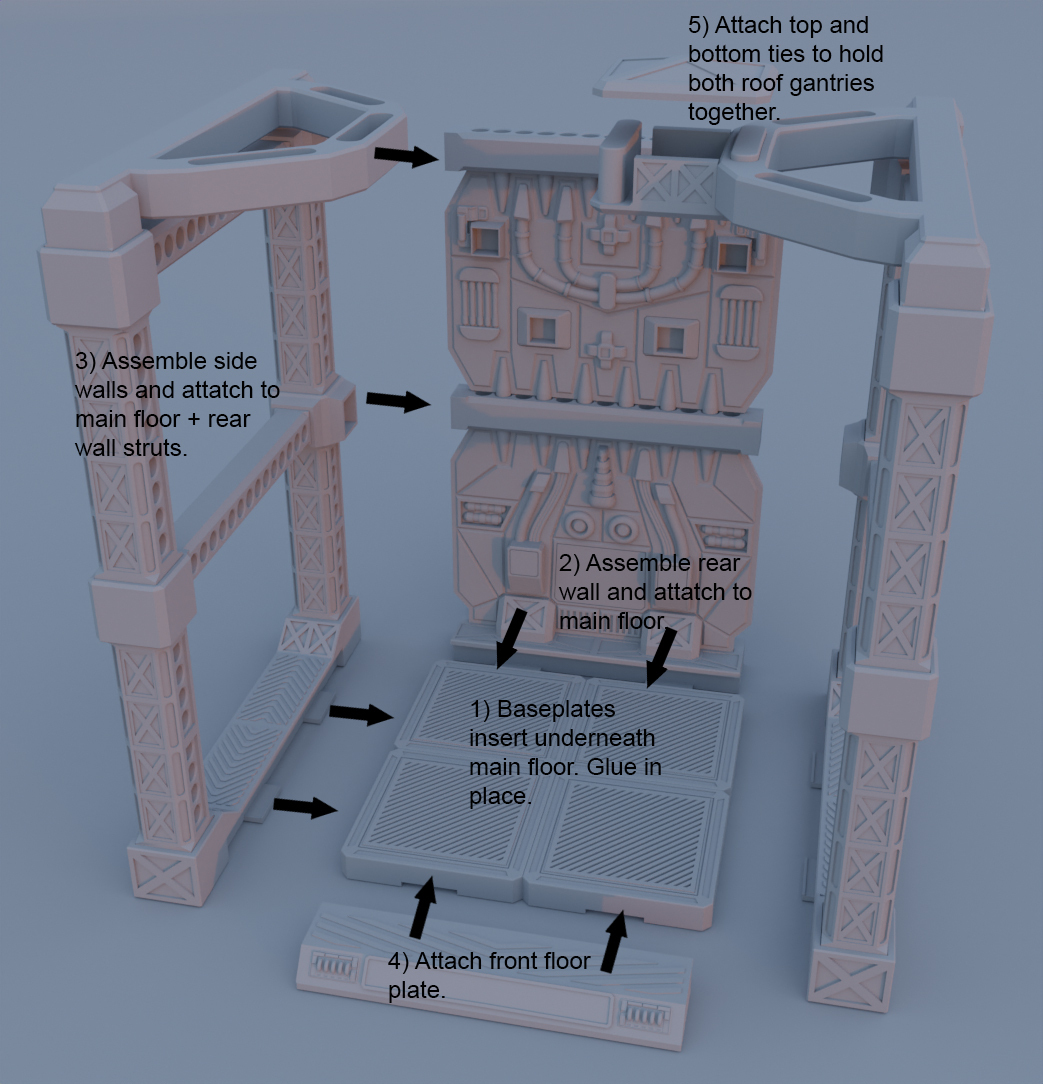
A graphic guide to assembly and required parts is included in the pack.
It is recommended that you test build the frame at least once before gluing to ensure everything fits square. As already mentioned, you don't really have to glue the kit, but if any parts are not tight fitting it may come apart when moving it!




/https://fbi.cults3d.com/uploads/user/avatar/31644067/Manny005.jpg "kurosanarts")


:format(webp)/https://fbi.cults3d.com/uploaders/31644067/illustration-file/23e497a9-1109-4065-999d-52dd9e8b5595/displaycaseextentionthumb.jpg)
:format(webp)/https://fbi.cults3d.com/uploaders/31644067/illustration-file/9b0e2268-38b2-4c77-a58b-e4df2c6c217c/displaycaseshortupright.png)
:format(webp)/https://fbi.cults3d.com/uploaders/31644067/illustration-file/363e7fbf-e18b-4988-9cf5-cb0ca3df3d3e/displaycasesidewallthumb.jpg)
:format(webp)/https://fbi.cults3d.com/uploaders/31644067/illustration-file/43c95d79-de3f-47cb-82f4-0b91272e8ad4/displaycasegantrythumb.jpg)
:format(webp)/https://fbi.cults3d.com/uploaders/31644067/illustration-file/139b85fa-5bbd-409d-8f7b-e57fc08475fb/displaystackthumb.jpg)
:format(webp)/https://fbi.cults3d.com/uploaders/31644067/illustration-file/bfa00105-dca7-4549-ab1f-2e850875f2cf/templedisplaythumbl.jpg)