3D model description

⑅⑅⑅⑅⑅⑅⑅⑅⑅⑅⑅⑅⑅⑅⑅⑅⑅⑅⑅⑅⑅⑅⑅⑅⑅⑅⑅⑅⑅⑅⑅⑅⑅⑅⑅⑅⑅⑅⑅⑅⑅⑅⑅⑅⑅⑅⑅⑅⑅⑅⑅⑅⑅⑅⑅⑅⑅⑅⑅⑅⑅⑅⑅⑅⑅⑅⑅⑅⑅⑅⑅⑅⑅⑅⑅⑅⑅⑅⑅⑅⑅⑅⑅
|
|
|
|
💗𝒞𝒽𝑒𝒸𝓀 𝓂𝓎 𝒷𝒾𝑜 𝒾𝒻 𝓎𝑜𝓊'𝓇𝑒 𝒾𝓃𝓉𝑒𝓇𝑒𝓈𝓉𝑒𝒹 𝒾𝓃 𝓌𝒽𝑒𝓇𝑒 𝓂𝓎 𝓅𝓇𝑜𝒻𝒾𝓉𝓈 𝒻𝓇𝑜𝓂 𝓉𝒽𝒾𝓈 𝓈𝒾𝓉𝑒 𝑔𝑜💗 |
|
|
|
|
⑅⑅⑅⑅⑅⑅⑅⑅⑅⑅⑅⑅⑅⑅⑅⑅⑅⑅⑅⑅⑅⑅⑅⑅⑅⑅⑅⑅⑅⑅⑅⑅⑅⑅⑅⑅⑅⑅⑅⑅⑅⑅⑅⑅⑅⑅⑅⑅⑅⑅⑅⑅⑅⑅⑅⑅⑅⑅⑅⑅⑅⑅⑅⑅⑅⑅⑅⑅⑅⑅⑅⑅⑅⑅⑅⑅⑅⑅⑅⑅⑅⑅⑅
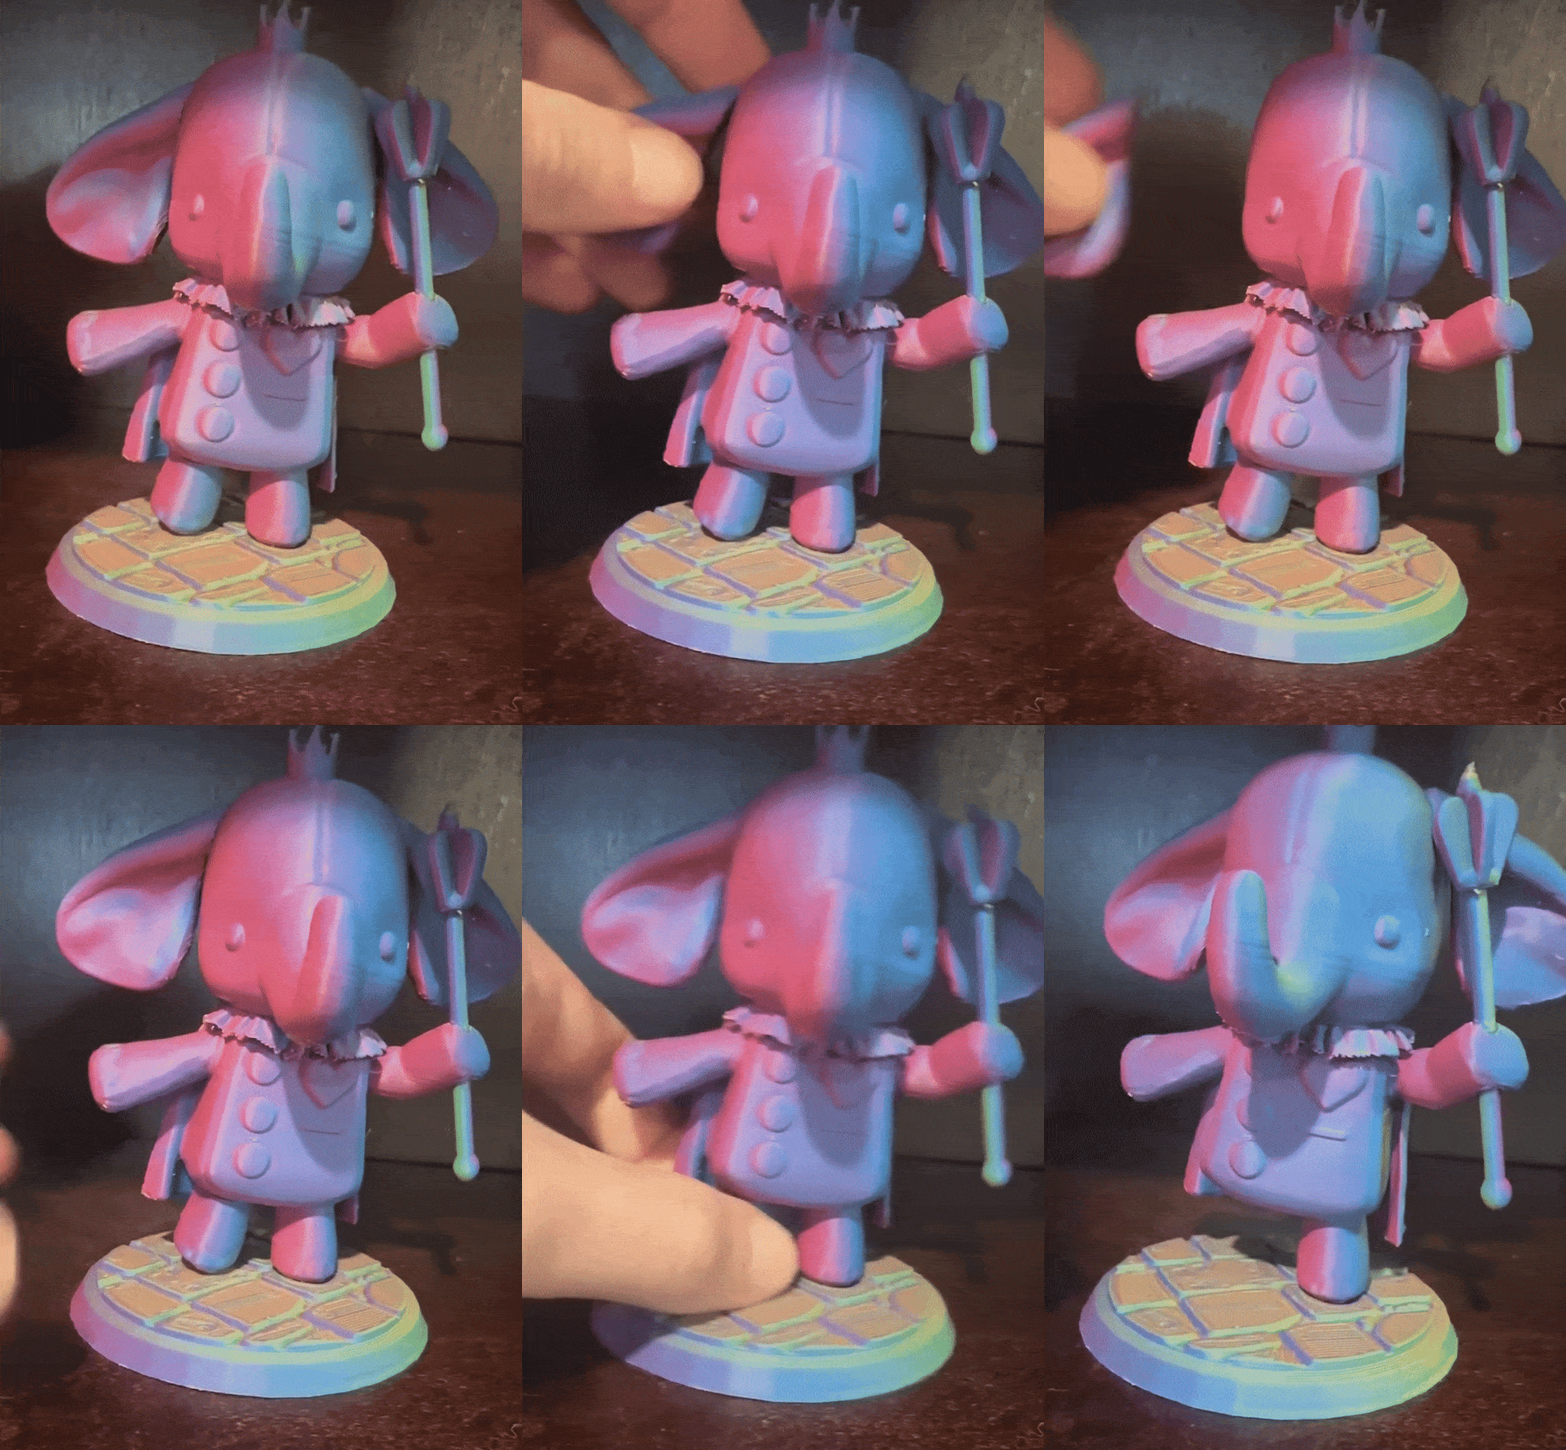
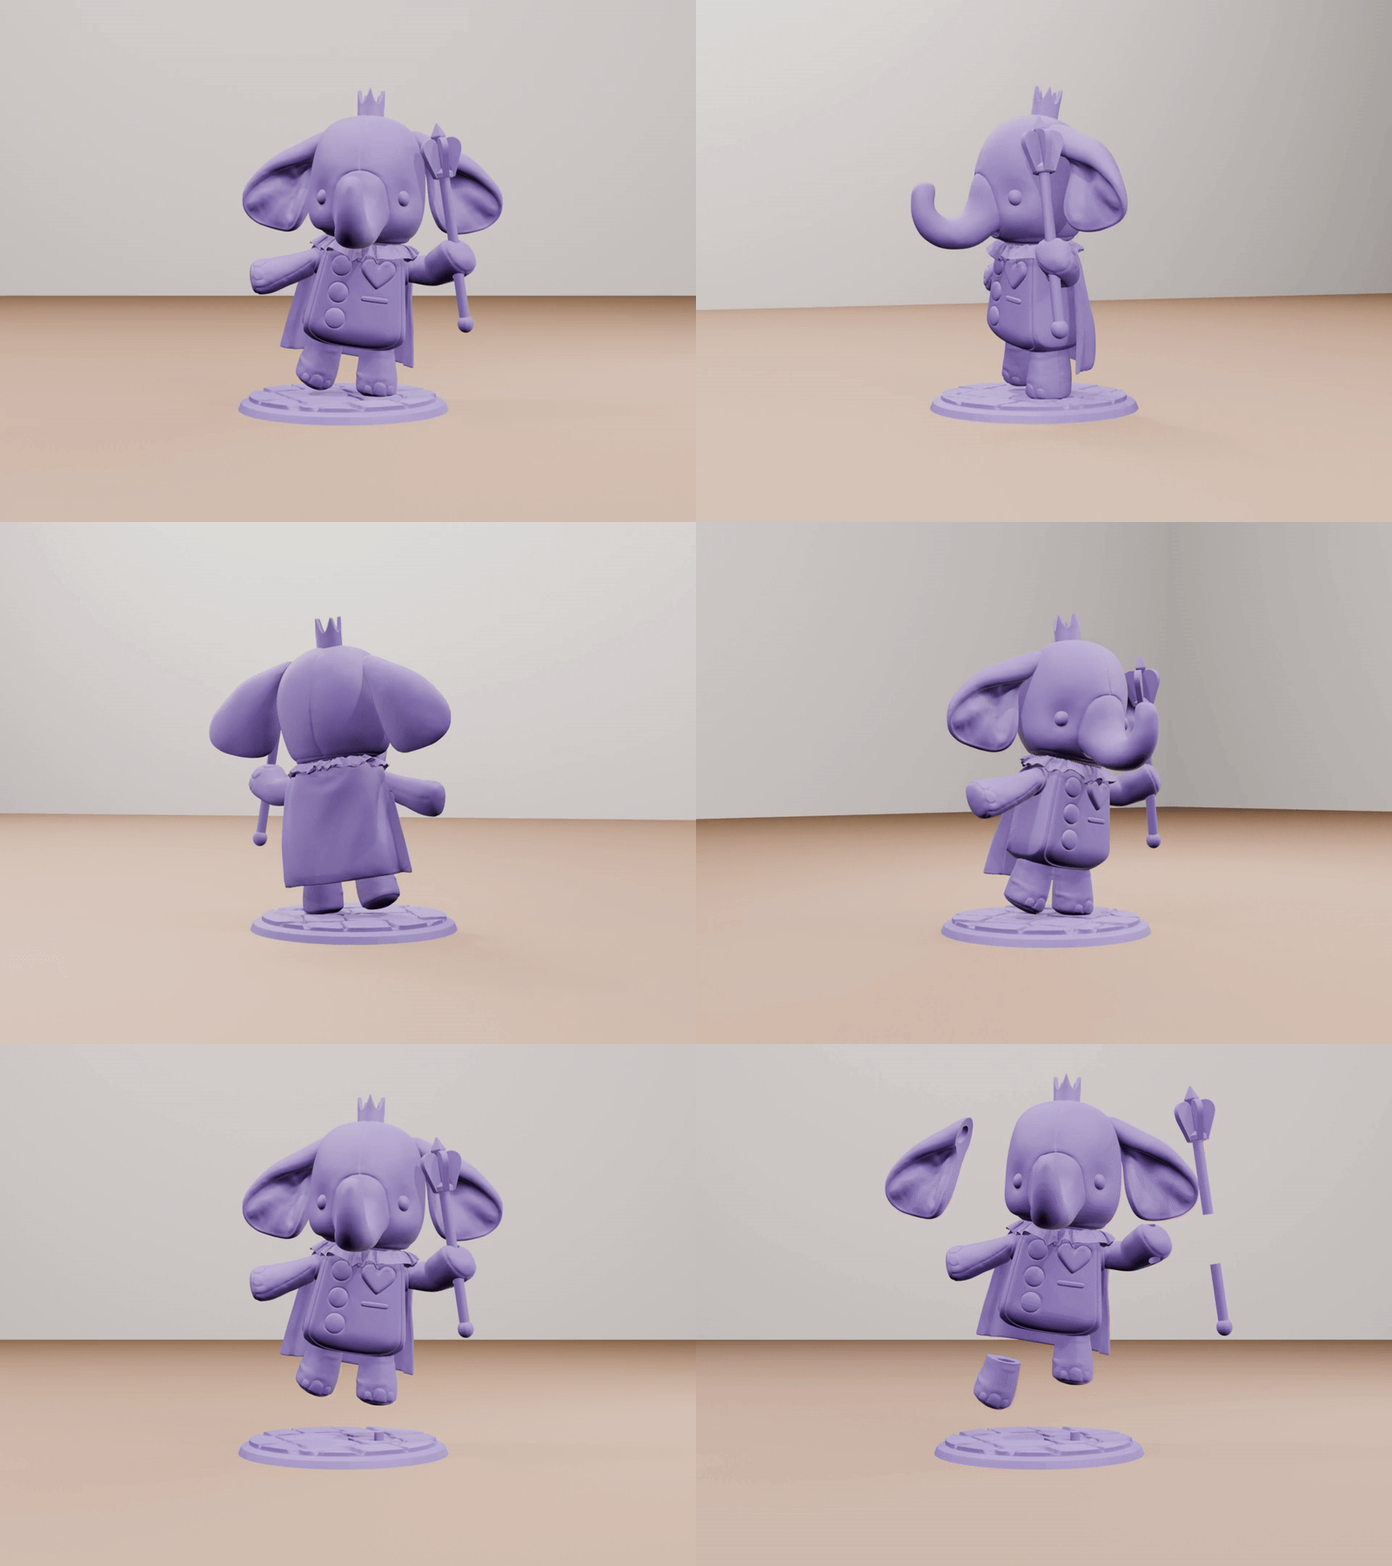
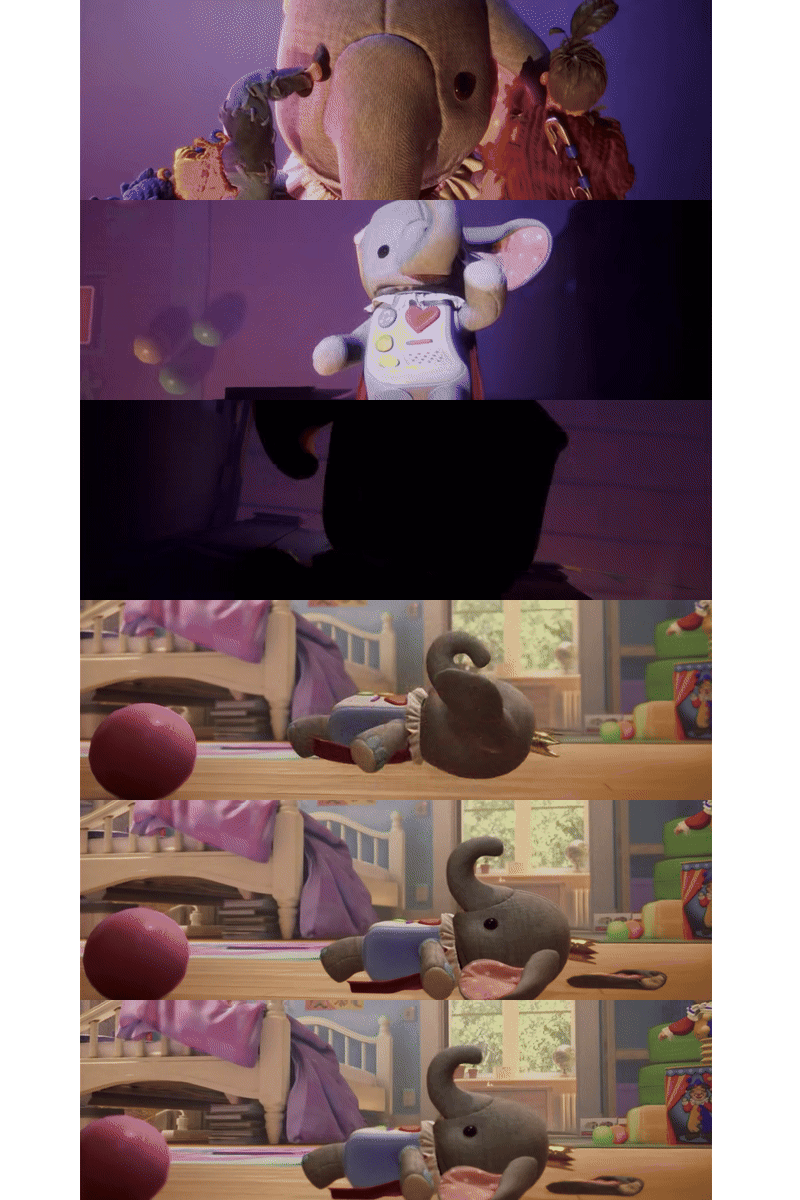
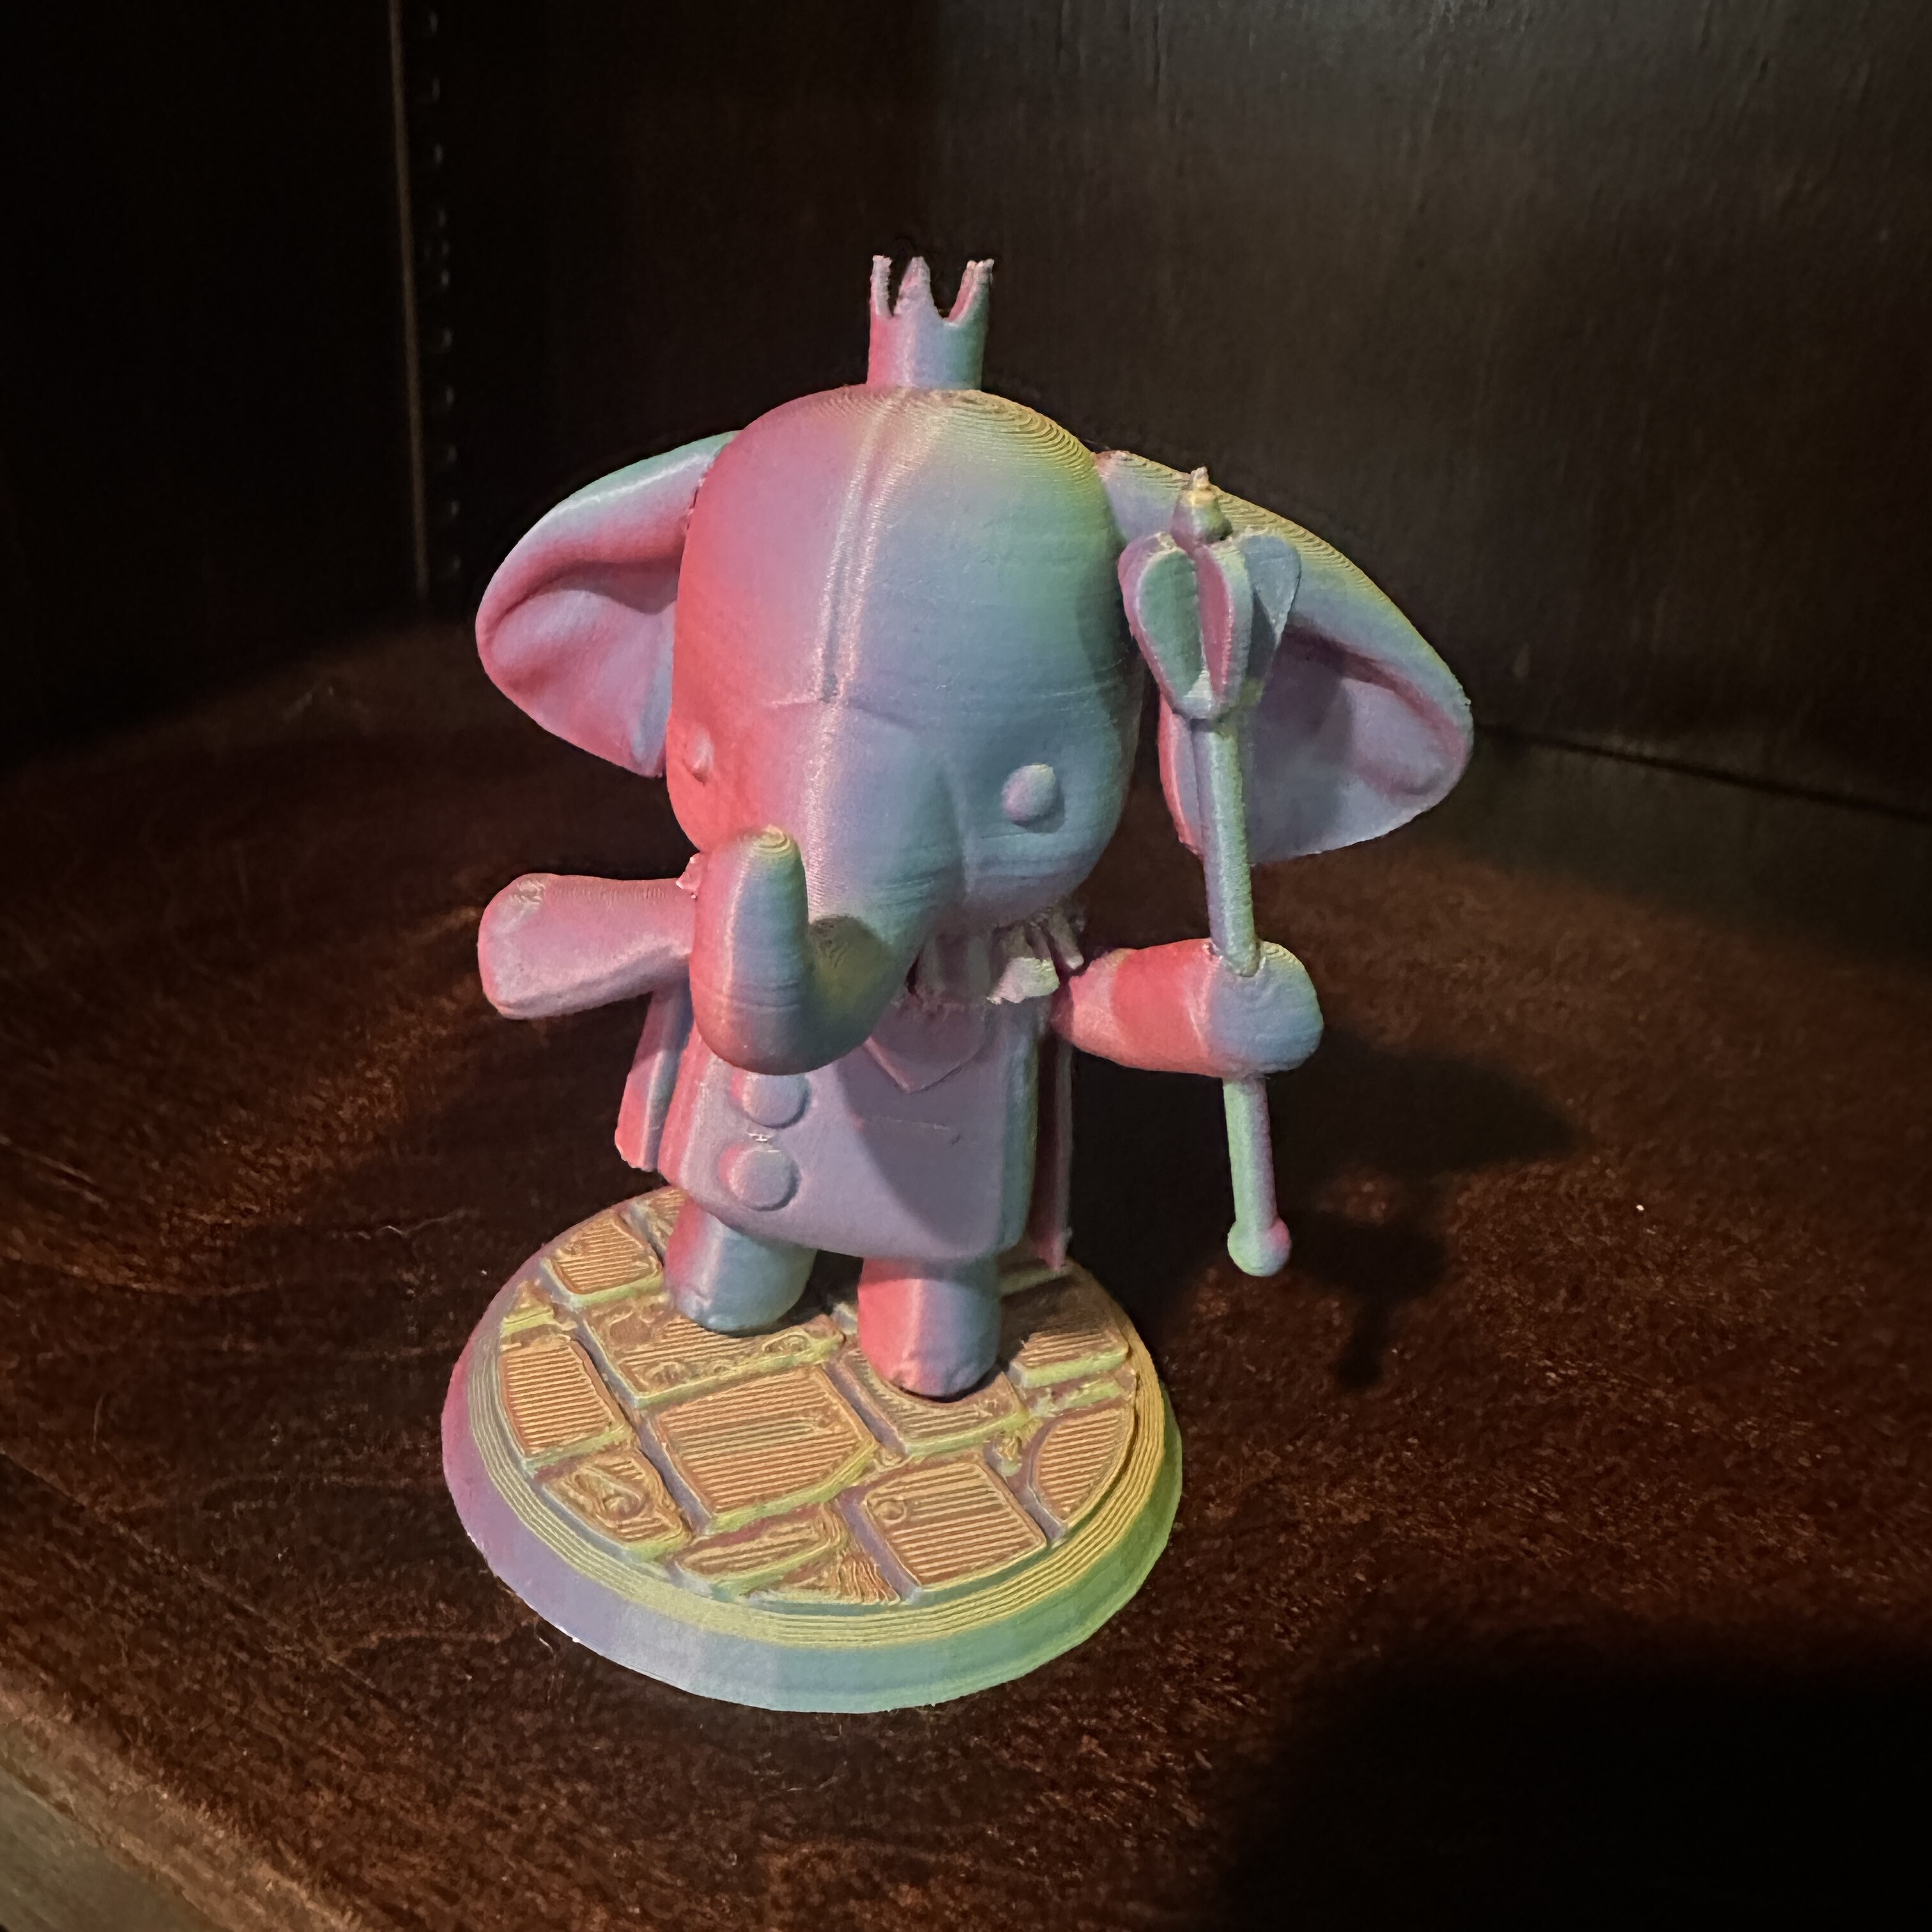
Relive your favorite part of It Takes Two! Made with magnets so you can rip Cutie's limbs off time and time again! One of the ears and a leg are designed to attach via magnets. This allows you to recreate the unforgettable (and slightly traumatic) moment from the game where Cutie's limbs are torn off, bringing a touch of dark humor while you reminisce fond memories. (Contains all Cutie's details! The limbs are the same ones that get torn off in the game)
This model is a replica of the easter egg in Hazelight studios' new game Split Fiction. While Cutie is from the game It Takes Two, the developers paid tribute to this wonderful elephant in their new game. As I teared up from the wonderful memories after seeing it, I knew I had to bring this tribute to life!
I’ve optimized this model for easy printing on both FDM and resin printers, ensuring crisp details and a smooth assembly process. Preview images are provided so you can see the model in all its glory before purchase. I even separated the scepter into 2 parts for better printing on FDM. Also included is a full combined model (just in case you want the model without the trauma). Feel free to message me with any questions!
ᵀʰⁱˢ ᵐᵒᵈᵉˡ ʷᵃˢ ᵐᵃᵈᵉ ʷⁱᵗʰ ˡᵒᵛᵉ❣
⤝════════════════════════════════════════════════════════⤞
🧲 𝕄𝕒𝕘𝕟𝕖𝕥 𝕊𝕥𝕦𝕗𝕗 🧲
🐘 Magnets used: 6x2mm magnets (or compensate as described below)
🐘 Split model and combined model included
Magnet size adjustments:
🐘 Adjust the horizontal expansion in your slicer.
- If you do this, you may need to do so on the connector as well. (I have the part connecting the foot to the base as a separate part for this reason. This way there is no need to re-print the larger parts if you need to adjust it)
🐘 Slightly bigger ones will work by inserting them with a soldering iron.
🐘 Slightly smaller ones will work by filling the gap with pieces from a cotton ball or something
🐘 You can also scale the entire print up or down
|
|
|
 |
If you want a commercial license in order to sell physical prints, message me and I’ll post a separate listing. I’m not a big fan of subscription-based licenses, so it will probably be a one-time price that is slightly higher. |
|
|
|
|
3D printing settings
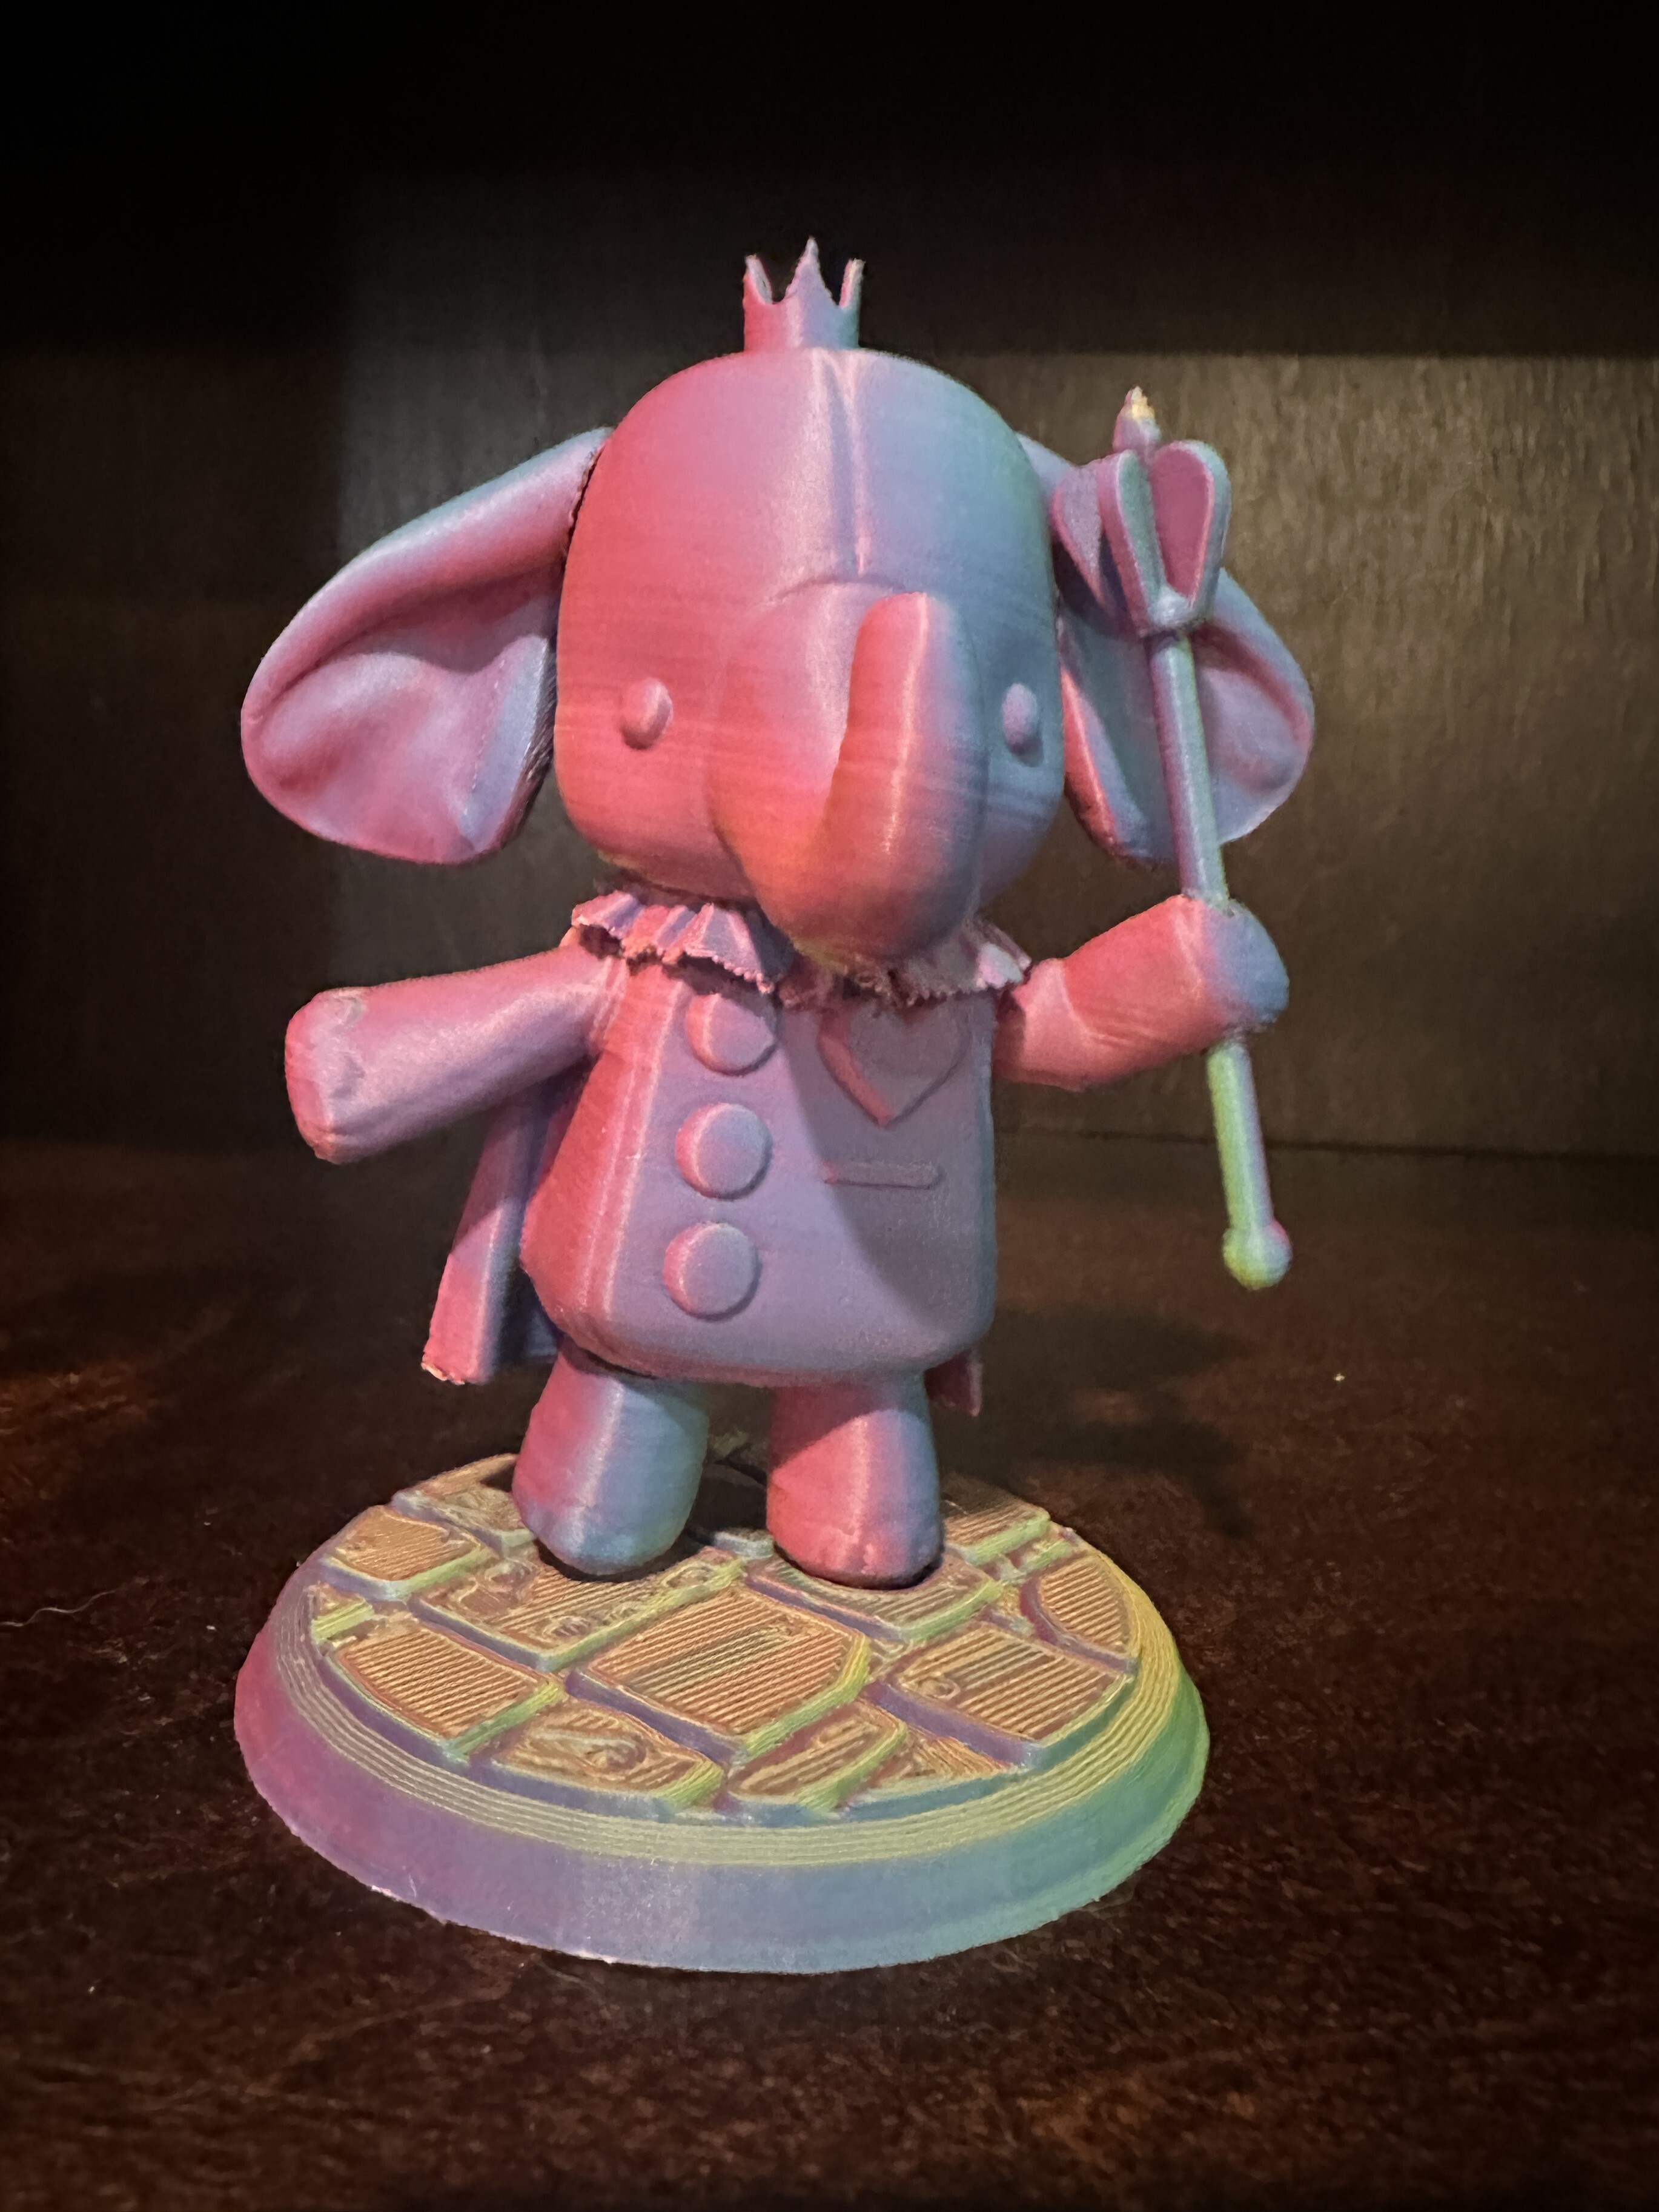
Any settings you want to use will work, but here are my recommendations for FDM printers:
They are positioned already in the positions that I printed them in. I personally used a brim just in case
Seam set to sharpest corner
For the scepter, I'd use 100% infill if using PLA (not necessary, but recommended)
Bambu users: I'd recommend using slightly slower print speeds than default (for quality). Bambu's default speeds work perfectly fine, but slowing it down just a little will result in better quality for anything you print
:format(webp)/https://fbi.cults3d.com/uploaders/32843606/illustration-file/902e782a-c6e3-4776-a876-c48ccabfaad6/Cutie-The-Elephant.gif)
/https://preview3d-images.cults3d.com/0td1wcp87d8u4pxgb0o09j2v4yfi)
/https://preview3d-images.cults3d.com/t44j2so86j7eyh62812891opmiy9)
/https://fbi.cults3d.com/uploads/user/avatar/32843606/Gefitinib-regression-results-across-four-metrics-These-spider-graphs-illustrate-how.png "Proto3DP")


:format(webp)/https://fbi.cults3d.com/uploaders/32843606/illustration-file/4c640067-0b18-4222-9722-5034f467a865/Jesus-Front-image.png)
:format(webp)/https://fbi.cults3d.com/uploaders/32843606/illustration-file/108ecd1a-ca2b-4285-9994-155aebff7be8/thethingpic2.png)
:format(webp)/https://fbi.cults3d.com/uploaders/32843606/illustration-file/02d6567d-6dc7-41bf-b05e-80b9fcf1b328/ice-cream.jpeg)
:format(webp)/https://fbi.cults3d.com/uploaders/32843606/illustration-file/4e9faa2b-d378-4234-8771-ae0940089614/best-of-labubu.jpeg)
:format(webp)/https://fbi.cults3d.com/uploaders/32843606/illustration-file/b4530c3b-e83f-4ac6-9a59-8dde23d185cb/Mimic-fruit.webp)
:format(webp)/https://fbi.cults3d.com/uploaders/32843606/illustration-file/b60c1690-886b-4aa7-b251-39099a8b5e58/Ashpaw-render-2.webp)
:format(webp)/https://fbi.cults3d.com/uploaders/32843606/illustration-file/2c0c2ab2-1b78-468a-bbaf-f63fb92b923d/dnd-bat-dice-bottle-render.png)