3D model description
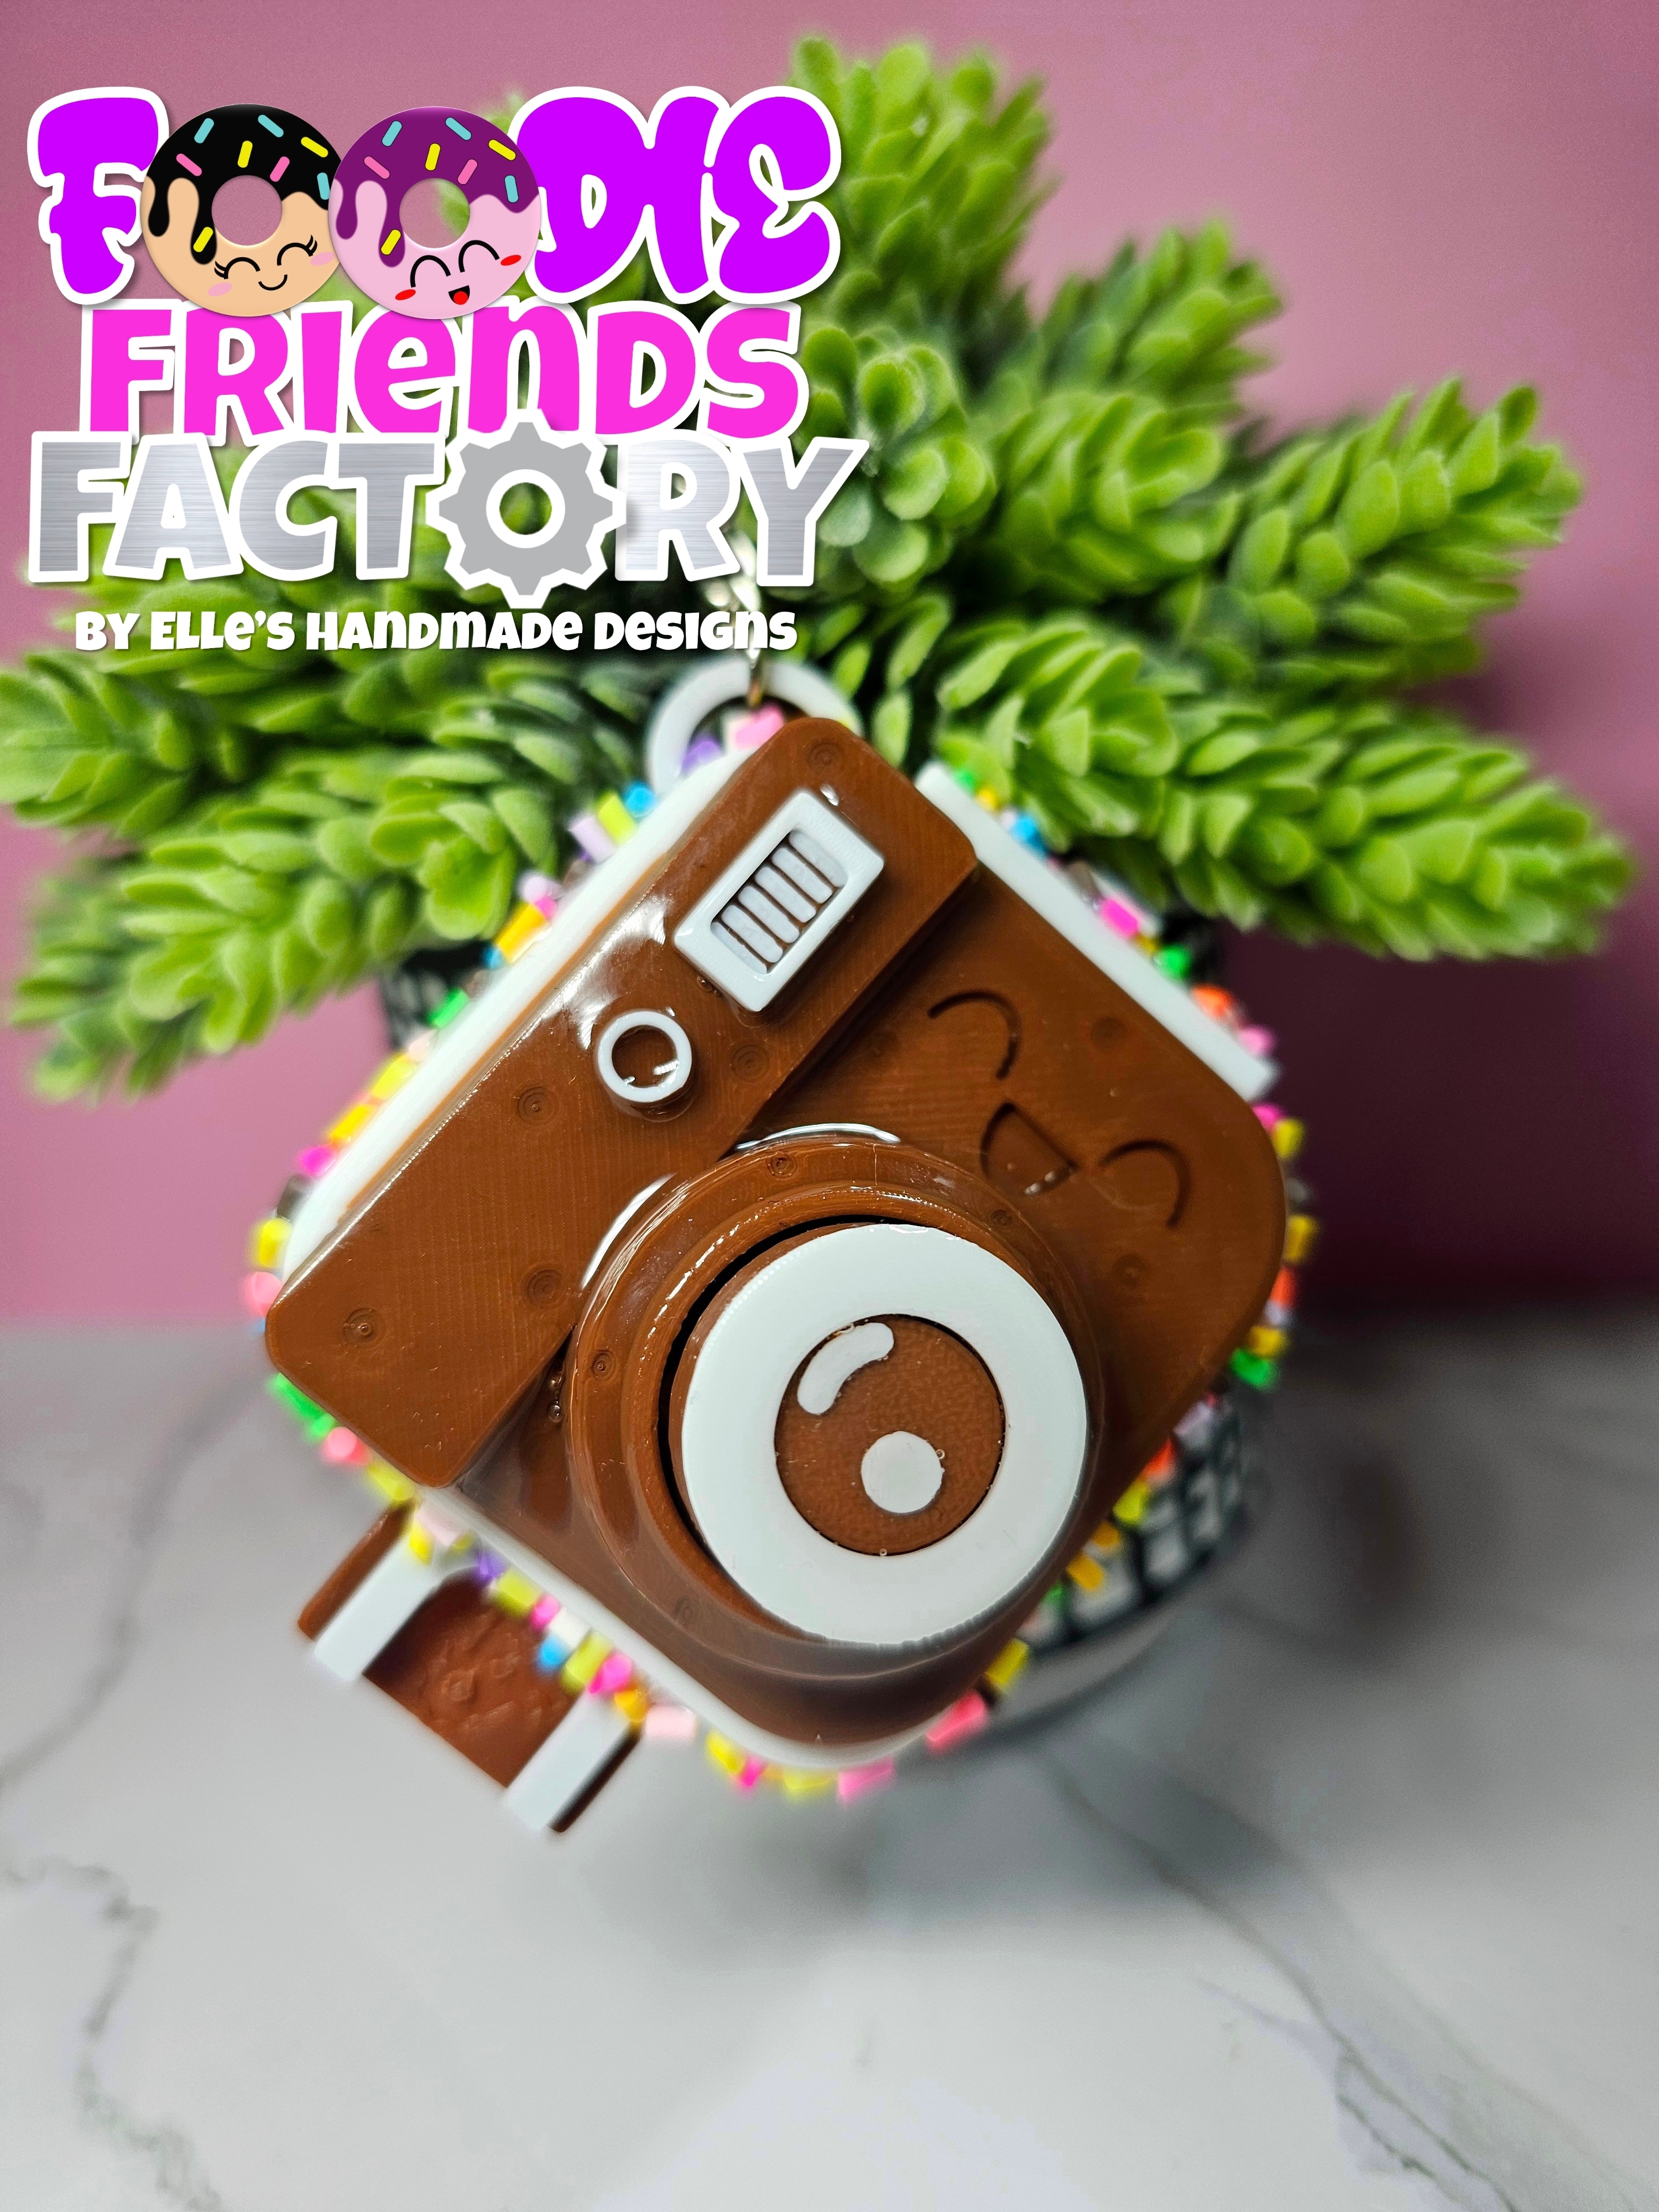
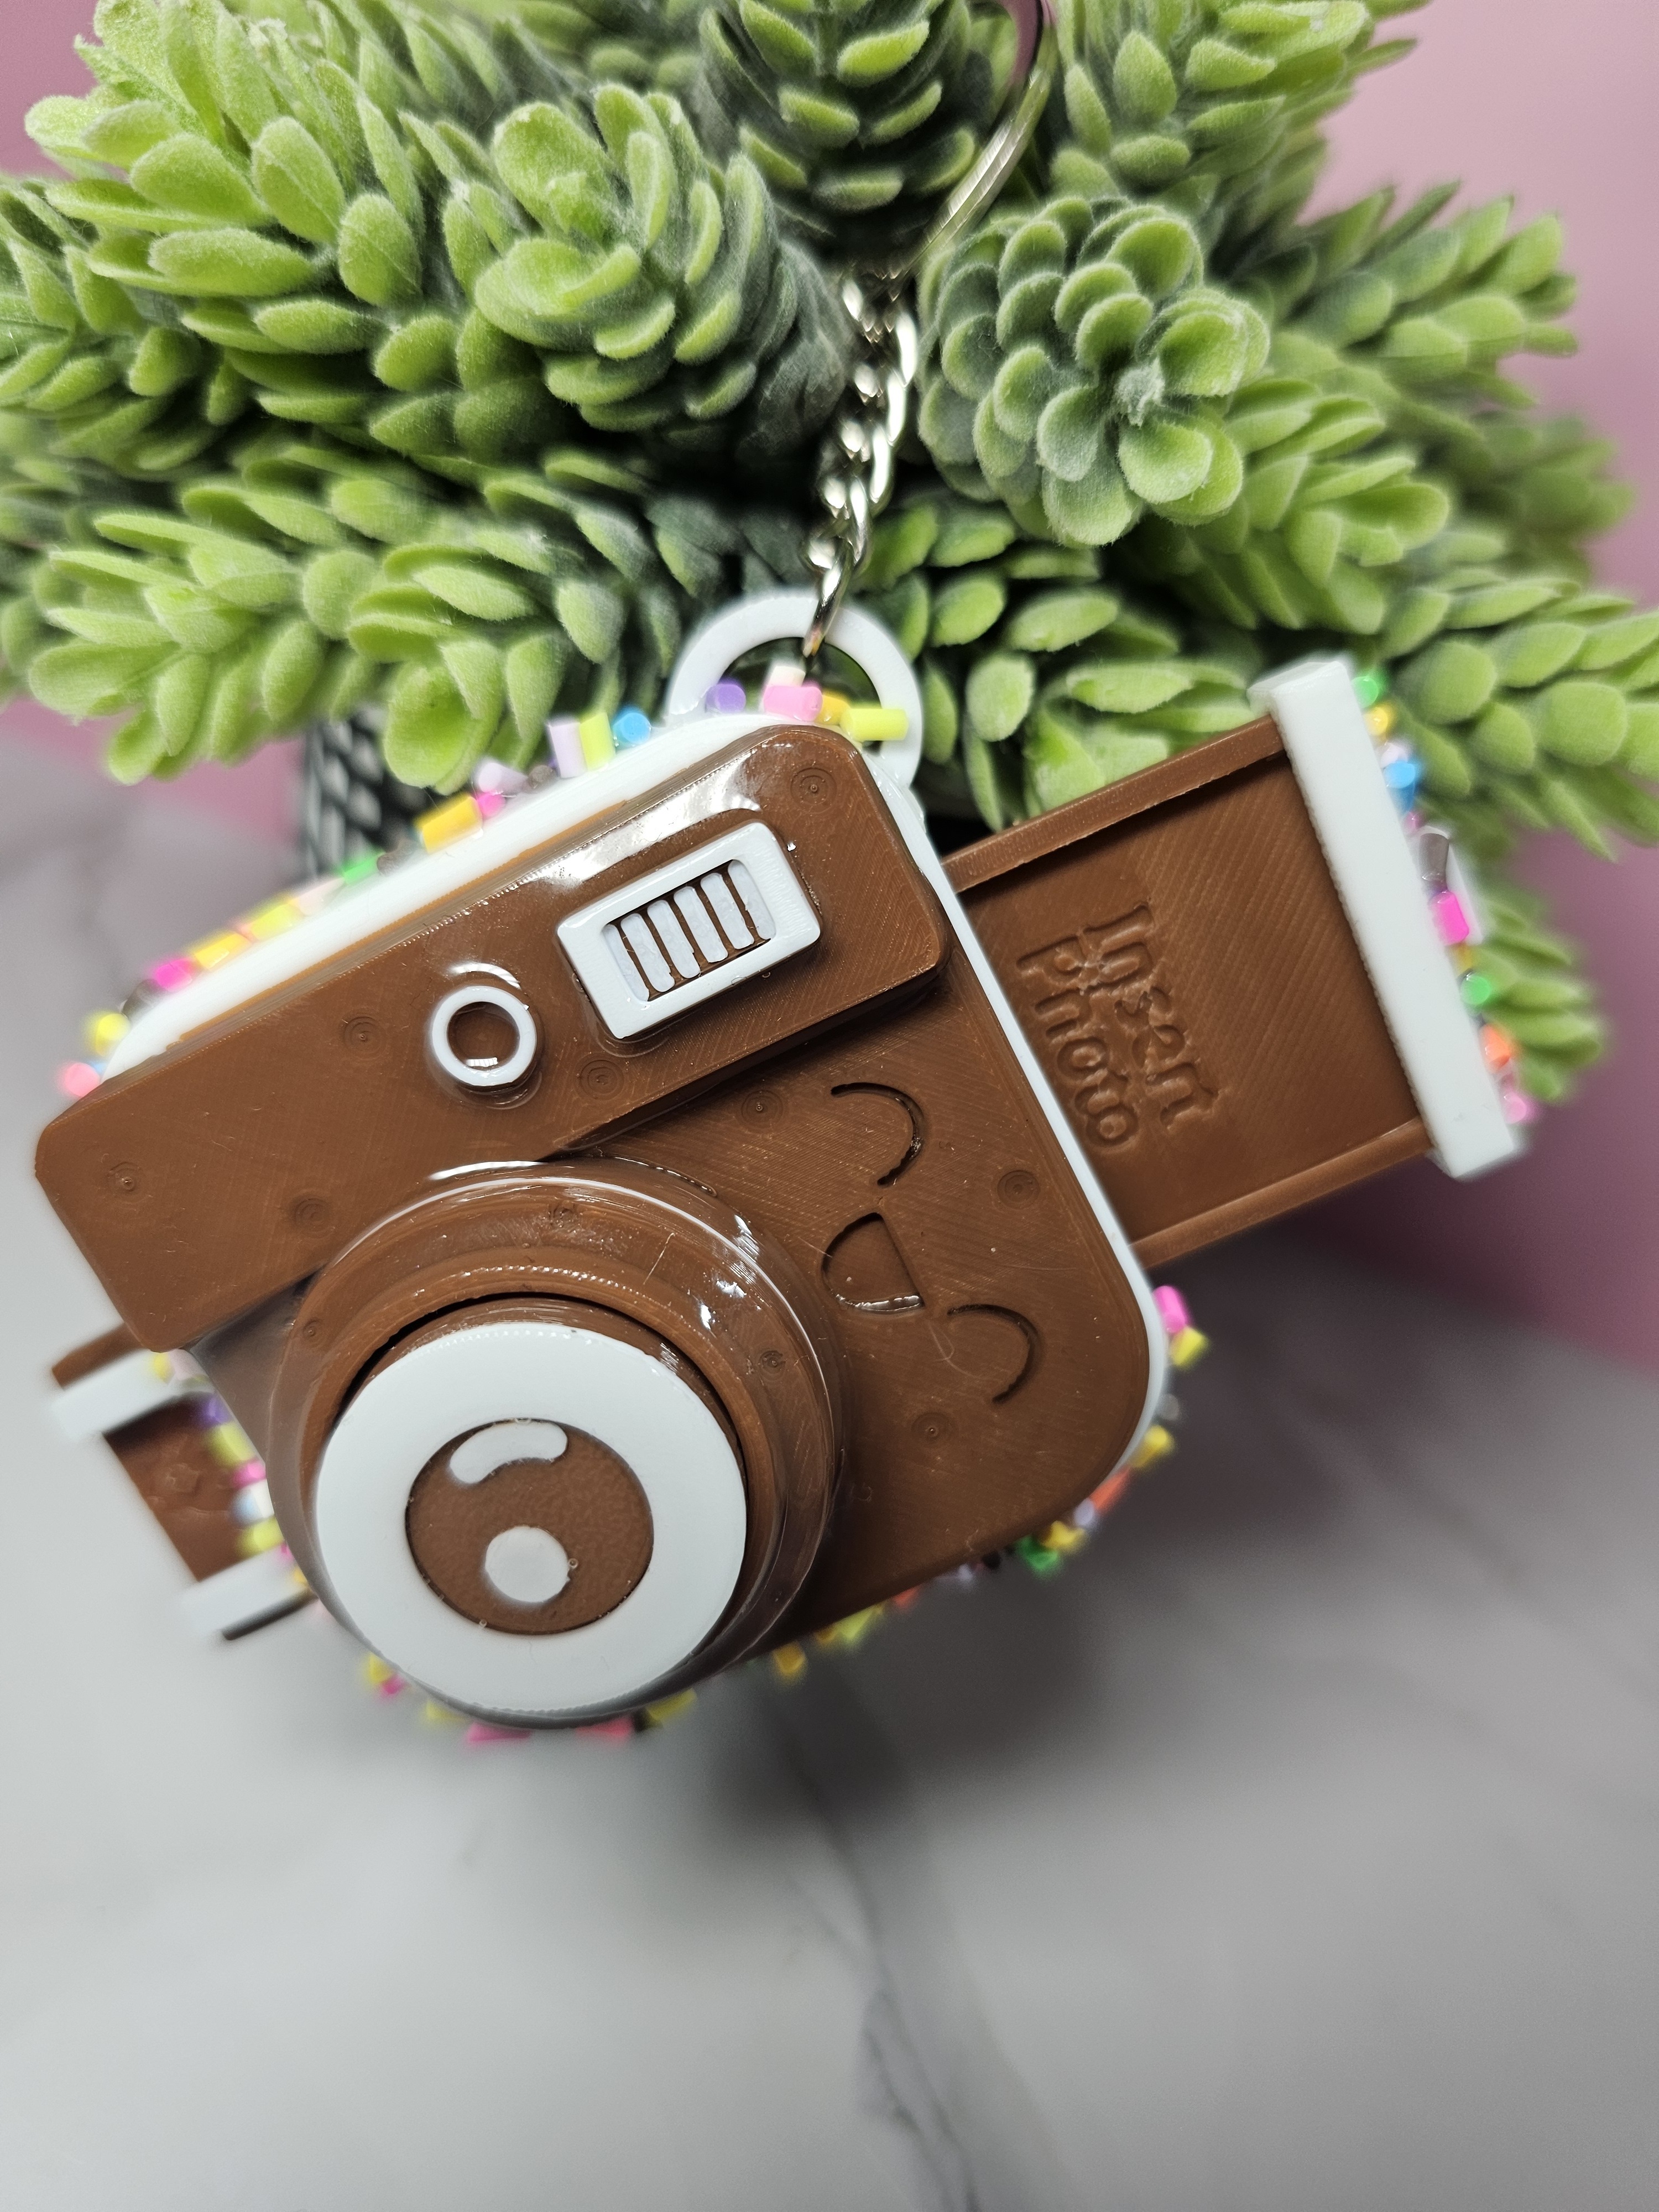
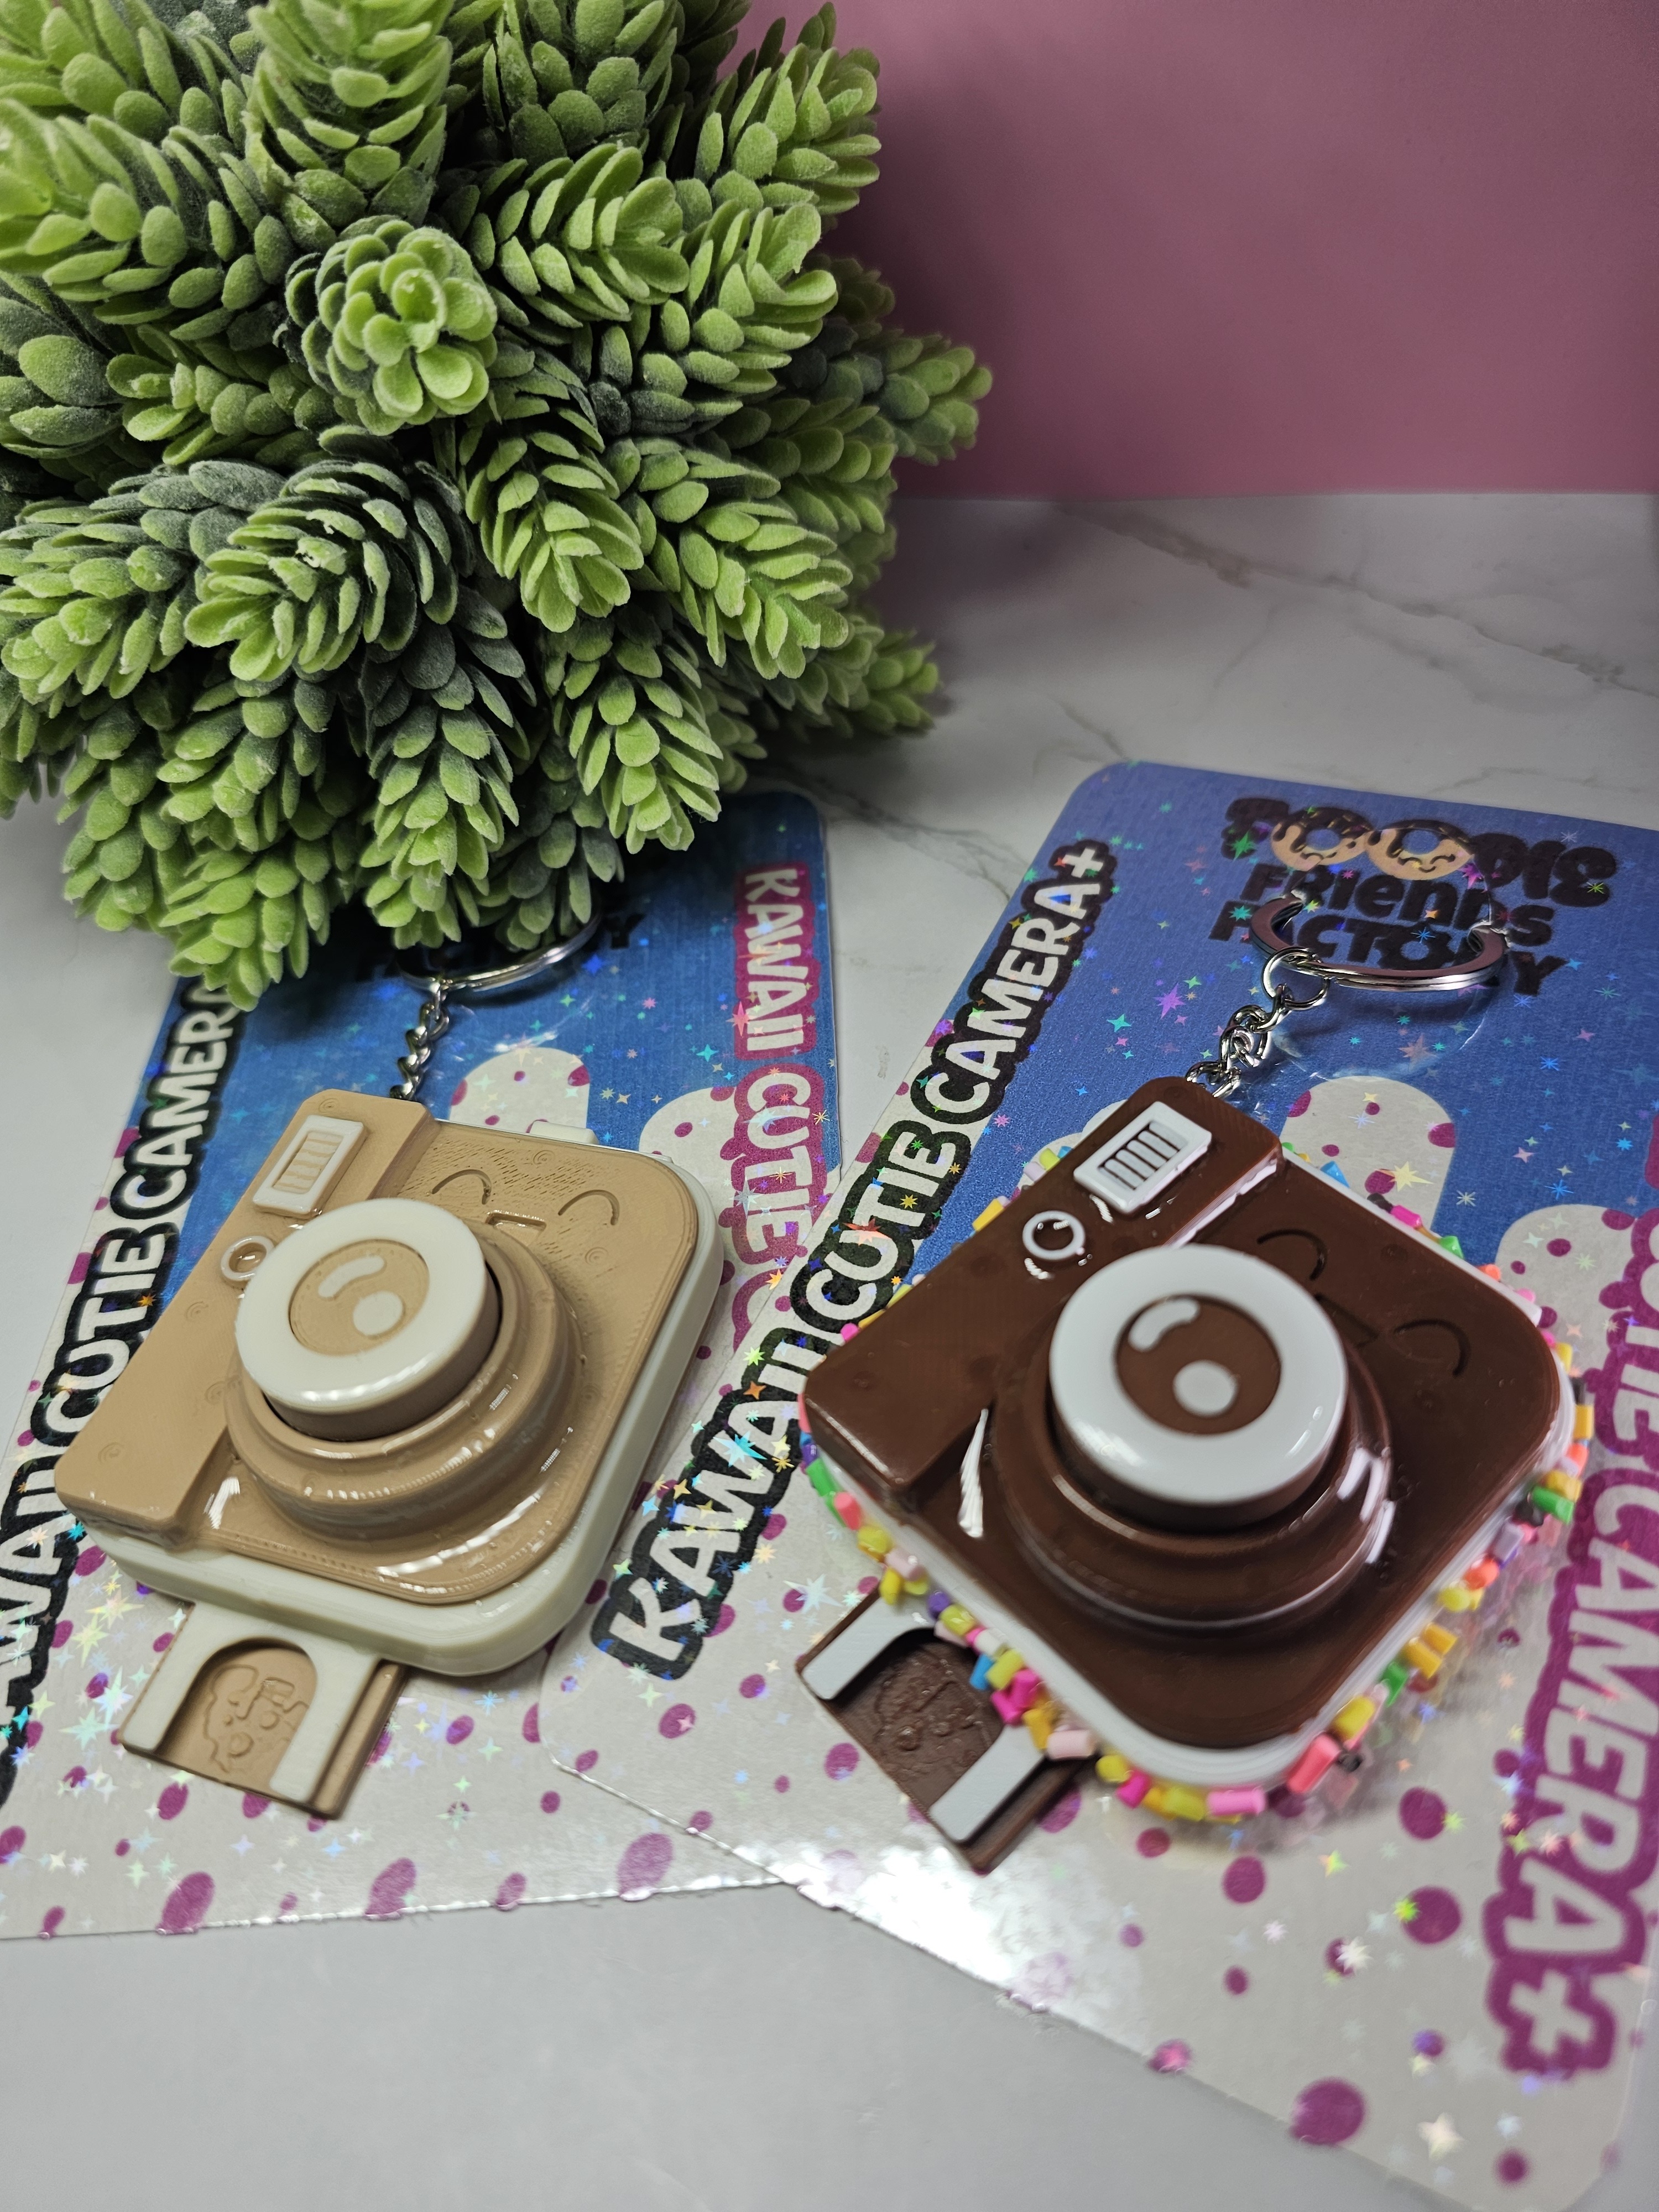
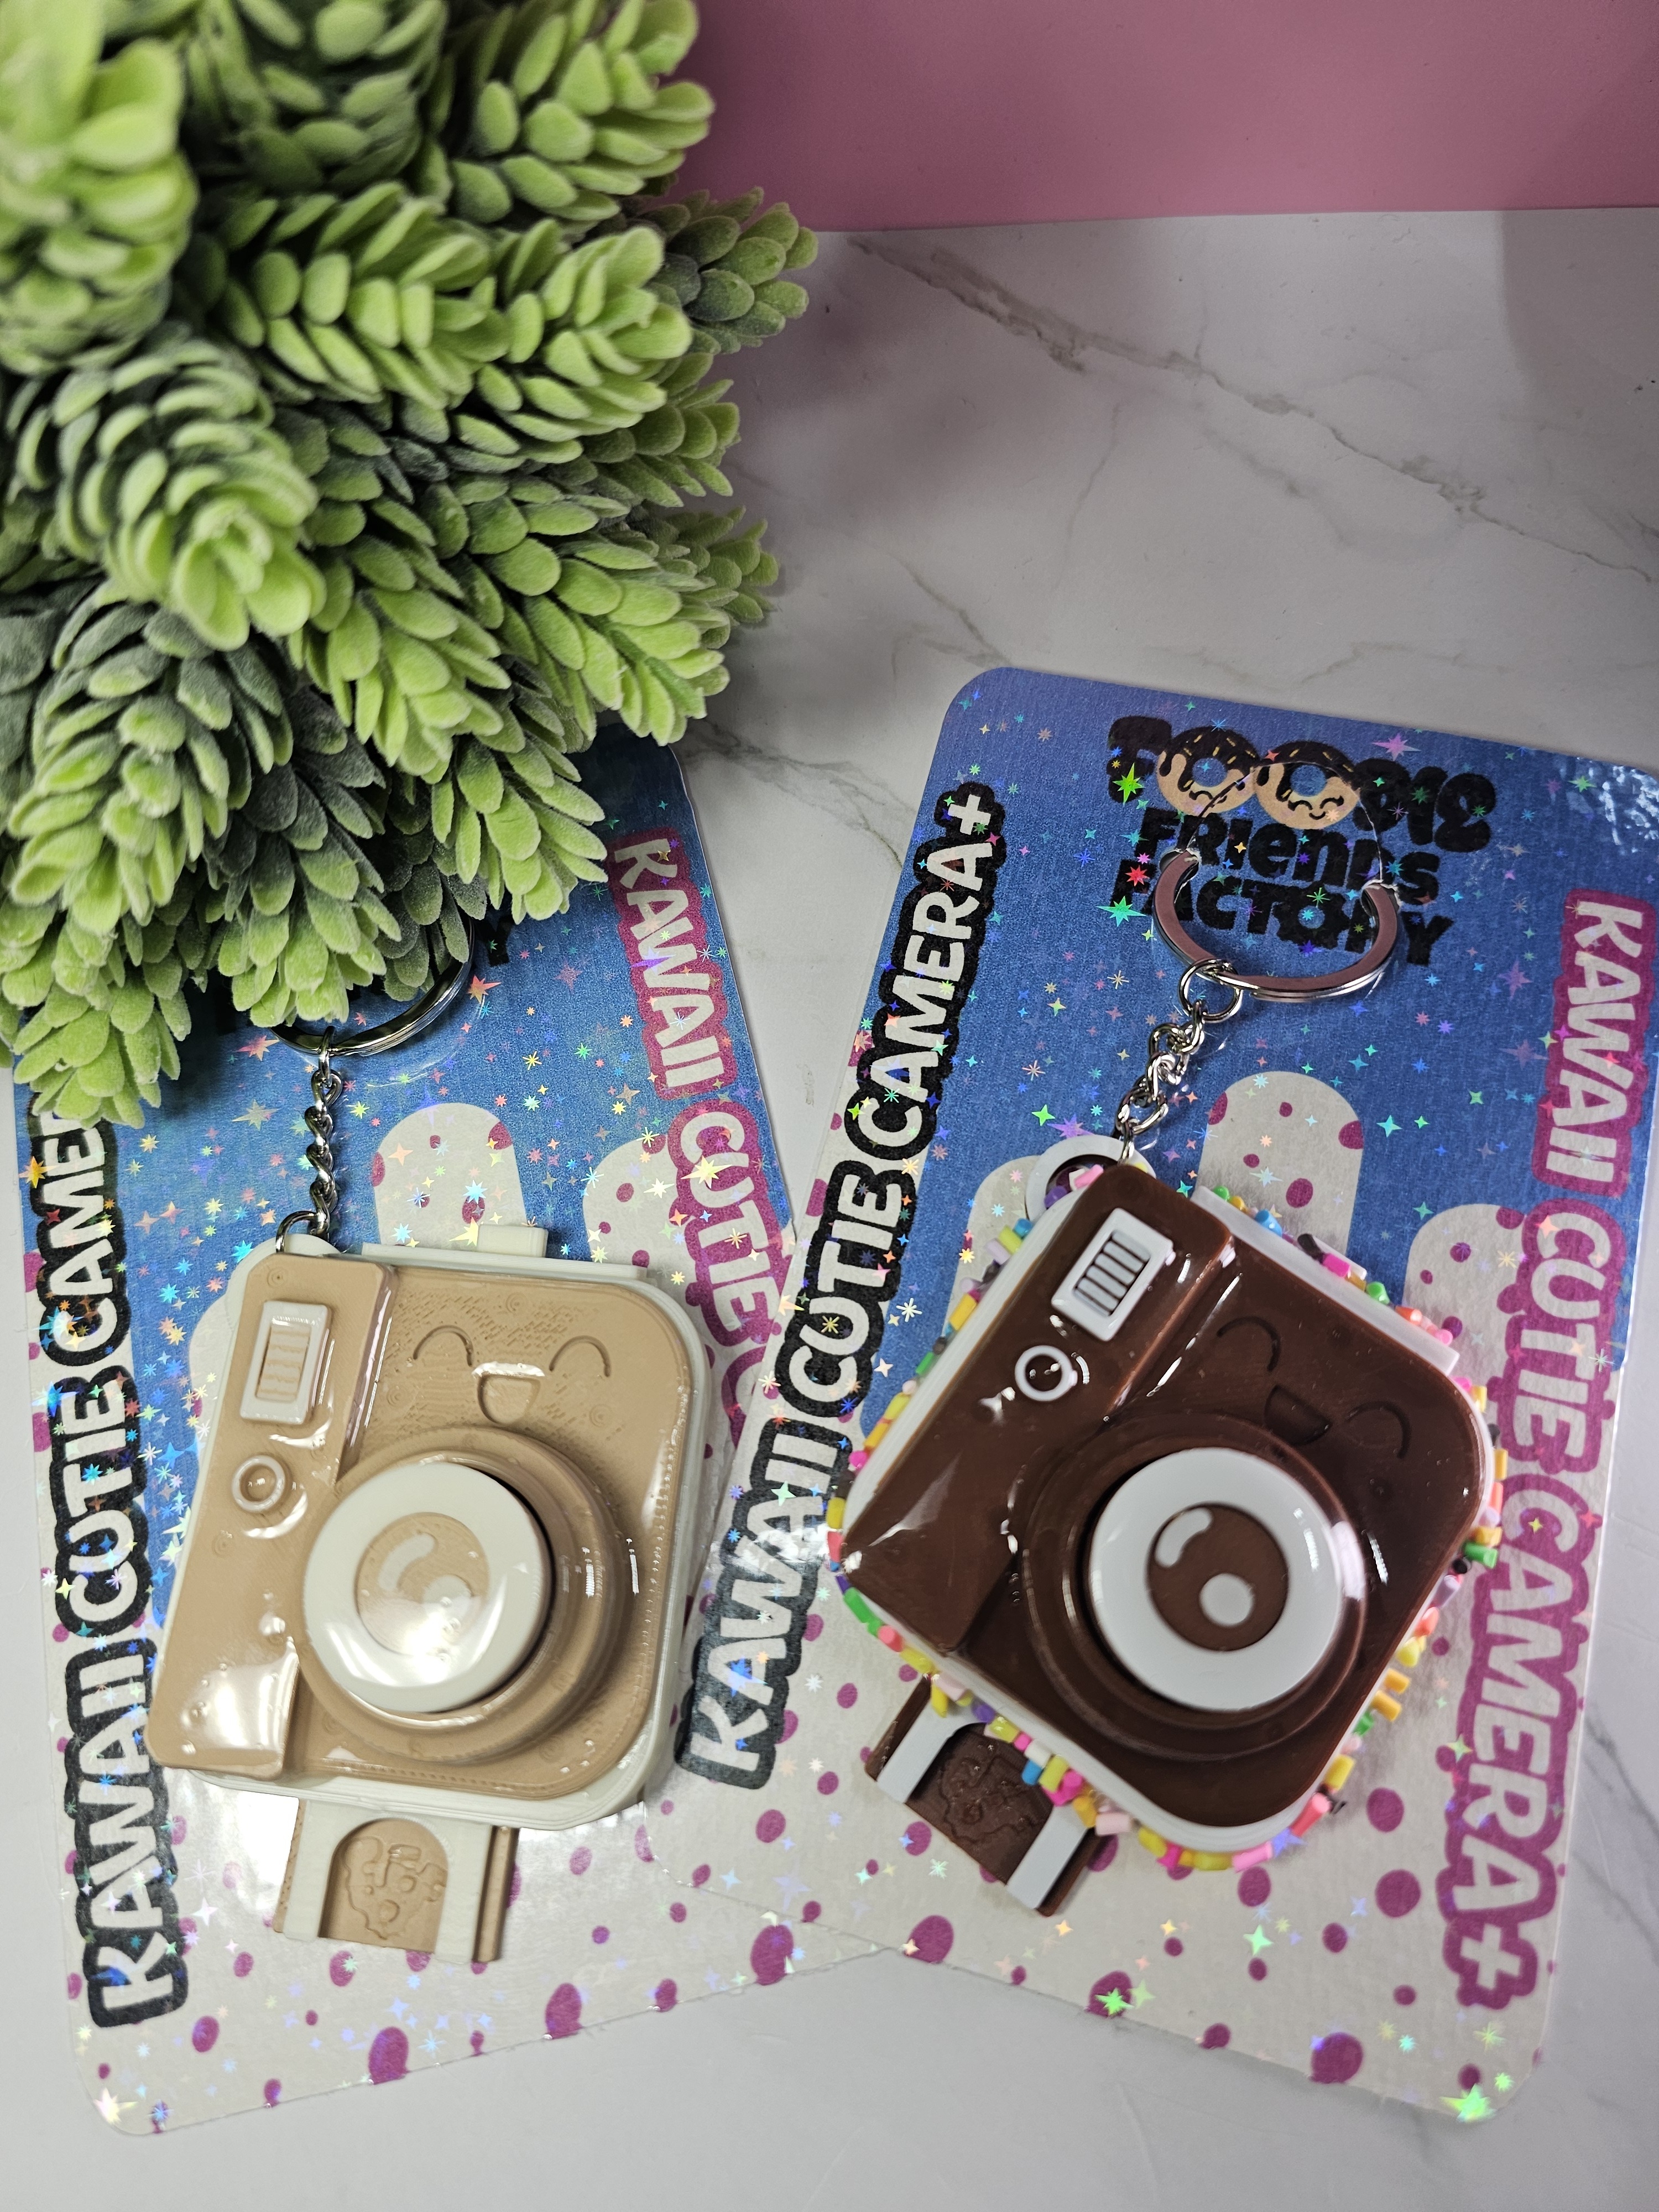
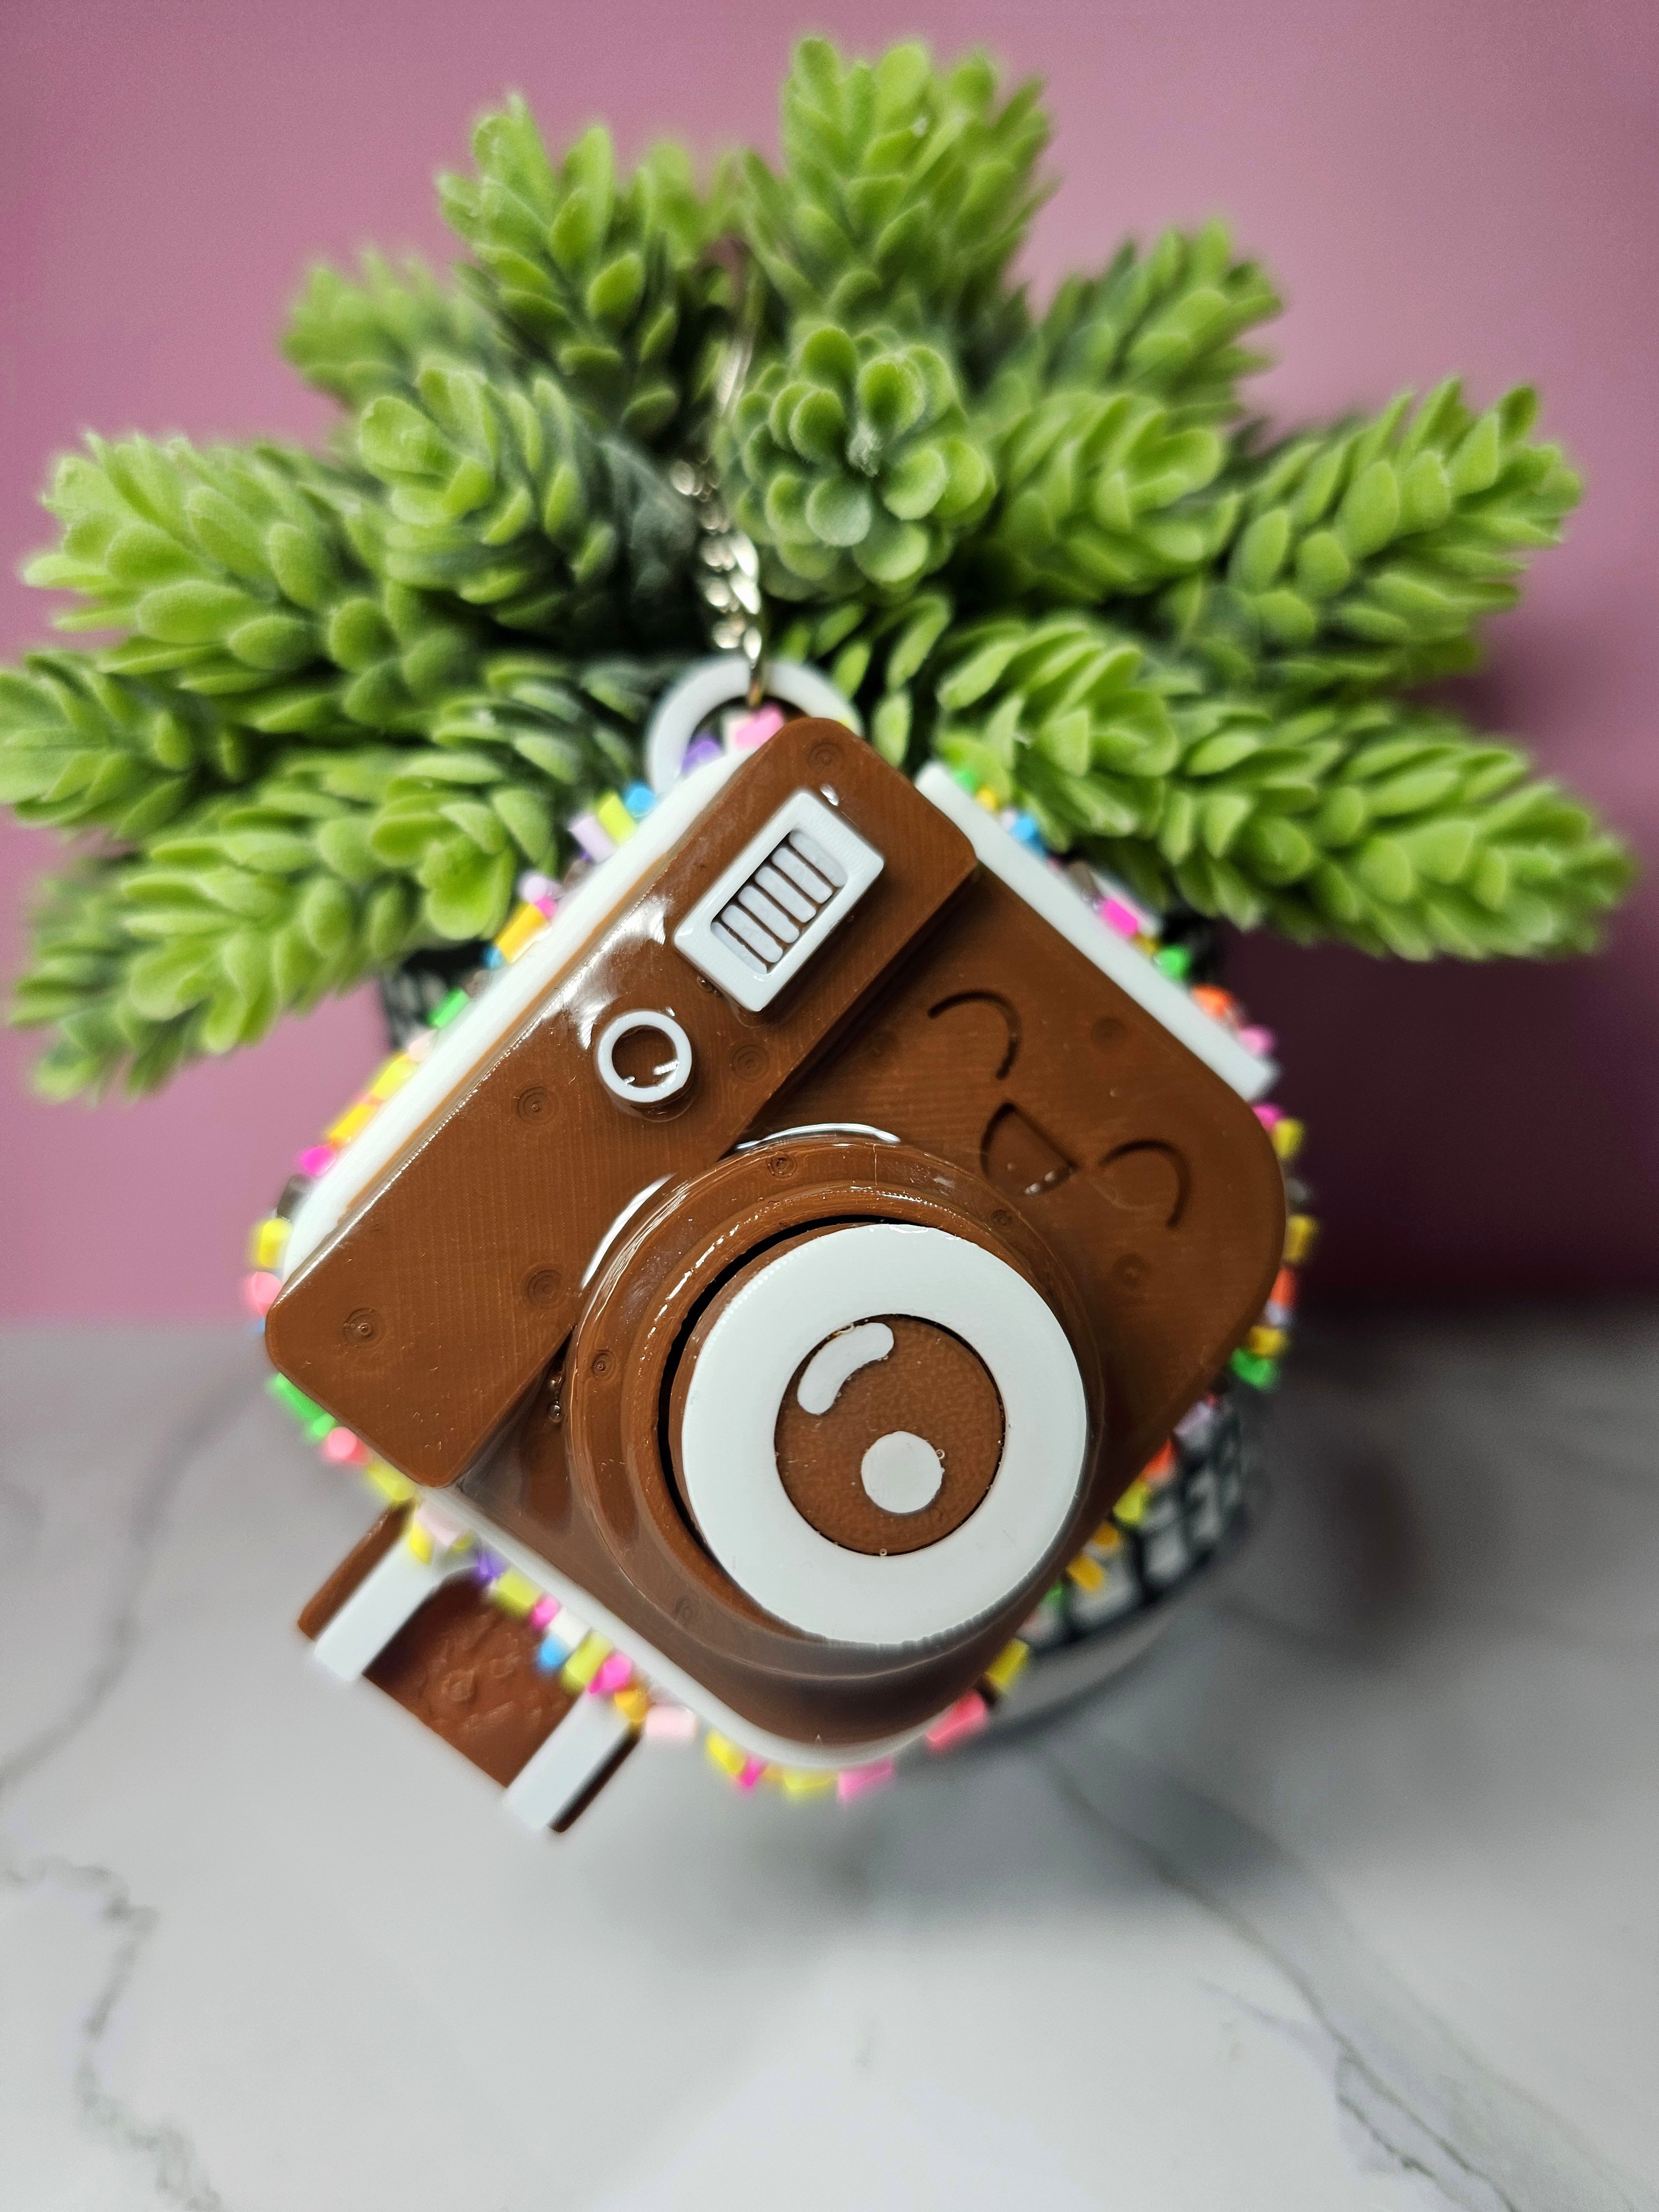
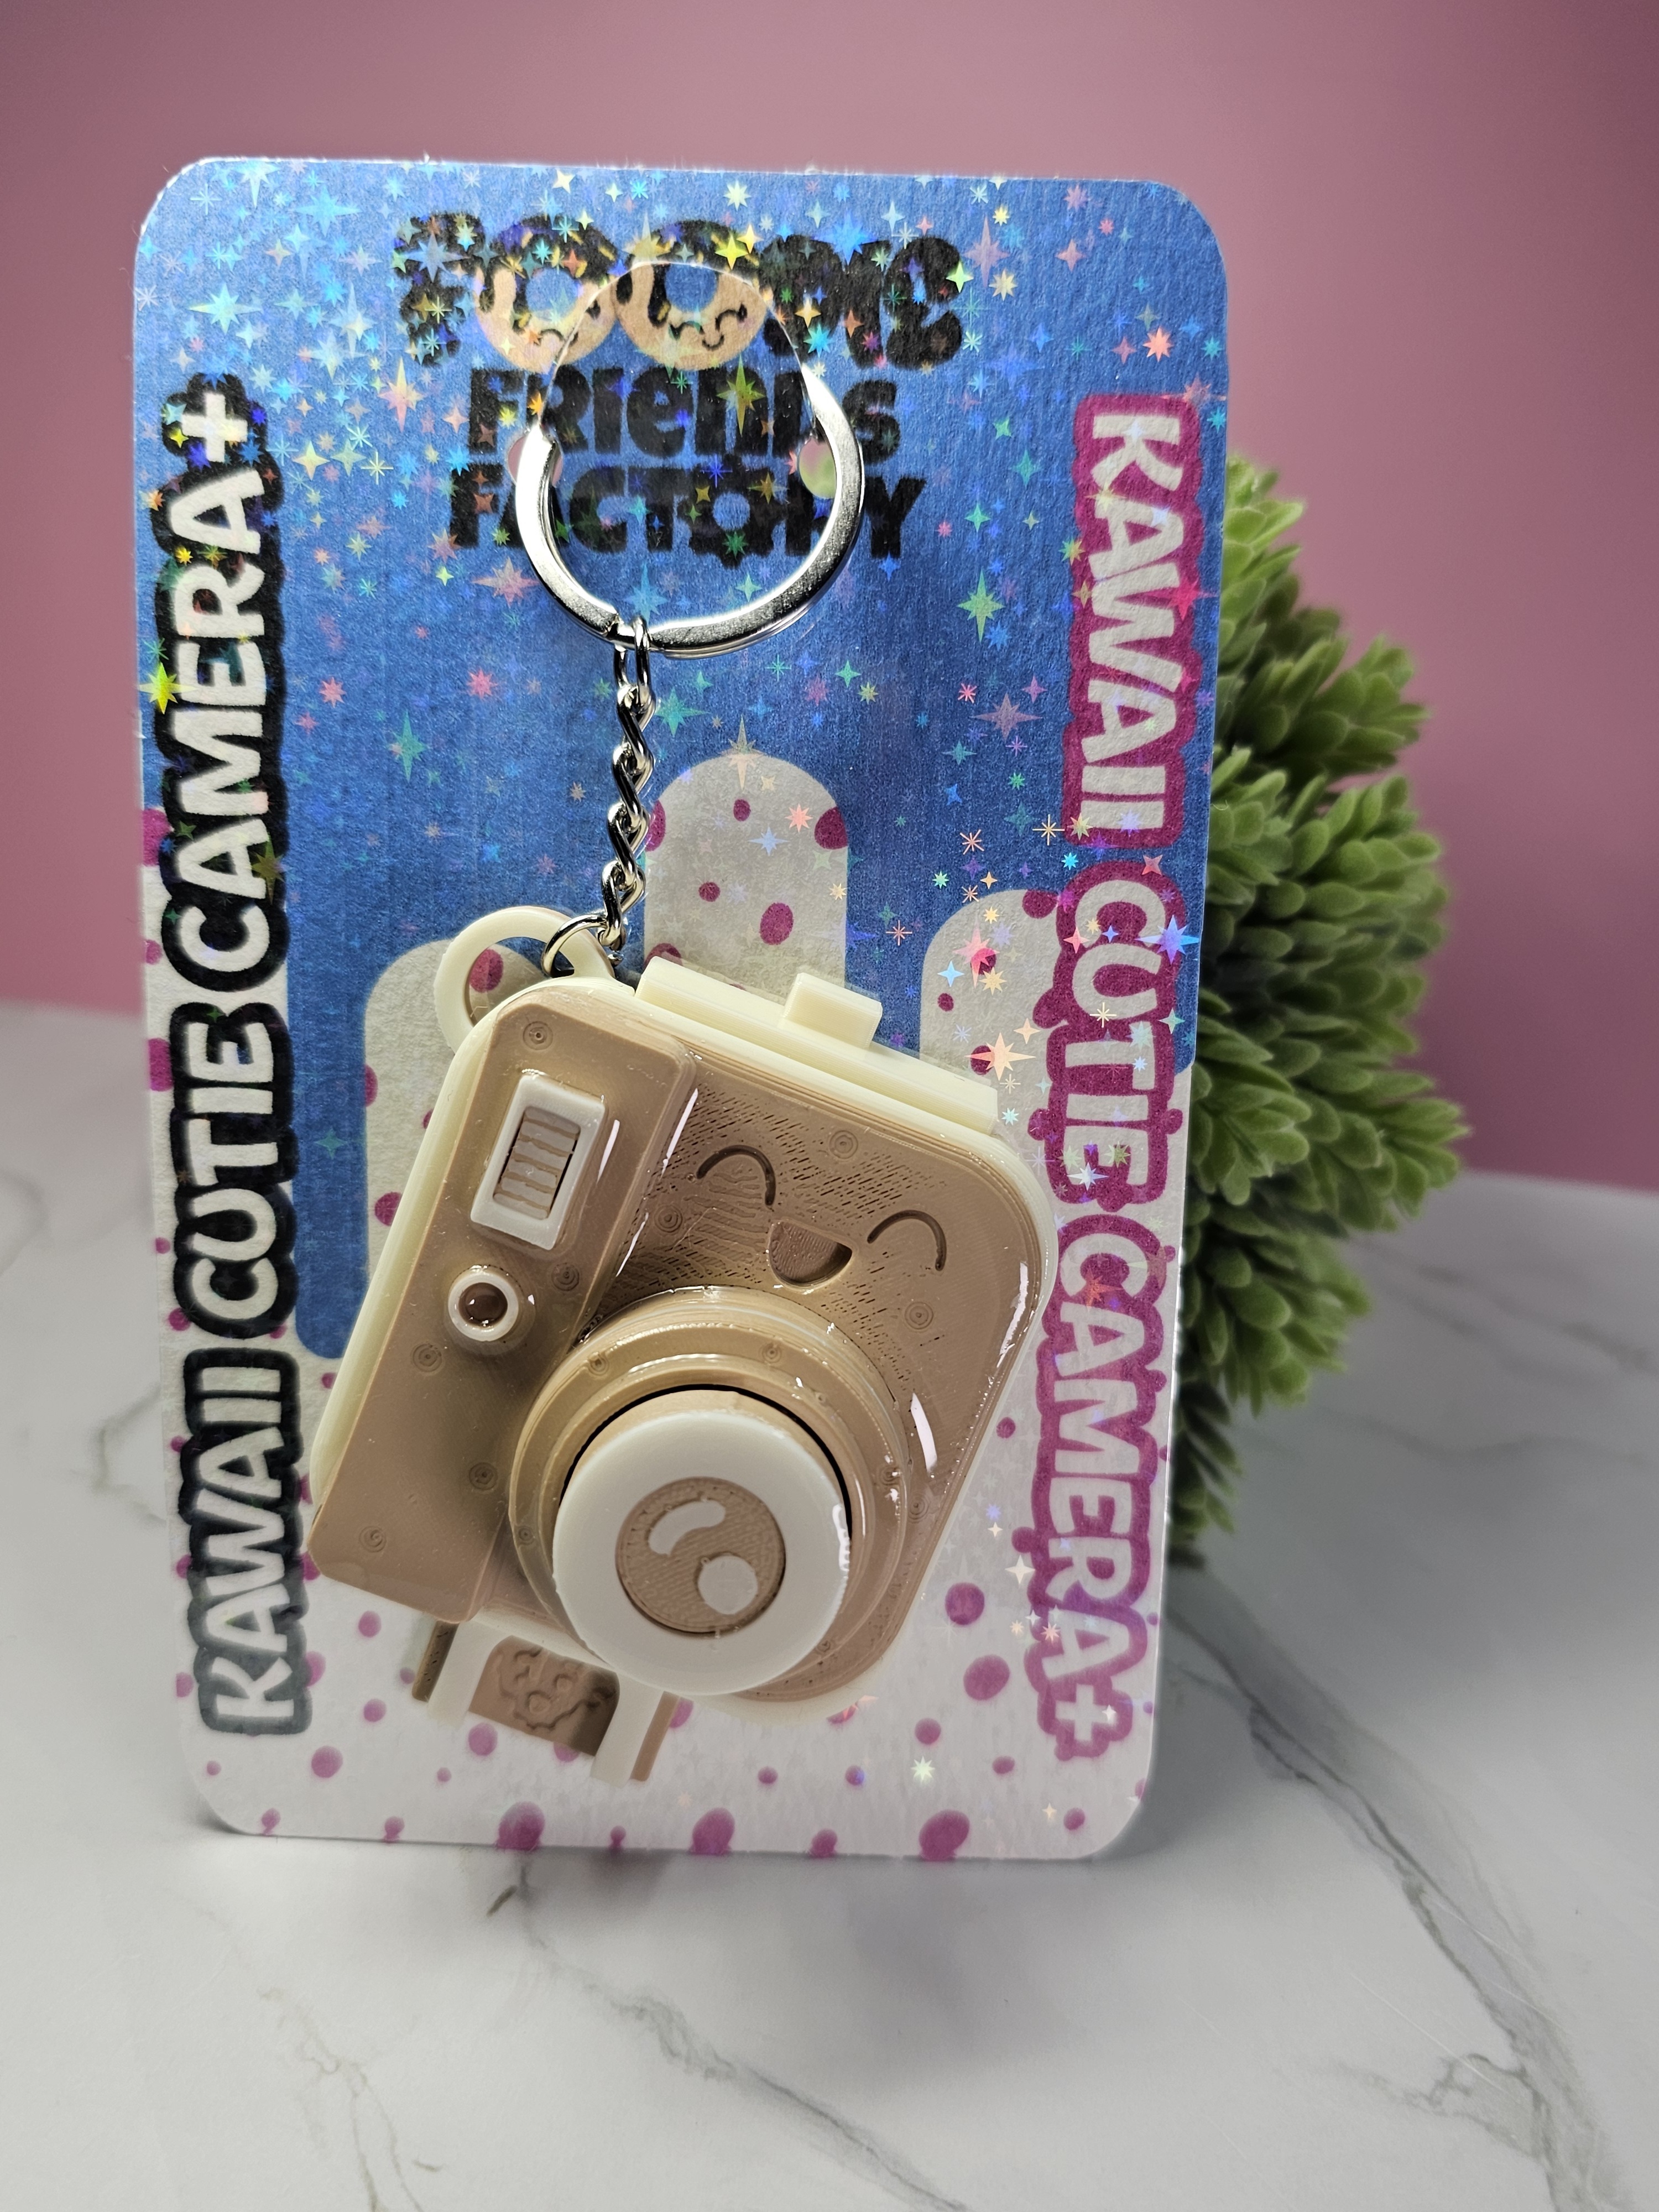
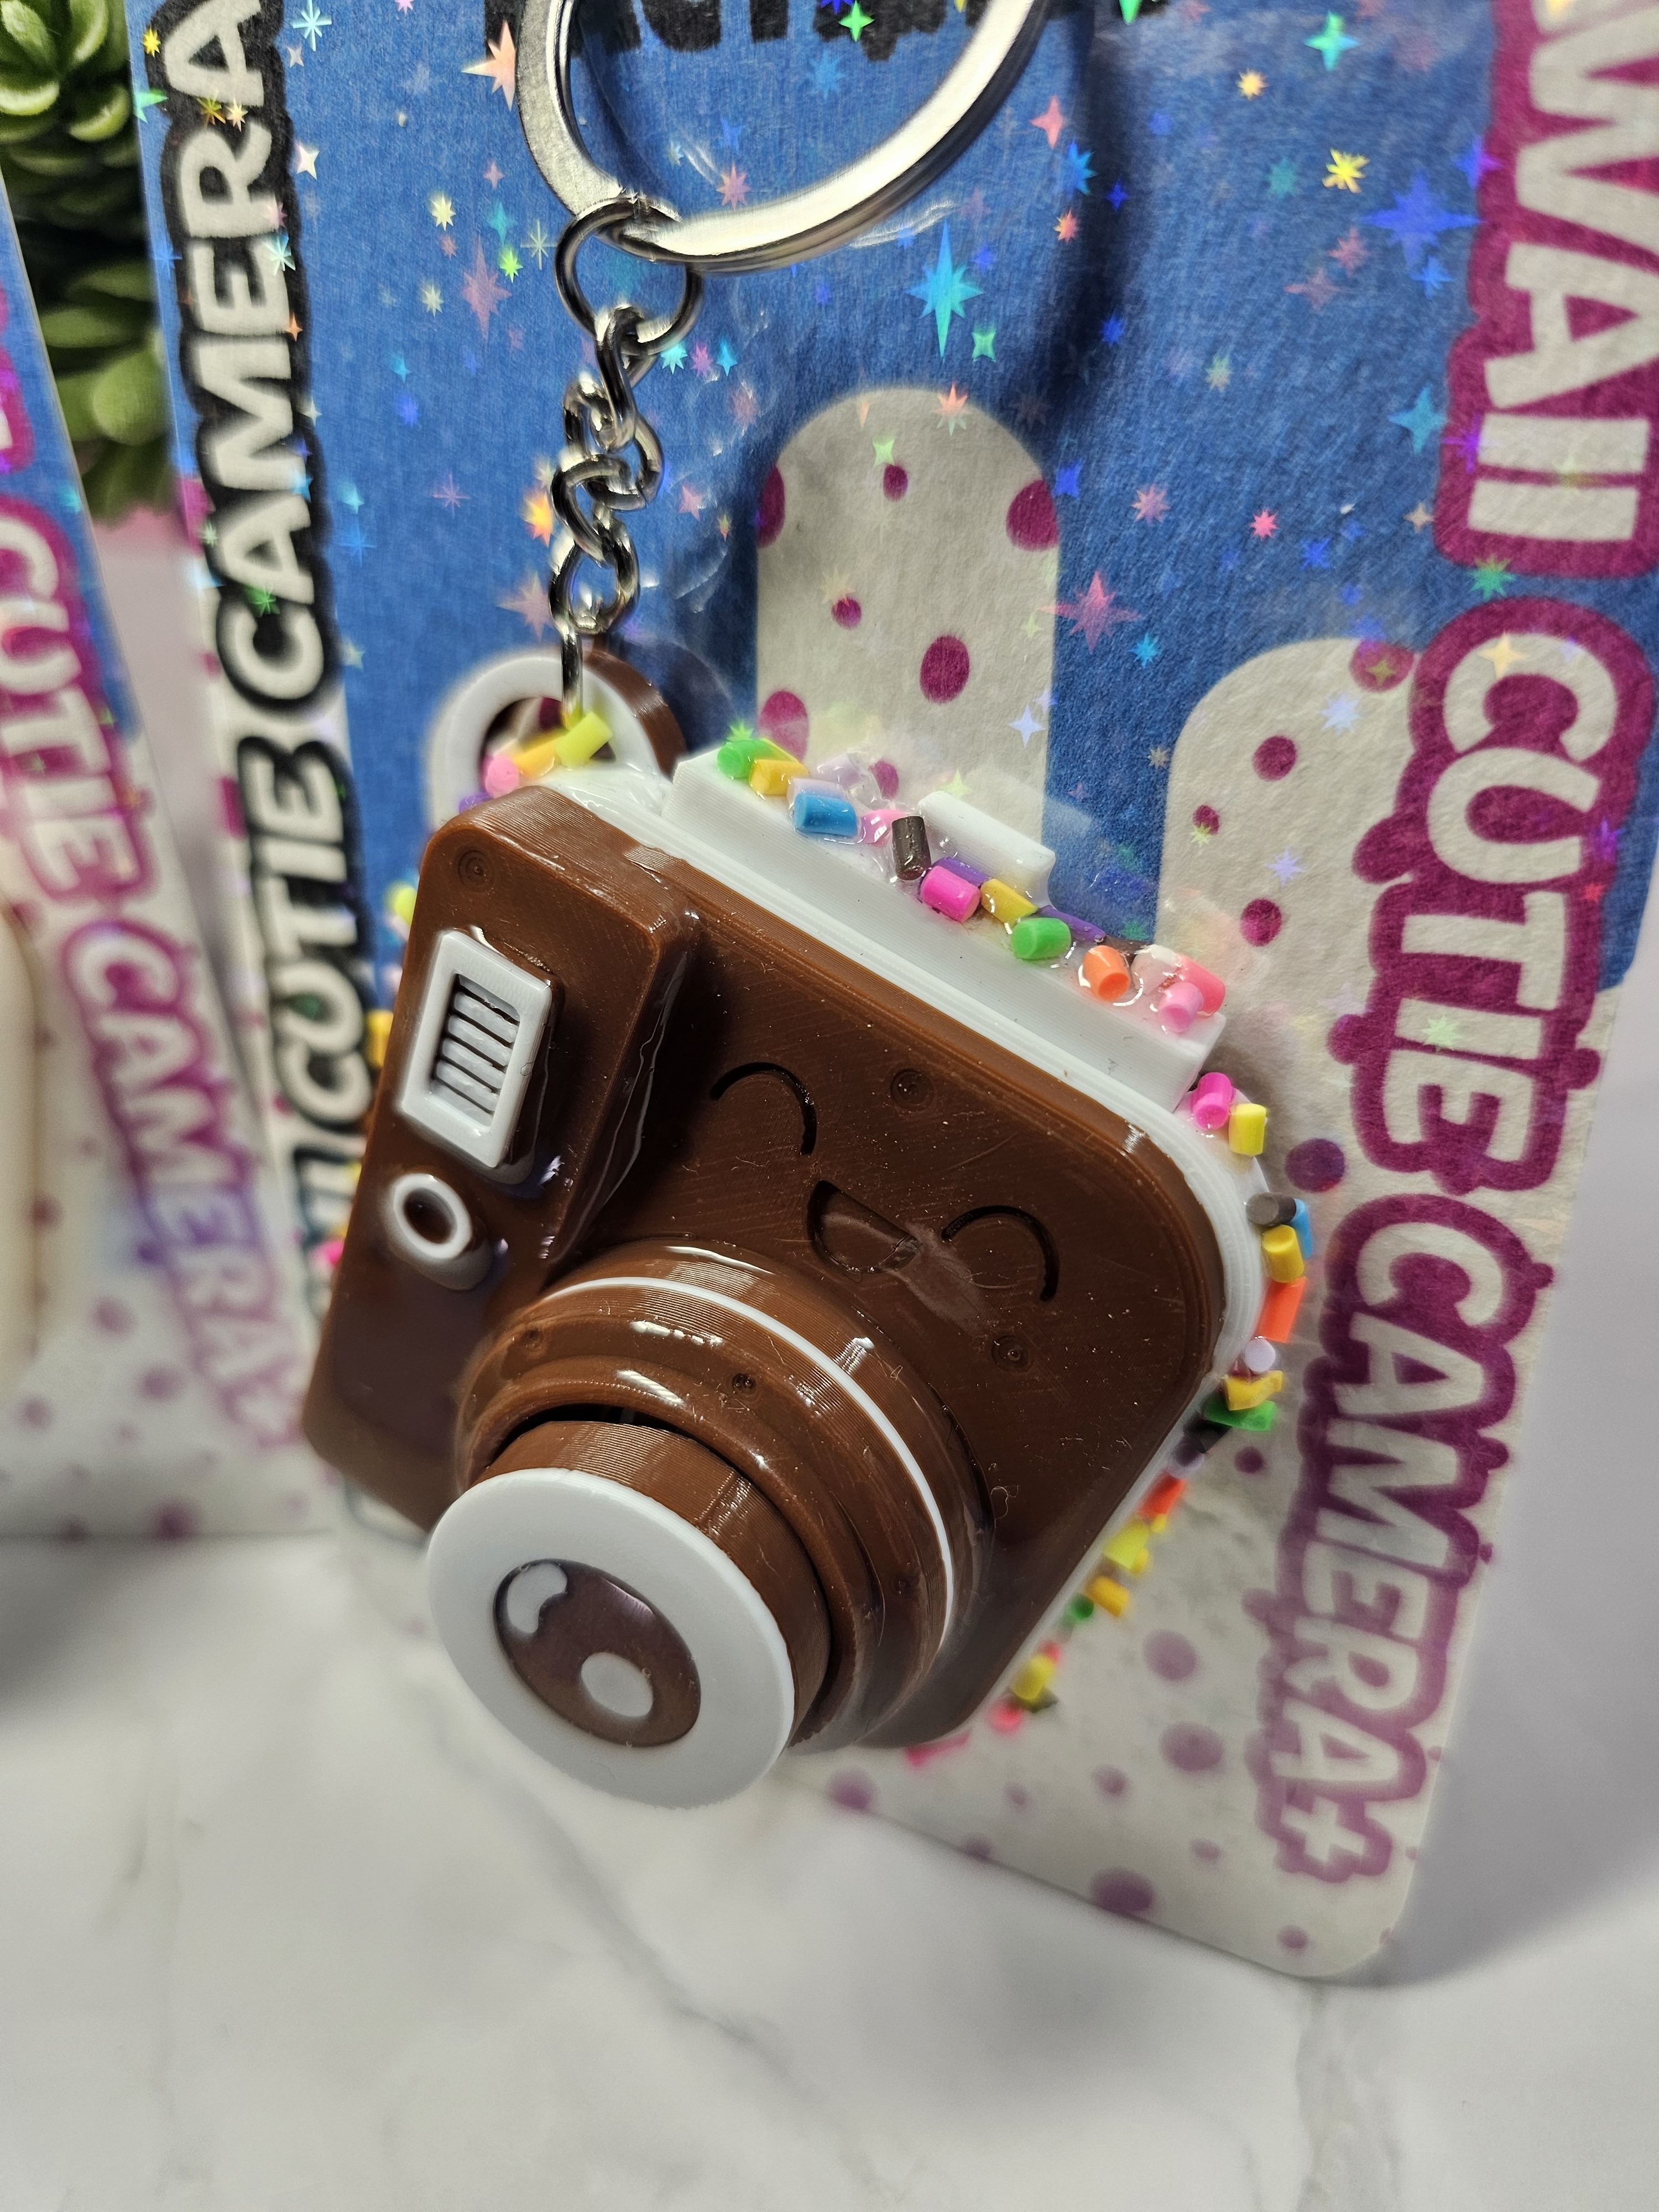
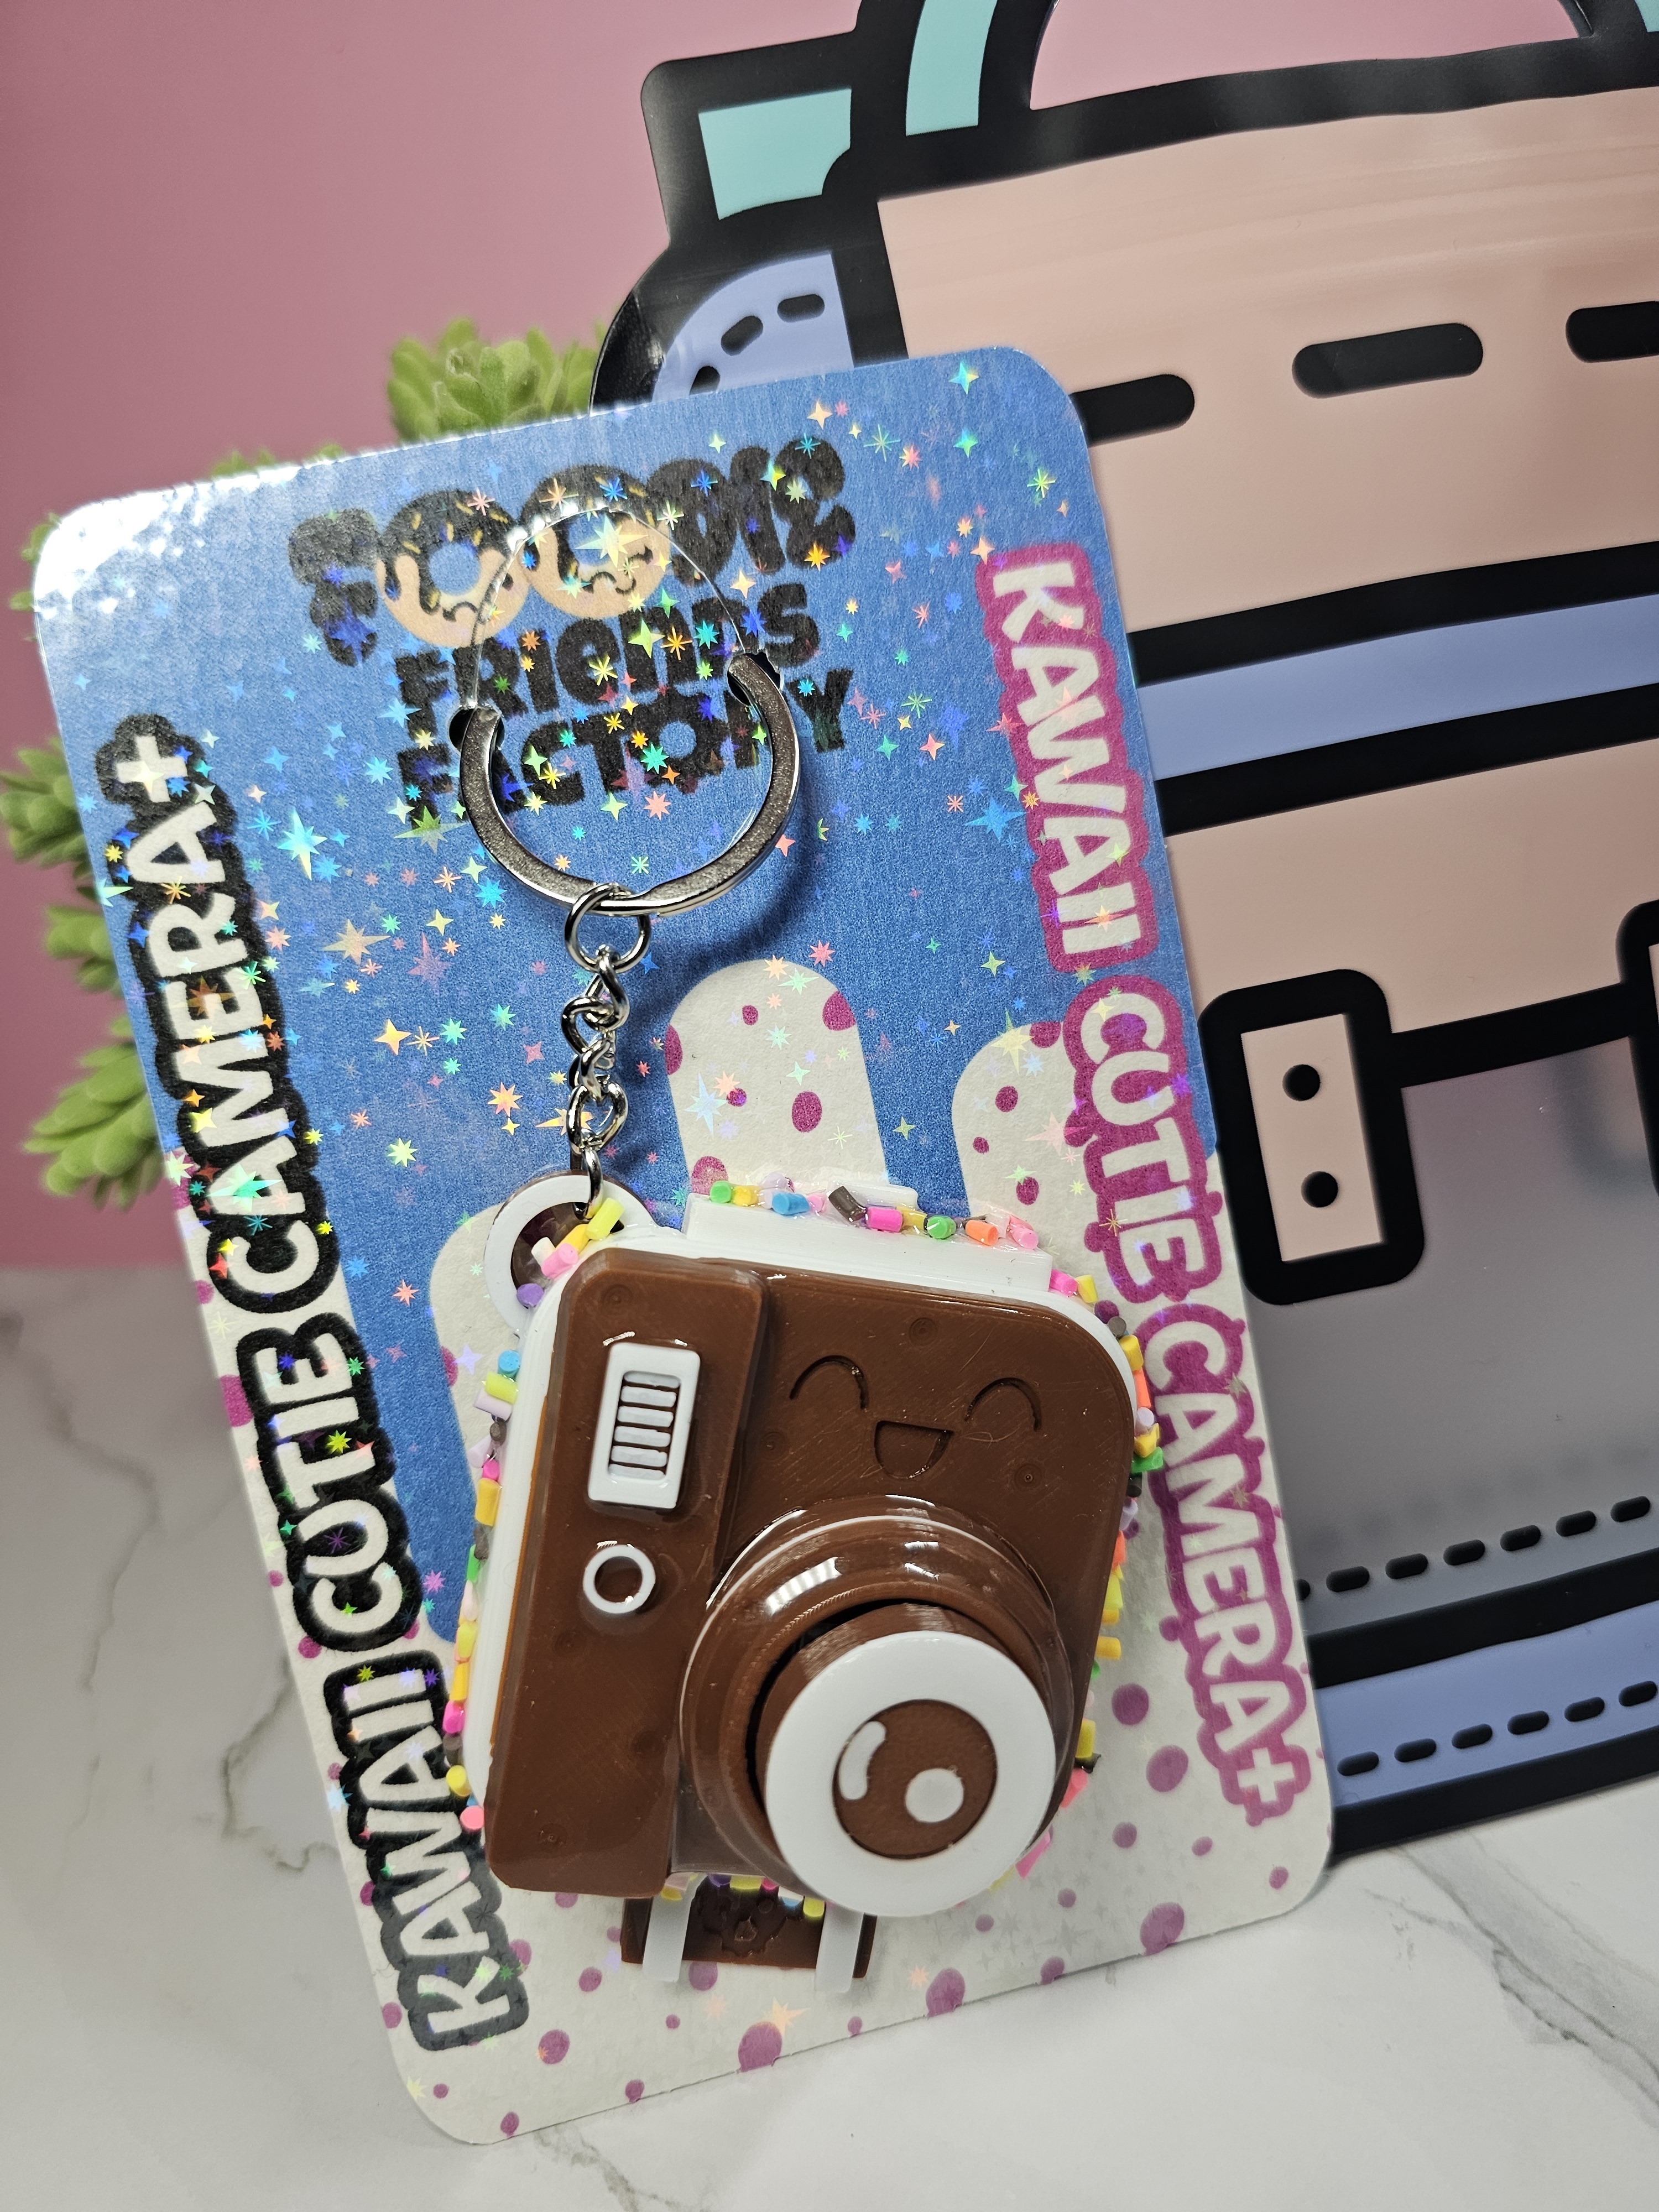
Prepare to fall head over heels for the Kawaii Cutie Camera Plus!*
• Shaped like an adorable ice cream sandwich camera with a sweet smile
• Includes a can tab opener and a clicker fidget lens
• Holds a single picture to hold life's most precious moments
• Provides a satisfying clicking sensation for endless fidgeting fun. Mechanical keys necessary to utilize clicker functions
This delightful gadget is the ultimate companion for photo enthusiasts, soda lovers, and fidget fanatics alike. Embrace your inner cuteness, capture unforgettable memories, open cans with ease, and indulge your need to click - all in one compact, candy-inspired package. The Kawaii Cutie Camera Plus is here to bring a smile to your face and a spring to your step.
*SPRINKLES NOT INCLUDED. THEY CAN BE MADE WITH CUT-UP PIECES OF FILAMENT OR BY PURCHASING RESIN SPRINKLES.
PLEASE NOTE, FOODIE FRIEND FACTORY MODELS CONTAIN SMALL PIECES THAT CAN BE A CHOKING HAZARD. THEY ARE NOT TOYS NOR ARE THEY DESIGNED FOR CHILDREN.
If you want to check out more of my prints or obtain a license to sell my prints, please visit my Patreon https://www.patreon.com/c/FOODIEFRIENDSFACTORY to access my commercial license or my cults3d profile to access my personal use ONLY models https://cults3d.com/@EllesHandmadeDesigns.
Personal-Use License
All Elle’s Handmade Designs products are protected under Copyright Law.
You are authorized to:
• Print and use the 3D prints of the 3D model for private use, in unlimited quantity.
• Share the images of your 3D prints of the 3D model on communication media such as social networks or websites.
What is not allowed:
• No commercial use or public sharing of the 3D model or STL;
• No modification or adaptation of the 3D model or STL for public sharing or sale;
• No distribution, sale, donation or exchange of the digital files of the 3D model.
To sell Elle’s Handmade Designs prints you must obtain authorization by joining the “Commercial/Merchant” Tier on my Patreon- FOODIEFRIENDSFACTORY link
If you like my designs feel free to follow me on Instagram link or Patreon. Stay Tuned! More fun and functional designs are coming SOON! https://www.instagram.com/elleshandmadedesigns?utm_source=ig_web_button_share_sheet&igsh=ZDNlZDc0MzIxNw==
3D printing settings
Orientation: Please use the original orientation of the objects. Changing the orientation will result in the model not functioning as designed.
Assembly Instructions:
1. Print your desired pieces and lay them on a flat service (model parts list below).
2. Place the Camera flat on its back. Take a Switch Key (link below) and snap it into the hole in the middle of the camera (this will only fit in one direction with the plus facing up).
3. Take your selected lens (PIP or IP: for IP glue the ring and lights to the lens base and let it dry) and snap the (+) into the (+) (I added a small drop of glue into ONLY the plus before I added my lens for extra security because it will be on my keys, but this is optional).
4. Add your jump ring, chain, and split ring (link below) to your camera ring.
5. Glue the Photo Holder inside the Holder Handle and let it dry. Print your favorite picture and cut it to size using the template (approx. 27.32mmx 38.1mm). You can also tape your picture to the insert for a tighter fit. Slide your picture/picture insert into the picture holder and snap it into the camera (the edges of the handle snap into the slot at the top of the camera).
6. Grab a cold can, open it and😊ENJOY!!!! – Best wishes, Elle
Note #1: If you do not choose to use the additional clicking switch keys, skip step 3 and glue the lens of your choice (IP or PIP) directly into the opening in the center of the camera and let dry.
Note #2: If your model piece is too tight/loose please decrease or increase the x and y axis by 0.1mm. Please be aware that uniform adjusting the scale may affect the fit of the model parts.
PIP – Print in Place
IP – Individual Print
Printing Specifications from Elle’s Test Prints
Printers Tested: Bambu A1 Mini
Filament: PLA
Supports: Yes
Layer Height/Resolution: 0.2
Infill: 7-15%
Walls: 2 (4 Walls: Camera and Photo Holder)
Infill Pattern: Gyroid
Ironing: Top Surfaces
Speed: 100%
Painted in Bambu: Yes
Approximate Total Time (per set): 1 hours 58 min. (Standard)
Approximate Filament Amount: 34.02g
Model Parts:
1. Camera
2. PIP Lens
3. IP Lens, Ring, Light Circle, and Light Curve (Optional)
4. Photo Holder
5. Photo Holder Handle
6. Photo Template
Additional Materials Link: Switch Keys for Mechanical Gaming link, Keychain Kit link
/https://fbi.cults3d.com/uploads/user/avatar/33686043/Picsart_24-06-08_03-11-04-142.jpg "EllesHandmadeDesigns")


:format(webp)/https://fbi.cults3d.com/uploaders/33686043/illustration-file/26b427cb-966d-478b-9866-c93528964caf/Picsart_25-01-05_01-57-53-419.jpg)
:format(webp)/https://fbi.cults3d.com/uploaders/33686043/illustration-file/49f16454-40b1-4408-9c6a-fc0cf6819415/Picsart_24-08-26_01-58-26-834.jpg)
:format(webp)/https://fbi.cults3d.com/uploaders/33686043/illustration-file/5361a579-14f1-4d0e-b799-f287e88f7c98/Picsart_24-10-20_04-18-40-254.jpg)