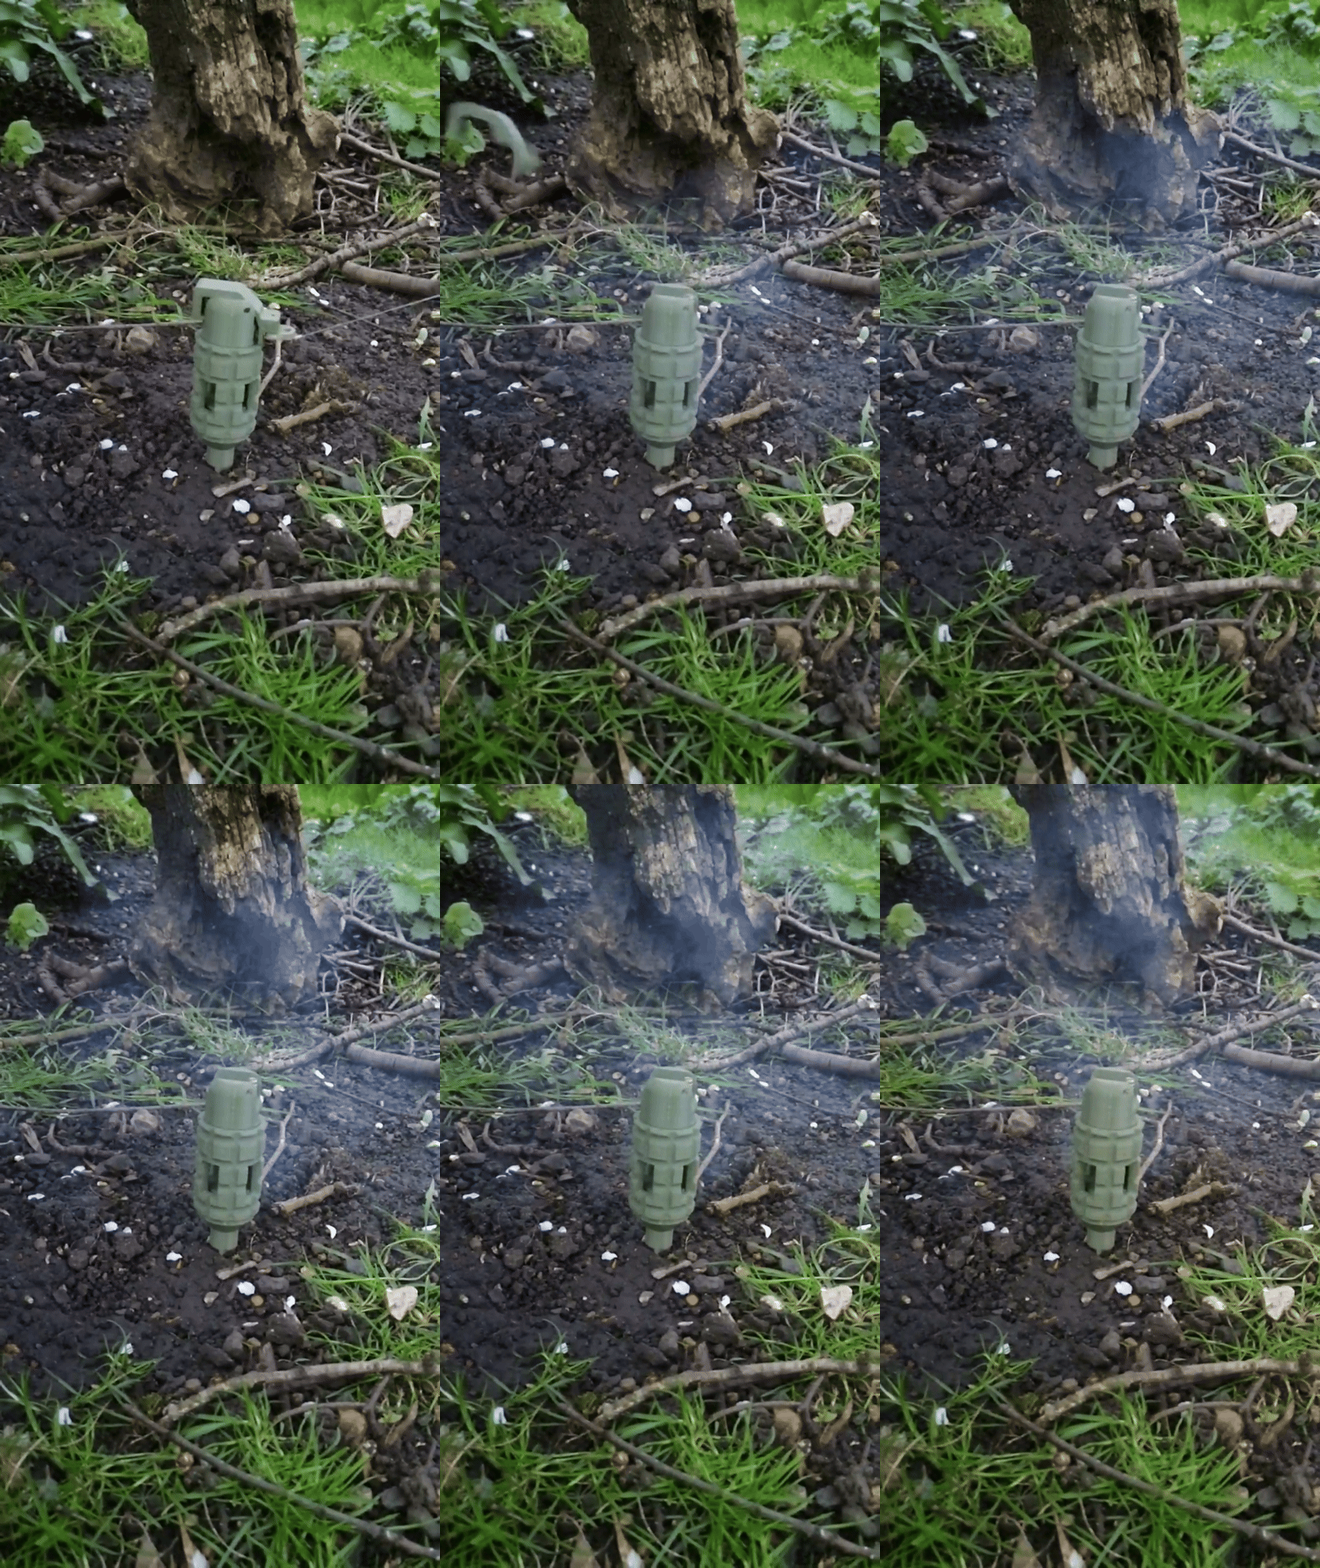
Airsoft Tripwire Land Mine Cap Gun Sound Land Mine "Sidewinder"
UPDATED FUZE DESIGN! The MK2 Sidewinder fuze head does away with the Spoon and ejector spring, as well as improving stability and wind resistance. The new Fuze does take a bit more force to fire, akin to real pull fuzes, but you can still set it off easily and noticing the tripwire whilst walking through it is still very difficult. The new fuze is also slightly lower profile and easier to cock too, along with the neater threads introduced into the Meteorite family. The breakaway tripwire is still used and the rest of the mine hasn't changed.
Updated fuze guide here: https://youtu.be/qnLULRZFWxI
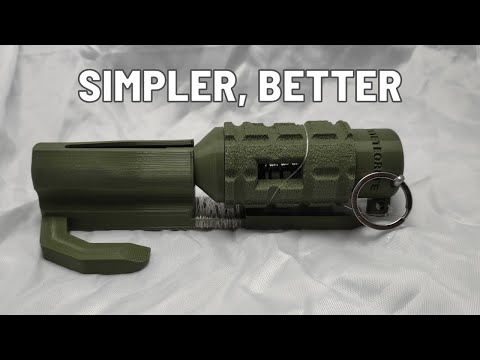
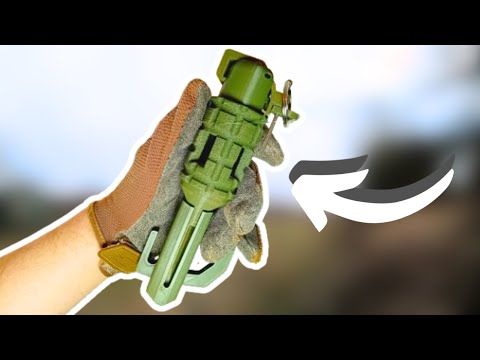
The Sidewinder, an airsoft tripwire-activated airsoft land mine which uses readily available cap gun 8 shot rings to make a loud bang when it's tripwire is disturbed. Ultra-compact but ultra-loud!
• Can be used for airsoft, gelsoft, paintball, Nerf, re-enactments etc.
• Spring-loaded tripwire-activated fuze, using a breakaway tripwire to avoid damage or trip hazards.
• Very cheap to run, cap gun caps can be found in many shops and online too.
• Easy to reset, no tools needed.
• Ultra-compact design for easy transportation, rapid to deploy.
• Designed to look as realistic as possible.
• Easy to print and assemble. Modular design allows for quick replacement of broken or worn out parts. Minimal hardware needed. You can use any pre-existing "Meteorite" Cap Carriages in this mine!
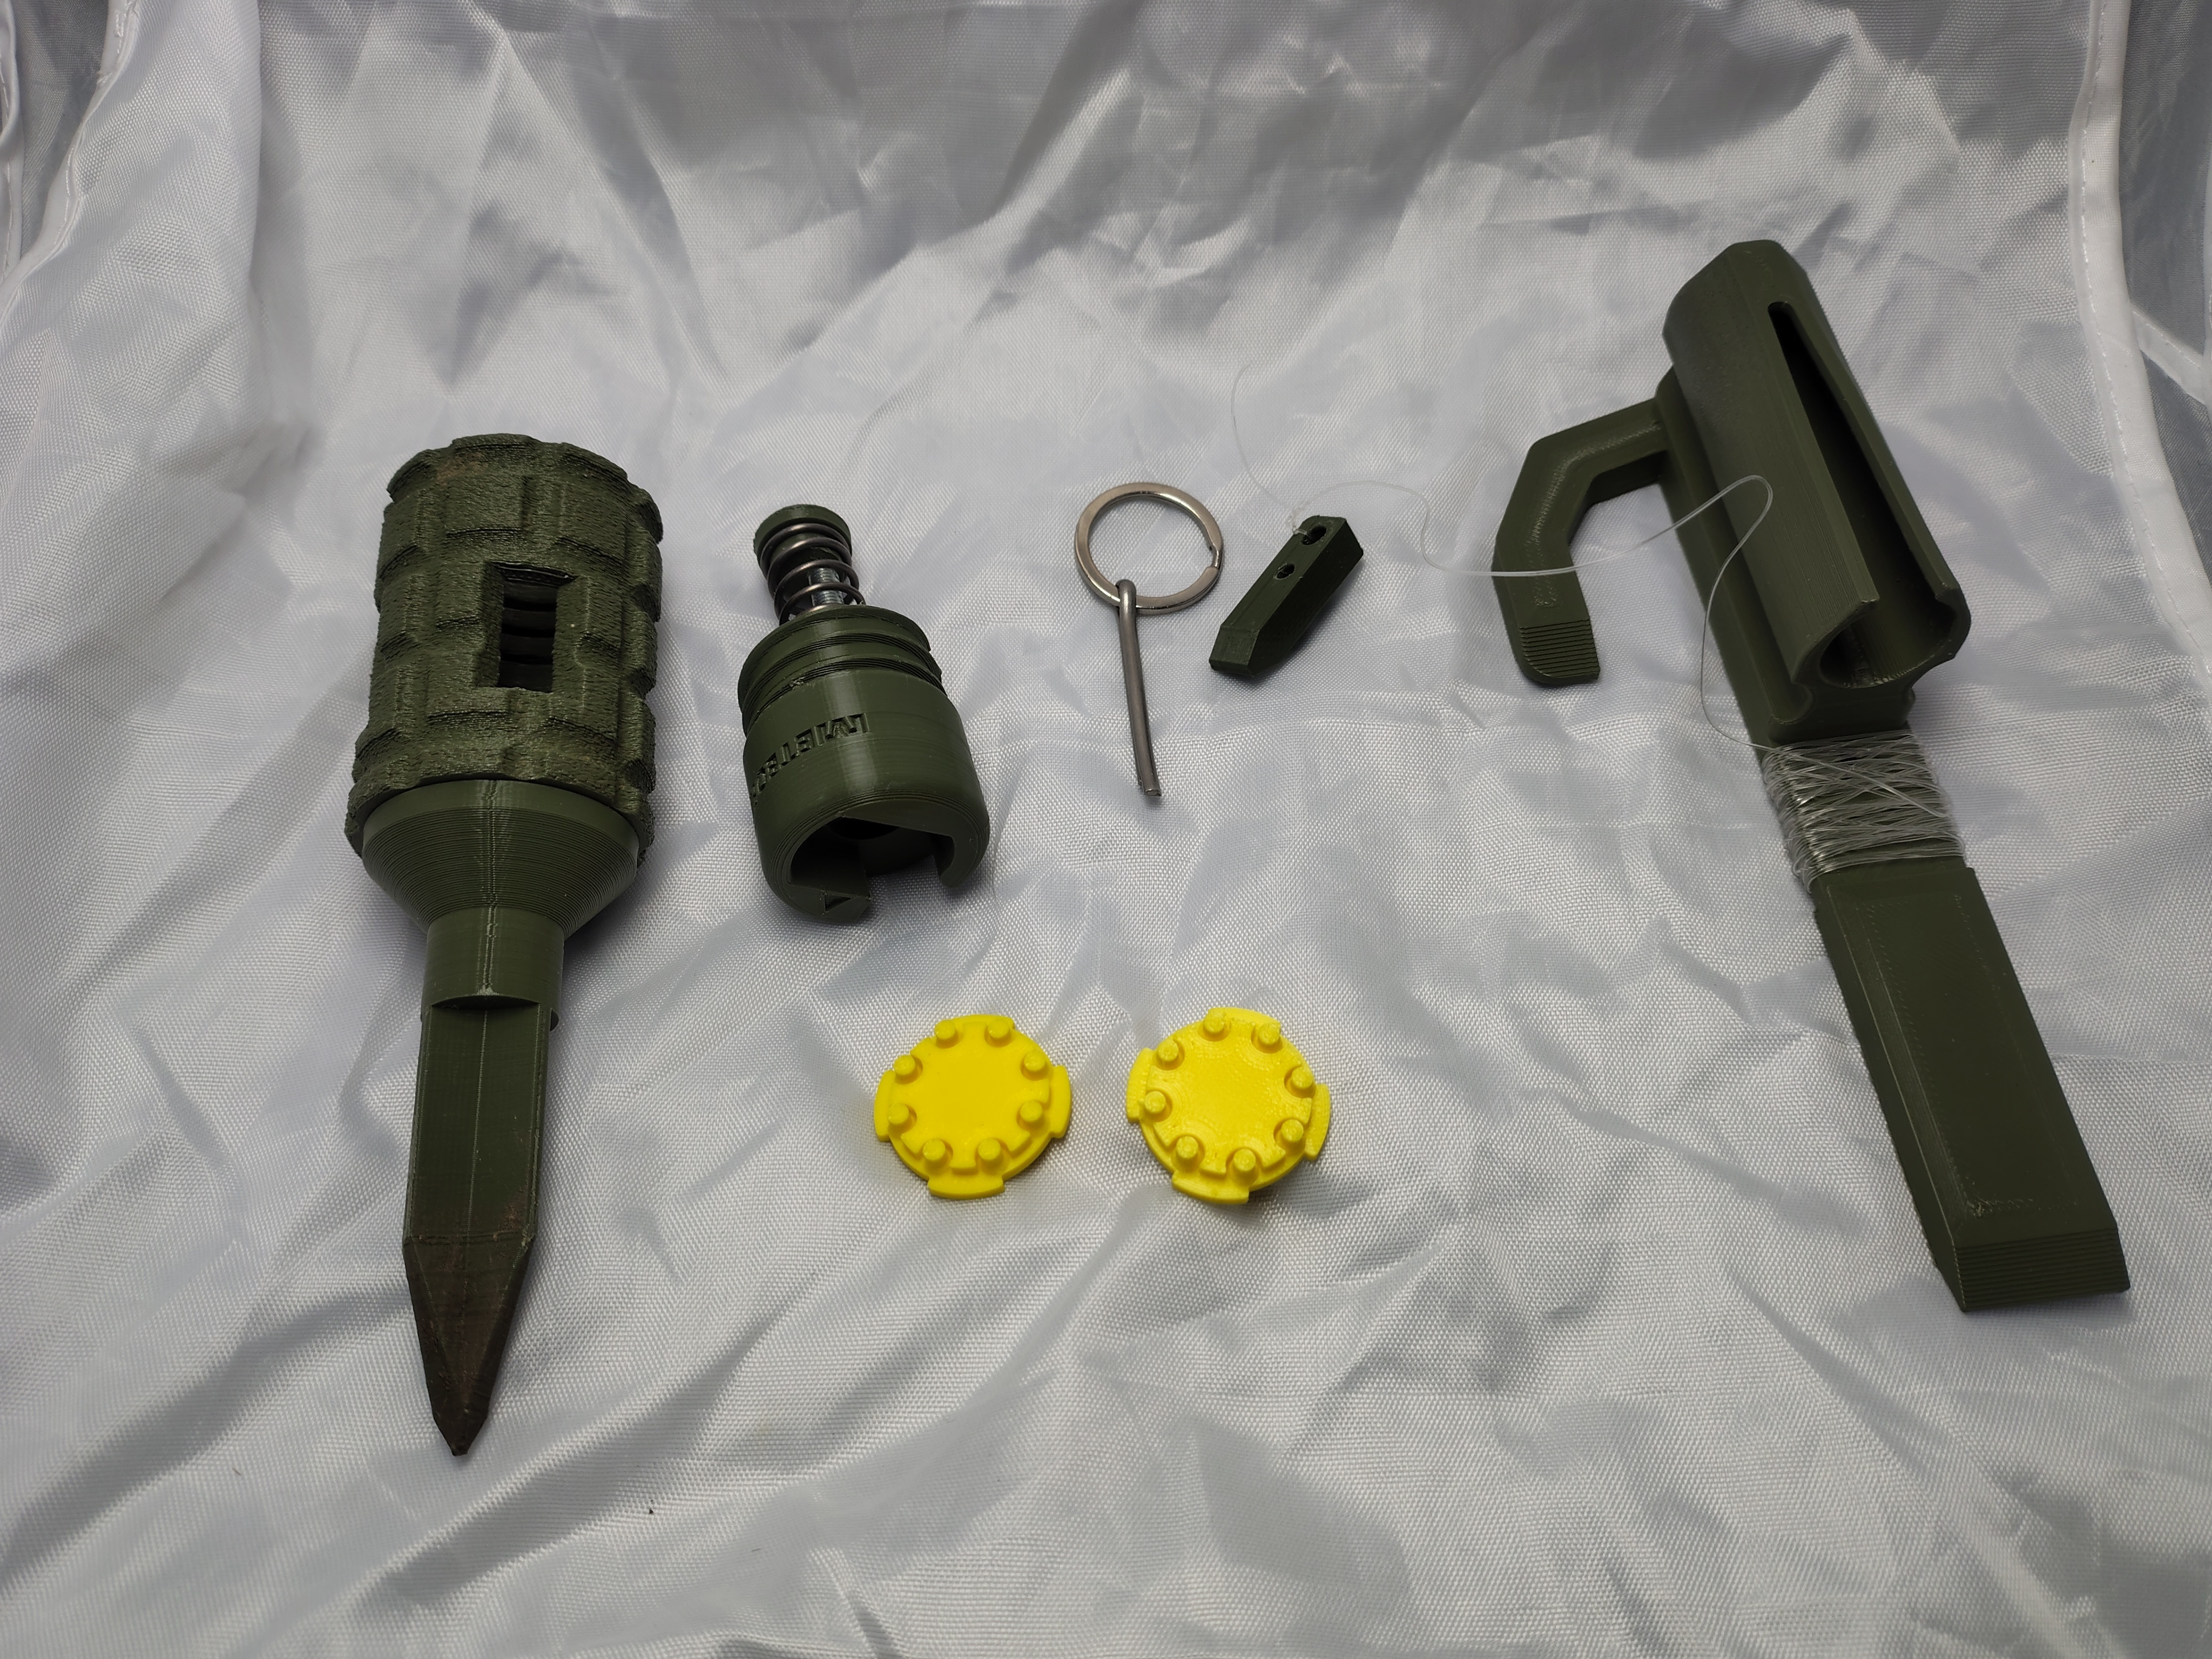
Non-printed parts list:
8 shot cap gun caps (obviously).
1x Cut down AEG spring (OD 14mm, ID 12mm MINIMUM), I recommend using an M110 airsoft AEG spring, I found that 35mm is the best length, don't worry about the leftover hooked end in fact the cut end helps dig into the plastic and hold it in place. Too weak of a spring won't strike the caps hard enough and too strong of a spring will make the Fuze more insensitive. An alternative is a 1.4x14x40mm spring cut down to around 37mm. The bent spring method isn't as important on the Sidewinder fuze.
1x M5x50mm Roofing bolt for the firing mechanism. Needs quite a low but wide truss head, 12mm head diameter maximum.
1x 3x32mm Cotter split pin for the safety pin. The pin hole diameter is 3.5mm. Splay the end slightly to help retain the pin inside the fuze,
1x Key ring for safety pin.
Tripwire line, either thin string or fishing line.
1X 4x17mm Pan head screw to mount the Ground Spike onto the Body.
Threadlocker, superglue or similar (recommended).
ASSEMBLY INSTRUCTIONS:
Print parts, remove supports and check fitting, some sanding and trimming of the Fuze head may be necessary. The Fuze and Body should screw together and undo relatively easily. The Cap Carriage should be able to drop inside the grenade body without getting stuck. The Striker's smaller end should fit inside the main spring.
Screw the M5x50mm bolt through the Sear. Make sure the Sear sits flush against the underside of the bolt head and the flat side of the Sear should sit against the underside of the bolt head. The bolt should cut it's own threads. Threadlocker is strongly recommended to prevent the sear spinning loose.
Pass the M5 bolt and Sear assembly through the top hole of the Fuze, the Sear and bolt should slide down through the hole without binding up. Take the cut M100 Spring and slide it over the bolt end sticking out of the bottom of the Fuze, the cut end should rest against the little step in the spring hole. Next take the Striker and screw the M5 bolt through the hole in the Striker, make sure the smaller end of the Striker fits inside the spring. The bolt should cut it's own threads. The spring should be sandwiched between the Striker and the Fuze base. It might be a little tricky. The bolt end should be flush with the bottom of the Striker. An M5 tap will definitely help for assembly.
The Striker hole is offset from the centre. This is intentional as you'll need to turn the whole bolt assembly until the larger area of the Striker is pointing the same way as the slot on the side of the Fuze. Once again make sure the cut spring end is sitting on the step inside the spring hole on the Fuze bottom. Make sure the arrows on both the Striker and Fuze point towards each other.
The Key can be tied onto the fishing line via the hole on the furthest end. The new style of fuze doesn't require any of the Spoon mechanism from the legacy system. The Key can be stowed away on the fuze whilst it's not cocked. The Key sits in the top of the fuze and the pin can be inserted into the fuze to hold the Key in place.
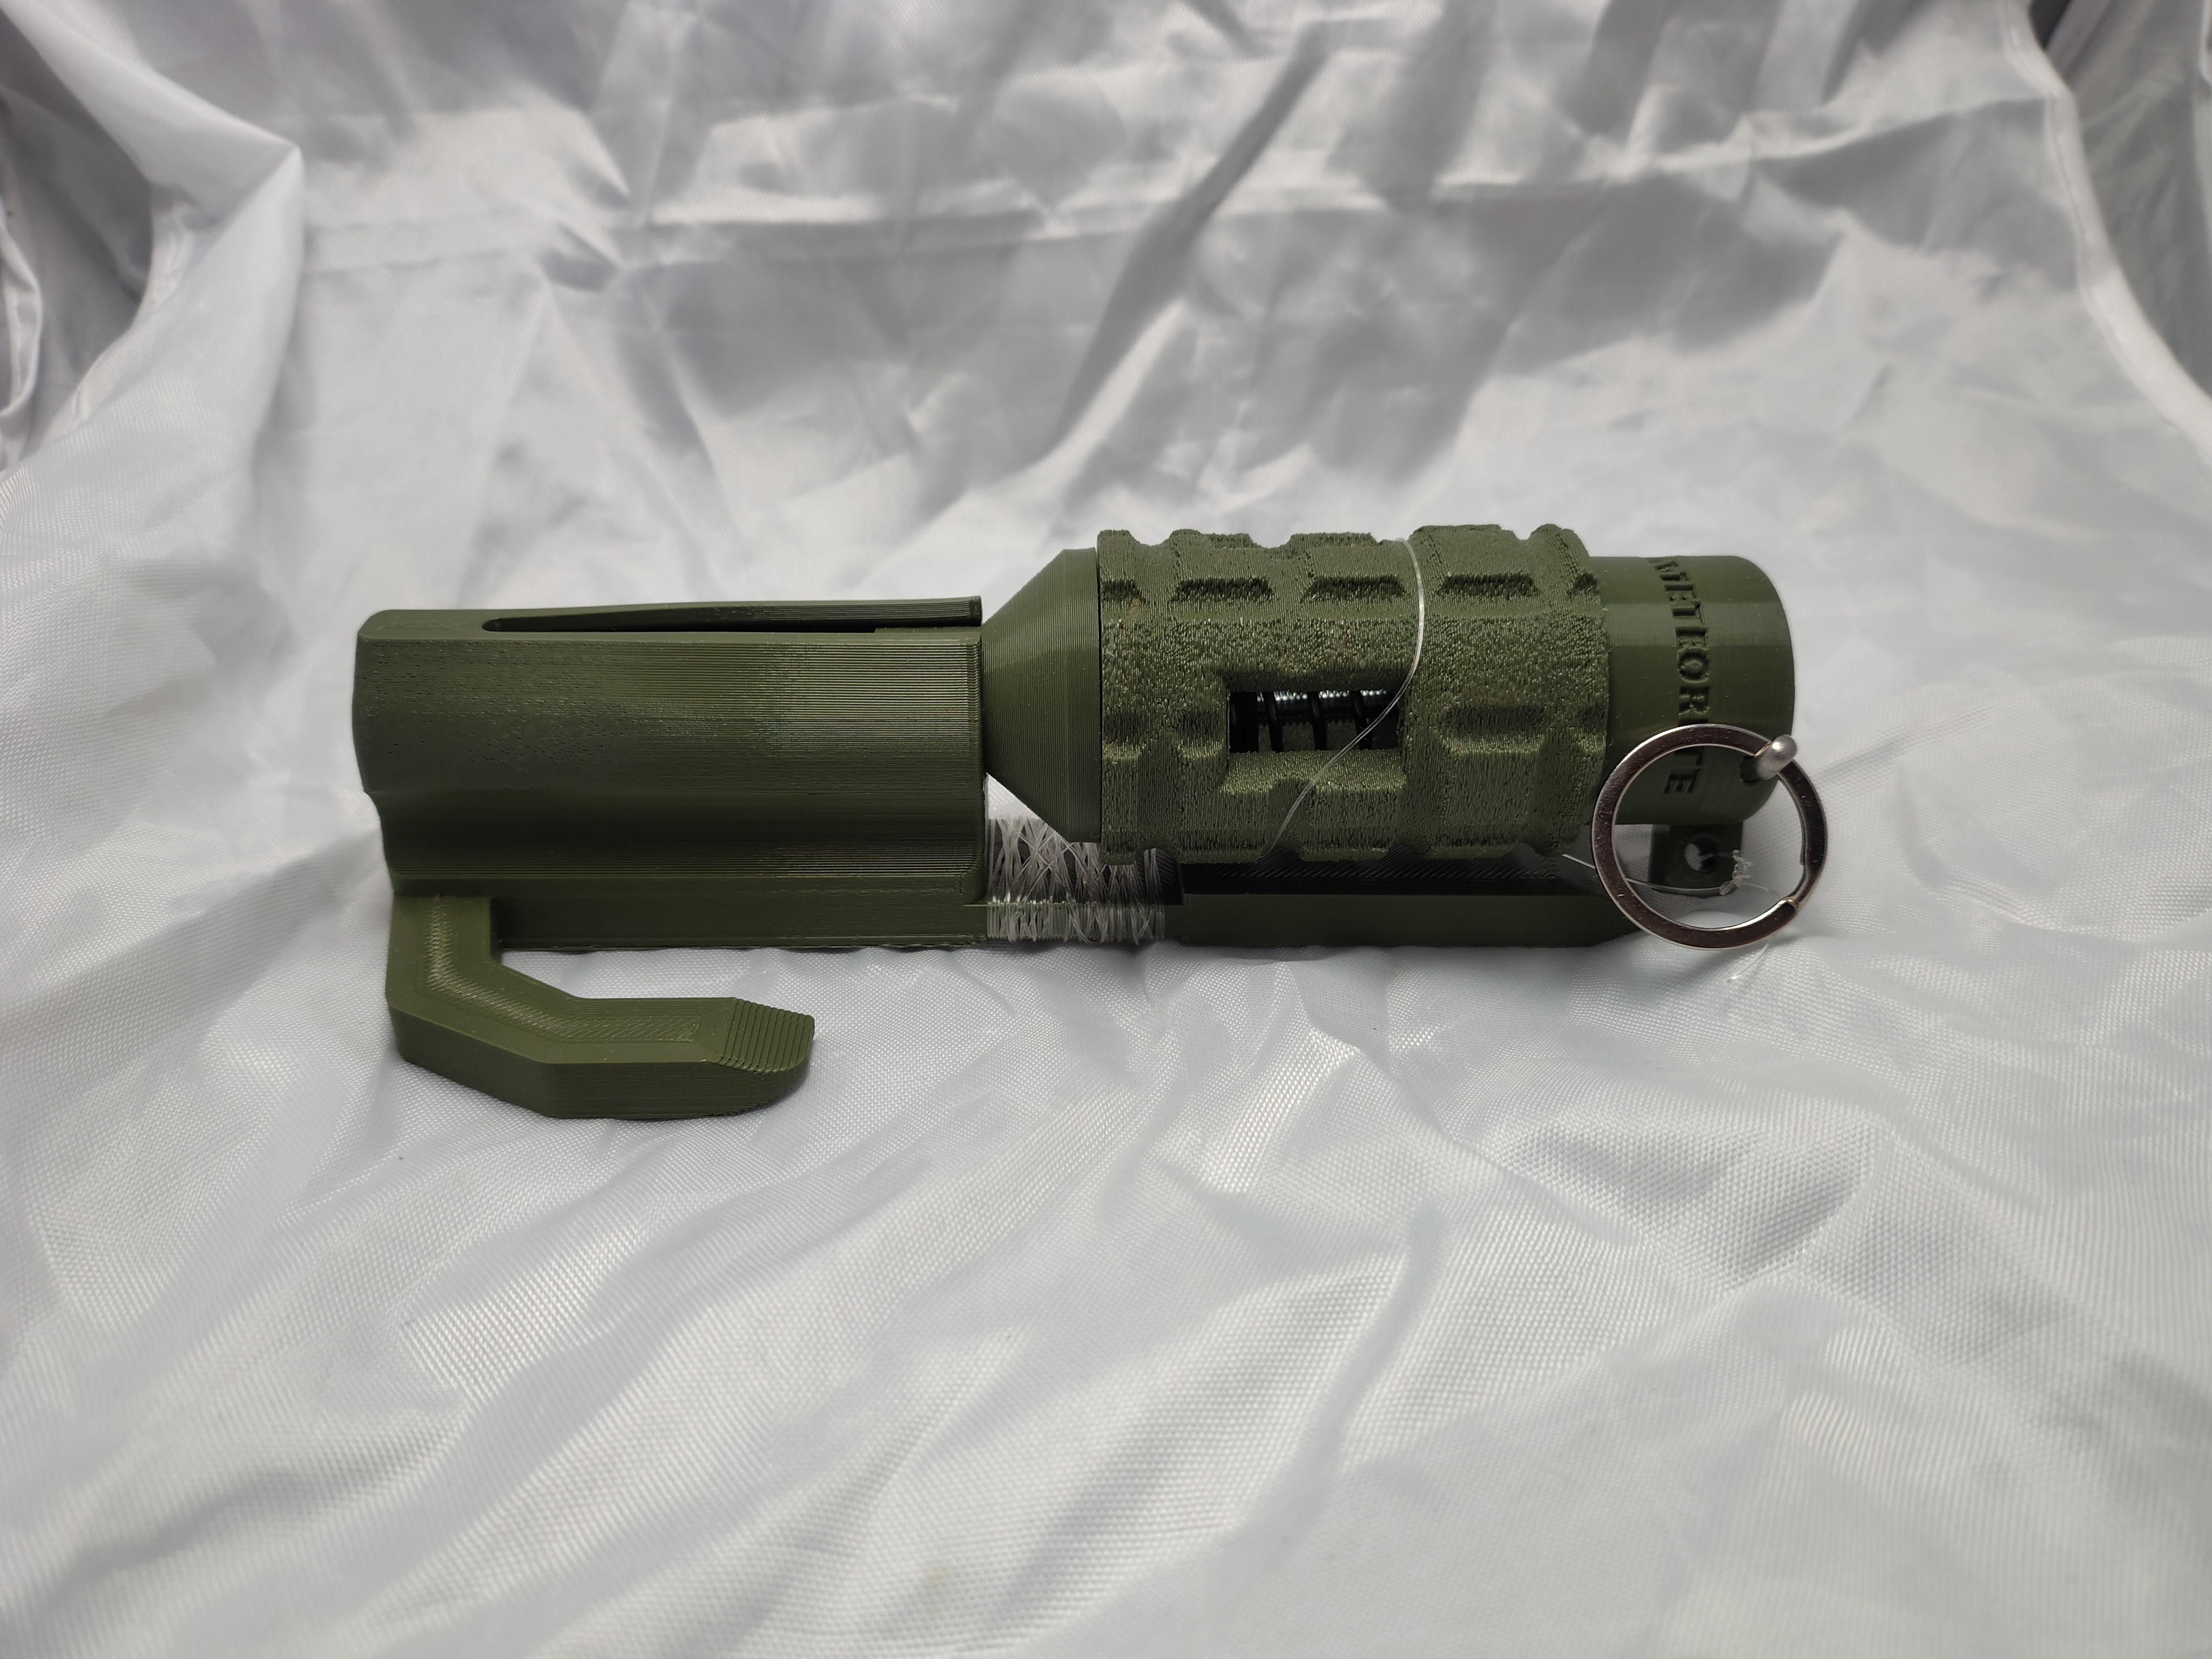
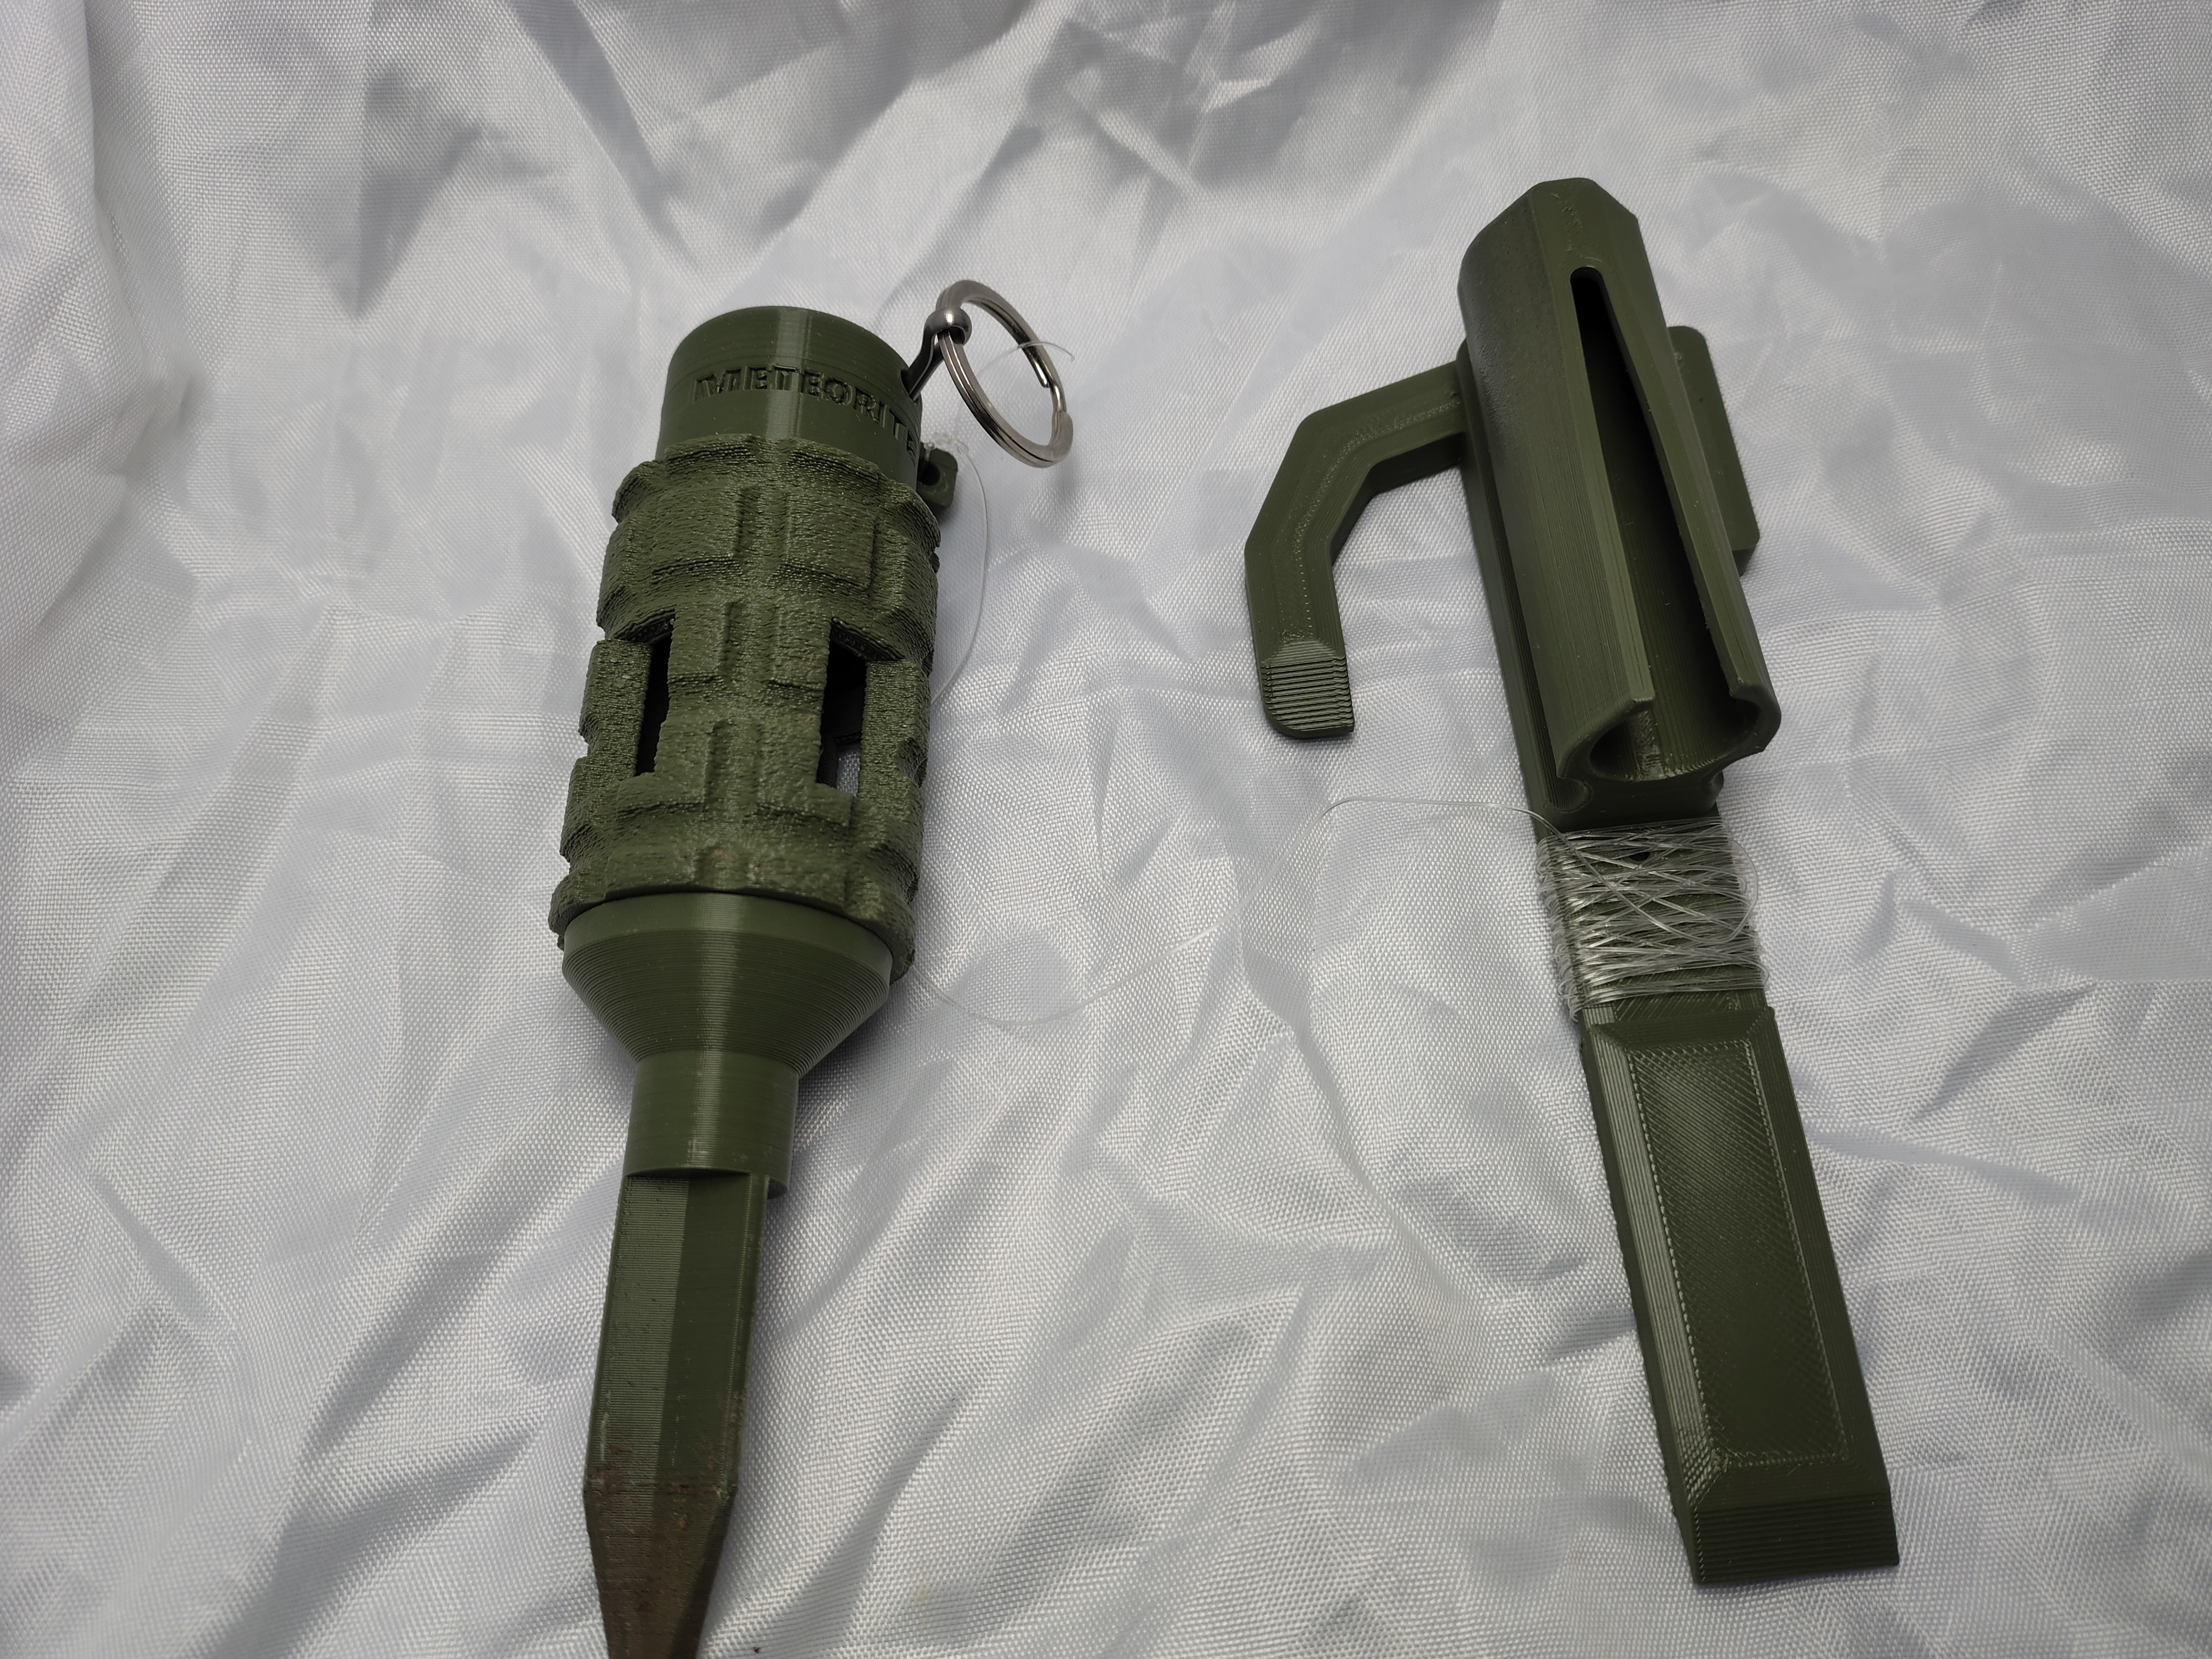
Next up, take the 4x17 screw and use it to fasten the Body to the Ground Spike. Tie one end of the trip-line to the small hole in the Spool and the other end onto the Key. Reassemble the mine but leave the Striker assembly uncocked. The trip-line can be wound around the Spool as shown. Once that is done you can then push the Ground Spike of the Sidewinder into the Spool to keep the Sidewinder system all together.
The Cap Carriage can be stored in the Body of the Sidewinder. The Sidewinder is complete.
Using the Sidewinder:
Remove the Spool from the groundspike and then remove the safety pin, the Key should fall out the fuze, unscrew the Fuze. Push up on the Striker to compress the spring and hold it there, the Sear should lean over away from where the Key normally sits, slide the Key between the Sear and the gap on the top of the Fuze, insert the safety pin so the end of it protrudes out of the Key, with the ends splayed you may need to gently turn the pin as you insert it. Gently press an 8 shot cap ring onto the Cap Carriage, you can be quite forceful but don't get too excited. Once the Cap Carriage is loaded, drop it into the Body, make sure the TOP side is facing upwards. If it's inverted you can jiggle the body until it's the correct orientation. Don't worry about the loose Cap Carriage, once the Fuze is screwed into the Body there is not enough space for the Cap Cartridge to flip. Screw the Fuze into the Body if you haven't already and then clip the Sidewinder into it's Spool
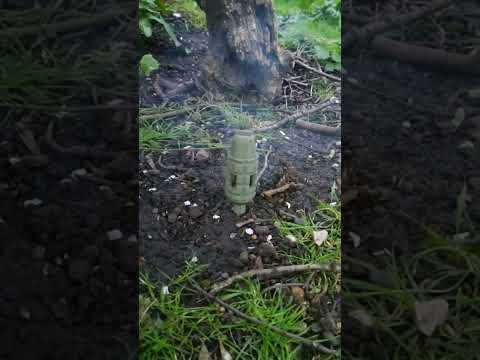
The Sidewinder is now loaded. Find an appropriate place to deploy the Sidewinder. Pull the Sidewinder out of the Spool and stick the Sidewinder into the ground, feed out trip-line from the Spool and anchor the Spool, you can hook it onto things, stick it into the ground or even tie it to an objective i.e. a briefcase. Remove the Safety Pin slowly, the Sidewinder is armed. It will fire once the tripwire is pulled with sufficient force.
With a ring of 8 caps firing at once the Sidewinder is very loud, surprisingly loud, arguably comparable to most airsoft disposable pyro grenades.
For airsoft use ONLY. Use only on private land with permission or at a proper airsoft site. Use responsibly, I'm not responsible for any harm or damage from misuse or malicious use of this device. Check with your airsoft site first. Keep away from ears, this is still a noisemaker at the end of the day. Do not use in confined spaces. Unload/disarm before entering safezones. Wear face protection when playing airsoft. Do NOT store or transport loaded. FOR CAP GUN CAPS ONLY! DO NOT MODIFY FOR ALTERNATIVE AMMUNITION!
I do not authorise reselling of this design, physical or electronic.
Caps, bolts, springs, threadlocker, screws, trip line, pins and key rings not included.
:format(webp)/https://fbi.cults3d.com/uploaders/21489582/illustration-file/87cf63e5-9e63-4c48-8d66-492f52a64eab/LOUDAirsoftTripMineSidewinder3D-PrintedCapMineshorts-ezgif.com-video-to-gif-converter.gif)
/https://preview3d-images.cults3d.com/7swsx578rcdhahgns2y16suhvb2m)
/https://preview3d-images.cults3d.com/i3hlegz16iukcs4kazbrvjhhfx7l)
/https://preview3d-images.cults3d.com/ywp3r1ry4asr6ioqimwvgd0pm6b8)
/https://preview3d-images.cults3d.com/ev329r29sjvc43uybgv51ge2xia2)
/https://preview3d-images.cults3d.com/oopz5l602o4tpegugalbkhkth8e9)
/https://preview3d-images.cults3d.com/ybch83aj3t4xmi117ufw3rntjbsa)
/https://preview3d-images.cults3d.com/ihdtg85akikhxz4mq282evff4ziz)
/https://preview3d-images.cults3d.com/ygdghj4yevanp0cu551ciecntq1e)

/https://preview3d-images.cults3d.com/dwnn438v1im1xa5l8t9pqo6hmru7)
/https://preview3d-images.cults3d.com/6cyo3qy19hhvj7sxsk439wc4elr0)
/https://preview3d-images.cults3d.com/r73r3tsqai21fgqnjev4xla0p9yf)
/https://preview3d-images.cults3d.com/zpg7tq3592thsa739jot81wcvp0b)
/https://preview3d-images.cults3d.com/p3h3up6t845zerladxmeccgok2uh)
/https://preview3d-images.cults3d.com/fht9vit8ny2rqpr01ivb4o1q4j37)
/https://preview3d-images.cults3d.com/mfz631gdy0nnil04xgp6jcnu2dgw)
/https://preview3d-images.cults3d.com/jtxy31taawj8flaz9v637pp41r8i)
/https://fbi.cults3d.com/uploads/user/avatar/21489582/new_ICon.png "FulcrumAirsoft")


:format(webp)/https://fbi.cults3d.com/uploaders/21489582/illustration-file/6fb3a6b0-a595-4e7d-8a84-7d882bdfdce9/IMG_20221213_175902.jpg)
:format(webp)/https://fbi.cults3d.com/uploaders/21489582/illustration-file/ff82199e-54cc-49c6-9163-049cd508b689/IMG_20230216_144731.jpg)
:format(webp)/https://fbi.cults3d.com/uploaders/21489582/illustration-file/7a186fe6-4c8a-4701-aecc-bf377b6c5a0f/ezgif.com-video-to-gif-11.gif)
:format(webp)/https://fbi.cults3d.com/uploaders/21489582/illustration-file/fae79b99-2005-4368-8162-c6c5a7cf3065/IMG_20231107_143213.jpg)
:format(webp)/https://fbi.cults3d.com/uploaders/21489582/illustration-file/d72400f1-ab74-4aeb-8d32-de25d86d40ef/Snake-Nest.png)
:format(webp)/https://fbi.cults3d.com/uploaders/21489582/illustration-file/bc521e3e-4920-4f8a-9eeb-c7a4cfc4a4ff/20240522_235015.jpg)
:format(webp)/https://fbi.cults3d.com/uploaders/21489582/illustration-file/4661ec99-4797-4f2f-ad15-c26133387dee/GIF-ezgif.com-video-to-gif-converter.gif)