Description
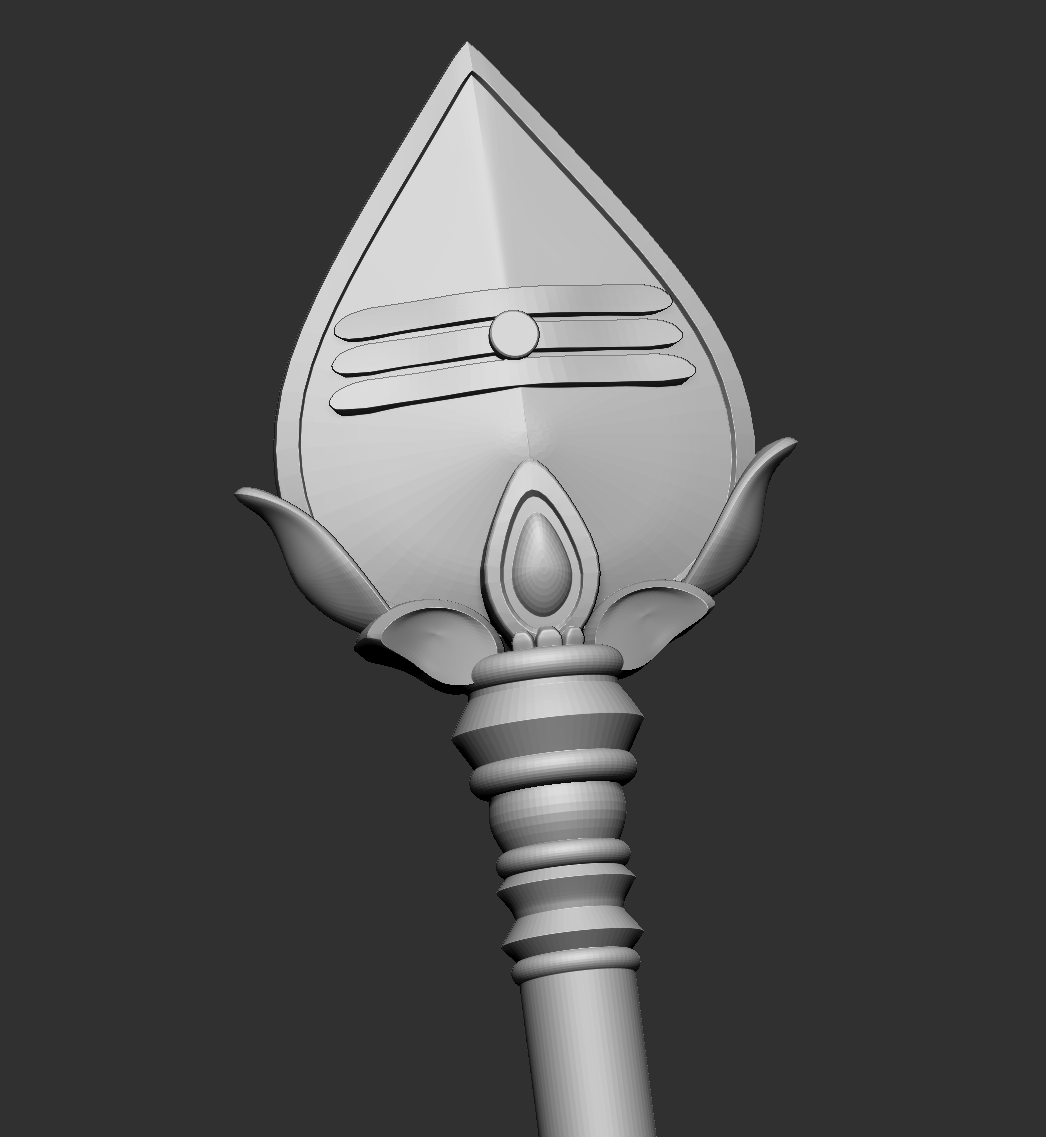
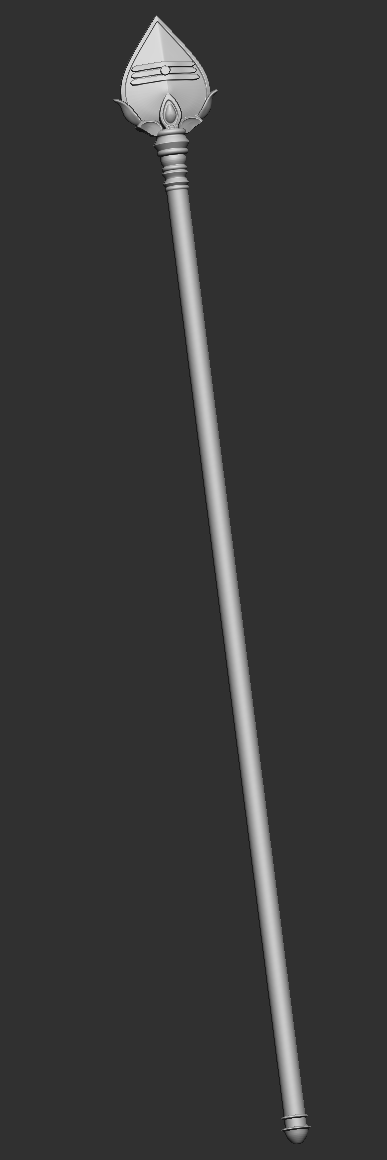
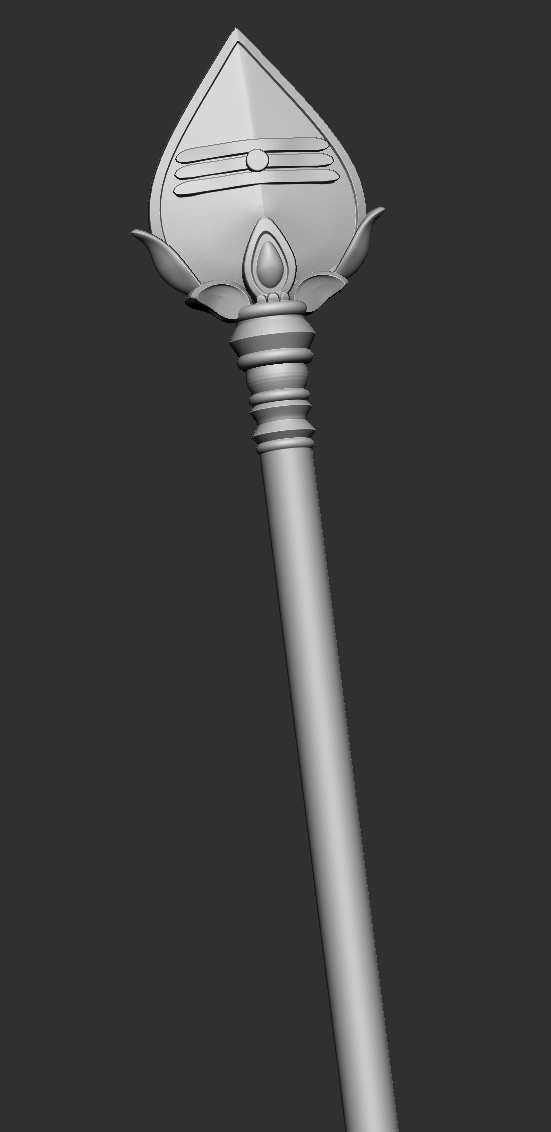
Bring the divine symbol of Lord Murugan's Vel to life with this beautifully designed multi-part 3MF model. Inspired by traditional South Indian temple craftsmanship, this sacred spear is optimized for easy FDM printing and assembly.
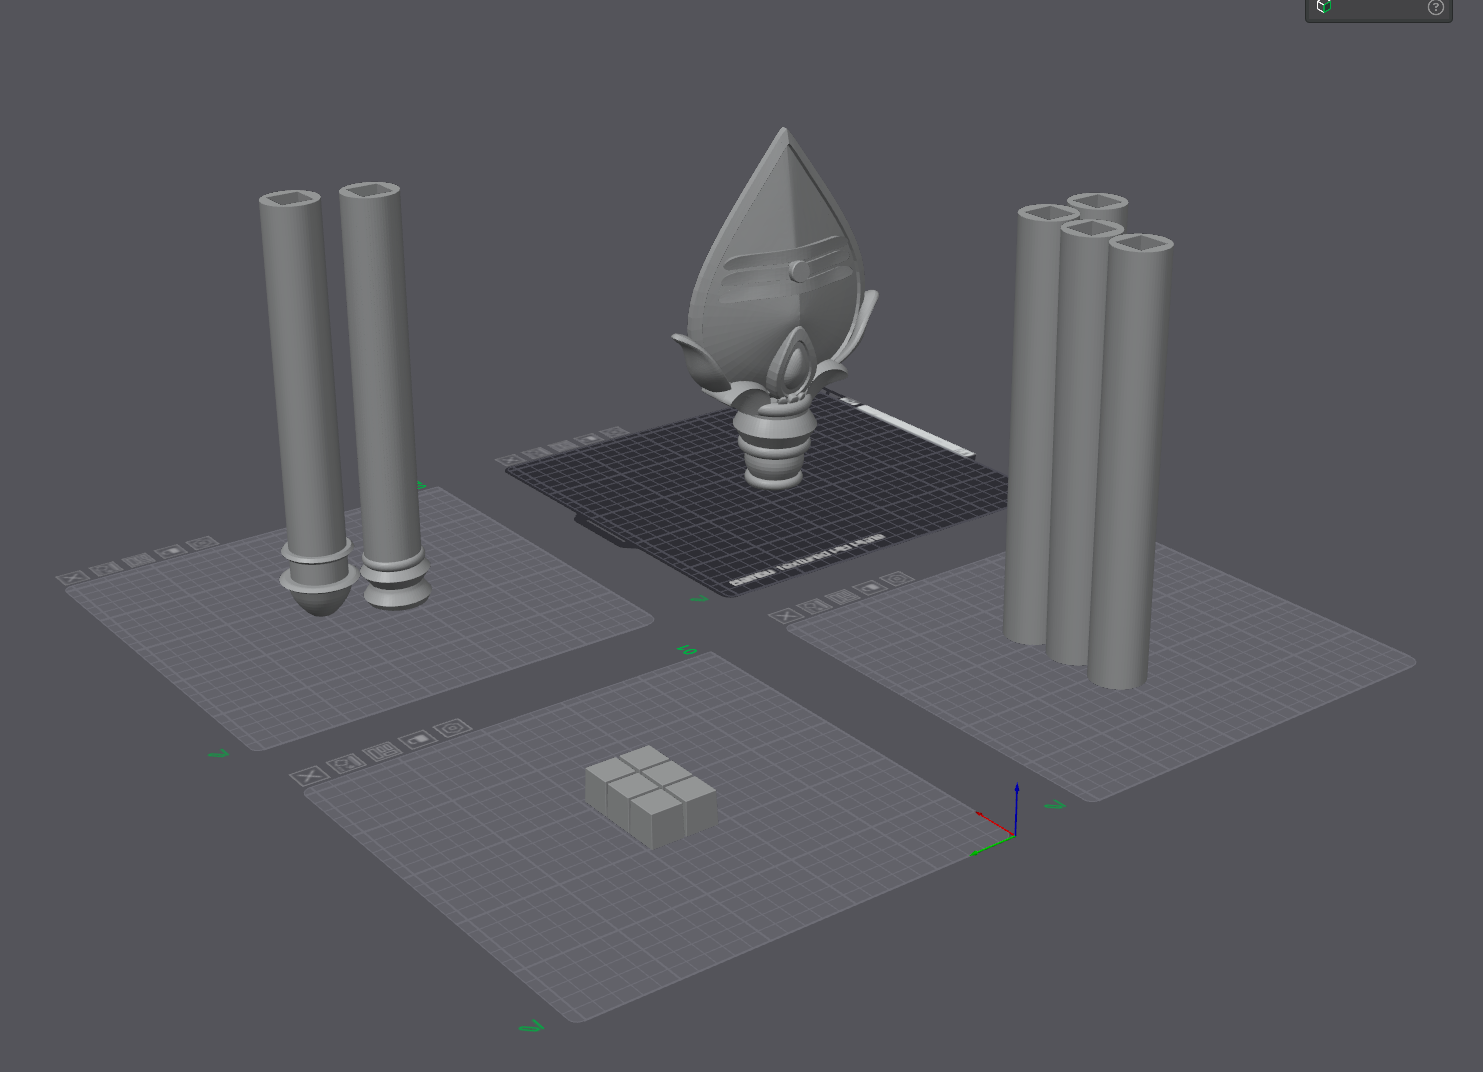
The model is divided into multiple printable sections, allowing it to fit standard build plates while maintaining strength and detail. Once assembled, it makes an elegant decorative piece for pooja
rooms, temple displays, festivals, cosplay, or cultural exhibitions.
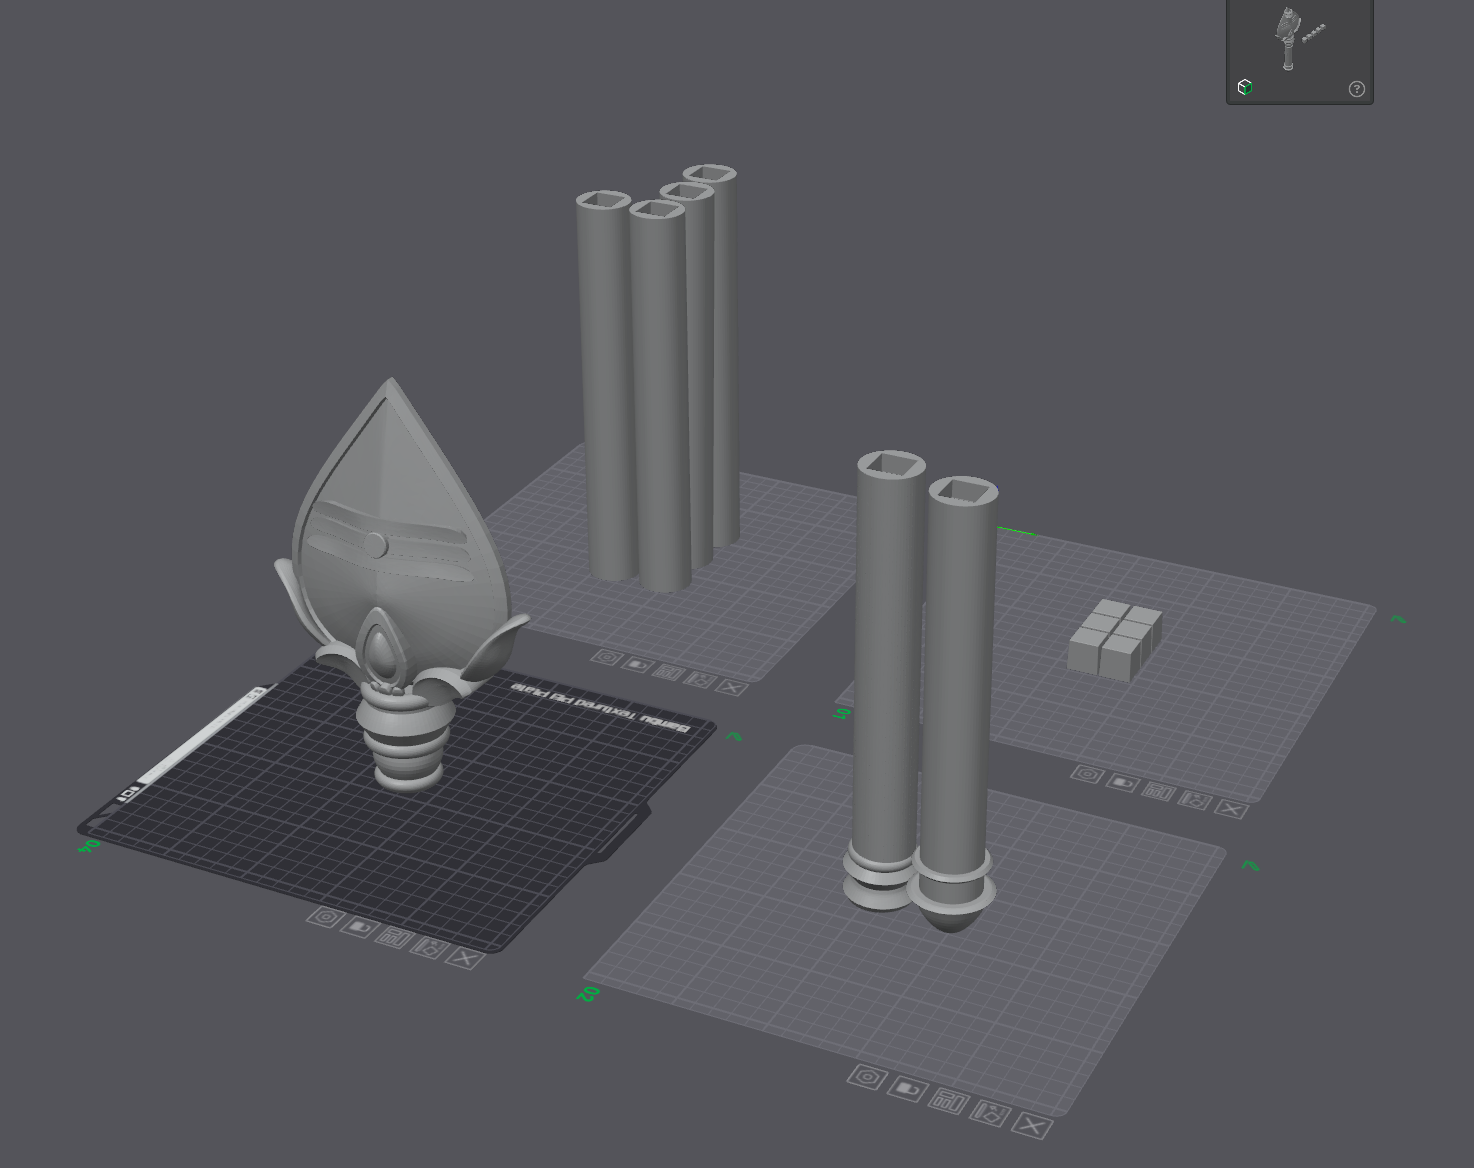
The included 3MF project preserves the recommended print orientation and settings, making printing simple and hassle-free.
Assembly Instructions
Print all parts using the included 3MF project.
Remove any supports if generated.
Test-fit each section.
Join using CA glue or epoxy.
Allow the adhesive to cure fully.
Sand the joints if desired.
Prime and paint for a metallic or antique brass finish.
Happy Printing! 😊
If you enjoy this model, please consider:
⭐ Rating the model
👍 Liking the design
🚀 Boosting it on MakerWorld
📸 Sharing your printed results
Your support helps me create more high-quality models inspired by Indian heritage and temple architecture.
Assembly Instructions – Lord Murugan Vel (6 ft Modular Spear)
Thank you for downloading this model!
This Lord Murugan Vel has been designed as a modular 6-foot-tall spear for easy printing on standard-size 3D printers. The model is divided into multiple sections for convenient printing, transportation, and assembly.
Parts Included
The complete model consists of:
1 × Vel (Spear Head)
2 × Lower Handle Sections
3 × Upper Handle Sections
5 × Connector Pins (Print all five connectors)
Total Parts: 11 Pieces
Step 1 – Print All Parts
Print all model parts in their supplied orientation.
Recommended Settings:
Layer Height: 0.20 mm
Walls: 3
Infill: 15%
Material: PLA / PETG
Supports: Only where necessary
Be sure to print 5 connector pins, as they are required for assembly.
Step 2 – Clean the Parts
After printing:
Remove any supports.
Clean the connector holes.
Lightly sand the connector pins if necessary for a snug fit.
Test-fit every joint before applying adhesive.
Step 3 – Assemble the Handle
Each handle section has pre-designed connector holes.
Insert one connector pin halfway into the hole of the first handle section.
Apply a small amount of CA glue (super glue) or epoxy to the connector if permanent assembly is desired.
Slide the next handle section onto the exposed half of the connector.
Continue this process until all five handle sections are connected.
You will use one connector pin for each joint, requiring 5 connectors in total.
Step 4 – Attach the Vel Head
Once the full handle is assembled:
Insert the final connector into the top handle section.
Carefully align the Vel (Spear Head) with the connector.
Press the spear head firmly into place.
Hold until the adhesive sets.
Step 5 – Final Inspection
After assembly:
Check that every joint is fully seated.
Ensure the spear is straight and properly aligned.
Allow all adhesive to cure completely before moving the model.
Finished Size
Total Height: Approximately 6 ft (1830 mm)
The modular design makes the spear easy to print, transport, and assemble while maintaining excellent structural strength.
Optional Finishing
For a premium appearance:
Sand all joints smooth.
Apply plastic primer.
Fill seams if desired.
Paint with metallic gold, antique brass, or silver finishes.
Seal with a matte or satin clear coat for added durability.
Happy Printing! 😊
If you enjoy this model, please consider leaving a ⭐ rating, sharing your completed print, and boosting the project on MakerWorld. Your support helps me create more high-quality printable models inspired by Indian heritage and temple architecture.