D3P RISER FOR BAMBU LAB P1S by Darren 3d Print
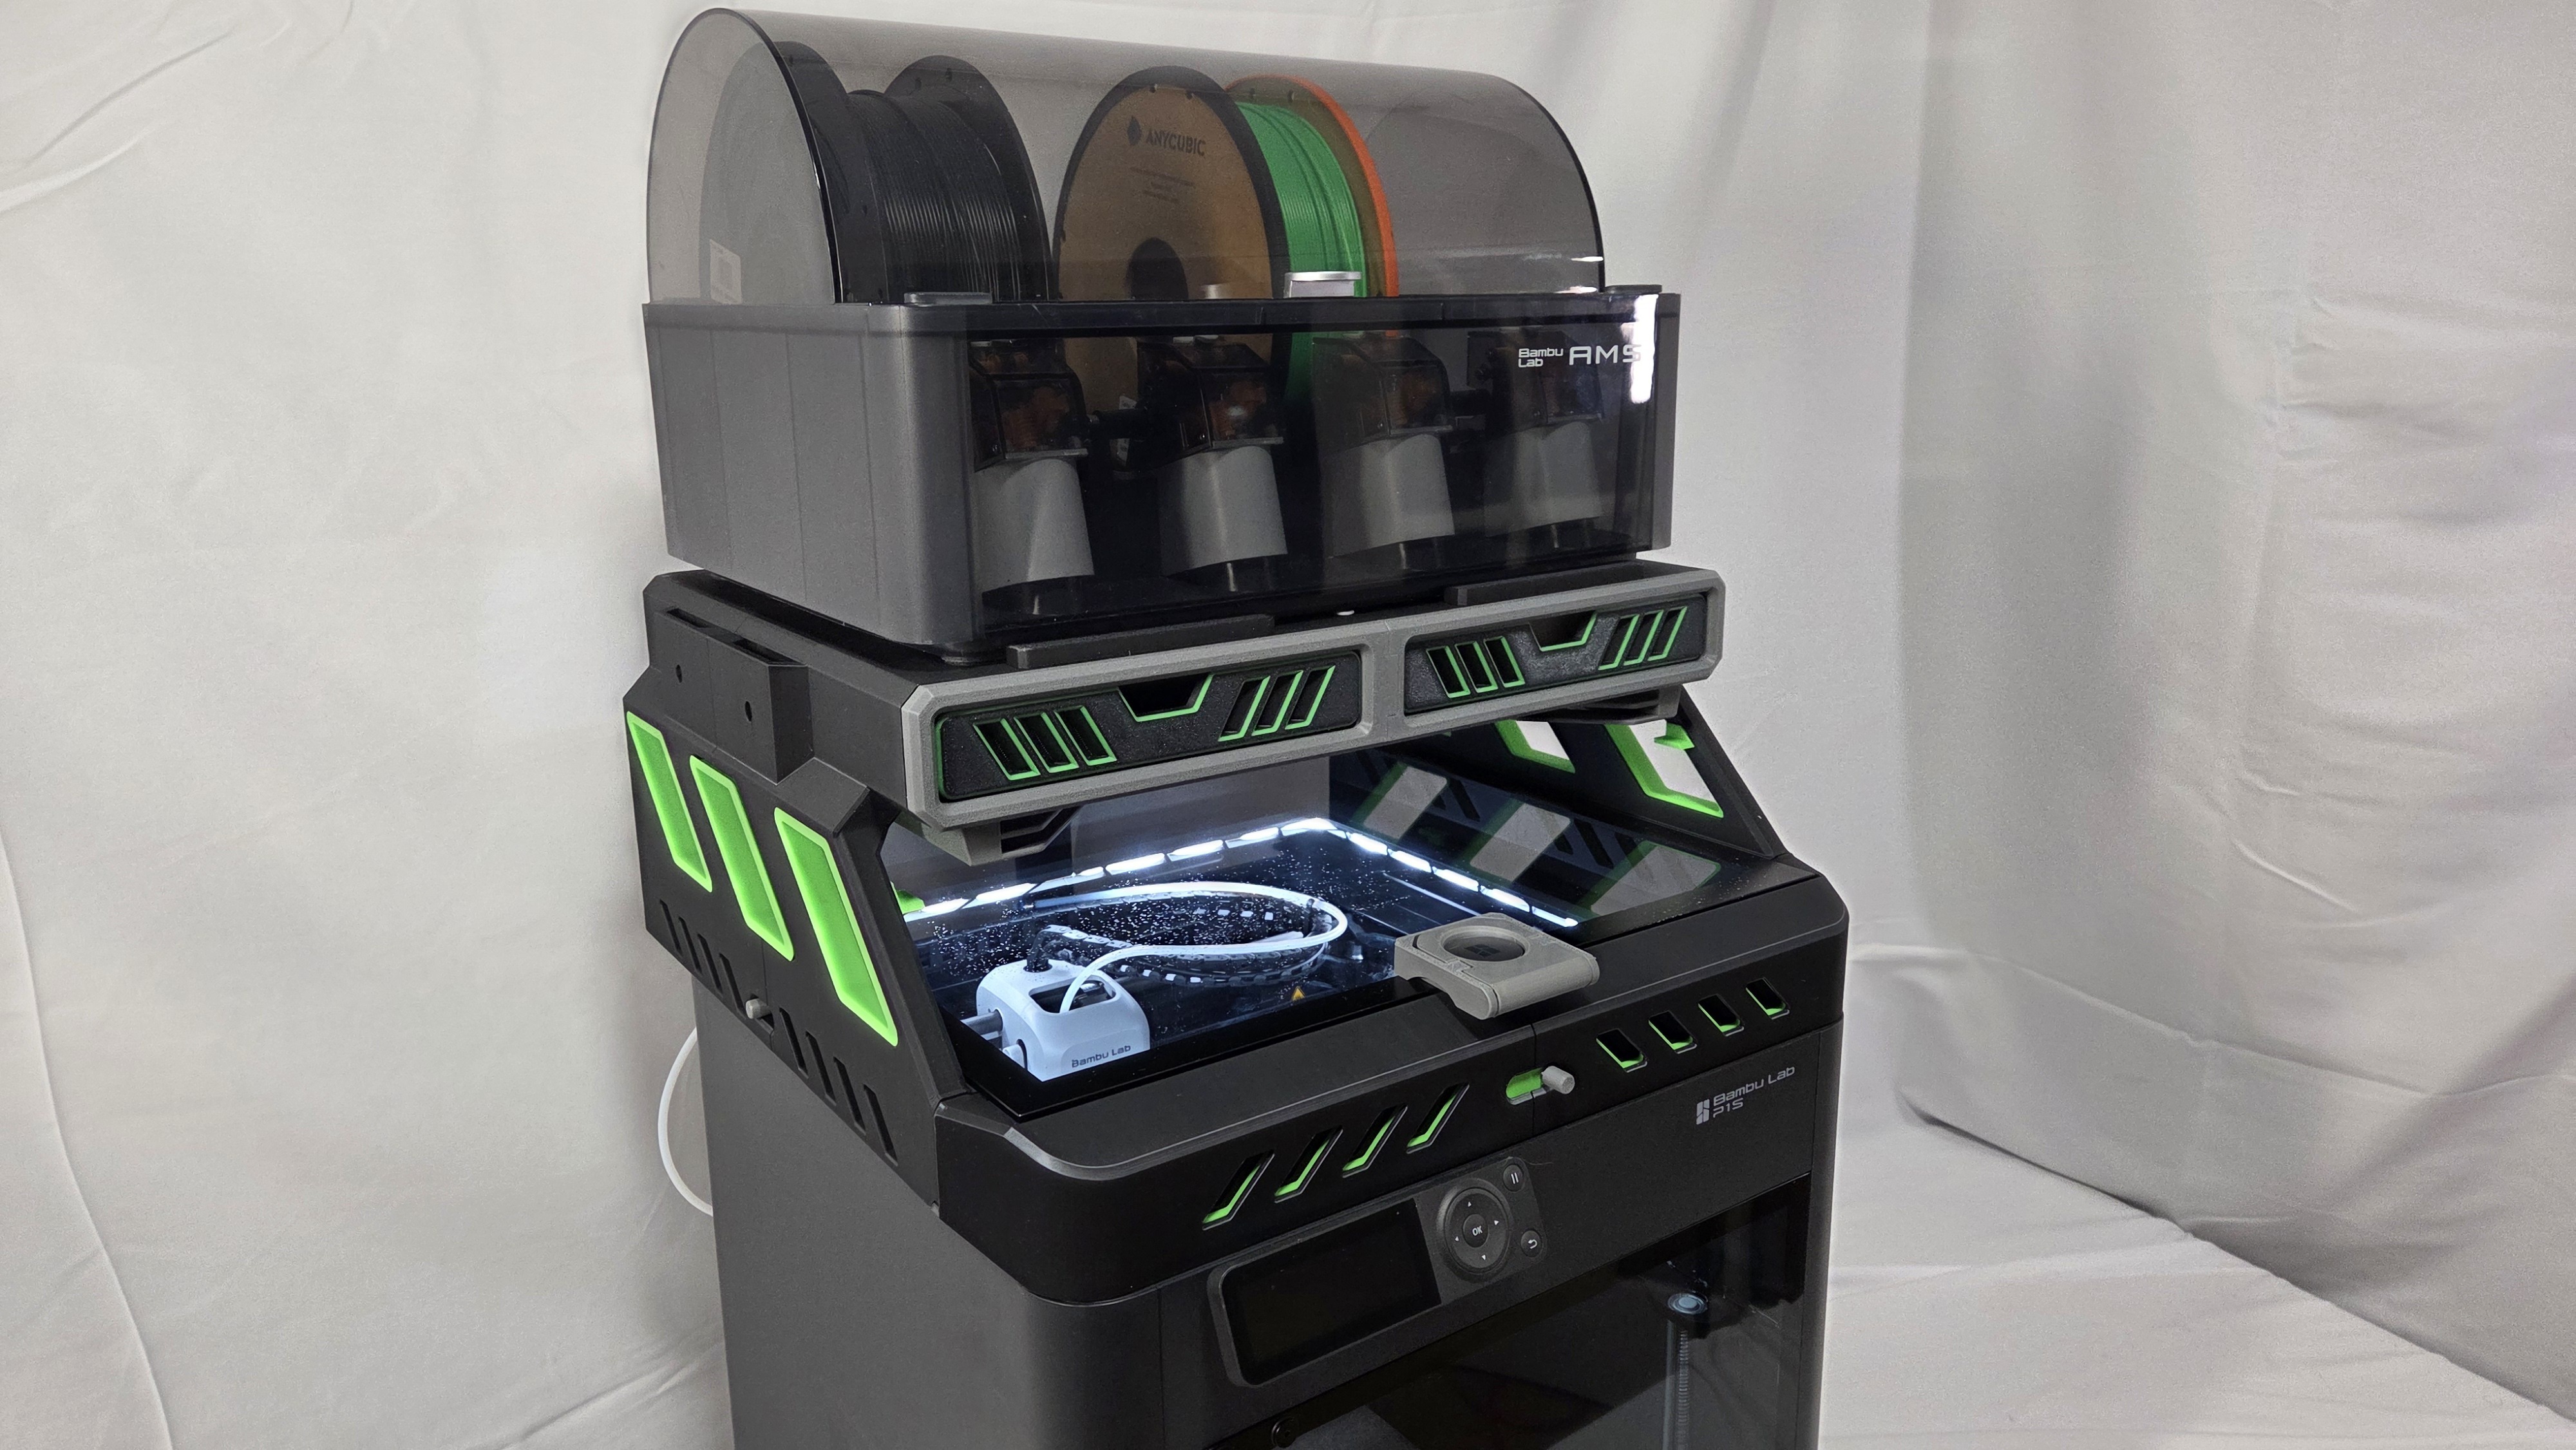
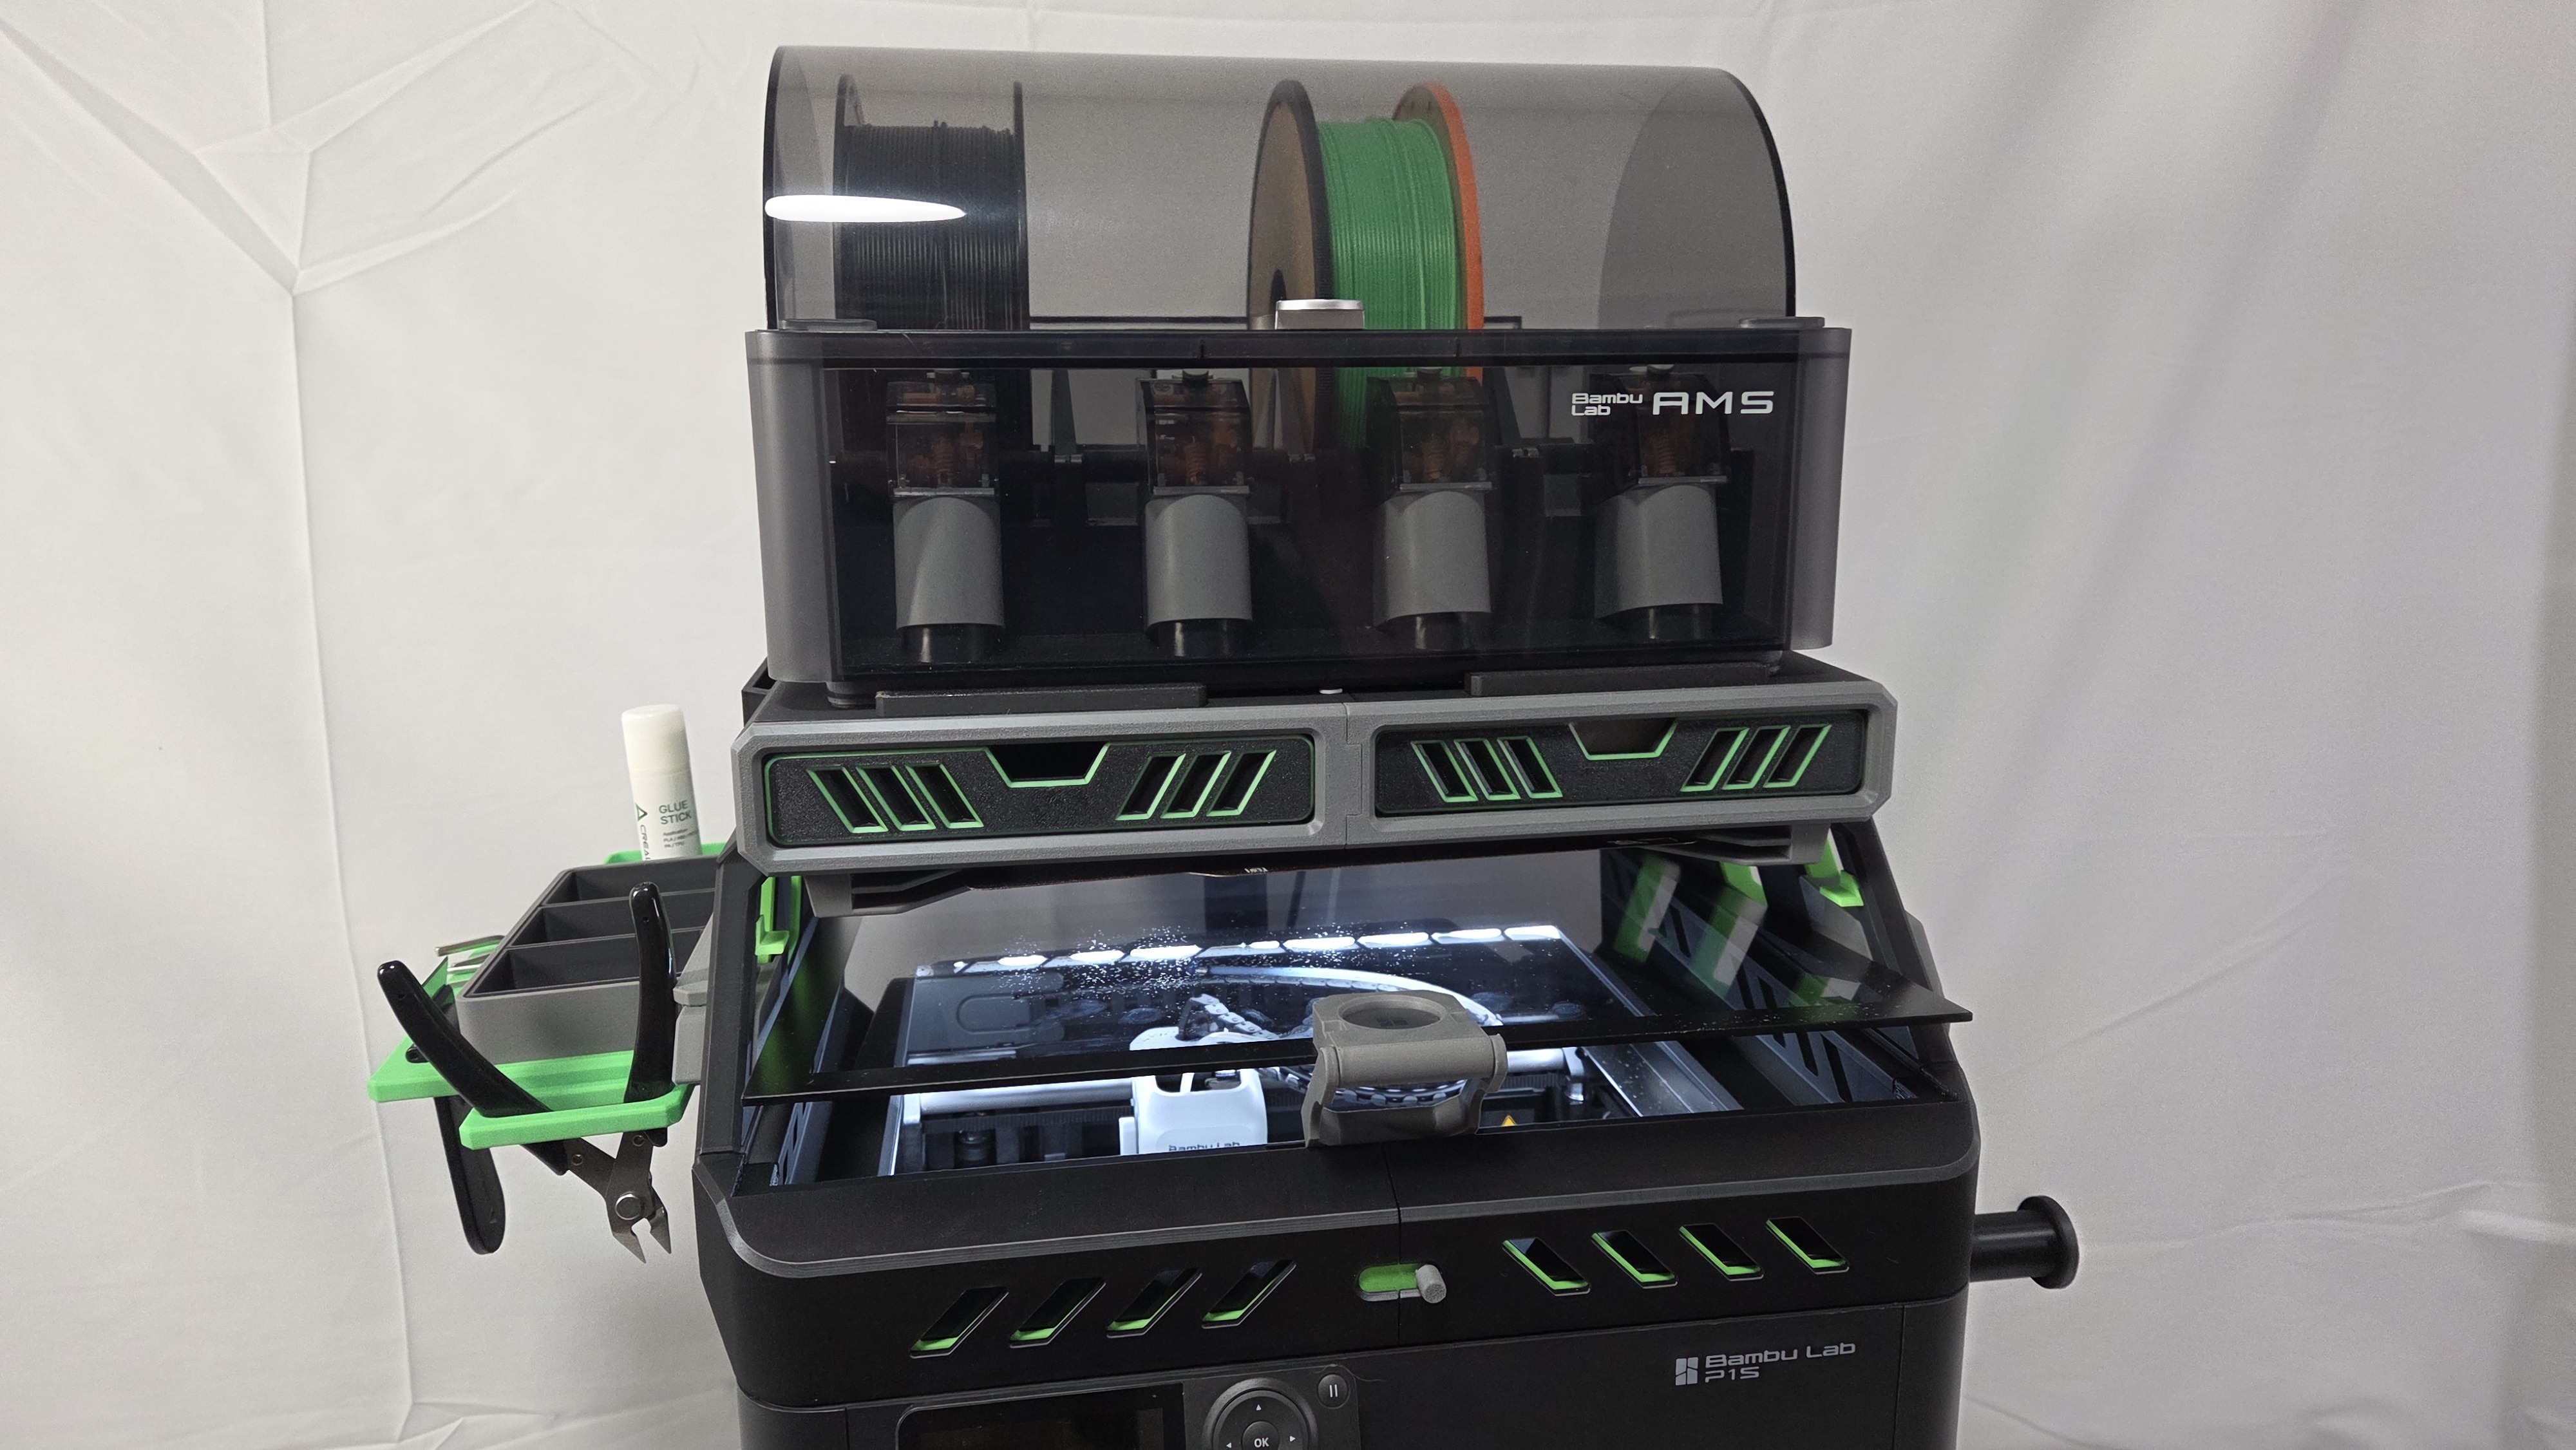
The D3P riser system is an innovative and modular riser system for your 3d printer. It features numerous free to download add-ons allowing you to customize your printer and riser like you want. The design of the D3P riser system is patent pending.
This riser will work with the P1S but not with the new Bambu Lab P2S which is deeper.
WHAT'S NEW
Added a three slot build plate holder. This one is only for the "Tall version" Free to download from MakerWorld: https://makerworld.com/en/models/2200659-p1s-p2s-x1c-d3p-riser-3-slot-build-plate-holder#profileId-2390783
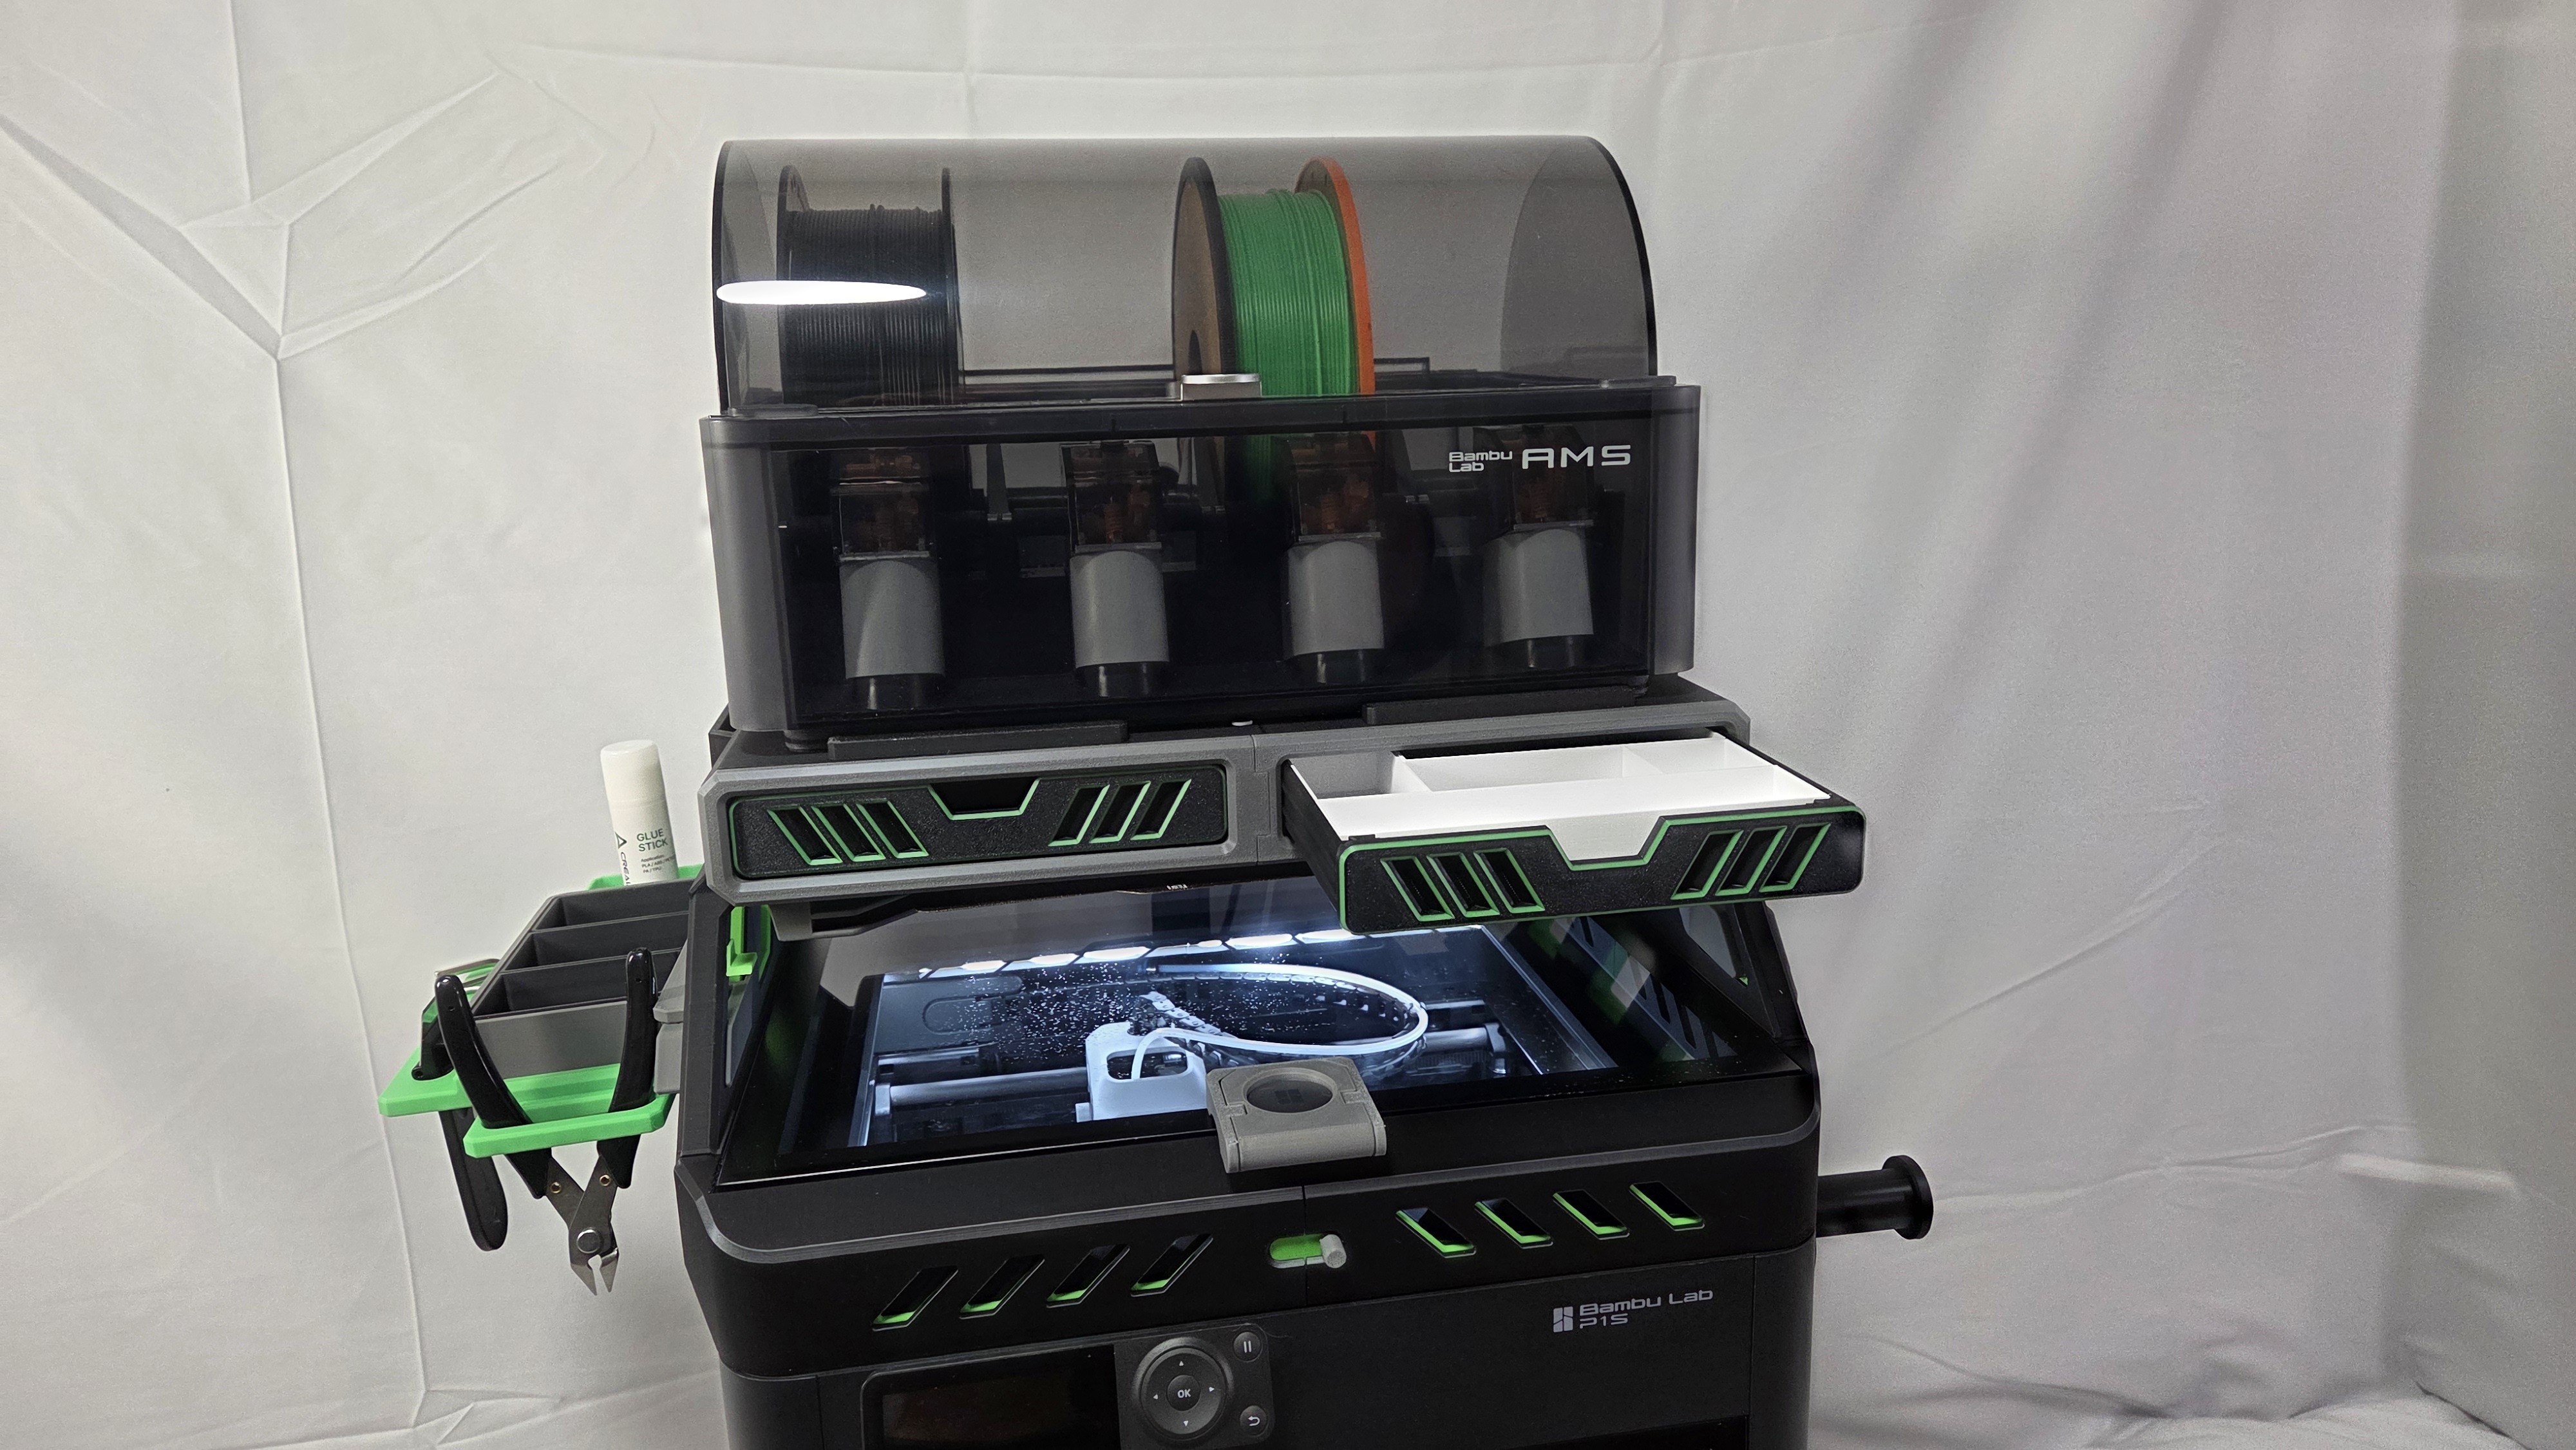
Added custom drawer inserts. Free to download from MakerWorld: https://makerworld.com/en/models/2174129-p2s-d3p-riser-custom-drawer-inserts#profileId-2358492
Added a Multiboard adapter https://makerworld.com/en/models/2117376-d3p-multiboard-adapter-for-p1s-p2s-x1c#profileId-2291501
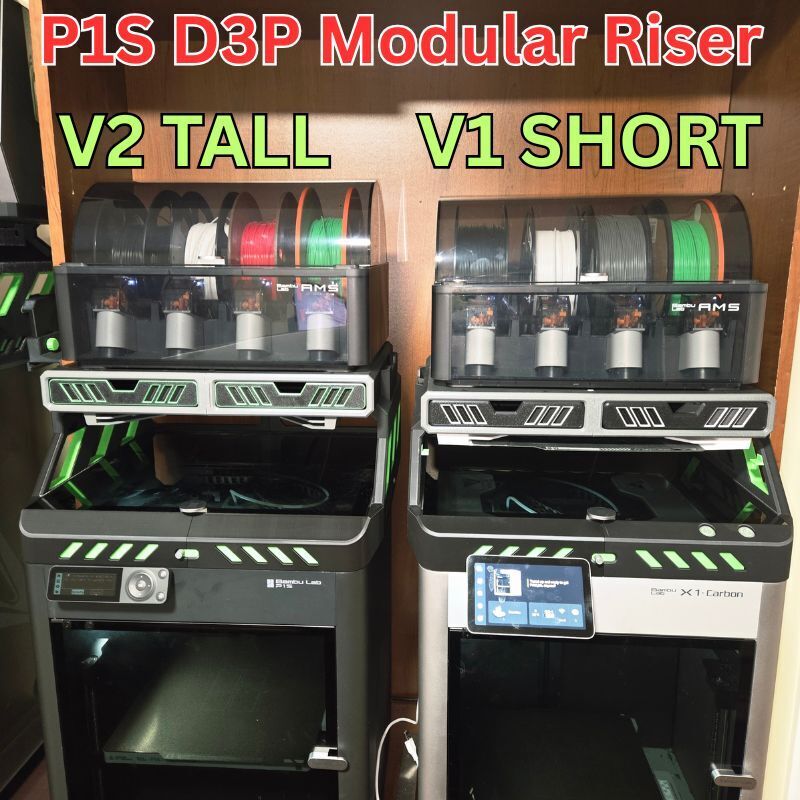
TALL AND SHORT VERSIONS
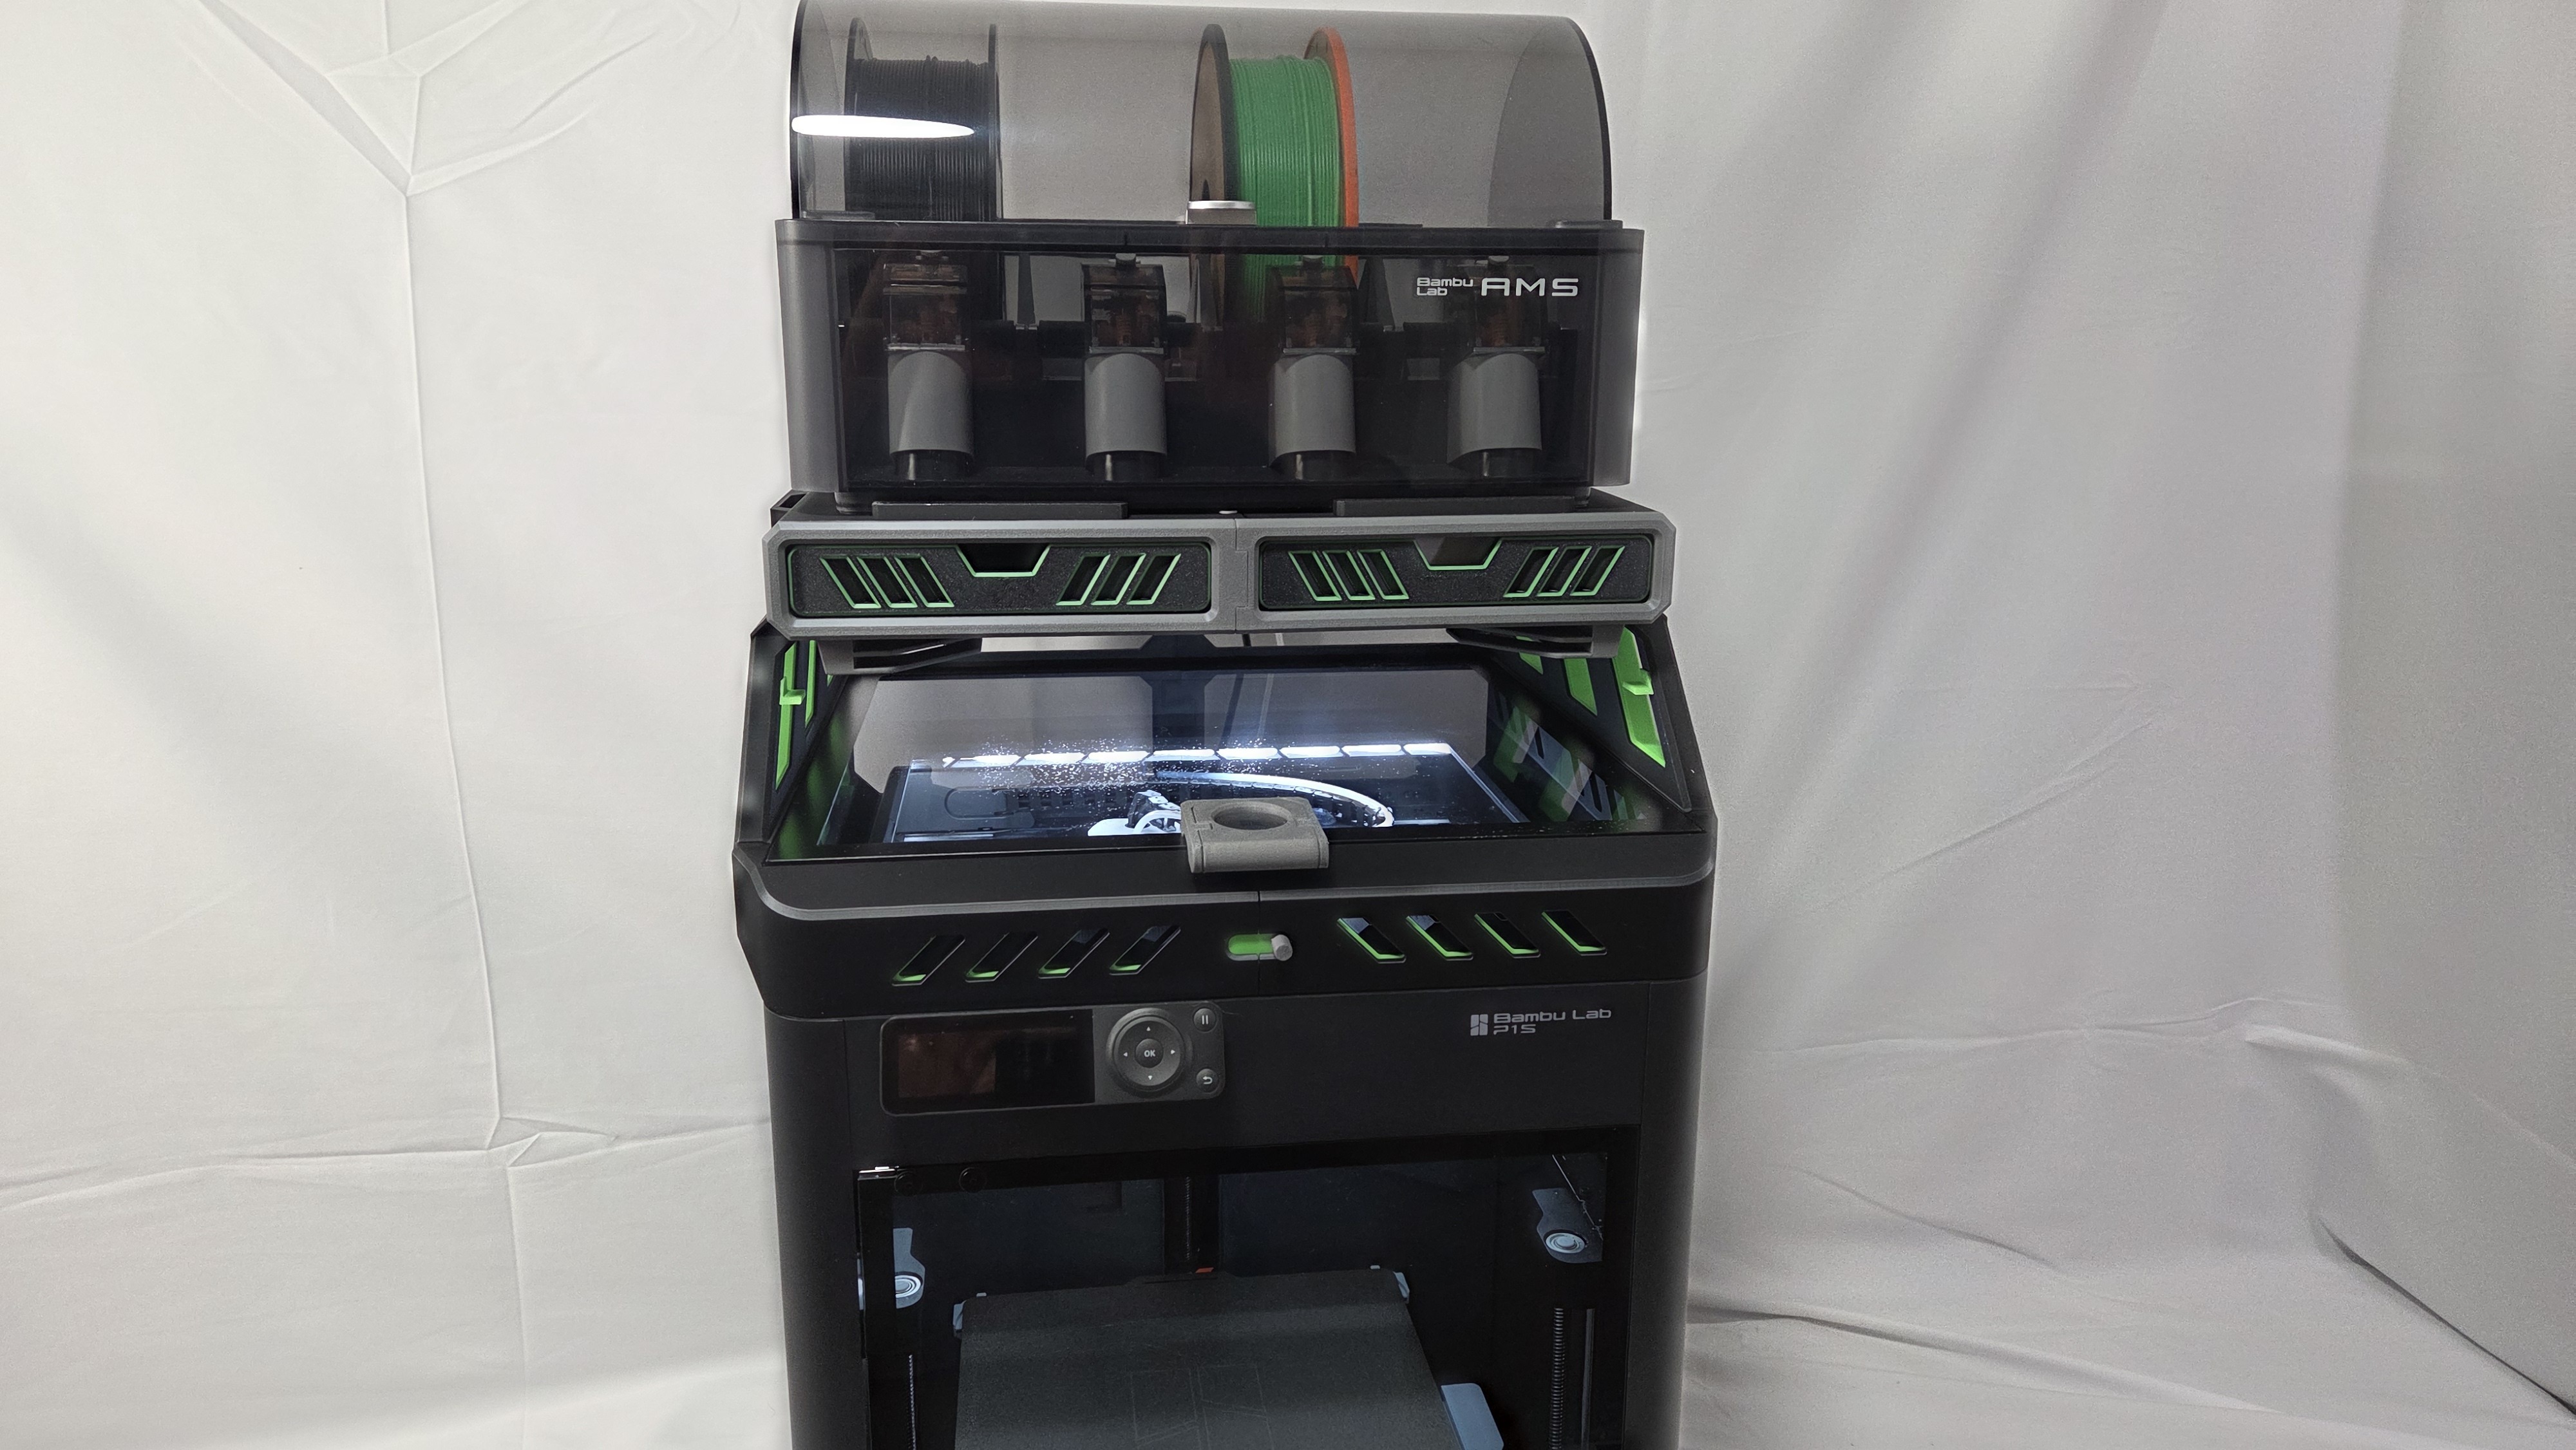
There is a Short V1 version and a Tall V2 version of the riser included with this model. You can see both versions side by side in the 2nd model photo.
The Short version was the initial one and the Tall version is the latest one. My recommendation is to use the Tall version.
The difference in height between the short and tall version is only 18 mm (3/4 inch). More detailed specifications are given below.
Also, all add-ons work with both the short and the tall version.
There are two packages zip files. One for V1 and one for V2. Select the one you want. If you are not certain, I would suggest the V2 as the added clearance is very nice to have.
If you wish to upgrade you will need to reprint the parts except for the following: Side inserts and the drawers. The others may not be compatible.
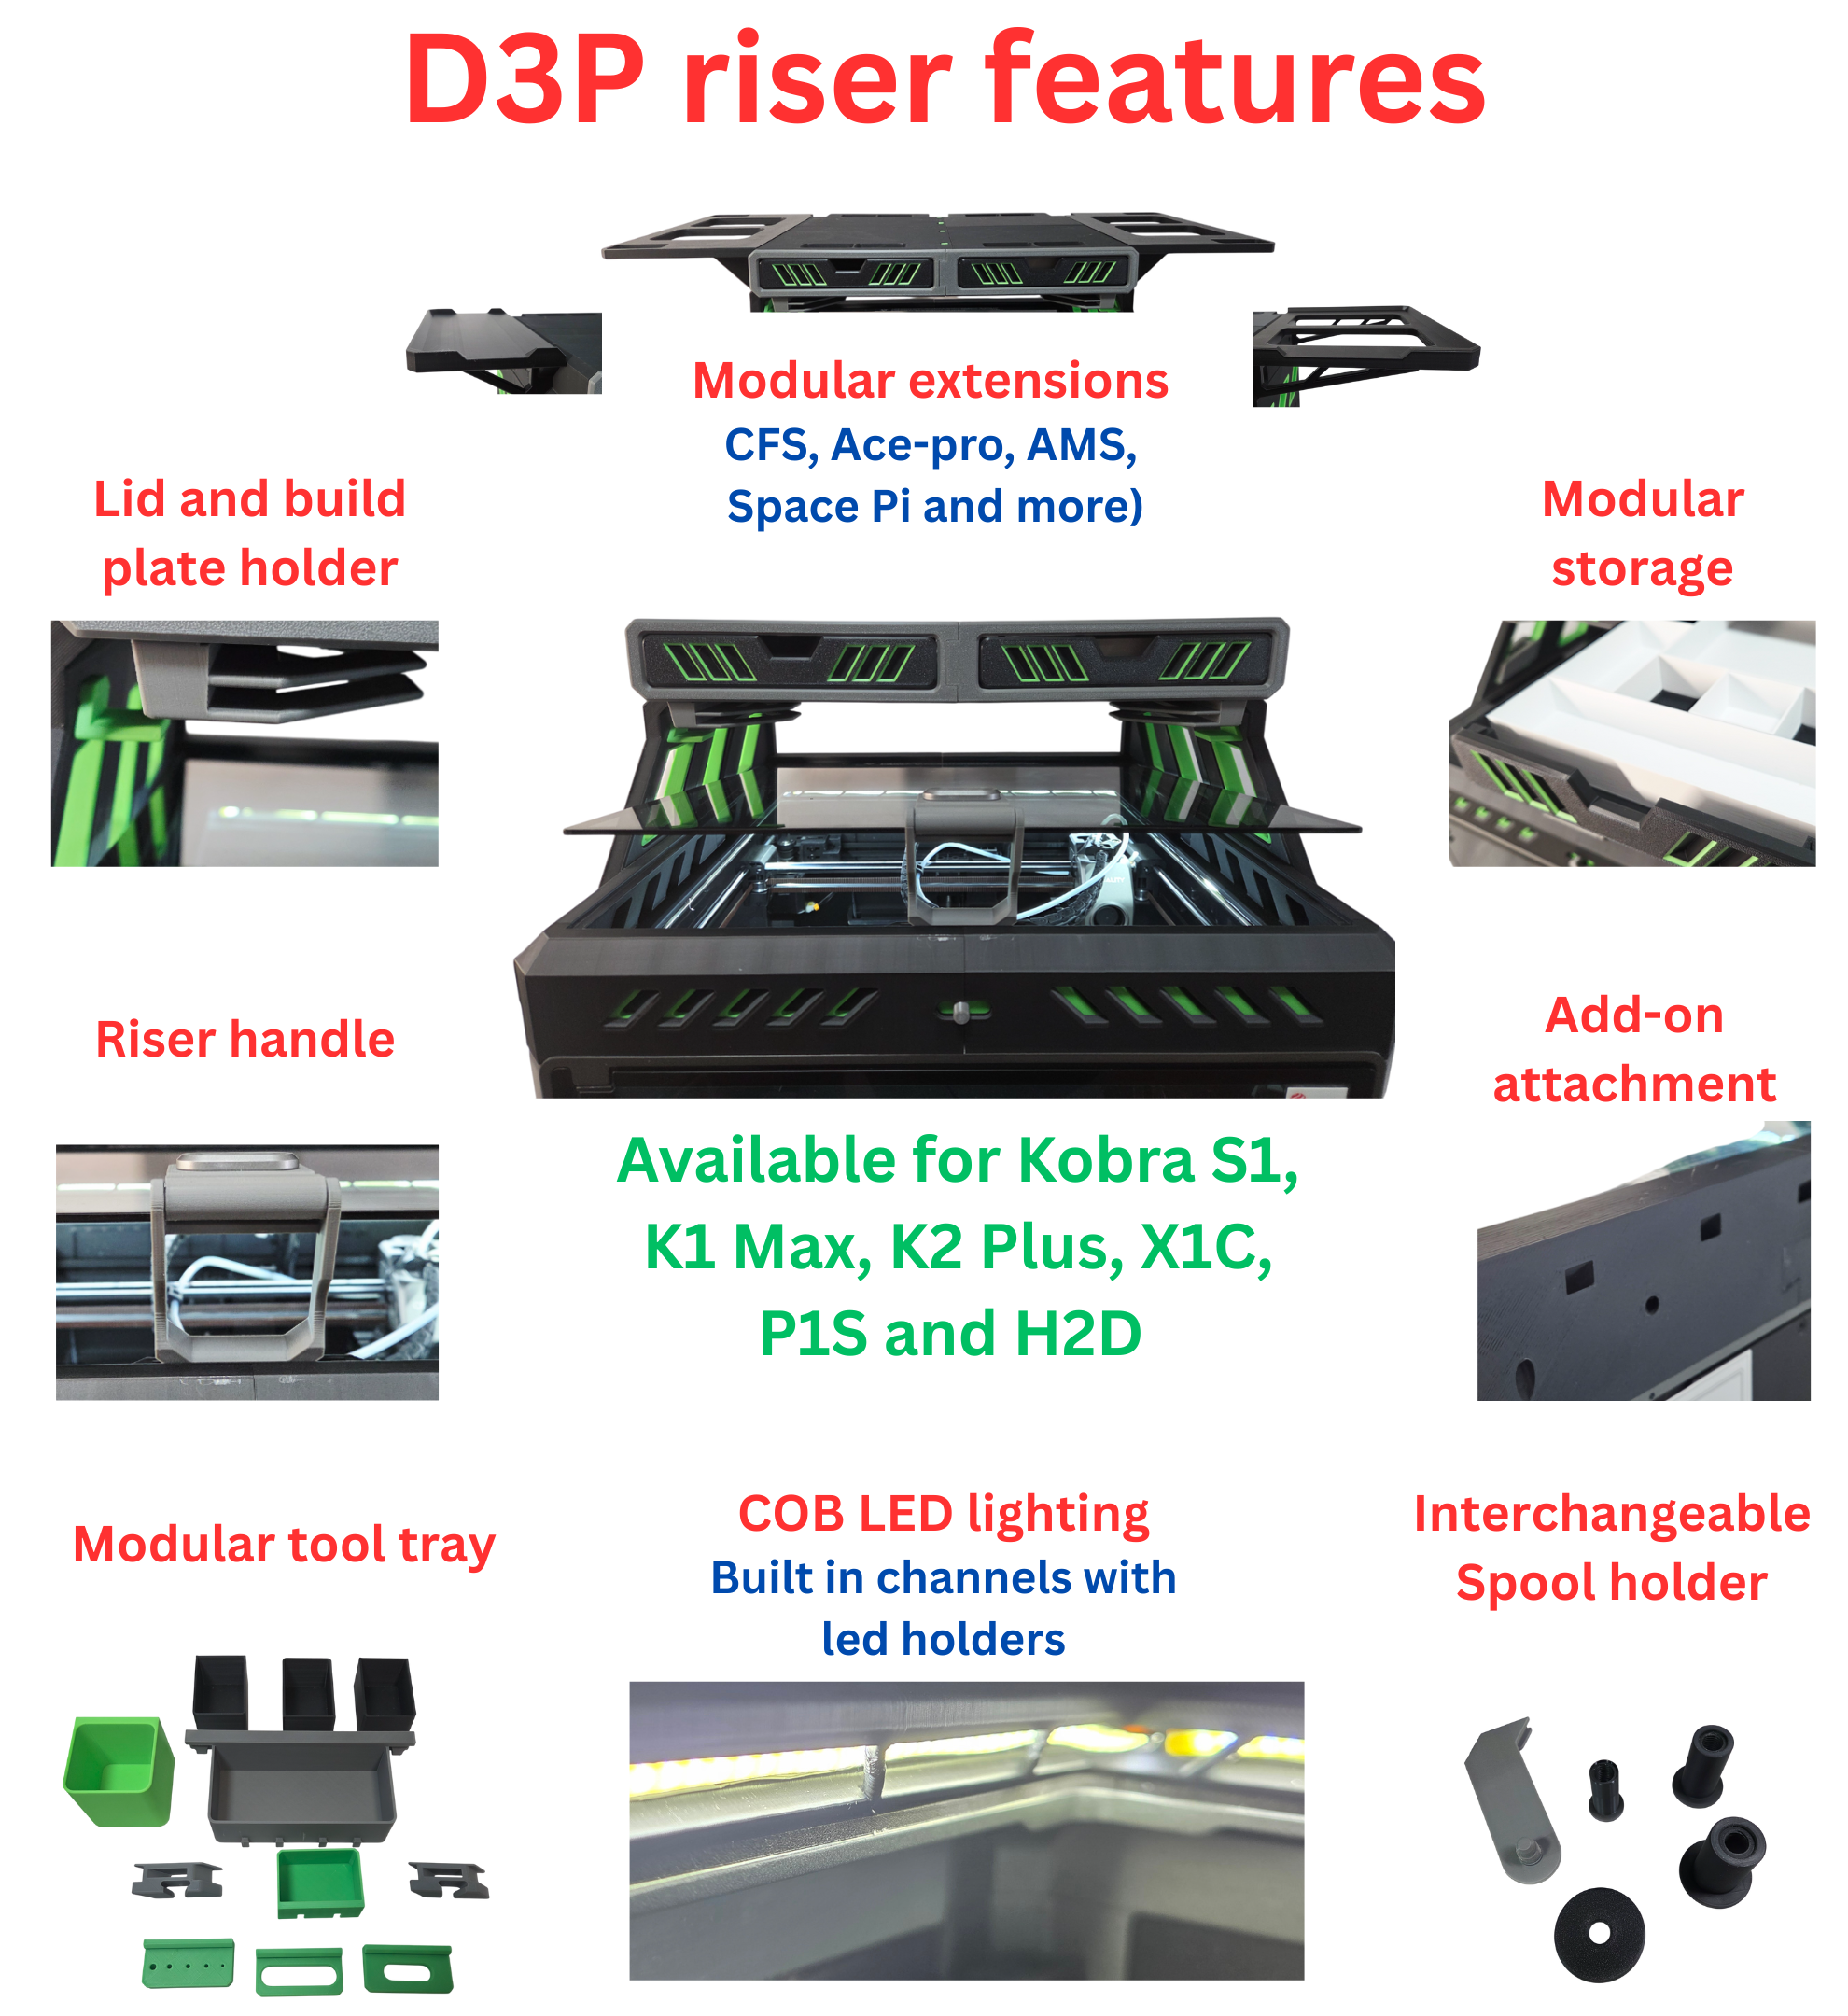
FEATURES
Features of the D3P riser system:
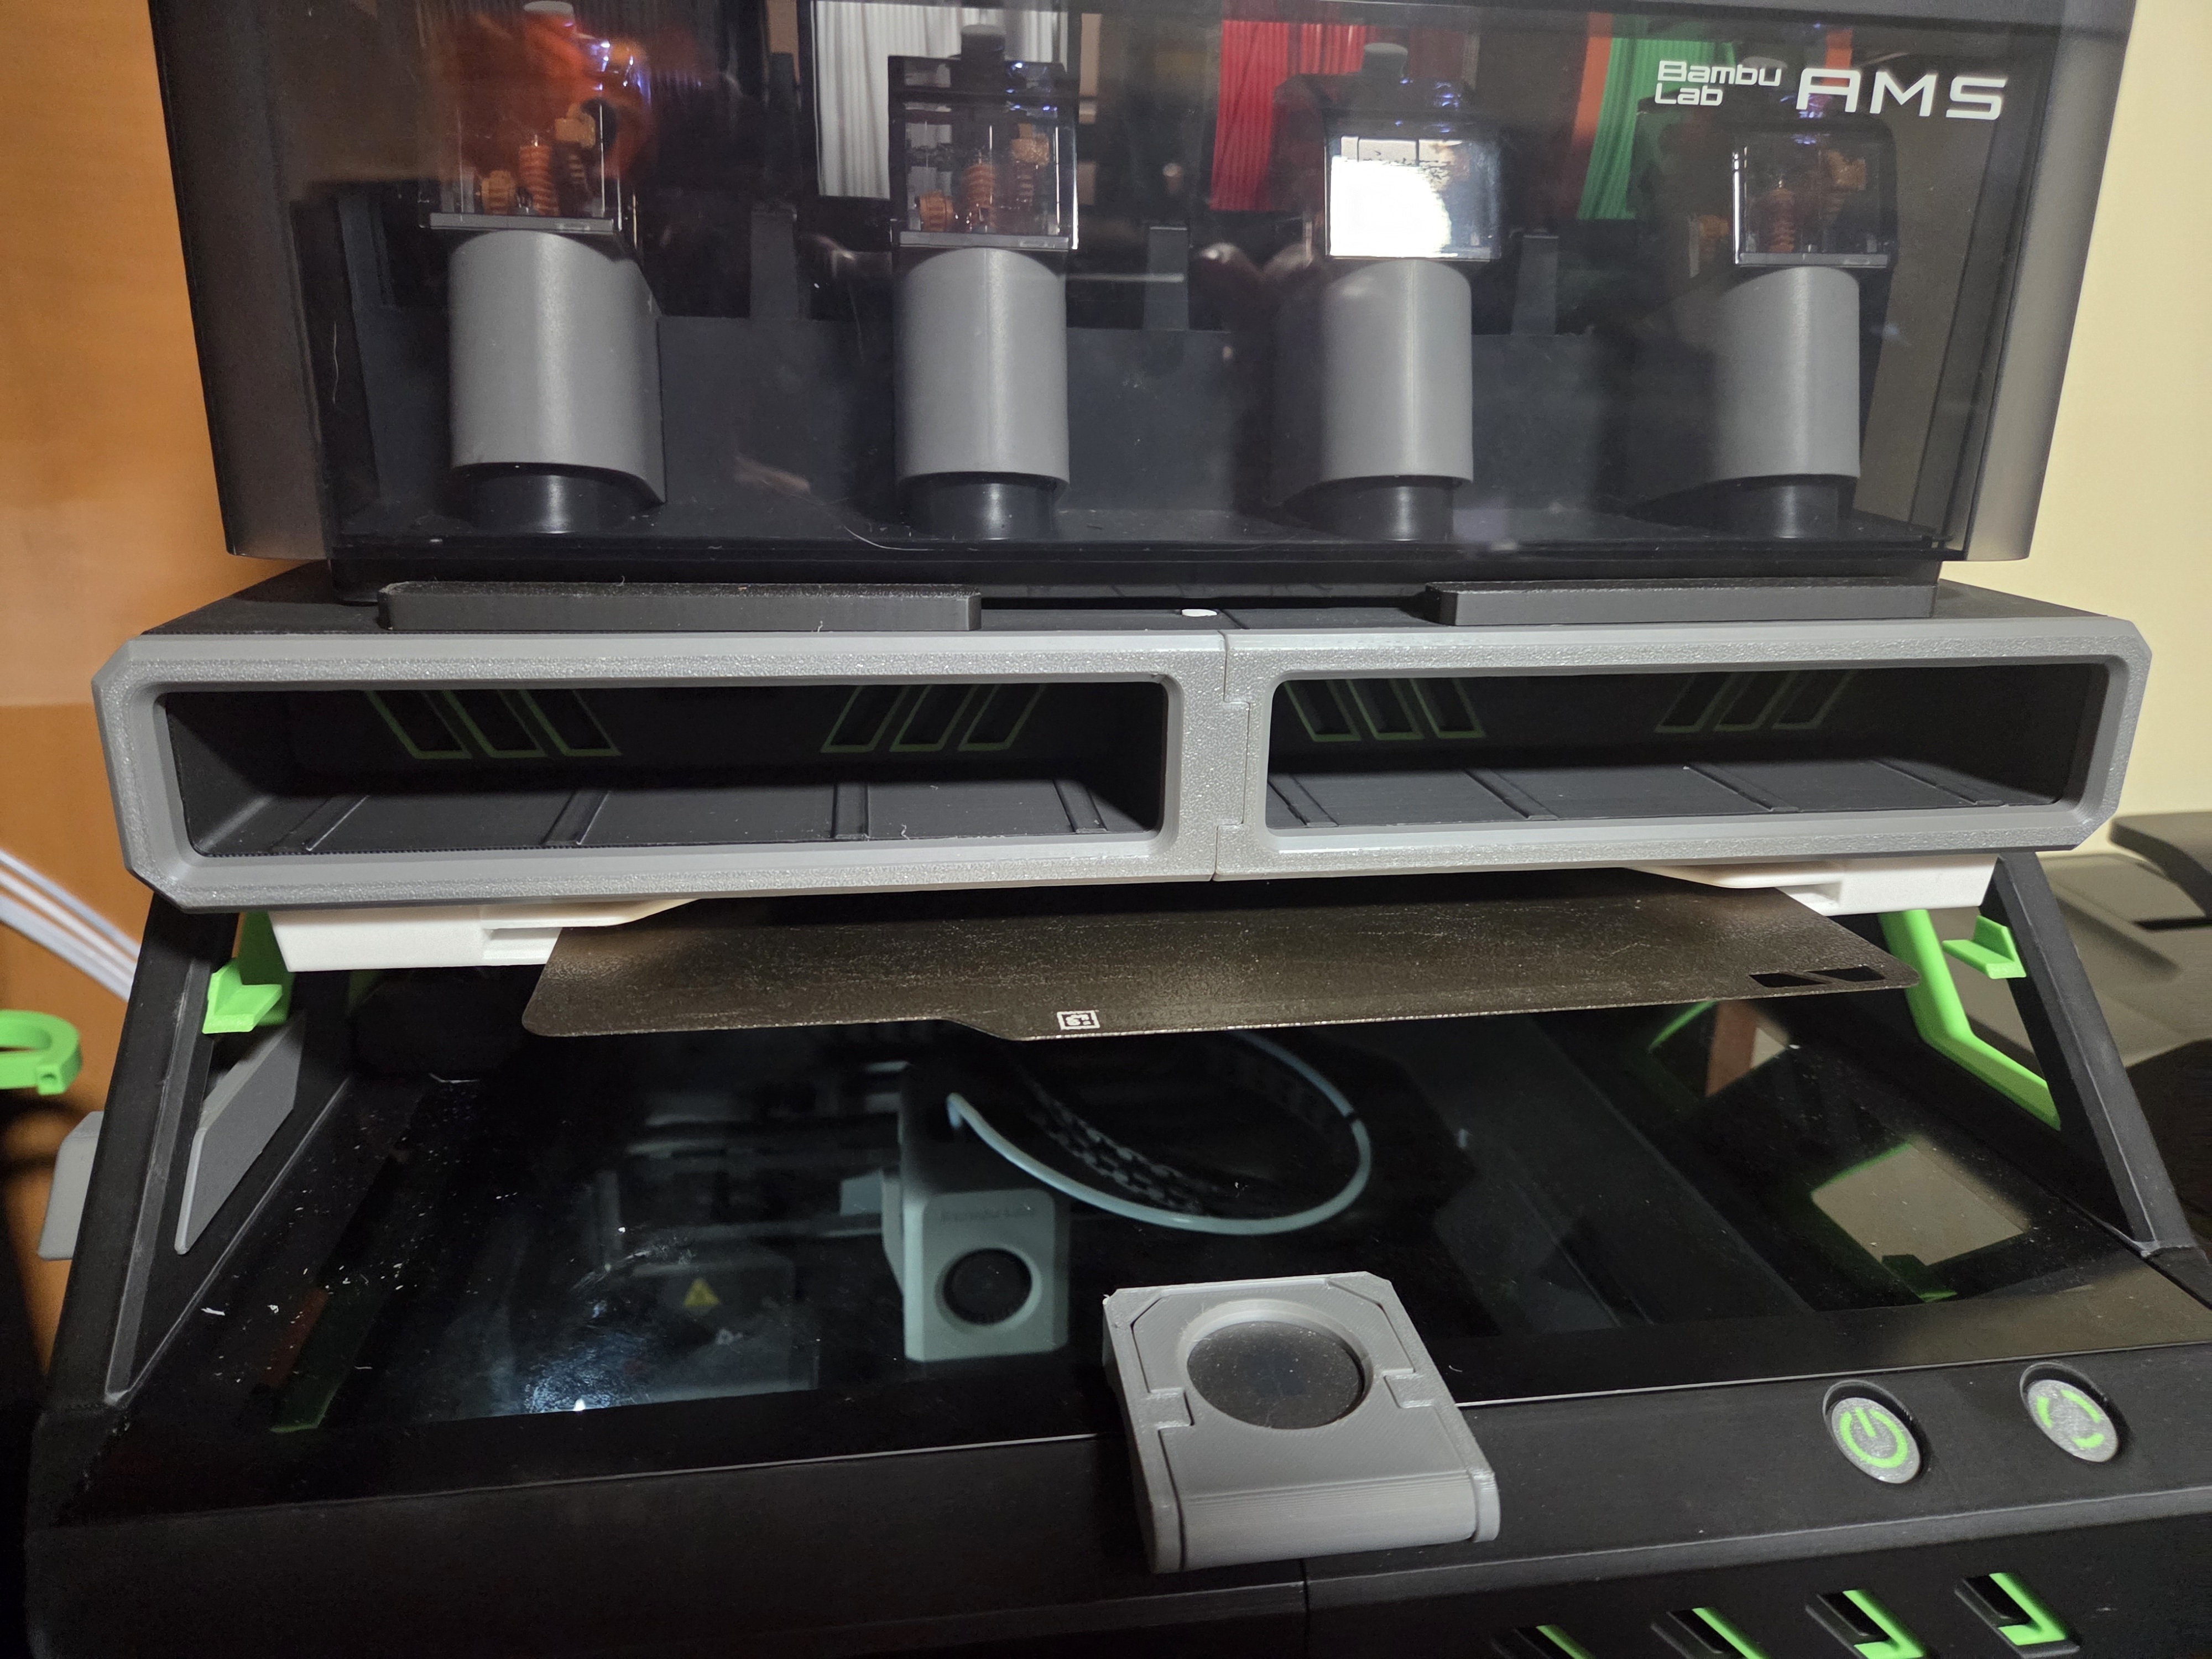
• Front and side adjustable vents;
• Add-on extensions for dual AMS 1 or AMS 2 units;
• Innovative COB LED channels that feature brackets to secure the LEDS in place;
• Top unit is set back to allow easy access to the printer from the top;
• Sturdy and reinforced construction and design to prevent sagging;
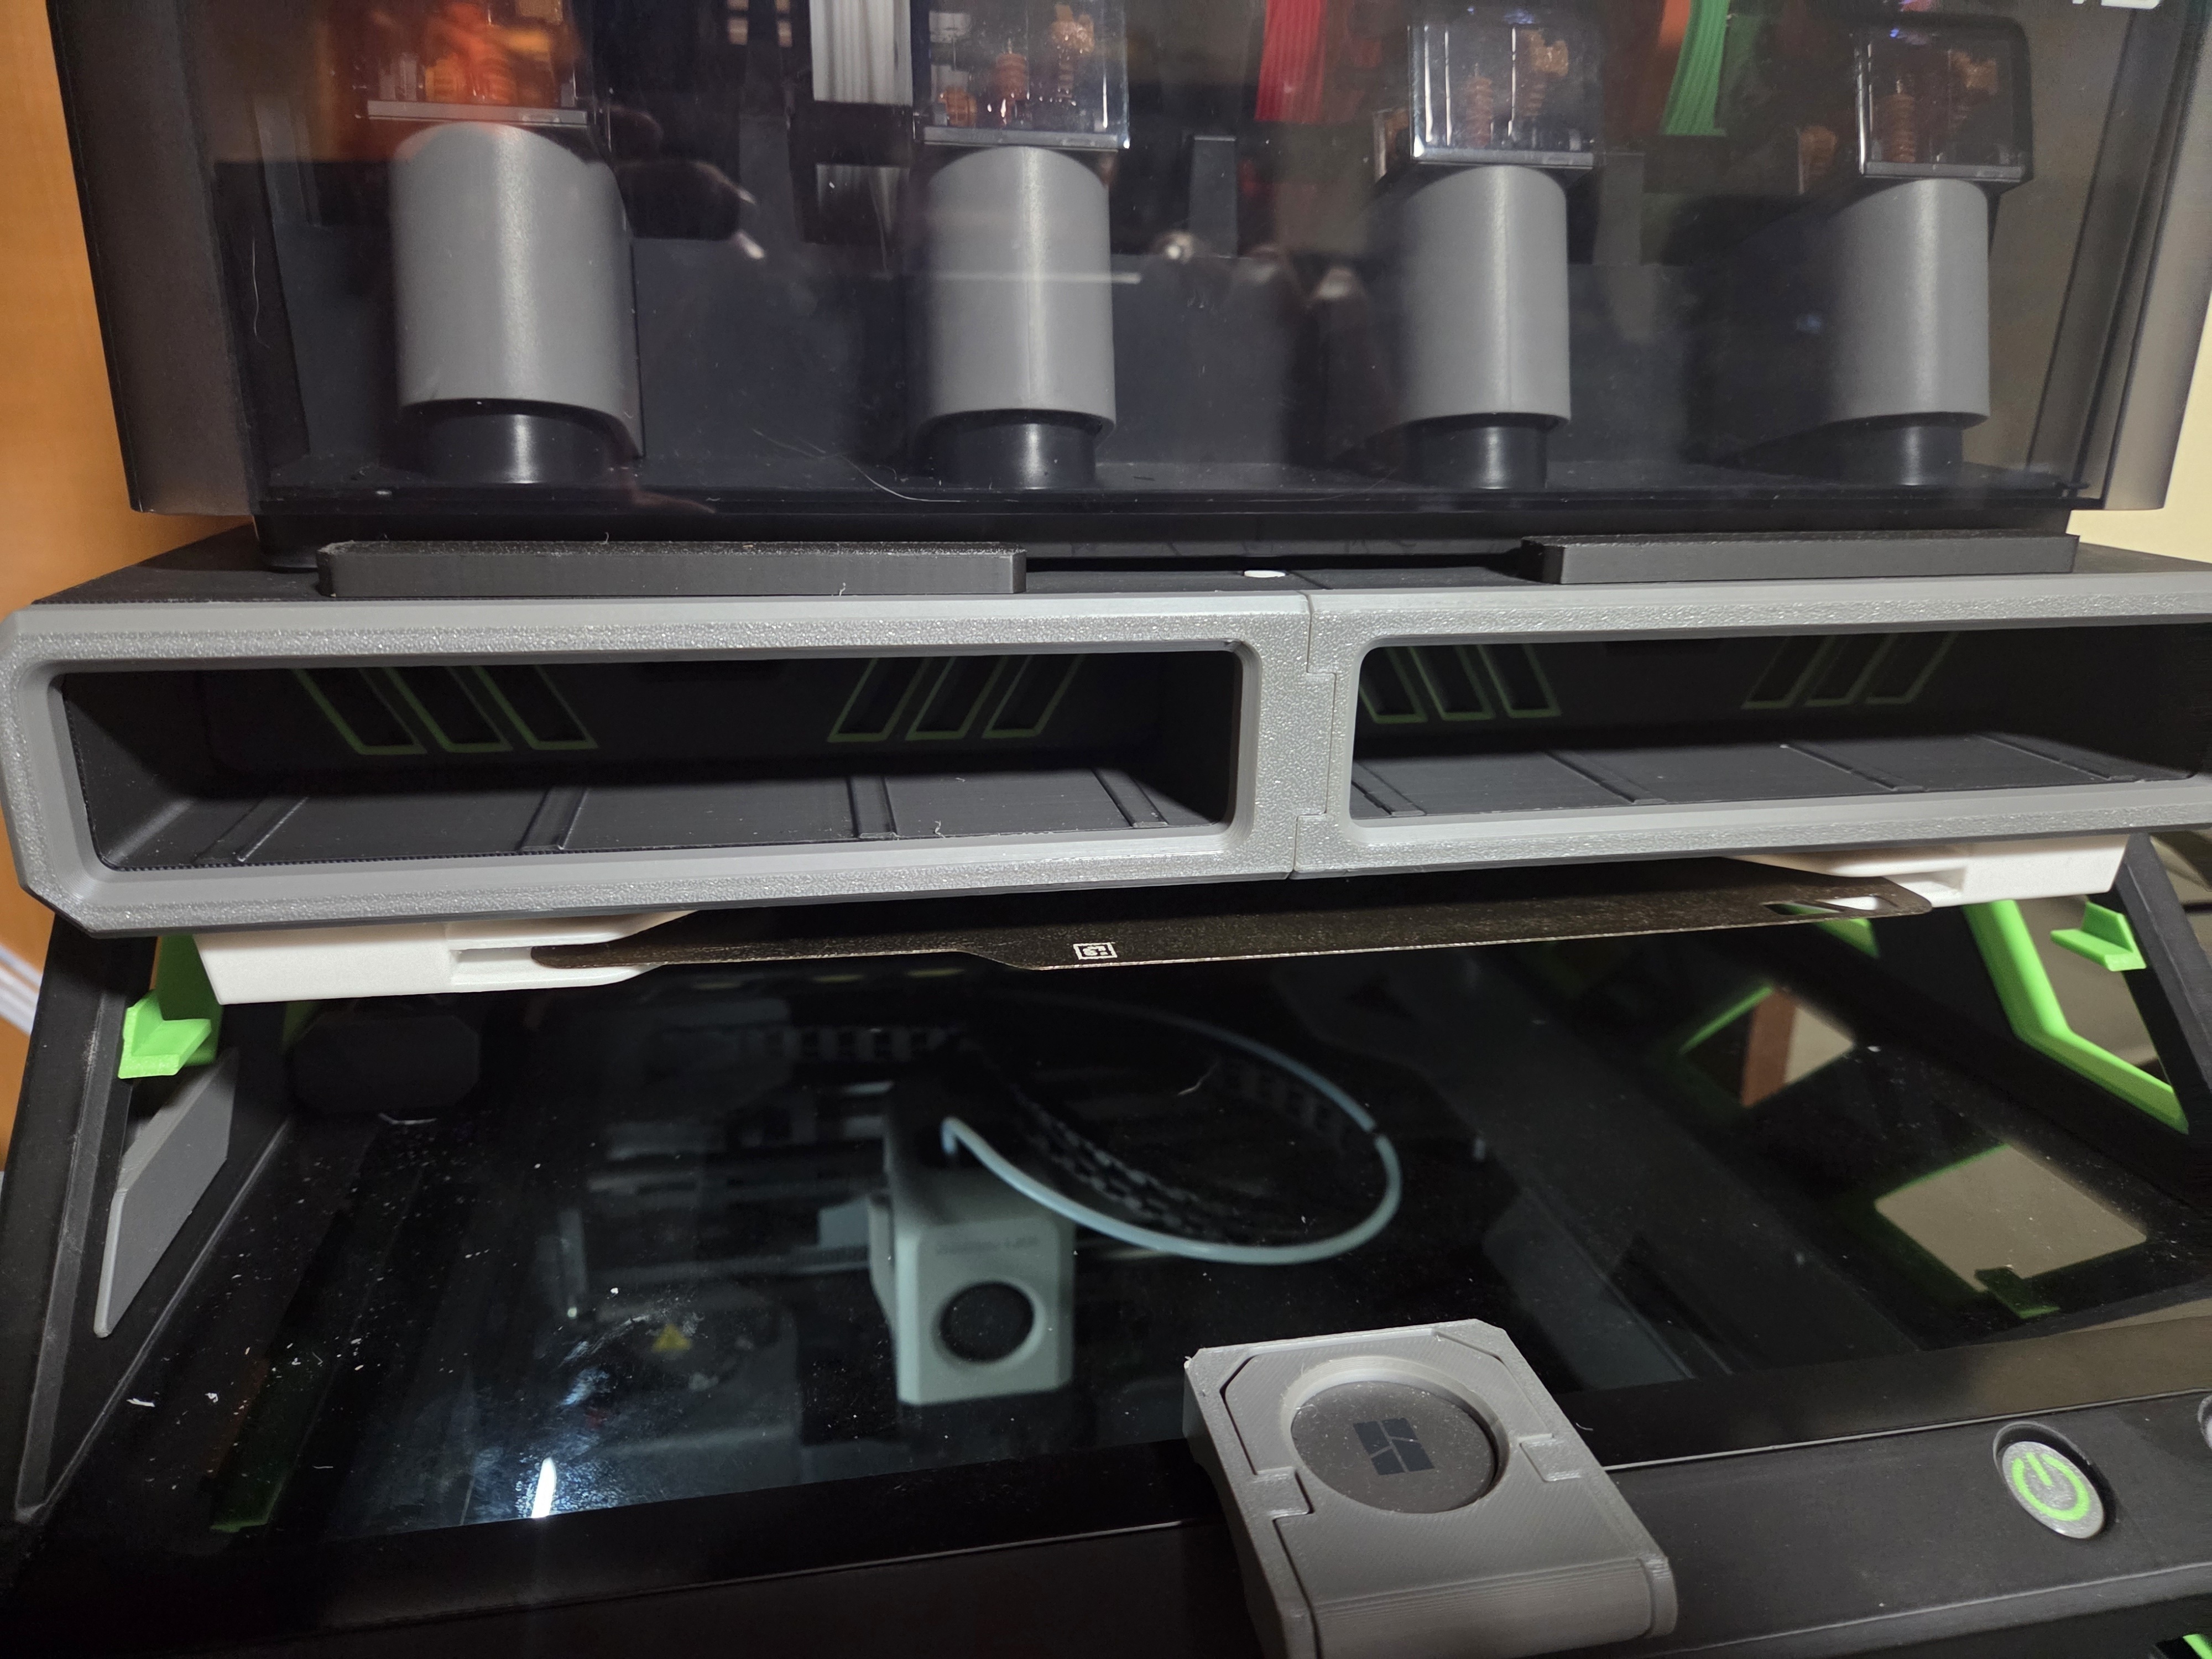
• Two large storage drawers with gridfinity style drawer inserts;
• Integrated build plate holder for two build plates;
• Integrated lid holders;
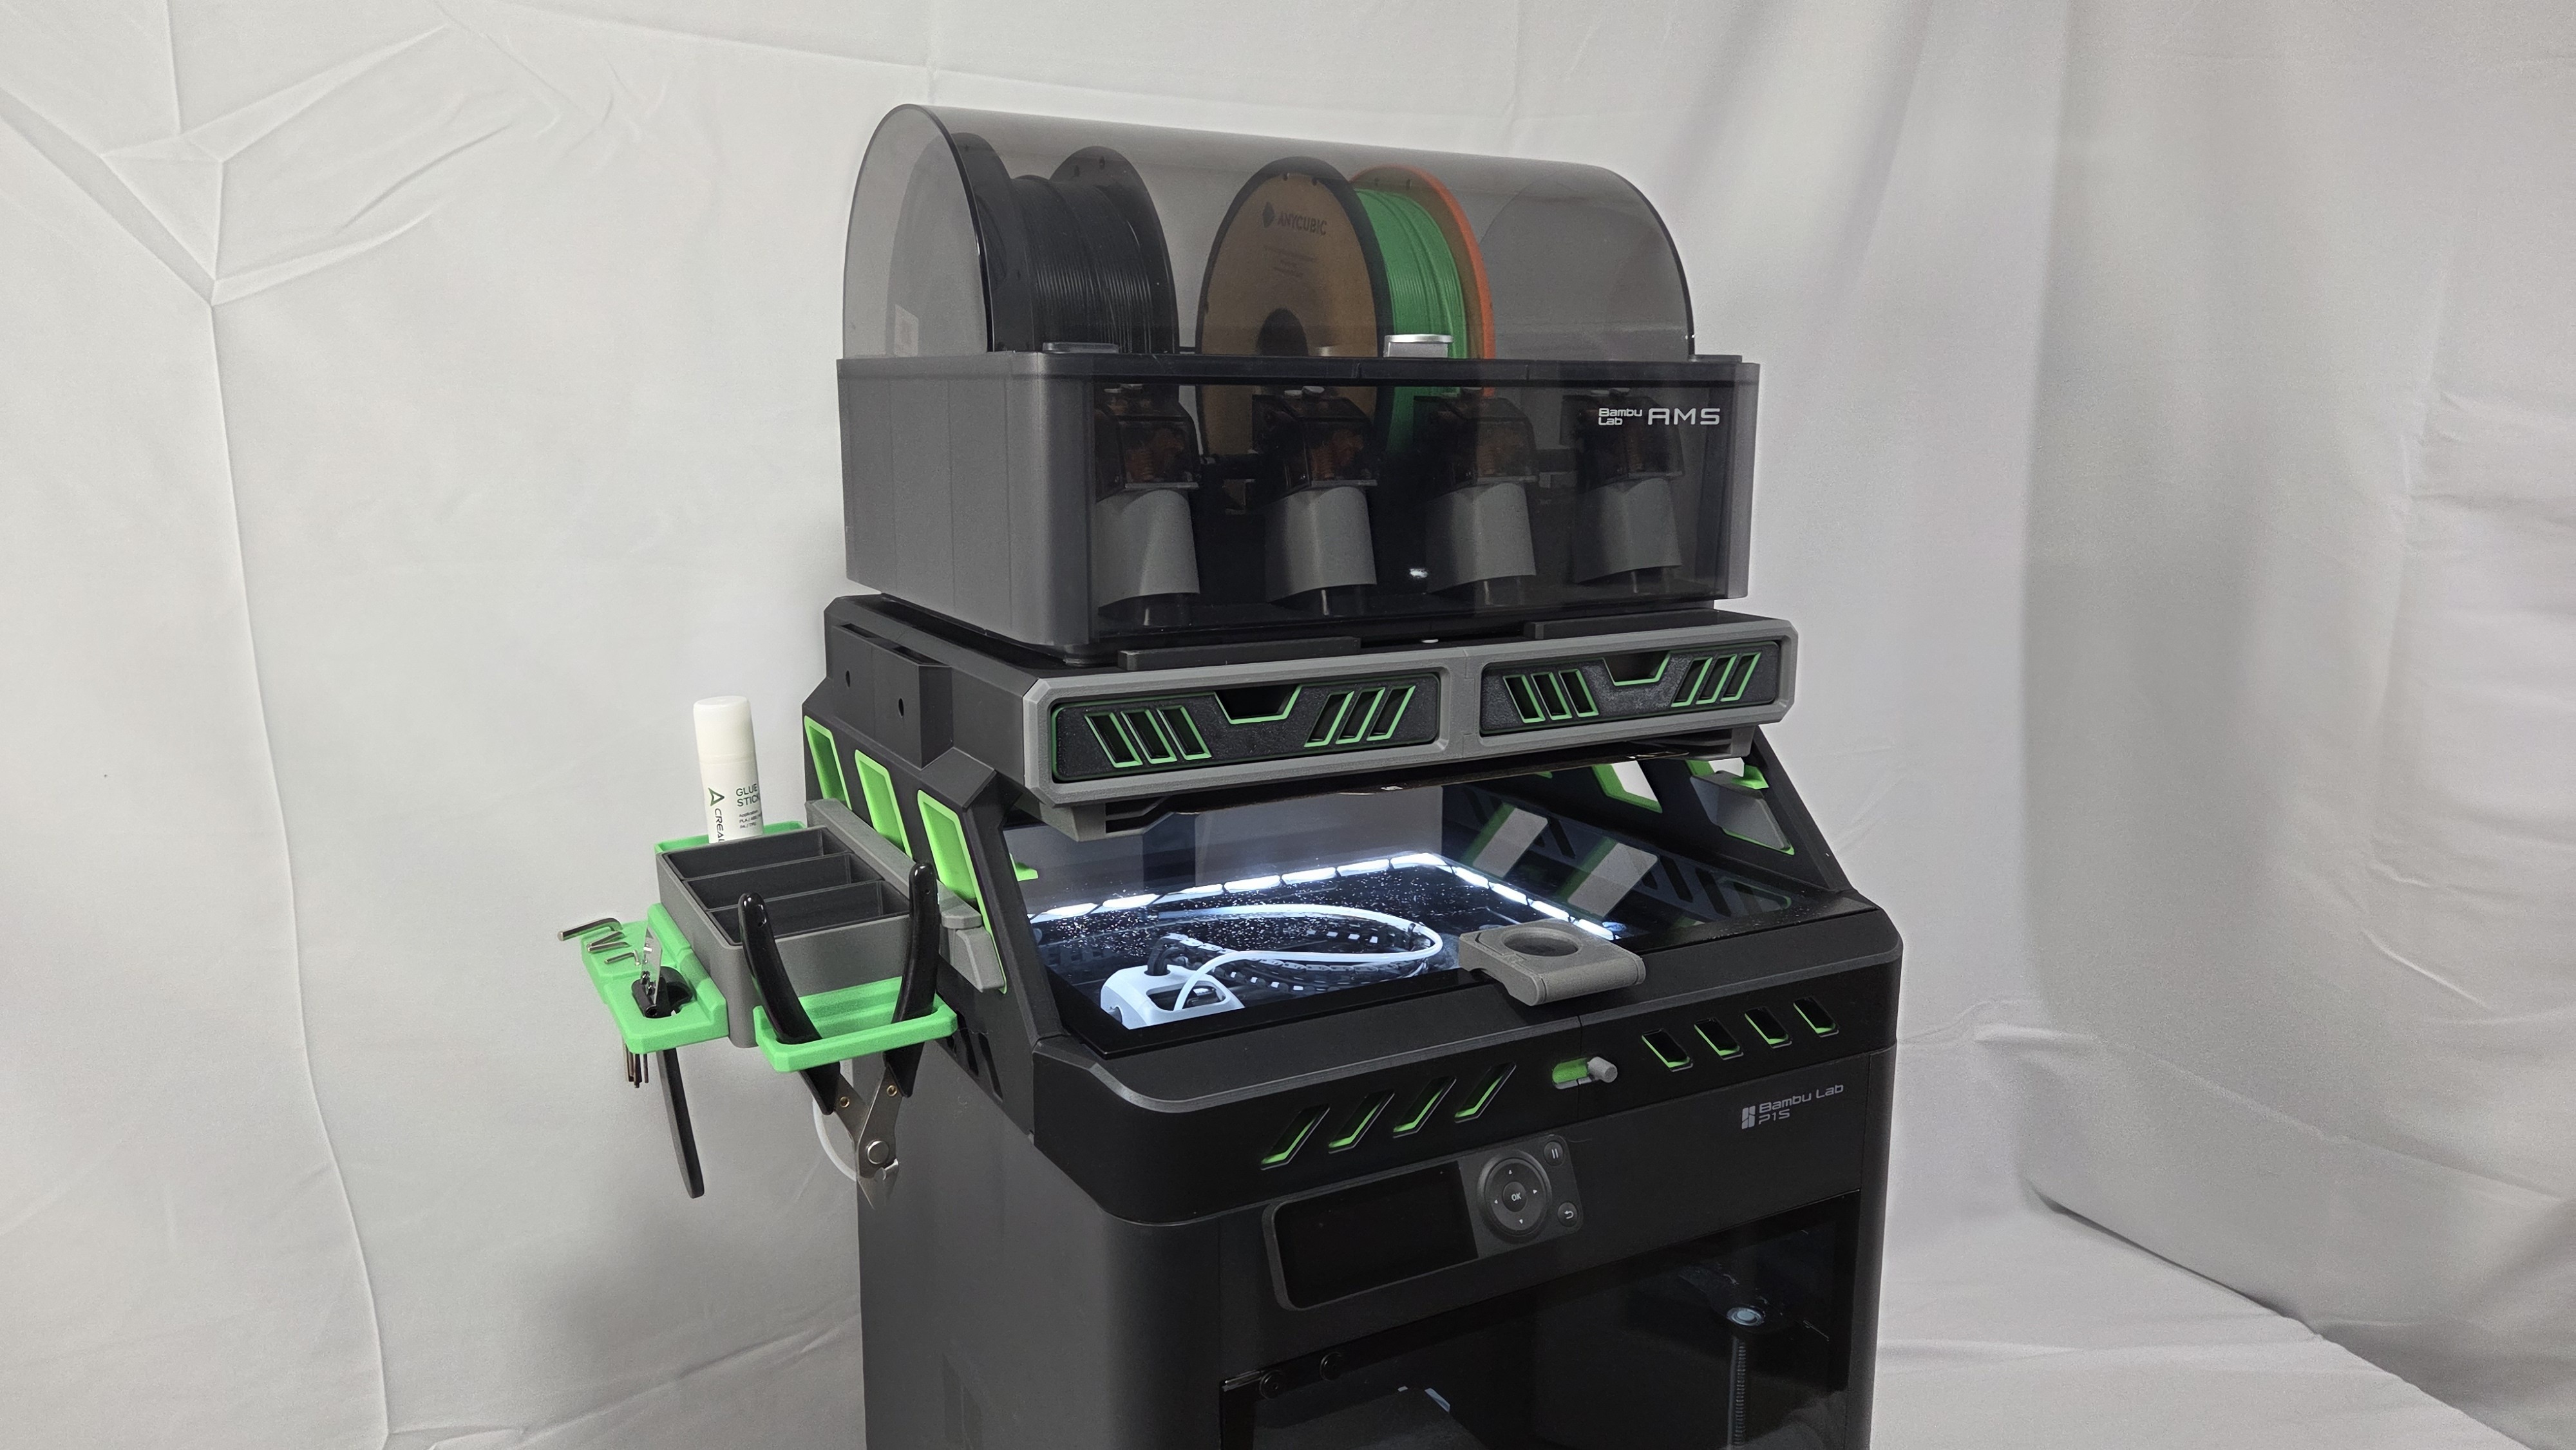
• Multiple add-ons such as a modular tool tray, interchangeable external spool holder and more to come;
• Detailed pdf instructions with pictures and steps;
• Printing requires little or no support;
• Optional Panda Touch magnetic base stand (see Panda Touch below).
Note: The model is also available on Creality cloud should you not be able to purchase it here: https://www.crealitycloud.com/model-detail/d3p-riser-bambu-lab-p1s?source=22
DISCOUNT CODES FOR PRINTER AND FILAMENT
I am in the process of obtaining discount codes from various manufacturers. Unlike many affiliate links these give discounts on purchases and are more difficult to obtain. In my requests I ask that they give me the codes with the most discounts for users even if it means a smaller commission.
Presently I have the following discounts codes available. They may not work with some discounted items.
\$10 off orders over \$100 | code: Darren3dPrint10
\$20 off orders over \$200 | code: Darren3dPrint20
\$30 off orders over \$400 | code: Darren3dPrint30
This can be used for any order worldwide.
Creality
\$60 off certain printers orders (K2 Pro and K2 Plus) | Coupon code: Darren
The code is limited to certain geographic regions.
INTELLECTUAL PROPERTY
This work is licensed under the standard digital file license. You are prohibited from sharing, sub-licensing, selling, renting, hosting, transferring, reproducing or distributing the digital file or 3d printed versions of this object, as well as any other derivative work in either digital or physical form (including remixes or copying/reproducing the design by any means).you are not allowed to use the objects in any manner that involves charging money or collecting fees without permission.
A patent has been filed for the D3P riser design and it is patent pending. I thank you for your understanding.
ADD-ONS
The model features a number of add-ons that are free to download on MakerWorld. All the addons for the X1C and P1S work for the D3P P2S riser.
I will be adding to these so be sure to check back from time to time.
MULTIMEDIA
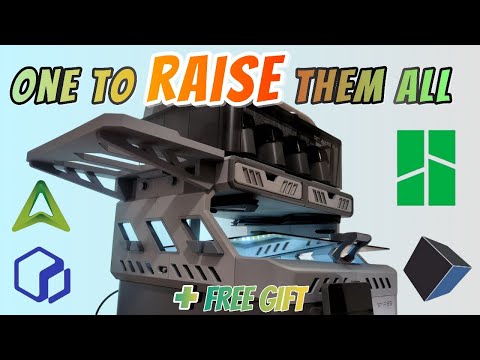
NEW: Have a look at Dirt-E-Bikes excellent video about the D3P riser and other risers. https://www.youtube.com/watch?v=MLQvEFuRu9Y
Also, get a free model consisting in a custom insert for the P1S D3P riser drawers (it is a 4x5 grid but you can add a 1x5 custom insert too). To get a free code you need to get the coupon code by watching Dirt-E-Bikes video (see above link). Link for custom insert (Hint: use the code - no need to pay for the model) : https://cults3d.com/en/3d-model/tool/p2s-drawer-insert
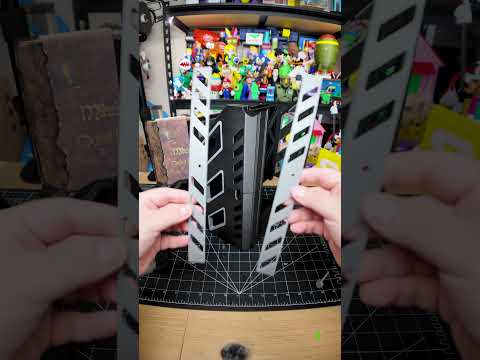
Have a look at MikesQuestLog assembly video for the riser:
https://www.youtube.com/shorts/gCheKPiknRc
TECHNICAL SPECIFICATIONS
For the base riser:
Filament: 2.6 kg
Approximate print time: 3 days 4h
V2 takes a little longer and requires a little more filament but not much.
V1- Short
Height with closed AMS unit: 86 cm (34 inches)
Height with open AMS unit: 101 cm (40 inches)
V2 - Tall
Height with closed AMS unit: approximately 104 cm (34.75 inches)
Height with open AMS unit: approximately 119 cm (40.75 inches)
EXTERNAL HARDWARE
LED strip
I am using an 8mm 5v 2 meter COB LED strip. I suggest you get a 1 to1.5 meter extension preferable with an on-off switch. I also use an external power supply for it.
This is the link to the one I used: https://www.amazon.ca/dp/B0C89MFP3Q?ref_=ppx_hzsearch_conn_dt_b_fed_asin_title_2&th=1
PRINT SETTINGS
IMPORTANT I upload a print setting files for all my models. The print settings has the parts positioned for correct printing.
EACH BUILD PLATE HAS THE TYPE OF SUPPORT REQUIRED INDICATED ON THE BUILD PLATE DESCRIPTION (TREE AUTO, TREE MANUAL OR NO SUPPORT).
I strongly recommended you use my print setting file. If not, I will not be able to assist you if there is an issue when printing. From experience, many of the issues with printing my models are on account of users not using my print settings.
CHANGELOG
If there are any changes to the STL files or print settings I will list them here. I recommend looking at this section prior to printing as it is the only way I can inform users of changes.
3D PRINT SETTINGS
I use the following settings and materials to print this model:
Infill % : 15% (no need for more)
Nozzle diameter: 0.4 mm
Layer height: 0.2 mm standard
Material: I am often asked the question about the riser deforming when using PLA when printing ABS or ASA. I prefer PLA since it cheaper to purchase and easier to print. I print all my risers in PLA but I seldom print in ASA or ABS. I have some users that printed in PETG and some in ABS. Both will also work providing your printer can maintain tolerances. PETG may be preferable if you intend on printing higher temp materials on a regular basis or if you plan on placing a filament dryer on the riser or a shelf.
PRINTING OPTIONS
3 slot build plate
Instead of printing the stock 2 plate holder installed under the drawers you can print the 3 build plate holder. https://makerworld.com/en/models/2200659-p1s-p2s-x1c-d3p-riser-3-slot-build-plate-holder#profileId-2390783
Panda touch
Each riser package (V1 and V2) contains a Panda touch option (see photo 3 of the riser model photos). If you want the Panda Touch option do not print the stock Front Left part as it is replaced. Also each of V1 and V2 have a separate Panda Touch mod and these are not interchangeable.
The Front left part now has a mount for the Magnetic charging dock and dispenses with the Mounting Bracket. It also features a cutout to pass the cable to connect a USB cable to the Magnetic charging dock. You will need to supply two small screws to mount the Magnetic charging dock to the Front left part.
ASSEMBLY AND INSTRUCTIONS
A detailed instruction and assembly guide with steps and pictures is available for download with the model files.
TROUBLESHOOTING
All parts and the assembly have been tested multiple times (both printing and assembly).
• Make sure your build properly cleaned and free of grease and oils before printing. This is the cause of adhesion.
• Make sure you use my print profiles/settings (the .3mf file that has multiple plates with all the parts) and that you enable support as indicated for each build plate on the build plate description.
• Filament and printer will affect tolerances however all should fit. If unsure proceed slowly and cautiously.
• If there are any changes I list them in a changelog on the model page. Please have a look at it prior to printing in the event there are any changes.
I am available to assist with any issues with this model.
The best way to reach me is through Facebook messenger - my user name is "Darren 3d print".
I thank you for your support and hope you like this model.


:still()/https://fbi.cults3d.com/uploaders/15758717/illustration-file/c4bcece2-564f-4f94-a8f9-cf7f47f13ef7/Intro-gif.gif)
:still()/https://fbi.cults3d.com/uploaders/15758717/illustration-file/7133758b-4db9-46b2-9c1b-decef1fea086/intro.gif)
:still()/https://fbi.cults3d.com/uploaders/15758717/illustration-file/e7620d79-fb3e-45ba-993b-9a2ccabc4ef3/X1-dual-Gif.gif)
:format(webp)/https://fbi.cults3d.com/uploaders/15758717/illustration-file/db1db915-4d72-406c-908b-1c24d9daba61/h3.png)
:still()/https://fbi.cults3d.com/uploaders/15758717/illustration-file/fbbf1a3e-bcec-4708-a018-3df64100b379/Intro-gif.gif)