After 3 days of printing the chassis, I realized many mistakes in the design file.
Many versions in folders, but no real explanation file or pictures of what it should look like.
I wouldn't buy from this designer again.
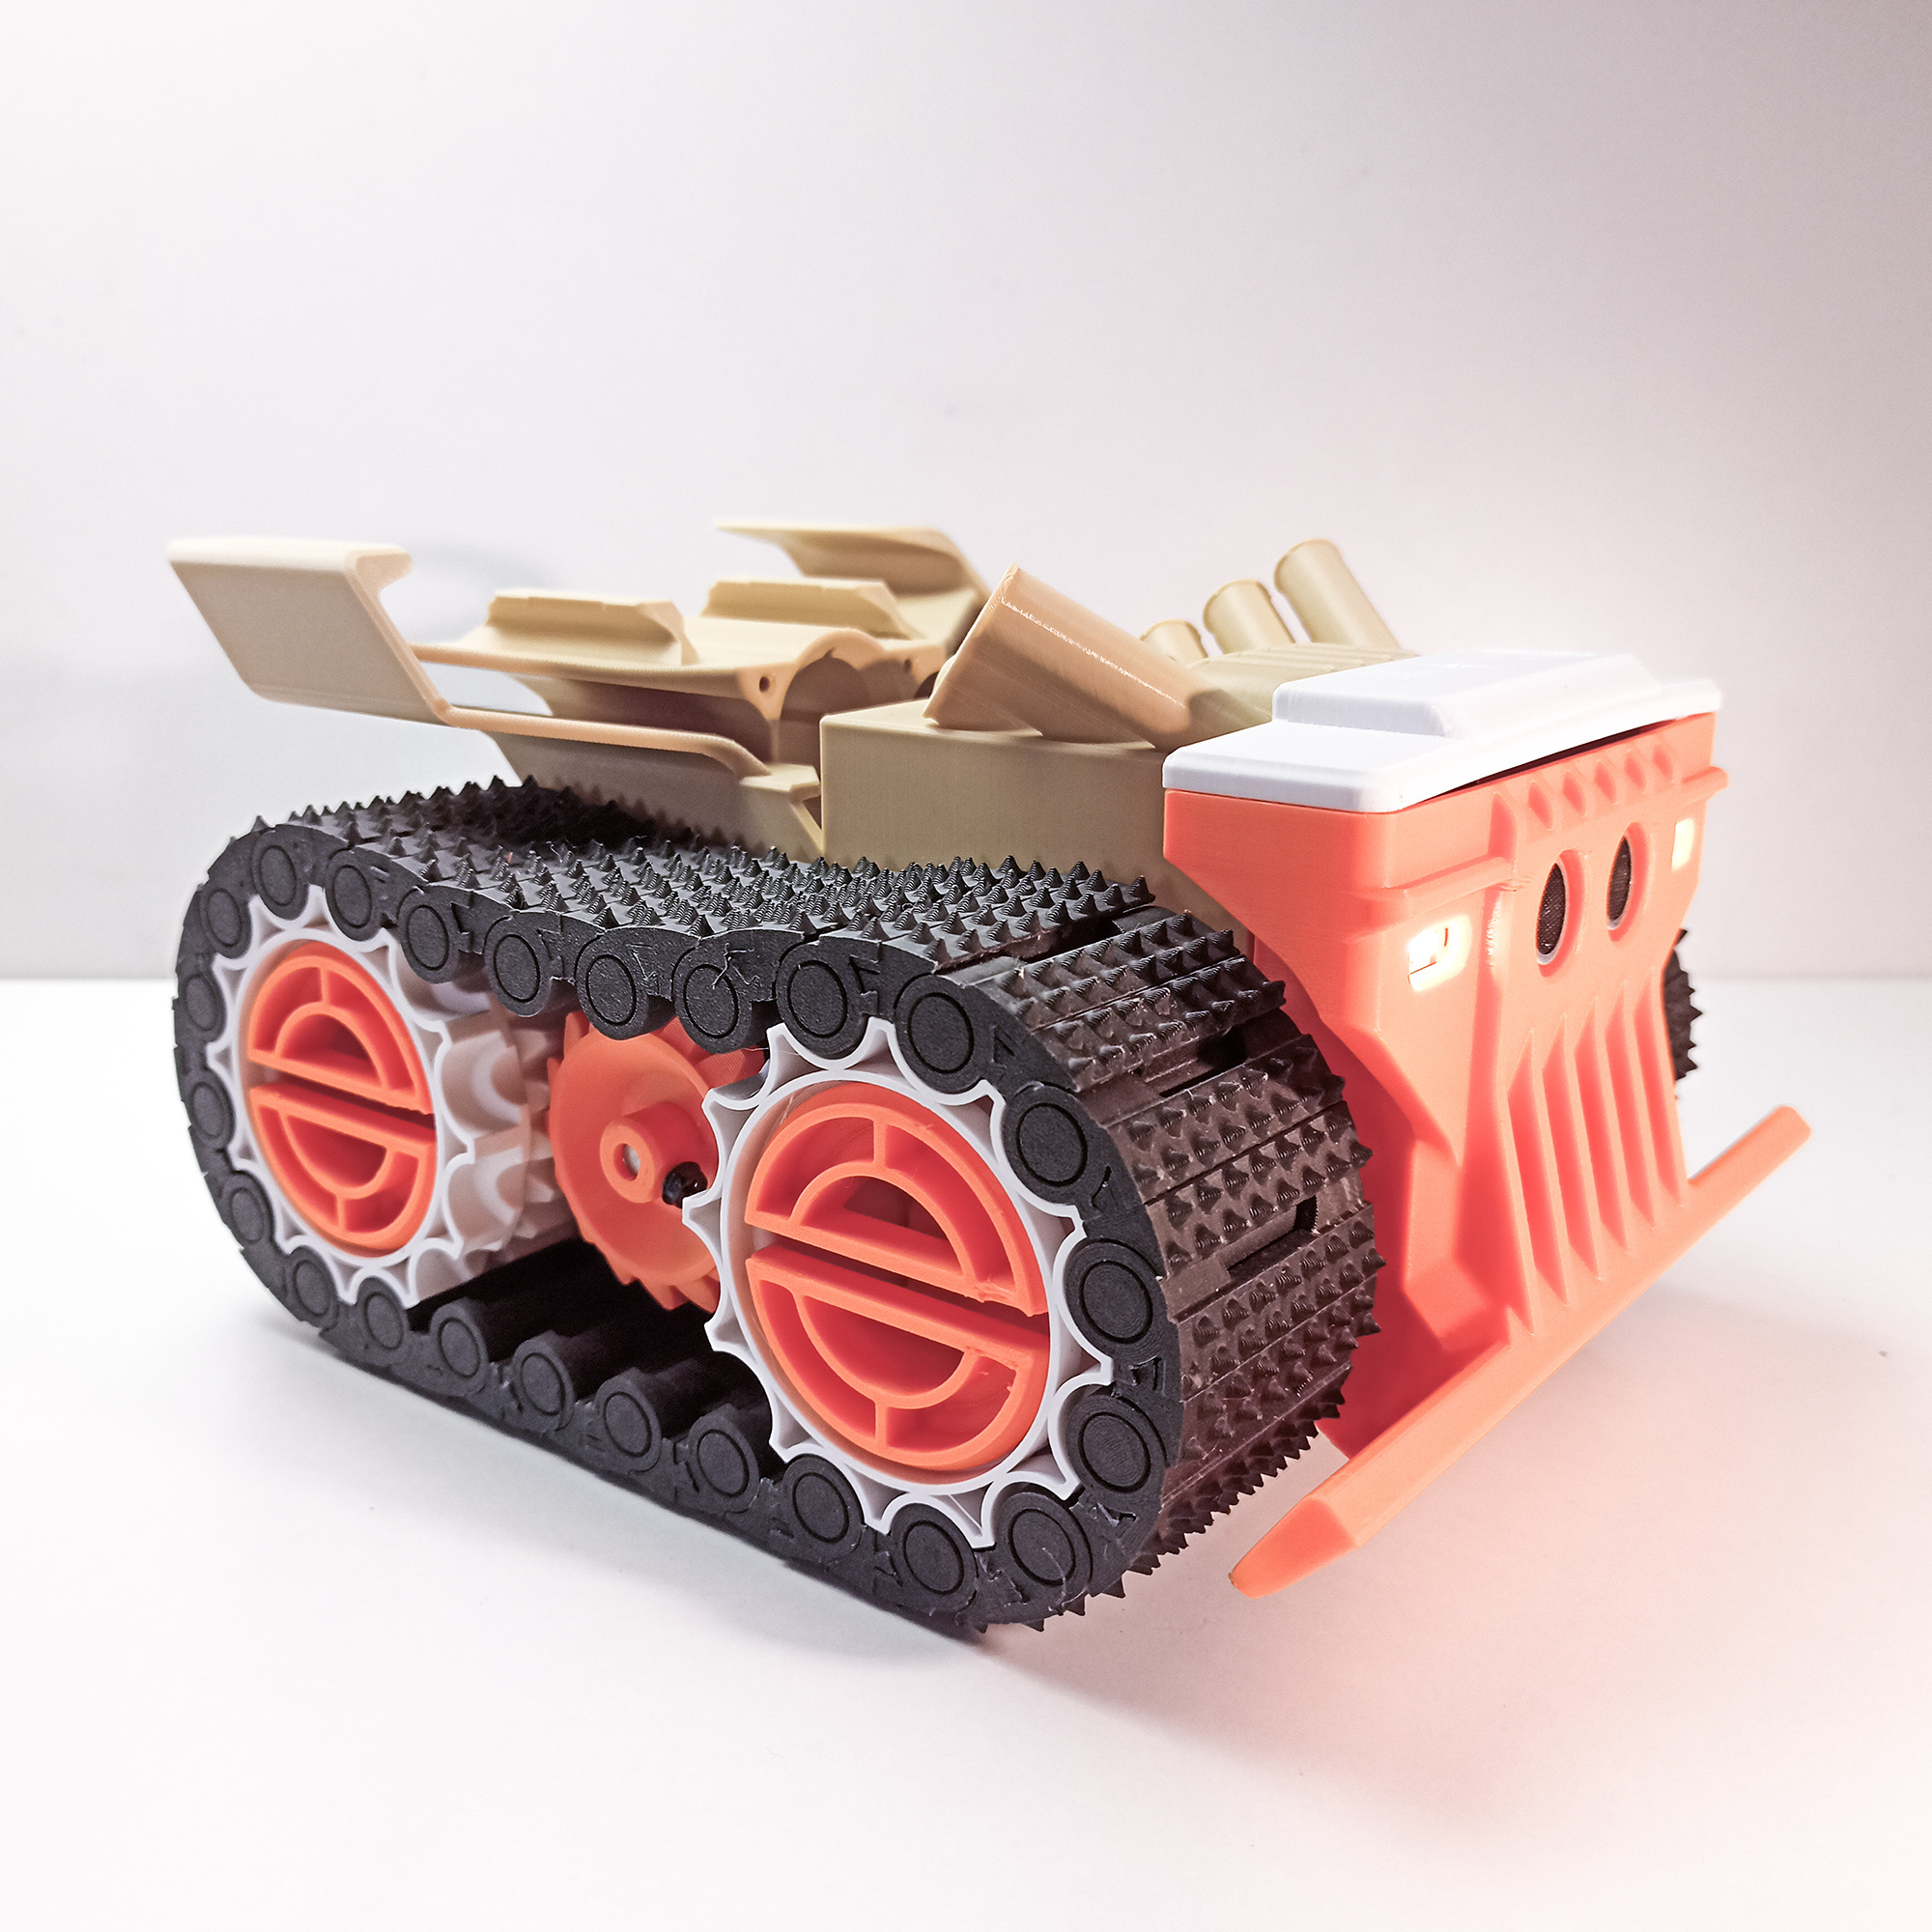
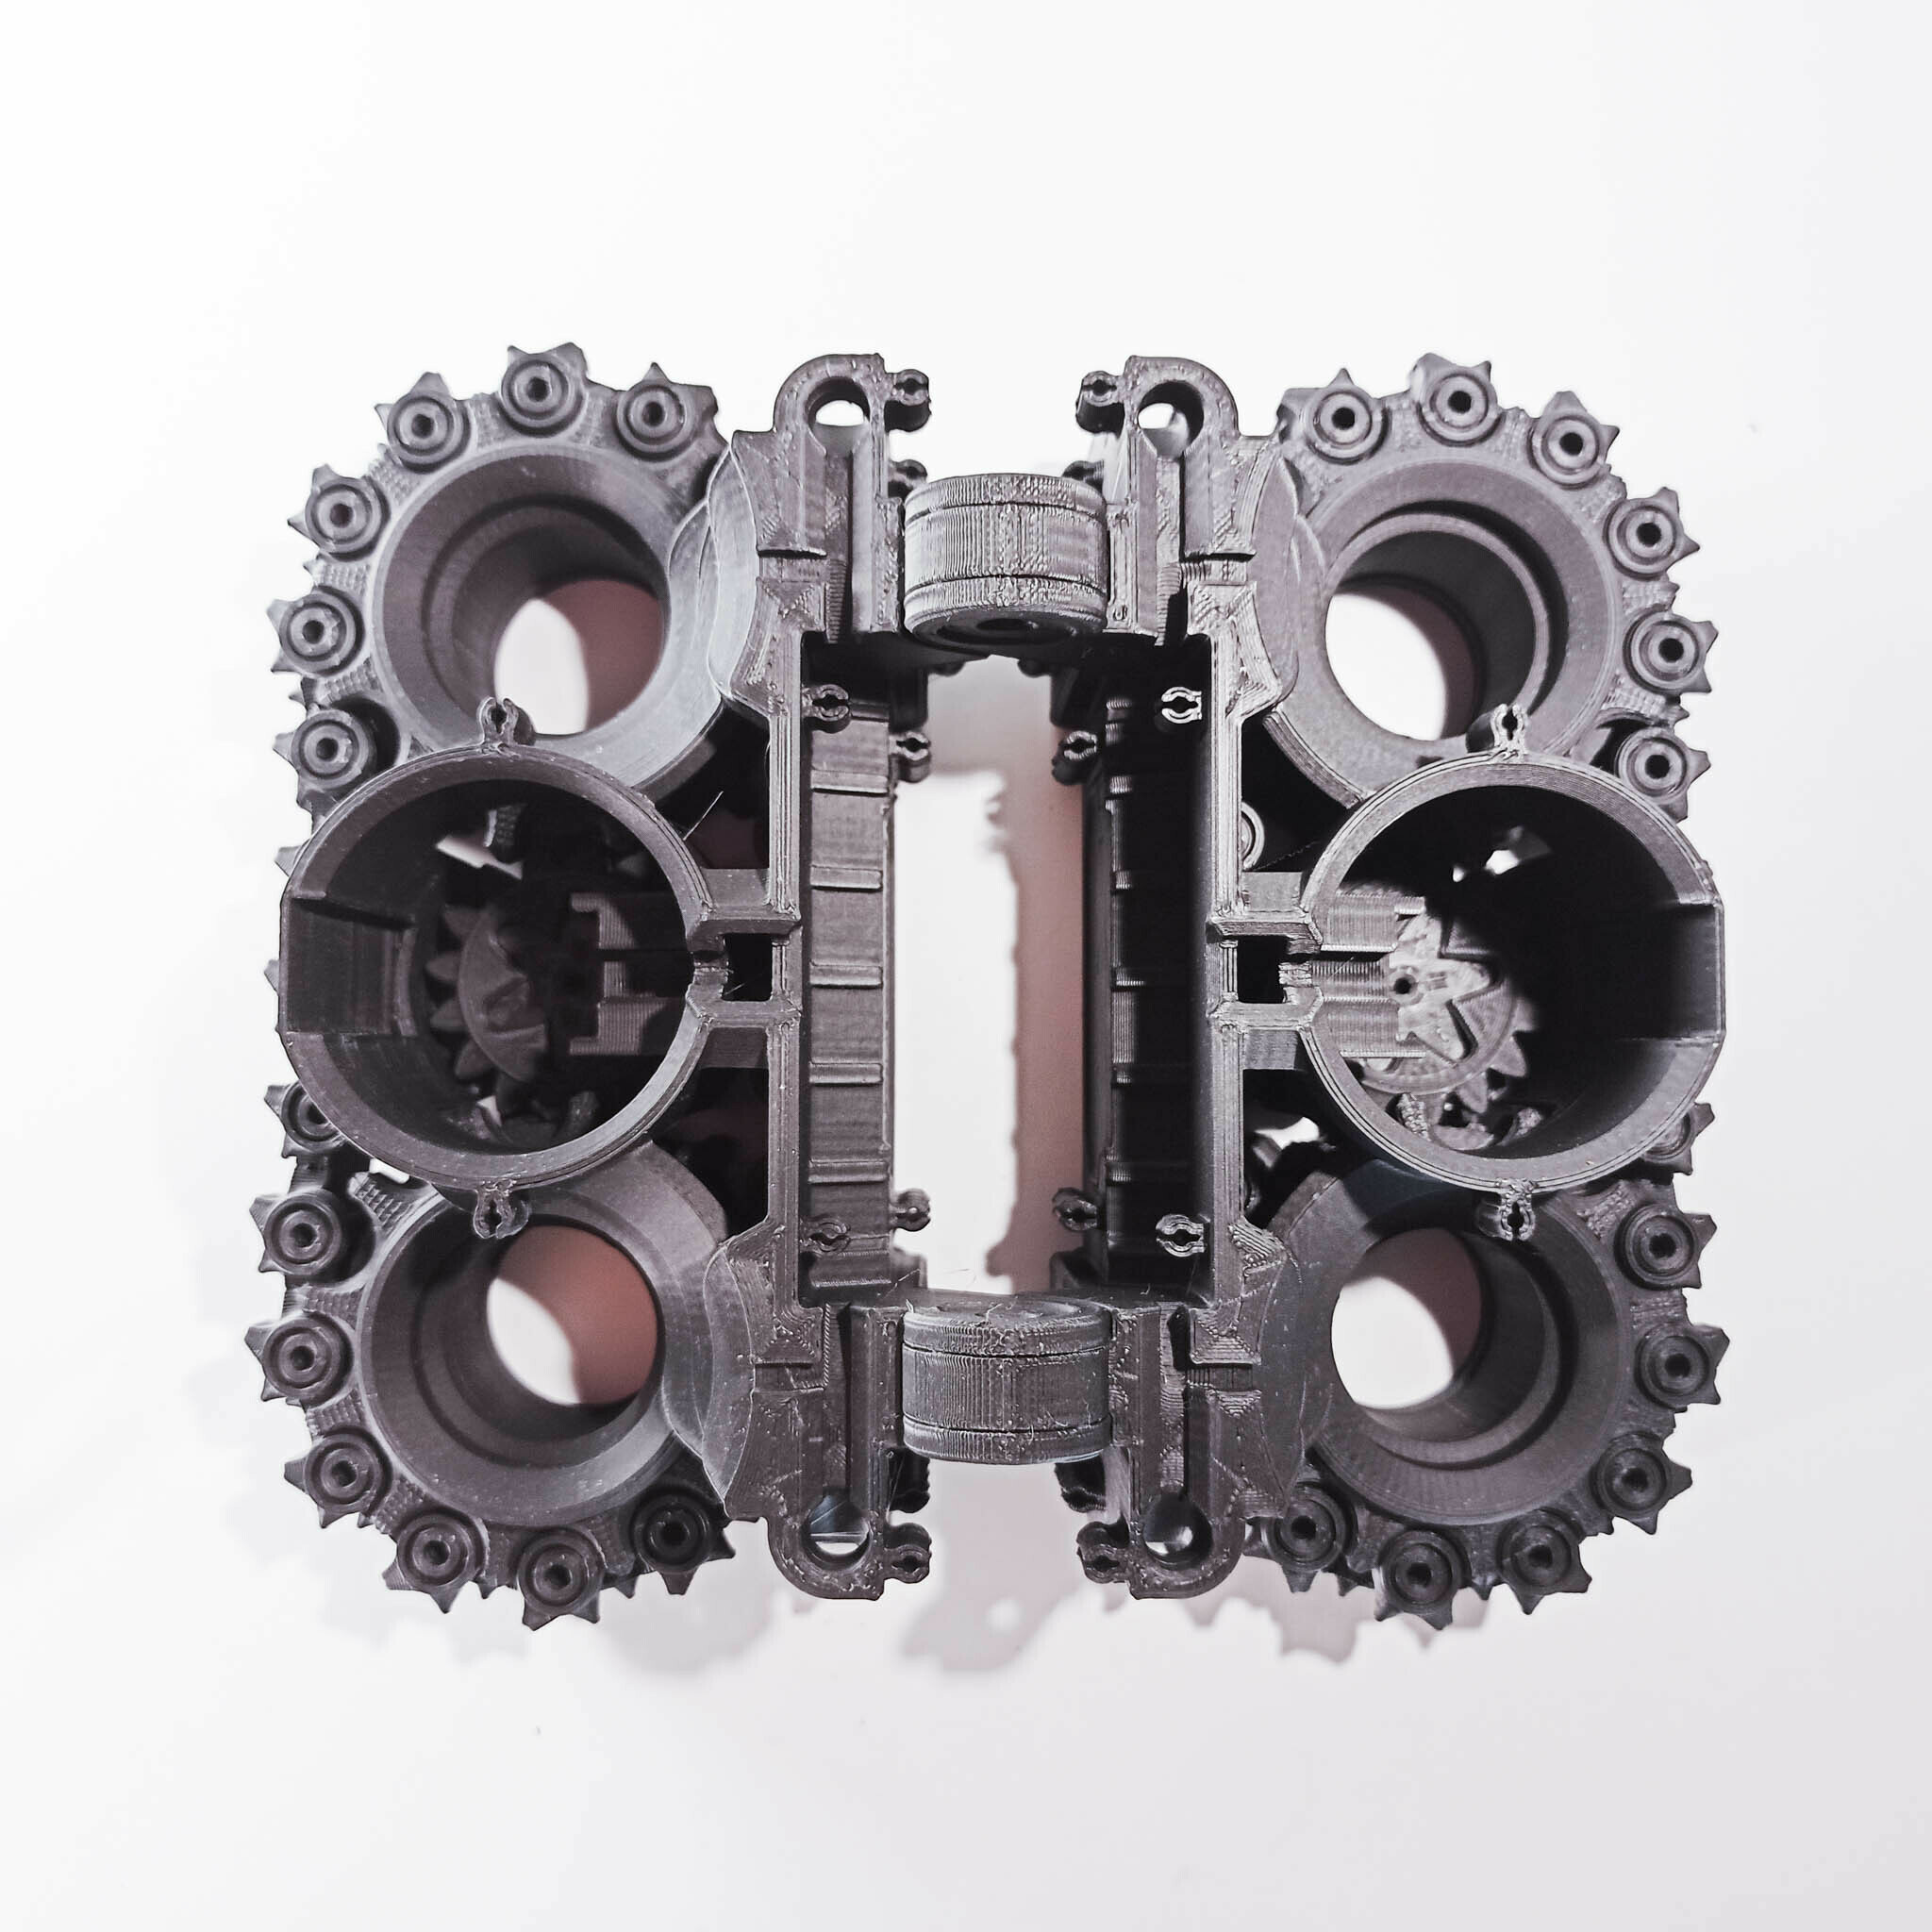
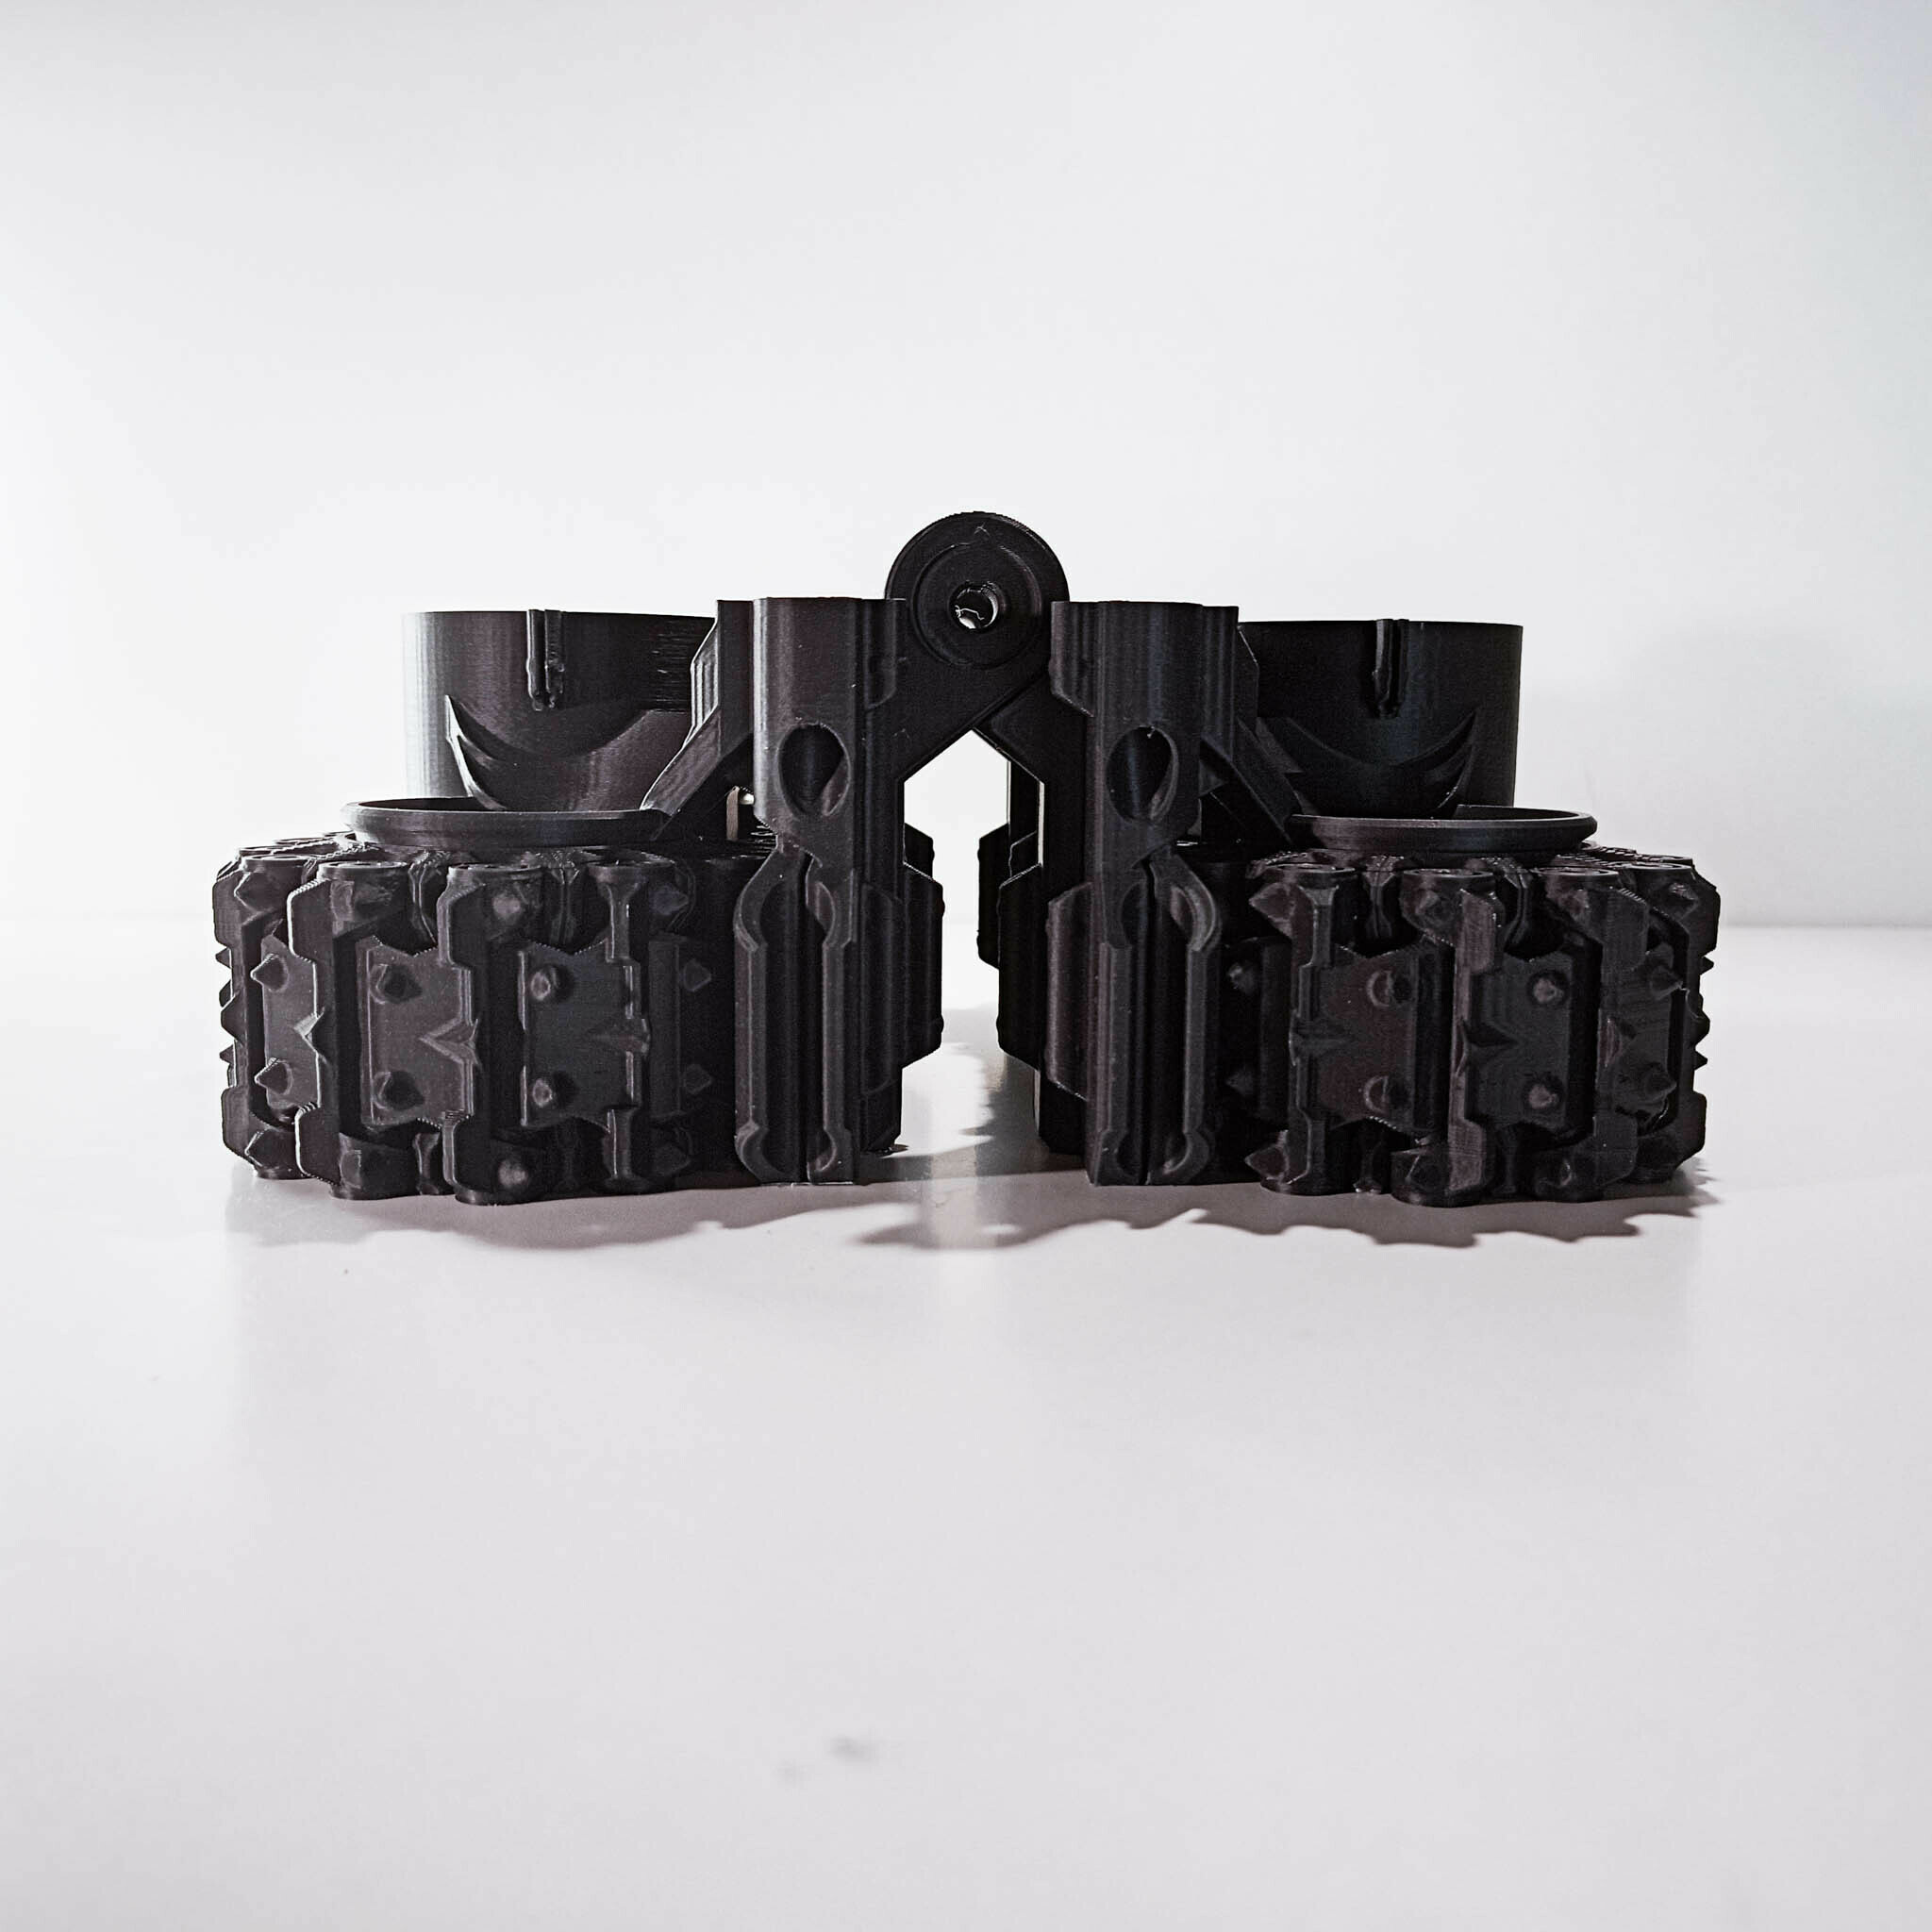
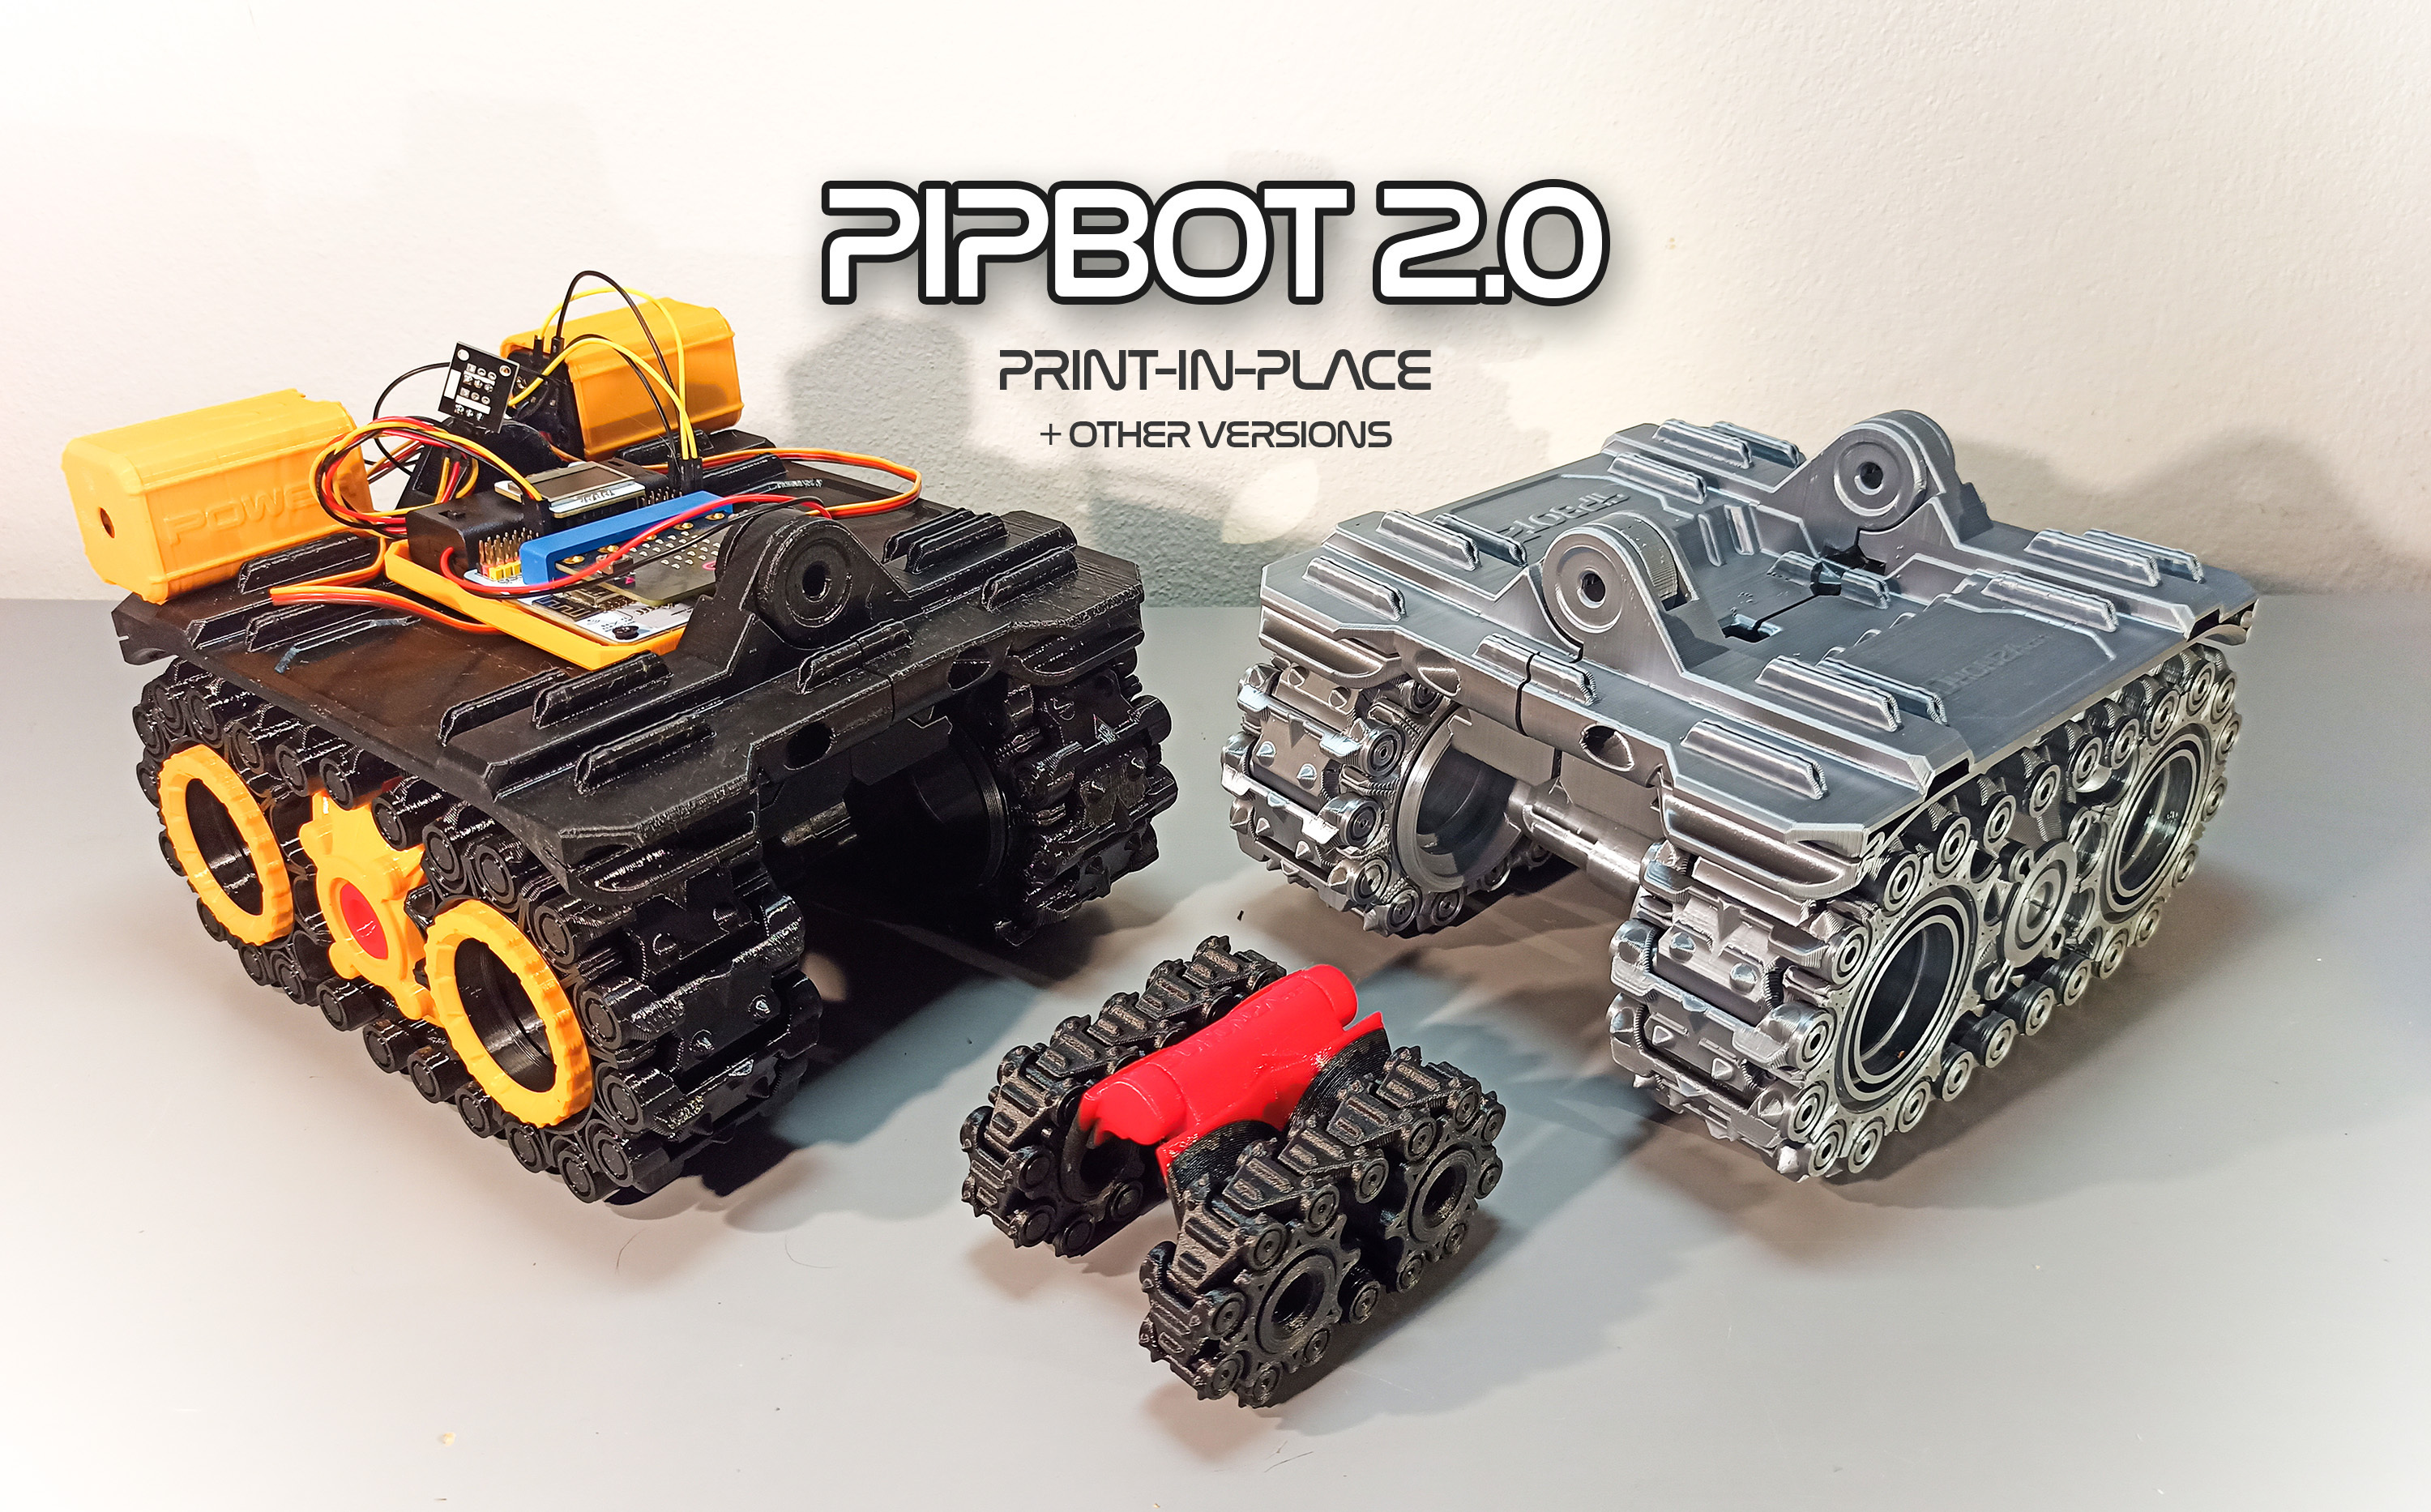
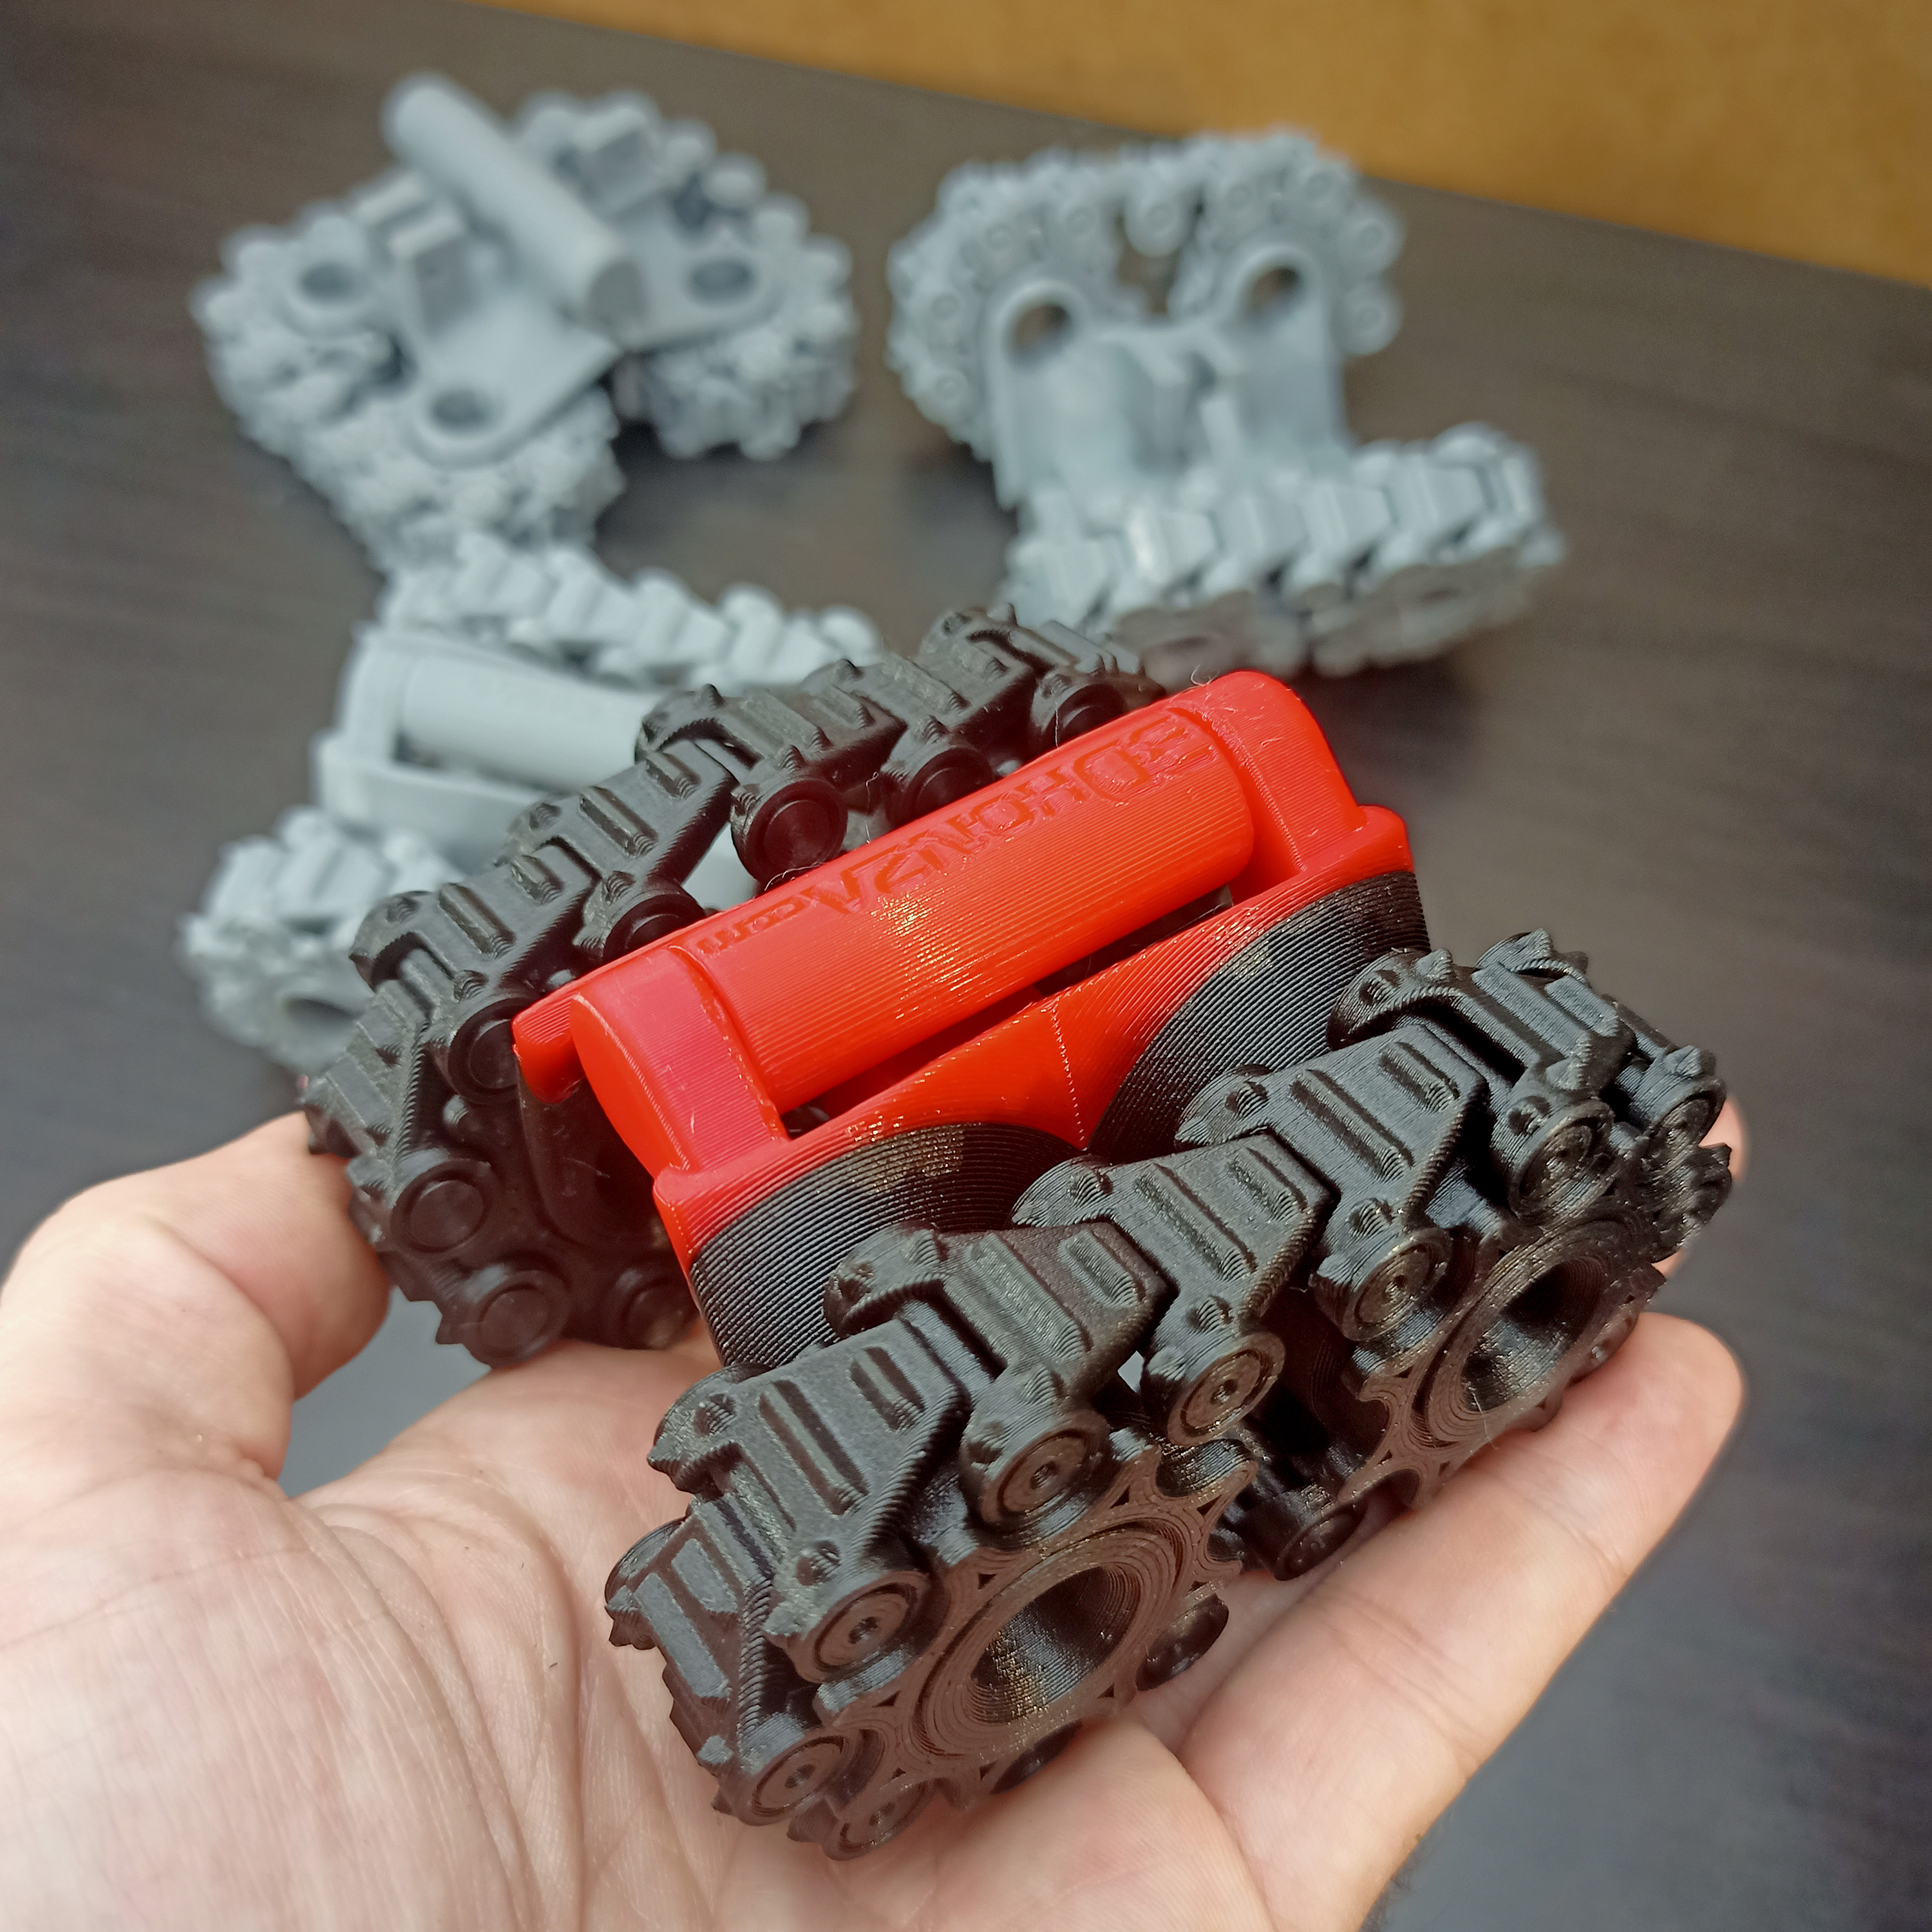
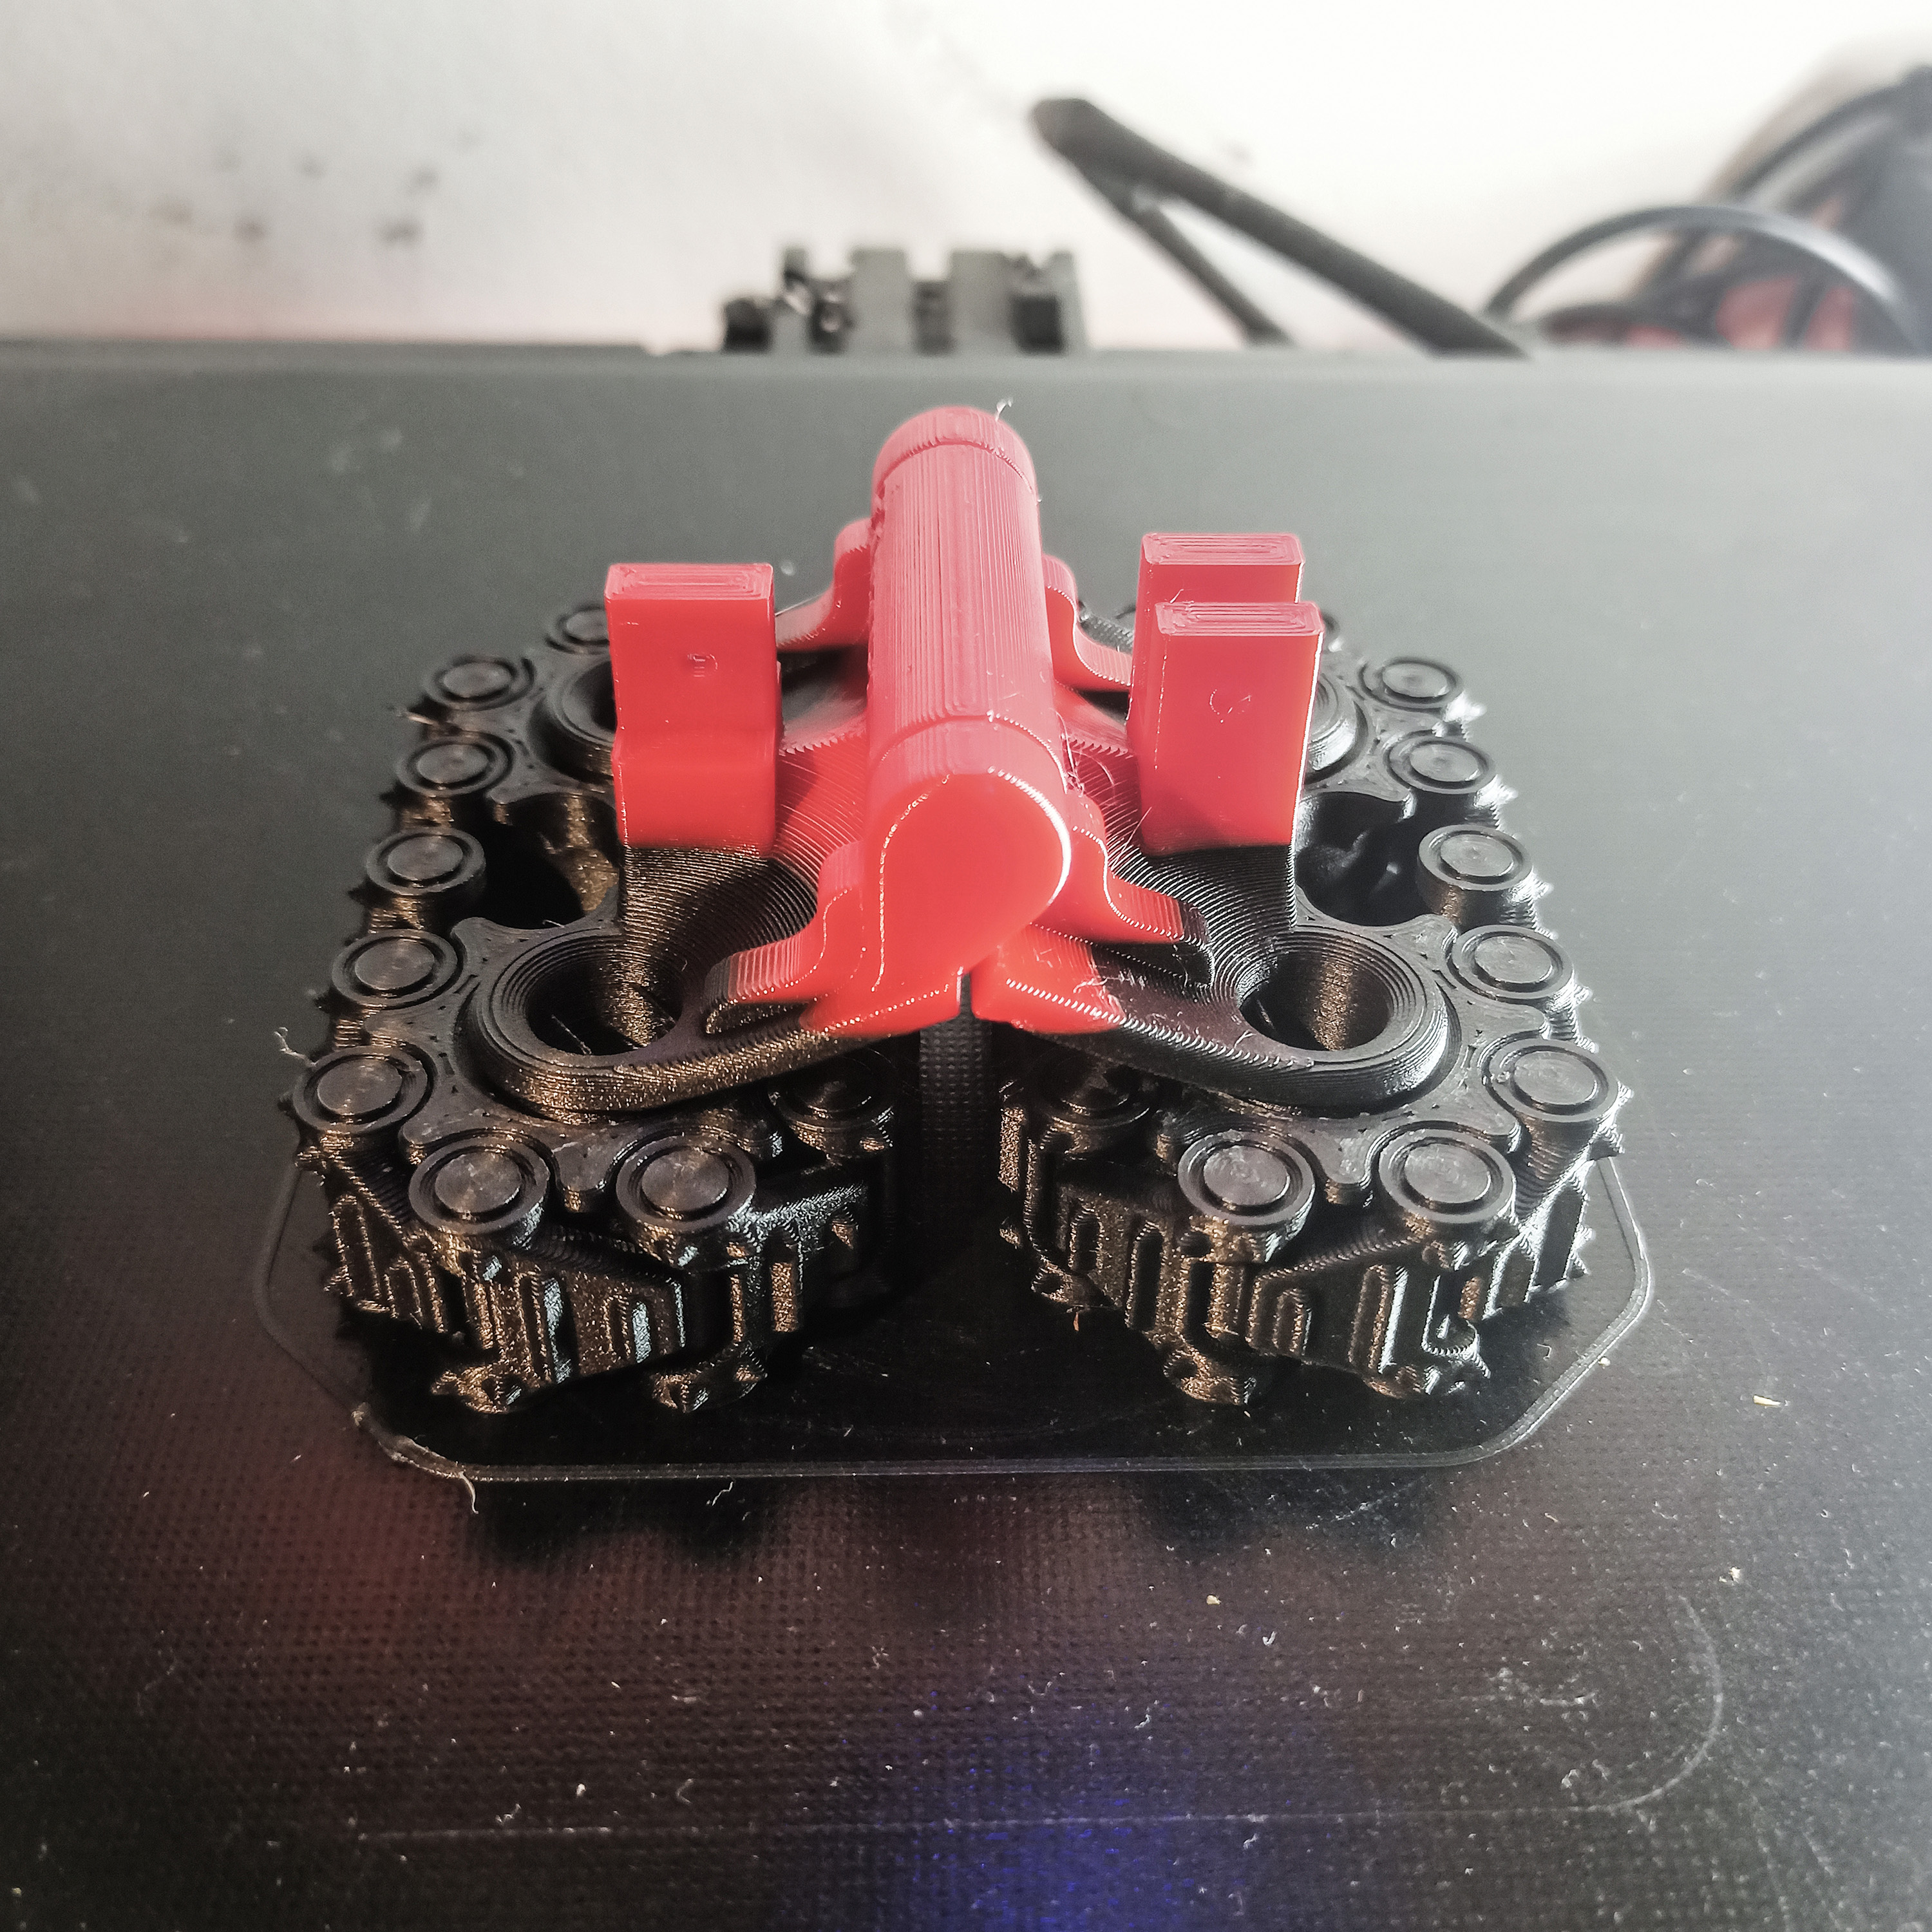
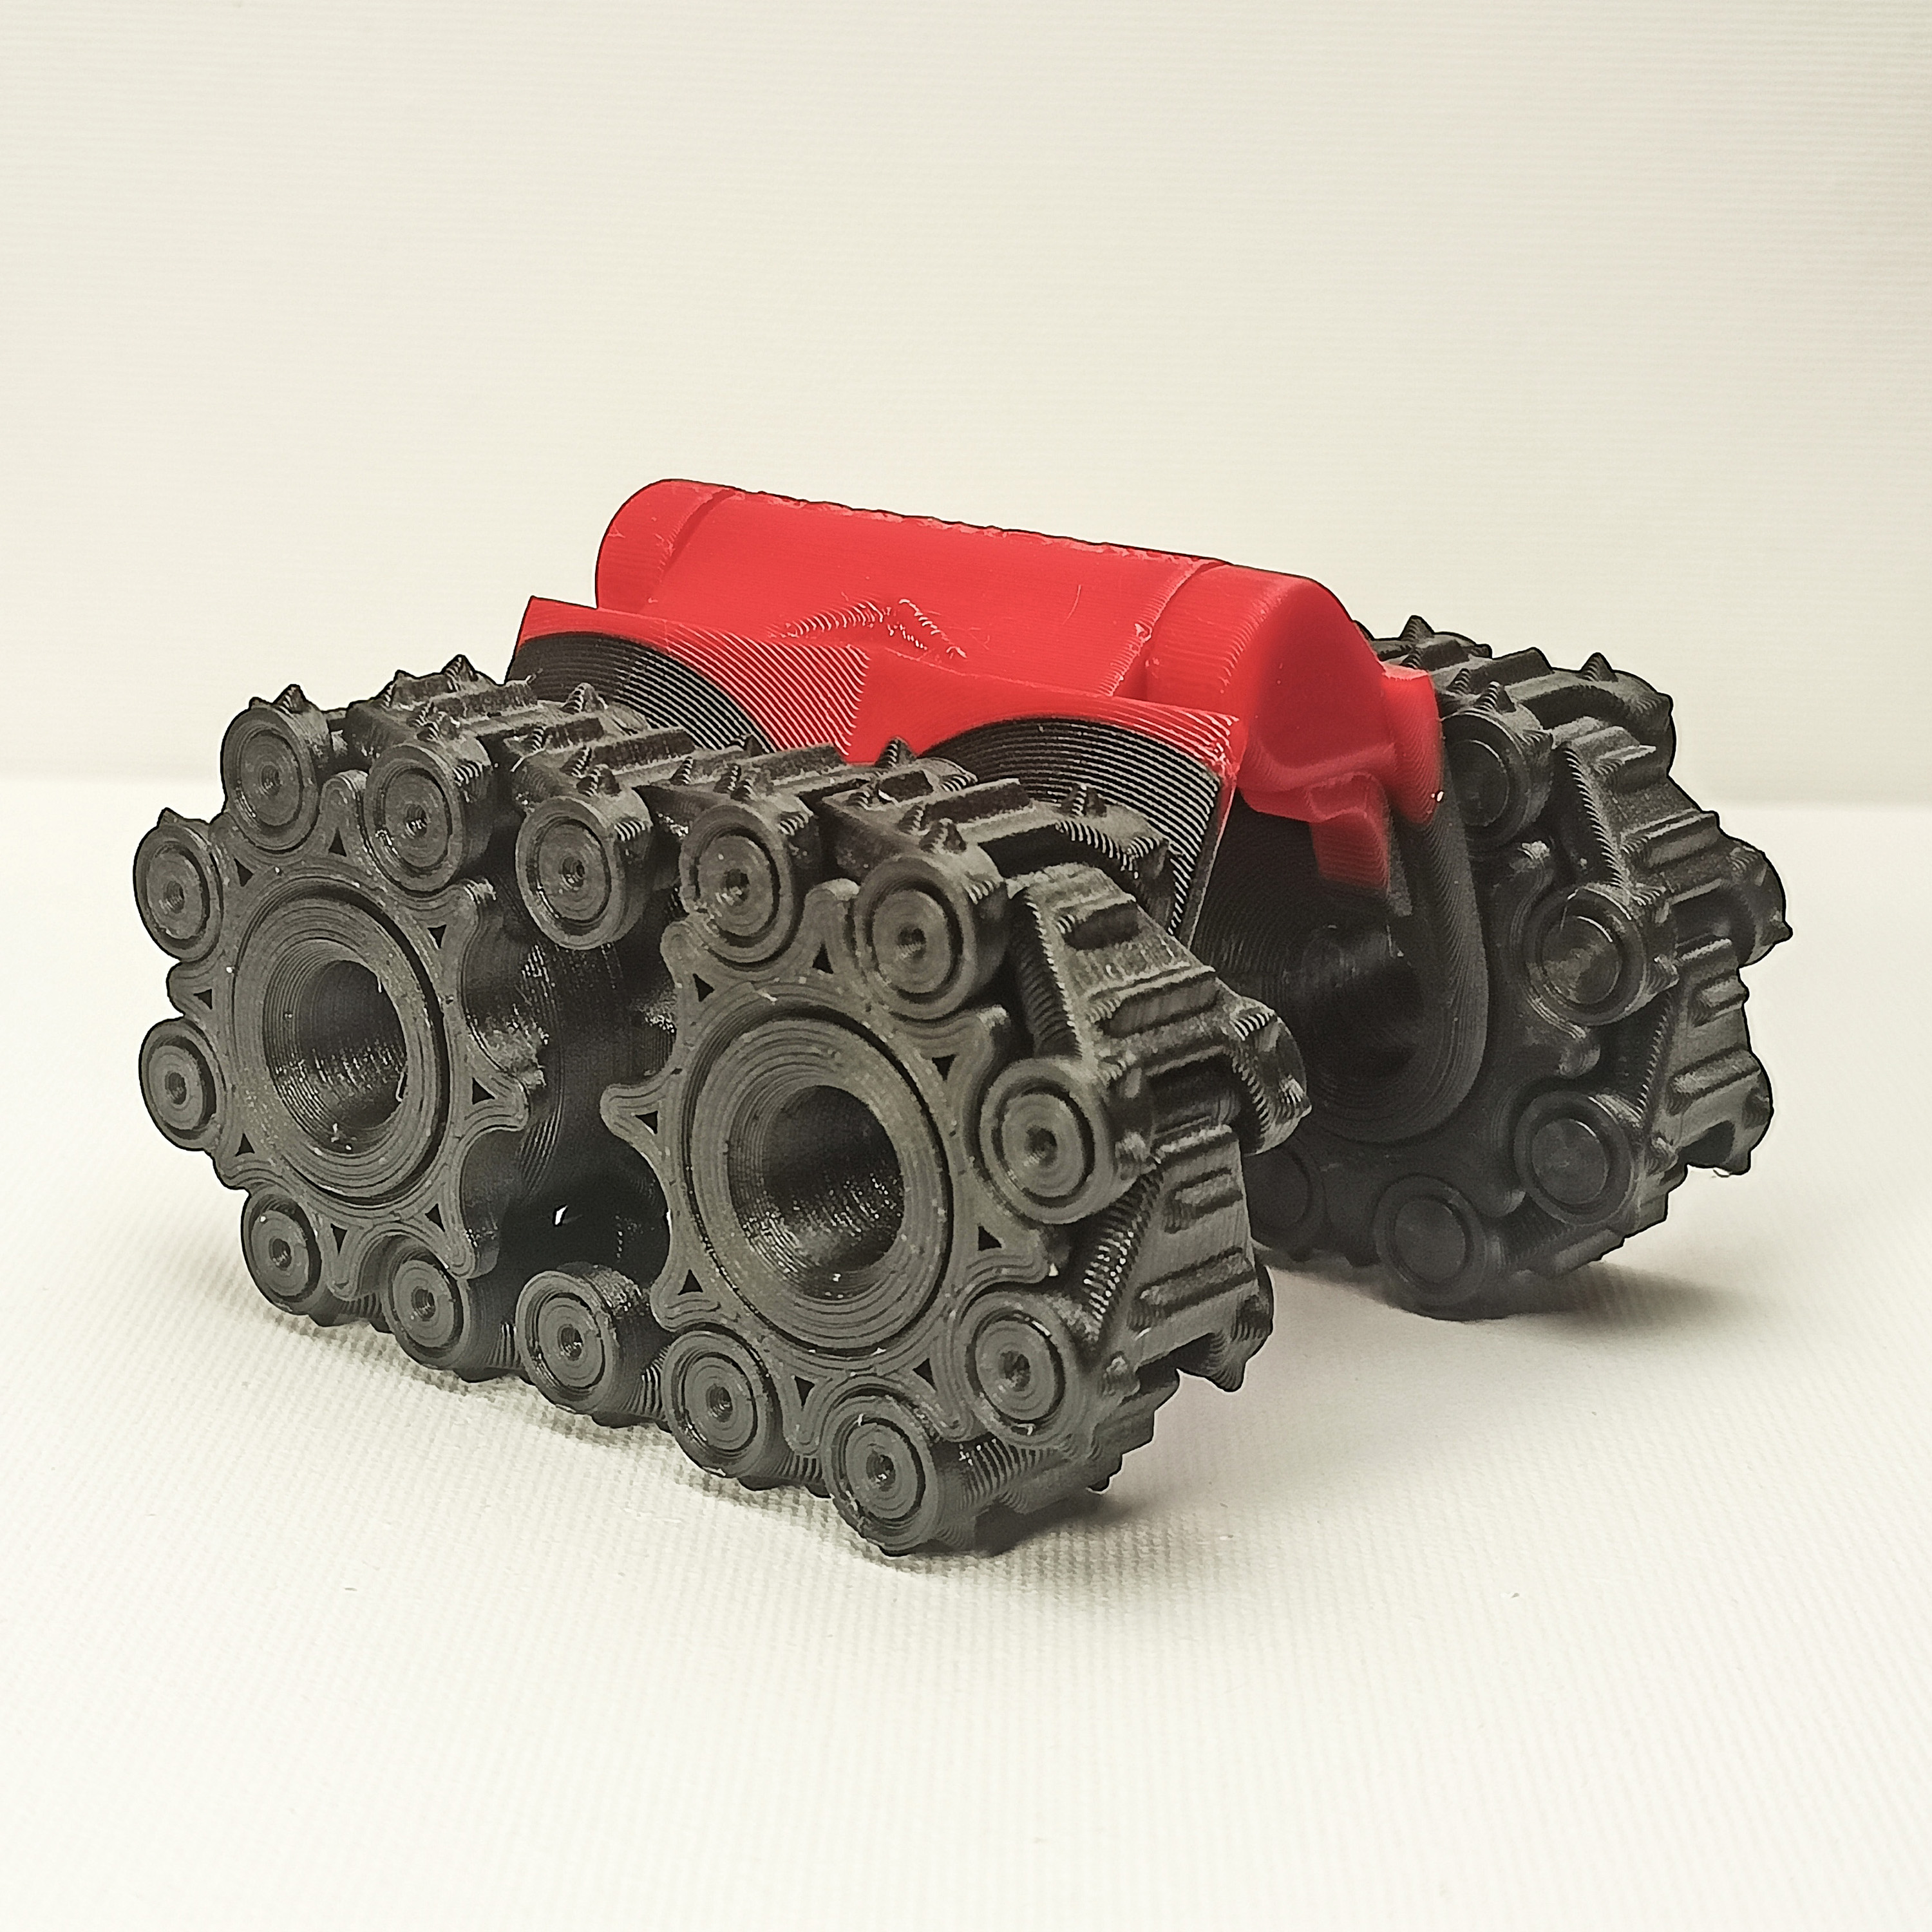
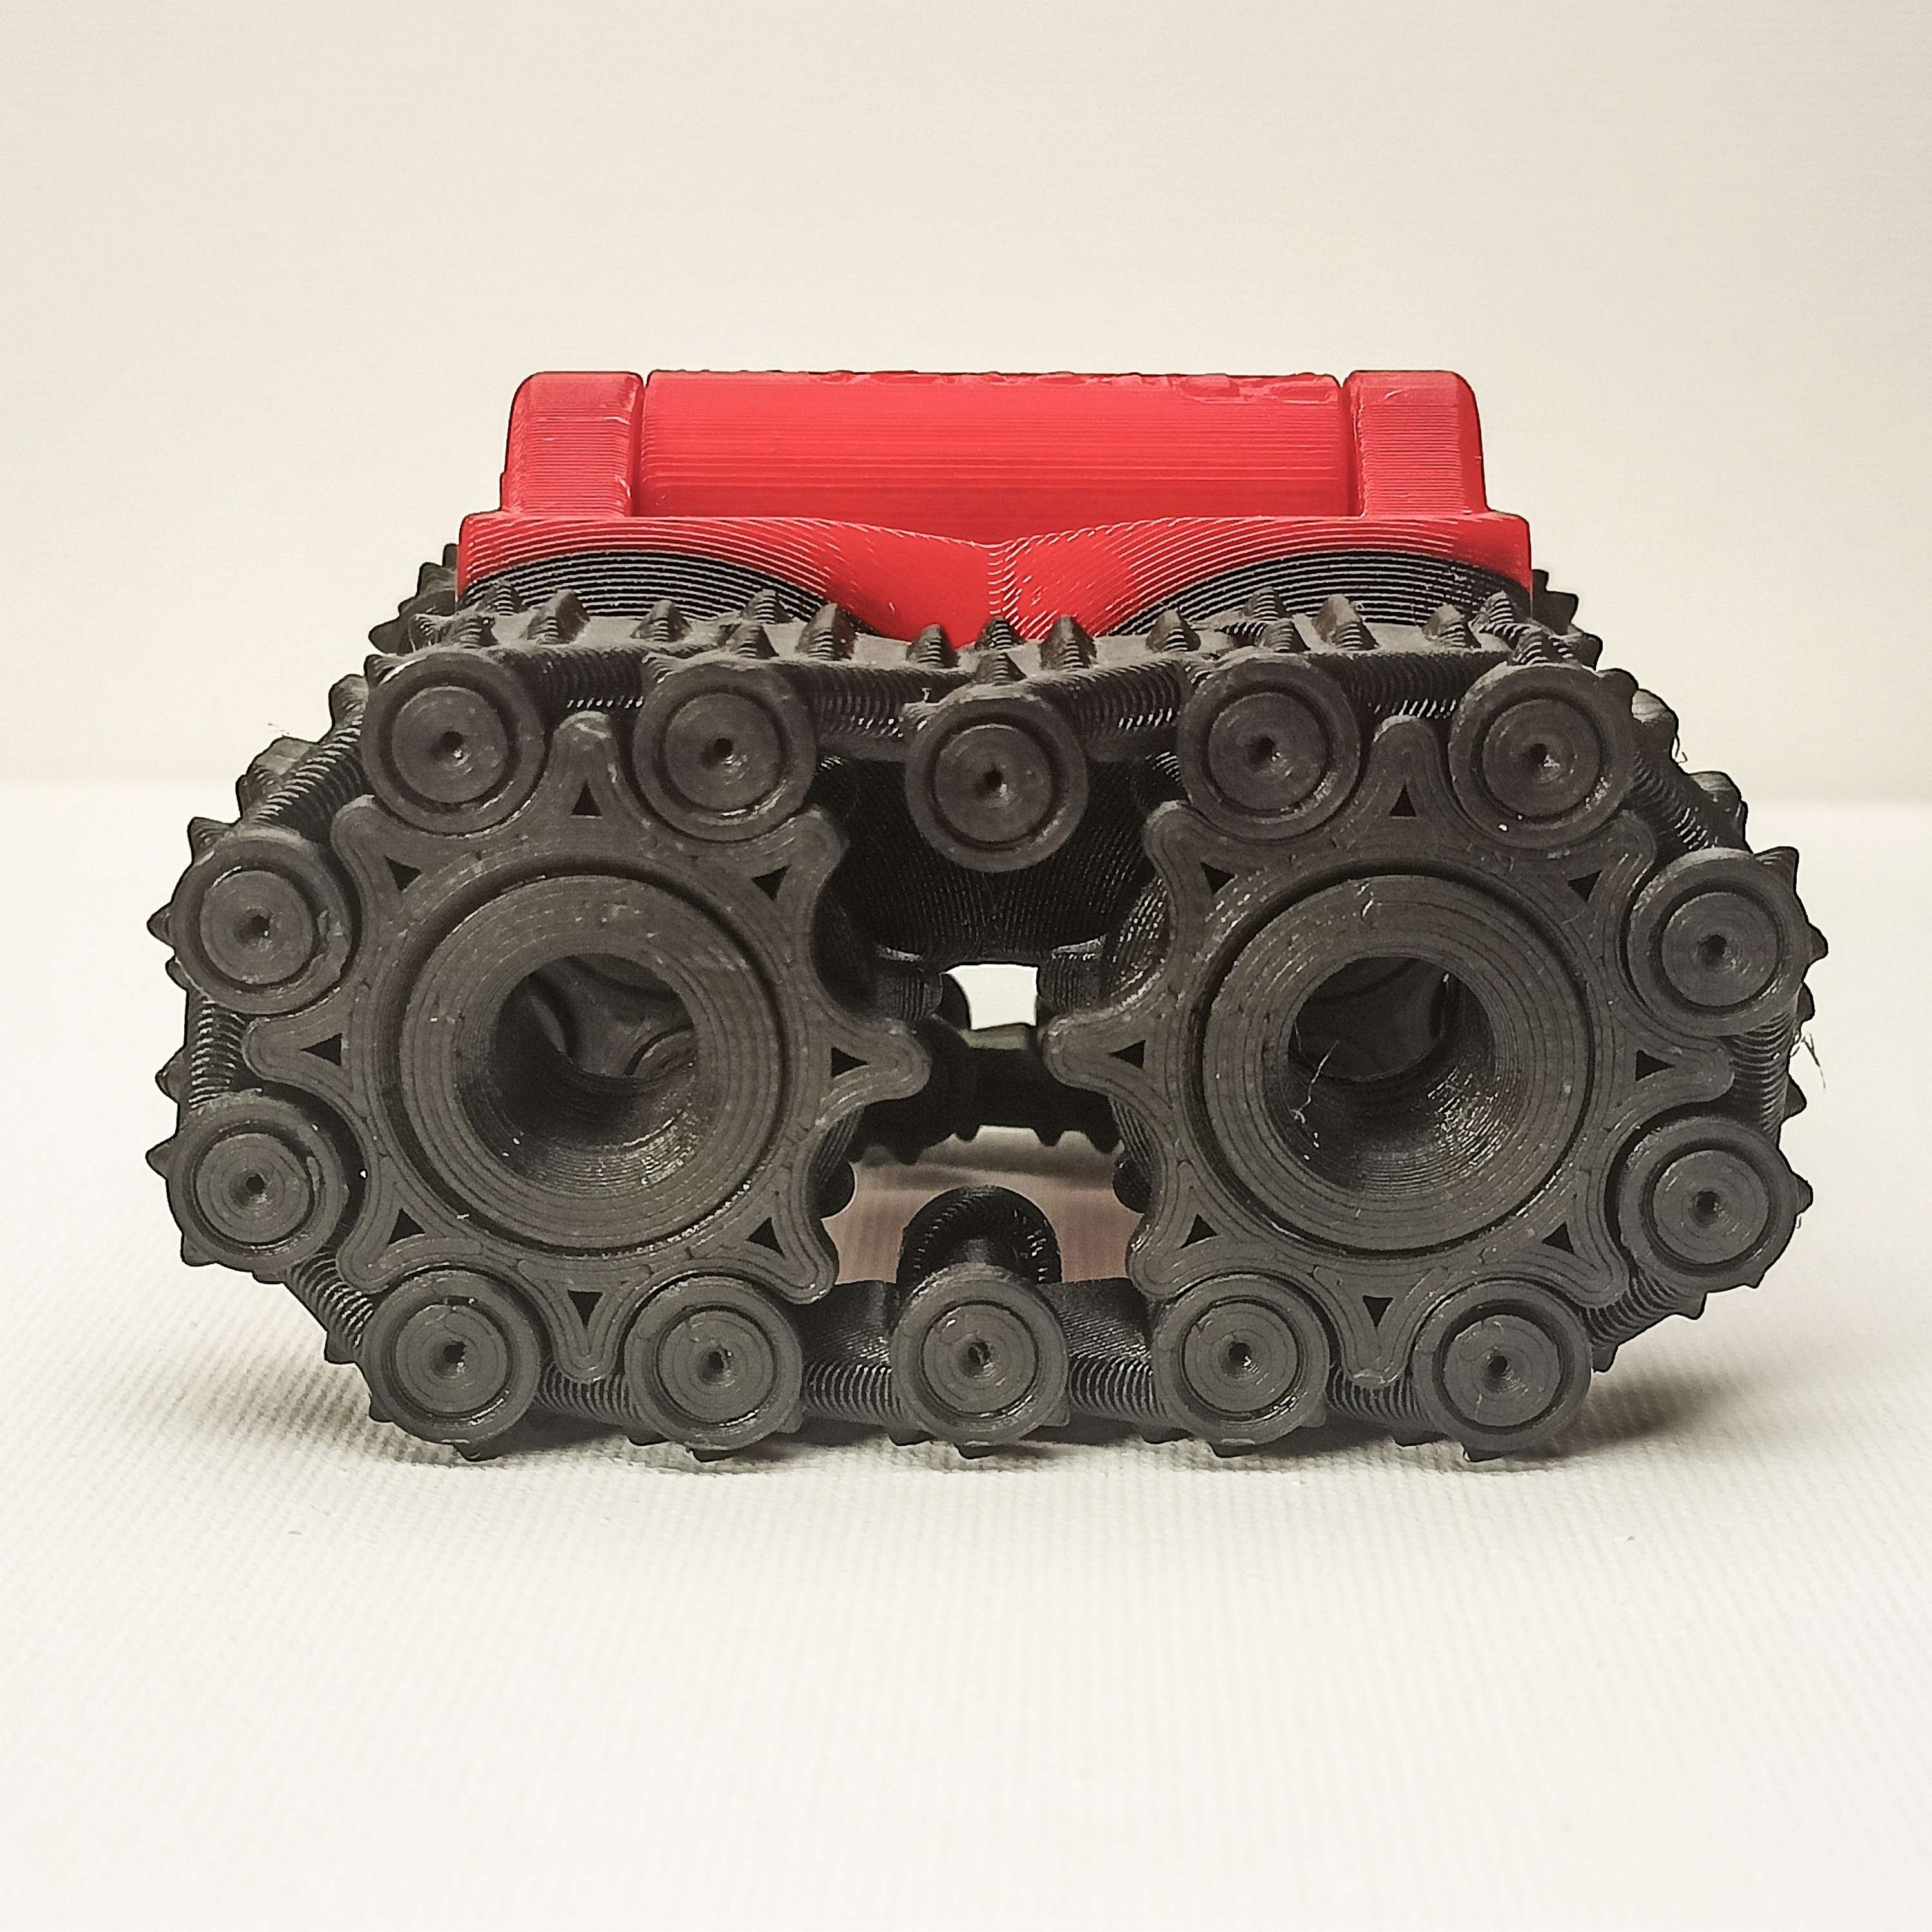
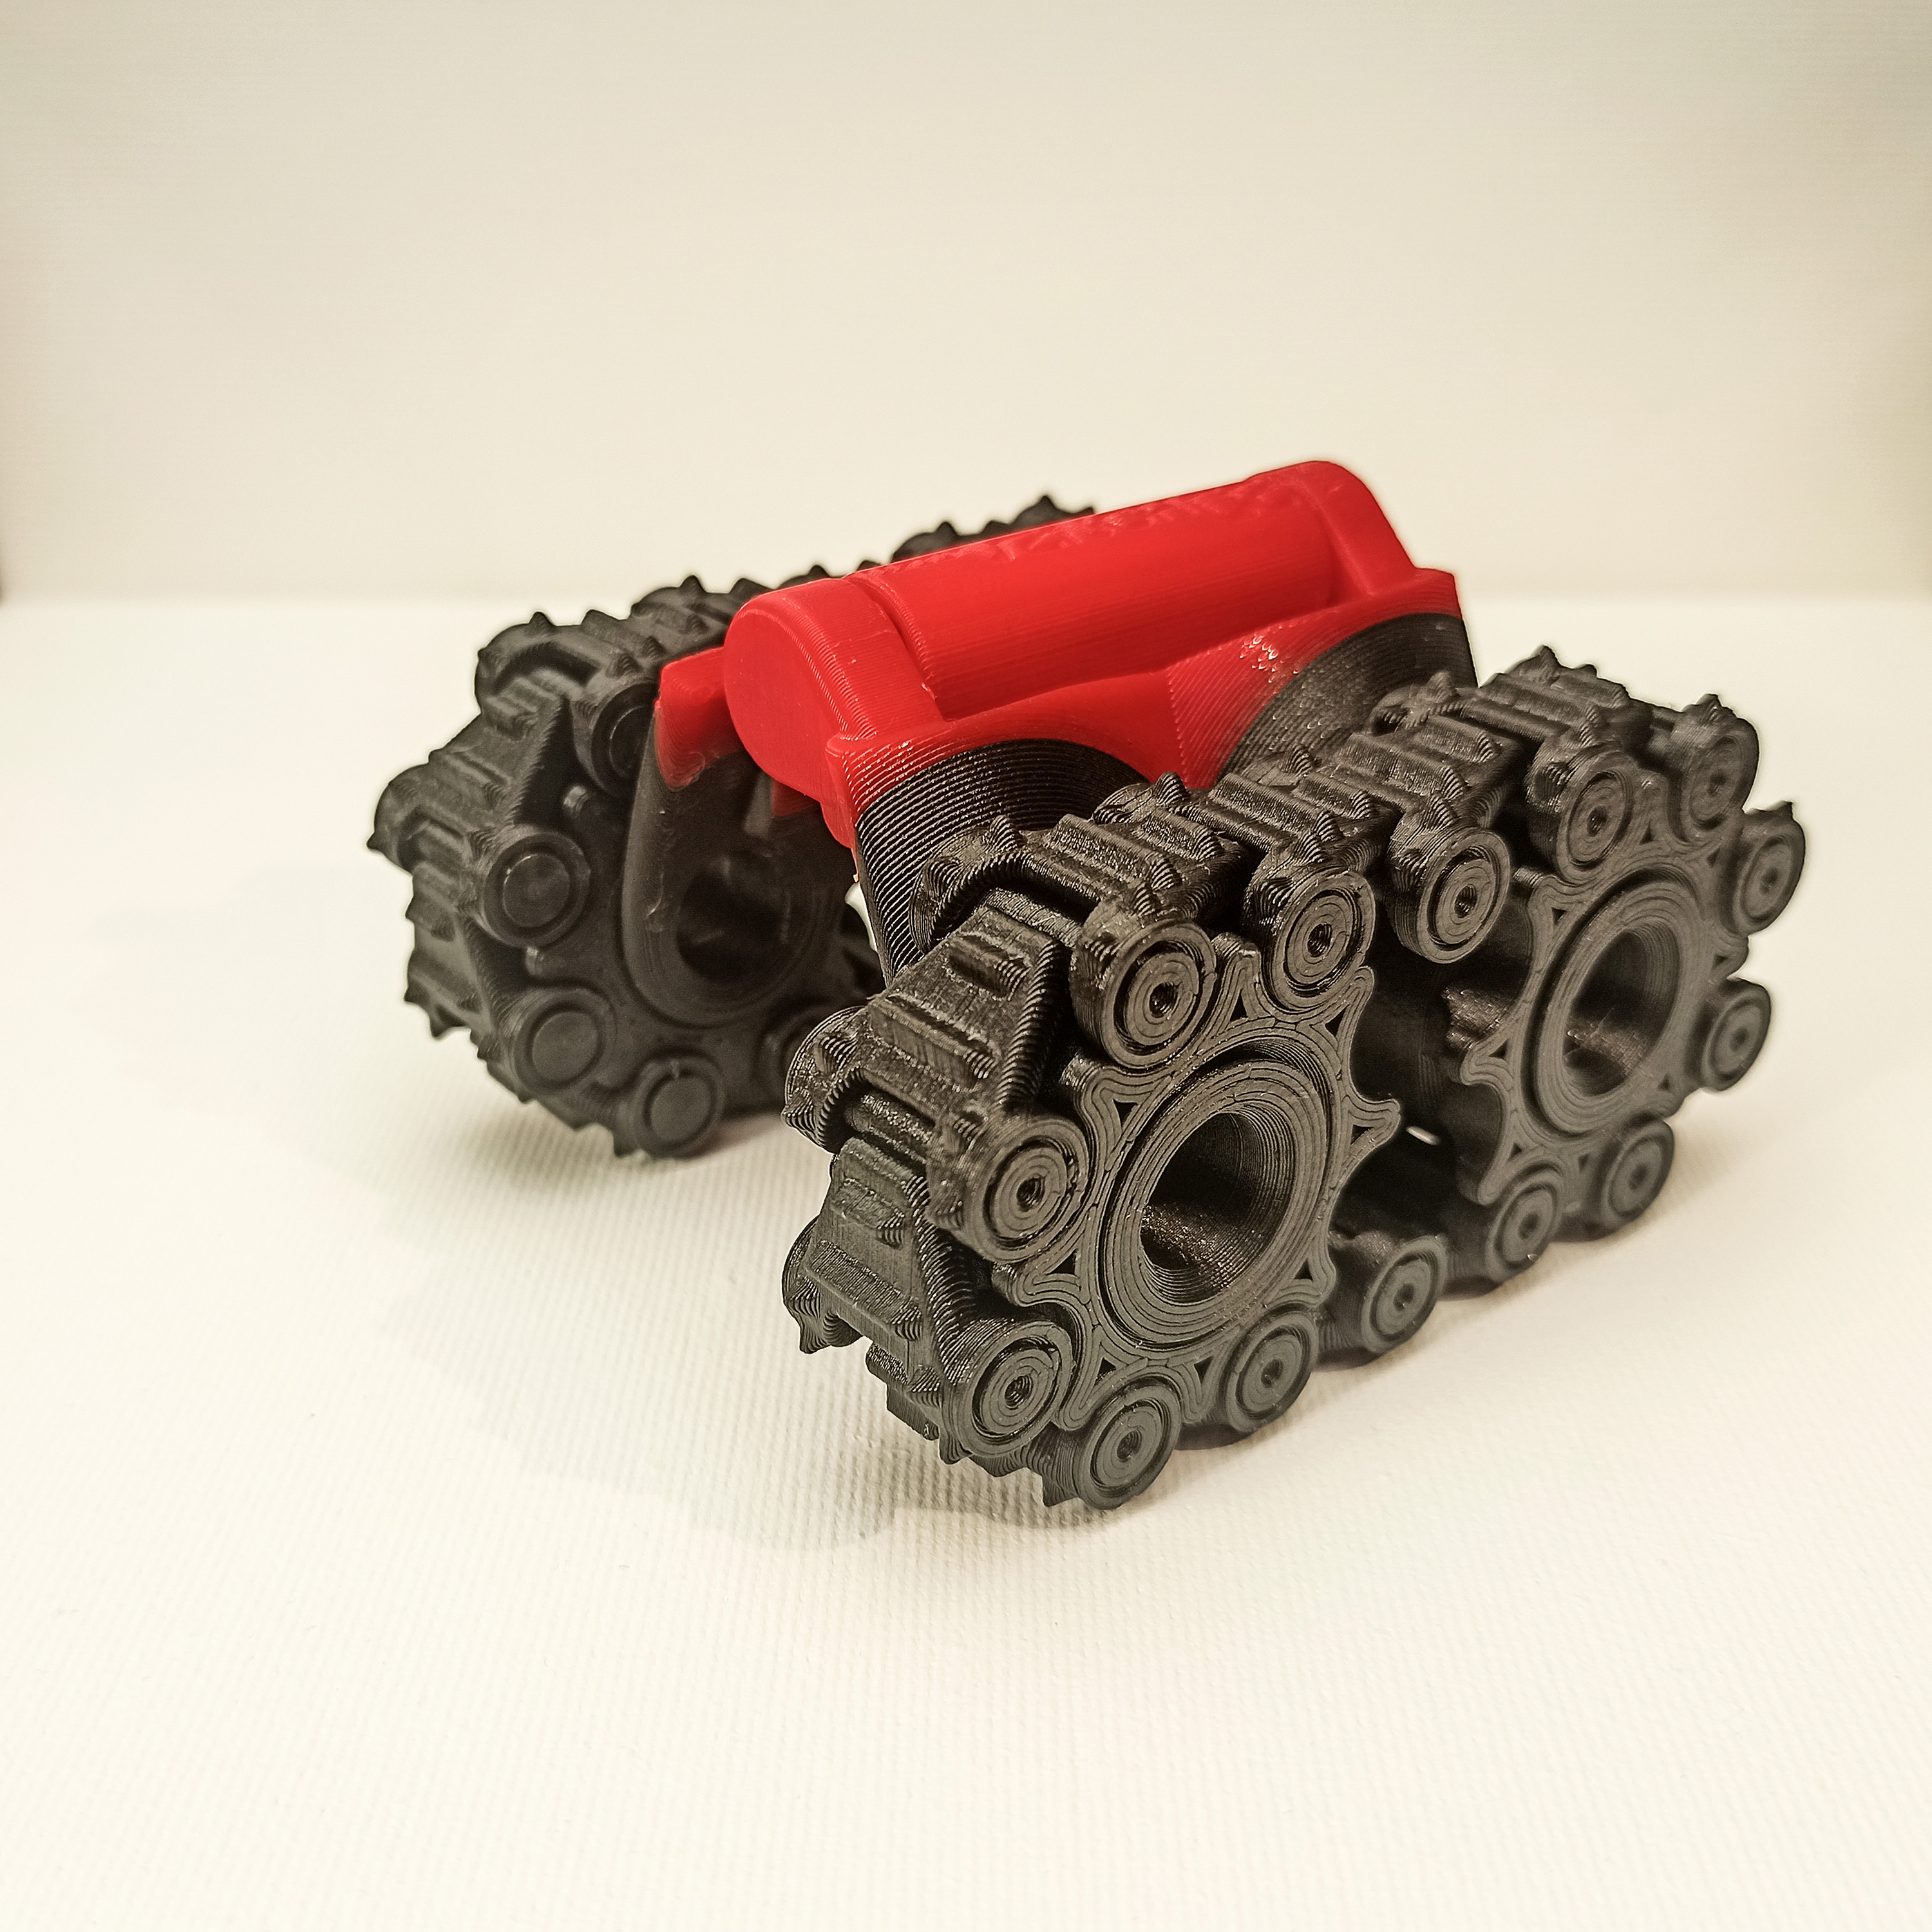
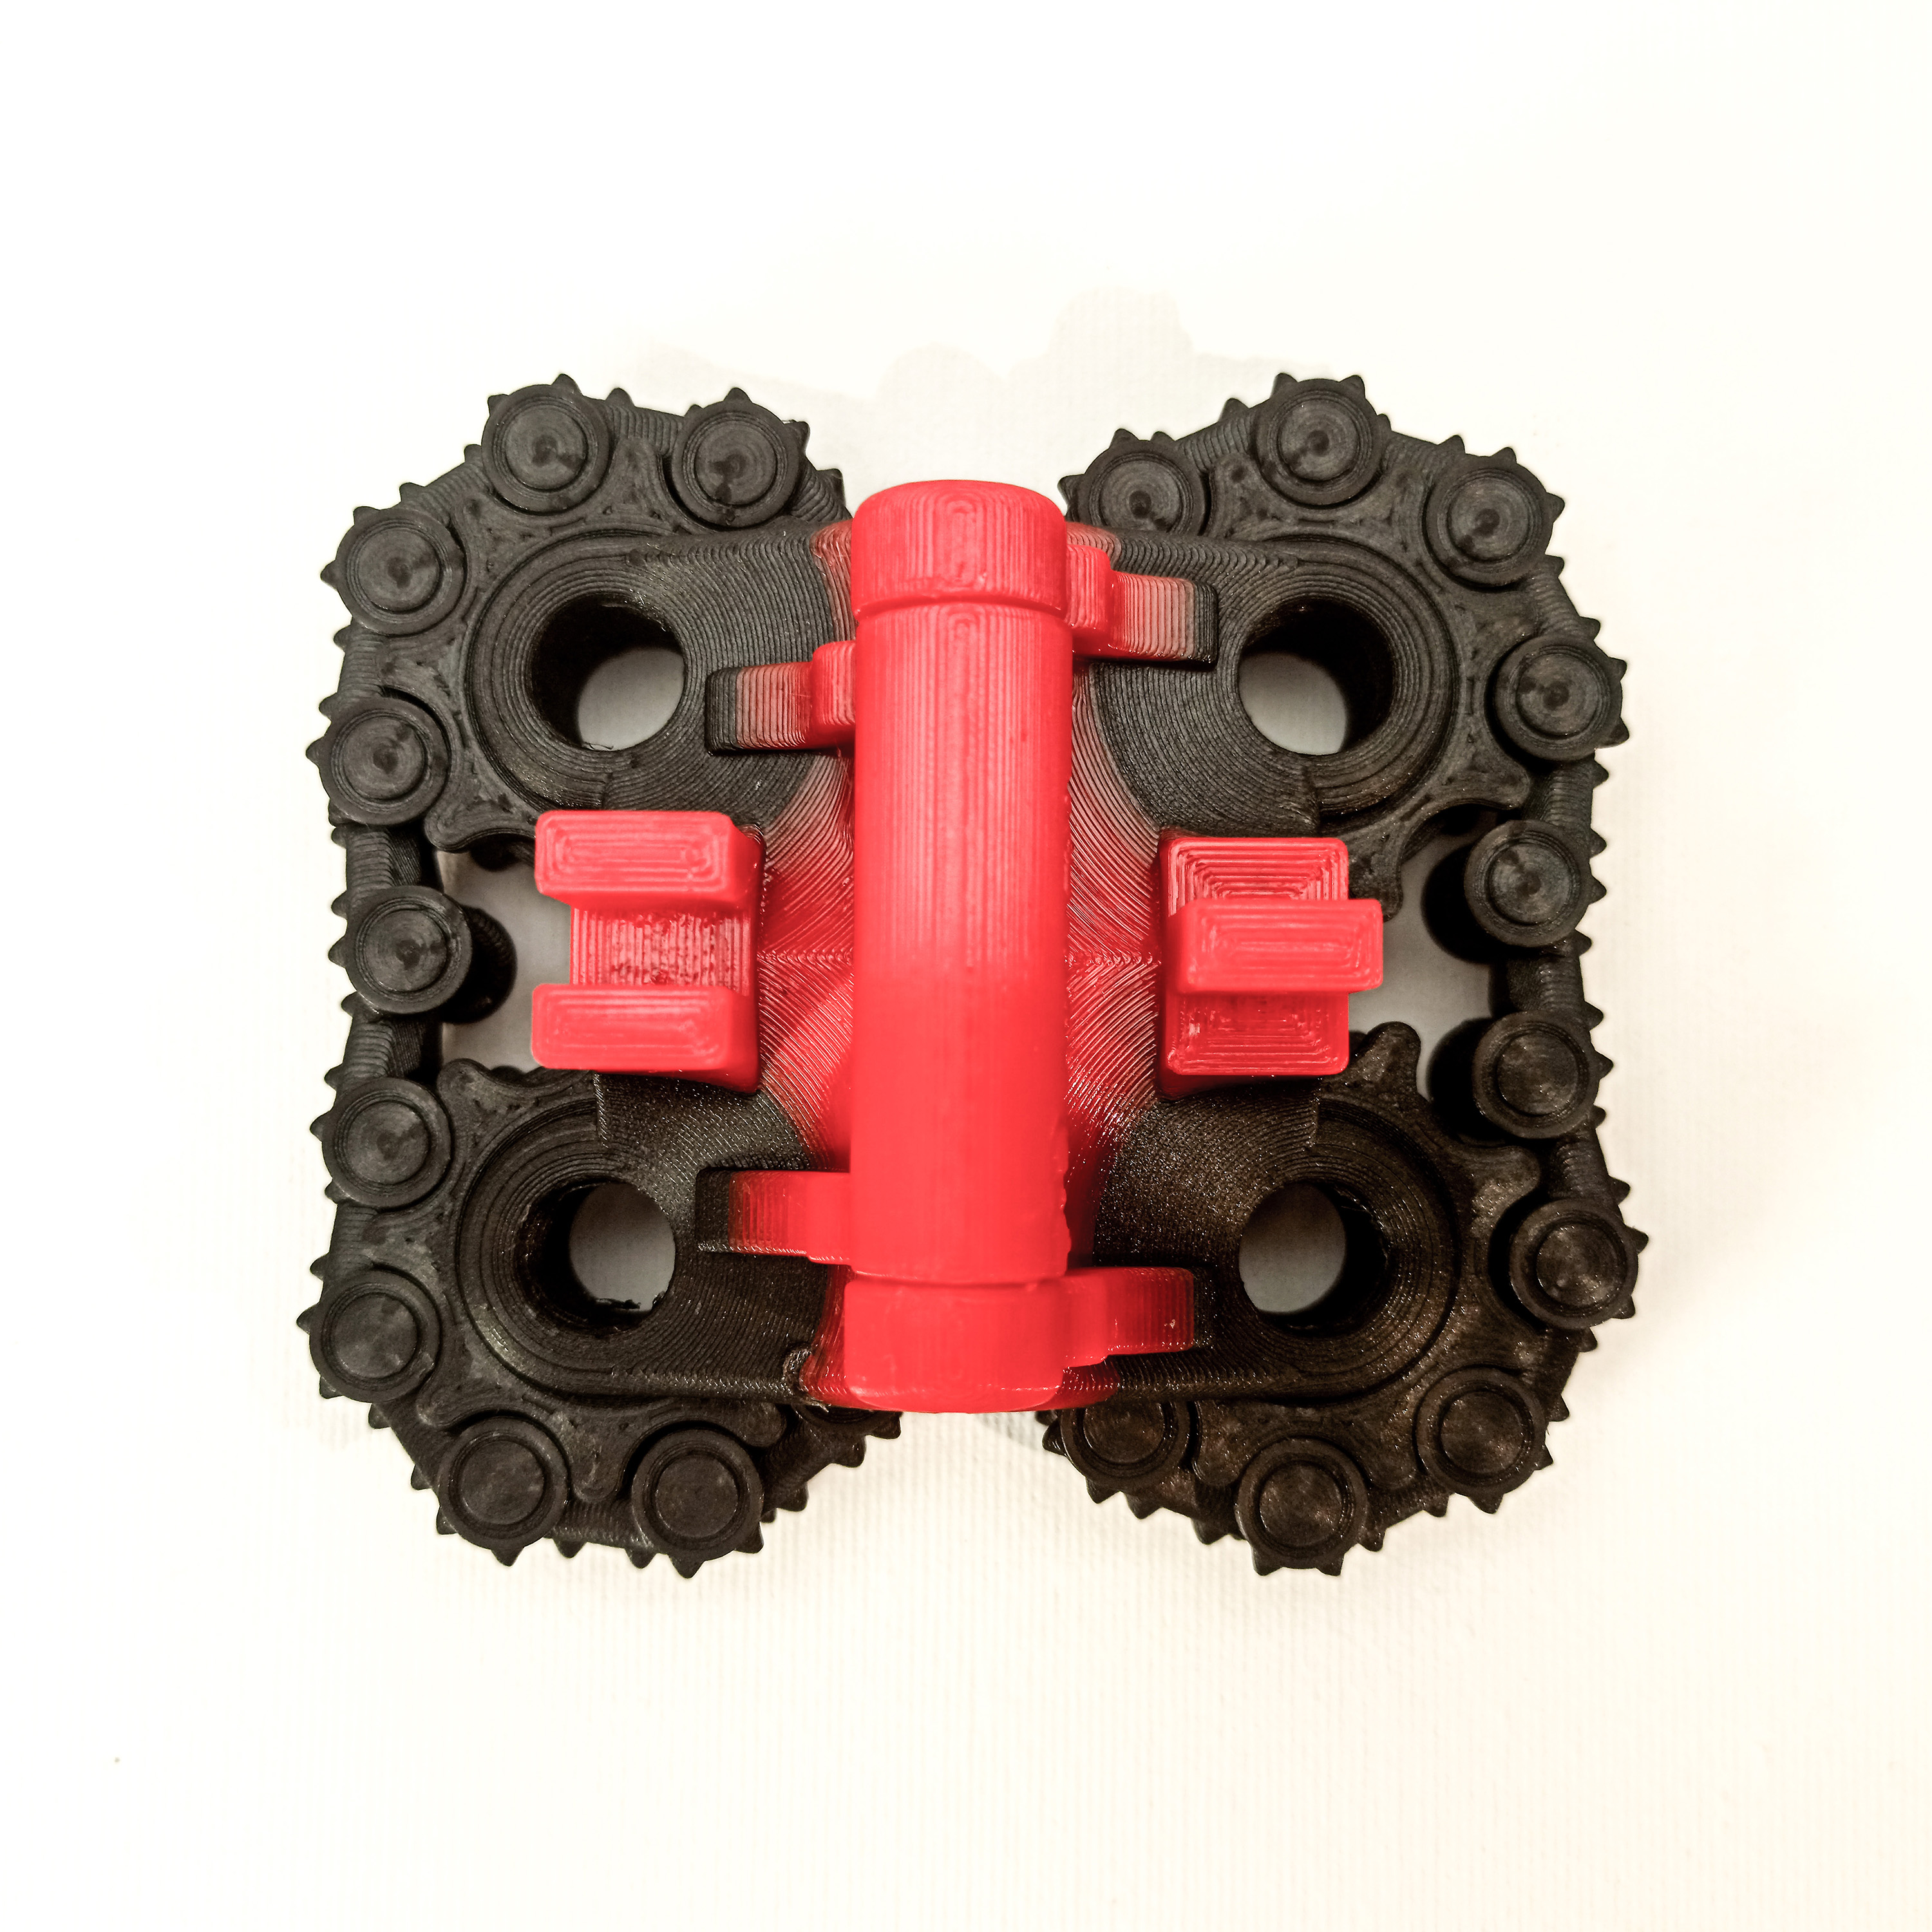
I printed the _PiPBOT 2.1 FULL.stl (you have to buy it from the designer) - but it required a raft on my Bambu printer. The reason was that with the small surface area of all the track parts at least some of them would be pushed off the bed. But even a 1-layer raft in the Bambu slicer will fix that. After I removed the raft, the tracks moved very smoothly. One odd thing was it was designed to fit a servo. Servos normally just move 180 degrees and then stop - so you need to get a CONTINUOUS servo (which is basically a motor) for this to move continuously forward. But this is the best print-in-place 3D print I have seen so far!
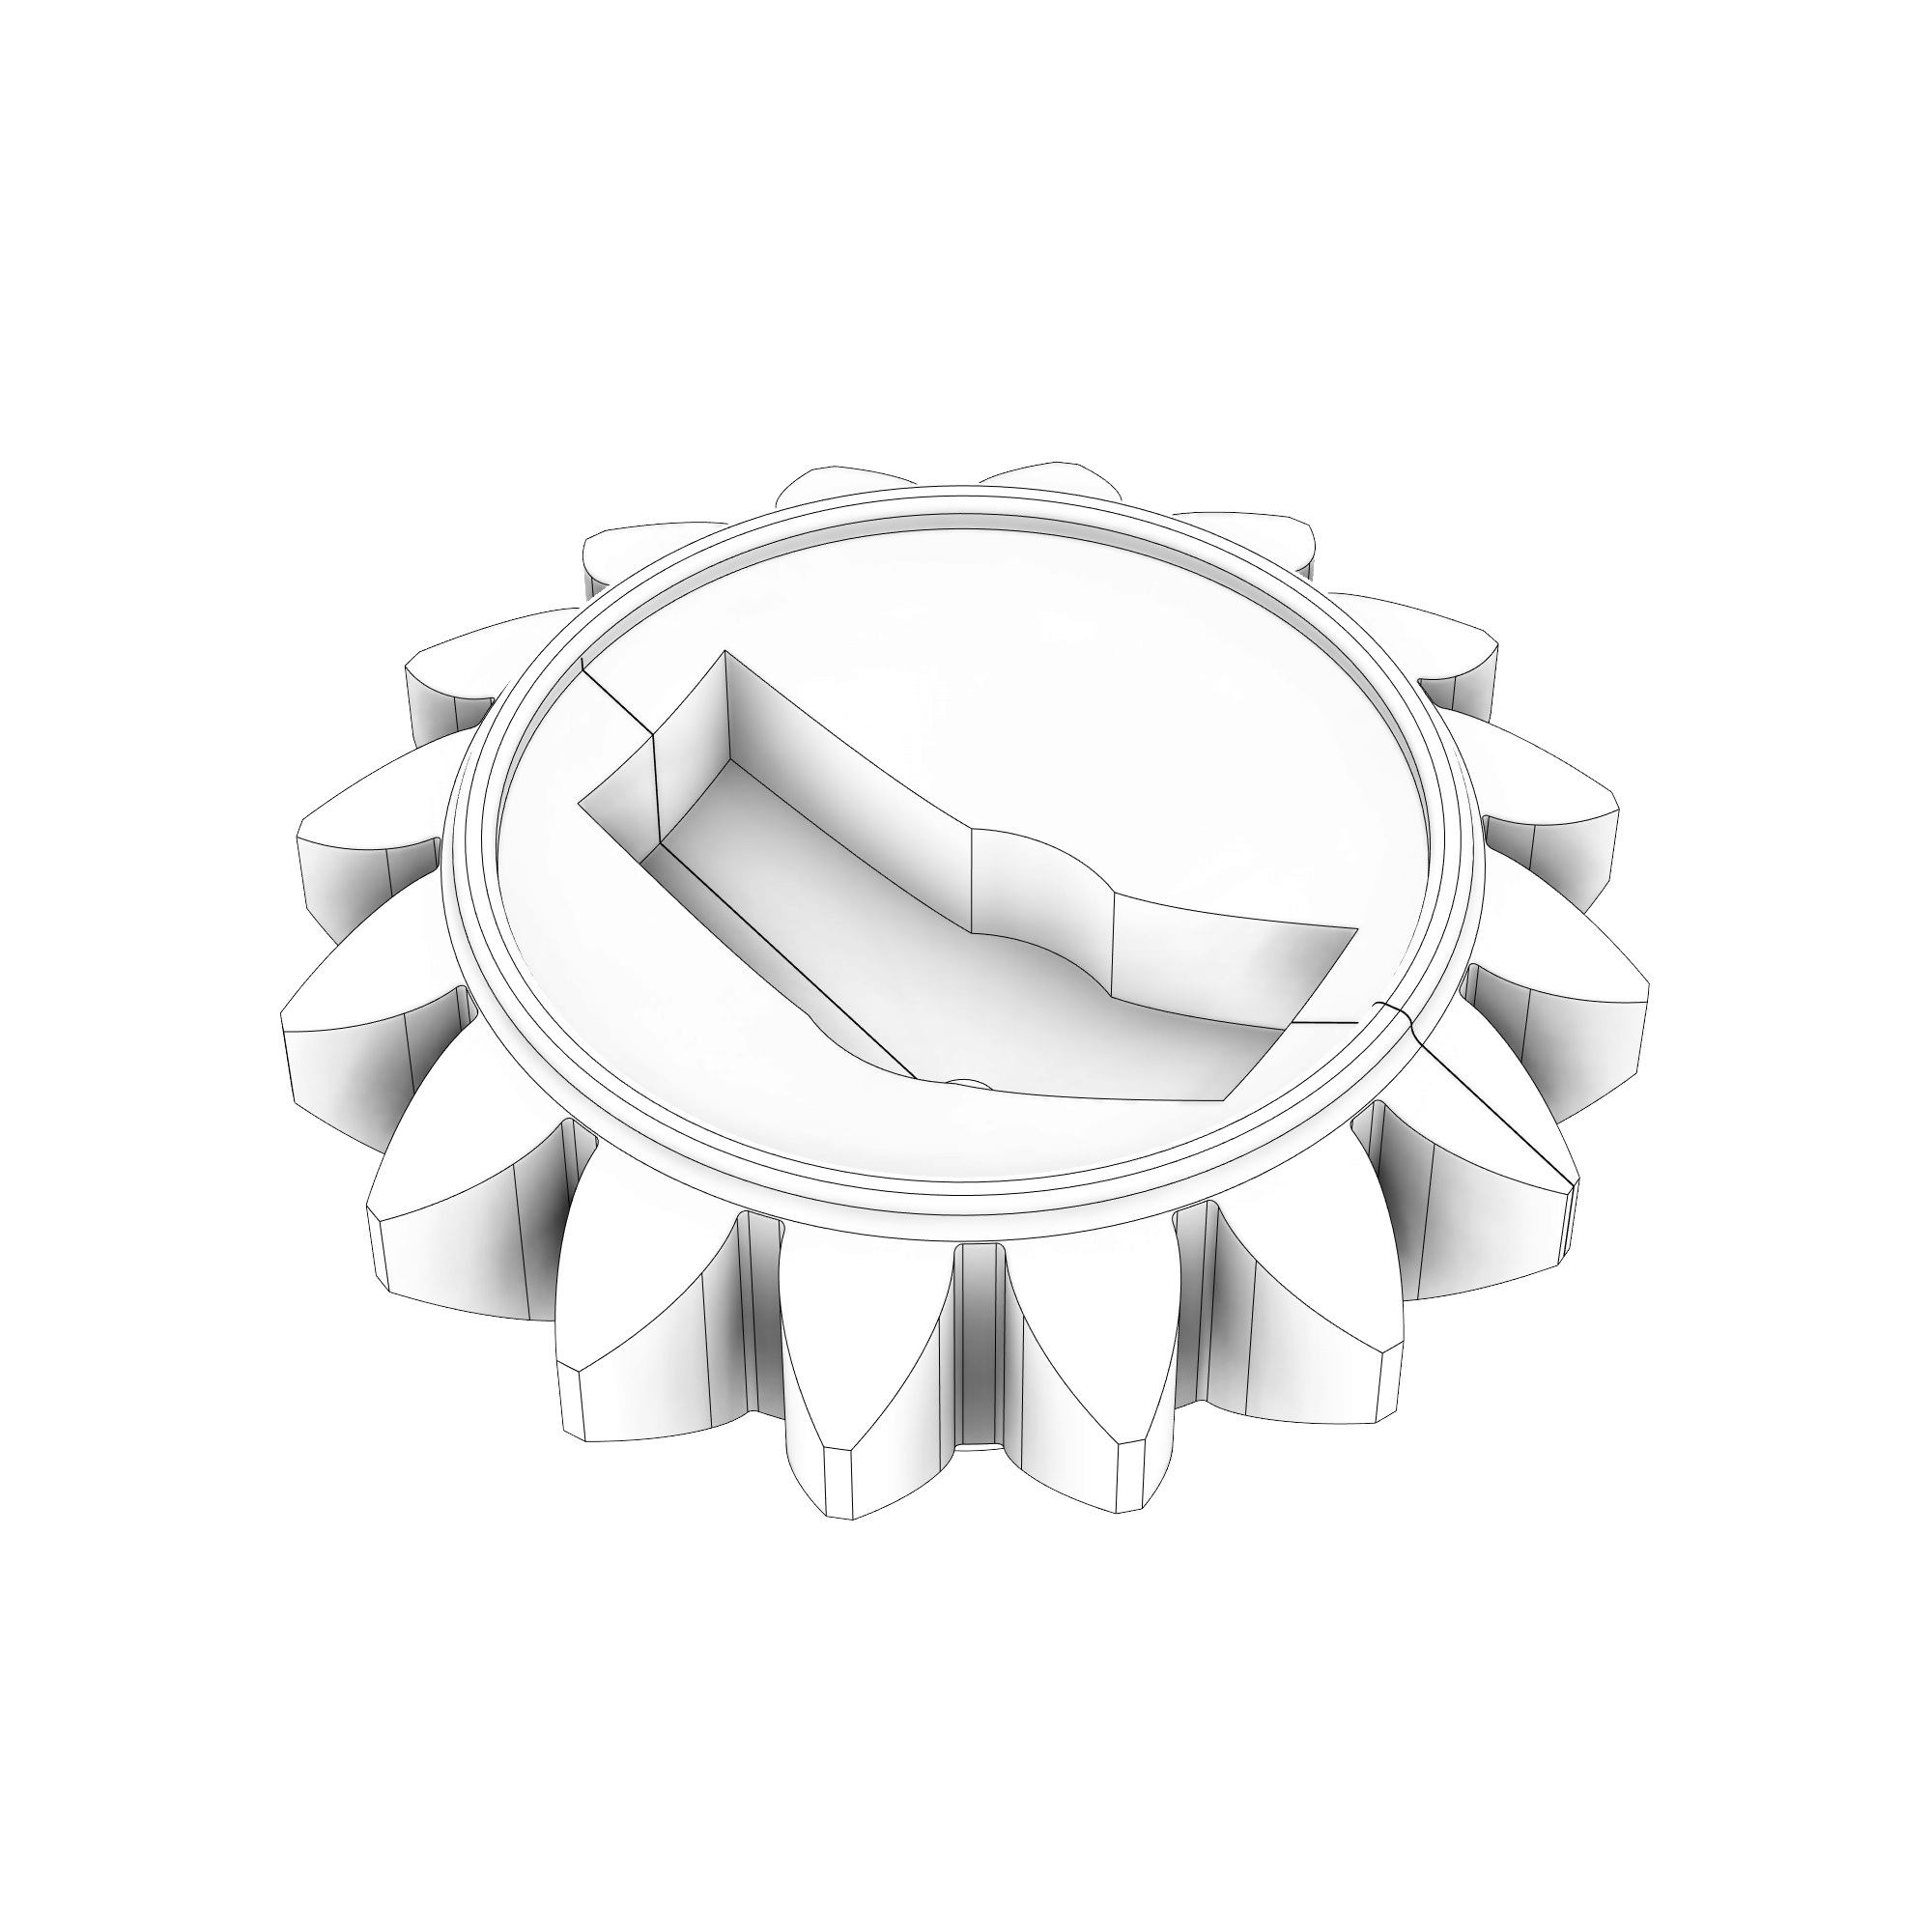
The Body and the Wheels that are in the Folder "PiPBOT2.1_Print-in-Place" doesn't fit together. Bad thing, because it's a lot of material to print one of those parts.
Hi, I'm new to printing and am a bit confused about Cura settings. If Speed External+Small Perimeters is 10mm/s what do you mean perimeters at 25mm/s, isn't external perimeter and perimeter the same? Also, I'm not sure what small perimeter is in Cura. Looking forward to printing!
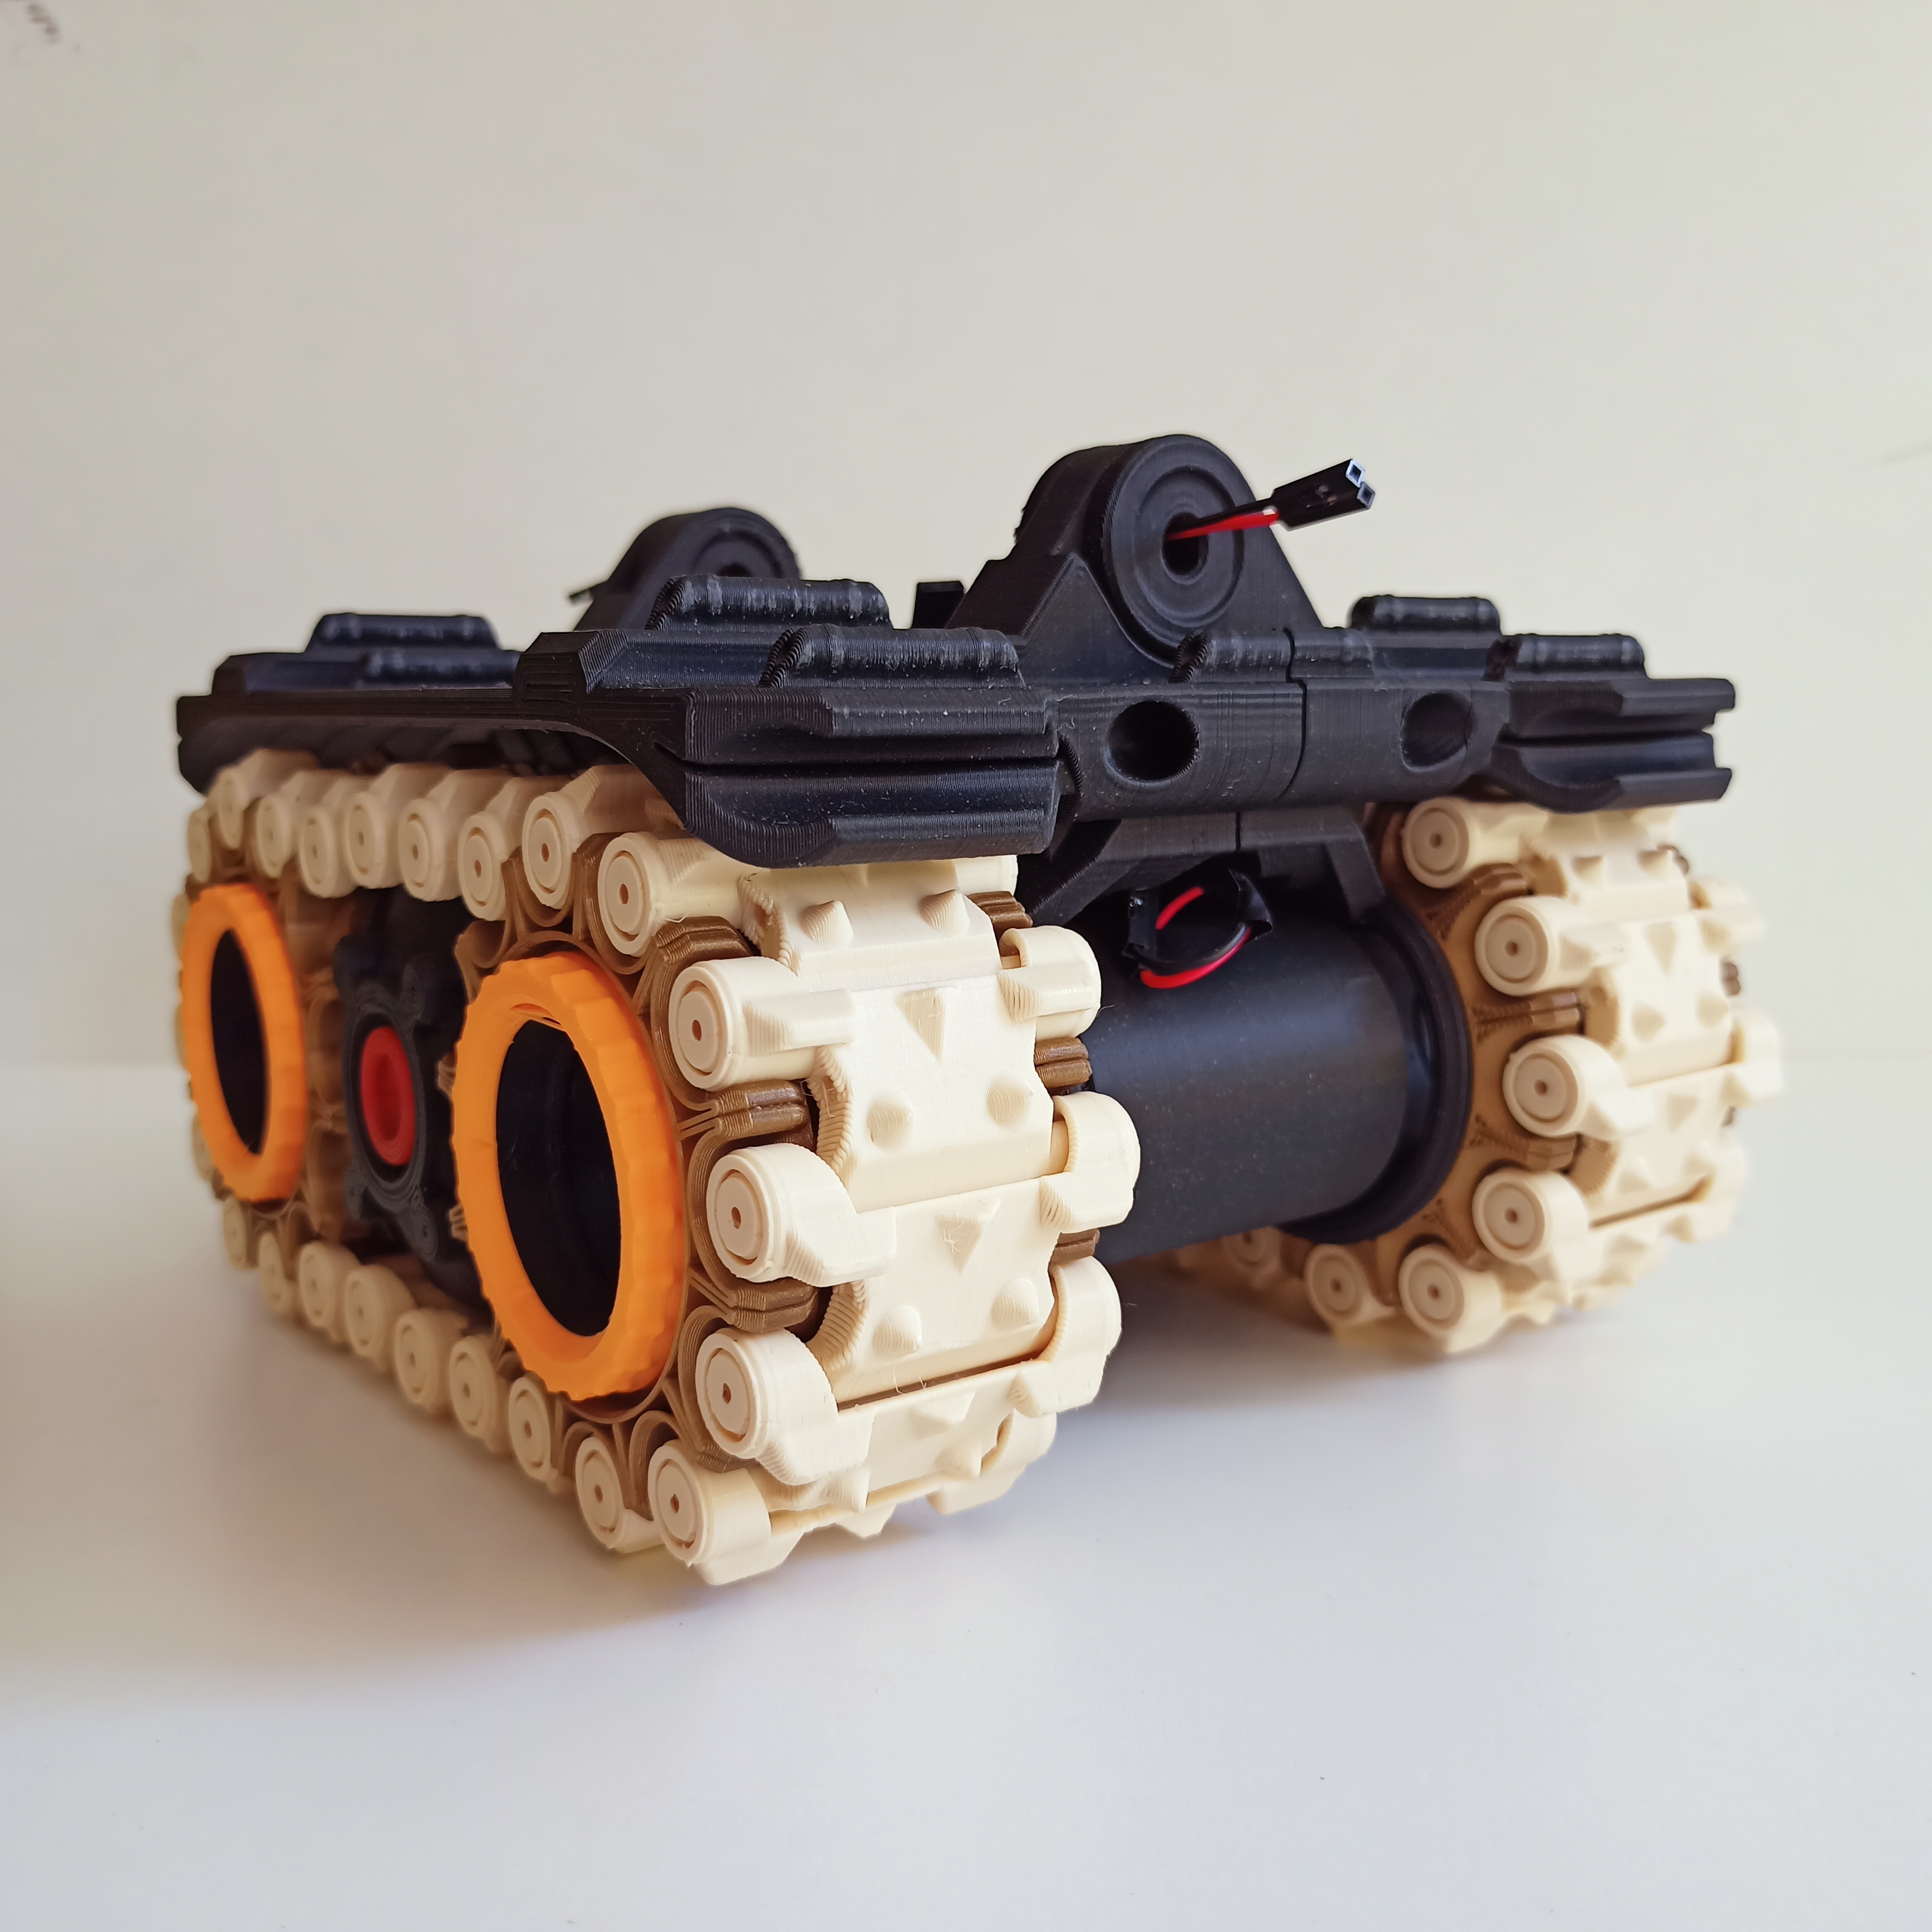
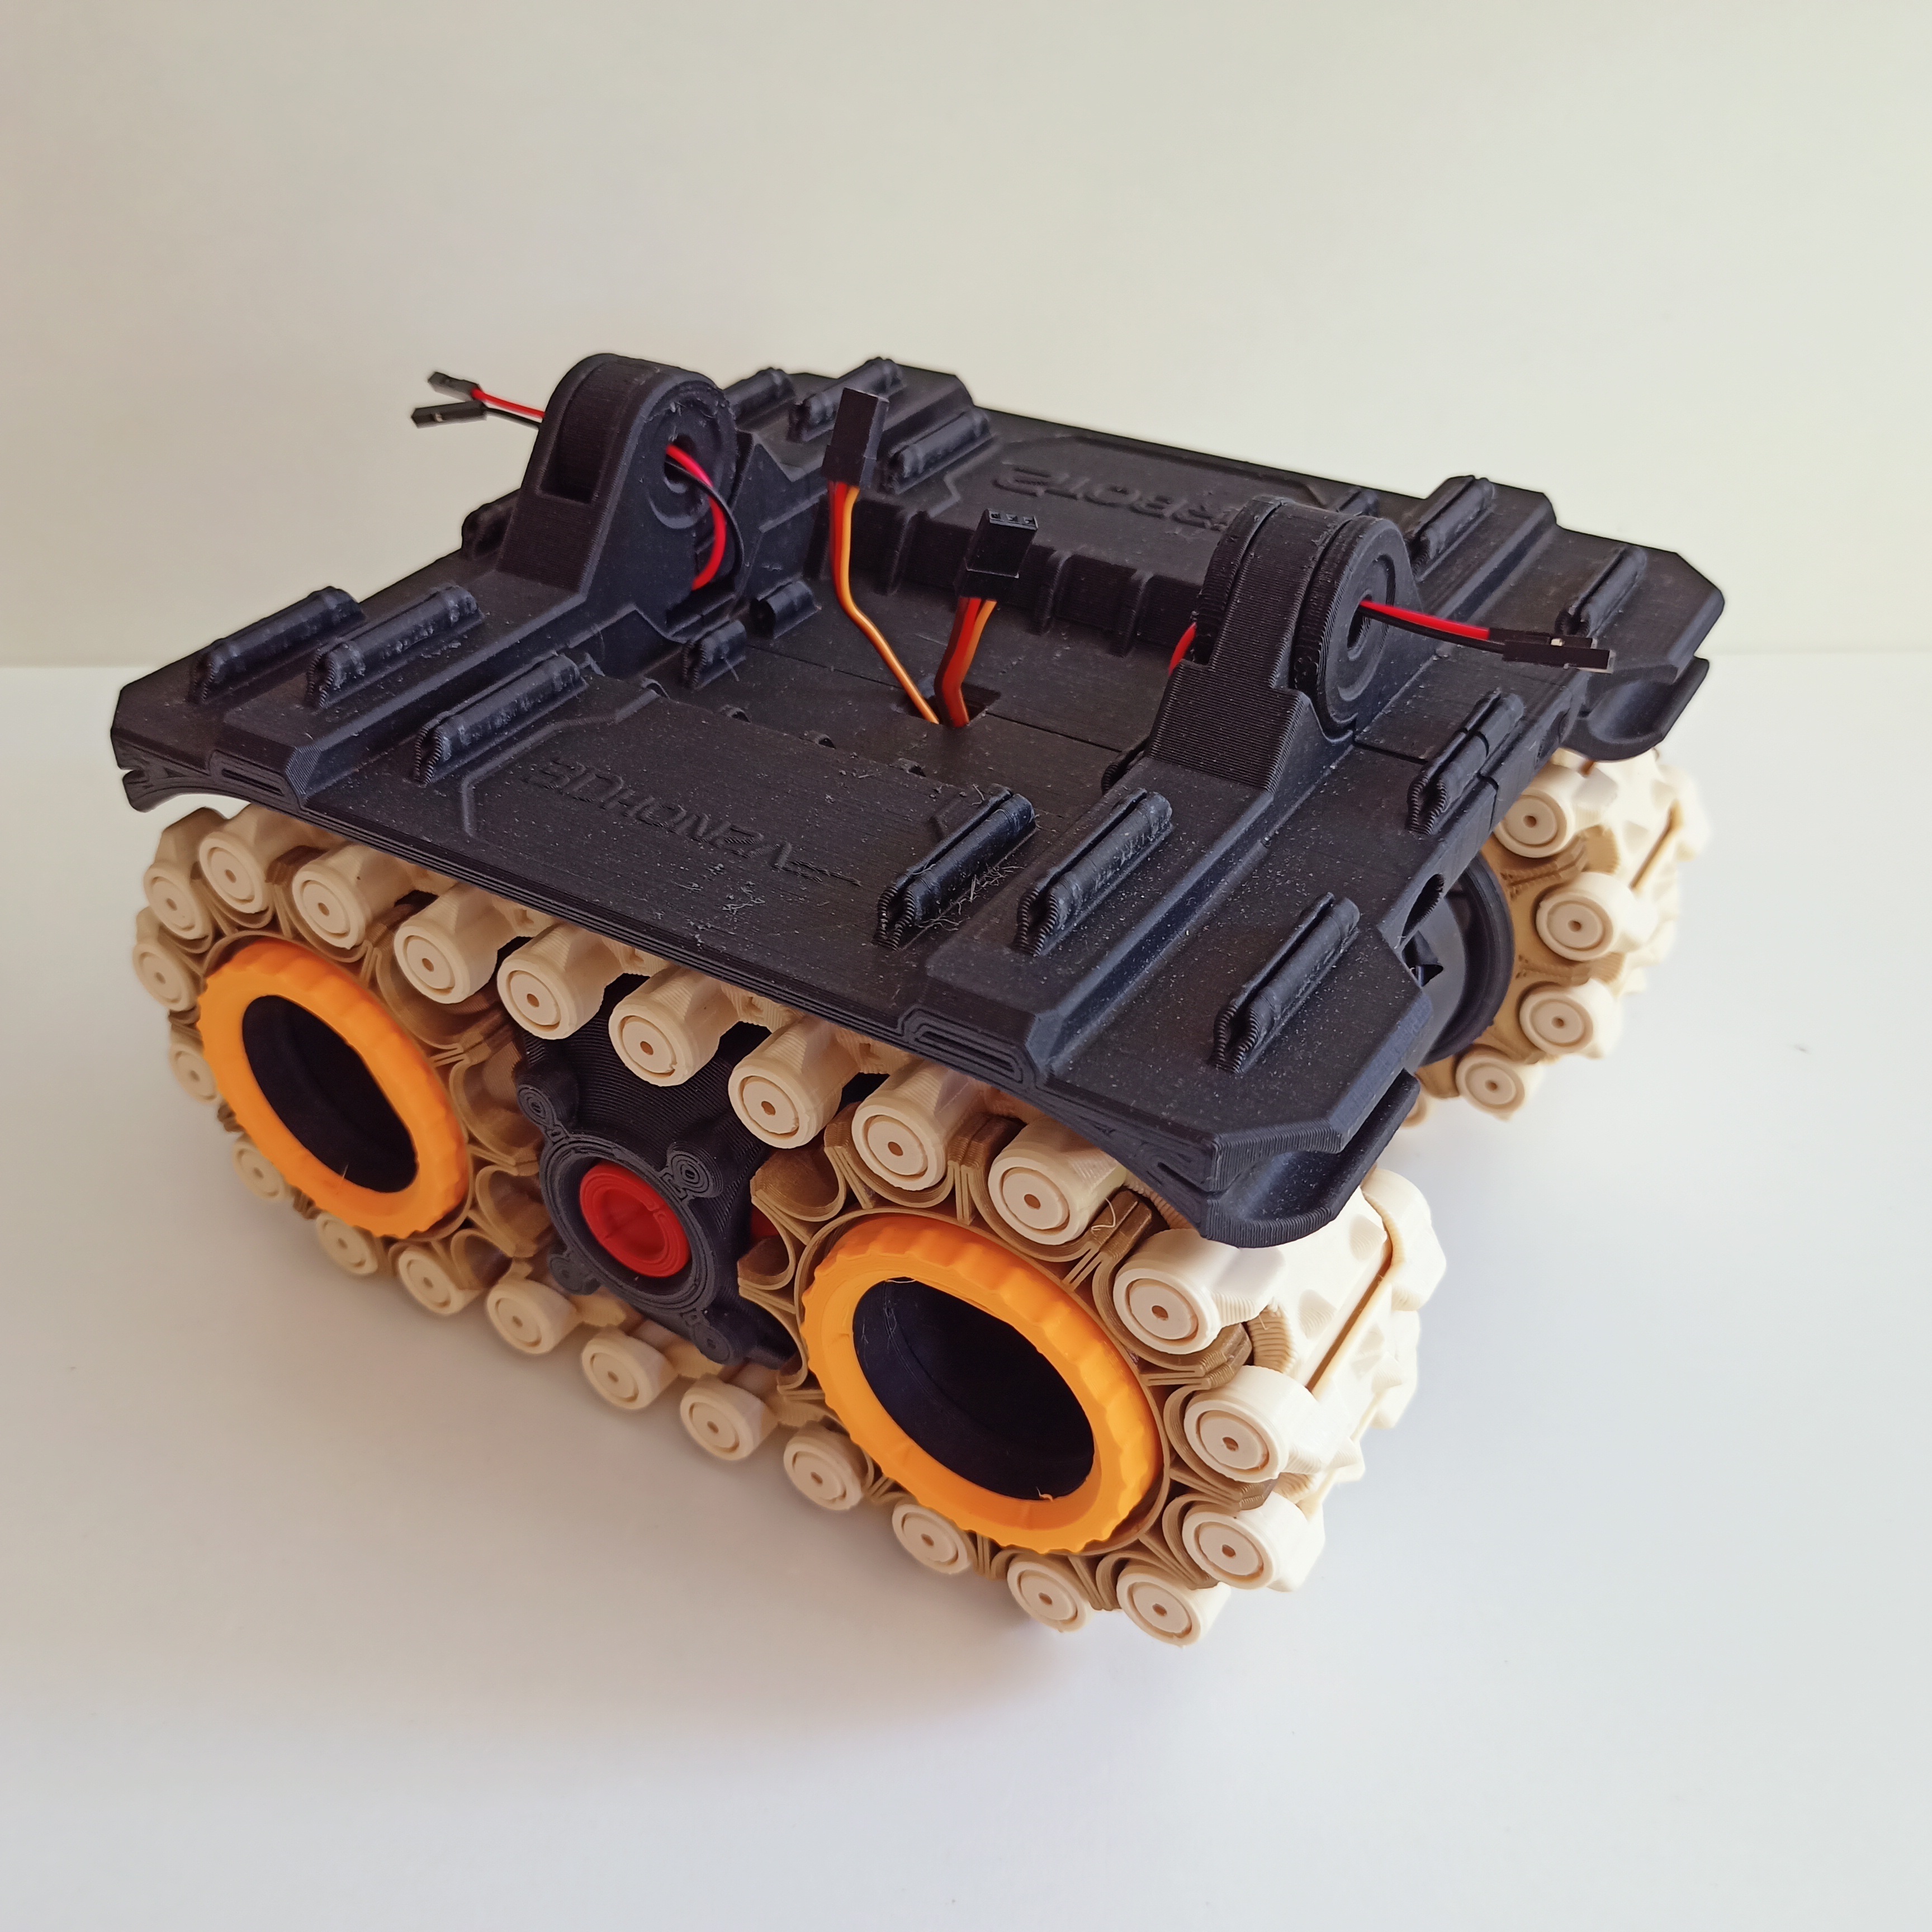
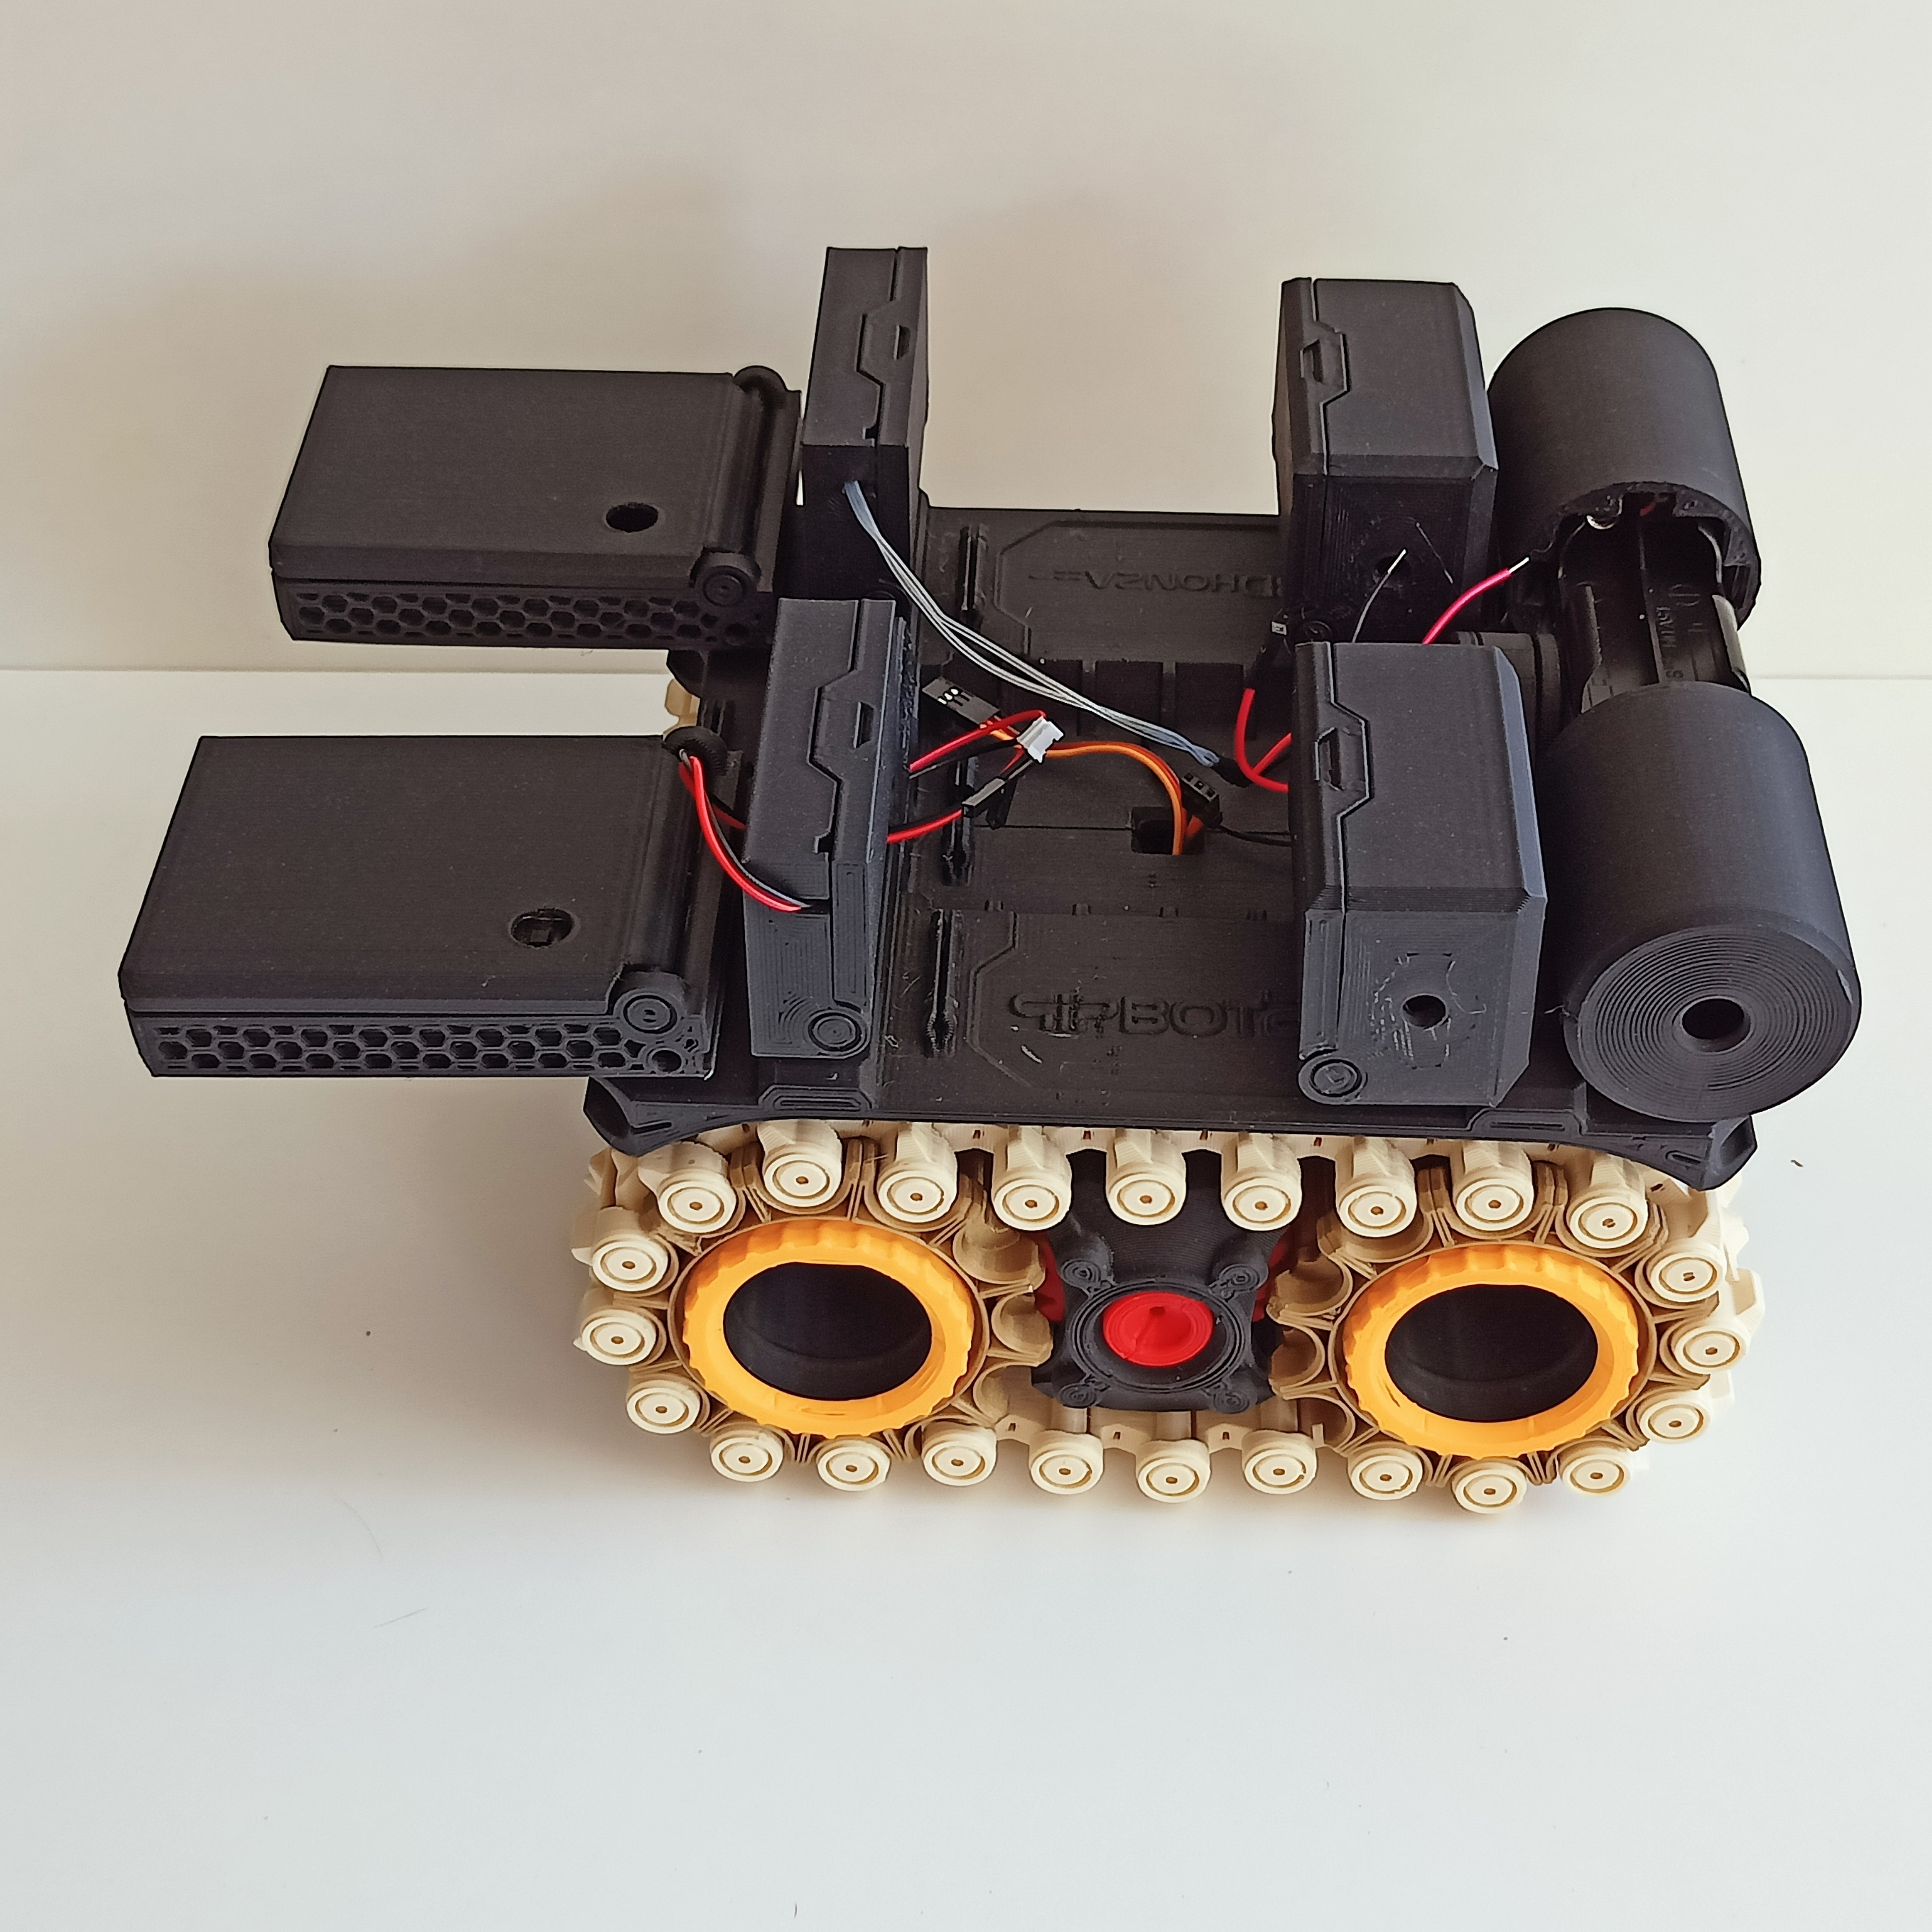
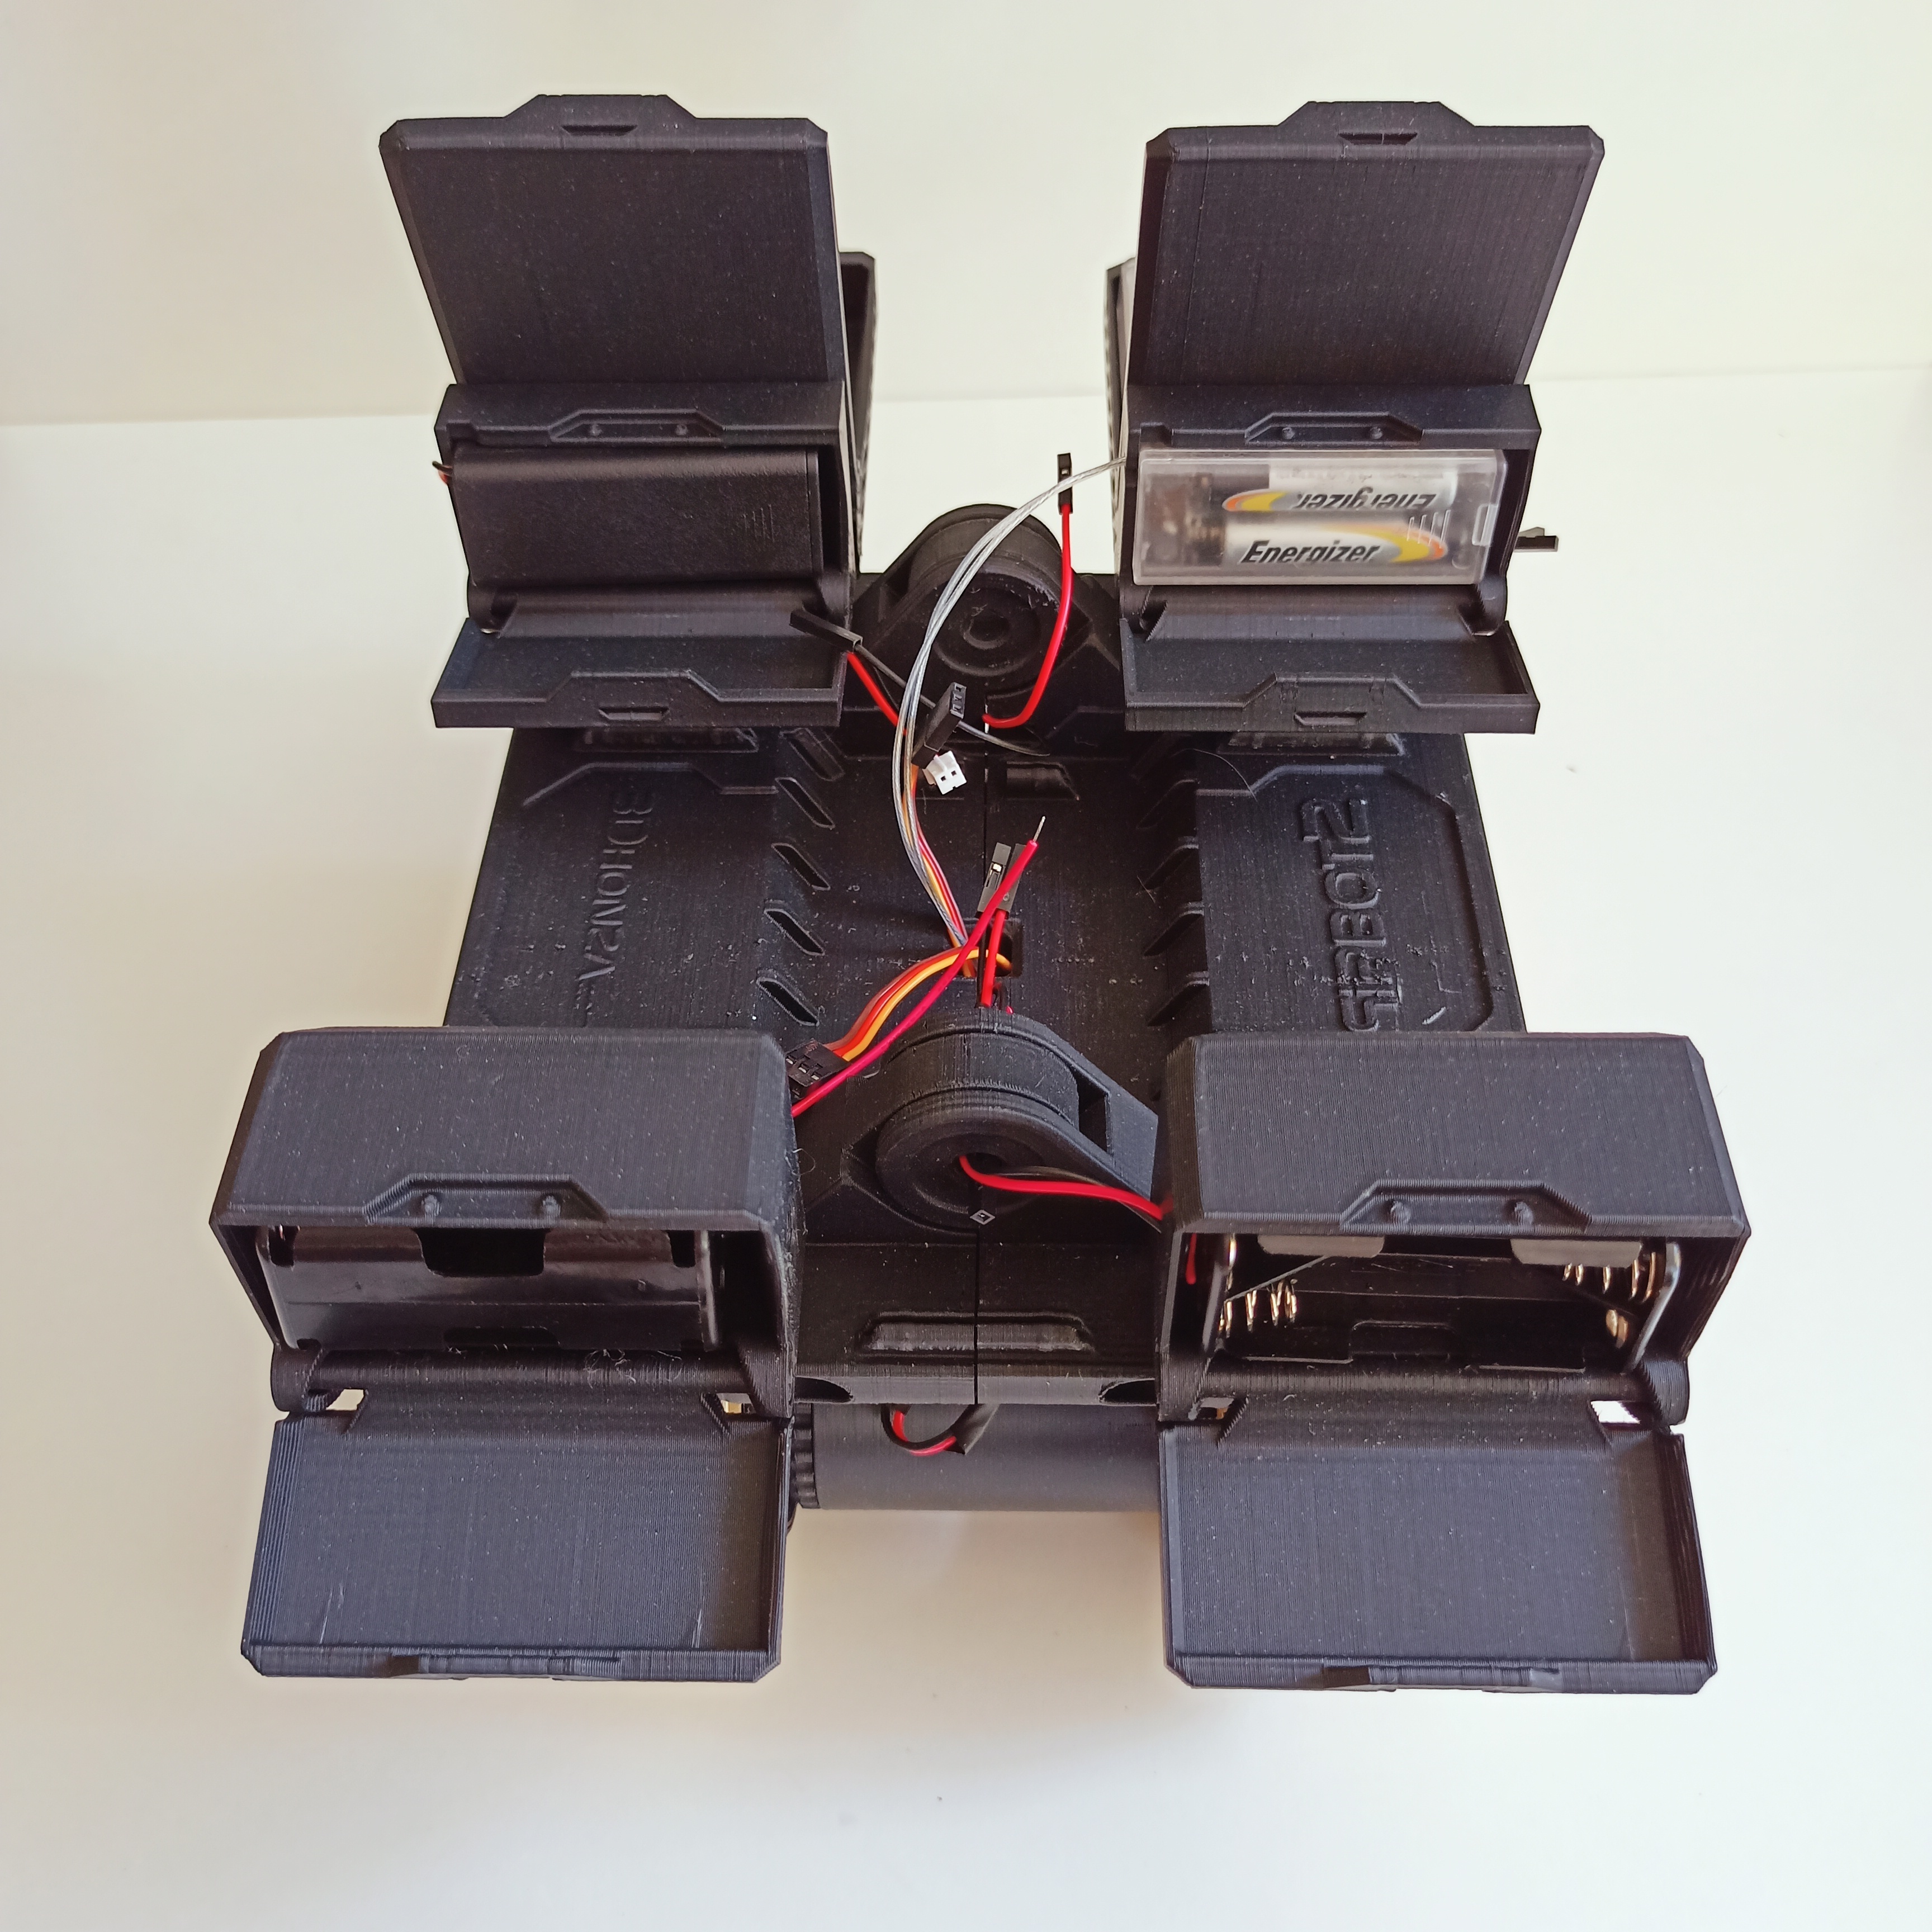
Where can I find out more about the actual model? Like, does it allow for motors, and if so, what kind of motors can fit and where can they be purchased? Things like that. I can't tell any of that info from what I see here.
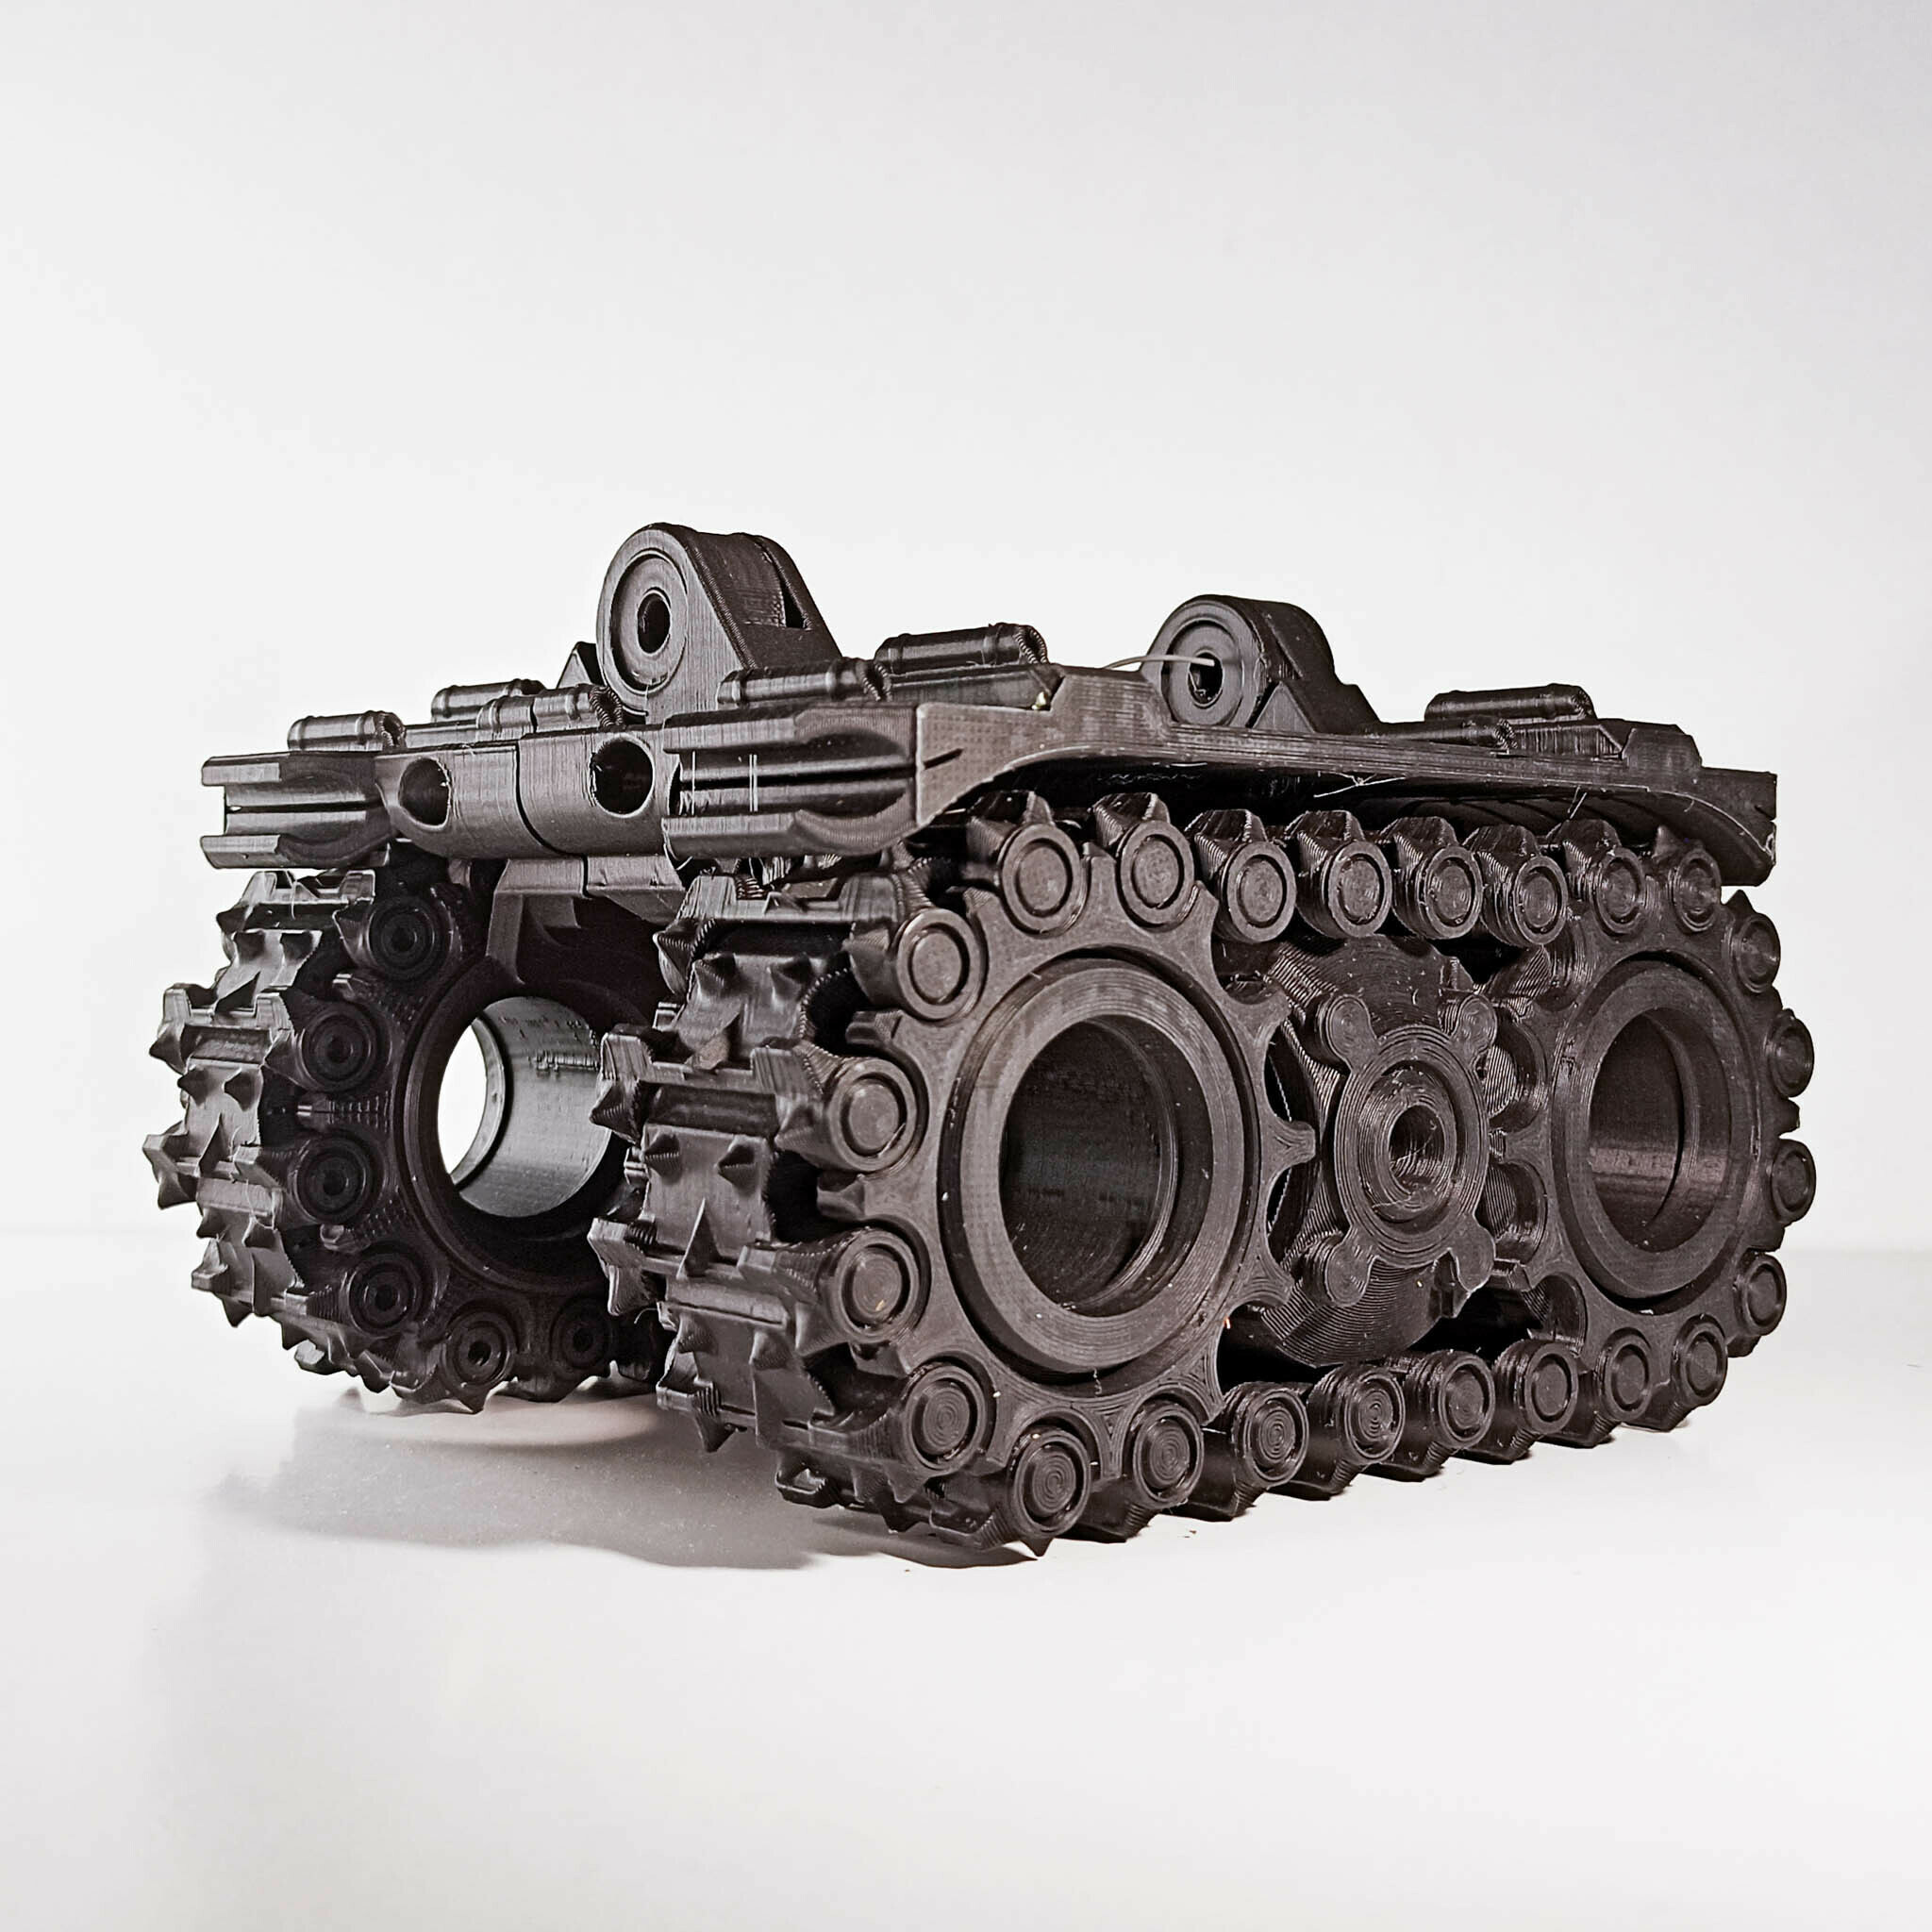
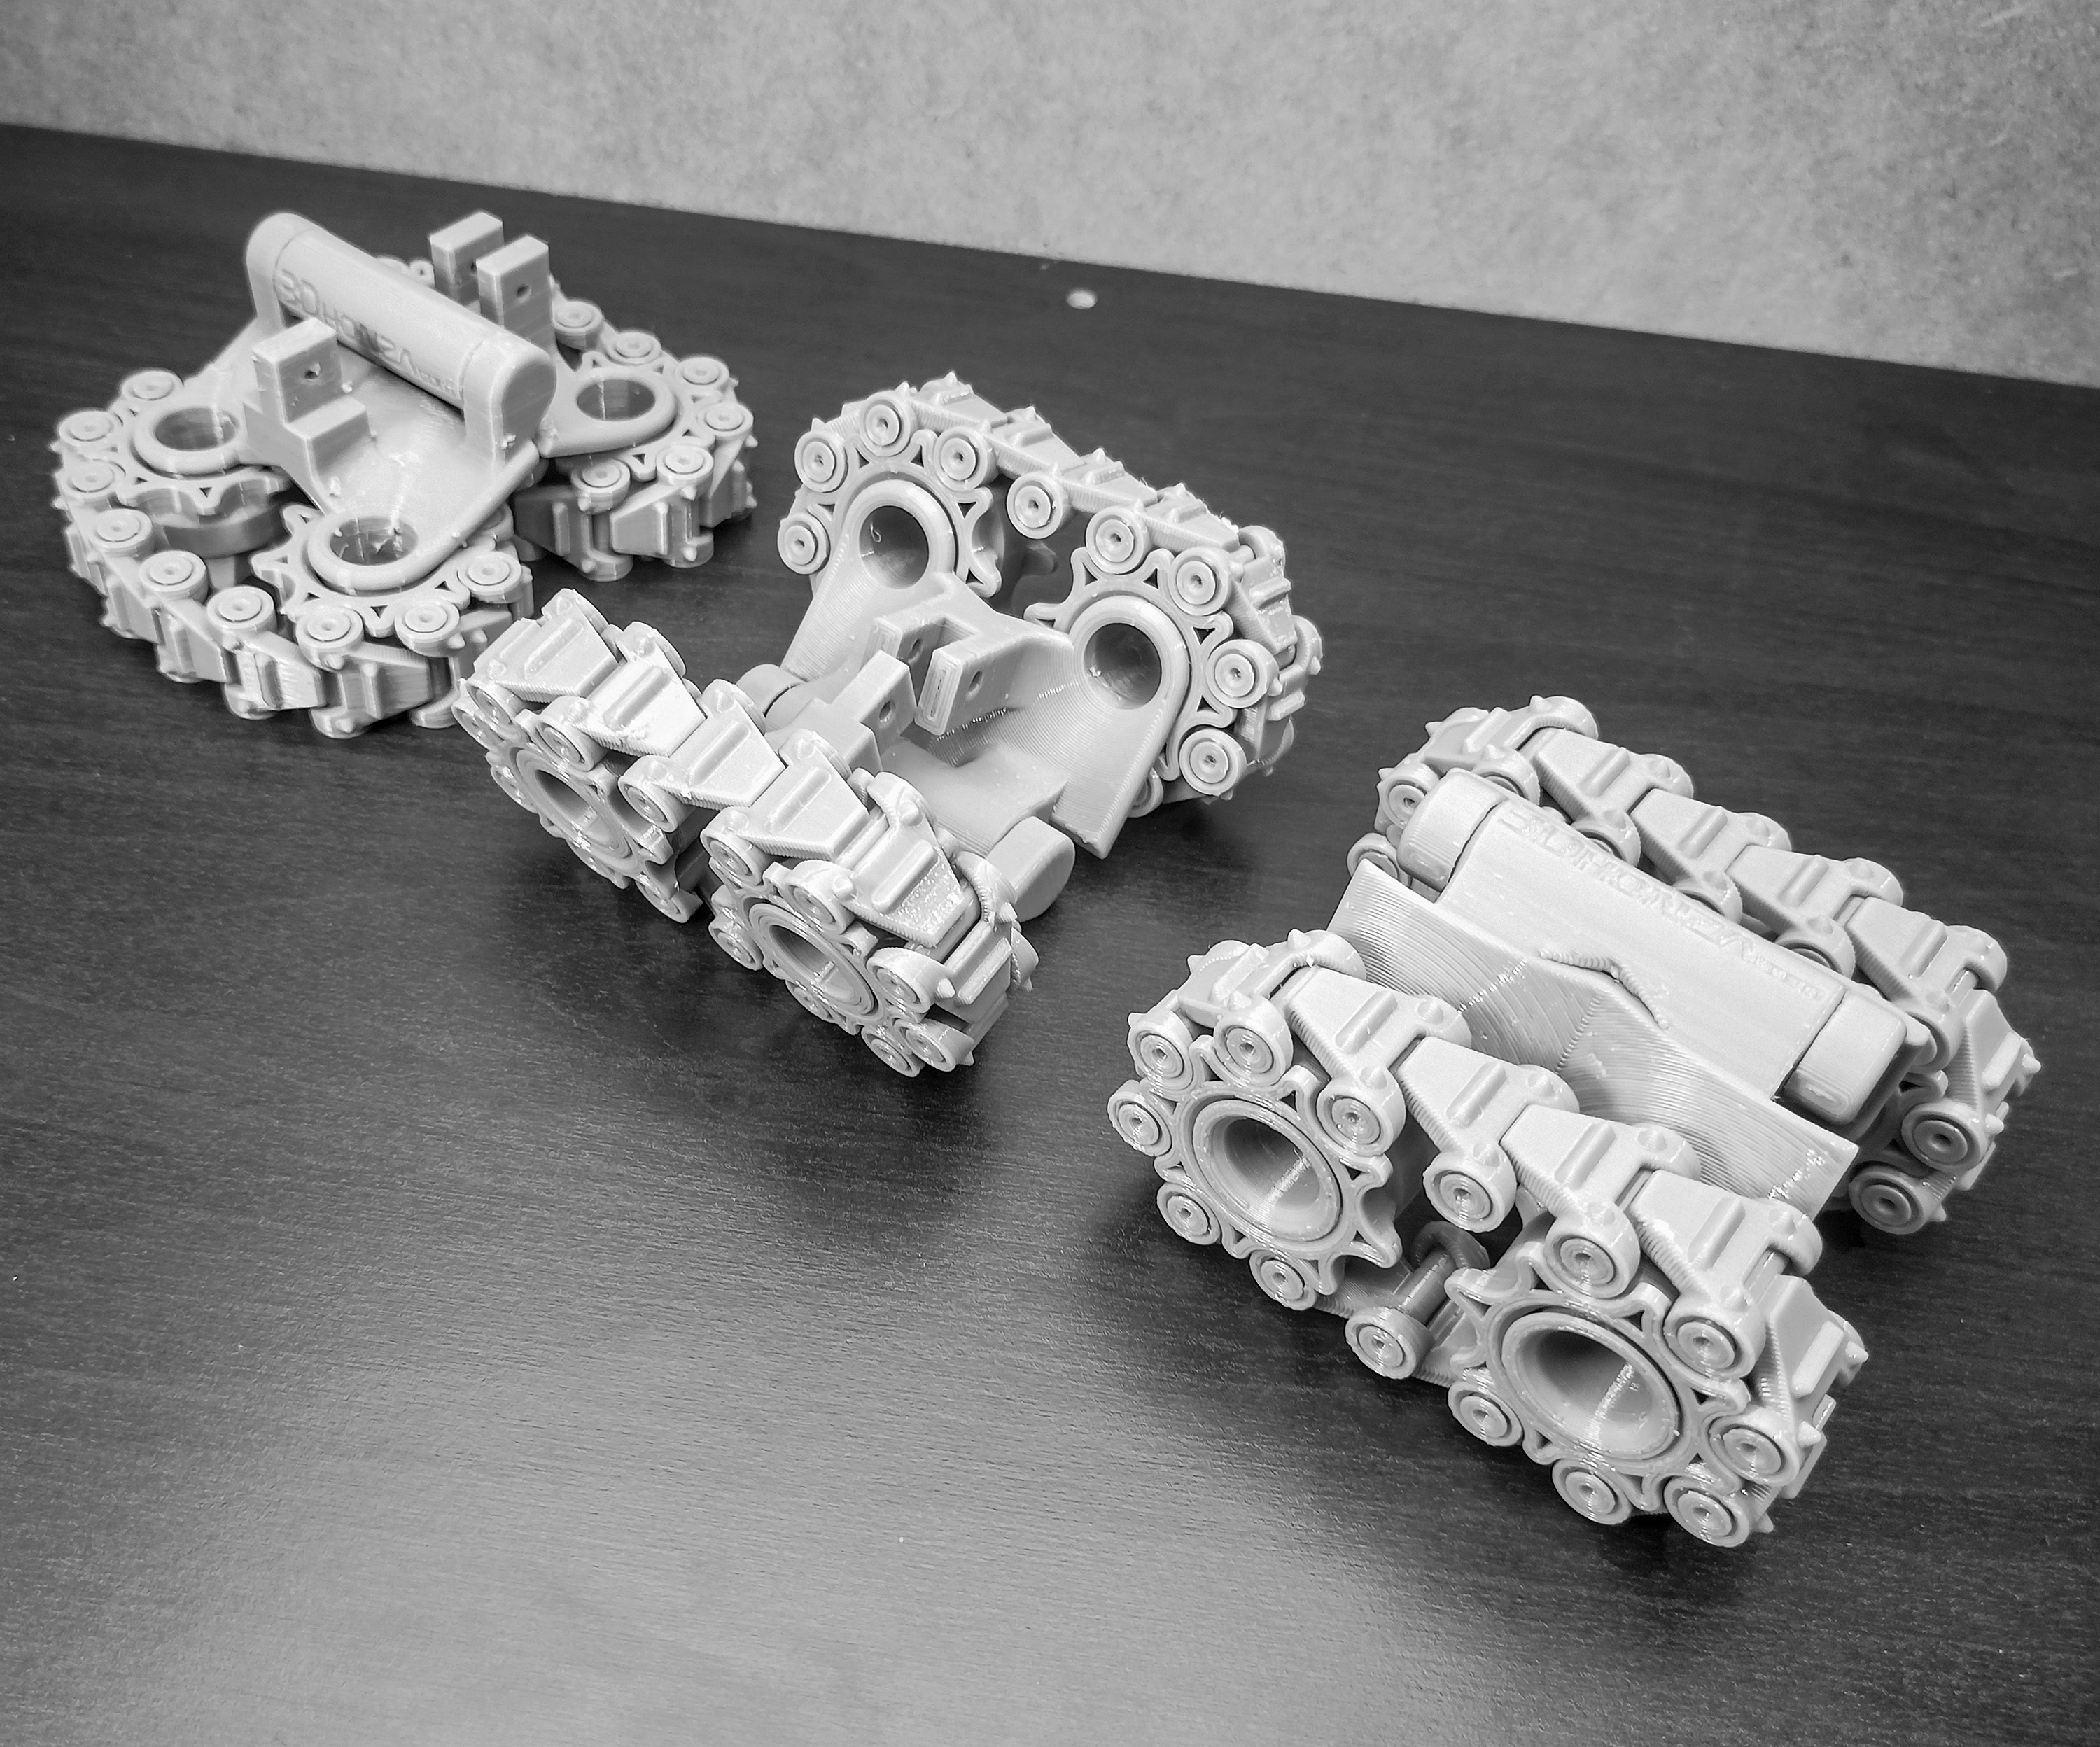
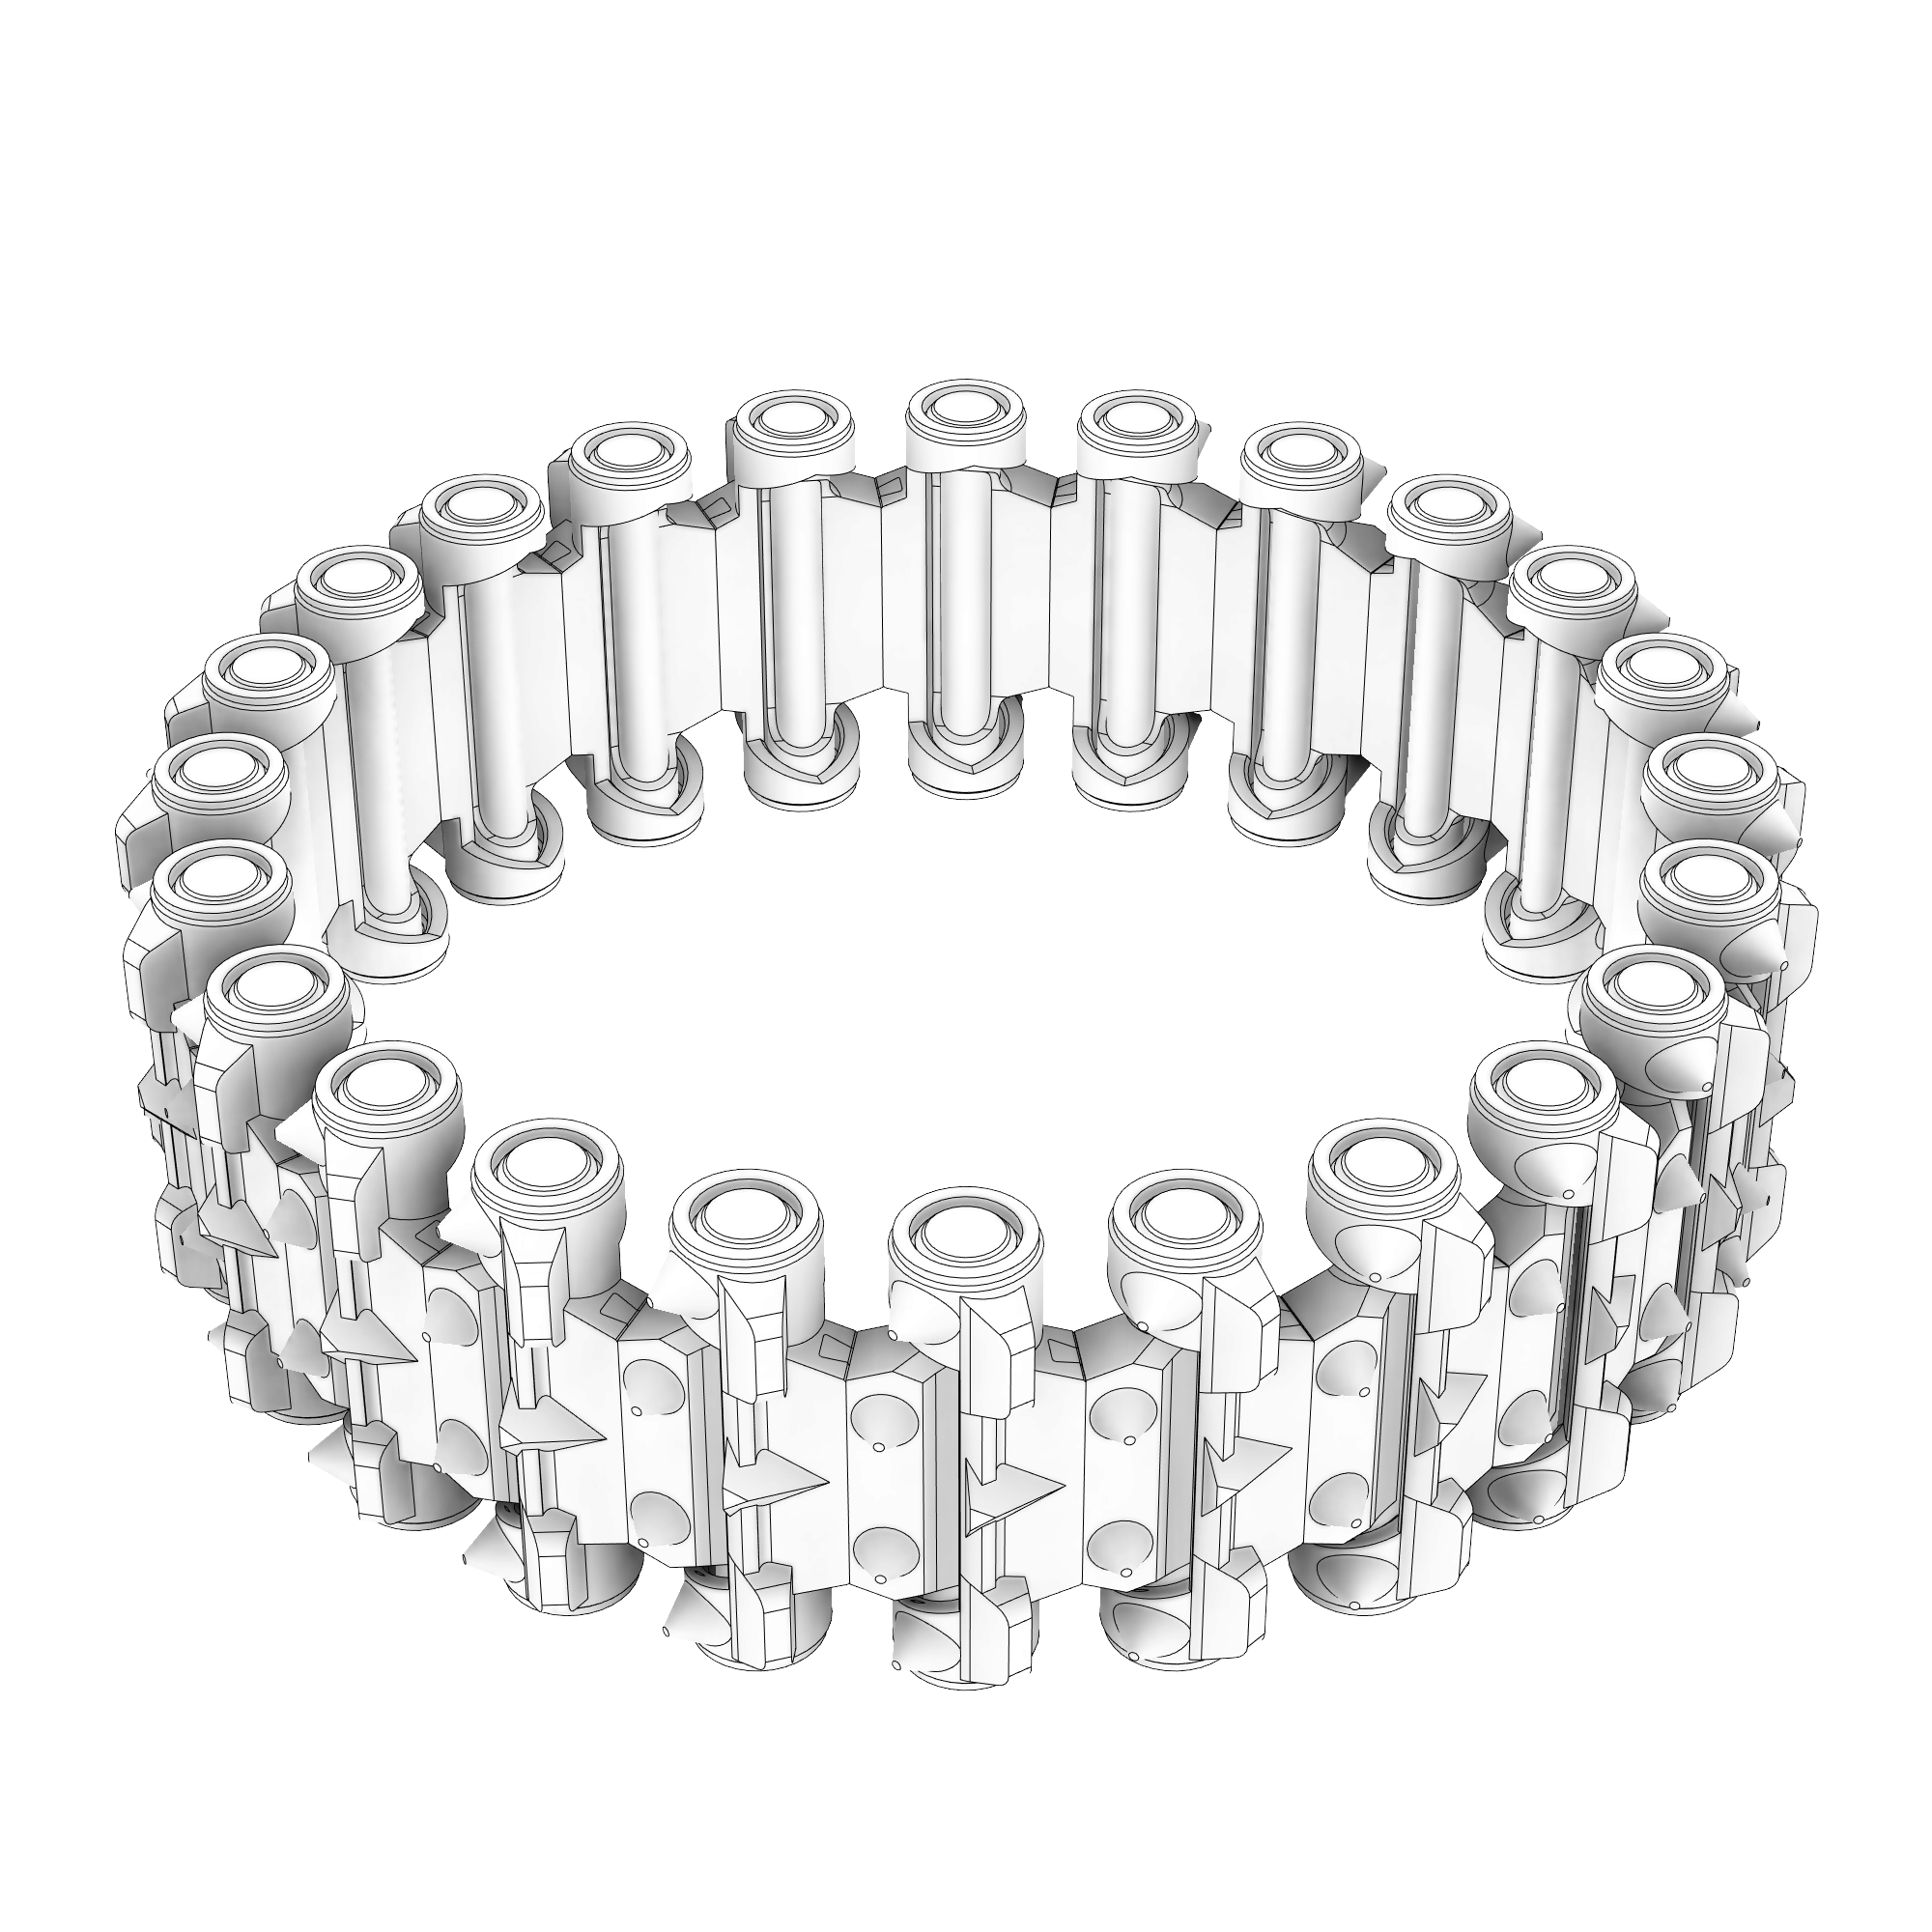
I am struggling with the plastic fusing on the chain link pins on the first layers. I have a creality ender 3 pro v2 stock. I tried printing at 52 C and the adhesion was insufficient for the small parts - the print head moved one of the initial chain rings off the print bed. Then I tried adding kyrlon modge podge and printed the first layers at 60 degrees C then reducing temperature to 55 C. The initial layers on the chain fused together.
Could Designer please recommend a print strategy to prevent the fusing of the initial layers? Also, there is an STL of the body without the chain. Is there an STL of the chain without the body? I understand that it would need to have at least one pin be removable in order to install it on the body. But I would hate to have re-print the body and the gear/wheels when I only need the chain. Regards.
Hi. Sorry to hear that. For PLA use at least 65 (PET/75C for the bed). Also use adhesive spray. I have no issues with glass bed. If the parts stuck together try to print calibration file (included) Bed has to be perfectly leveled so the tiny parts wont stuck together.
I have a lot of updates coming next month. Detachable belts and more customizable version of the toy. Print in Place will be just an optional. I want to make it easy to print in different colors. Also some attachable skins/covers are on the way. Stay tuned ;)
This is awesome. Watching, the YouTube video, I am curious if you could add some kind of buoy system to the inside of the wheels and little "scoops" on the treads so when unfolded, it would double as some kind of water tank for larger applications.
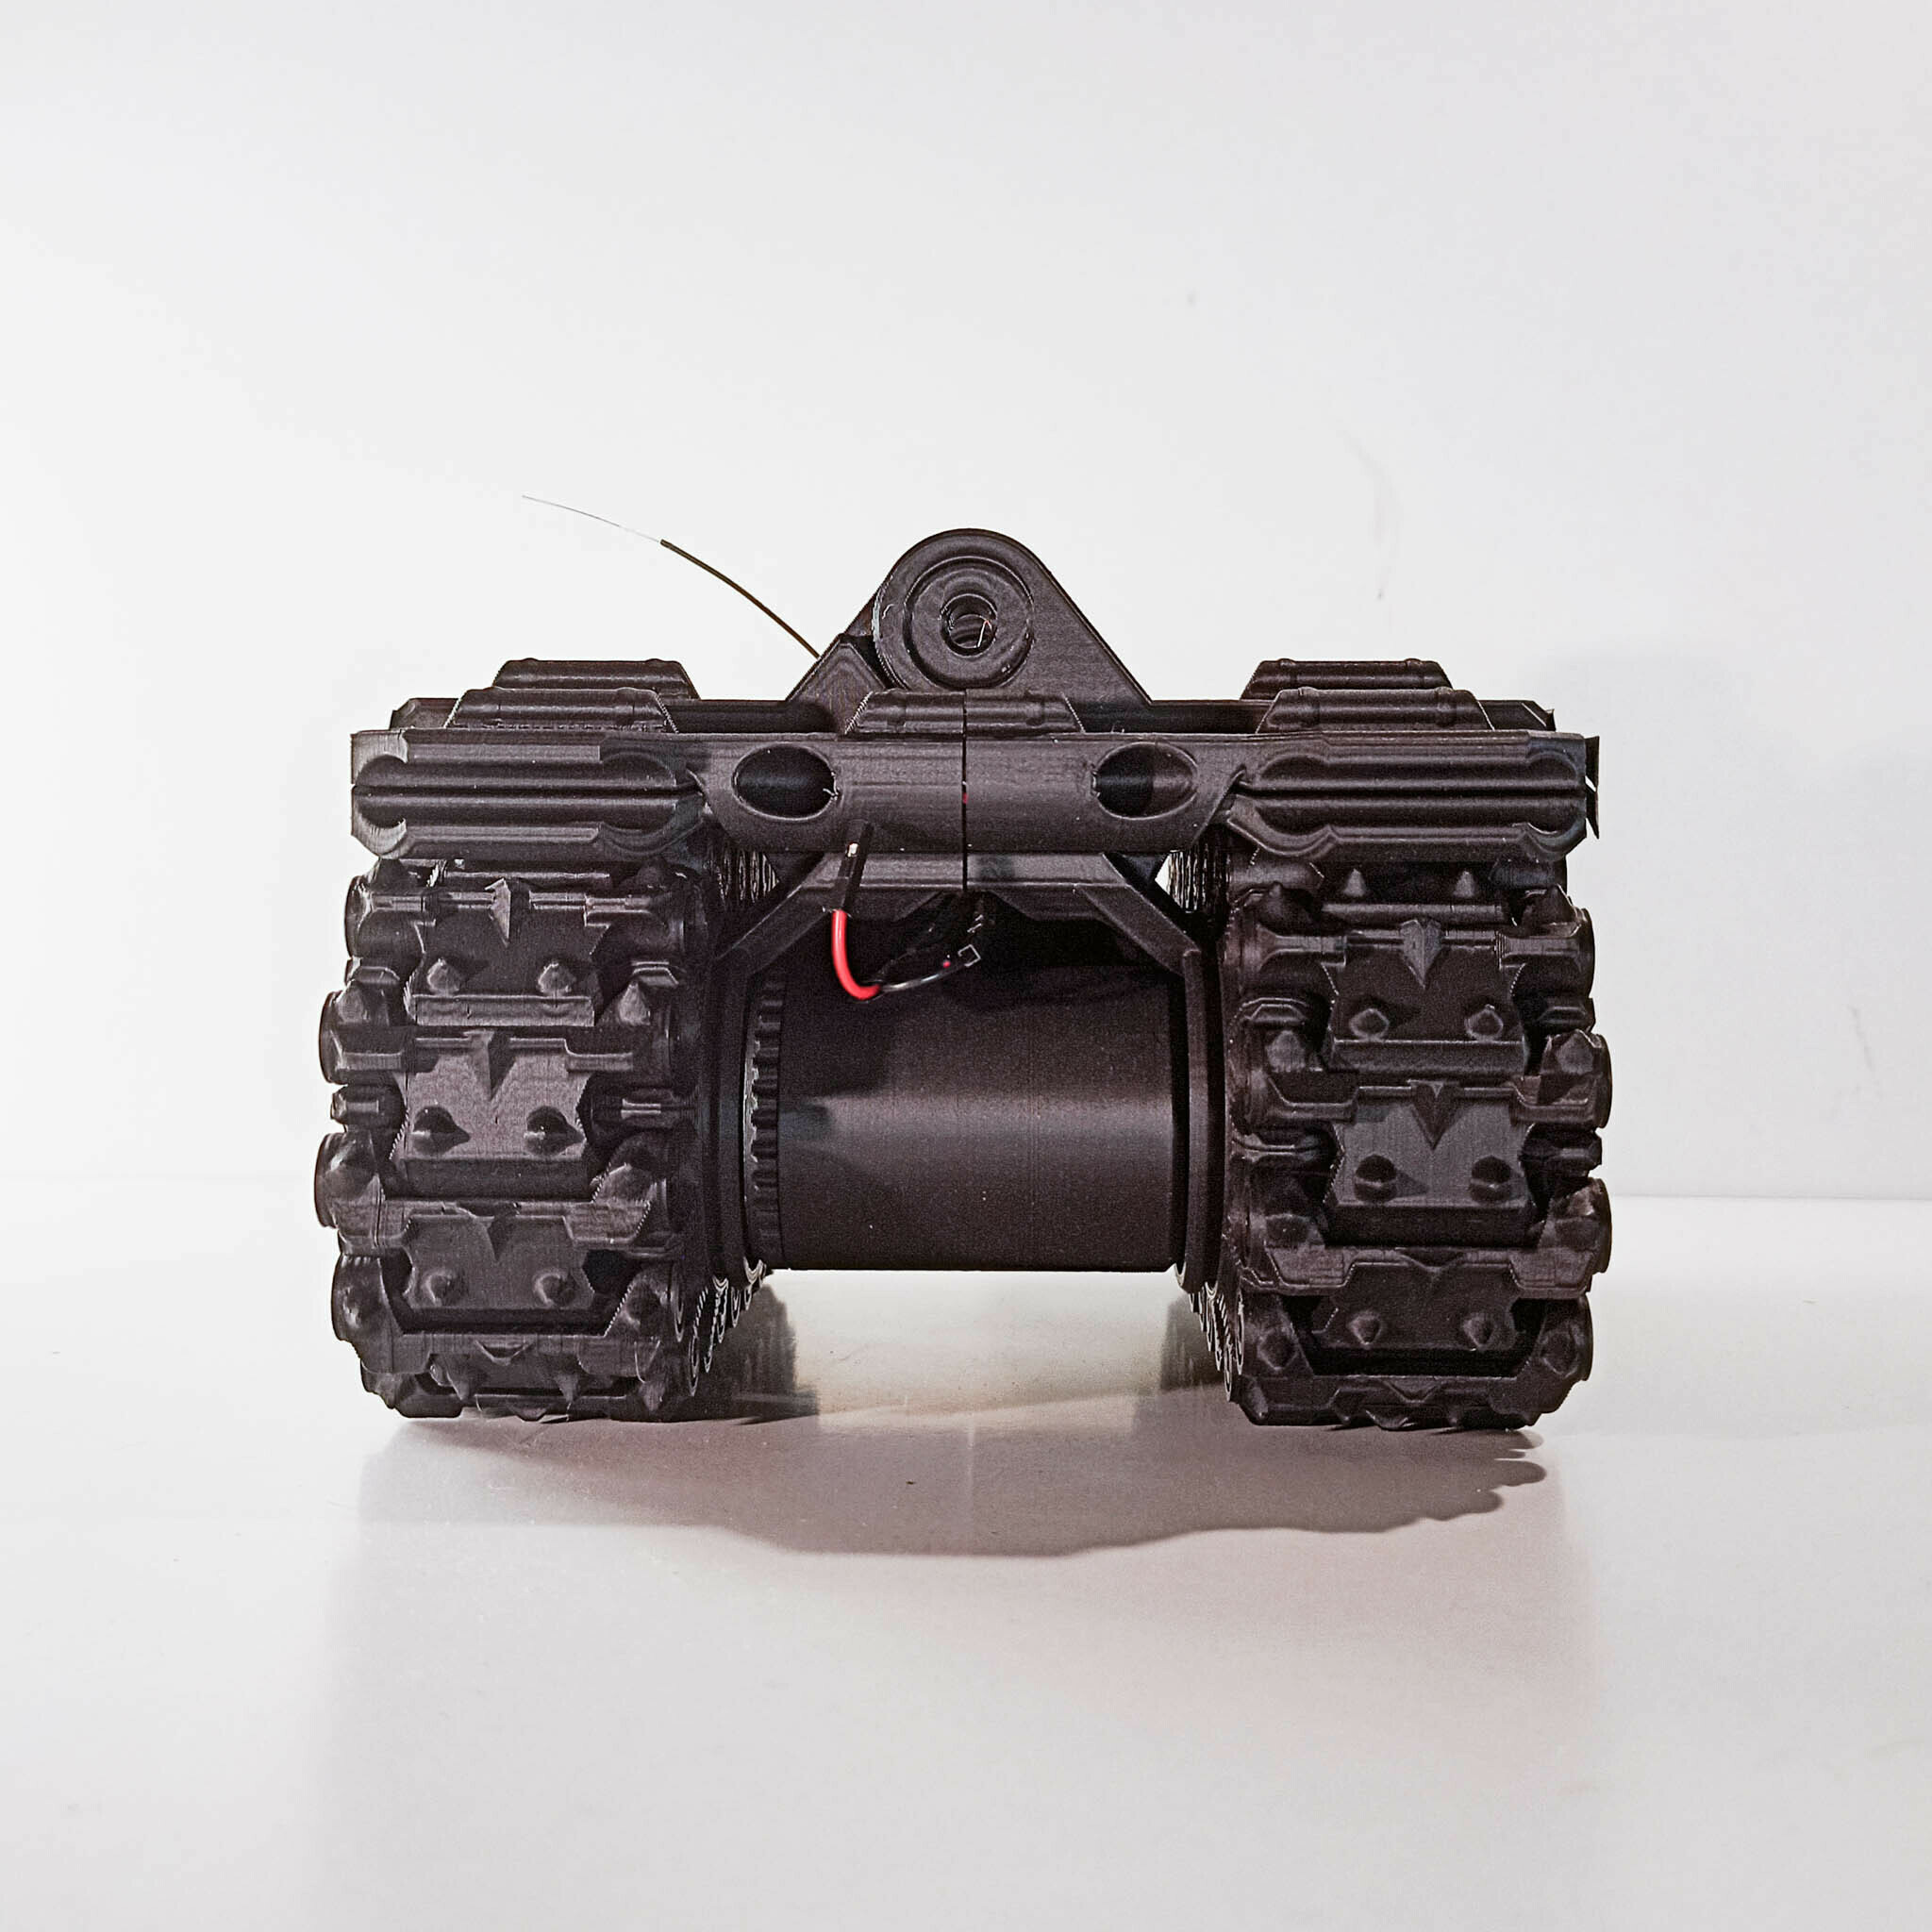
Great design! I tried printing this on an Ultimaker 3S with PLA, no support, 50% infill, normal speed 0.15mm layer height. I could not make it fold and only after some prying, forcing, and then eventually cutting in half, was I able to determine the hinge had become one solid piece. Any suggestions?
Hi. Try to cut the top hinge in slicer and print it separately to test different settings. If it will work print the whole thing. Adjust retraction to get less stringing that is causing this issue.
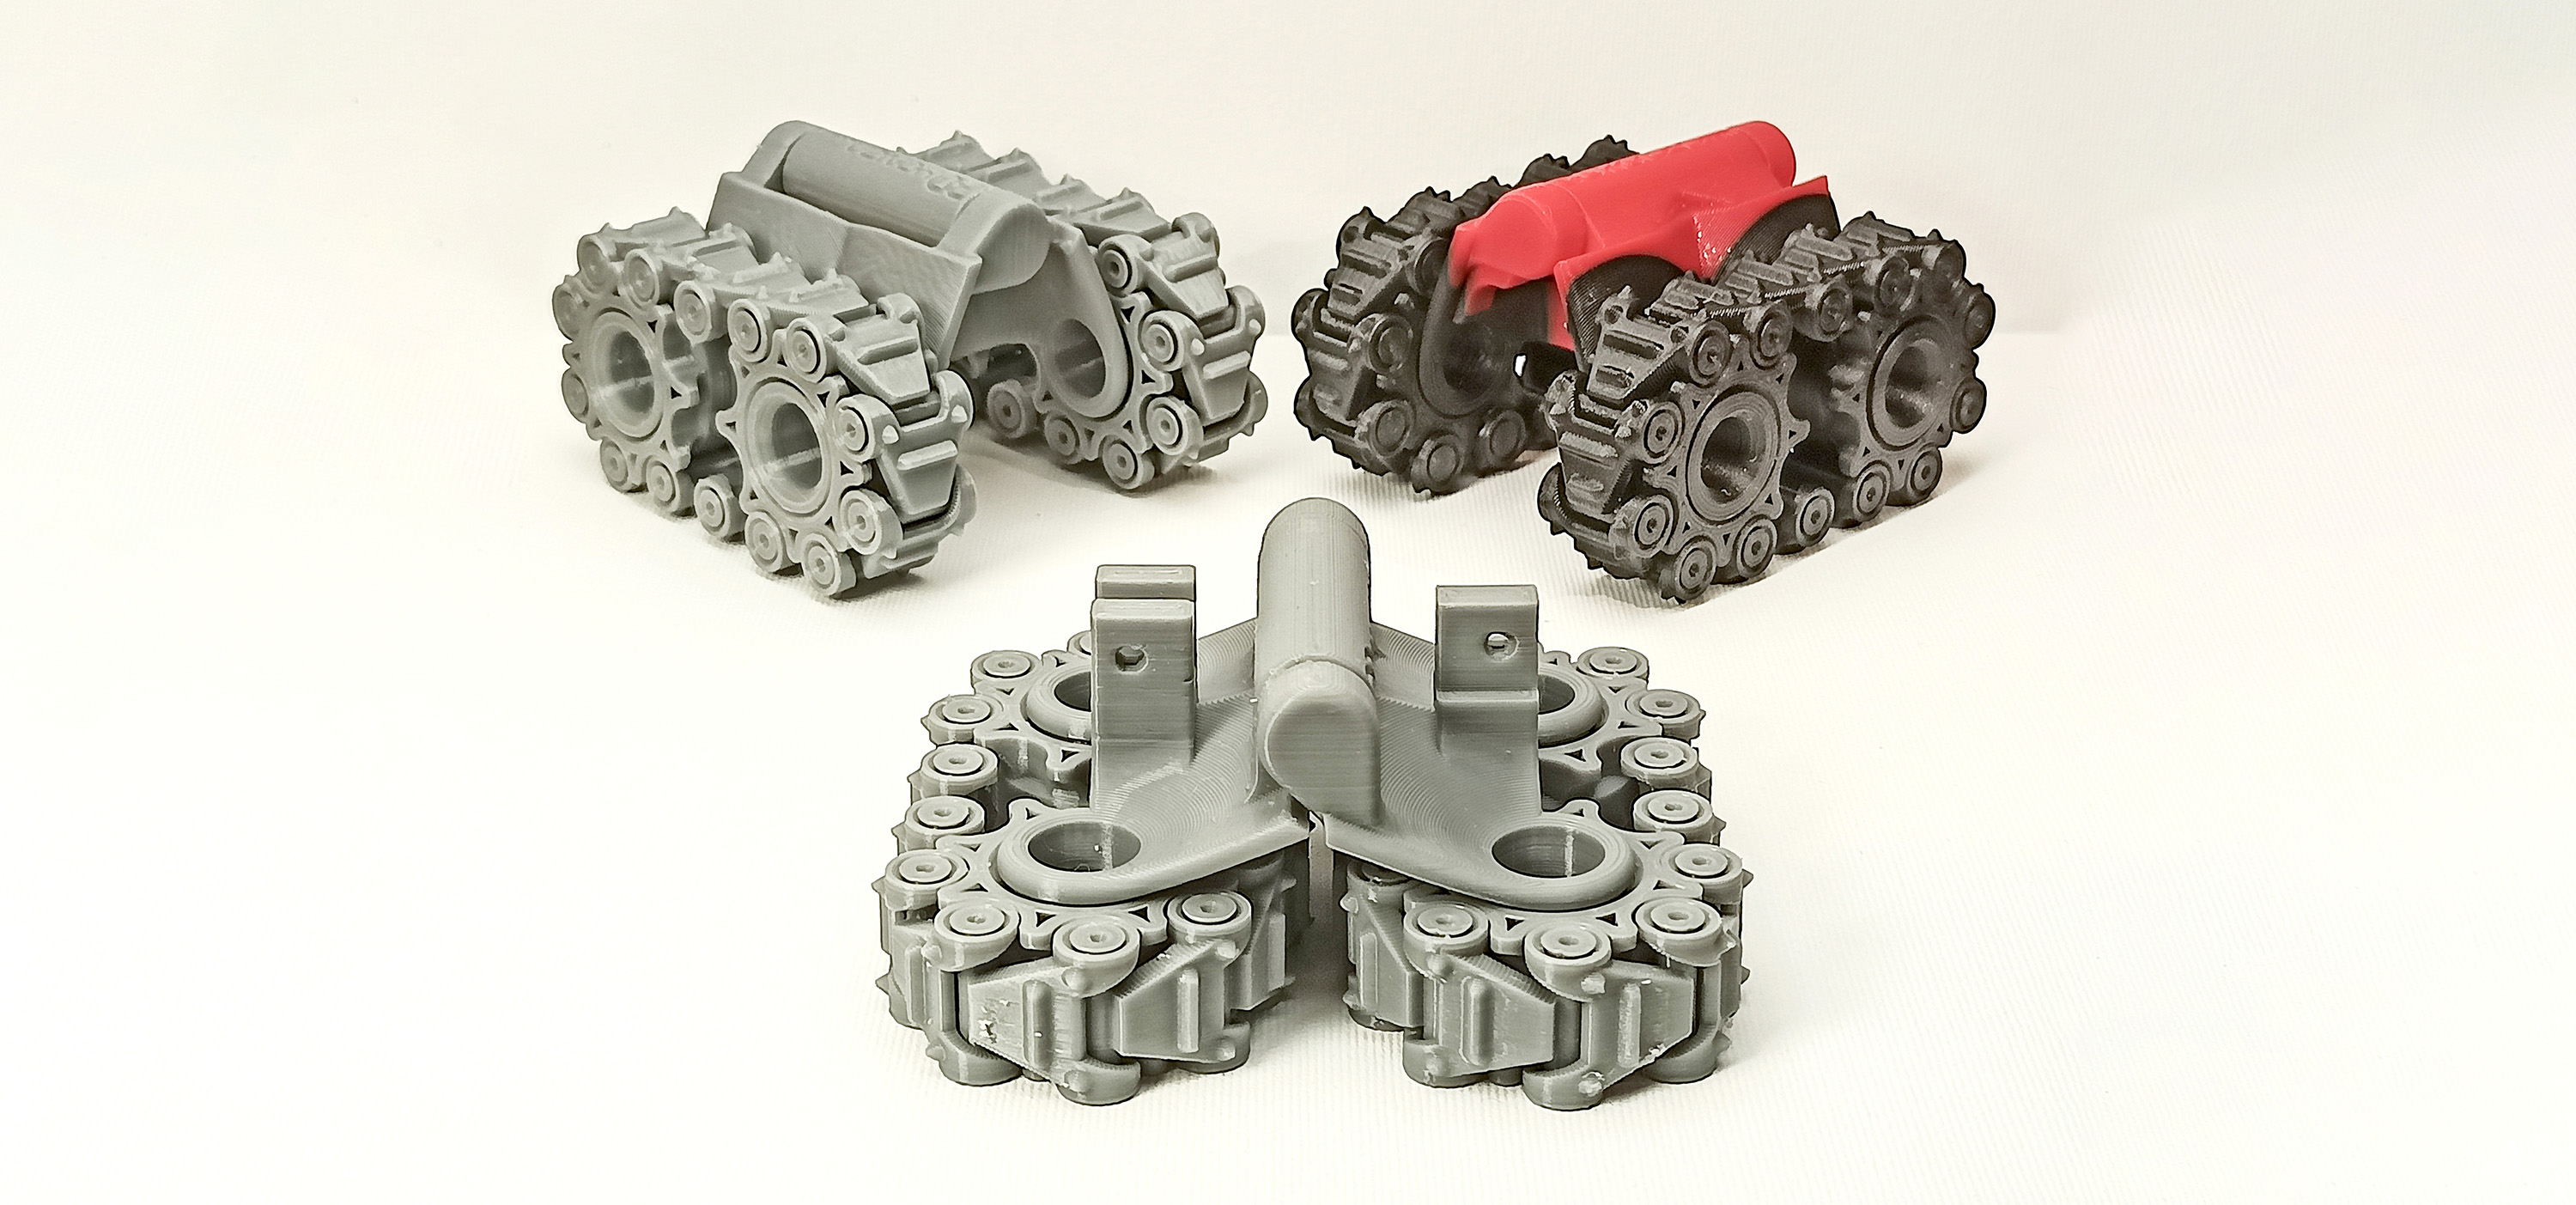
Printed beautiful on my Ender 3, but when taking it of my bed, all track sections broke off each other, was impossible to save them. The connection between them is too fragile. Other than that, it is an amazing model.
I'm not able to get it printed well. Those steep overhangs bend up and catch the nozzle.
I slowed down, tuned temperature down, increased cooling, no success...
Absolutely Go for it. As much as your printer can . Also there was an successful print at 50% scale. Please share a photo if you will print bigger. You will be first ;)
Gefällt dir Cults und möchtest du uns dabei helfen,das Abenteuer in völliger Unabhängigkeit fortzusetzen? Beachte, dass wir ein kleines Team von 4 Personen sind und dass es daher sehr einfach ist, uns dabei zu unterstützen, weiterhin im Geschäft zu bleiben und zukünftige Entwicklungen zu schaffen. Hier sind 3 Lösungen, die allen zugänglich sind:
WERBUNG: Deaktiviere deinen Werbeblocker.
SPENDE: Wenn du möchtest, hast du die Möglichkeit, uns hier über Ko-FI eine Spende zukommen zu lassen
Spenden
MUNDPROPAGANDA: Lade deine Freunde dazu ein, die Website und die großartigen 3D-Dateien kennenzulernen, die von der Community geteilt werden!
Das Teilen und Hochladen auf Cults3D garantiert, dass die Designs in den Händen der Maker-Gemeinschaft bleiben! Und nicht in den Händen der Riesen der 3D-Druck- oder Softwarebranche, die die Konkurrenzplattformen besitzen und die Designs für ihre eigenen kommerziellen Interessen ausnutzen.
Cults3D ist eine unabhängige, selbstfinanzierte Website, die keinem Investor oder keiner Marke verpflichtet ist. Fast alle Einnahmen der Website gehen an die Maker der Plattform. Die auf der Seite veröffentlichten Inhalte dienen nur den Interessen ihrer Autoren und nicht denen von 3D-Druckermarken, die auch den Markt für 3D-Modellierung kontrollieren möchten.


:format(webp)/https://fbi.cults3d.com/uploaders/14143149/illustration-file/75f1a472-3b23-44cc-b8ec-6396e7560d99/Untitled-1.jpg)
:format(webp)/https://fbi.cults3d.com/uploaders/14143149/illustration-file/aea3639c-50c8-4633-8a8b-9f8850dc8ad6/20190724_140720_resized.jpg)
:format(webp)/https://fbi.cults3d.com/uploaders/14143149/illustration-file/ed0a8ea4-8137-4b07-95d0-26221f9a2b55/20190910_180638.jpg)
:format(webp)/https://fbi.cults3d.com/uploaders/14143149/illustration-file/f0166f8c-0513-4aae-8f7b-272d5ec4e713/20190921_000209.jpg)
:format(webp)/https://fbi.cults3d.com/uploaders/14143149/illustration-file/426ccdab-cfcc-4ac3-8285-06c11cc9df38/IMG_20190924_172445-Edit.jpg)
:format(webp)/https://fbi.cults3d.com/uploaders/14143149/illustration-file/6a46798c-82eb-43b3-bb33-b7b97a7294a4/20200521_220801.jpg)
:format(webp)/https://fbi.cults3d.com/uploaders/14143149/illustration-file/f0c50918-c044-48ef-88e2-2ddc0fe95a41/IMG20201030154429%20copy.jpg)
:format(webp)/https://fbi.cults3d.com/uploaders/14143149/illustration-file/e3c652b6-0d8f-45a7-926d-065f0bc70176/_Invisiball-Cloth-Collection-text.jpg)

After 3 days of printing the chassis, I realized many mistakes in the design file.
Many versions in folders, but no real explanation file or pictures of what it should look like.
I wouldn't buy from this designer again.