Flysky RC-Funkdrossel selbstzentrierend mod
:format(webp)/https://fbi.cults3d.com/uploaders/17235255/illustration-file/a4ea7554-9b5d-417d-ad47-ea20fa8efb78/IMG_6252-ezgif.com-optimize.gif)
/https://preview3d-images.cults3d.com/ly17m42cwzofn7ahgl2vtiweg1r6)
/https://preview3d-images.cults3d.com/4dnup3zeawhkvv95pfynen2omegs)
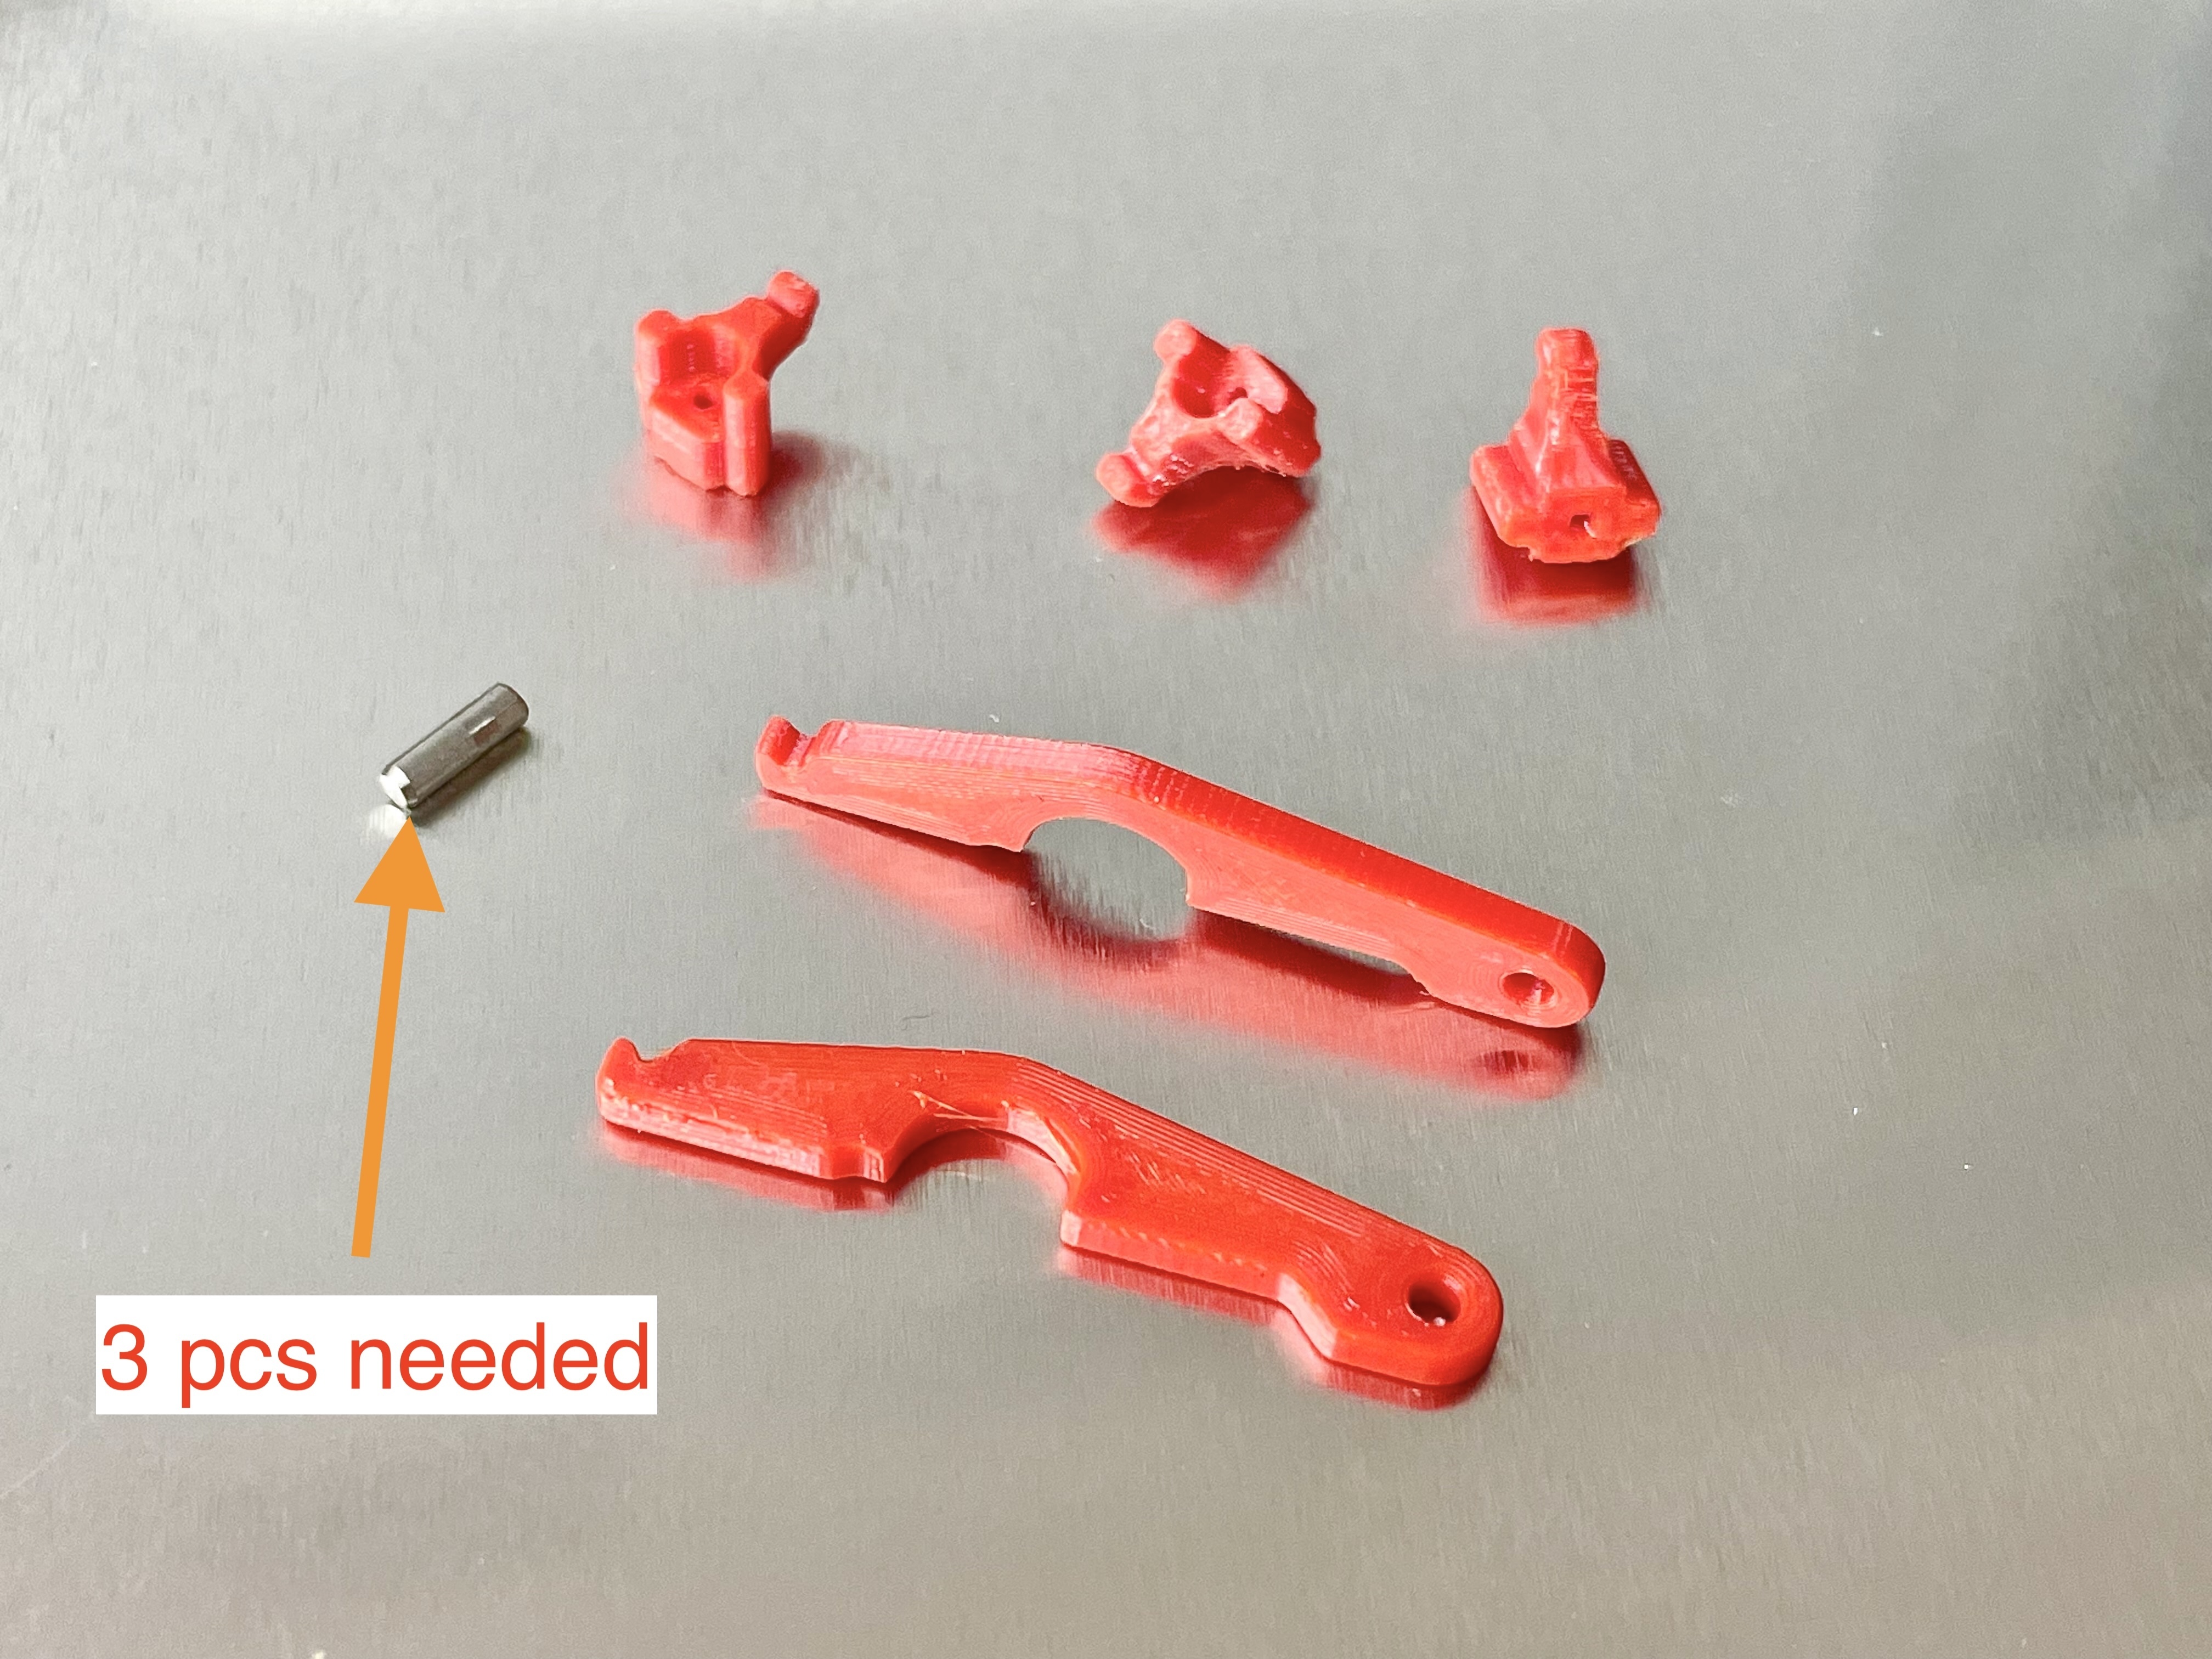
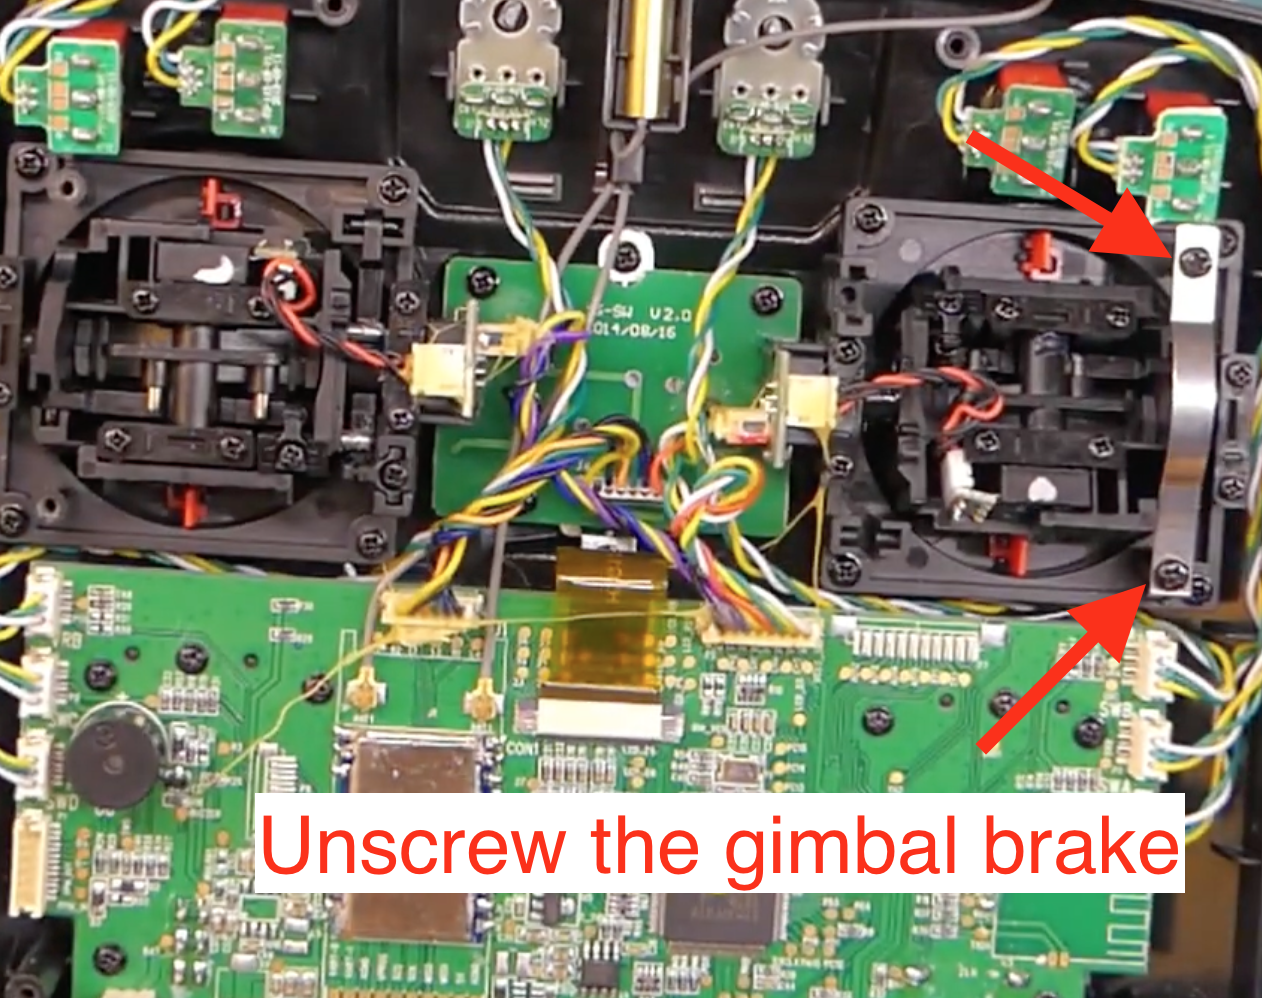
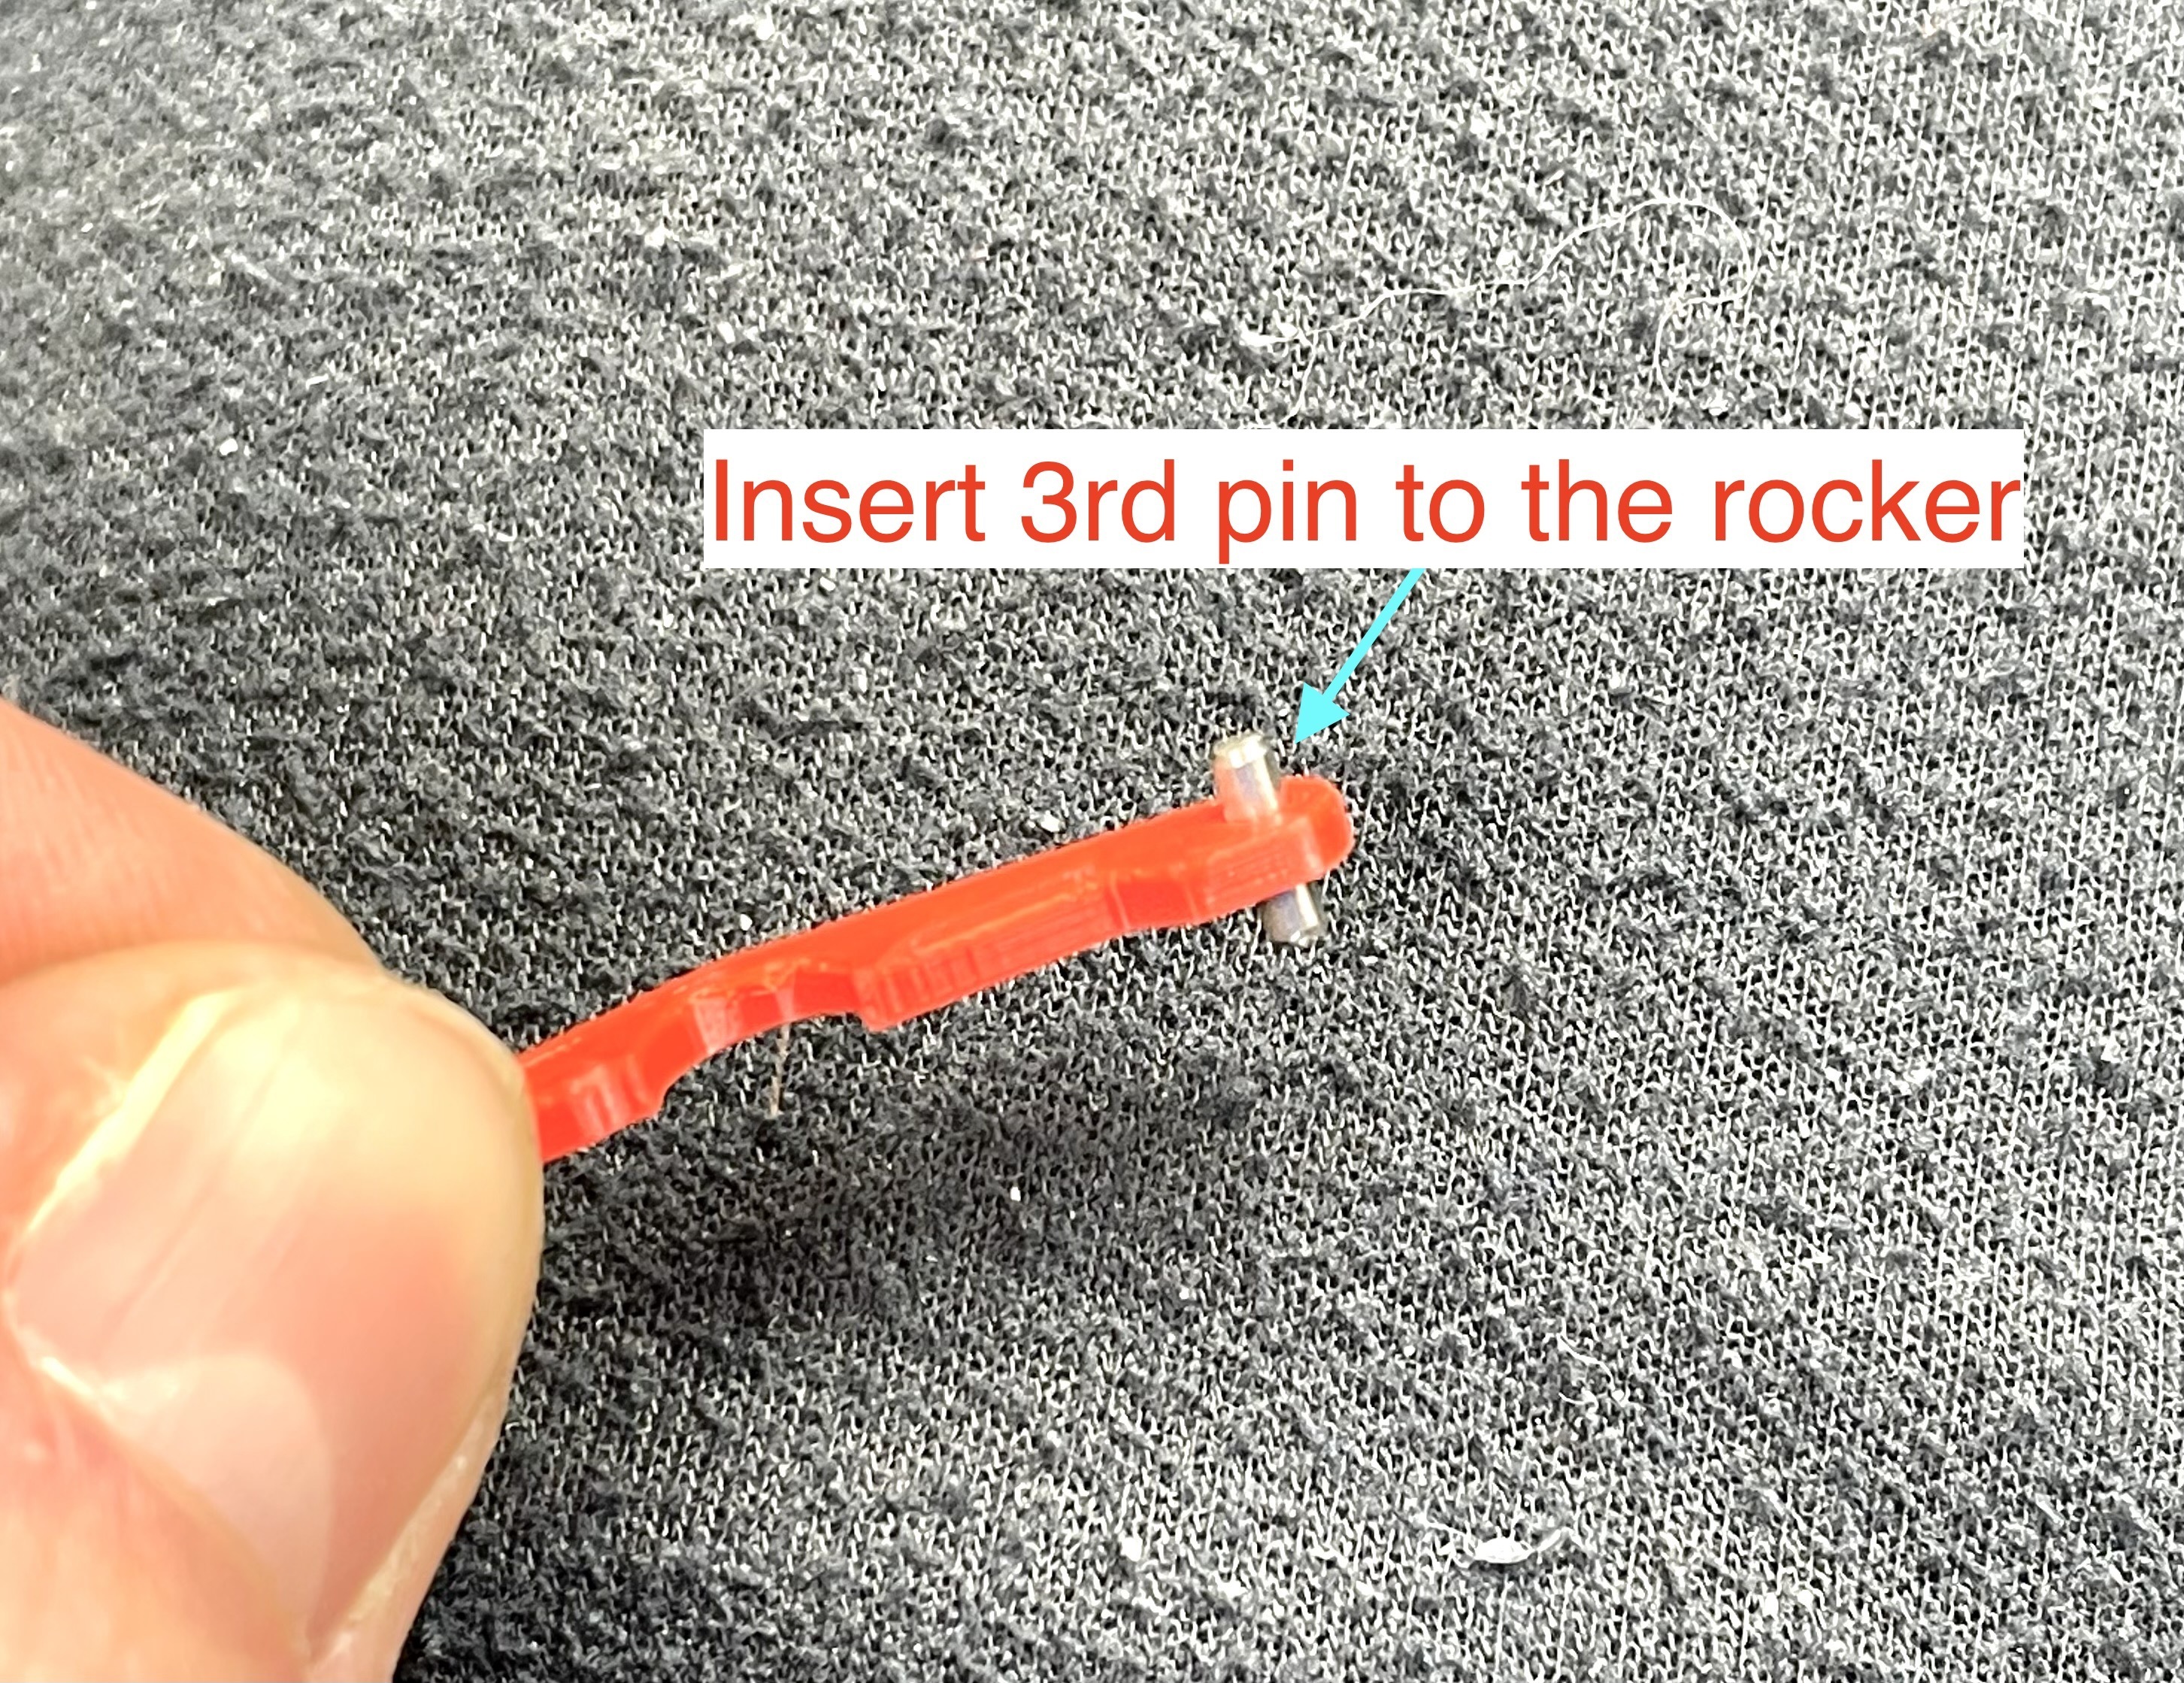
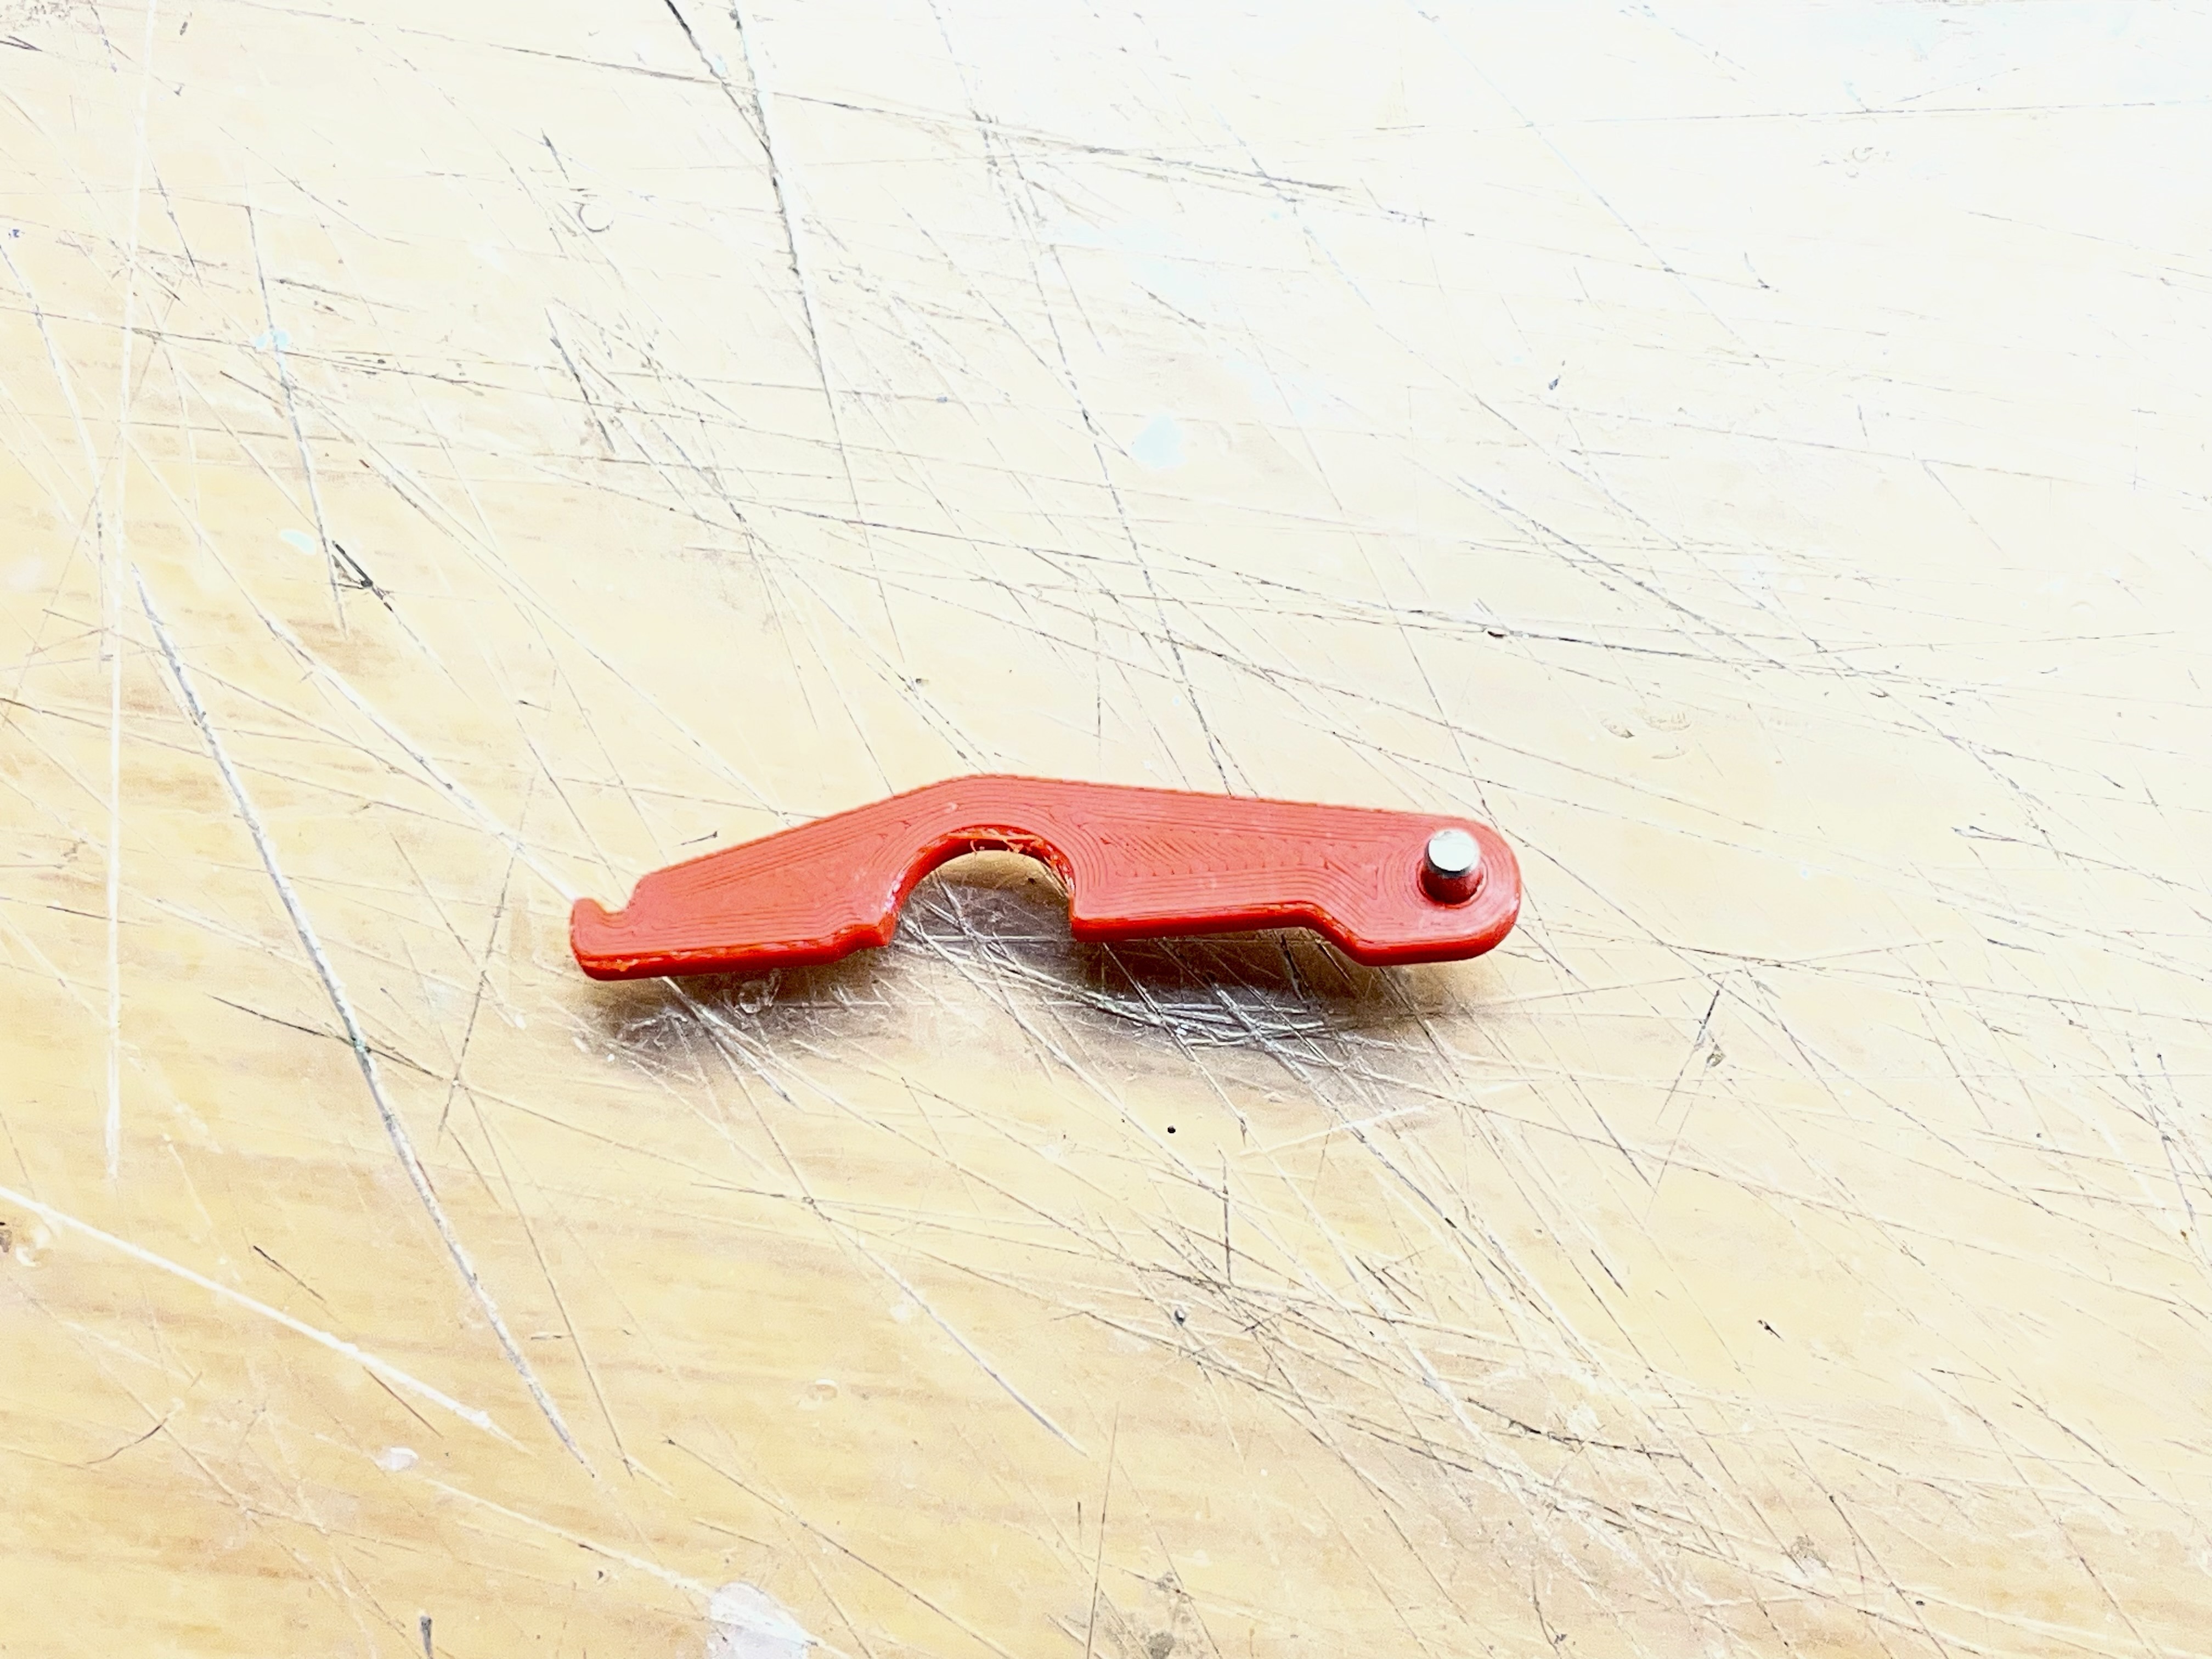
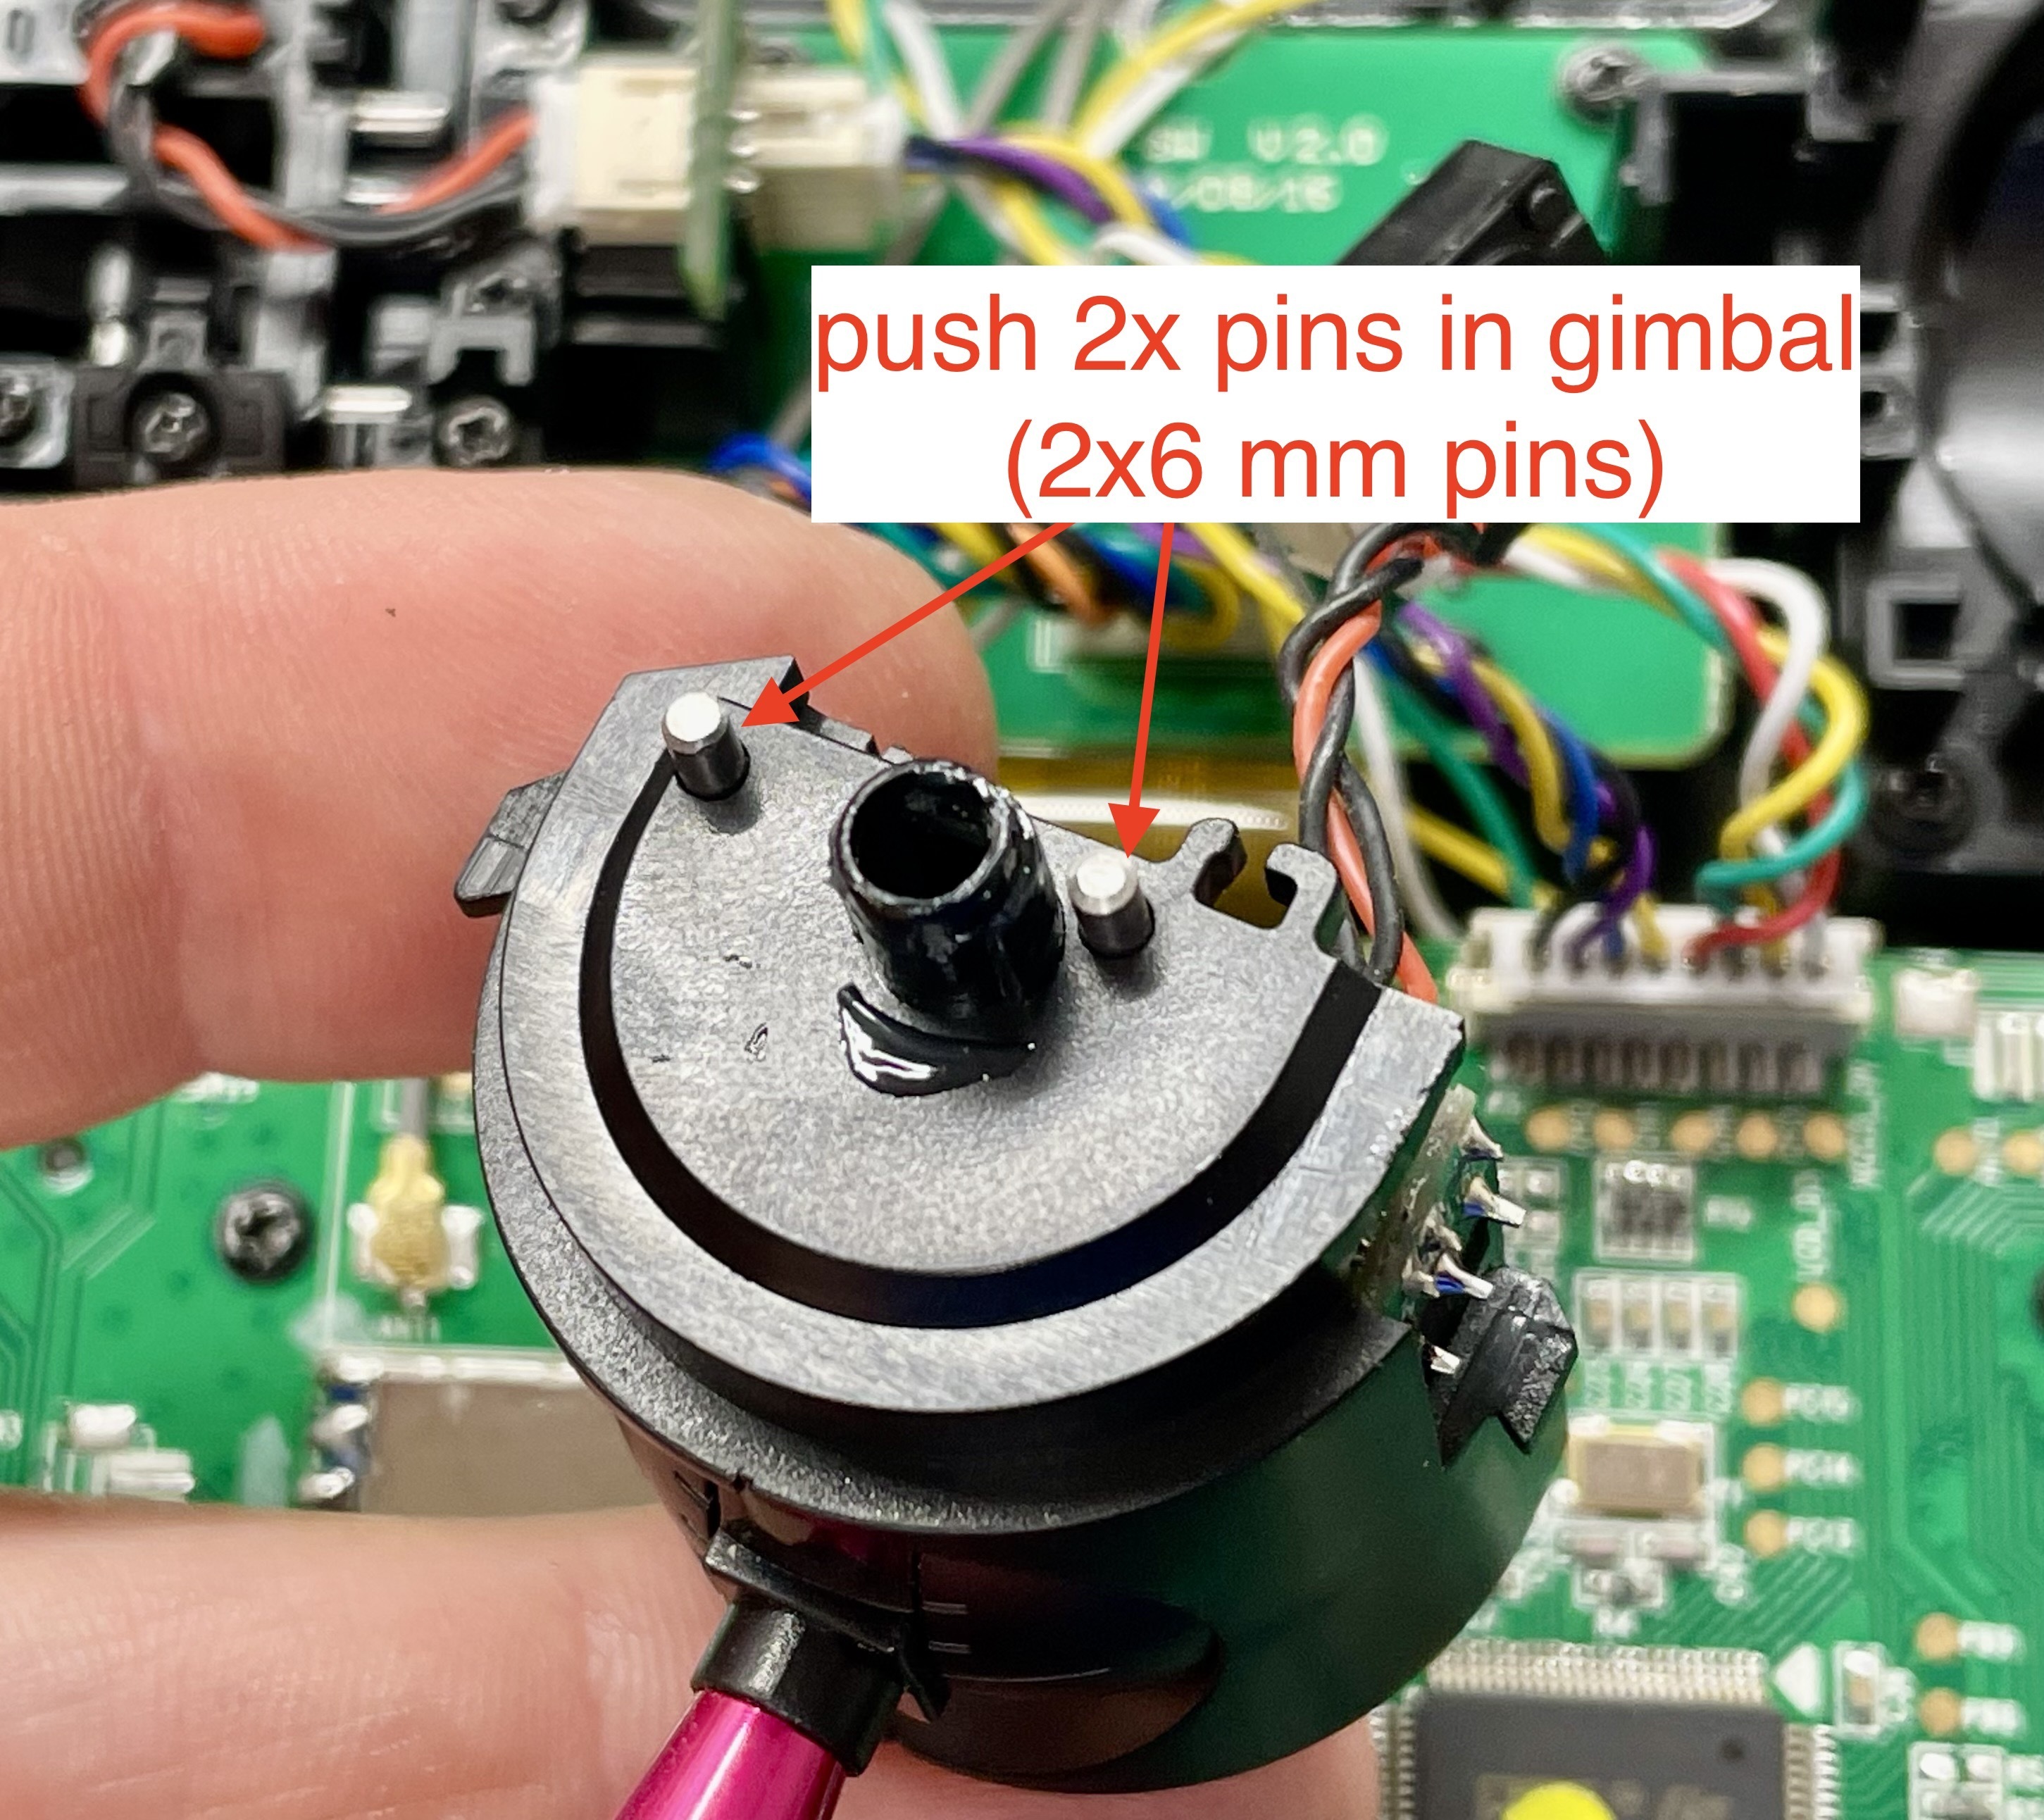
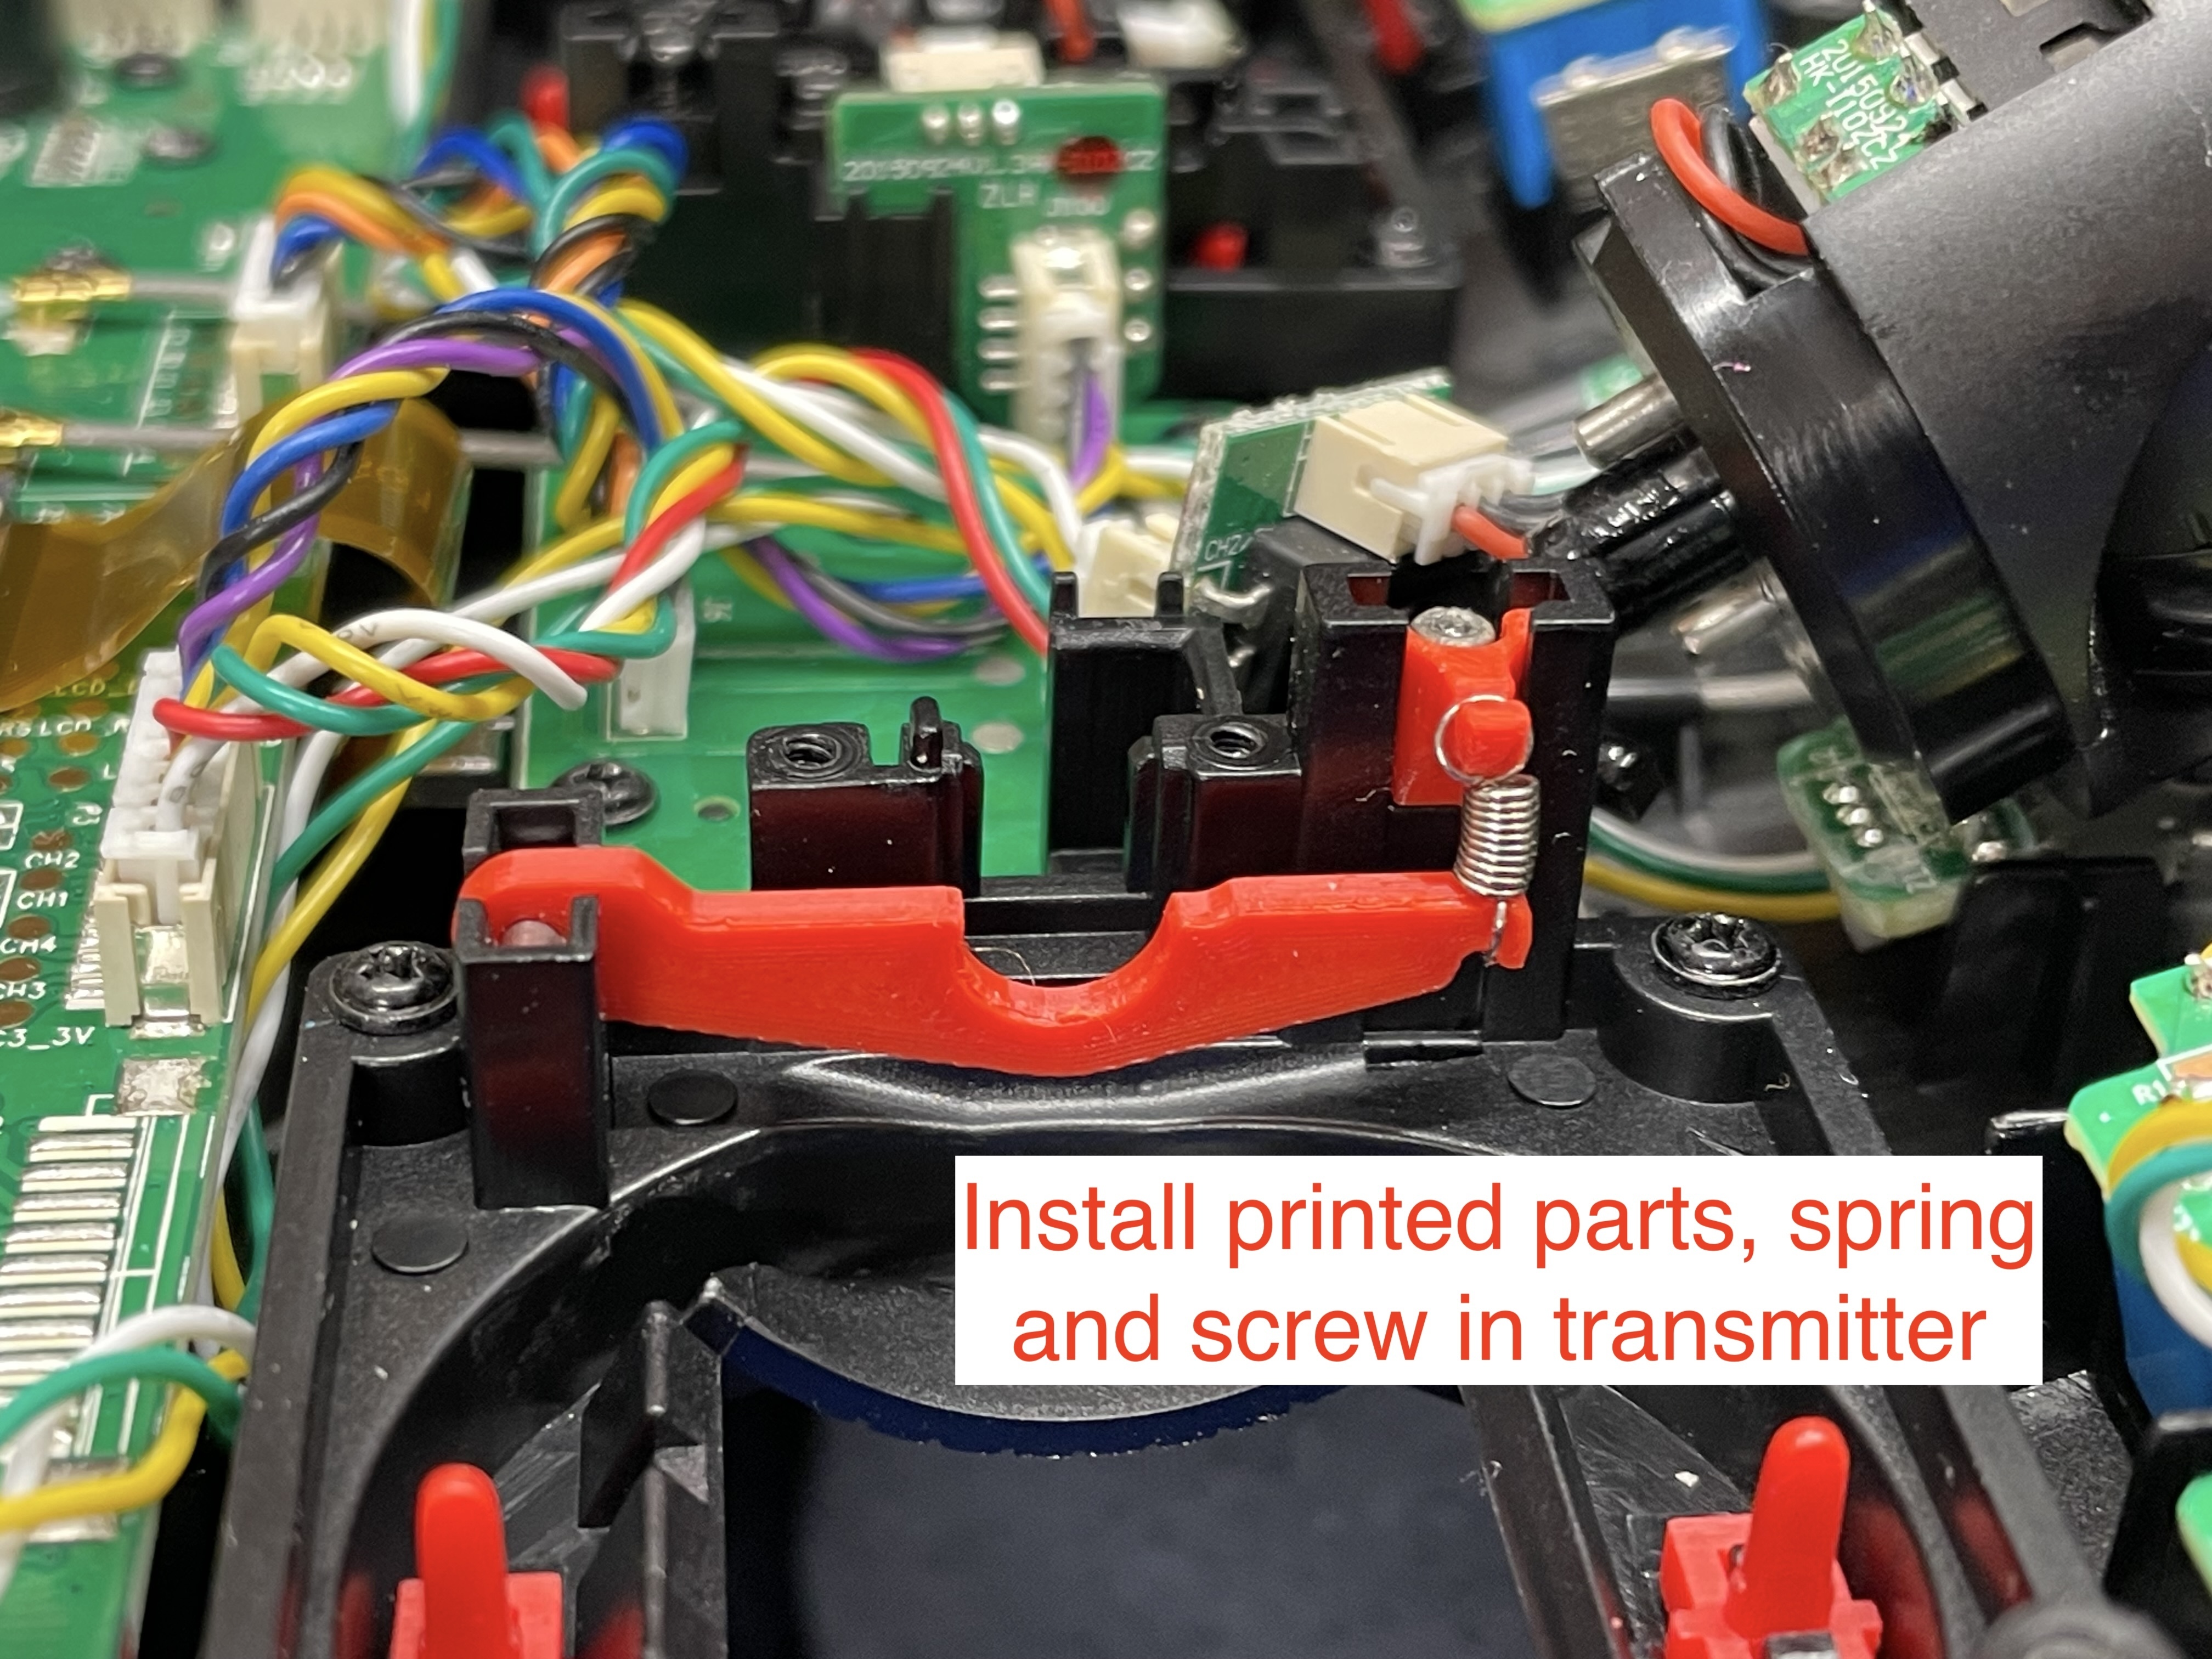
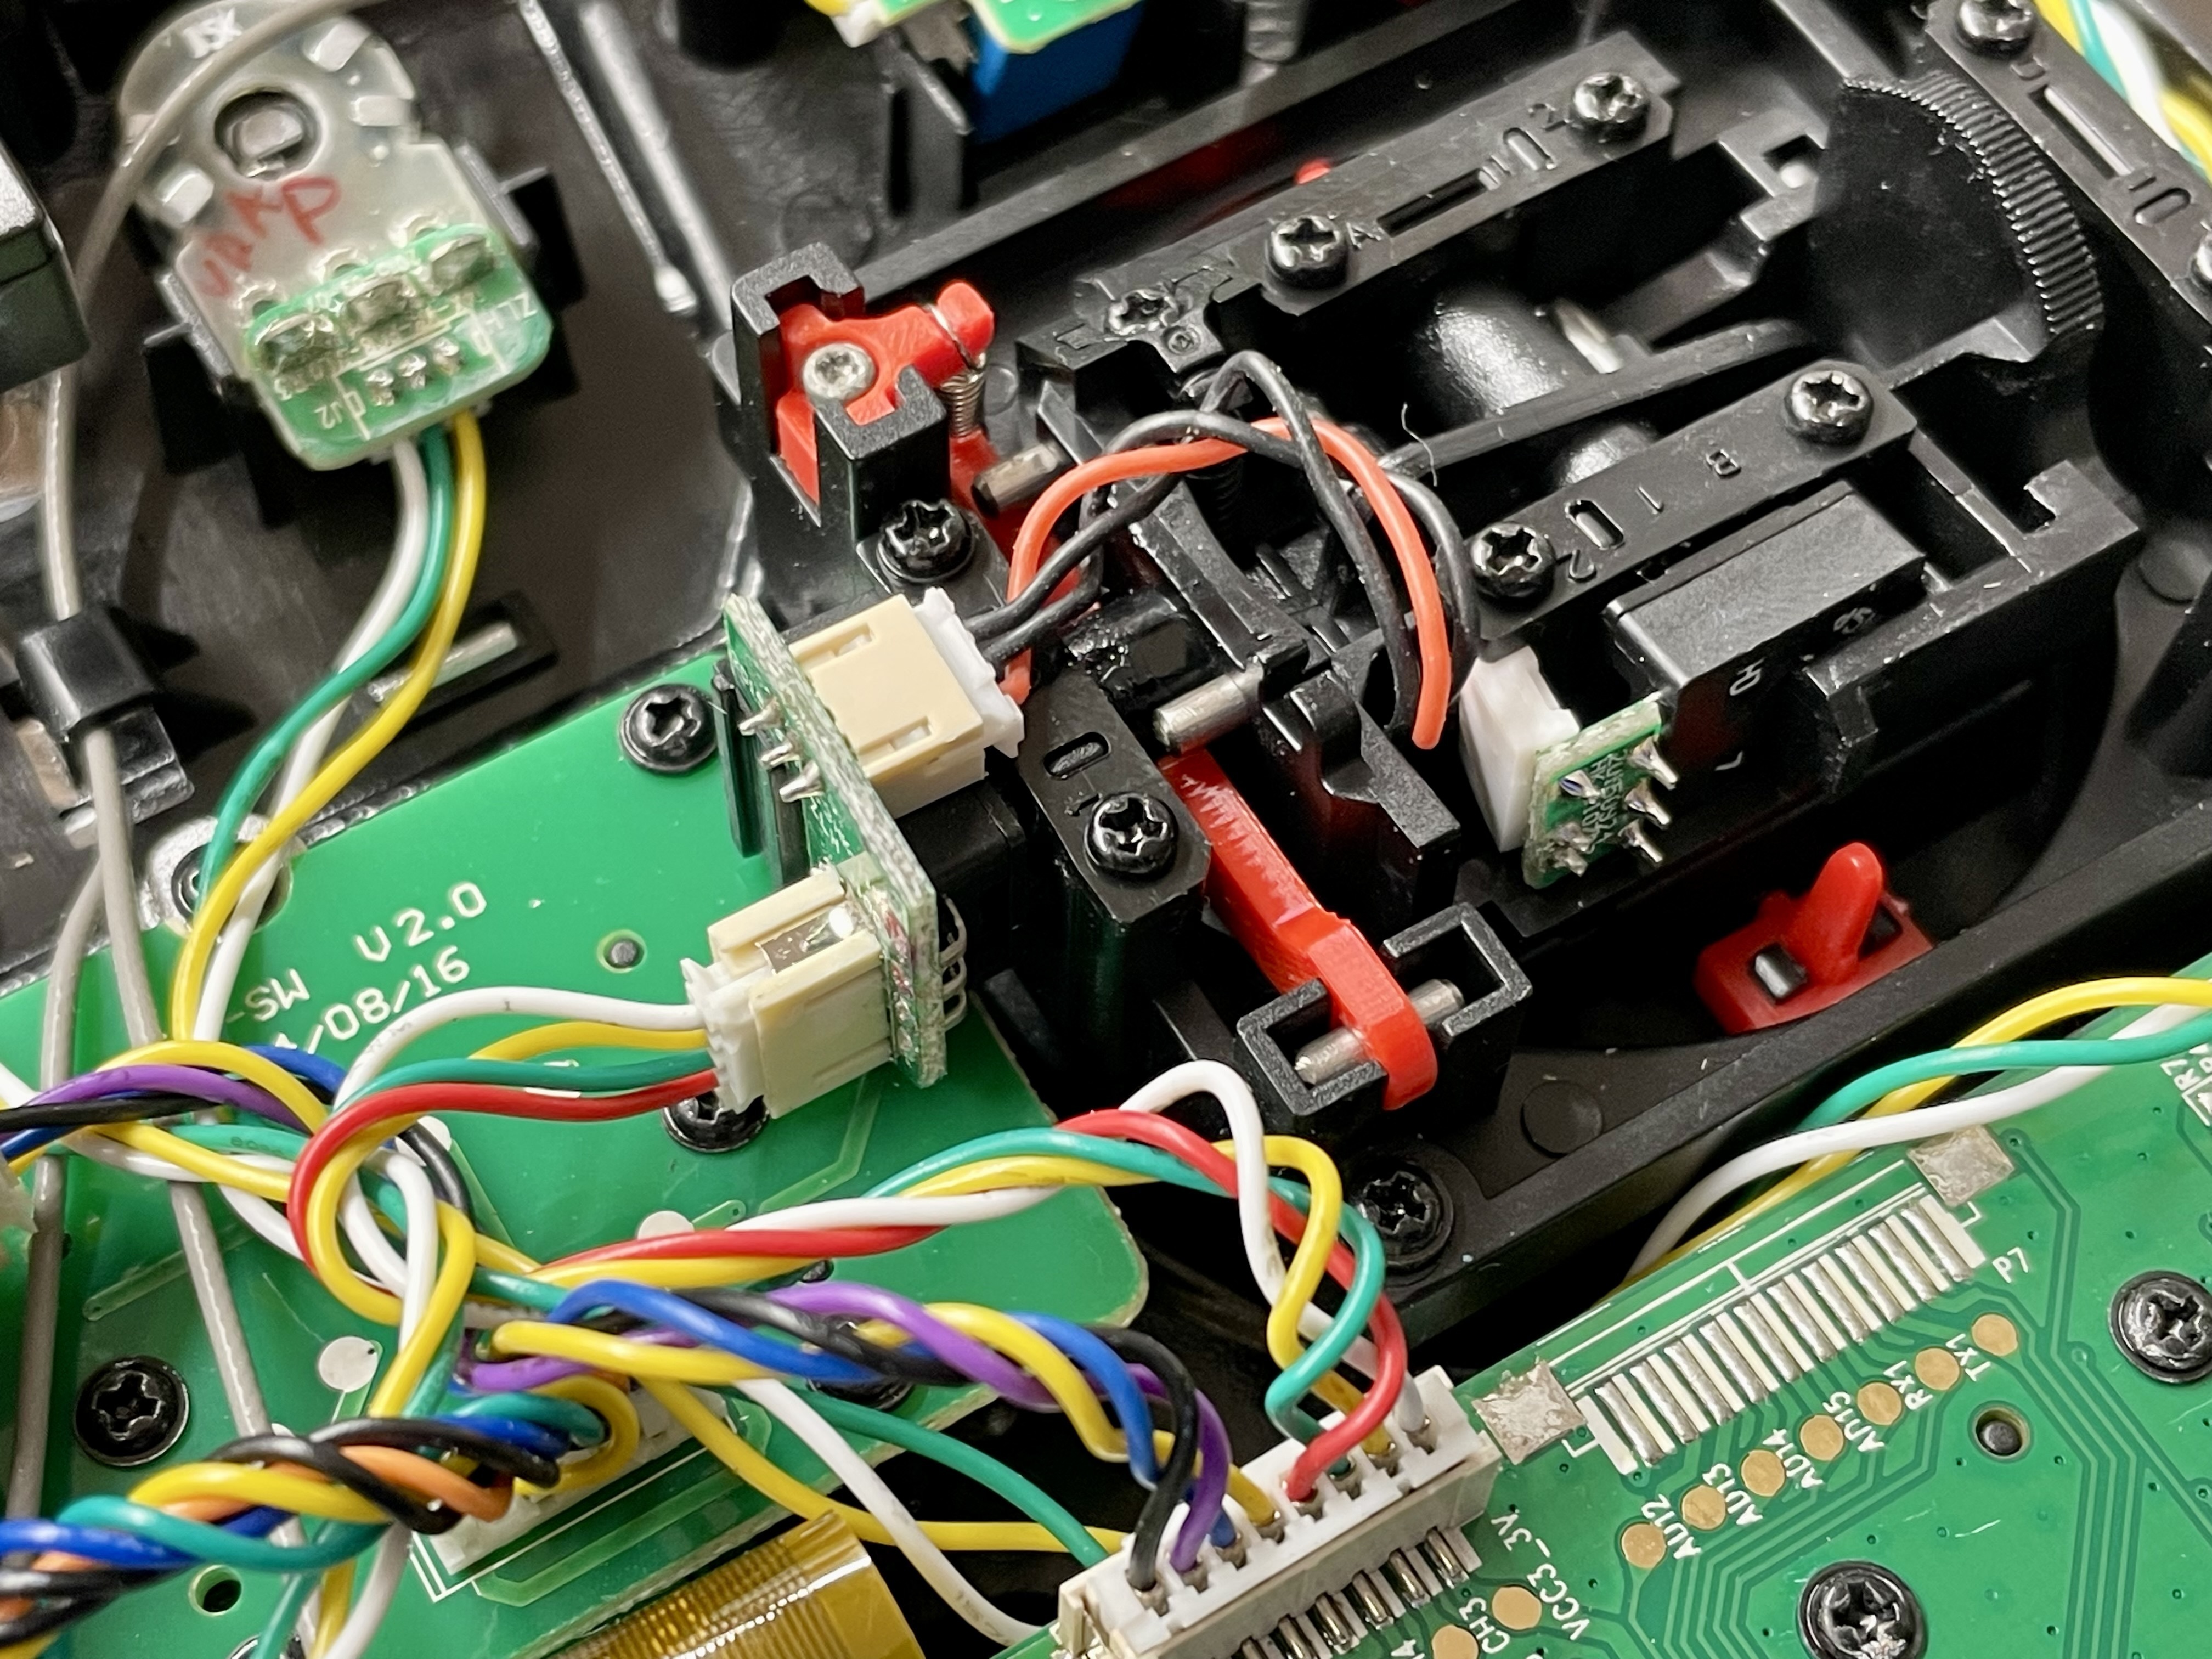
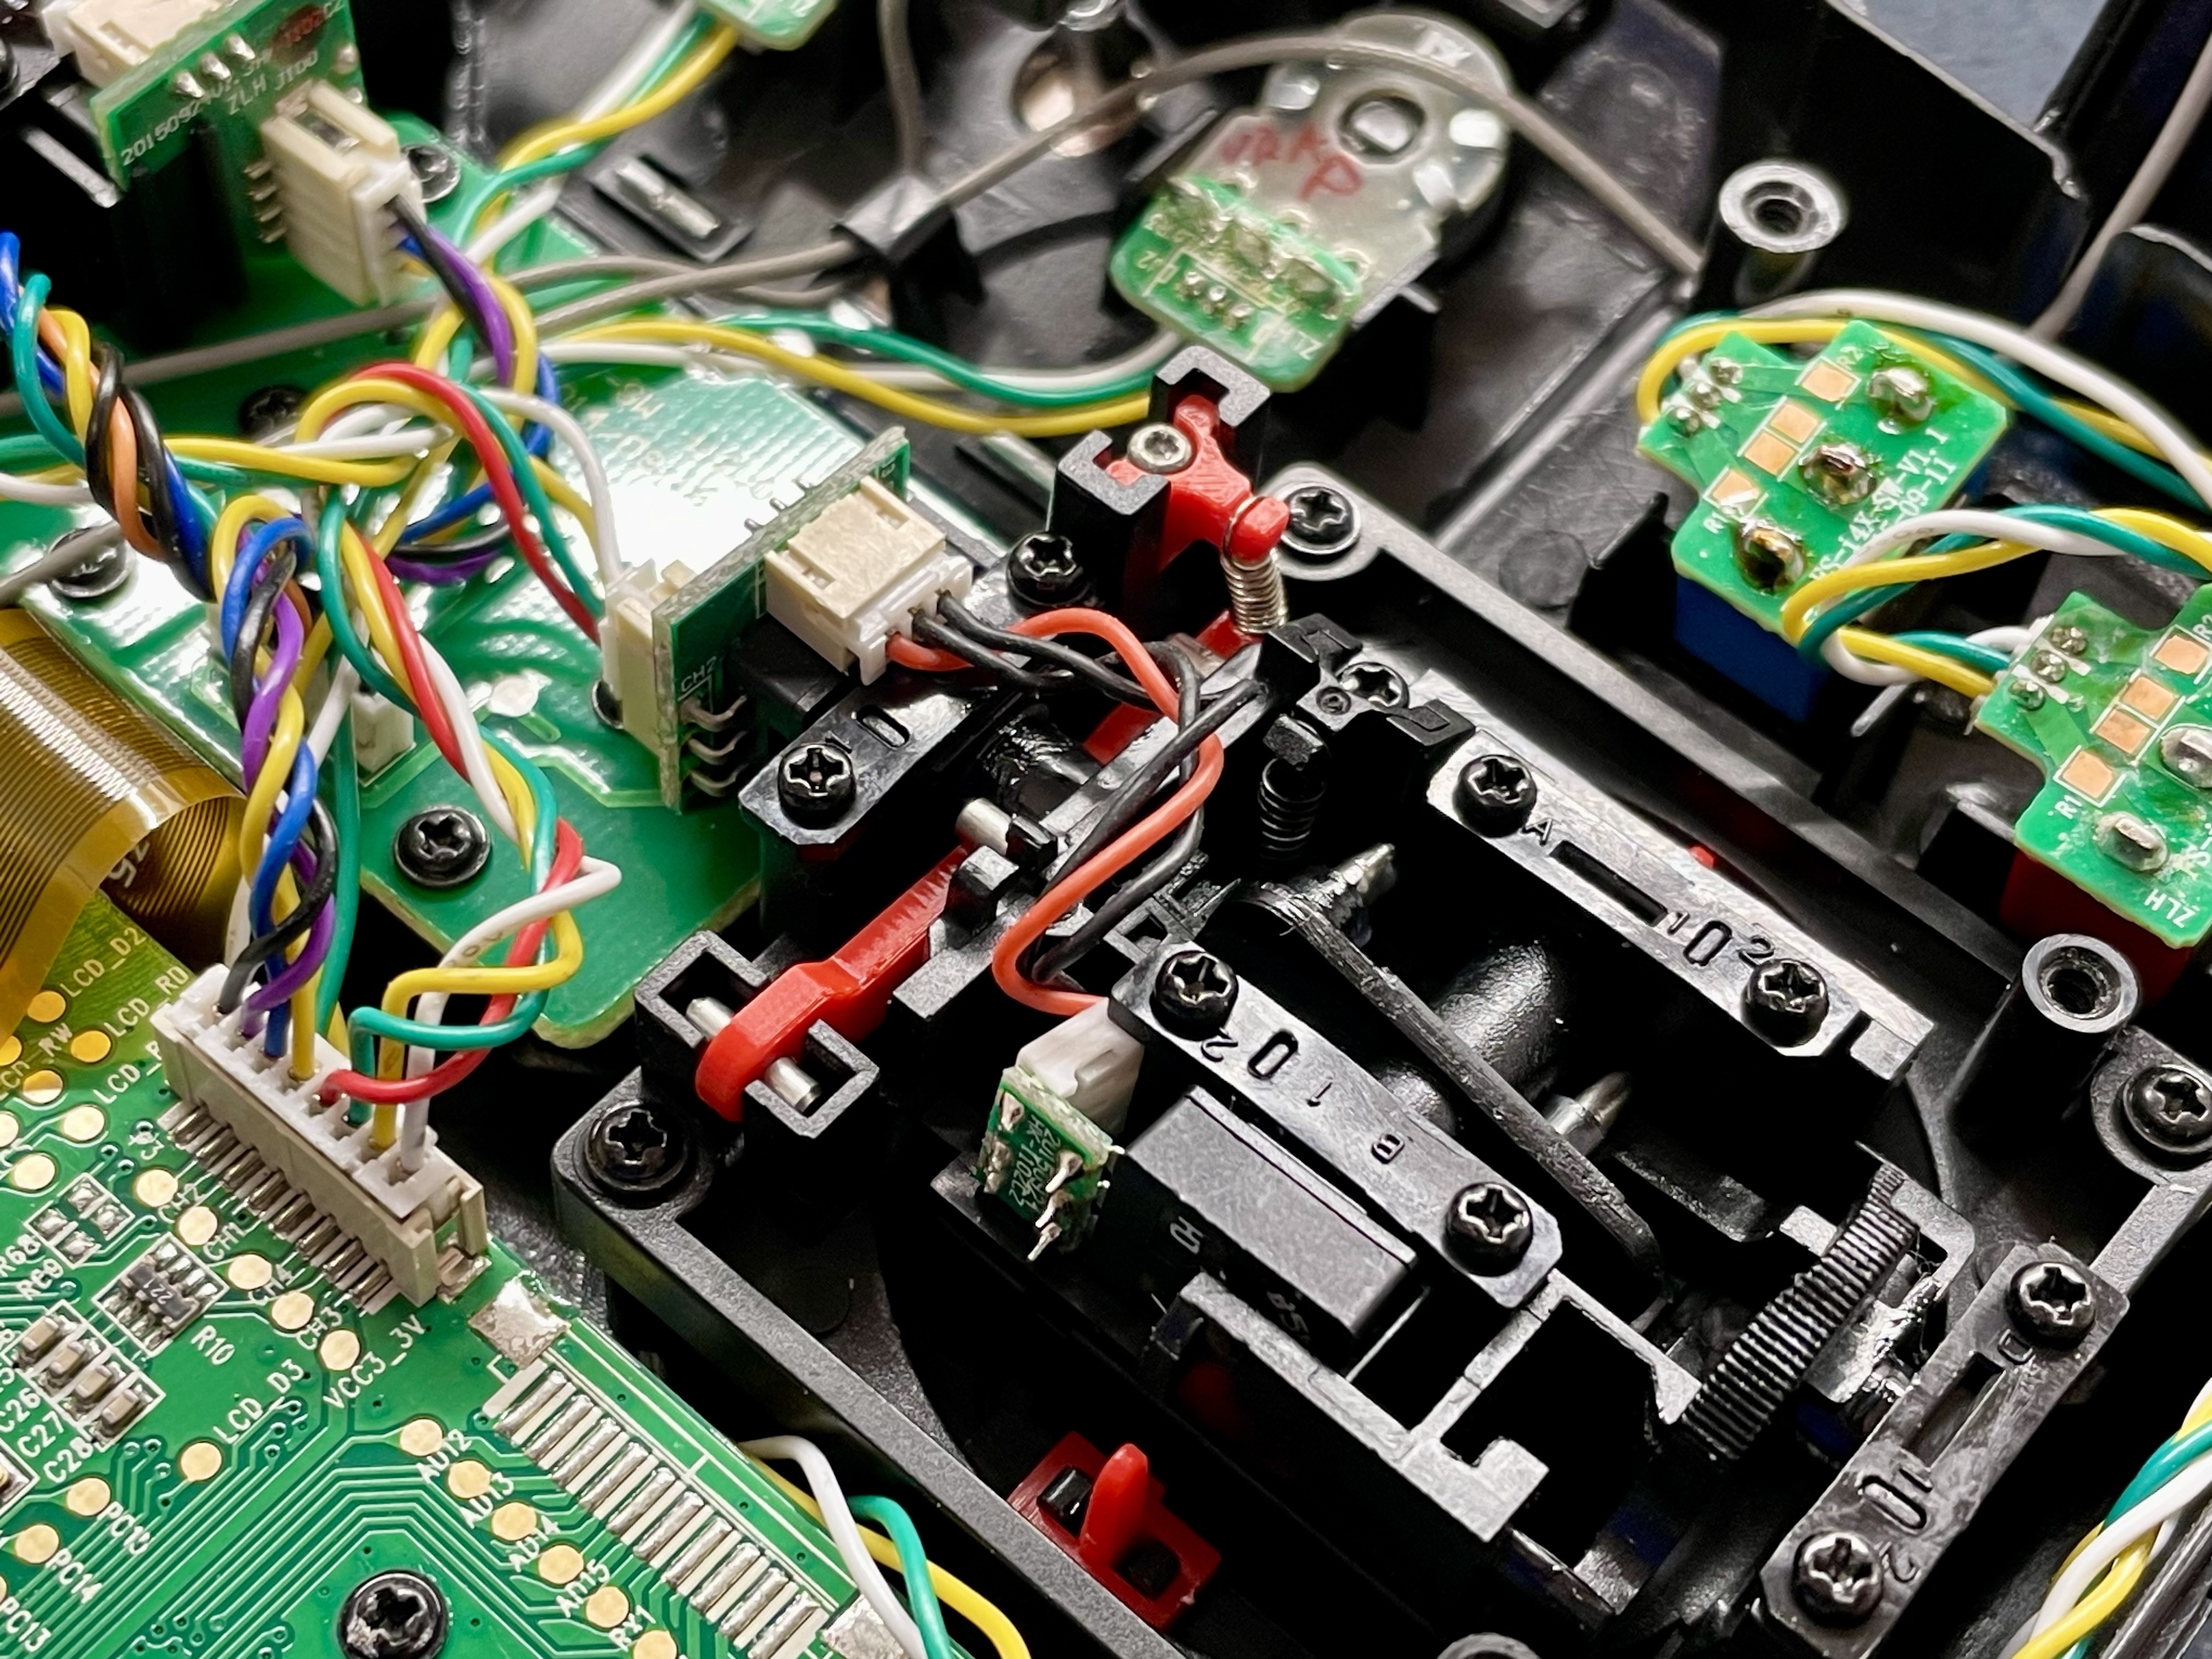
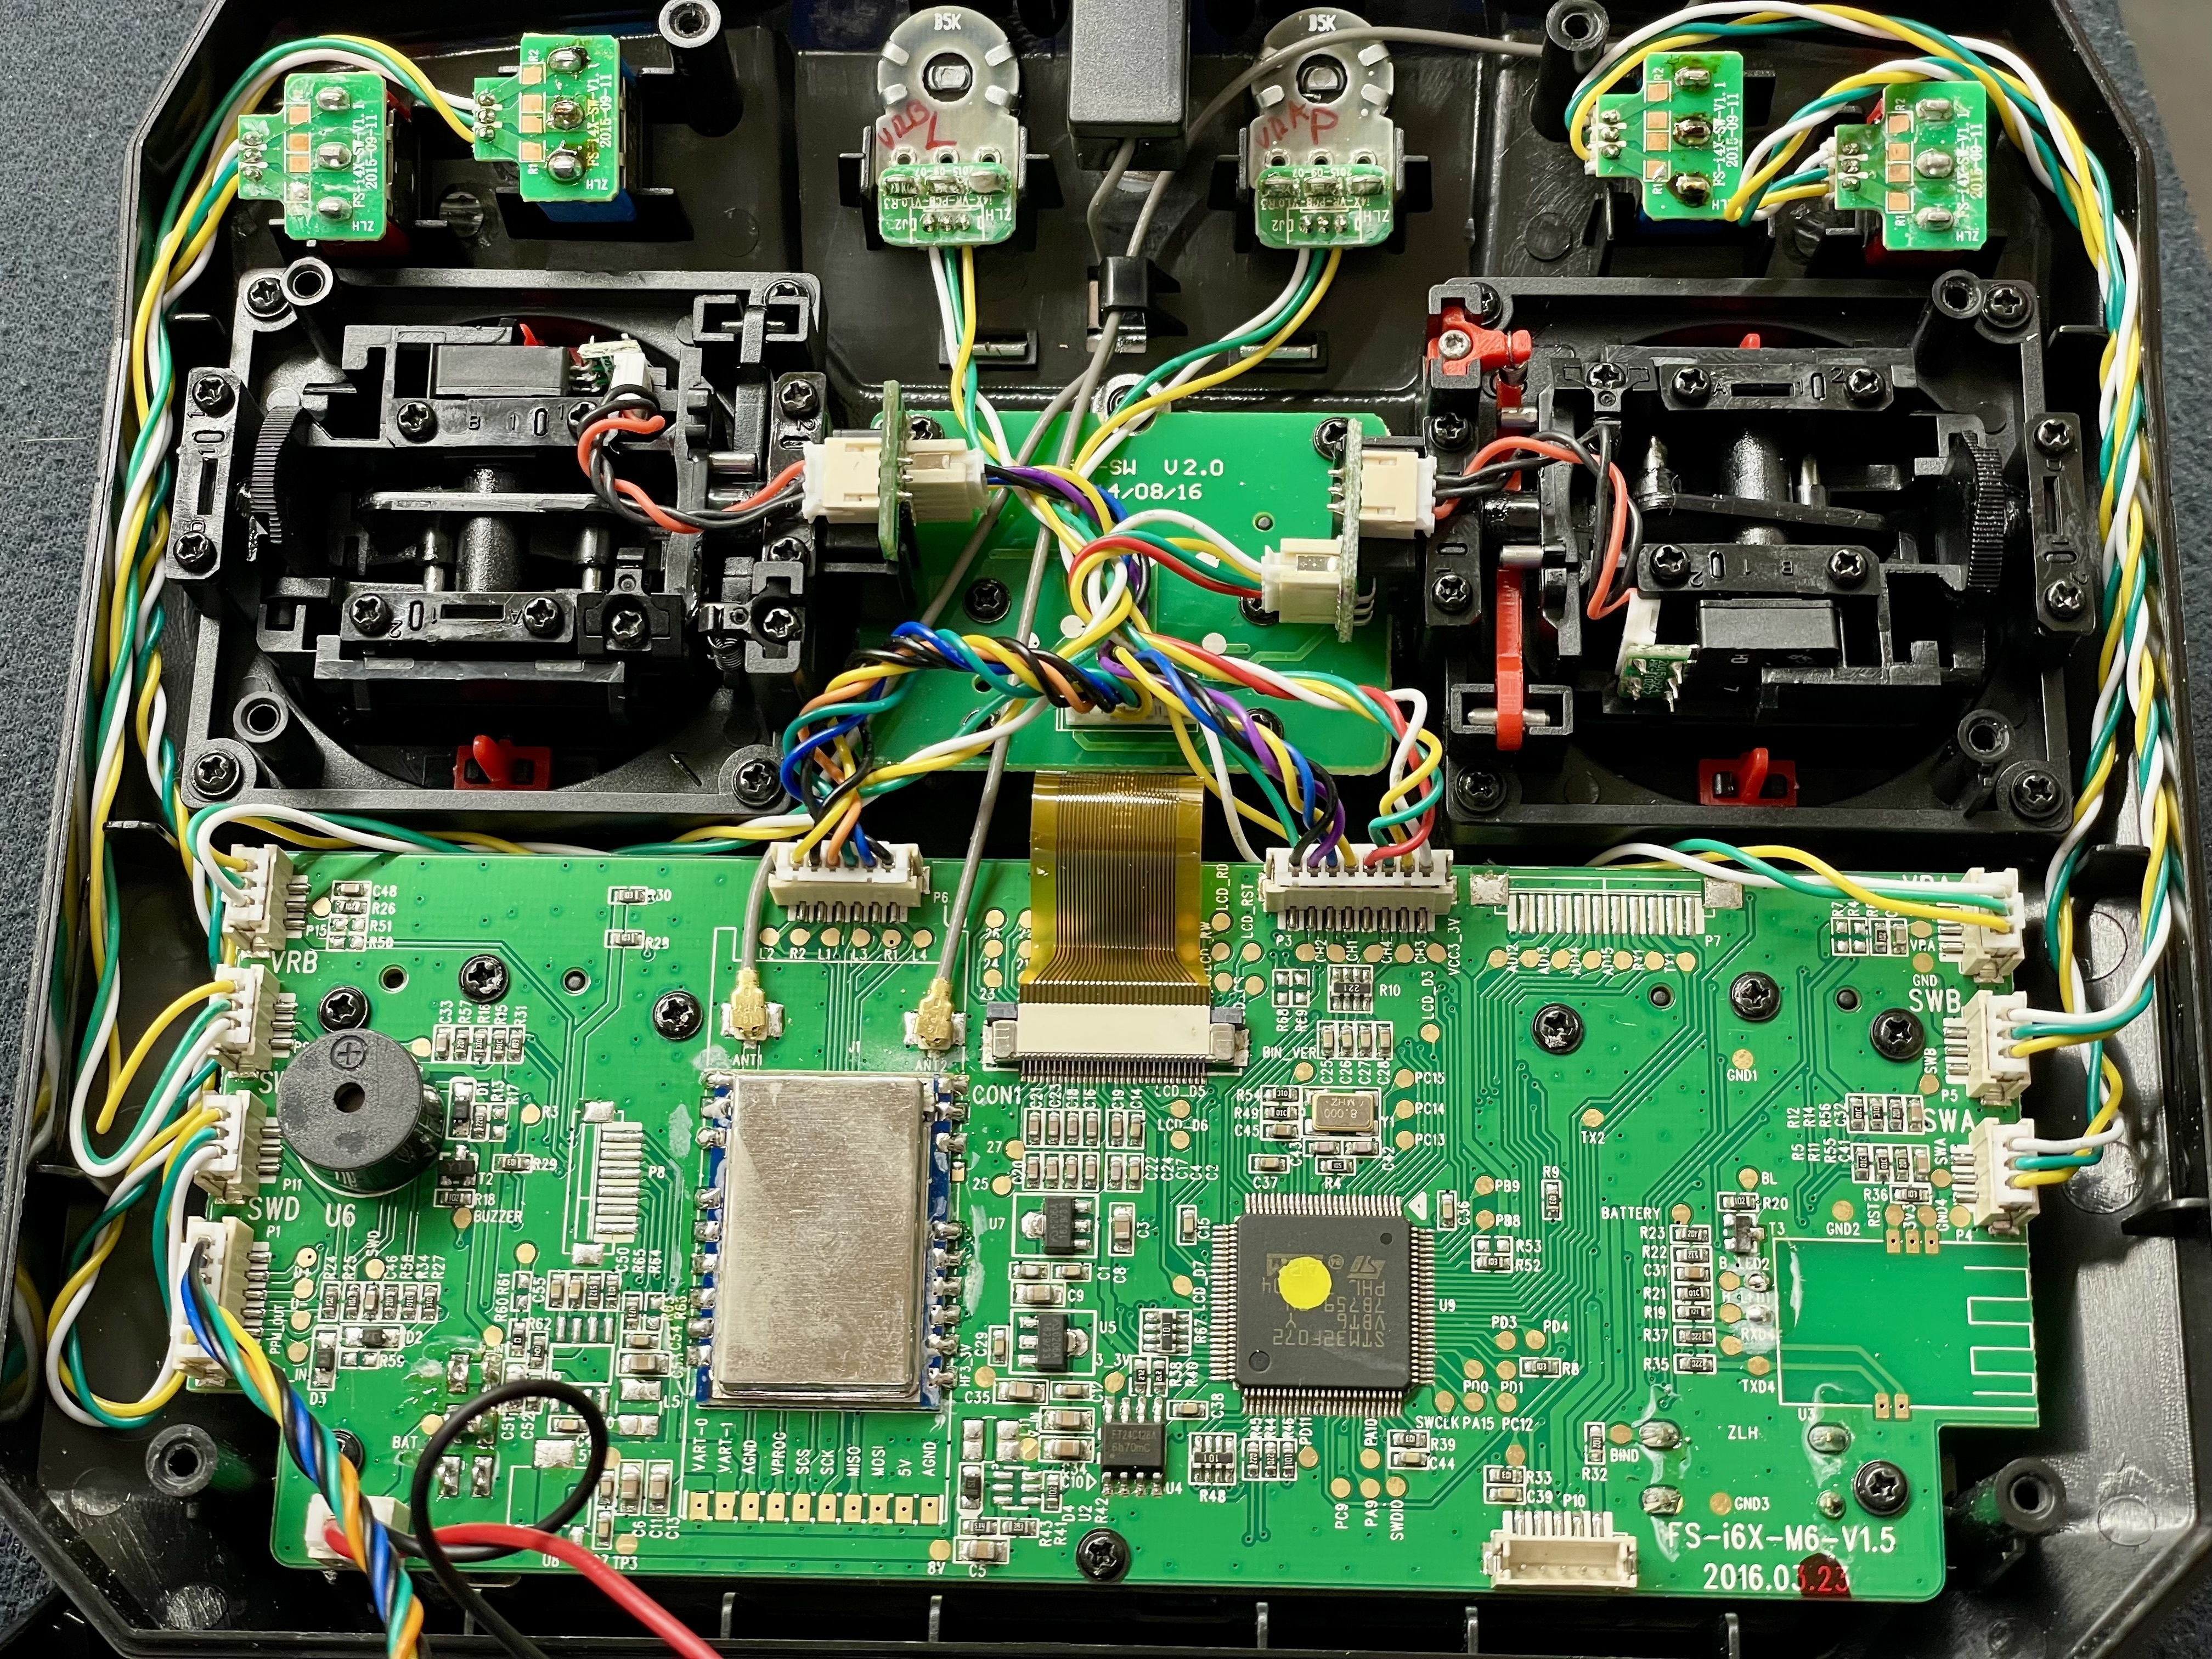
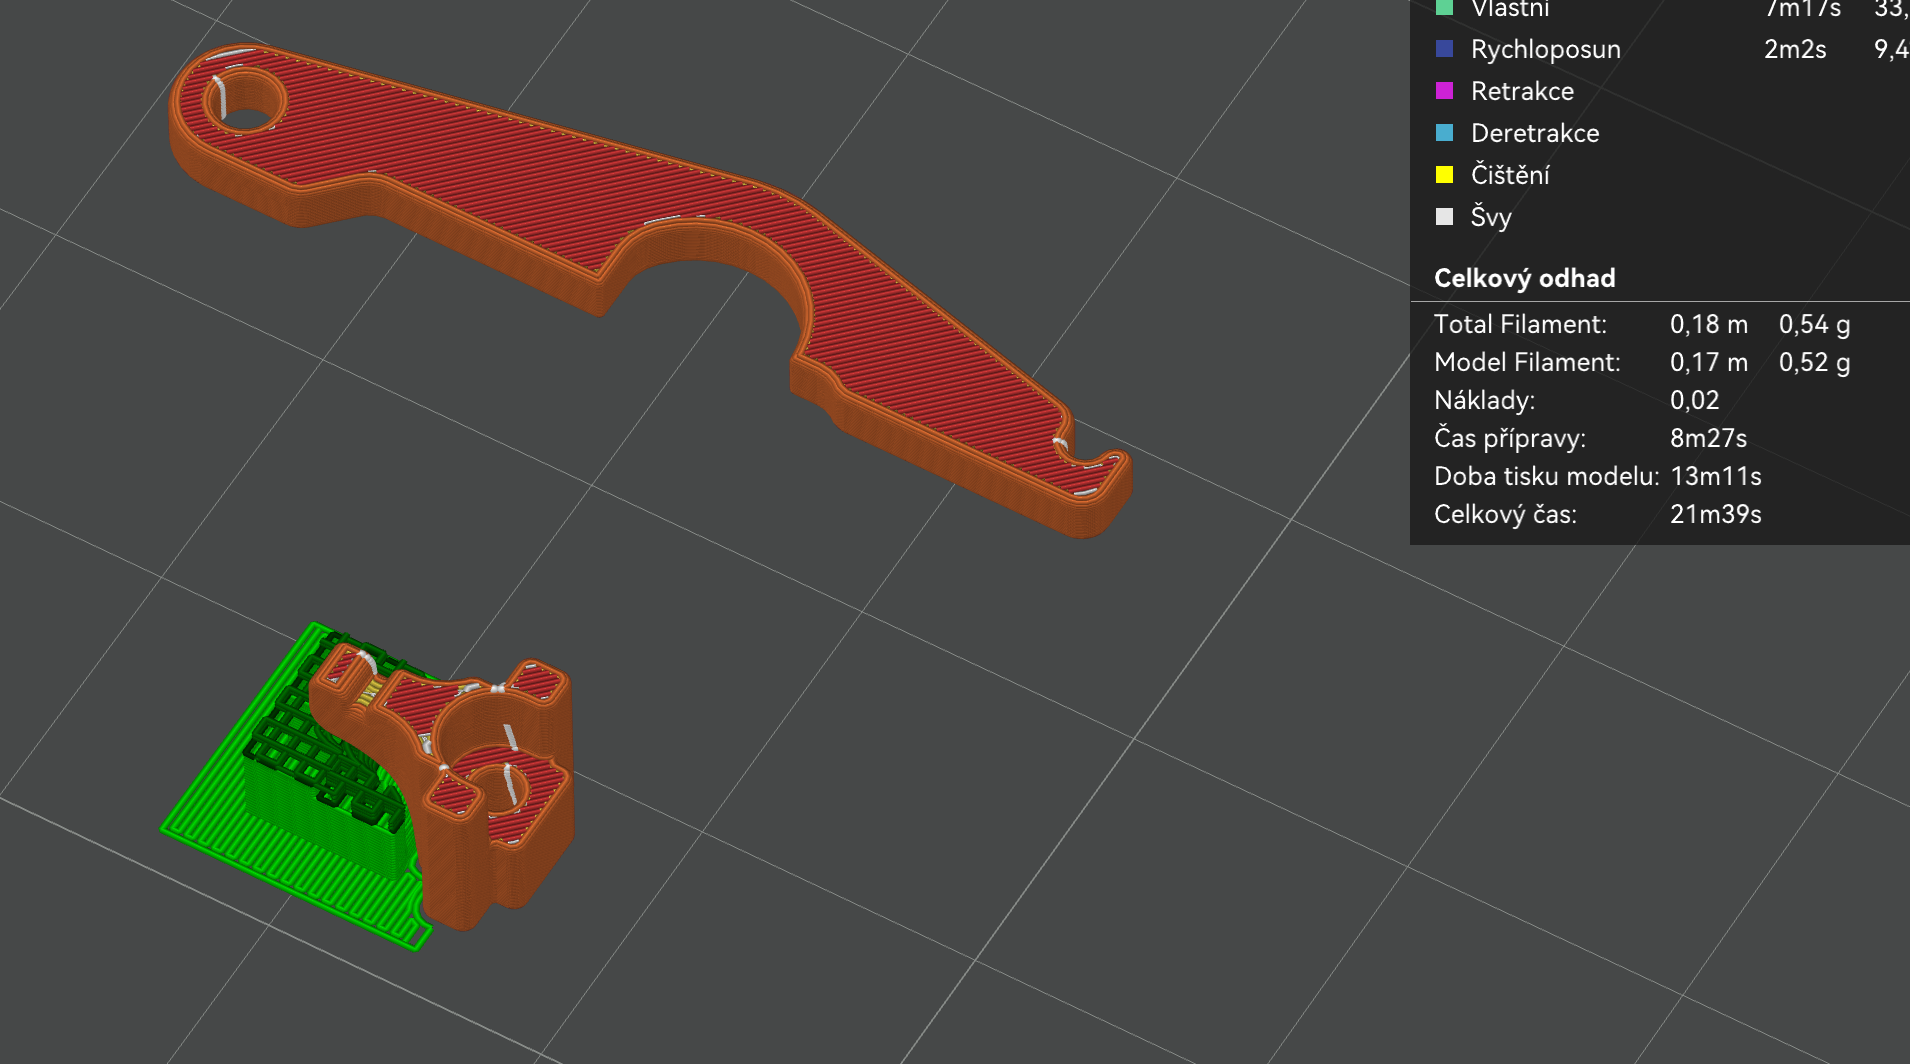
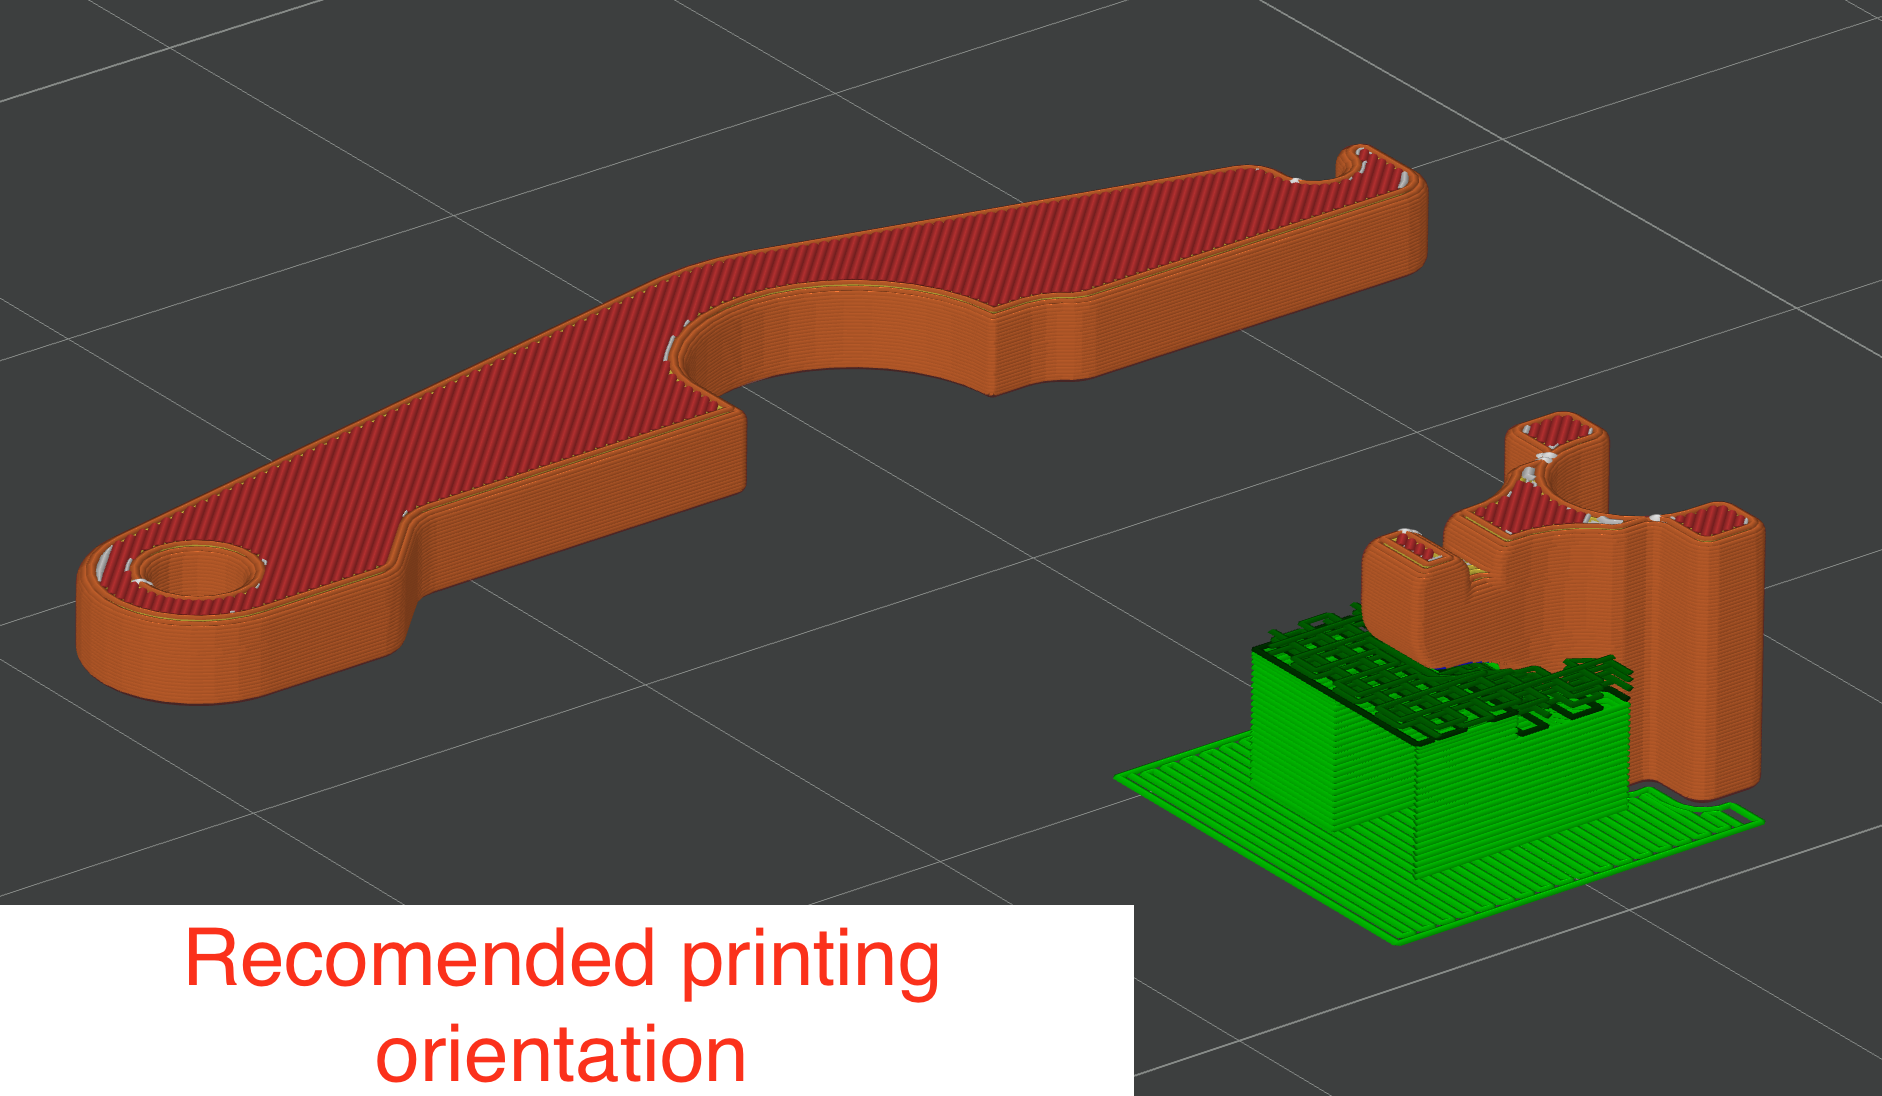
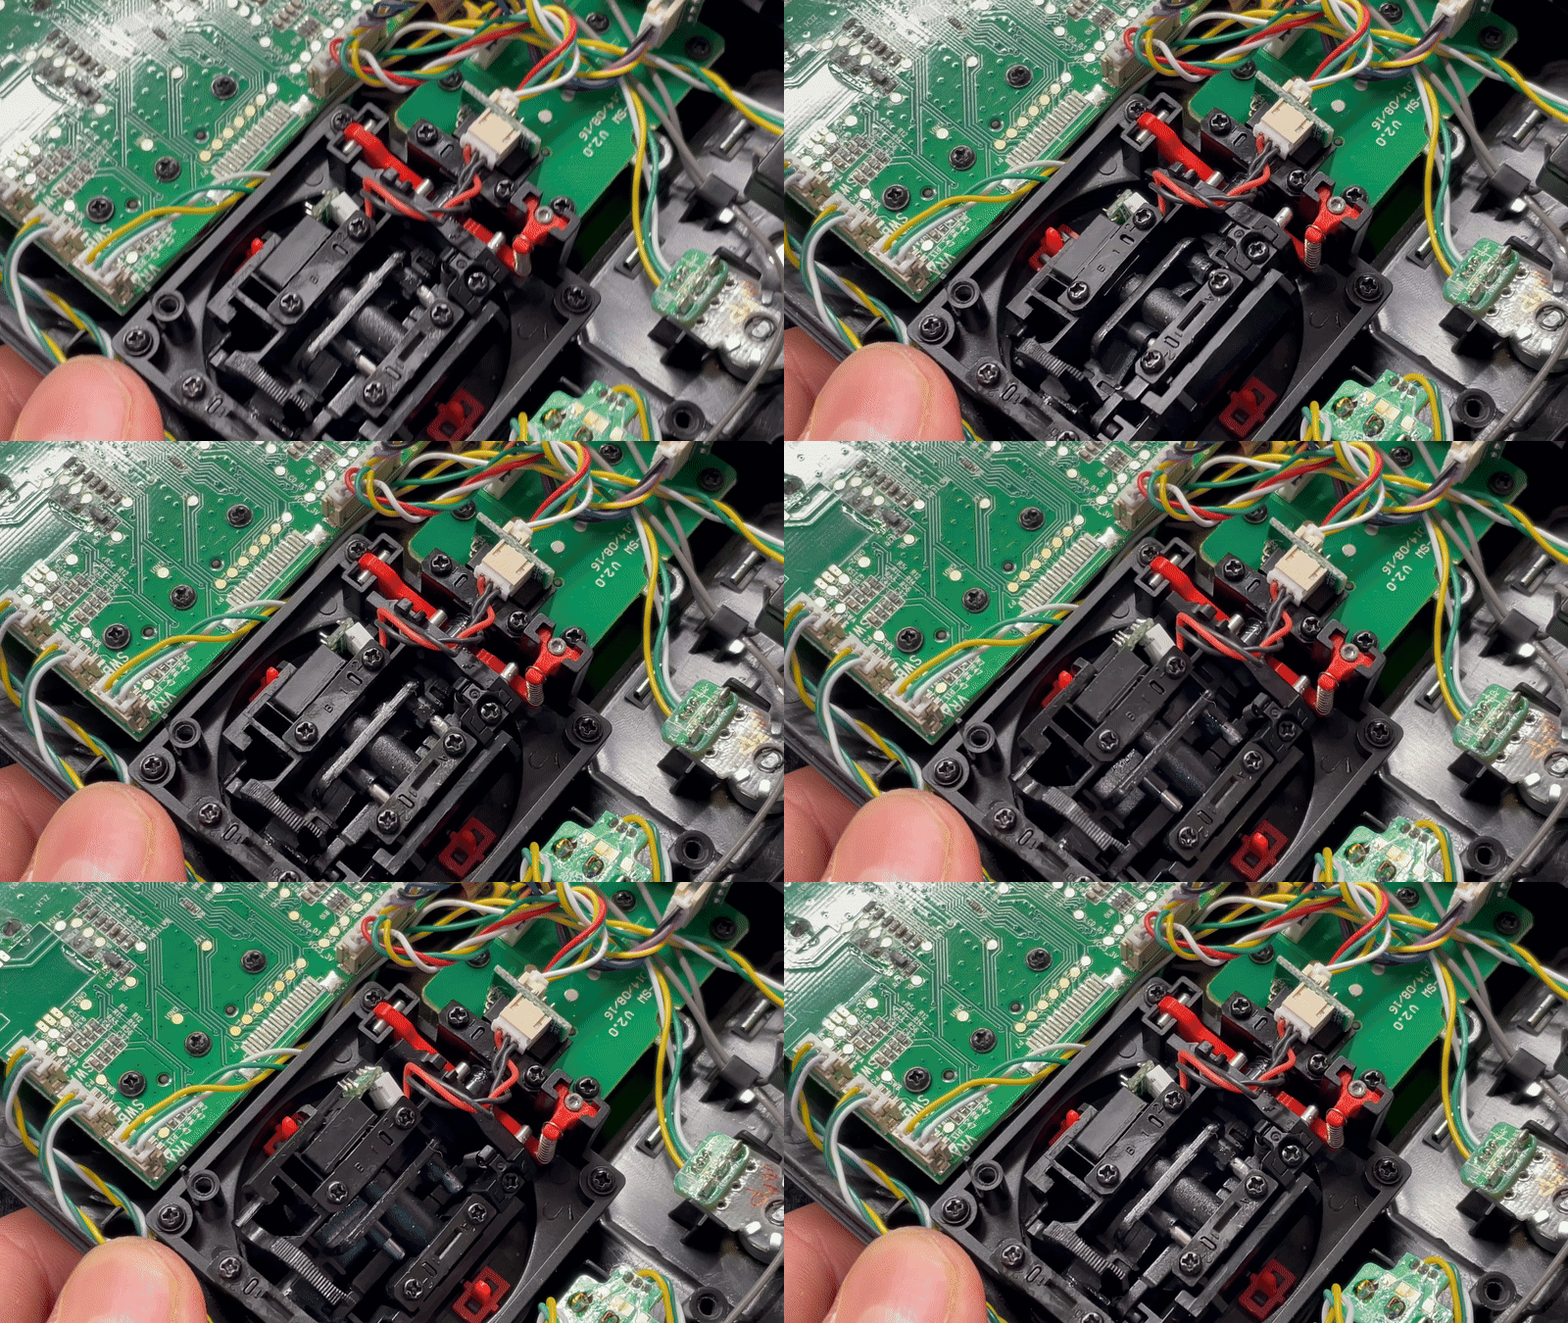
/https://preview3d-images.cults3d.com/47gfuvmbau2xzgxdb8oic53z5xwk)
/https://preview3d-images.cults3d.com/91iiriobnhqmxrwf05ca35vo1rww)
- 1,3k aufrufe
- 2 likes
- 7 herunterladen
- 1 sammlung
- 0 kommentare
- 0 makes
| Lizenz | |
|---|---|
| Verwendungszwecke | |
| 3D-Design-Format |
2 Dateien (STL) Schließen
|
| Datum der Veröffentlichung | |
| Entwurfsnummer | 3863270 |
| Autor des Designs | BOWL |
/https://fbi.cults3d.com/uploads/user/avatar/17235255/38059363_1890167651286591_8868995131370373120_n.jpg "BOWL")


:format(webp)/https://fbi.cults3d.com/uploaders/17235255/illustration-file/8a43226e-6fcd-4431-bb2f-b09d41c4c22e/2021-11-26_15h07_35.jpg)
:format(webp)/https://fbi.cults3d.com/uploaders/17235255/illustration-file/98fdb1e0-9ff2-42b7-a539-8ff54e547bcf/2021-11-27_17h09_07.jpg)
:format(webp)/https://fbi.cults3d.com/uploaders/17235255/illustration-file/e185900a-ce3f-421d-917c-b5870f311265/IMG_4857.jpeg)
:format(webp)/https://fbi.cults3d.com/uploaders/17235255/illustration-file/72b511b0-63c5-493d-9cc6-6d708e982c33/IMG_4855.jpeg)

Möchtest du Cults unterstützen?
Gefällt dir Cults und möchtest du uns dabei helfen,das Abenteuer in völliger Unabhängigkeit fortzusetzen? Beachte, dass wir ein kleines Team von 4 Personen sind und dass es daher sehr einfach ist, uns dabei zu unterstützen, weiterhin im Geschäft zu bleiben und zukünftige Entwicklungen zu schaffen. Hier sind 3 Lösungen, die allen zugänglich sind:
- WERBUNG: Deaktiviere deinen Werbeblocker.
- SPENDE: Wenn du möchtest, hast du die Möglichkeit, uns hier über Ko-FI eine Spende zukommen zu lassen Spenden
- MUNDPROPAGANDA: Lade deine Freunde dazu ein, die Website und die großartigen 3D-Dateien kennenzulernen, die von der Community geteilt werden!
Das Teilen und Hochladen auf Cults3D garantiert, dass die Designs in den Händen der Maker-Gemeinschaft bleiben! Und nicht in den Händen der Riesen der 3D-Druck- oder Softwarebranche, die die Konkurrenzplattformen besitzen und die Designs für ihre eigenen kommerziellen Interessen ausnutzen.
Cults3D ist eine unabhängige, selbstfinanzierte Website, die keinem Investor oder keiner Marke verpflichtet ist. Fast alle Einnahmen der Website gehen an die Maker der Plattform. Die auf der Seite veröffentlichten Inhalte dienen nur den Interessen ihrer Autoren und nicht denen von 3D-Druckermarken, die auch den Markt für 3D-Modellierung kontrollieren möchten.