Описание 3D-модели
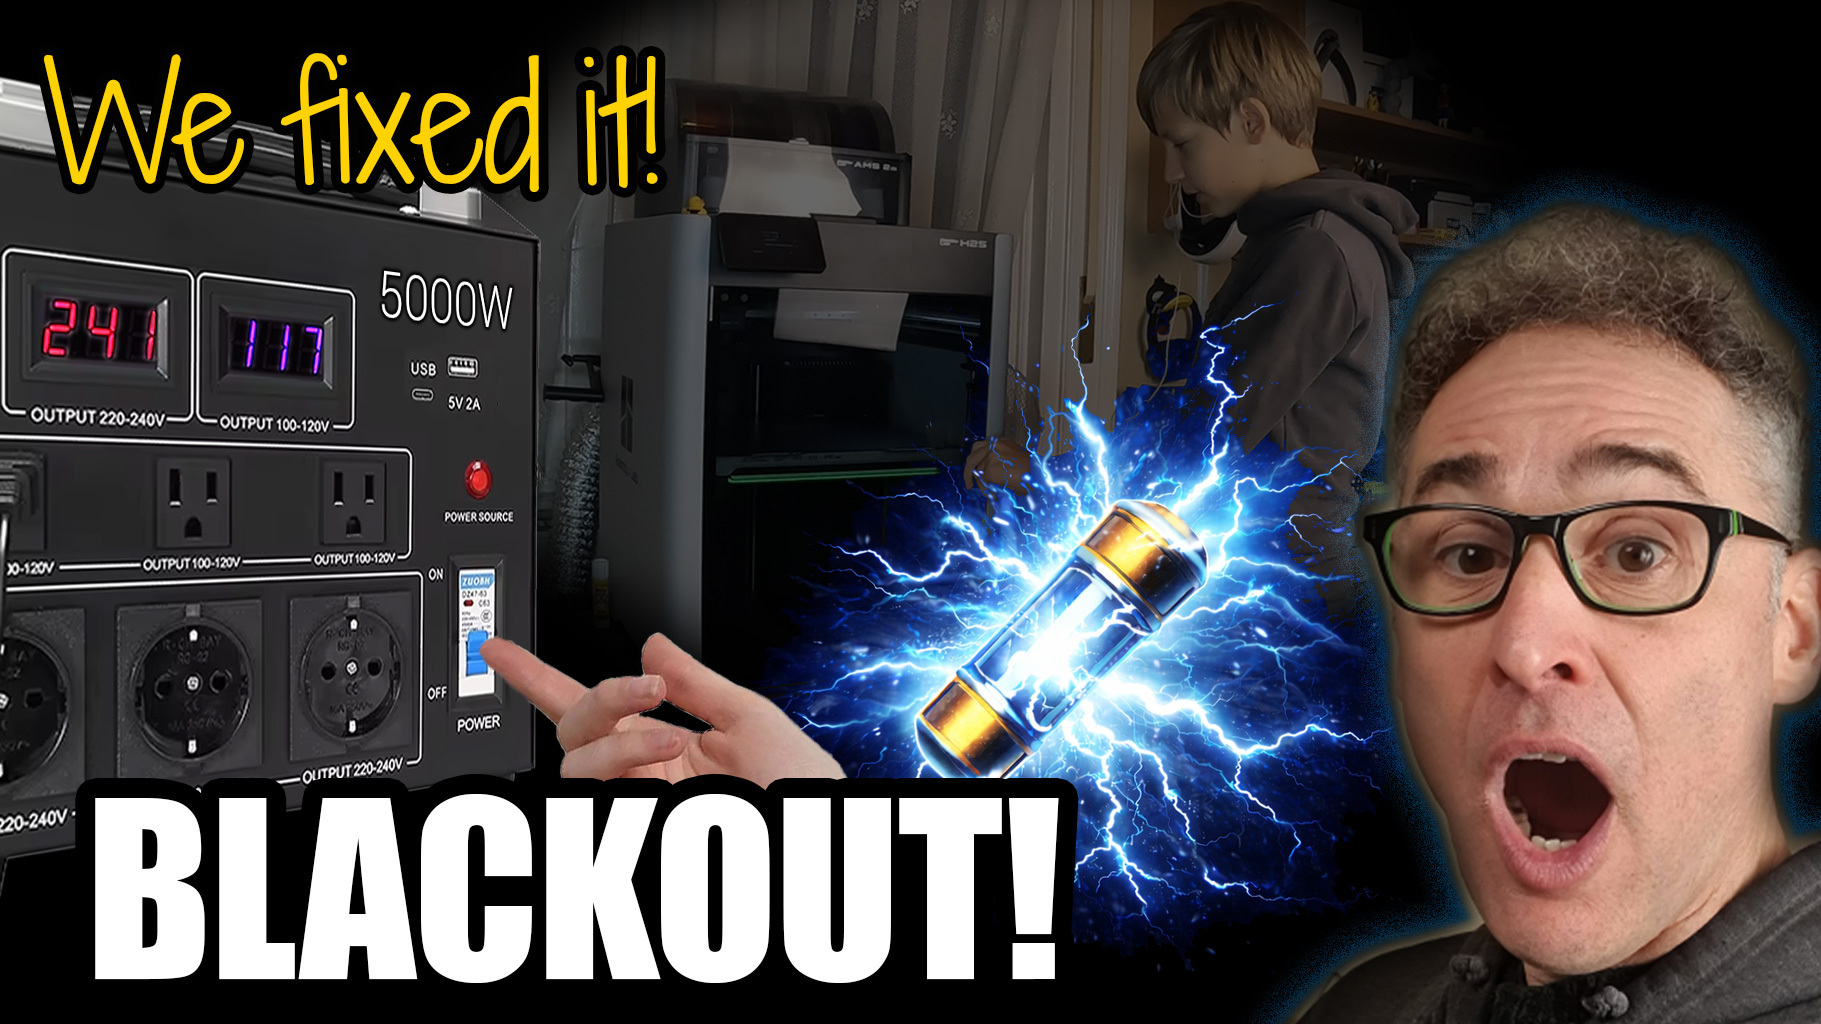
If you are using a massive step-down transformer (like a 3000W or 5000W VEVOR) to run imported 110V tools or 3D printers on a 220V grid, you are likely suffering from magnetizing inrush current. When you flip the switch, the transformer pulls a colossal, instantaneous spike of power that kills your lights.
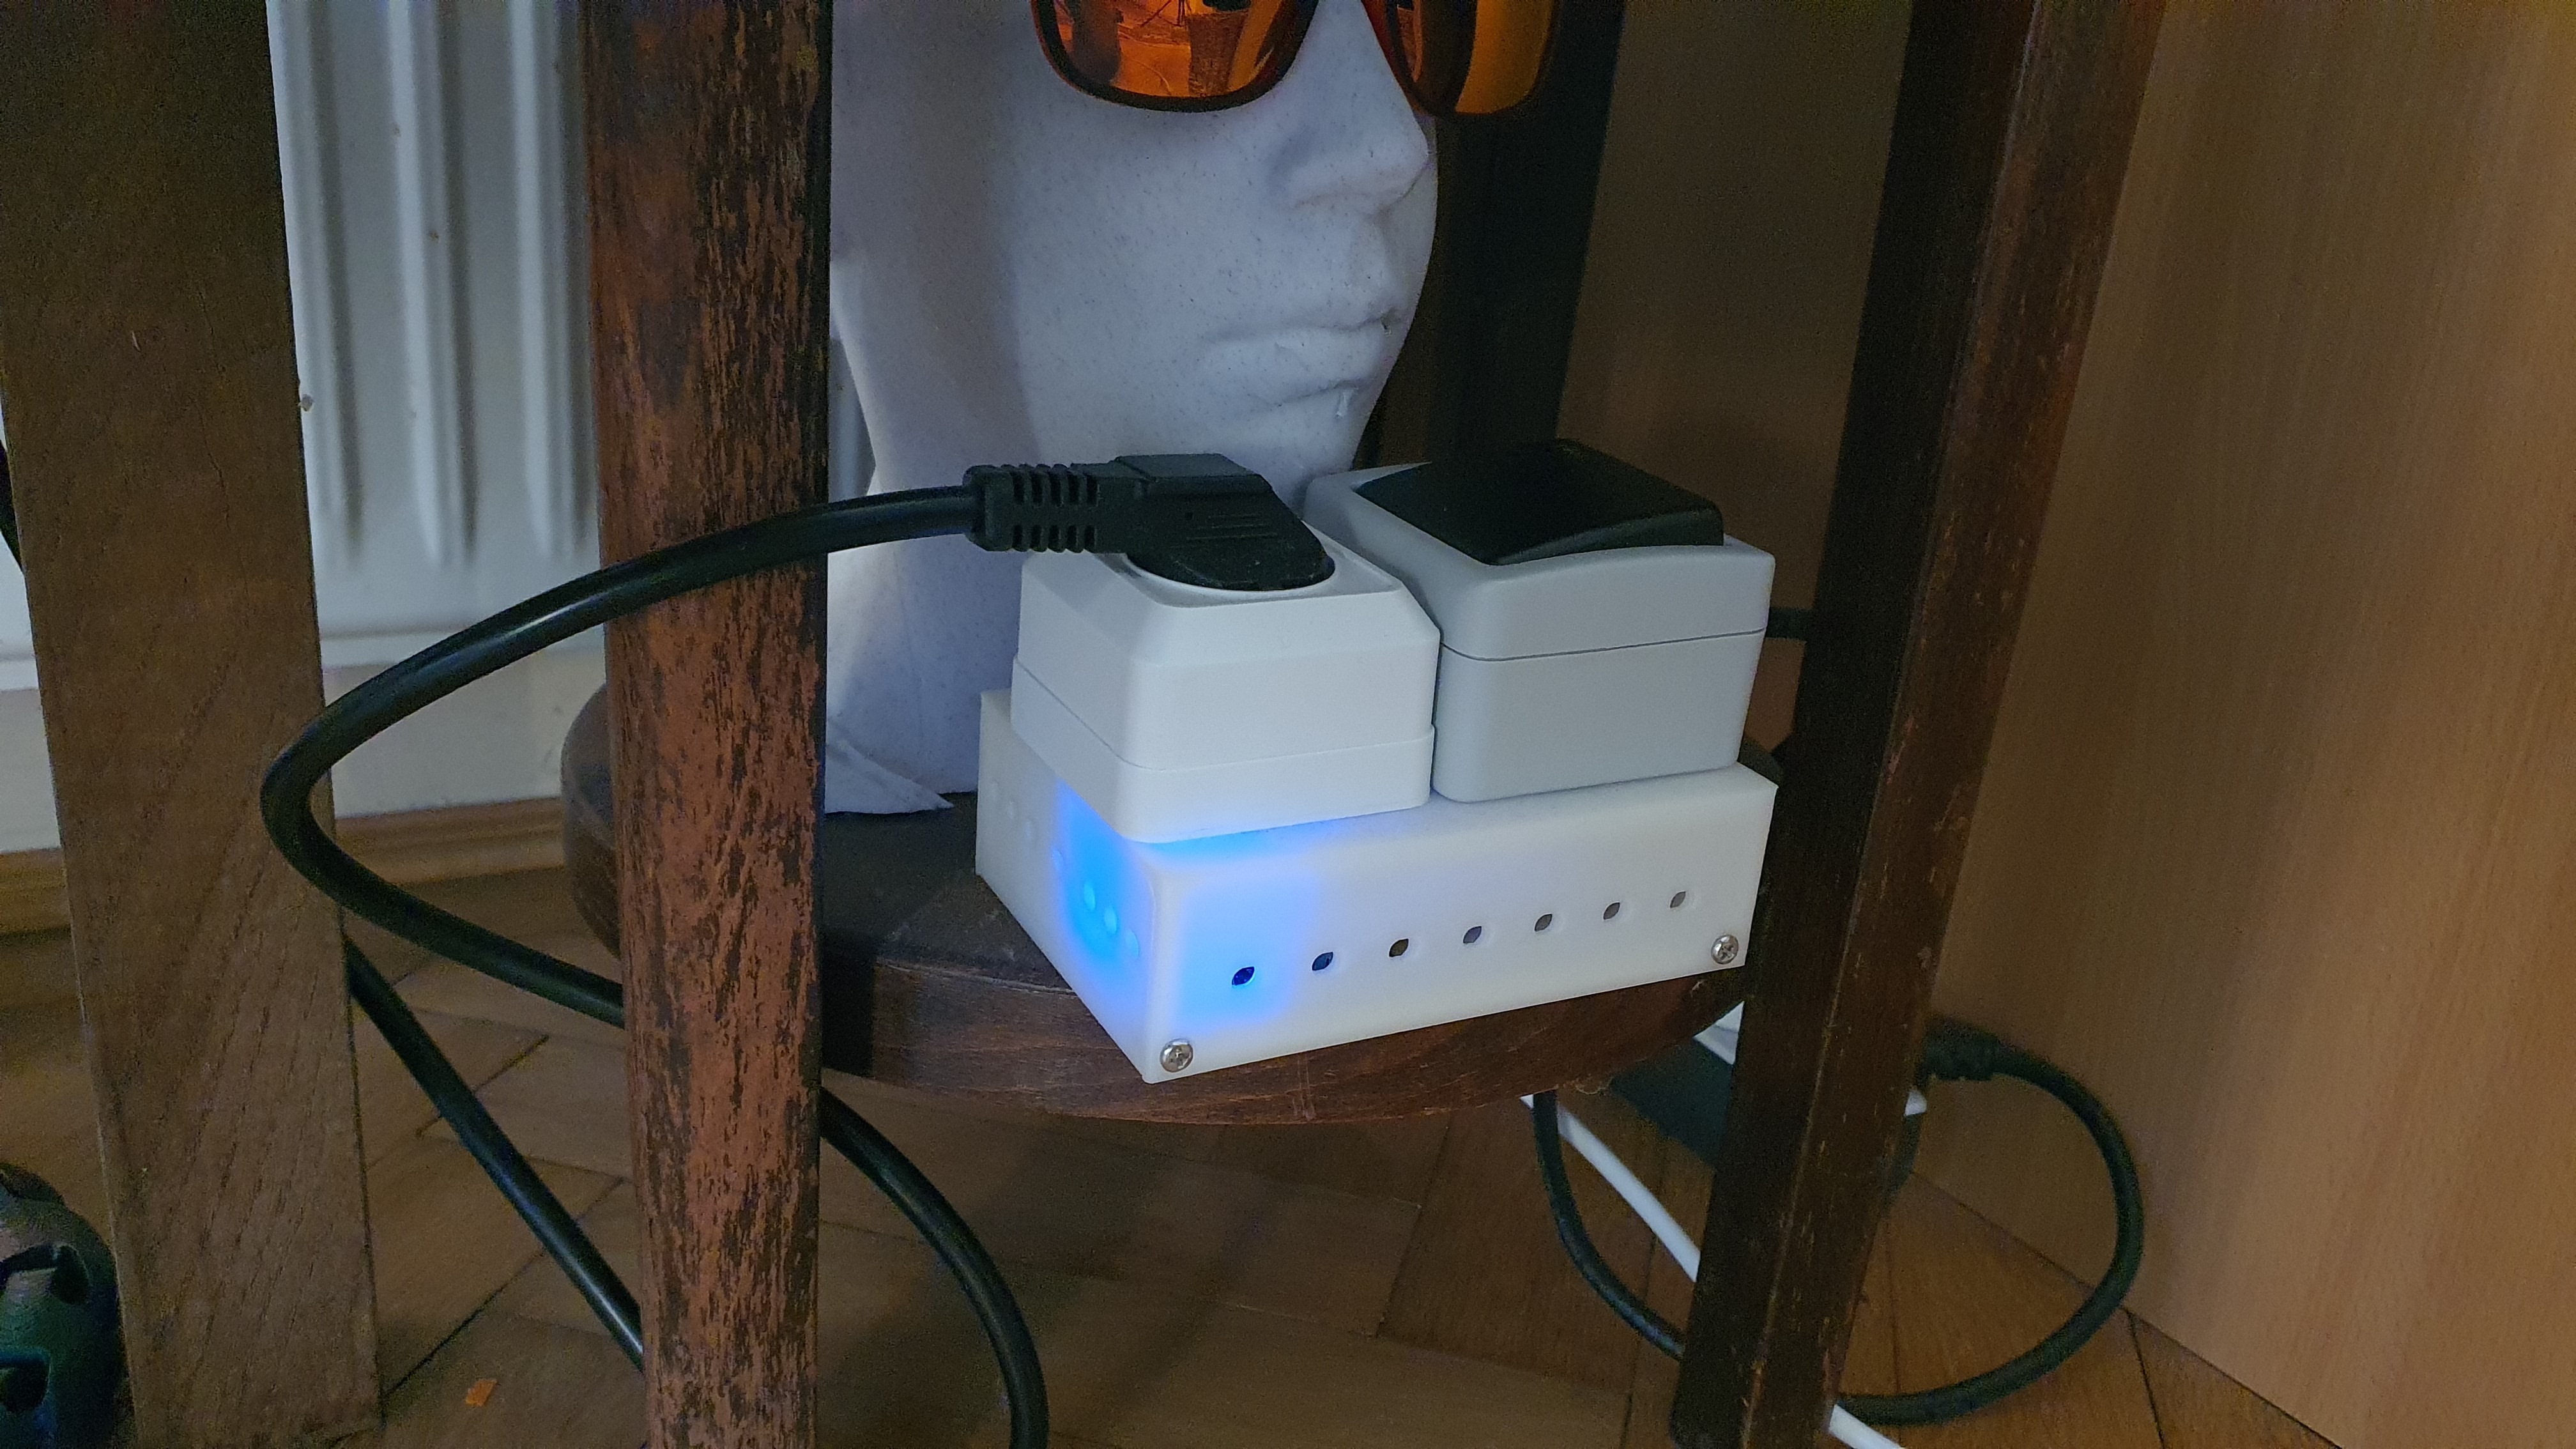
This custom-designed enclosure houses an off-the-shelf High-Power Soft Start Module to buffer that initial electrical punch, solving the blackout problem permanently! I designed this specifically to safely run an imported American Bambu Lab H2S printer in Europe.
Features of this Enclosure:
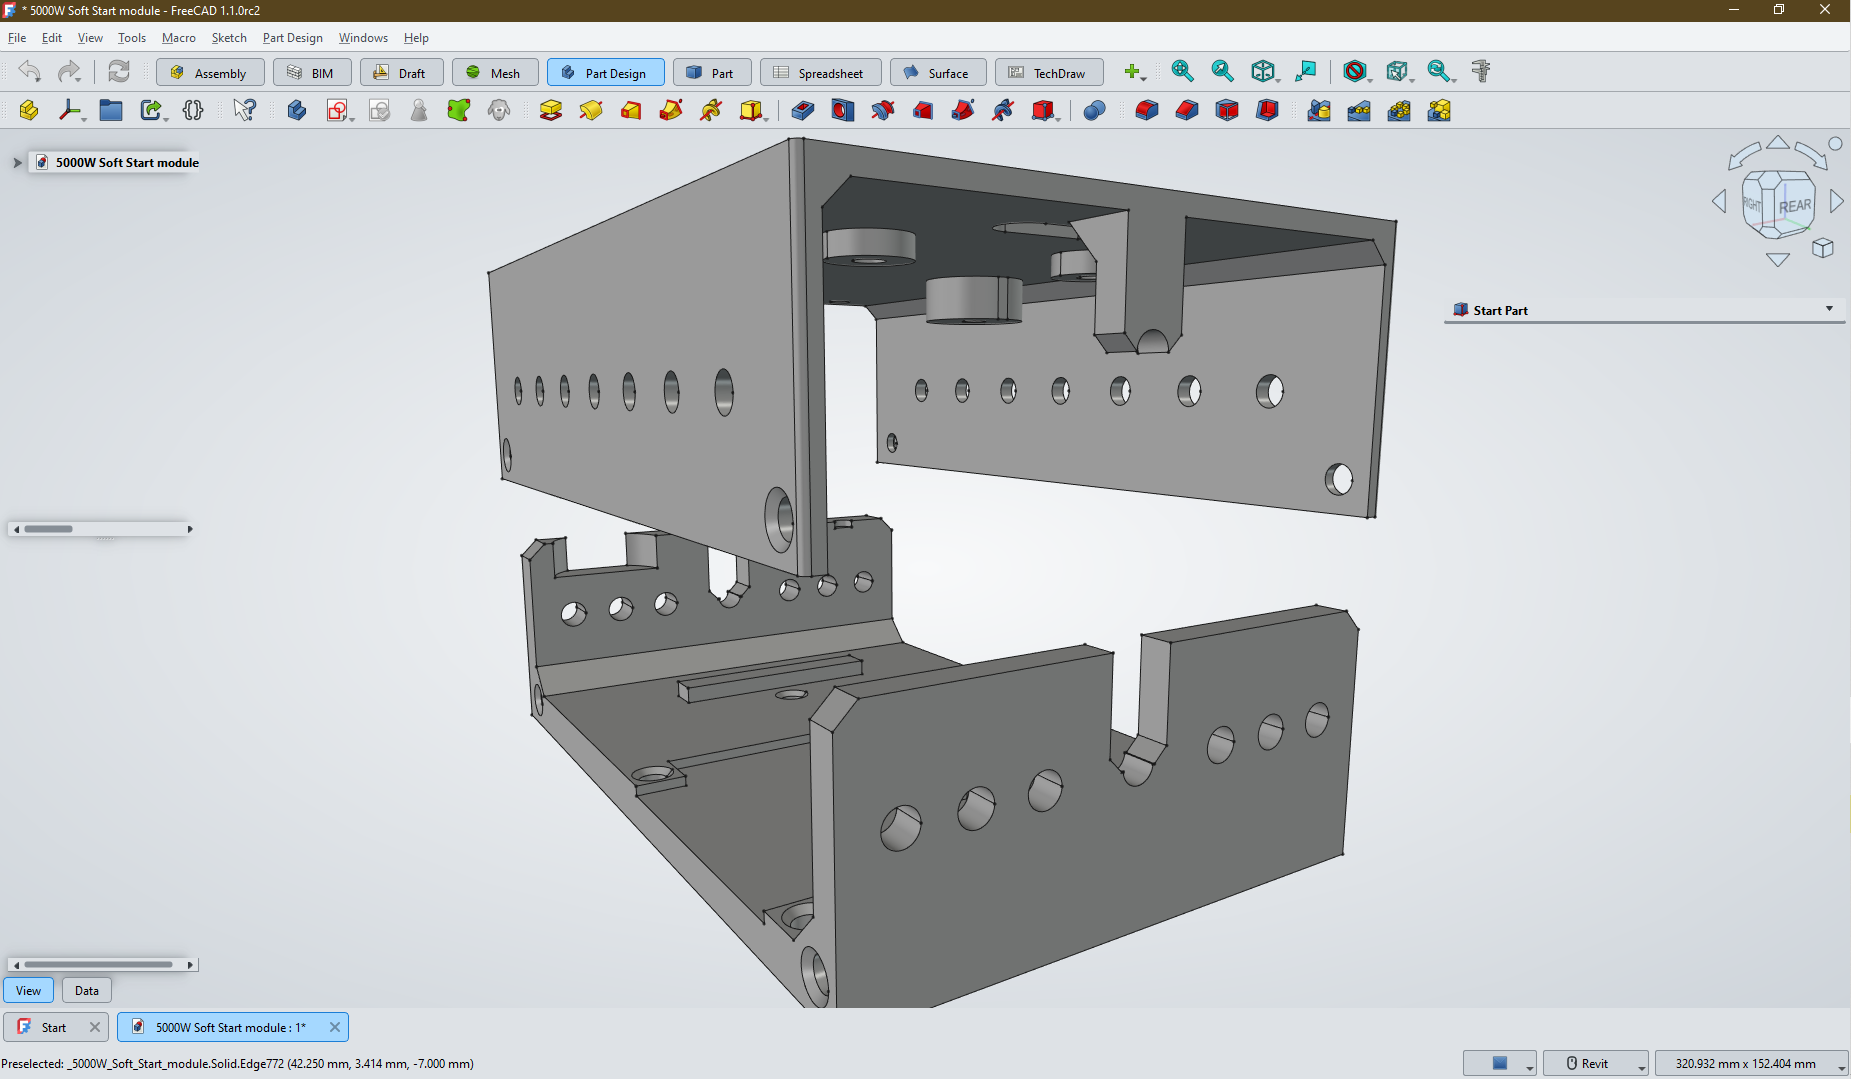
- *Secure PCB Mounting: Internal standoffs designed to perfectly fit standard high-power soft-start boards from AliExpress.
- Clean Interface: mounting points for a standard panel-mount 220V socket and a heavy-duty master rocker switch.
Dual Fuse Protection: Dedicated mounting holes for two panel-mount glass fuse holders. (Crucial for European non-polarized plugs to ensure both Live and Neutral lines are protected!).
- Thermal Ventilation: Side slots to allow the board's thermistors to breathe and dissipate the heat from the startup power surge.
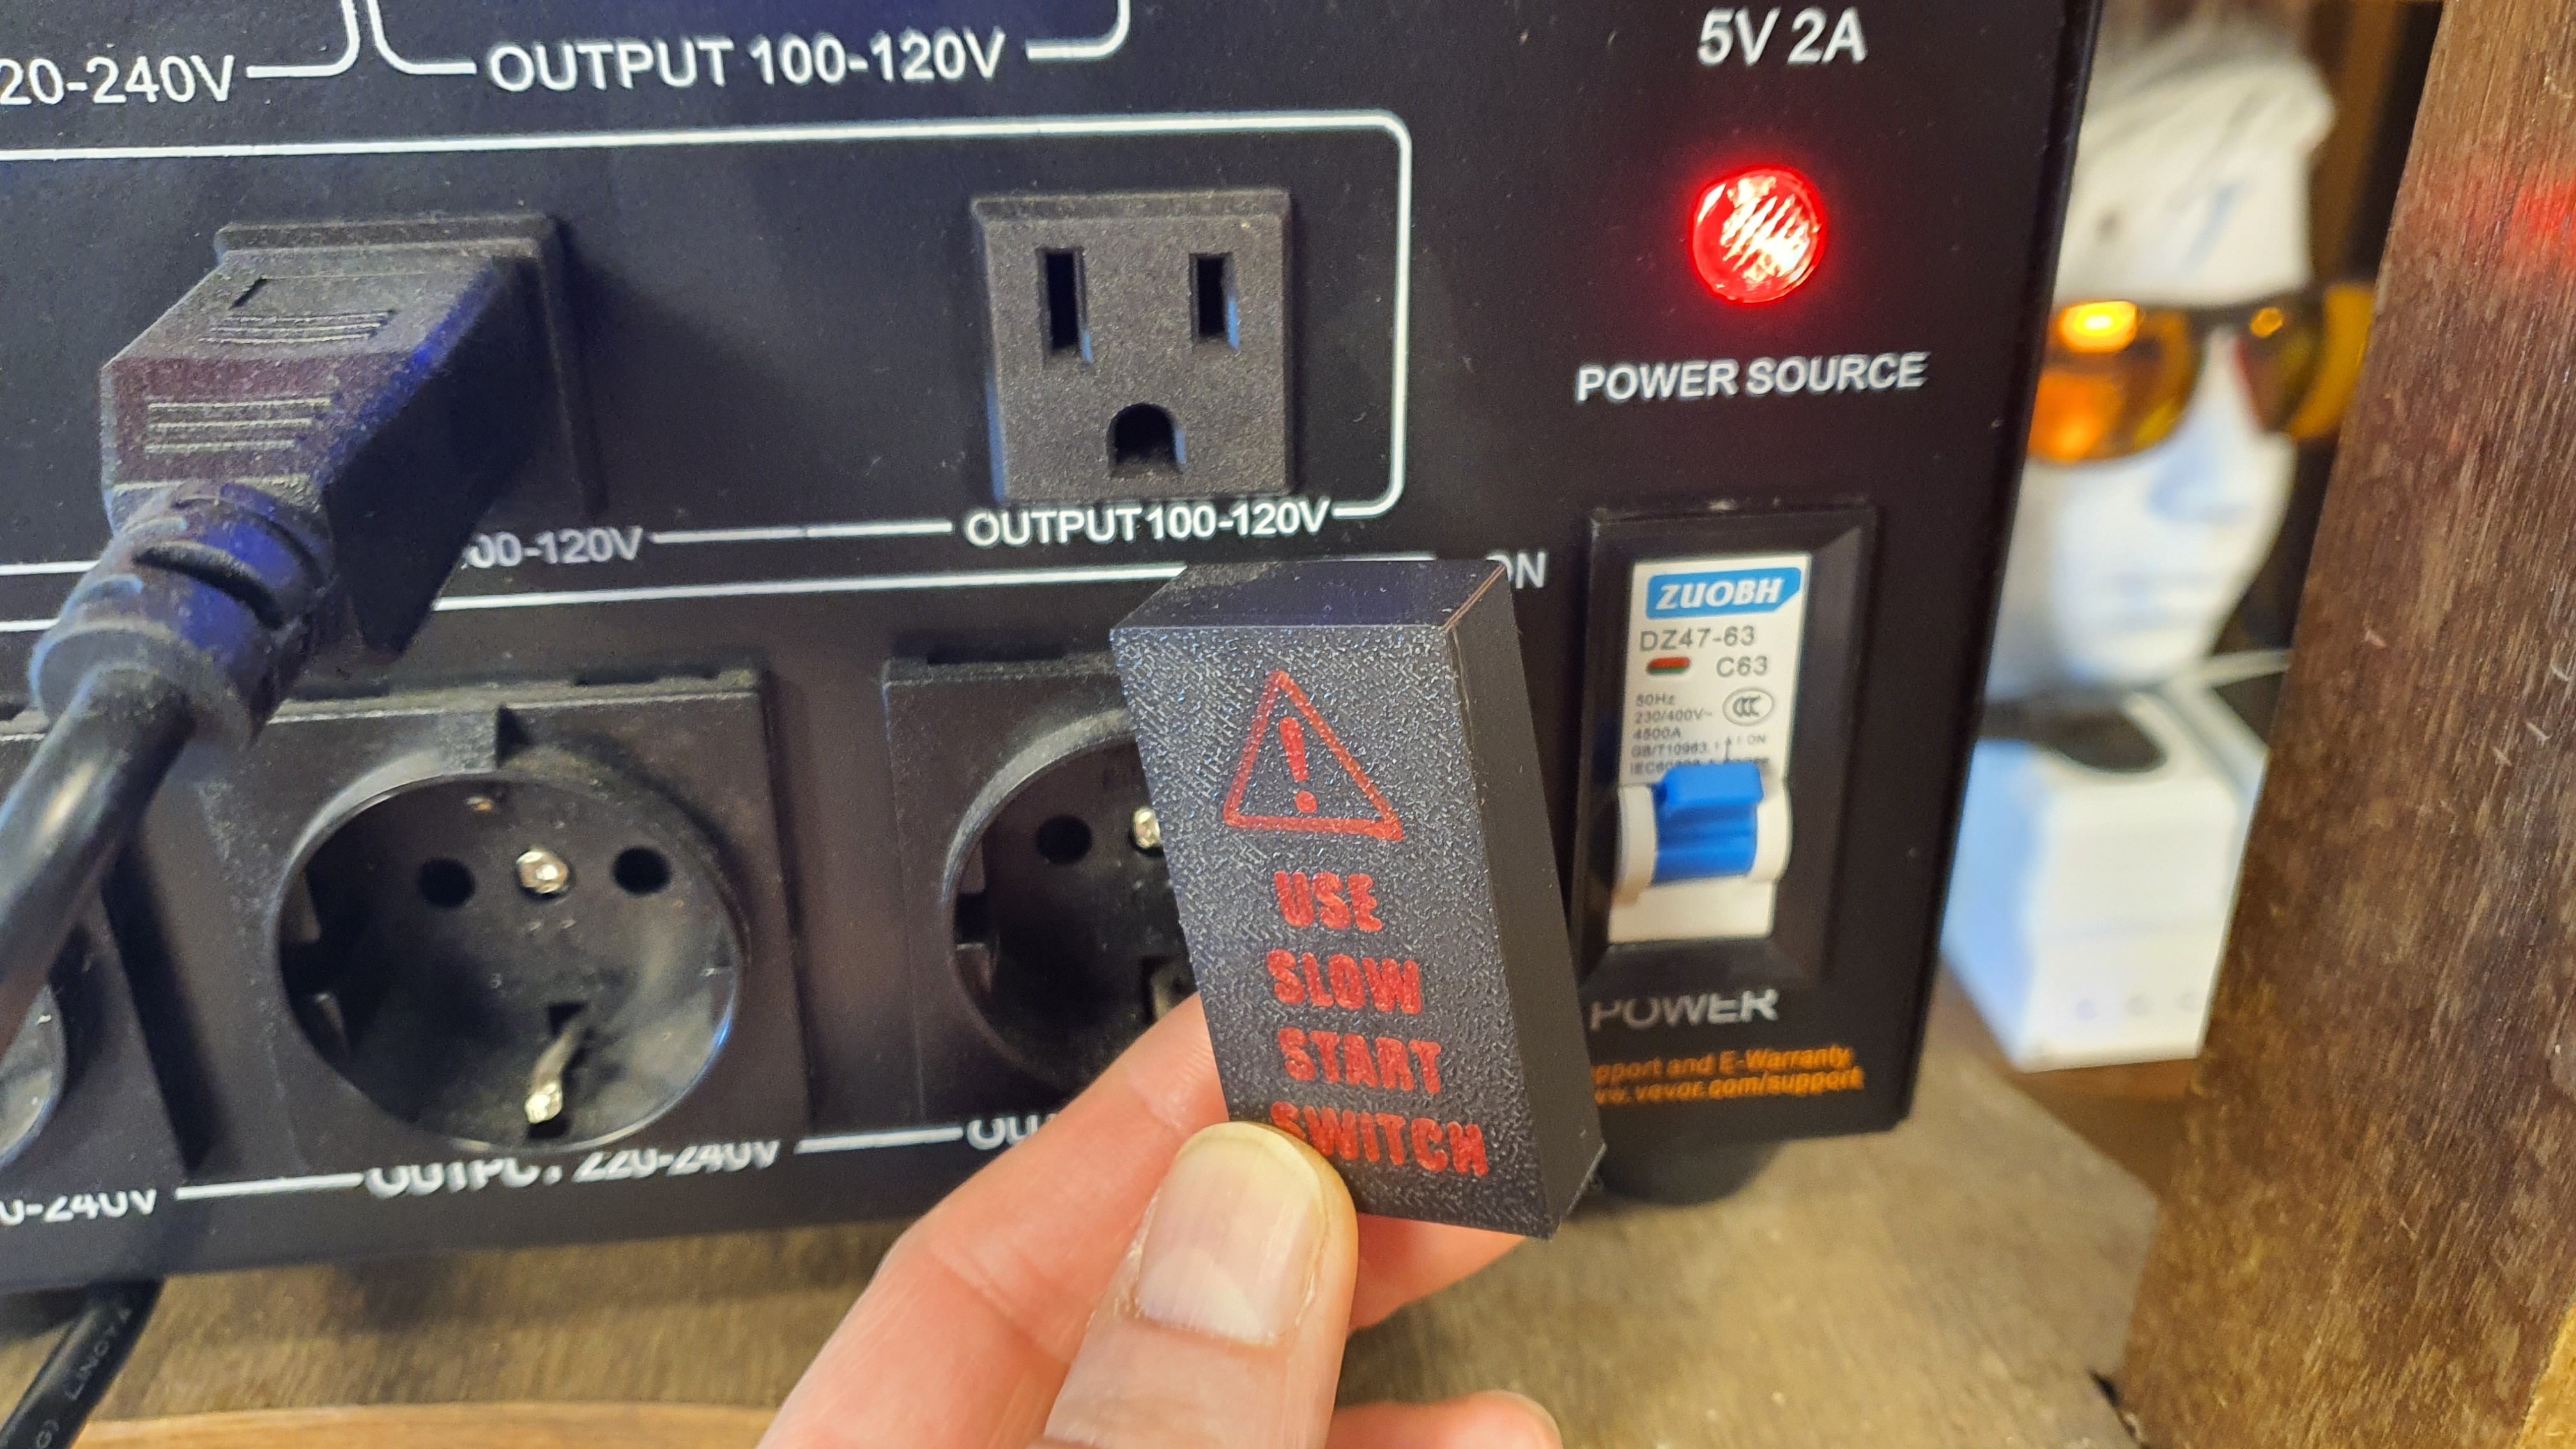
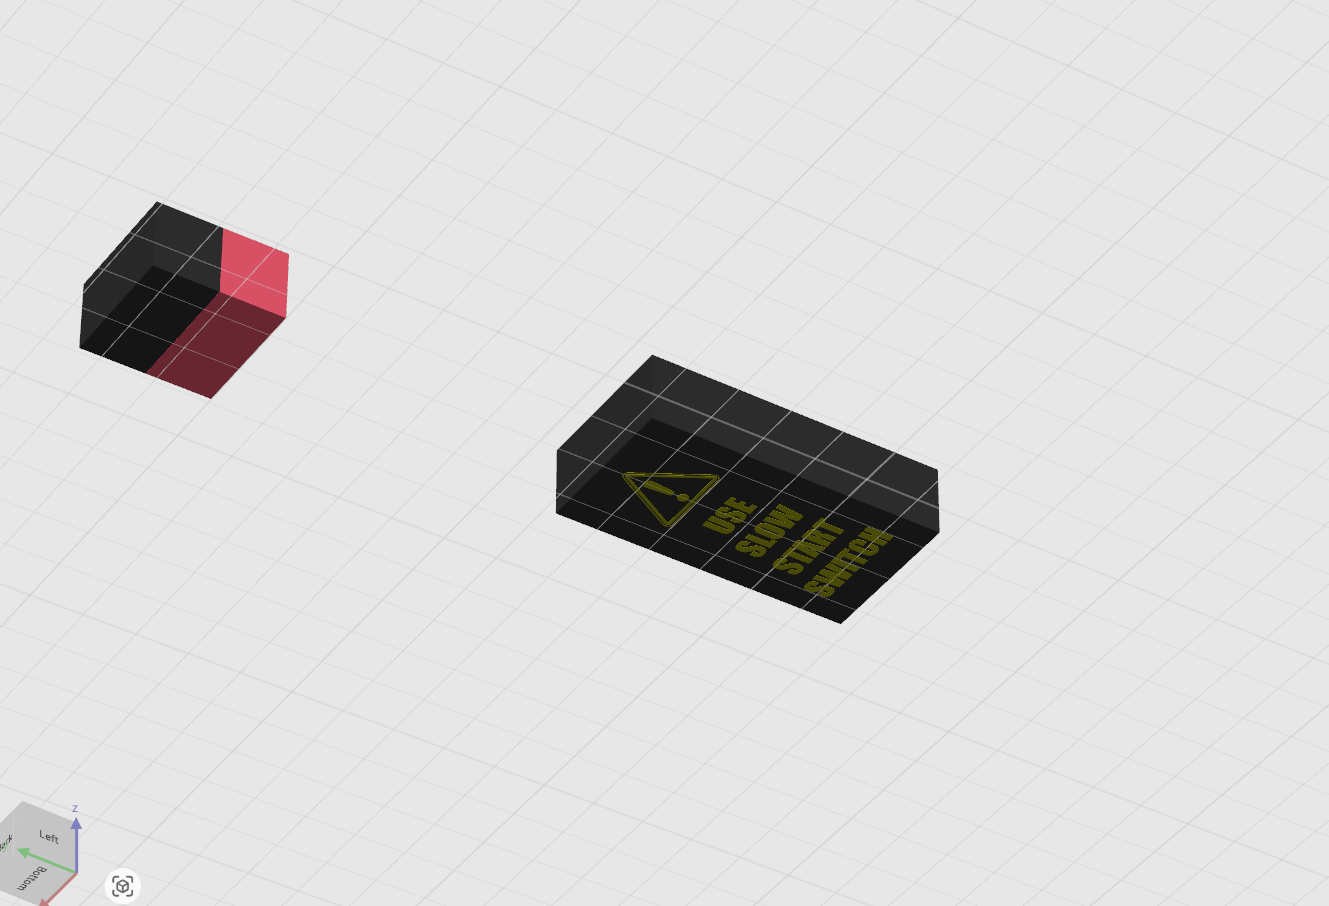
BONUS FILE: Includes a printable "Do Not Touch" safety cover that fits over your transformer's main breaker so no one accidentally bypasses your new soft-start setup!
📺 WATCH THE BUILD VIDEO!
To see exactly how to wire this box, why double-fusing is important, and a cool "phantom power" safety trick, watch the full build on the gerGO PRINT 3D YouTube channel here: https://www.youtube.com/watch?v=zuEG56NJRlQ
Bill of Materials (Hardware Needed):
1x High-Power Soft Start Board
1x Heavy Duty Rocker Switch
1x Panel Mount Power Socket
2x Panel Mount Glass Fuse Holders + Fuses (I used 25A)
M3 Brass Heat-Set Inserts
M3 Screws
Appropriate heavy-gauge wire for mains voltage
We are using this VEVOR 5000W transformer
Параметры производства
⚠️ CRITICAL SAFETY WARNING: This project involves working with 110V/220V mains electricity, which can be fatal. This 3D model is provided for housing purposes only. If you are not experienced with high-voltage wiring, consult a qualified electrician before assembling.
Recommended Print Settings:
- Material: ABS, ASA, or PETG highly recommended. Do NOT use PLA. This box houses mains voltage electronics and power resistors that generate short bursts of heat. PLA will soften and warp, creating a severe fire/shock hazard.
- Layer Height: 0.2mm
- Wall Loops (Perimeters): 3 walls (This provides thick, strong plastic for the heat-set inserts to grip into).
- Infill: 15% to 20% 3D Honeycomb
- Supports: No supports needed if the main box and lid are printed flat on the build plate.
Manufacturing & Assembly Notes:
ABS Cooling Trick: If you are printing this in ABS or ASA inside an enclosed printer, leave the door closed after the print finishes! Let the part cool down slowly to room temperature inside the chamber. If you take it out while it is hot, the sudden temperature shock will cause the plastic to warp, and the lid will not fit the box. Patience is key!
Hardware Installation: Use a soldering iron to gently press the M3 brass heat-set inserts into the mounting posts for the PCB and the lid screw holes. Or use a DIY Stealth Press
Wiring: Ensure you use appropriately thick wire gauge for your expected power draw, and use proper crimped spade connectors for the switch and socket—do not just solder wires directly to high-voltage terminals.
For details, watch our video.
:format(webp)/https://fbi.cults3d.com/uploaders/22944044/illustration-file/afd702f1-fe20-4838-bc82-62ac4551fd74/20260307_165125.jpg)
/https://preview3d-images.cults3d.com/2zufdn0xx6cssrq33wa2zju35392)
/https://preview3d-images.cults3d.com/qq1mcd64p1r83cys3zxkecakj9jw)
/https://preview3d-images.cults3d.com/6lnao534amahxg837w7pyqgmakwx)

/https://preview3d-images.cults3d.com/sl0fsetjexv4thi0yrdjj1io71mg)
/https://preview3d-images.cults3d.com/r5nkc4l5x4xzrrpslp8ks7dkao21)
/https://preview3d-images.cults3d.com/nn639l65uq0ur335lotcfyi379g1)
/https://fbi.cults3d.com/uploads/user/avatar/22944044/sovol-t-shirt.jpg "gerGoPrint3D")


:format(webp)/https://fbi.cults3d.com/uploaders/22944044/illustration-file/61704c9c-63d4-41bc-bc56-6bd6eb1f330a/thumbs.jpg)
:format(webp)/https://fbi.cults3d.com/uploaders/22944044/illustration-file/9f2b3c3c-97a7-41a8-a478-526f93ed0492/v3-photo.jpg)
:format(webp)/https://fbi.cults3d.com/uploaders/22944044/illustration-file/88a72956-9f76-47f8-9931-841cc473fd61/20231117_231139.jpg)
:format(webp)/https://fbi.cults3d.com/uploaders/22944044/illustration-file/7d6cd0bd-36e7-457b-a17a-be4d17844d07/2024-03-21-09_10_31-20240321_085655.jpg-IrfanView-Zoom_-1732-x-974.jpg)
:format(webp)/https://fbi.cults3d.com/uploaders/22944044/illustration-file/24db006a-e519-43b6-8099-5b7f85a0289f/2024-05-16-11_30_07-20240515_170811.mp4.jpg)
:format(webp)/https://fbi.cults3d.com/uploaders/22944044/illustration-file/c505c4c3-df73-45ae-b487-fc1da8b14a60/20240808_135414.jpg)
:format(webp)/https://fbi.cults3d.com/uploaders/22944044/illustration-file/e98bdb6b-4d9c-47a2-9f11-3b258c1c3505/20250411_113459.mp4_snapshot_01.09.098.jpg)
:format(webp)/https://fbi.cults3d.com/uploaders/22944044/illustration-file/fe81e678-9e2b-457a-84be-8c5e6094c474/20250623_115012.jpg)