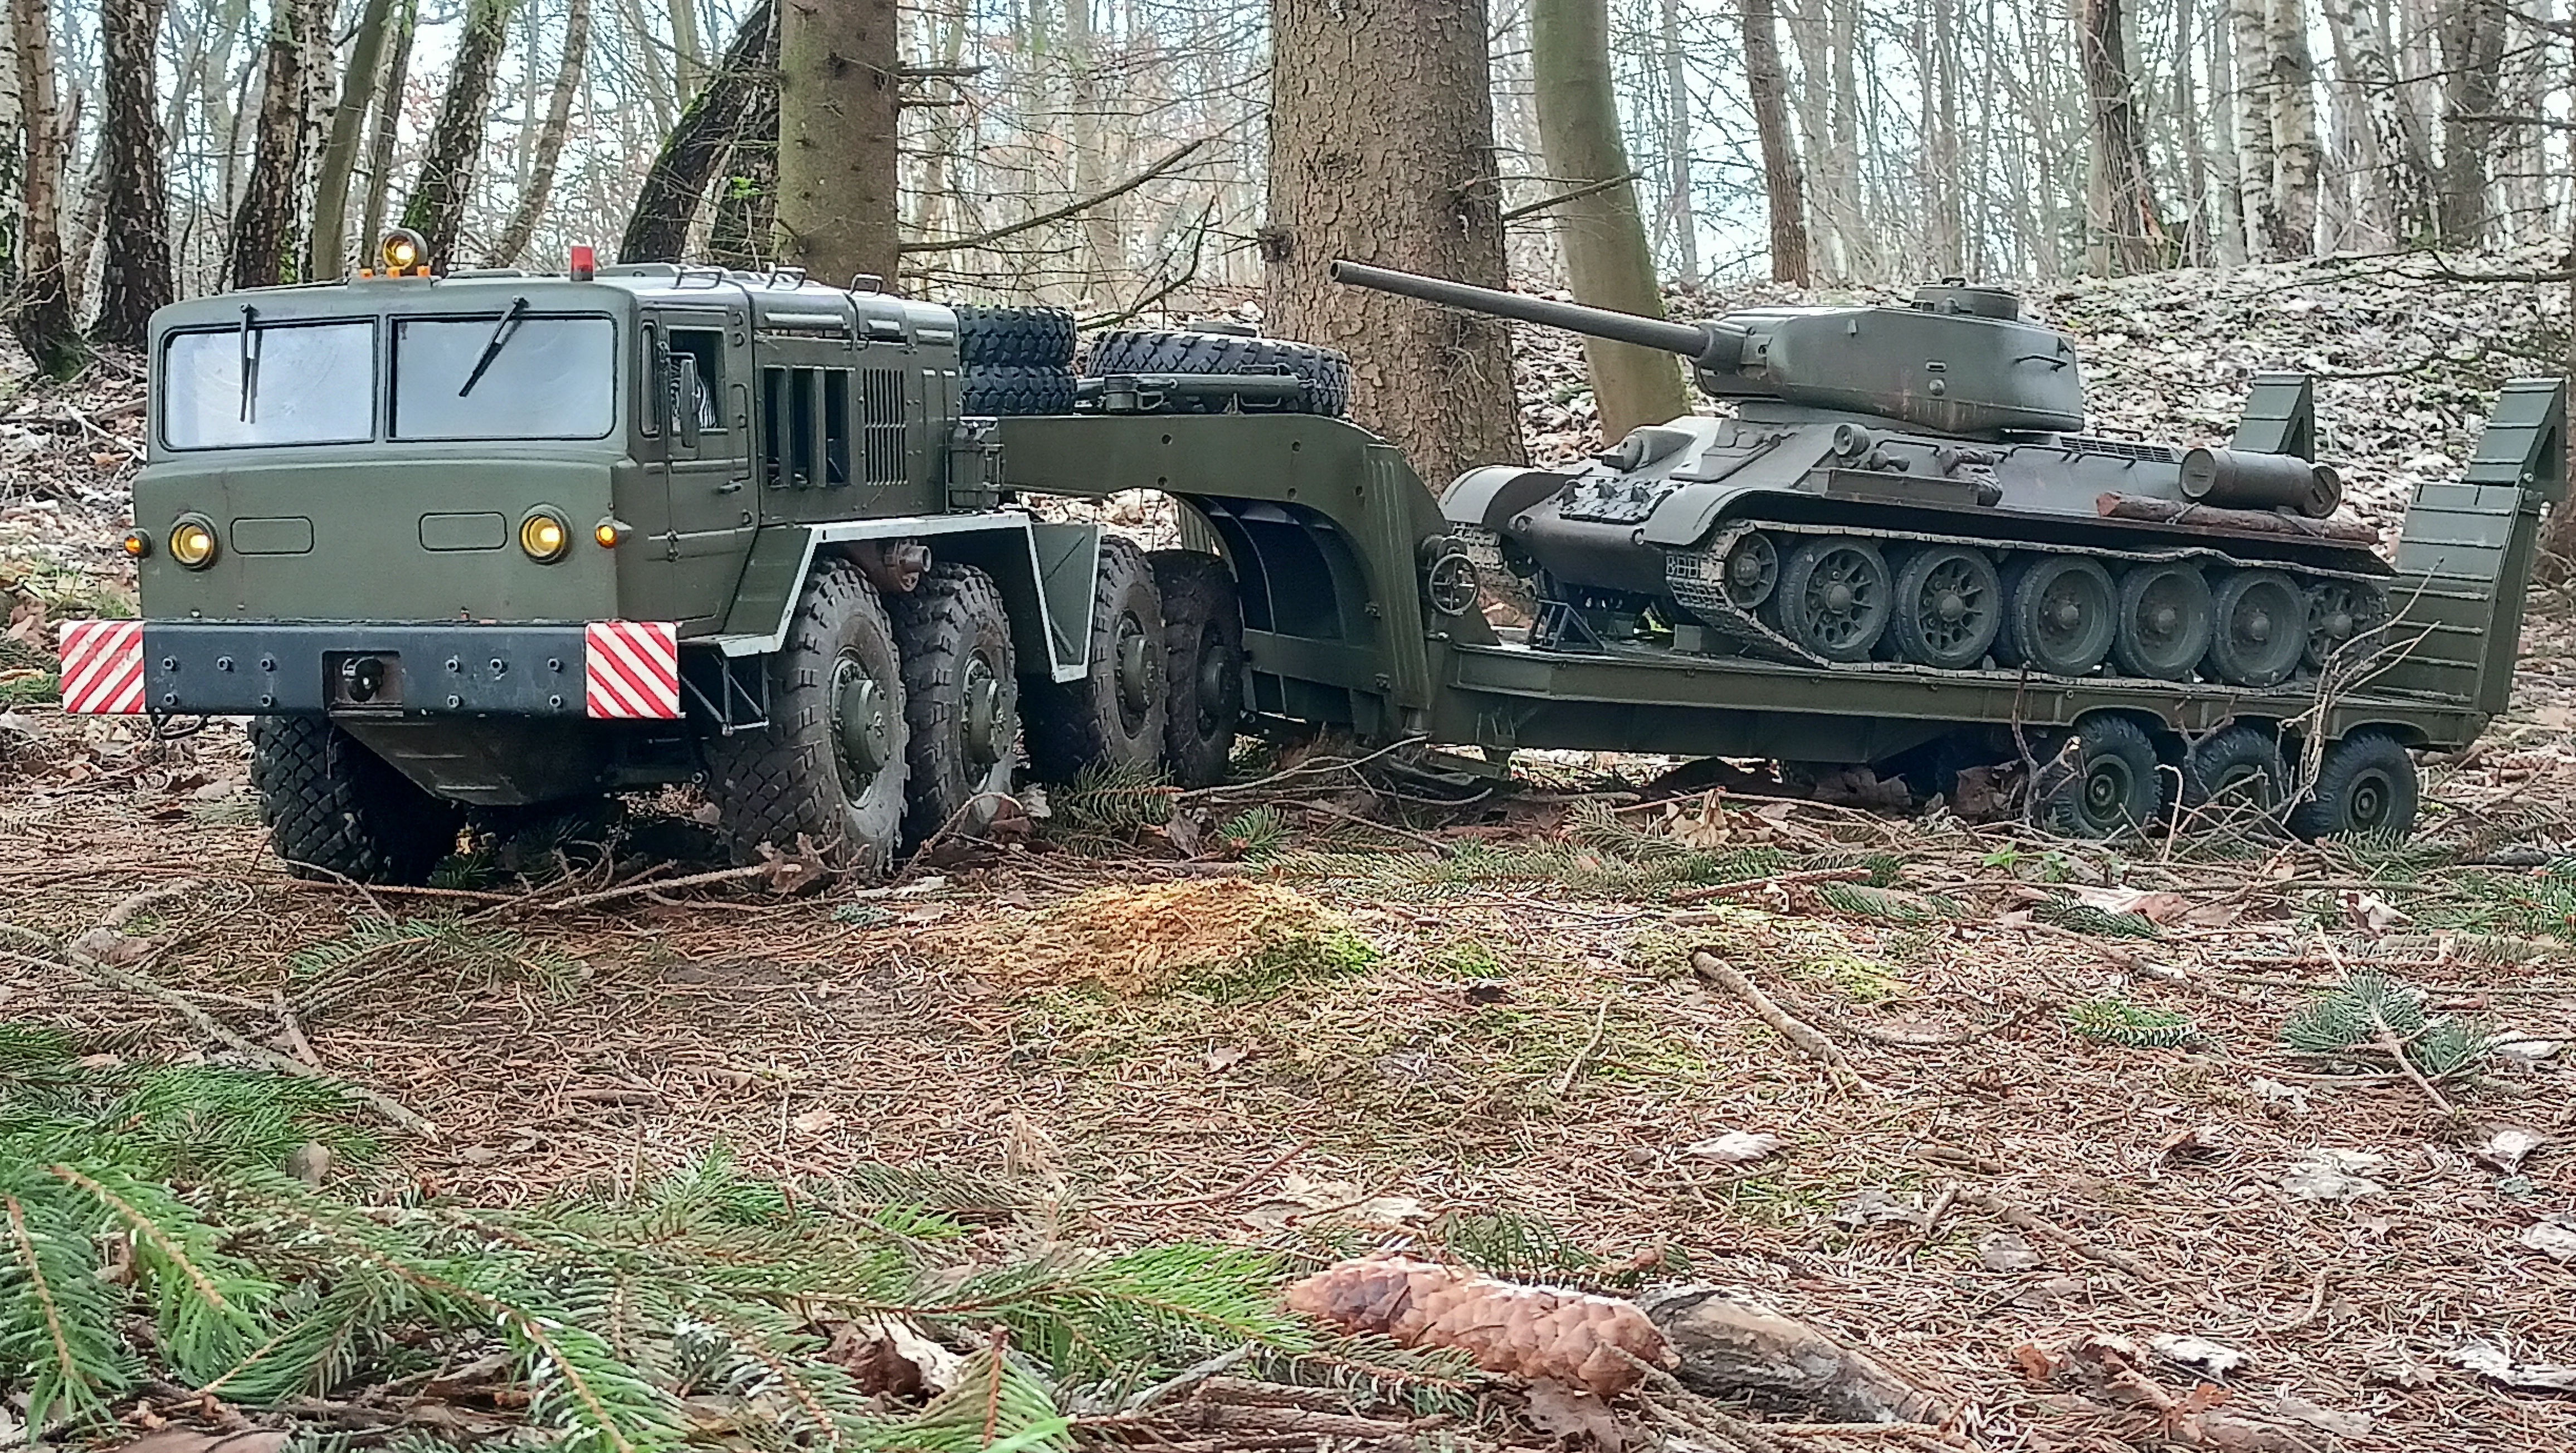
MAZ 537 g Tire Mold - 1:10 Scale
:format(webp)/https://fbi.cults3d.com/uploaders/32812046/illustration-file/2d87cdbb-173a-4a5b-bc17-6b987095e97d/052-Pneumatika-a.jpg)
/https://preview3d-images.cults3d.com/qqv7yh6of0409ndn329ee6pjo59m)
/https://preview3d-images.cults3d.com/0s73426x3rnajpuzuidp5shmi2pj)
/https://preview3d-images.cults3d.com/6irknw8xxx8ms1jxpaplcefciwmq)
/https://preview3d-images.cults3d.com/x2q2rz8plw8w4b9t2la93wen4187)
/https://preview3d-images.cults3d.com/9z9dczm10s9upo53ynyoctnh3rh0)
/https://preview3d-images.cults3d.com/p46821ioh2mqb8npjsik2bkj9smu)
/https://preview3d-images.cults3d.com/ydq80266q13lcgqtgd32553ne9dj)
/https://preview3d-images.cults3d.com/vlsncnmfr3uwubf0lmk5b0dm1u26)
/https://preview3d-images.cults3d.com/ia6i9pu7llv2k1s6d6paz6rdecga)
/https://preview3d-images.cults3d.com/5z3kctkmwvxnz0gfknqtxb9jgd7e)
/https://preview3d-images.cults3d.com/qbqtlx3rn4hupmavn116c25jd4bm)
/https://preview3d-images.cults3d.com/j3nle8wml2013dkwxlisu54x2u5q)
/https://preview3d-images.cults3d.com/falhq1f8xxjqqrz8uxqzi69d1vl7)
/https://preview3d-images.cults3d.com/w8sx691nrjhd11bky1ambwkff0rt)
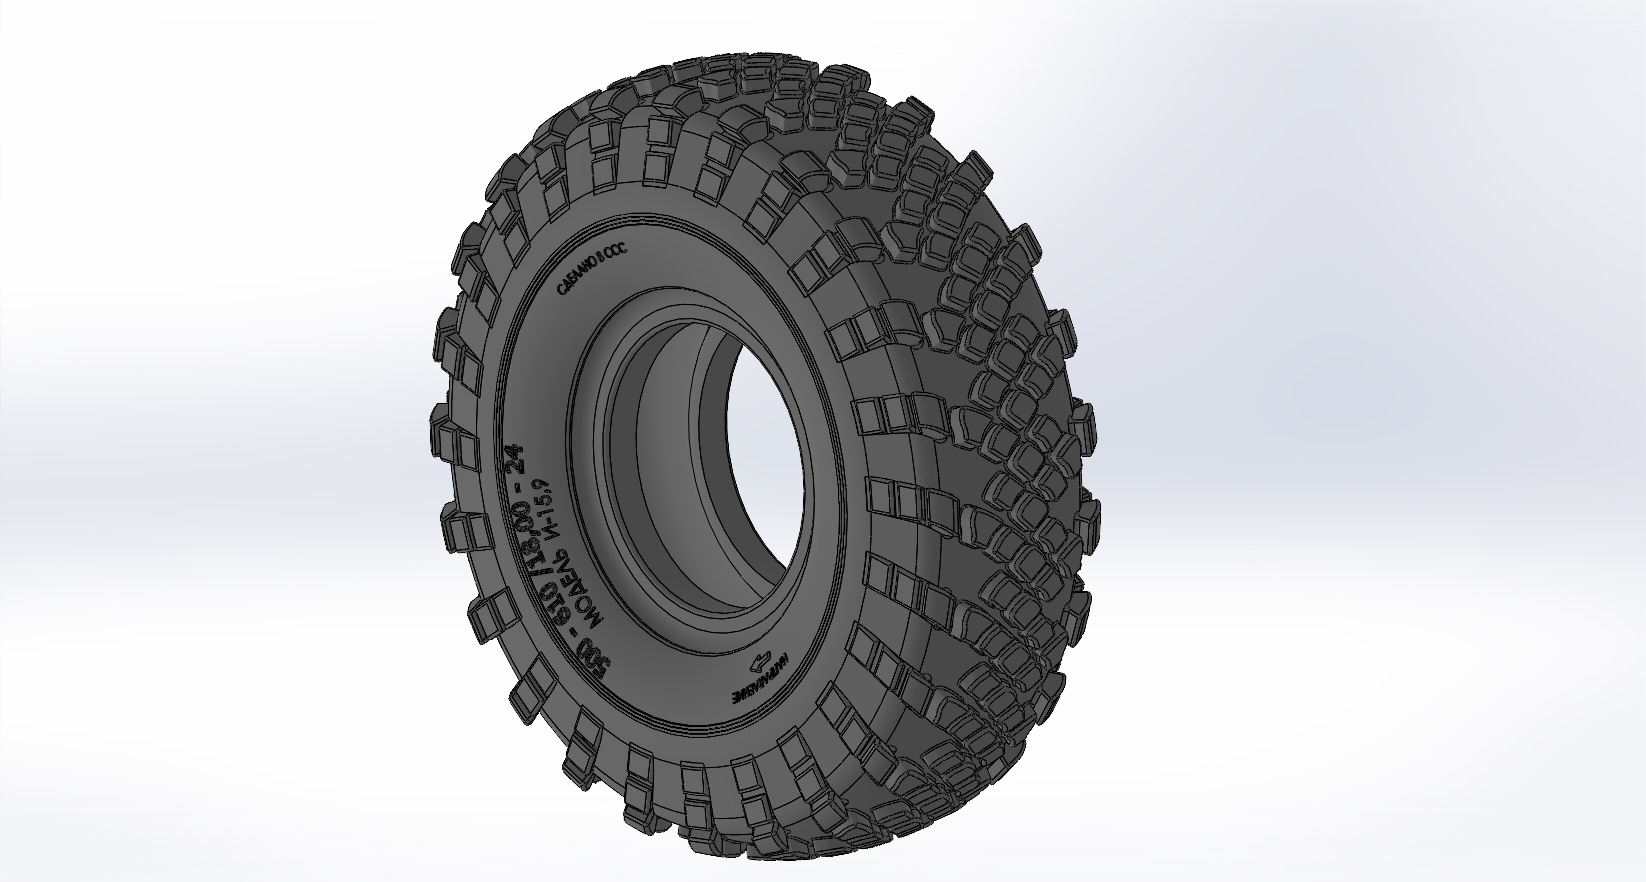
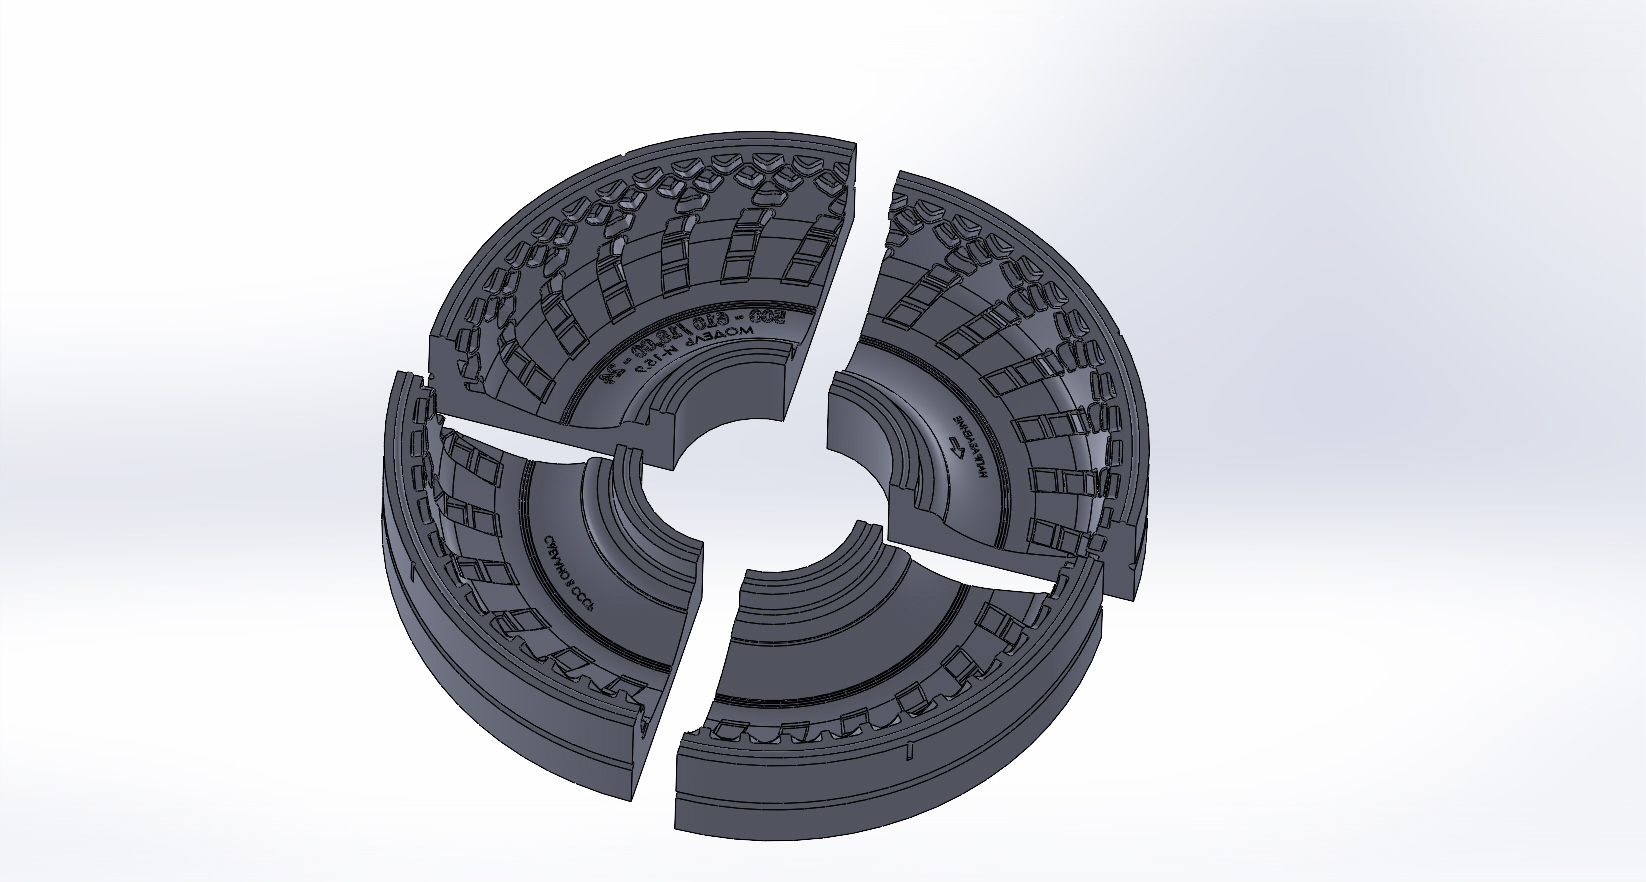
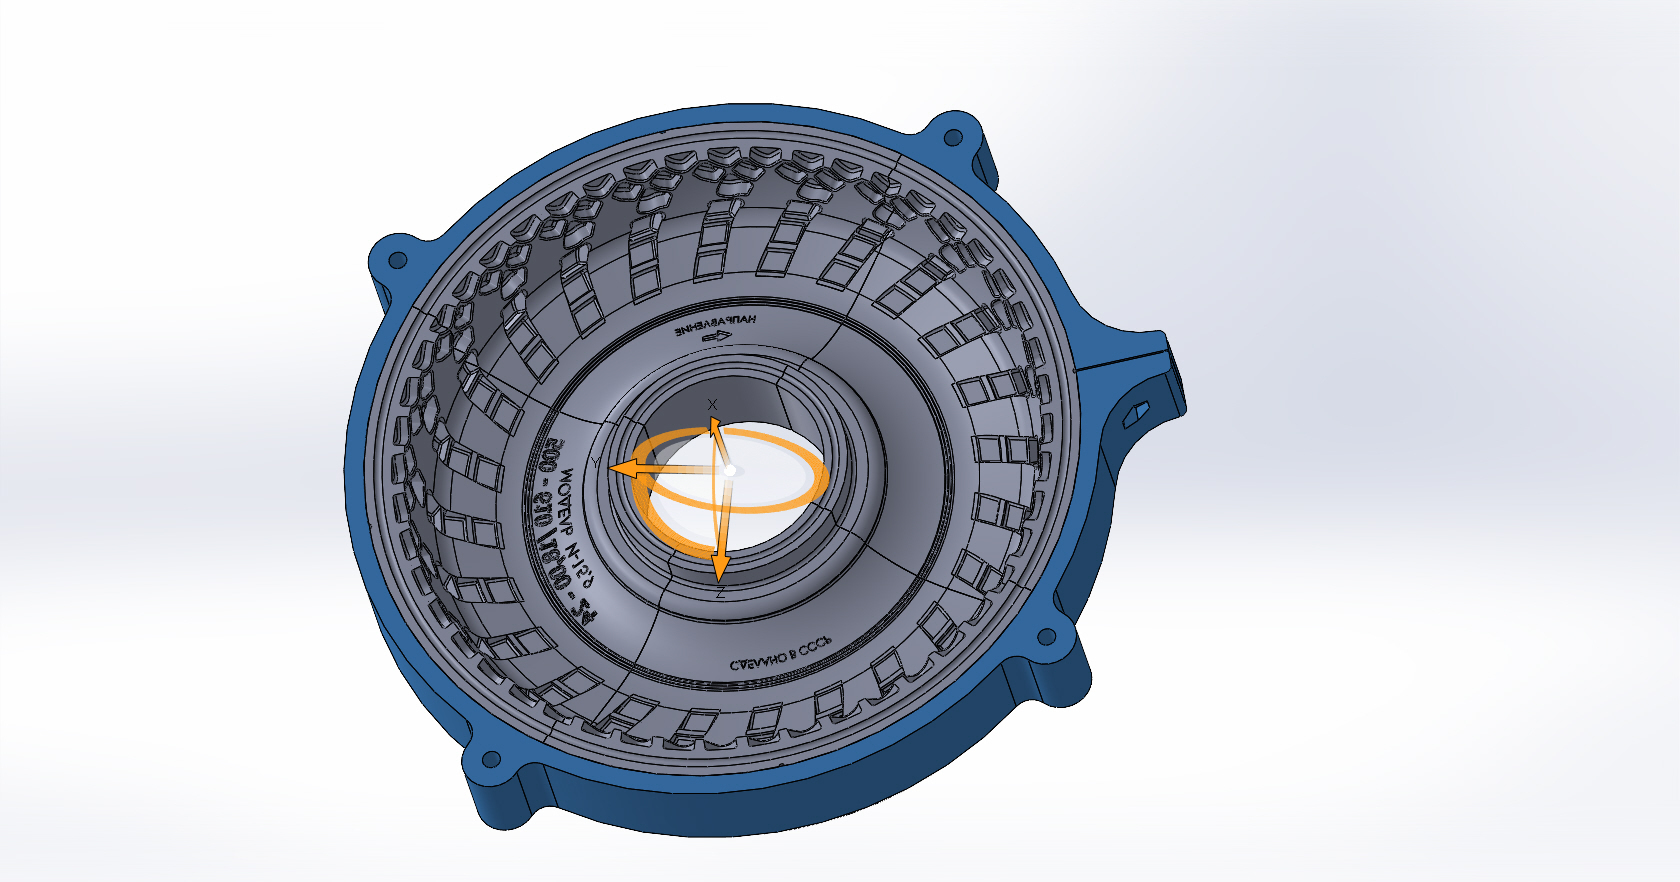
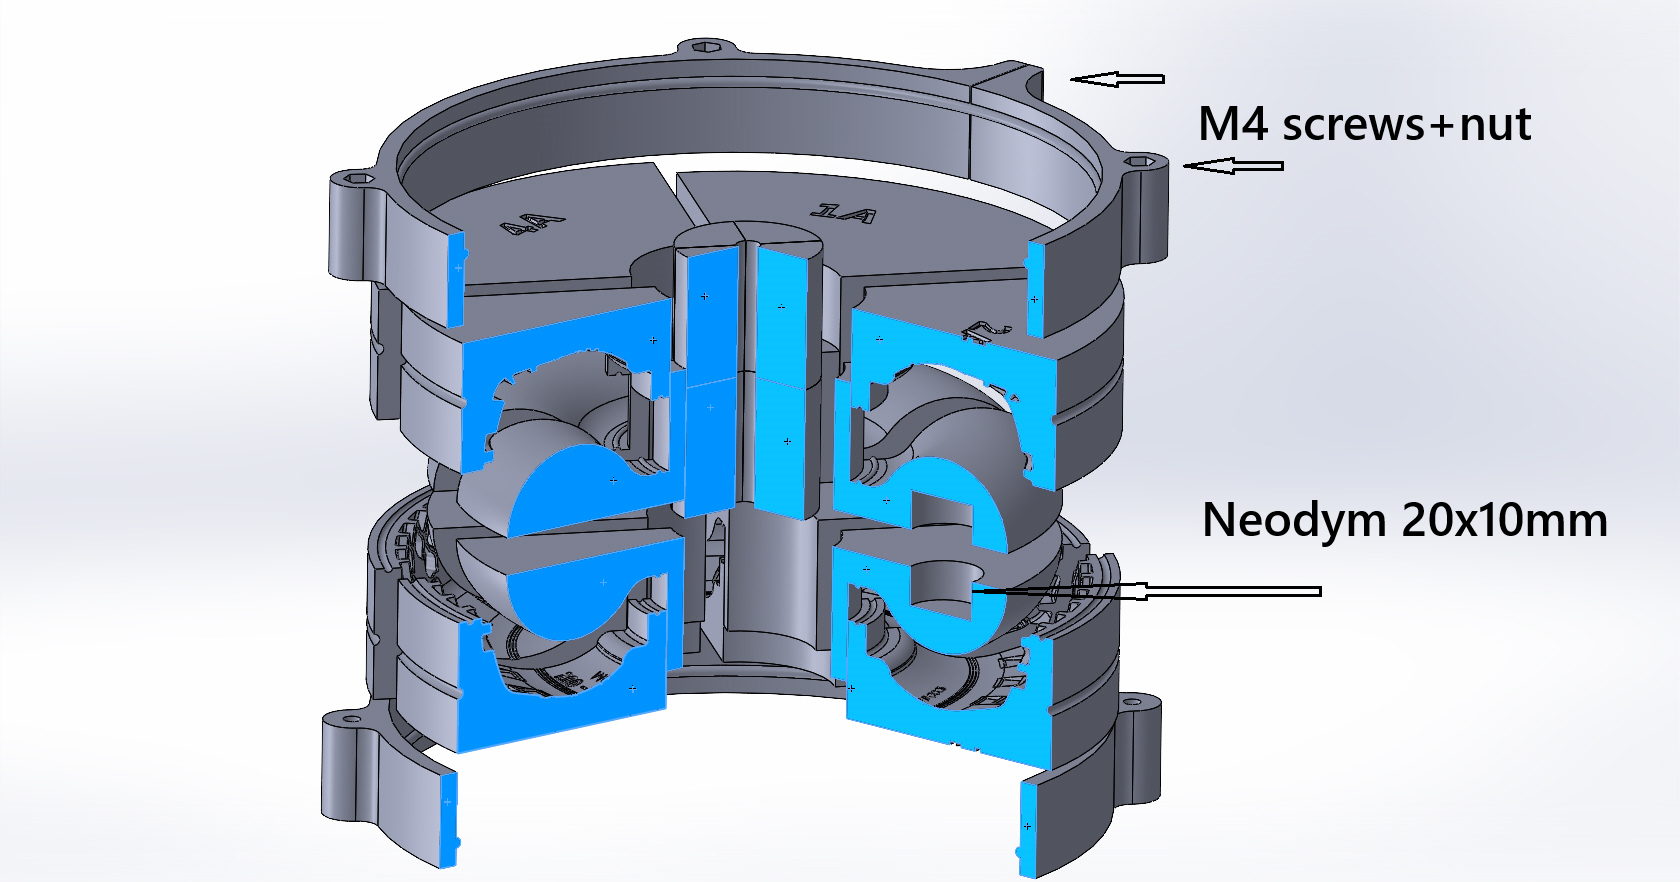
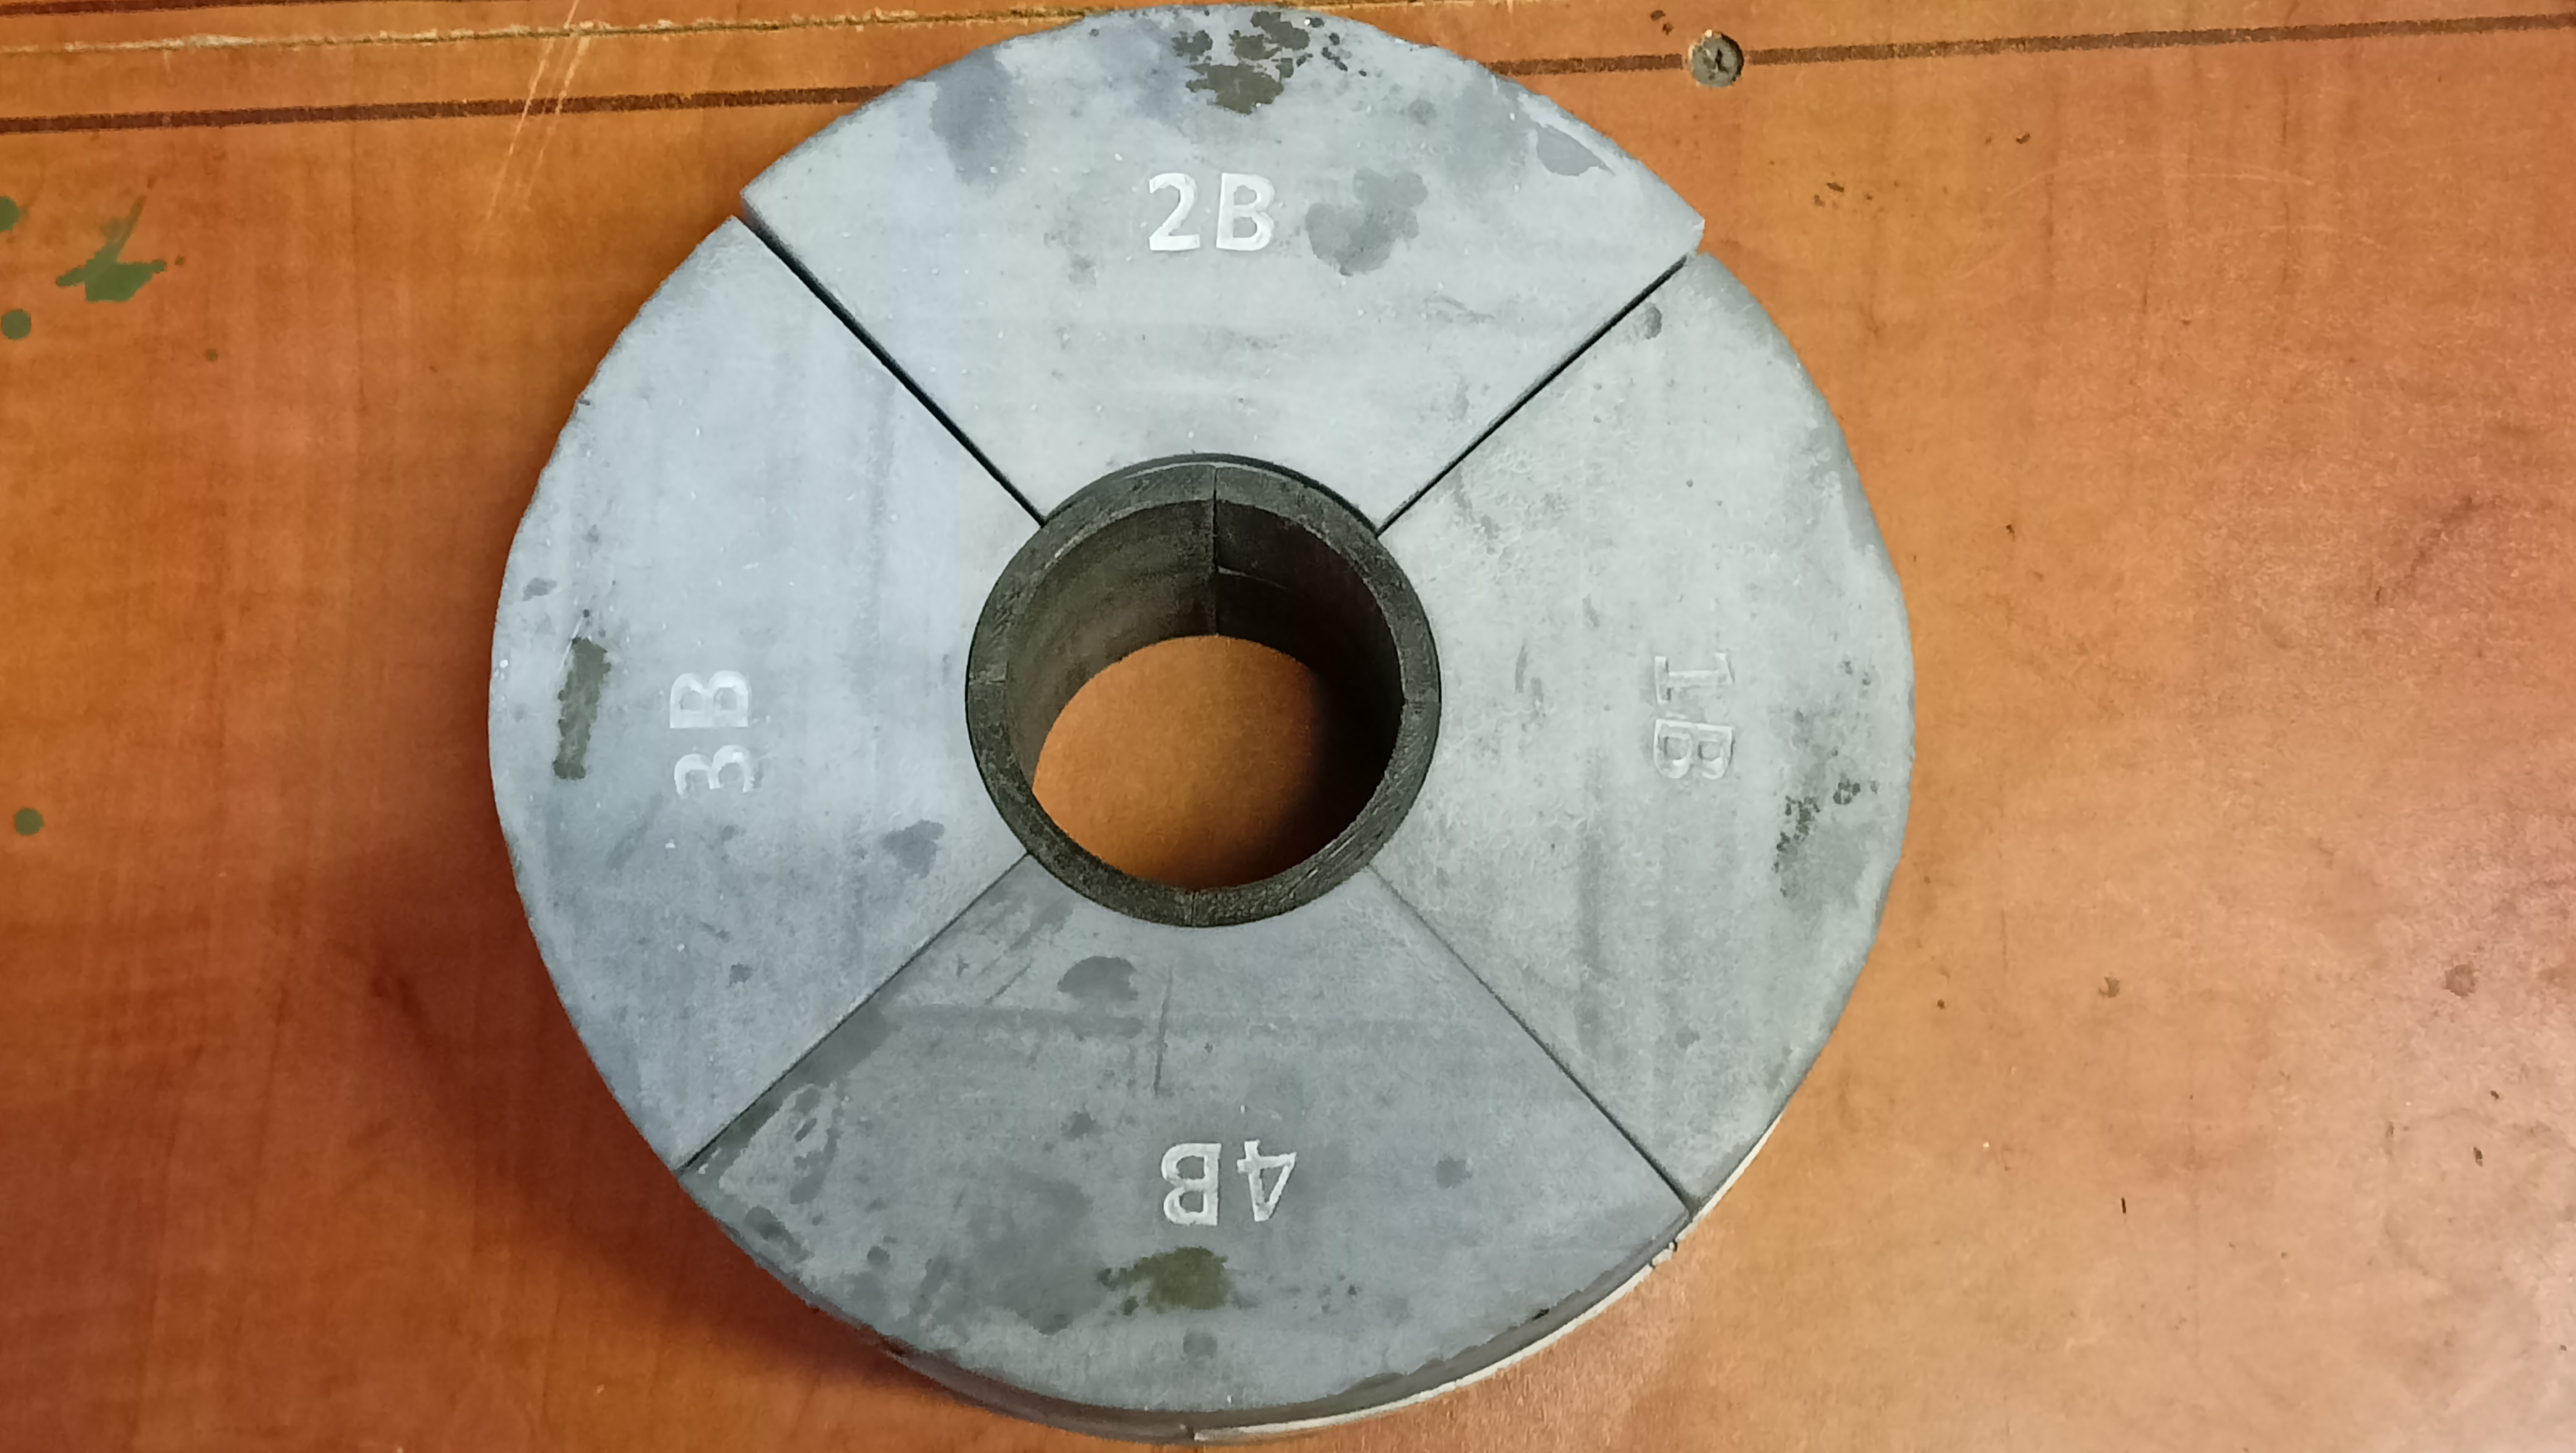
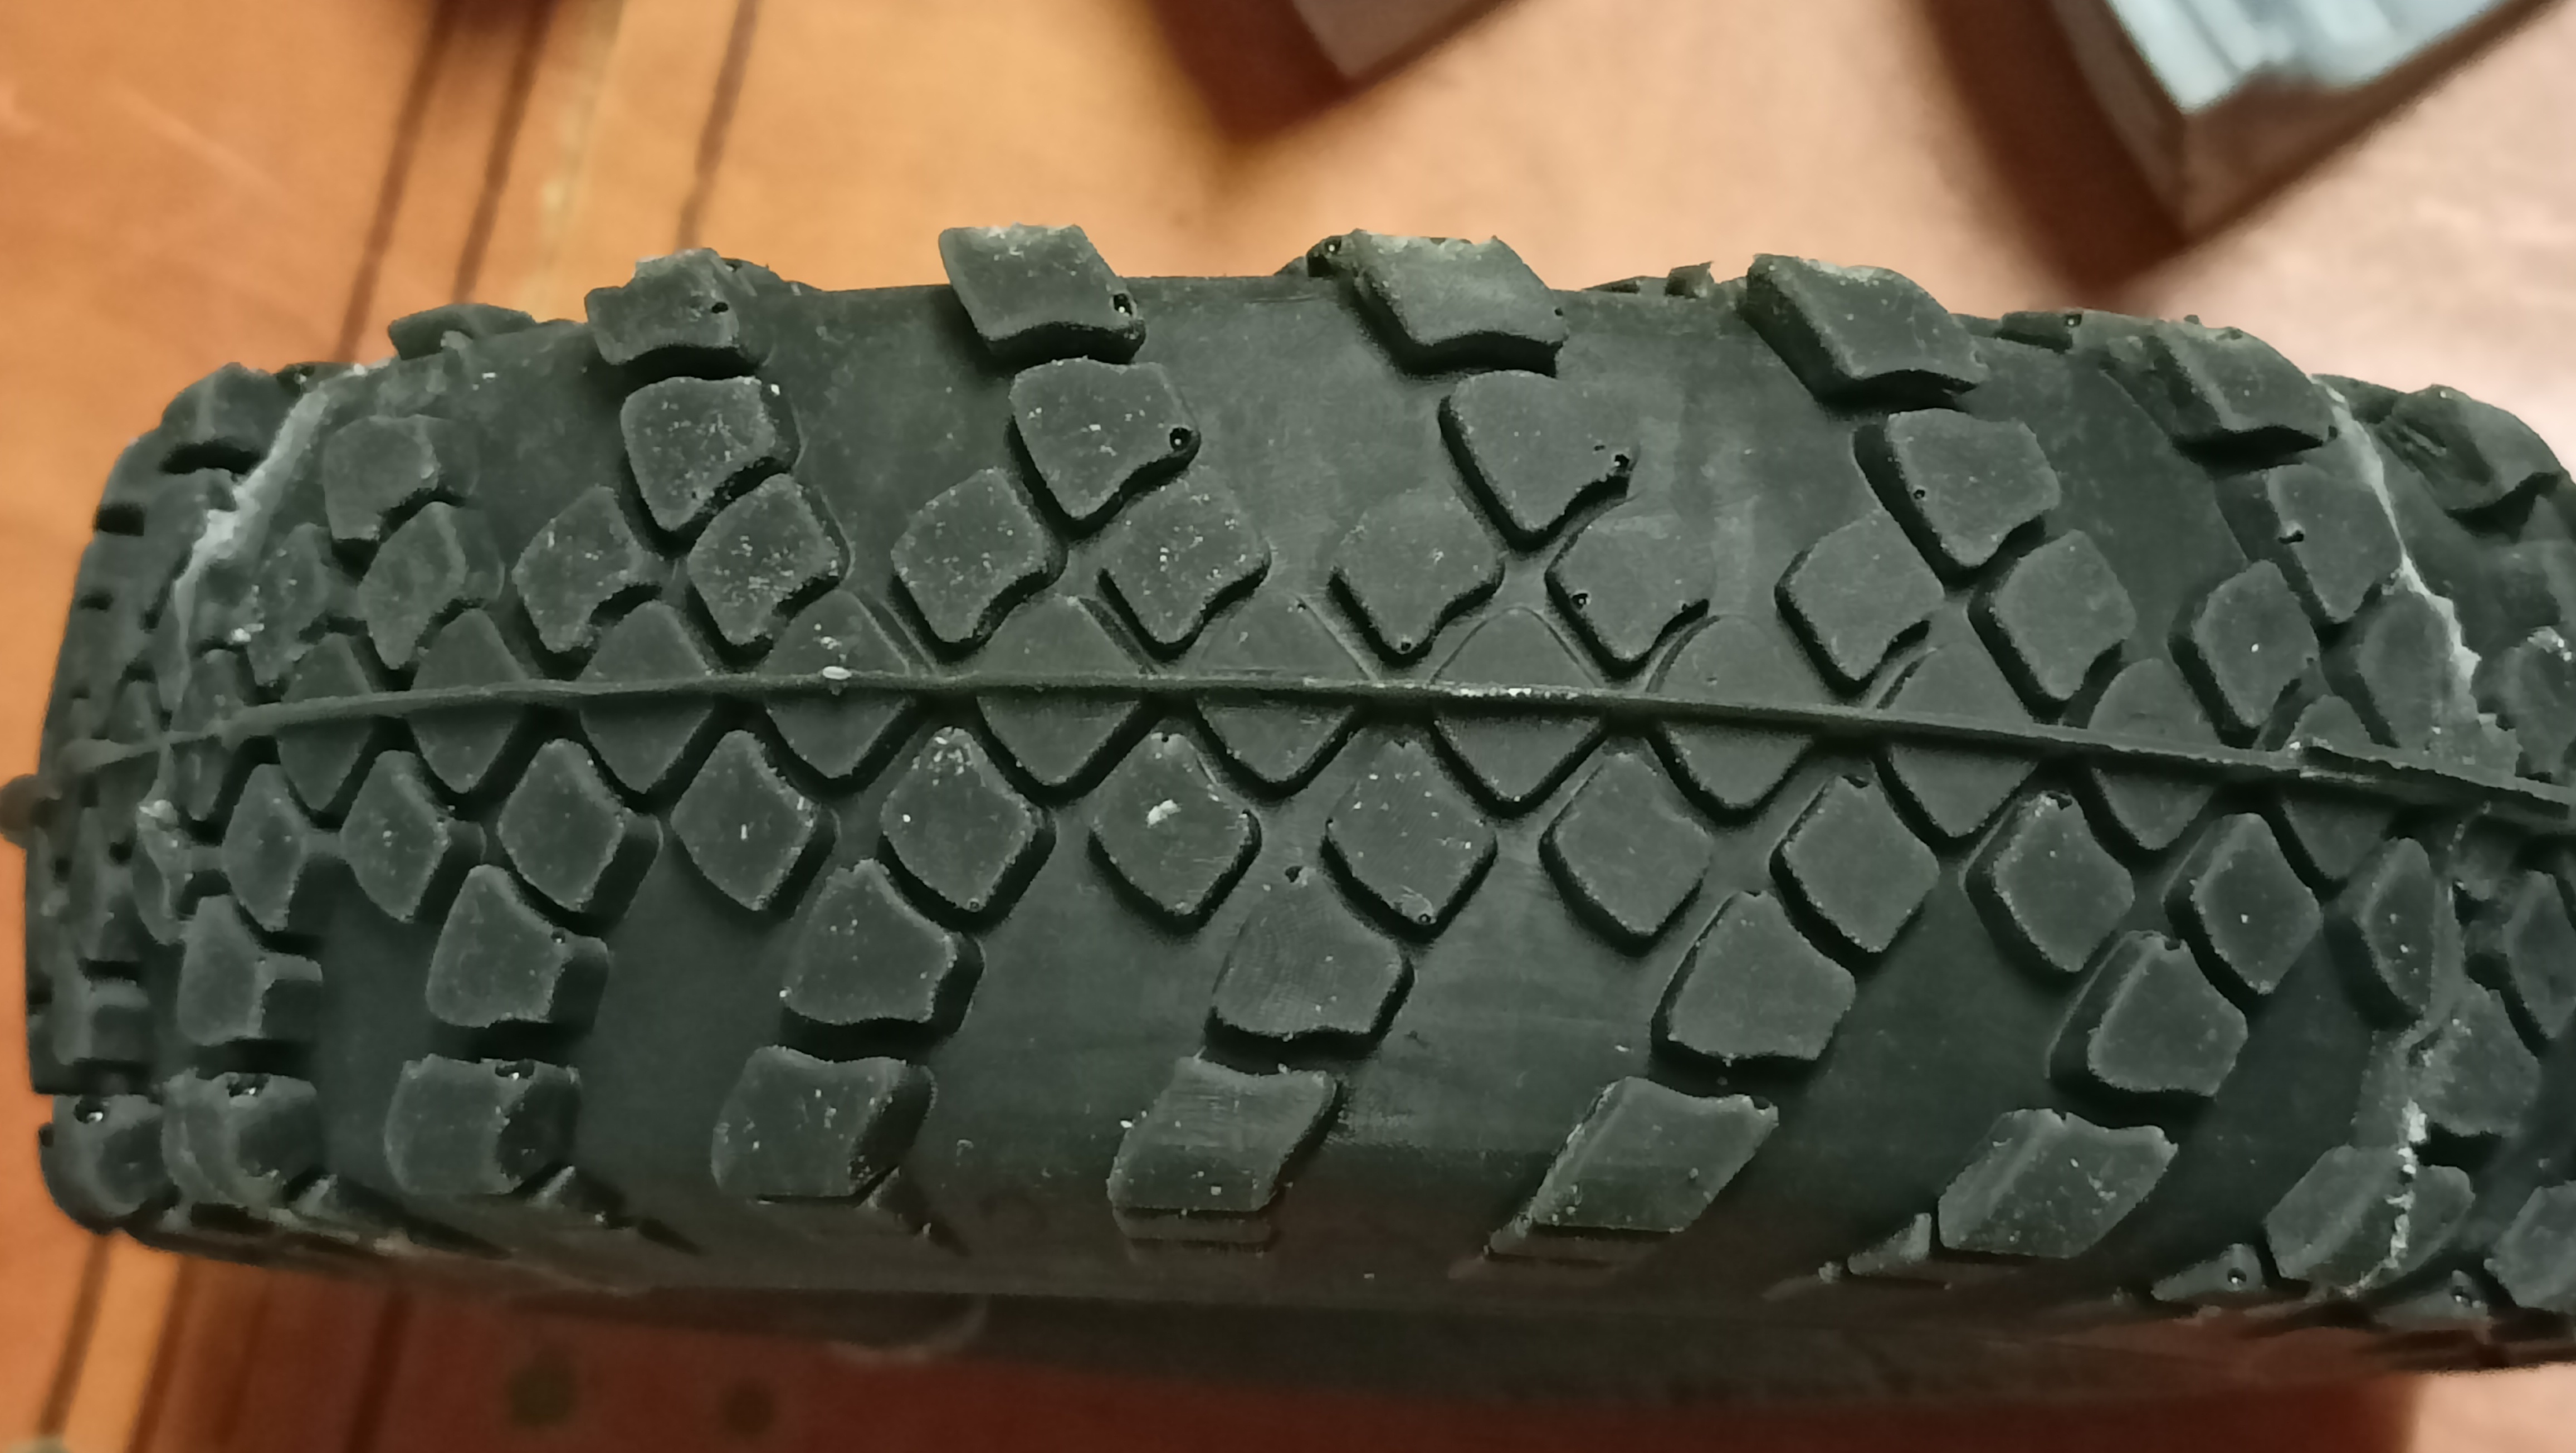
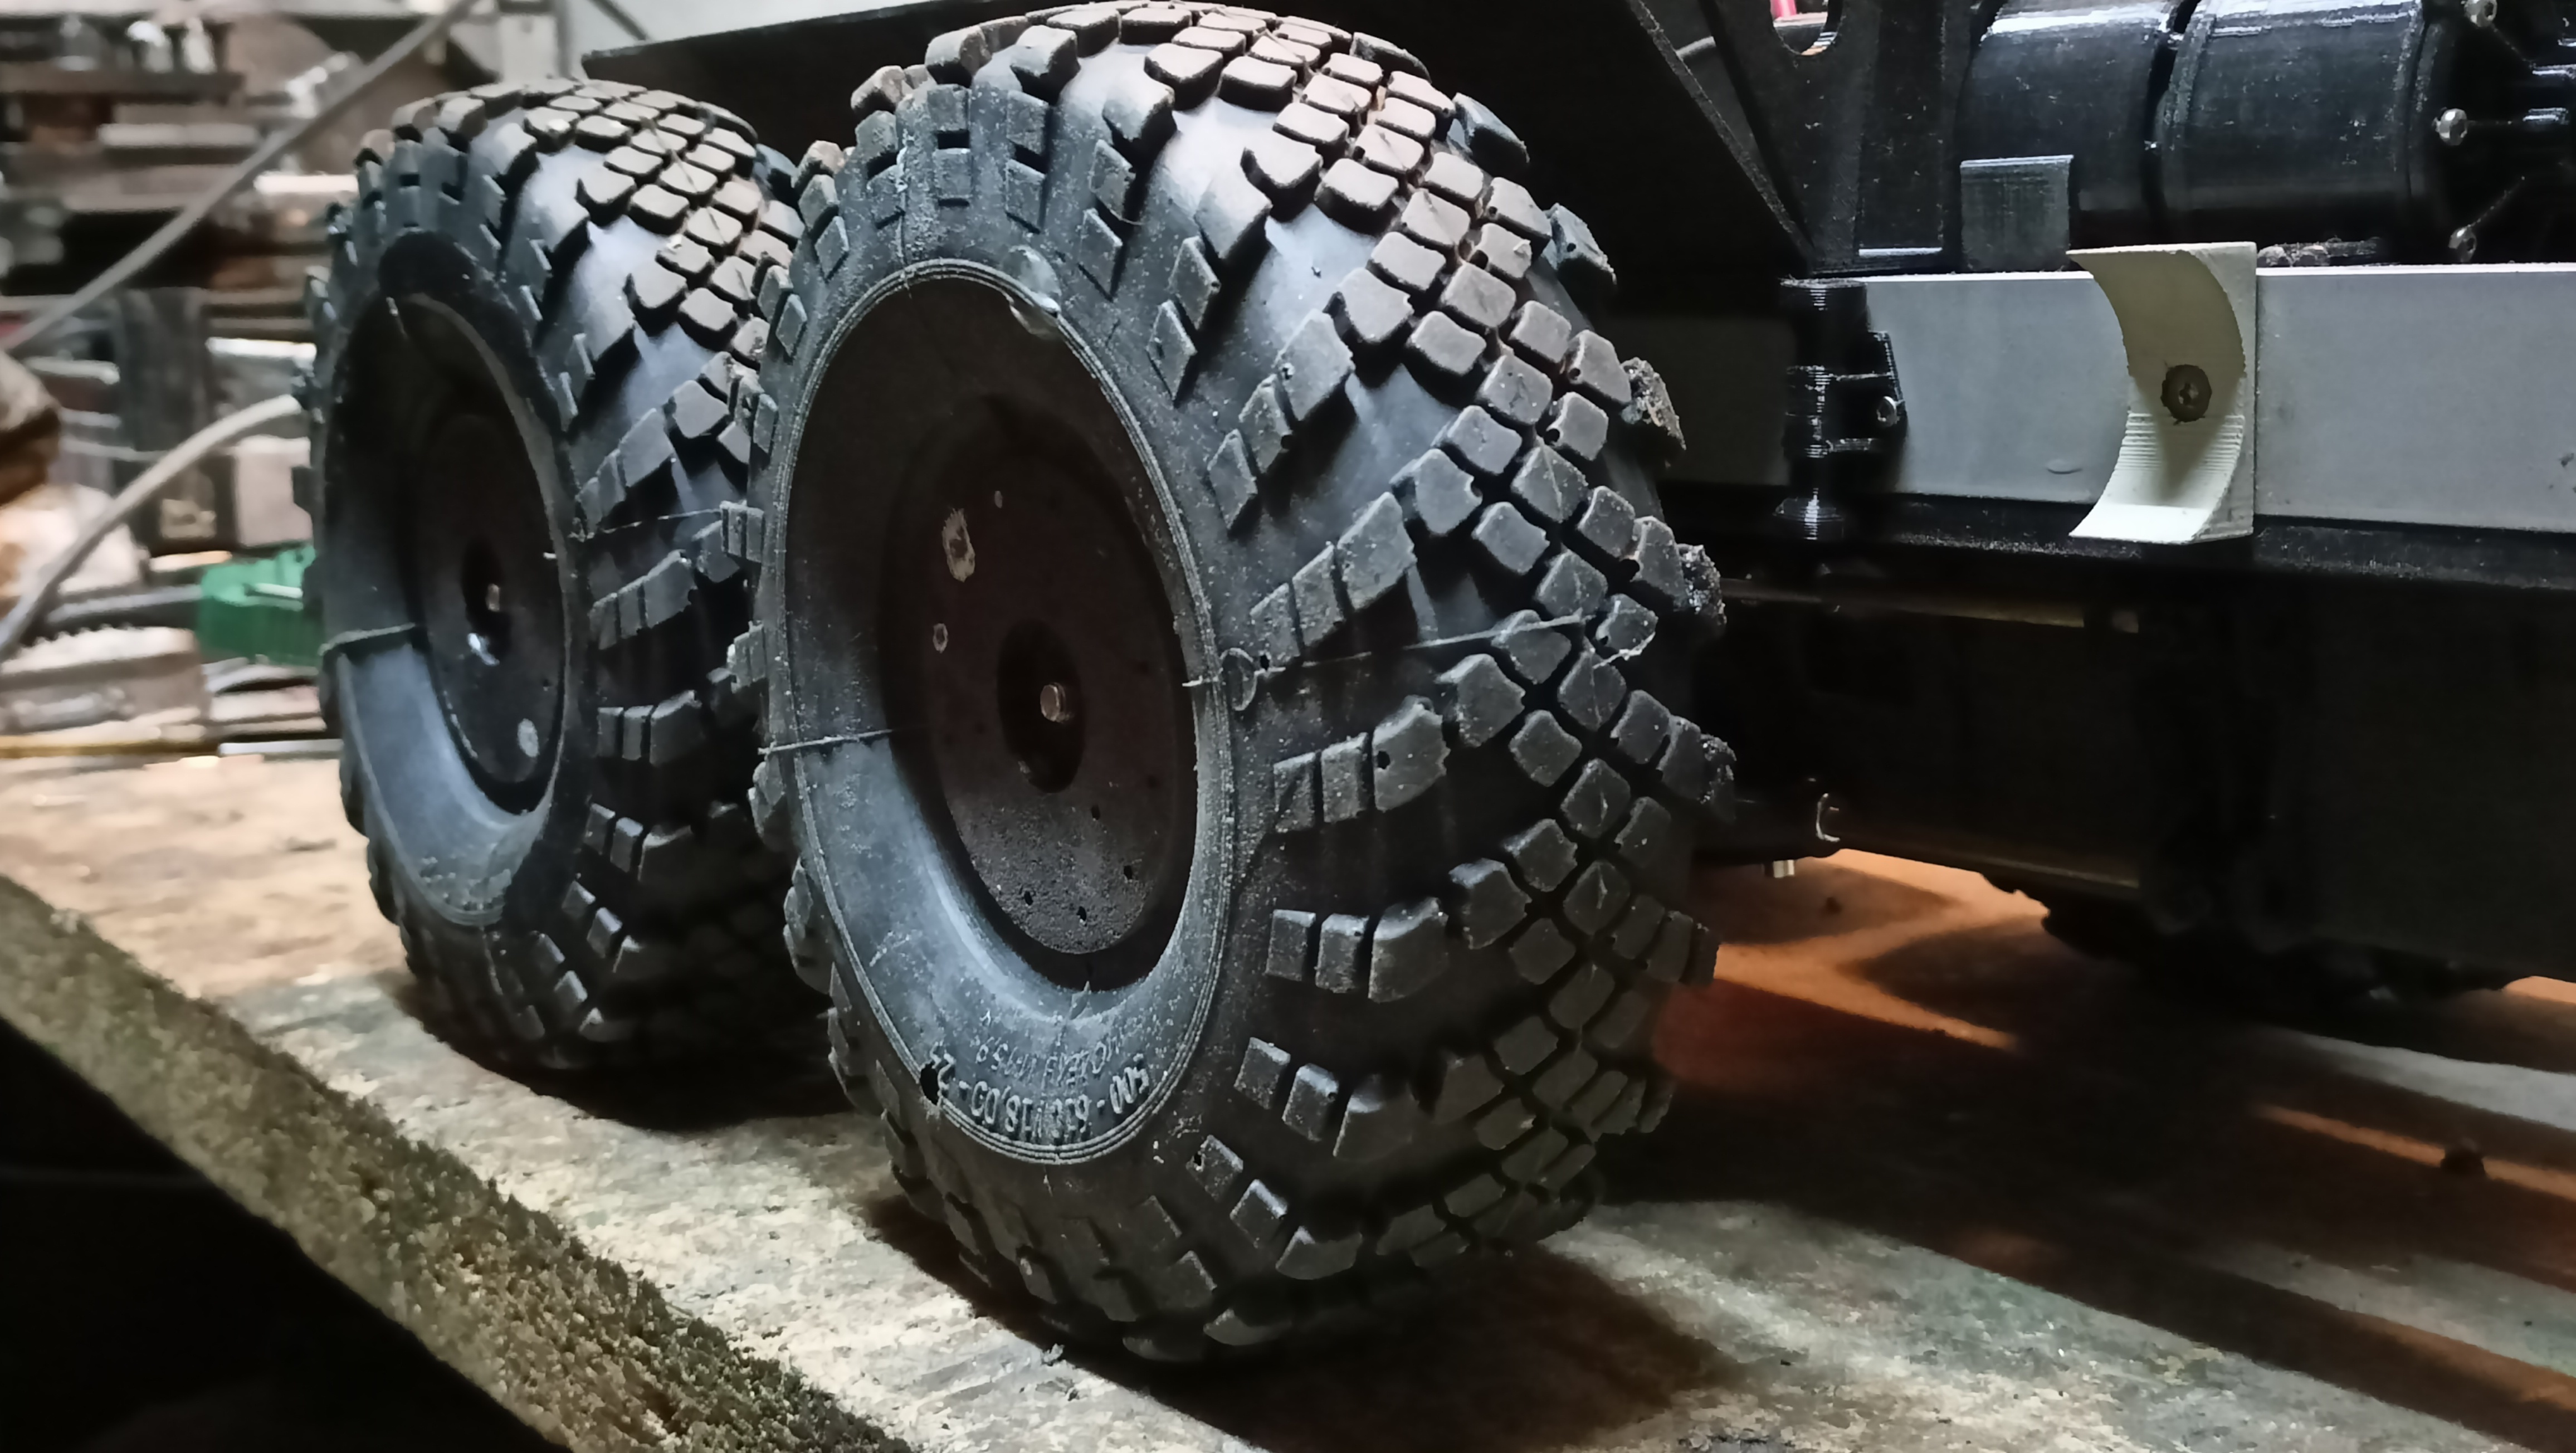
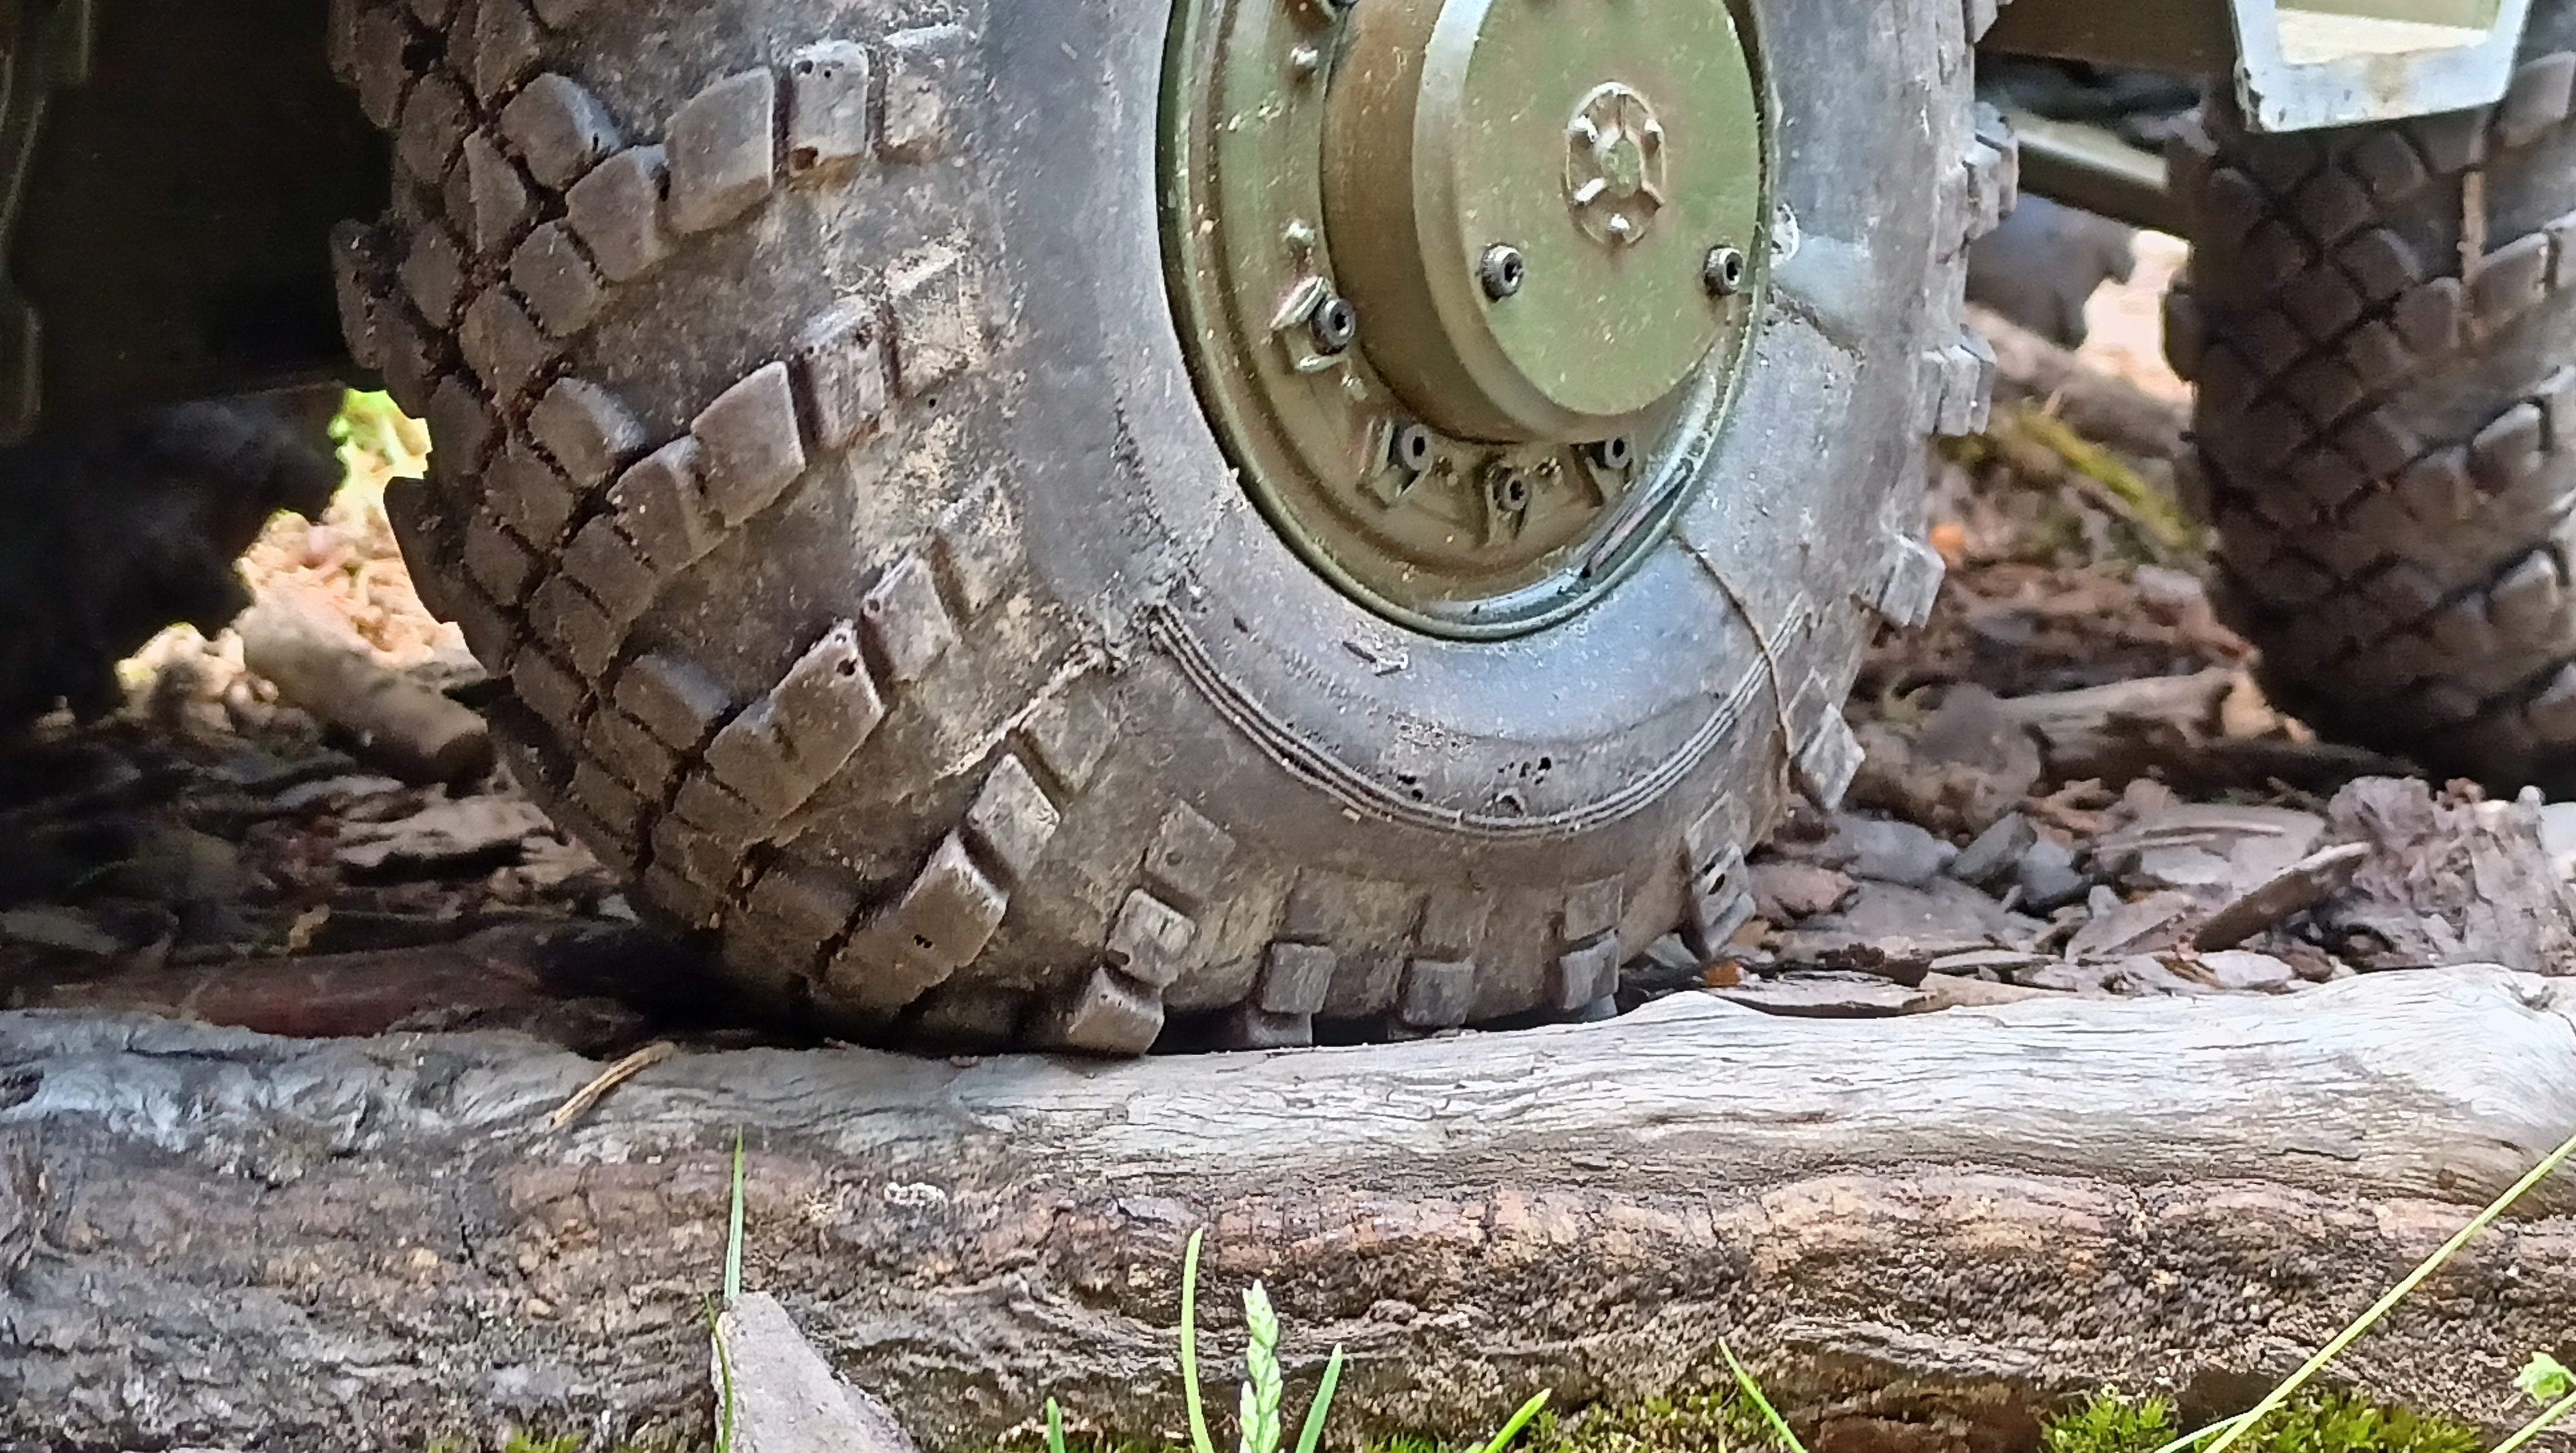


/https://preview3d-images.cults3d.com/6l6fx4l179py4k9q16ci019oaj5p)
/https://preview3d-images.cults3d.com/emiosafpj2elghs8qccyzn8rot46)
/https://preview3d-images.cults3d.com/dh8xjskcq0xj9np9rilf09fi3ocu)
/https://preview3d-images.cults3d.com/vvn4p16lu3egzlkjks7v4470kvu1)
/https://preview3d-images.cults3d.com/k8fqnl3zg16te5bljr16y0bp0quw)
/https://preview3d-images.cults3d.com/peuhpg5cm0fxrsh1v2v15acqiif7)
/https://preview3d-images.cults3d.com/7e4xj8mml84t4yr0m49z2xv70mvr)
/https://preview3d-images.cults3d.com/0g63nu5gwaoyktuqqamptts2eys4)
/https://preview3d-images.cults3d.com/bufux3etxseuuakts3bli1i4zx5d)
/https://preview3d-images.cults3d.com/3ww6yfzyhlx1031evx9oj6sjpf5h)
/https://preview3d-images.cults3d.com/tw3y2k2rajcgt9l5ow4idt3b7s7n)
/https://preview3d-images.cults3d.com/iw9u1ufxcg32yv3j4o75xaiy2vqc)
/https://preview3d-images.cults3d.com/nha814pm0z8oxct19skr13oxey1o)
/https://preview3d-images.cults3d.com/d2lv4g93tcaoz2hrmt69k427awty)
- 1k виды
- 4 мне нравится
- 7 загрузка
- 0 коллекции
- 0 kомментарий
- 0 makes
| Лицензия | |
|---|---|
| Использование | |
| Формат 3D-проектирования |
15 файлов (STL) Закрыть
|
| Последнее обновление | |
| Дата публикации | |
| Номер конструкции | 4230615 |
| Автор дизайна | PhobyModel_3D |



:format(webp)/https://fbi.cults3d.com/uploaders/32812046/illustration-file/1a9b2e9a-3199-4c41-88d4-cbaf8de6b1b7/Disk-detail-rez.png)
Вы хотите поддержать Cults?
Вам нравятся Cults и вы хотите помочь нам продолжить наш путь самостоятельно? Обратите внимание, что мы — маленькая команда из 4 человек, поэтому поддержать нас в поддержании деятельности и создании будущих разработок очень просто. Вот 3 решения, доступные для всех:
- РЕКЛАМА: Отключите блокировщик рекламы.
- ДОНАТЫ: сделать пожертвование через Ko-Fi здесь Отправить донат
- ПРИГЛАШЕНИЕ ДРУЗЕЙ: Приглашайте своих друзей, откройте для себя платформу и великолепные 3D-файлы, которыми делится сообщество!
Обмен и загрузка на Cults3D гарантирует, что дизайны остаются в руках сообщества создателей! А не в руках гигантов 3D-печати или программного обеспечения, которые владеют конкурирующими платформами и используют дизайны в своих собственных коммерческих интересах.
Cults3D - это независимый и самофинансируемый сайт, который не подчиняется ни одному инвестору или бренду. Почти все доходы сайта возвращаются создателям платформы. Контент, публикуемый на сайте, служит **только интересам его авторов, а не брендов 3D-принтеров, которые также хотят контролировать рынок 3D-моделирования.