Описание 3D-модели
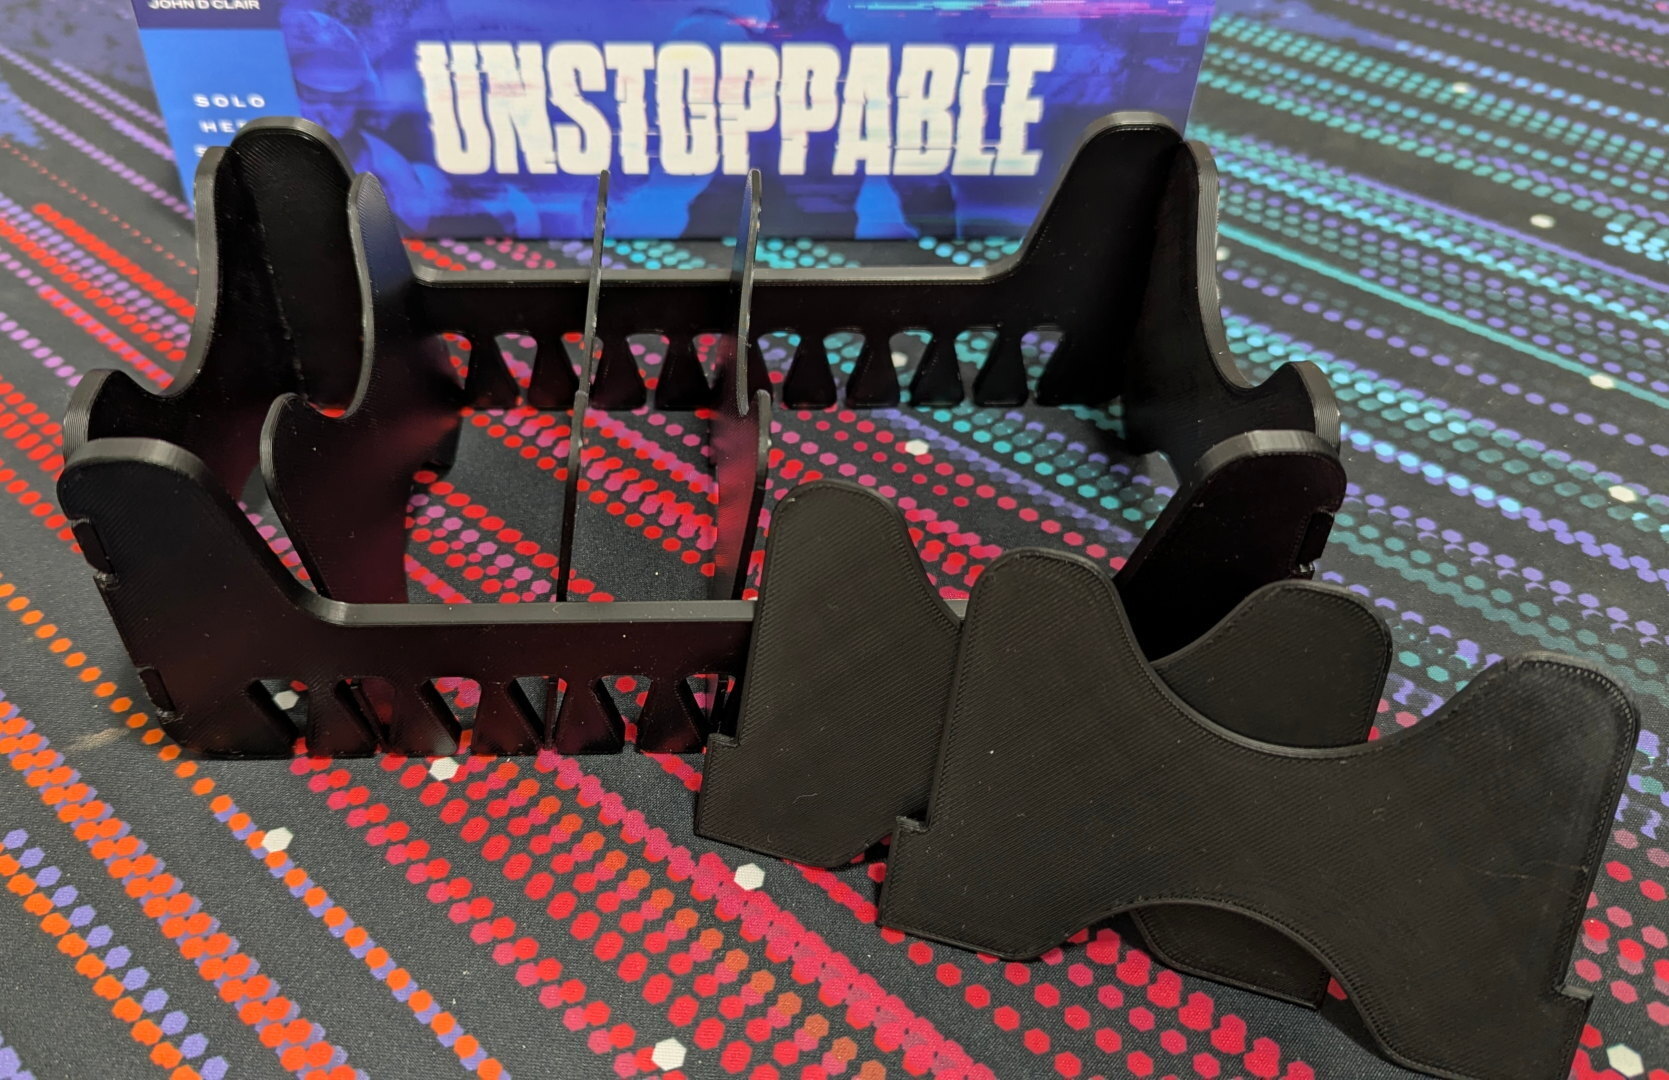
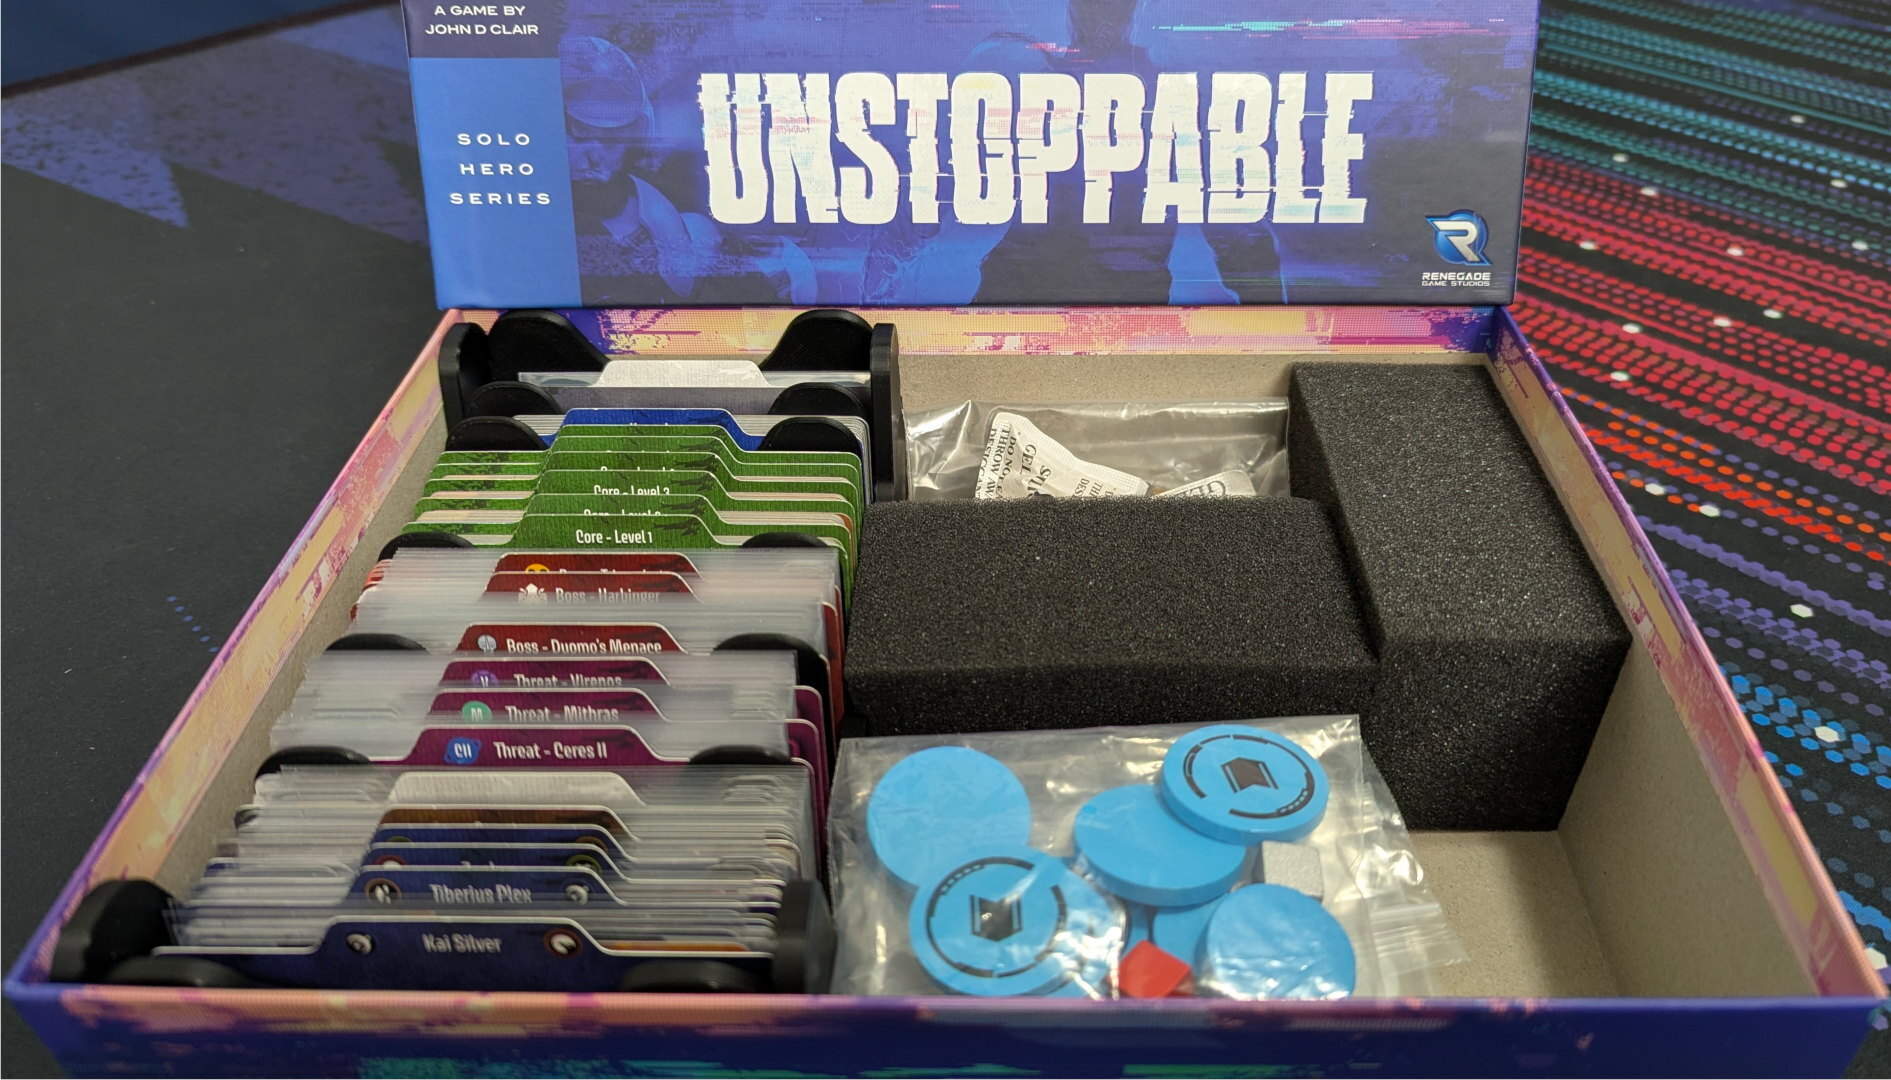
A simple, adjustable, card index sized for the original Unstoppable card game by Renegade Game Studios. It fills the game box short-wise, and holds all of the base game cards and sleeves with room to spare.
The dividers pivot for easy access, but also stay upright to hold the cards during travel and hold up the unused cards and dividers during play.
Other Bits
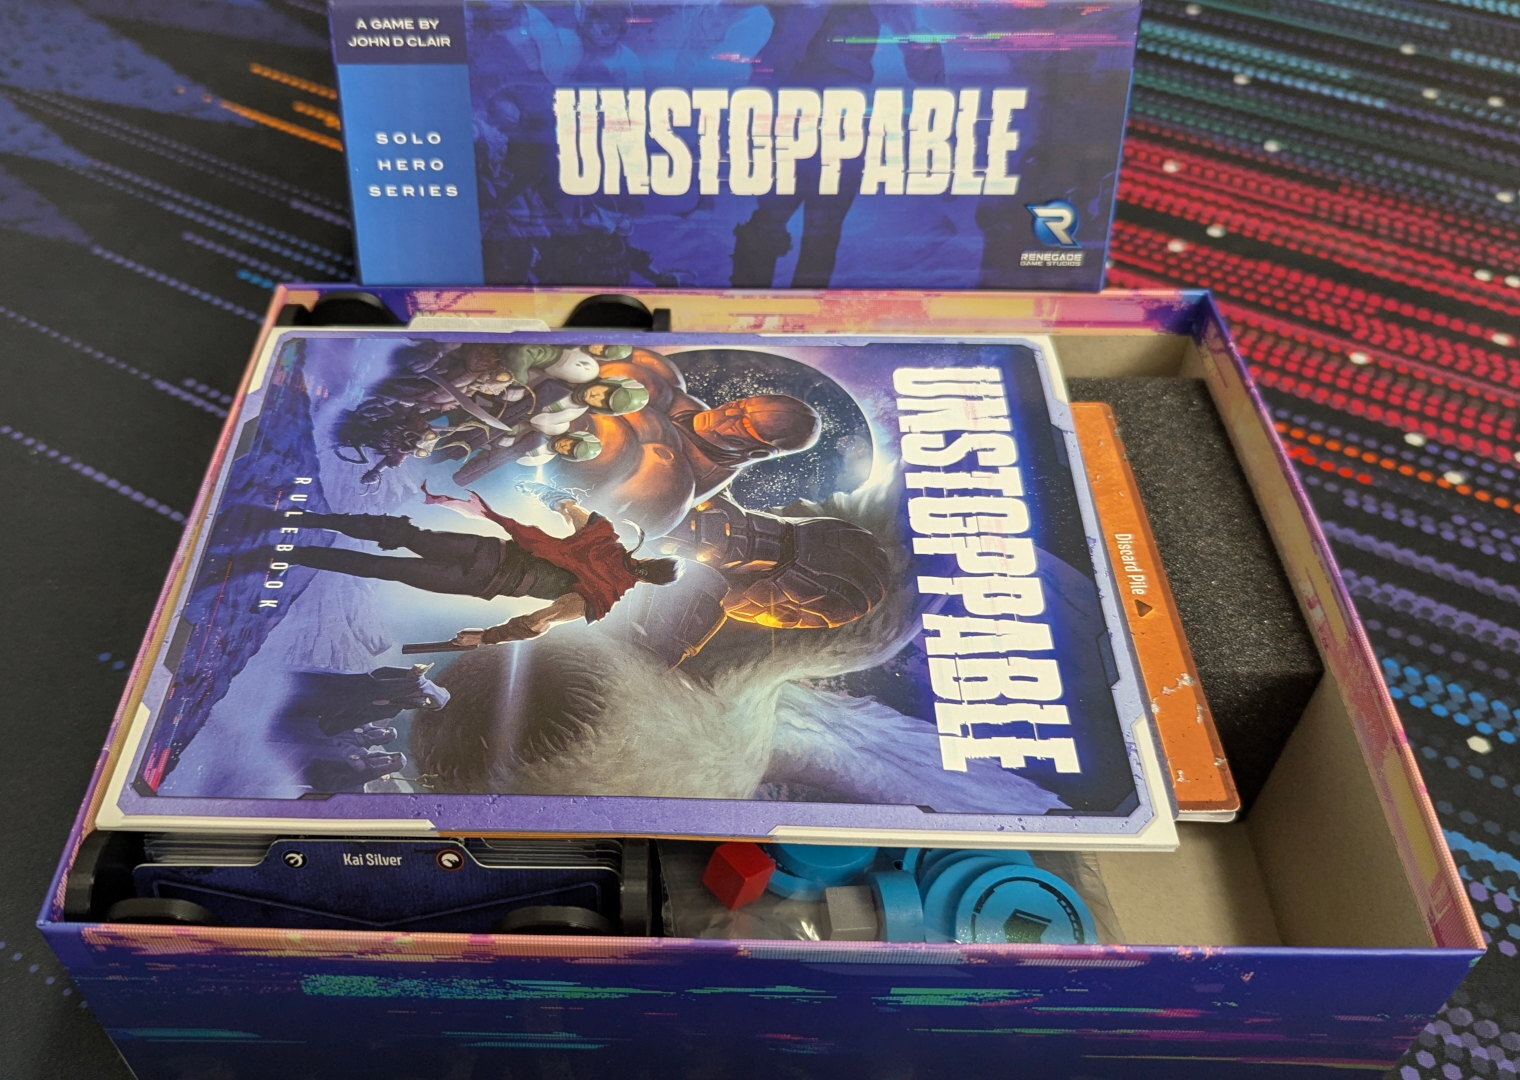
I'm using two of the foam blocks that came with the game to secure the index and form a cubby for the other bits. Plastic bags and a generic case do the job for the pieces. I'm on the fence about designing additional storage. I'll add that here if I come up with something.
Expansions
I don't have the Tyrant's End expansion yet, but I expect it to fit just fine. You might also get the forthcoming Dungeon Crawler Carl expand-alone into the box if you use two indices, but I haven't looked into it.
Sleeve Inception
Two indices might accommodate sleeve inception (for people who never want to touch the cards directly so they sleeve everything in inner sleeves and replace the original sleeves with larger outer sleeves). Two indices would handle more than double the total thickness of the original sleeved cards. The original max sleeved card height clears with about 3mm to spare, so a mm or two more height should be fine, and there is plenty of vertical room for a little extra card width. I can publish a sleeve inception version that's slightly wider if someone needs it.
Настройки 3D-печати
Print List
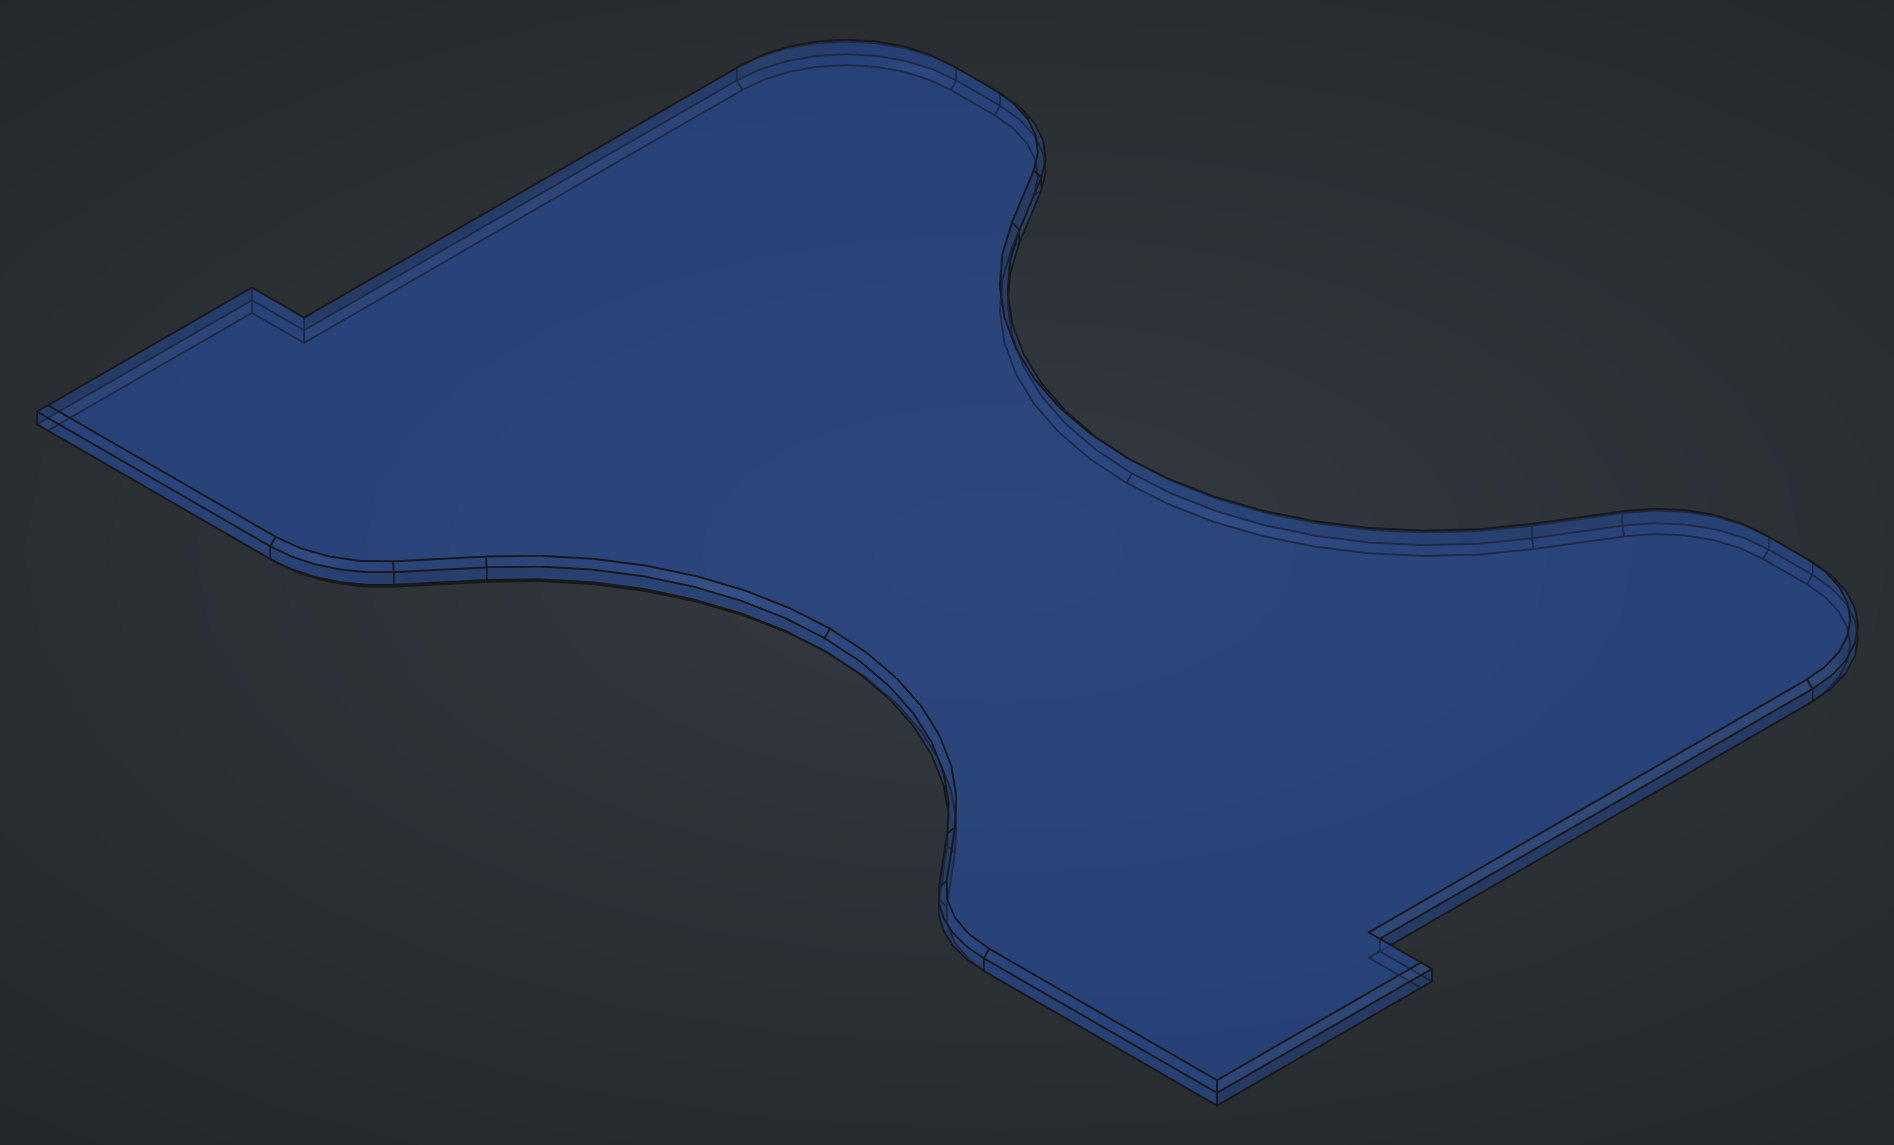
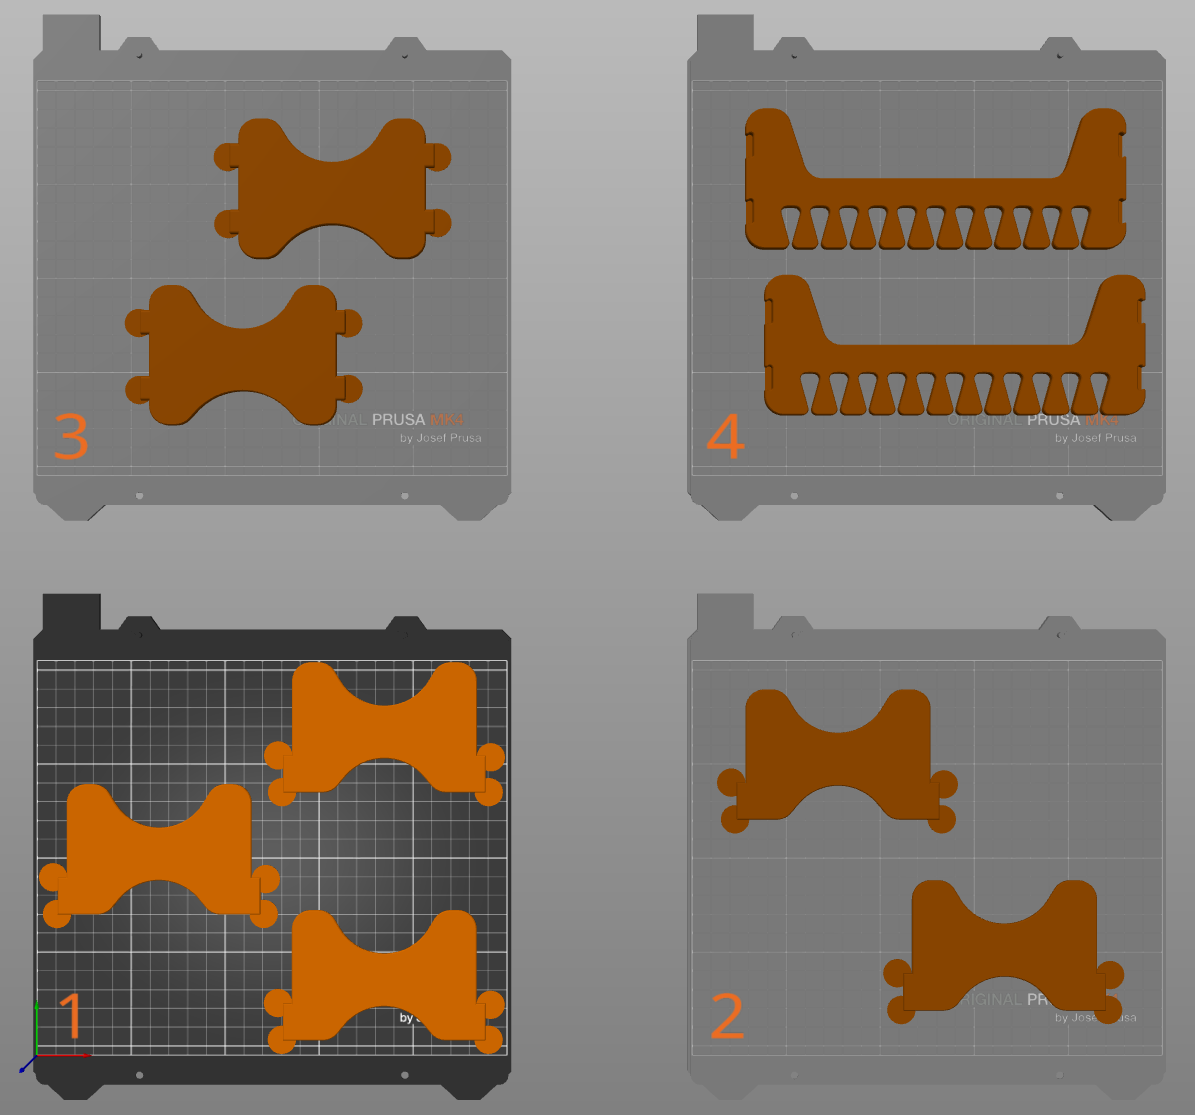
2x Front/Back panels
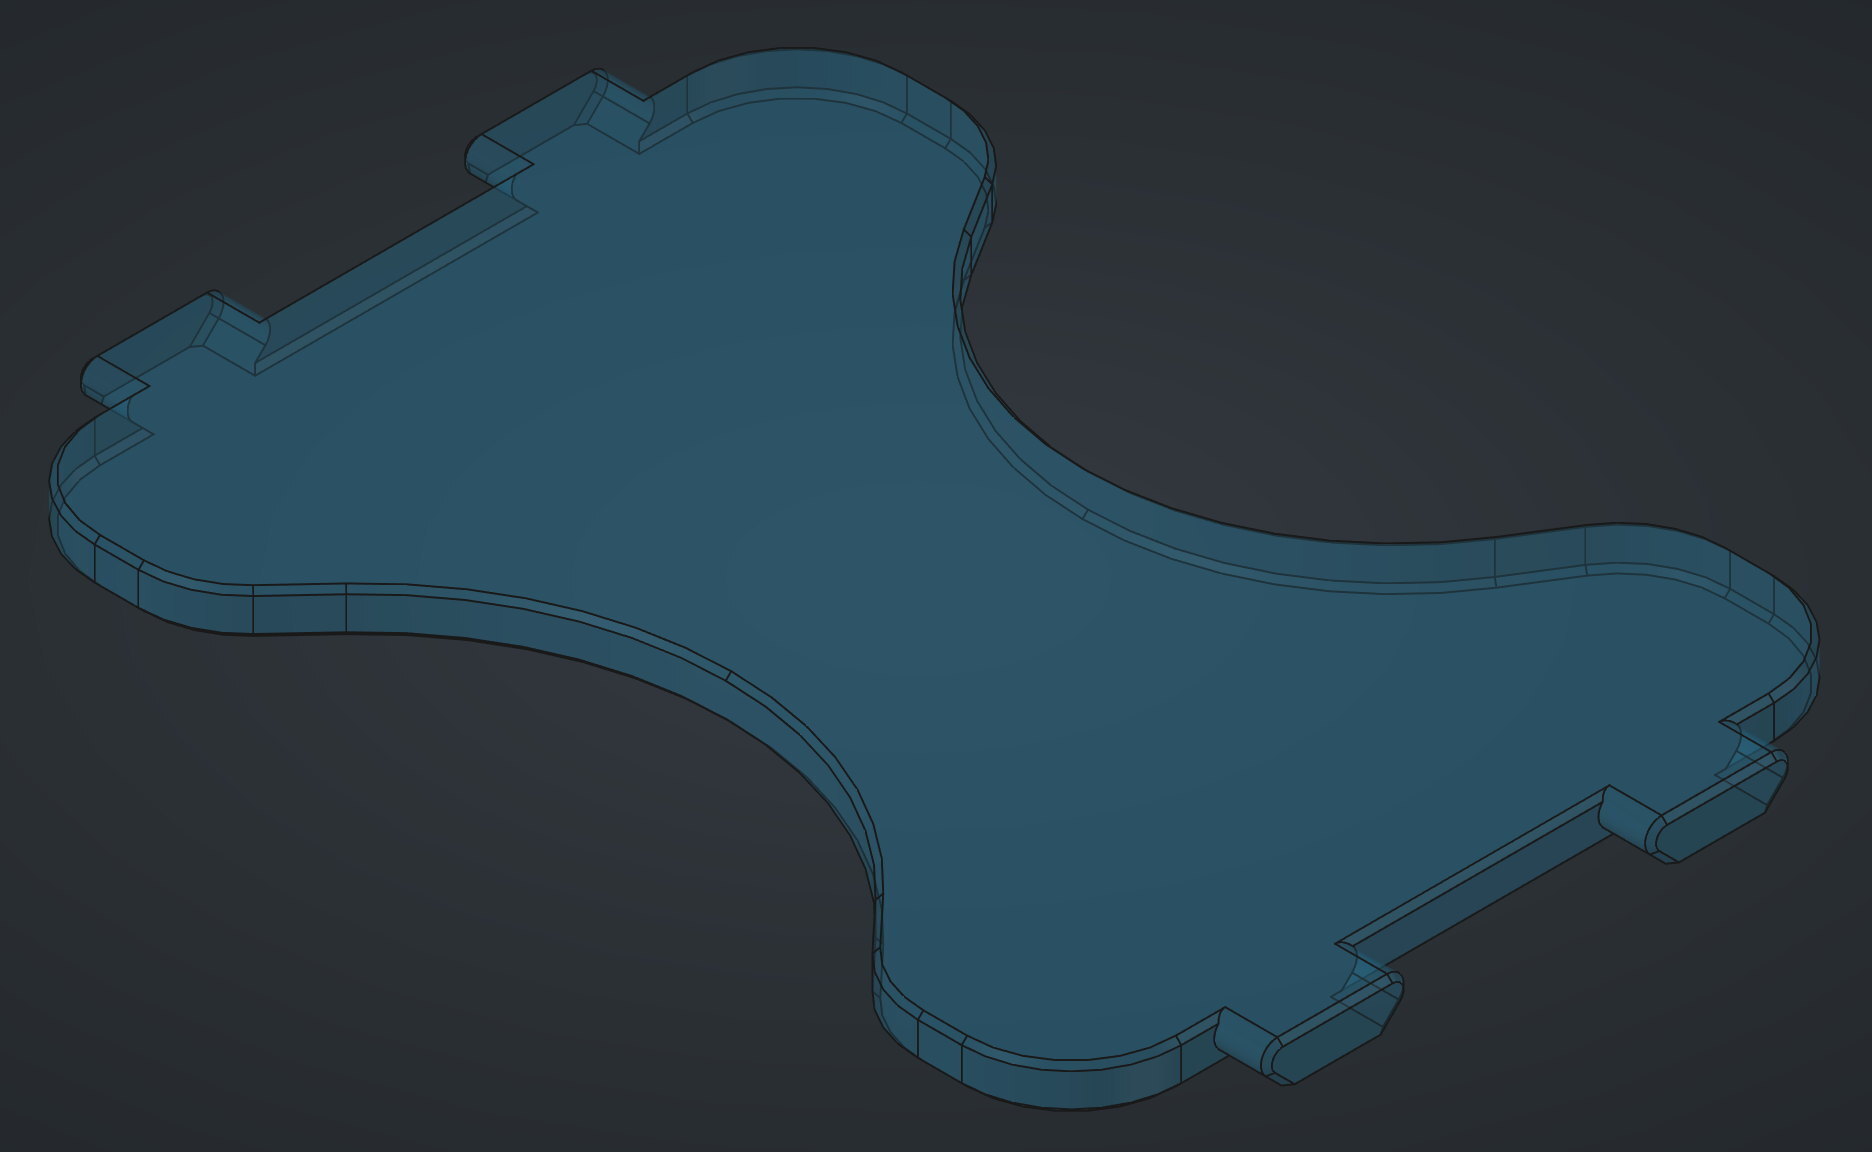
2x Side Panels
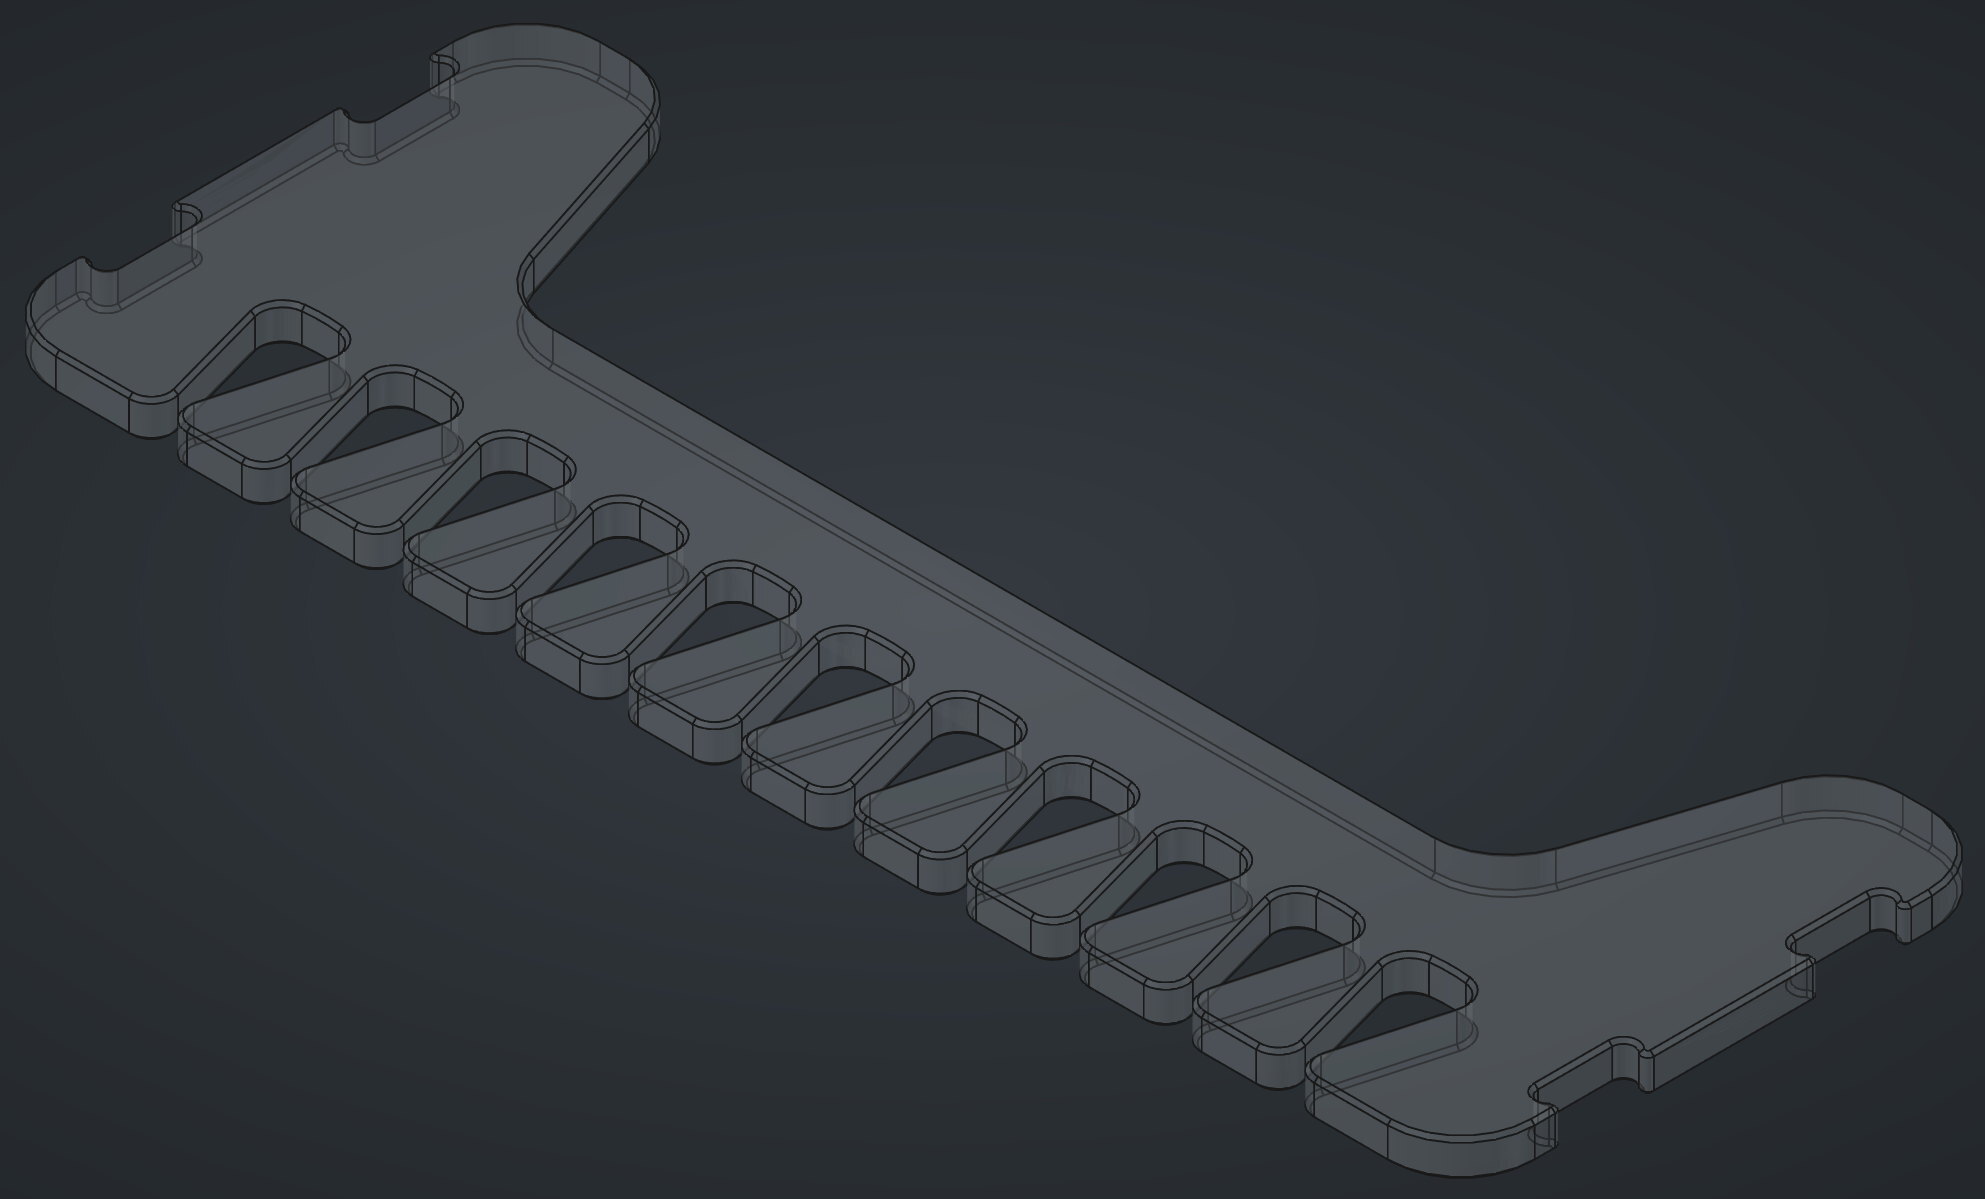
?x Dividers (as desired, I used 5)
Test Prints
You may want to chop off a pin from the front/back panel and a socket from the side panel and print them to test the fit with your particular printer. It should be tight but doable. You can slightly scale one part up or down to dial it in. The difference between sloppy and no-go is only about 0.2 mm.
General Details
- Print Volume Required: 201 mm x 74 mm bed with 5 mm height
- Variable / Adaptive Layer Height: Only on the Front/Back Panel
- Supports: None
- Brims / Mouse Ears: Maybe? ^
^ You might get away with none. To ensure adhesion, I used mouse ears (helper_disk.stl in the Prusa Slicer Gallery) on the sharp corners of the pins on the front/back and the tabs on the dividers. You can see them in the print bed photo. I also added single layer height boxes so the first layer doesn't swoop in for the pin sockets on the side panels. Brims would do the same job but require much more post processing.
My Particulars
- Printer: Prusa MK4 FDM Printer
- Material: Overture Black PLA
- Nozzle: 0.4 mm
- Layer Height: 0.2 mm
Total Print Stats With 5 Dividers
- Print Time: 4:06
- Filament Used: 134 g
- Filament Cost: $1.34
Assembly
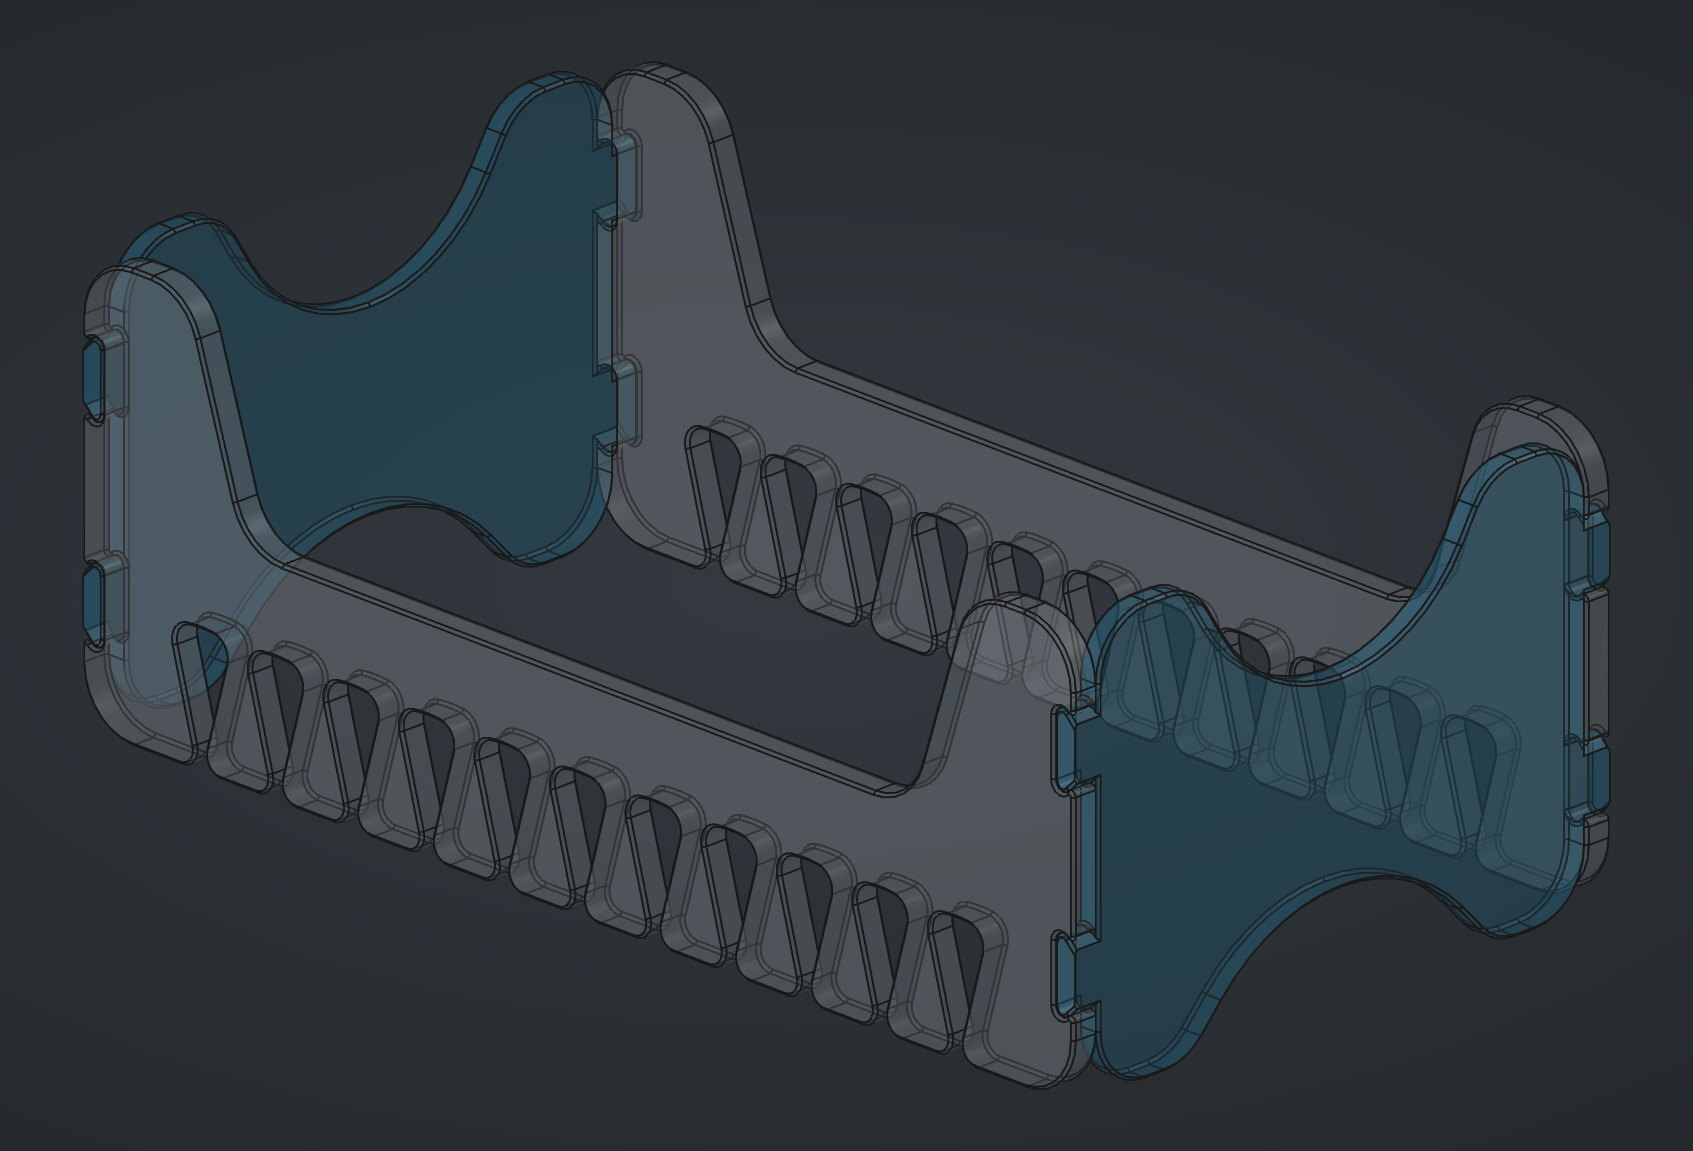
See the included assembly picture. Just press the pins on the front/back panels into the sockets on the side panels. They'll only go one way. The fit should be tight enough to use as is, but you can use a drop of super glue if it's too loose.
Put the index on it's side in the game box, load the dividers in from the bottom, and then rotate the index down into place. From front to back, I filled sockets 2, 4, 6, 9, and 10 but you can organize it however you like.
/https://fbi.cults3d.com/uploads/user/avatar/33242611/Celtic_Tree_of_Life_17.png "Ardemus")


:format(webp)/https://fbi.cults3d.com/uploaders/33242611/illustration-file/7531f645-1d4d-4767-a872-814747ef96a0/Invincible_and_AeonsEnd_TurnCoins-1-1536p.jpg)
:format(webp)/https://fbi.cults3d.com/uploaders/33242611/illustration-file/c91f212e-acd7-4135-8ef2-eea05418408d/Invincible-The-Card-Game-S1-Insert-Overview-1-by-Coldnight.jpg)