
Important V2 Update Information!
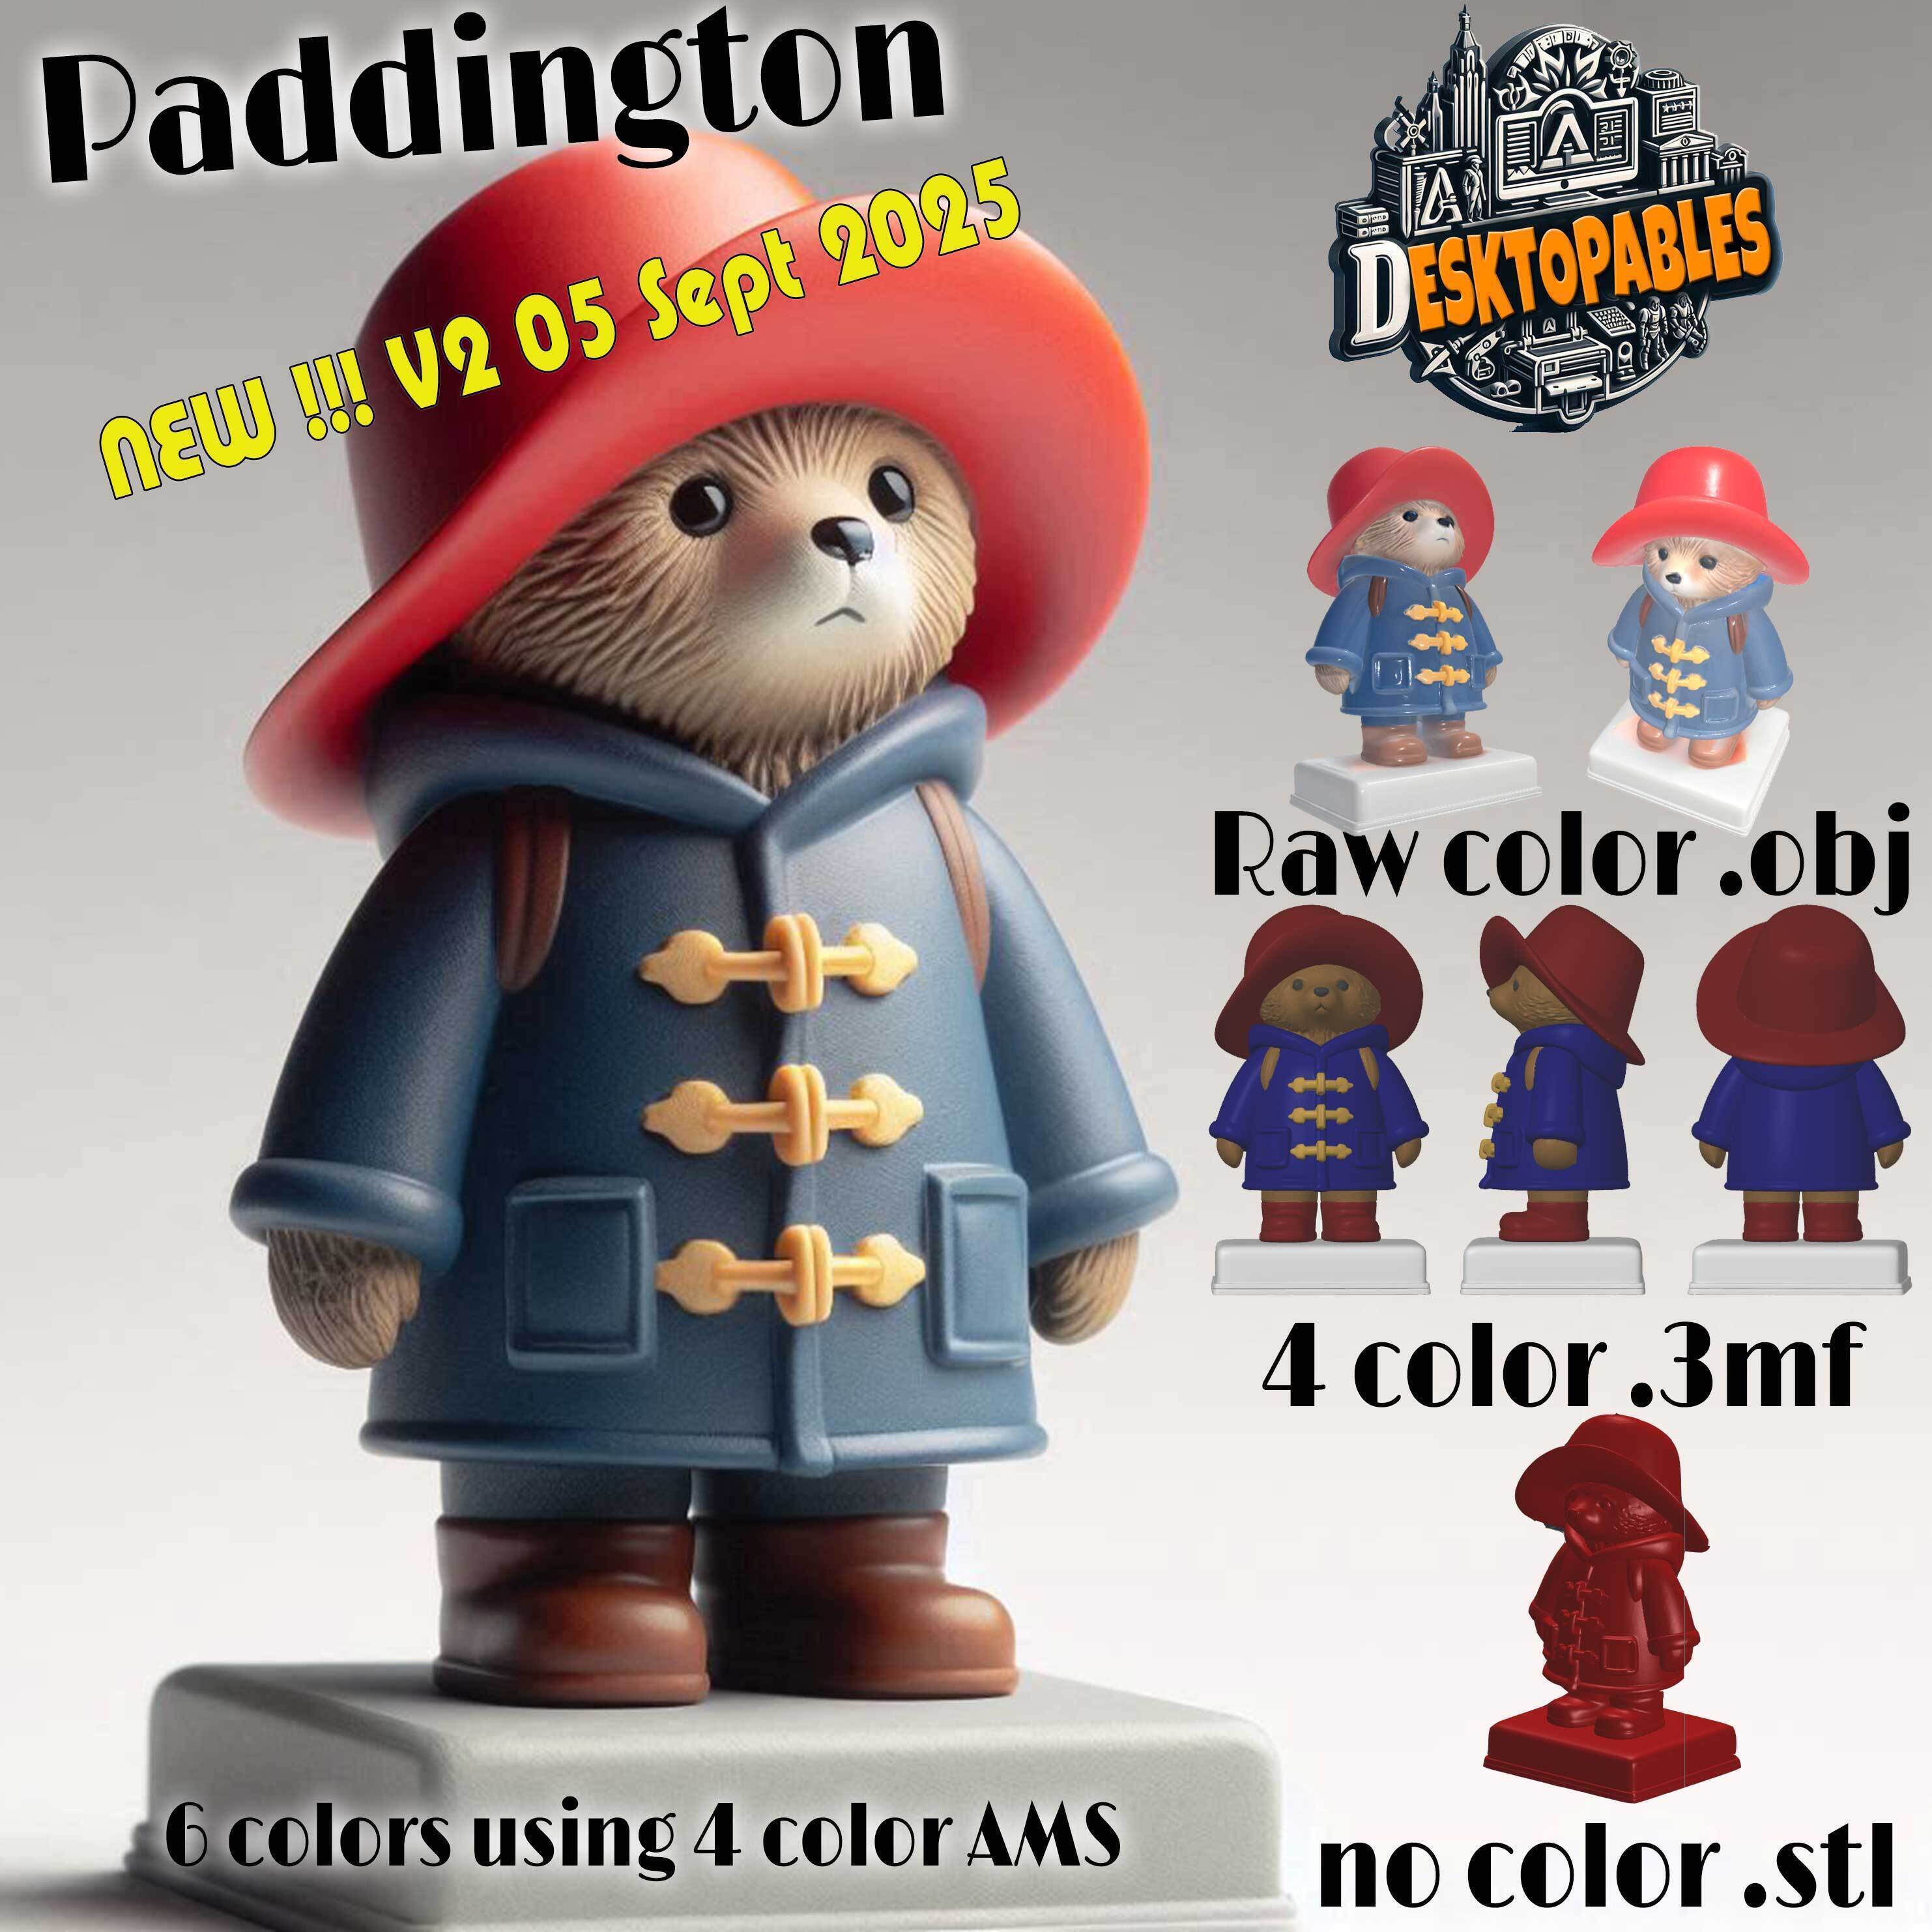
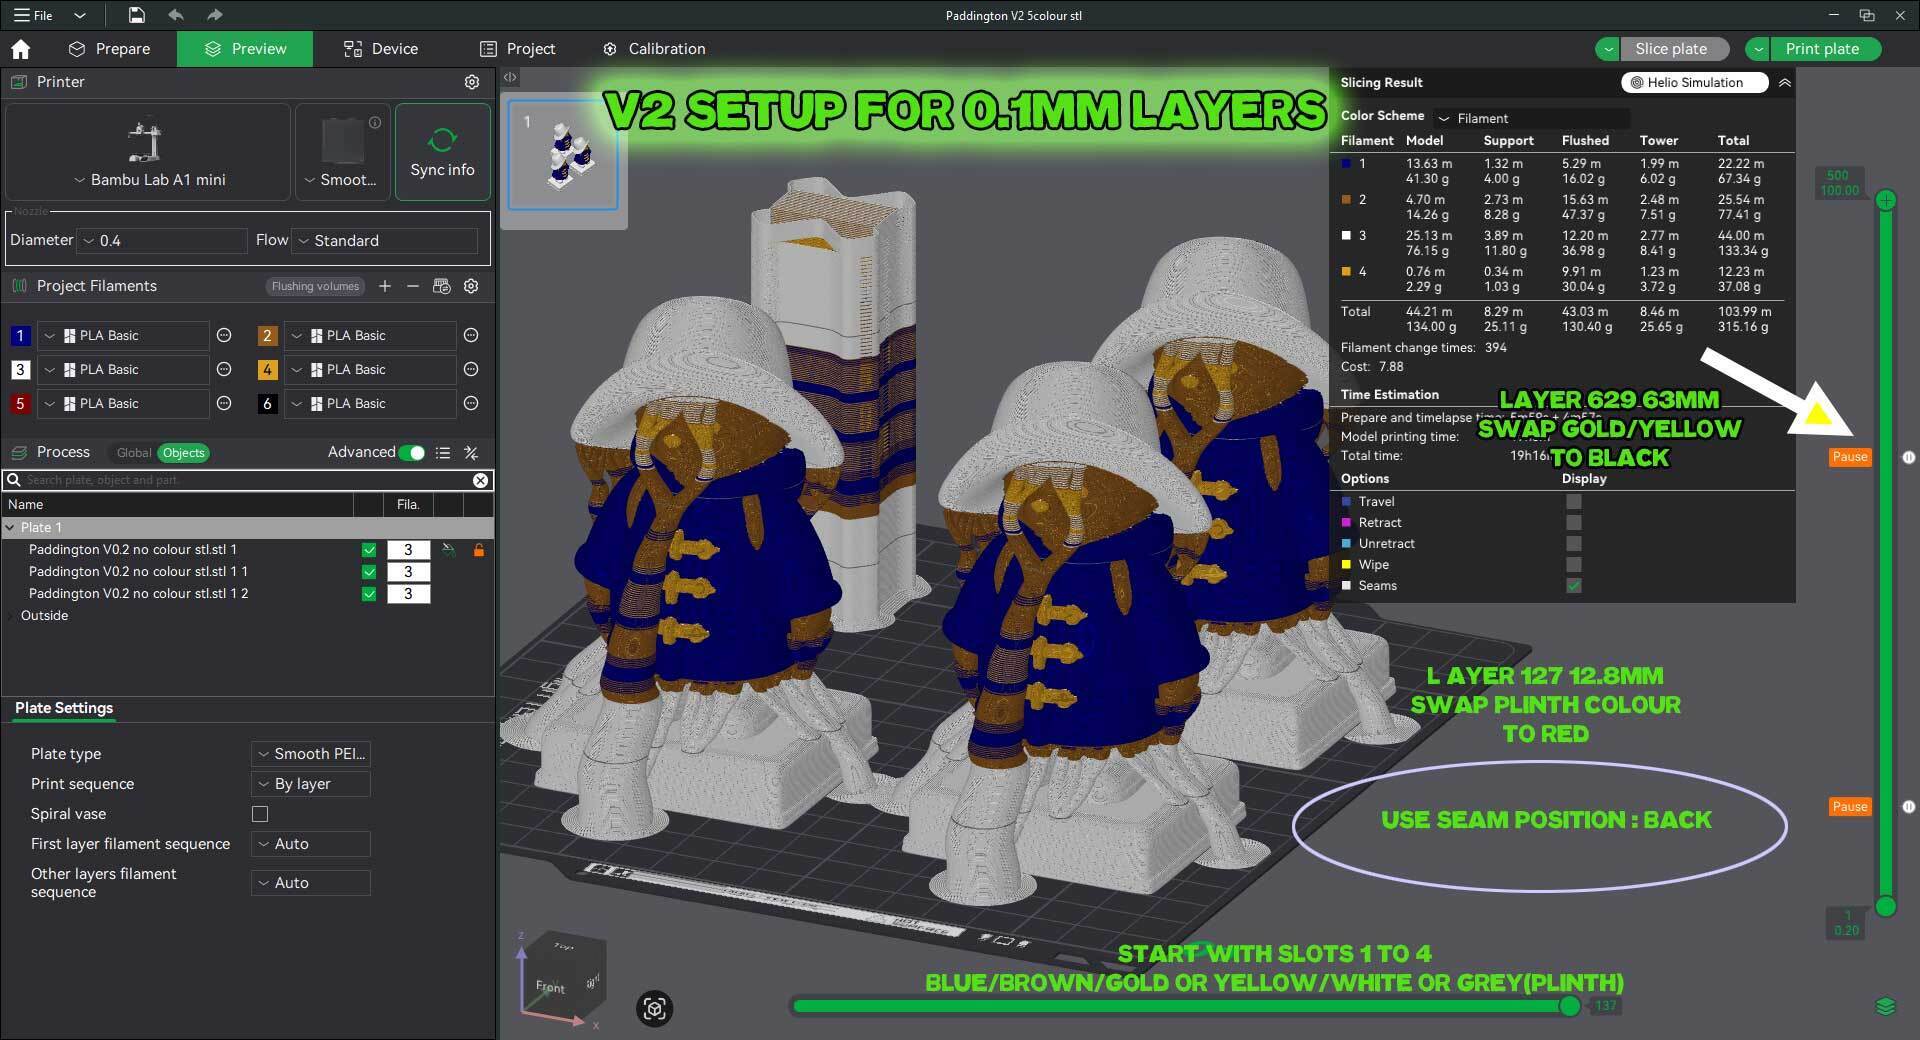
This is a completely redesigned V2 of our popular Duffel-Coat Bear bust, now with a much more advanced and user-friendly multi-color setup! This version uses a clever two-pause method to achieve its beautiful result.
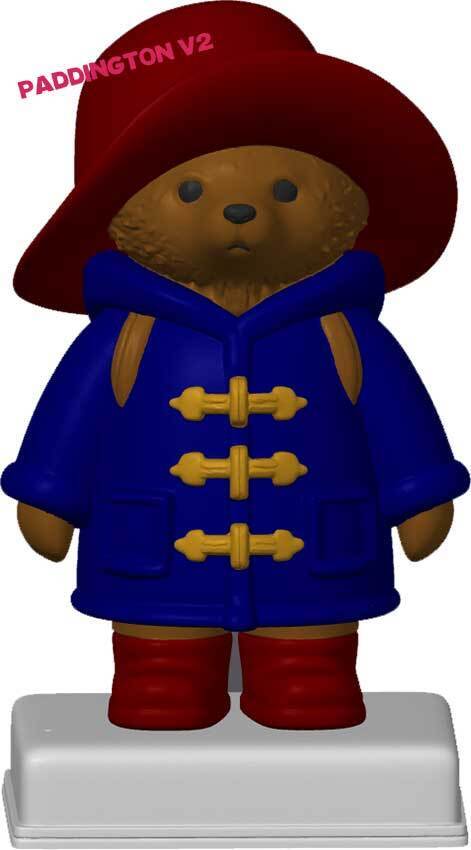
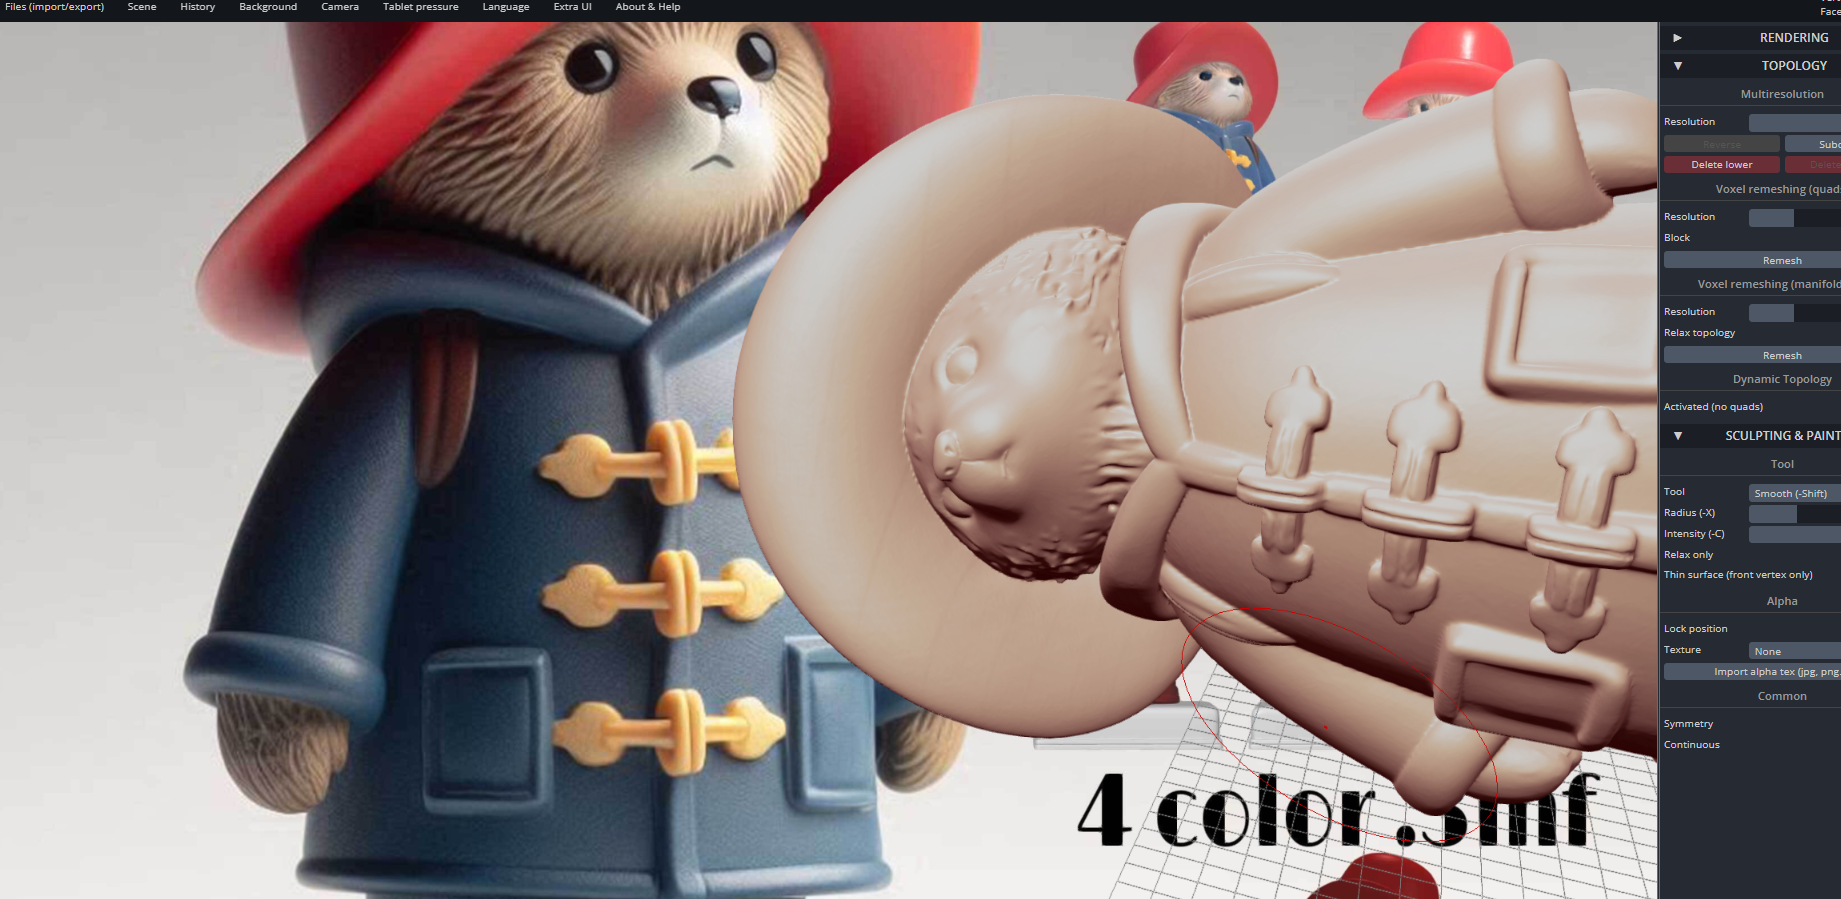
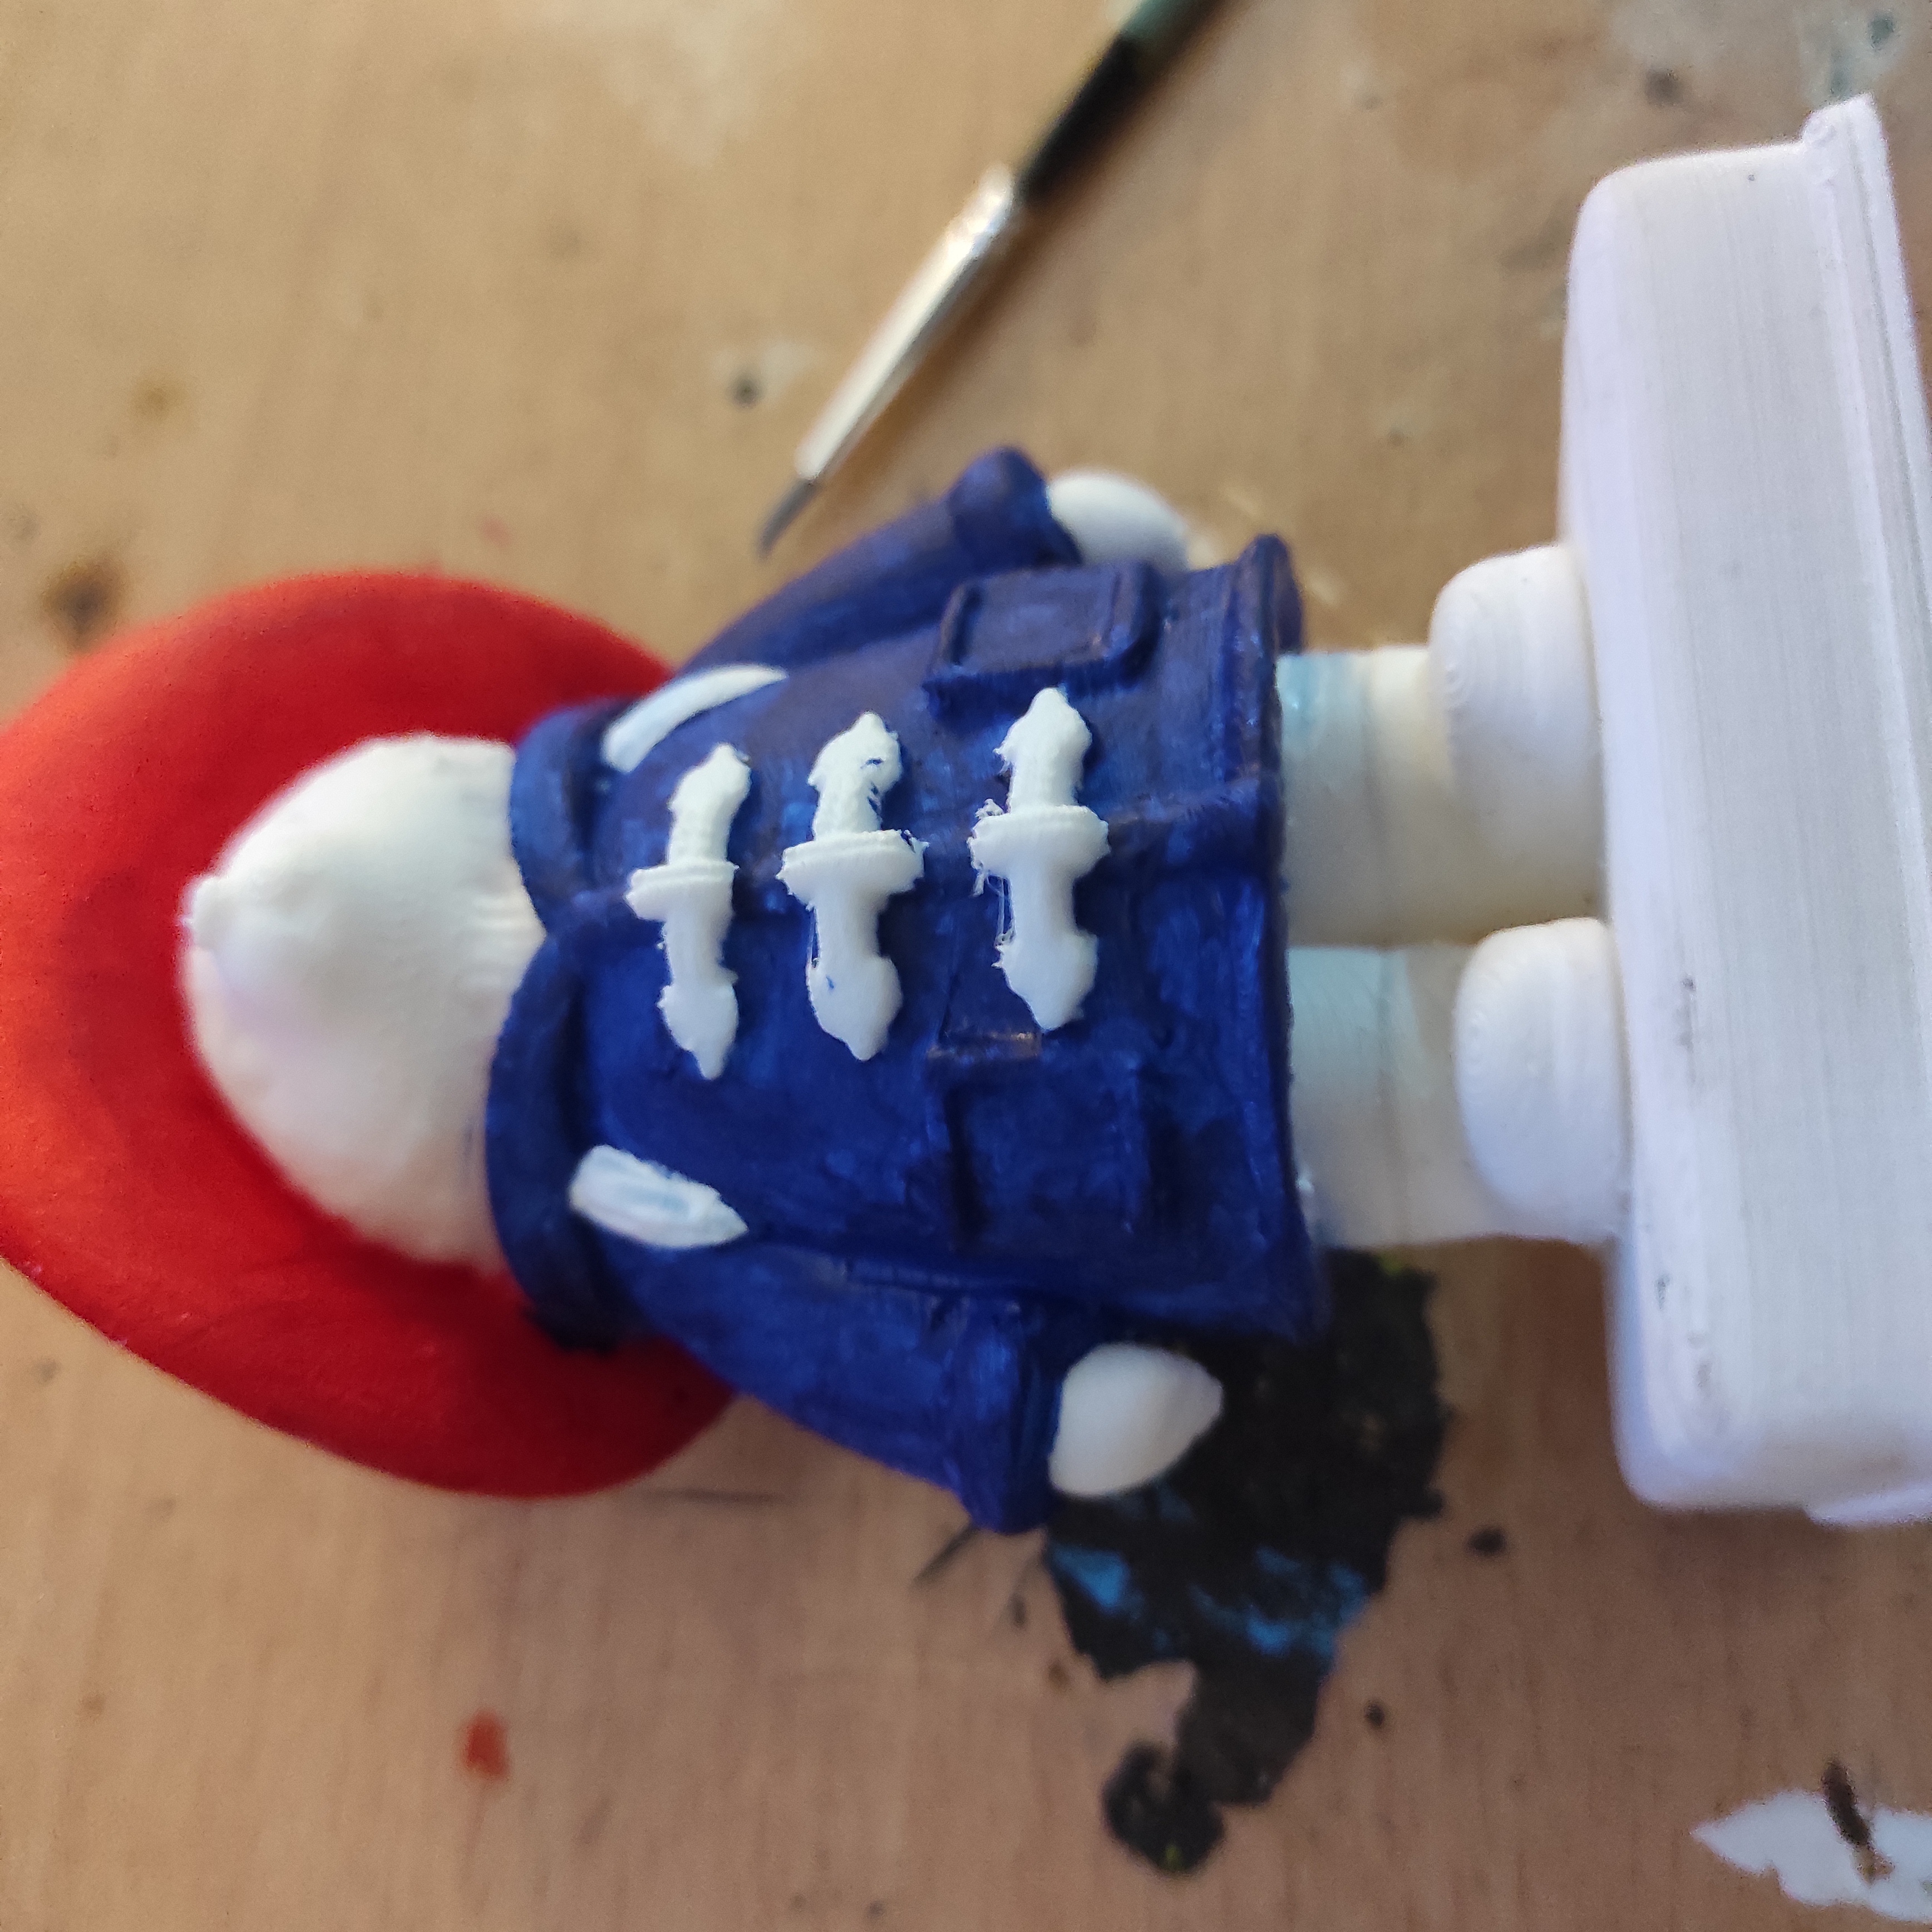
A Note on the 3MF File: The included 3MF file may look "funny" when you load it into your slicer. For example, the hat might appear white. This is normal! The colors are assigned this way to make the filament swaps logical and easy. Please trust the process and follow the guide below for a perfect print!
Print settings
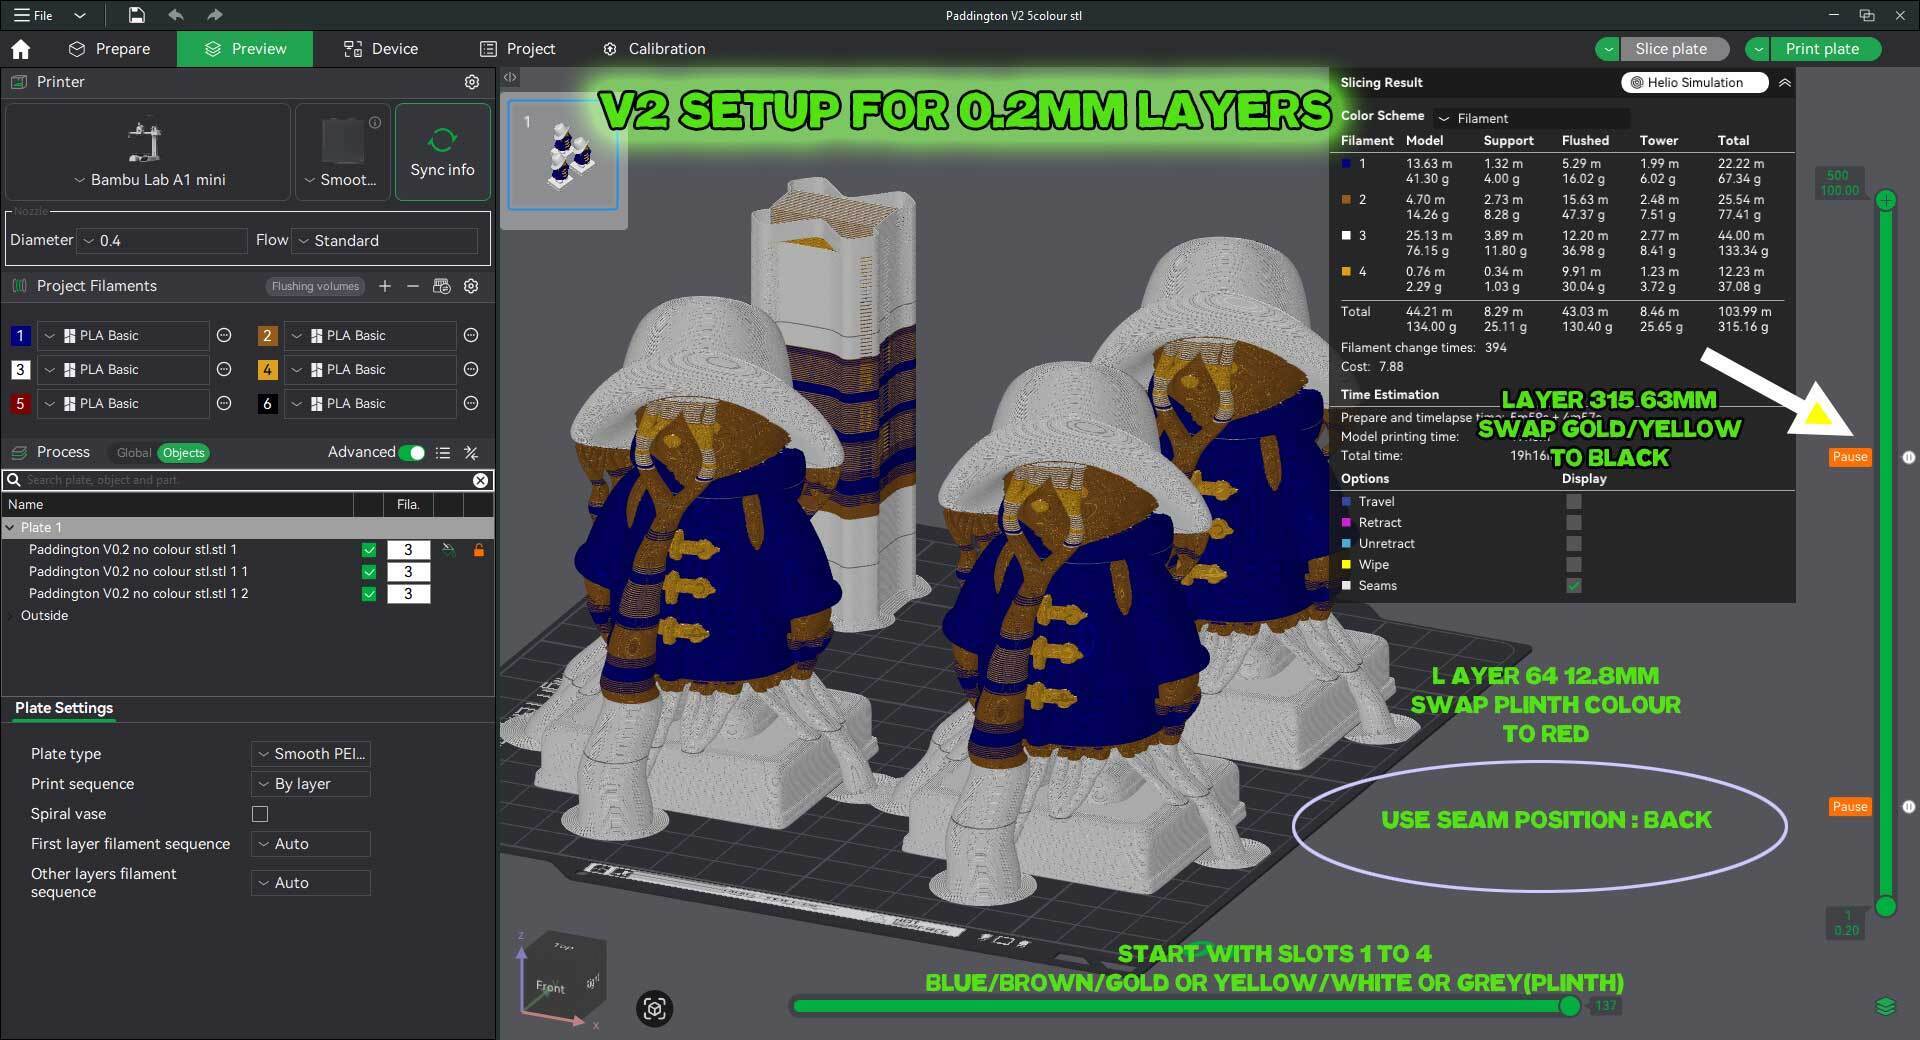
* AMS Setup Slot 1-4 Blue/Brown/yellow/White or grey for plinth.
* Layer height: 0.2mm OR 0.1mm is required to use the pause instructions below. If you use a different layer height, you will need to manually find the new heights for your color swaps.
* Default Size: The model is 100mm tall by default.
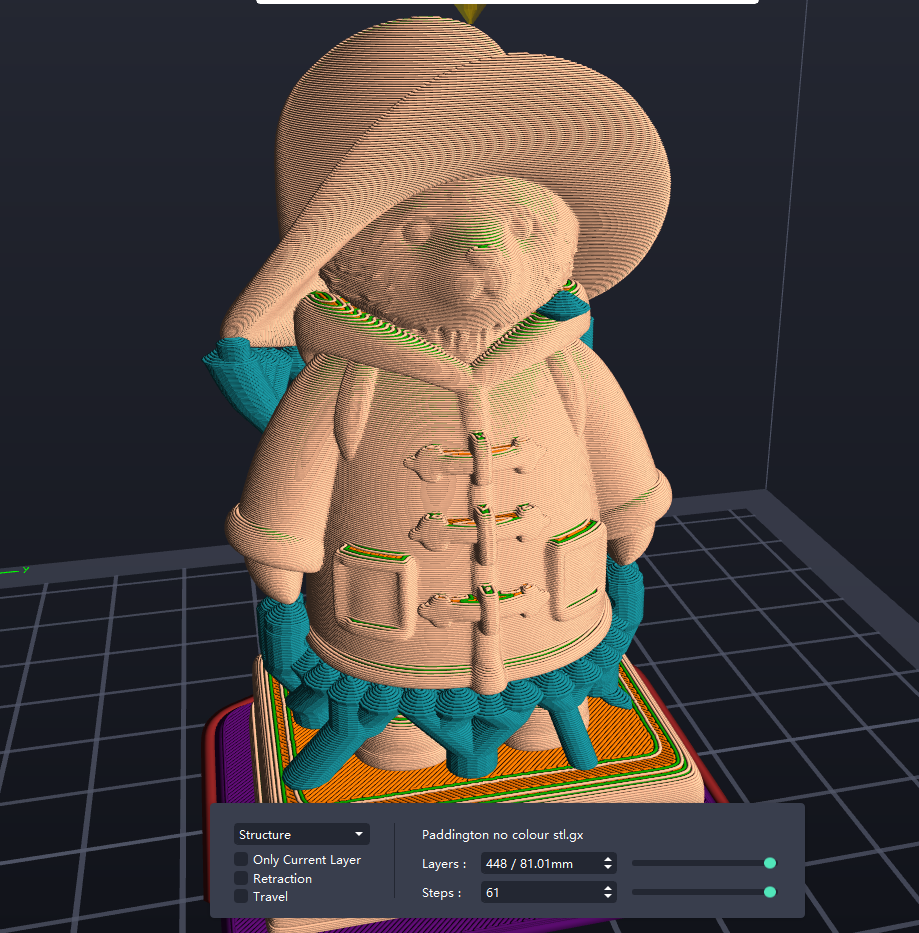
* Supports: Yes, tree supports are recommended for the chin and under the brim of the hat.
* Infill: 10-15% is sufficient for a display piece.
Multi-Color Pause Print Guide
This model uses two simple pauses to achieve its classic look.
Initial Filament Setup: Load your AMS with the following colors:
- Slot 1: Blue (or your chosen coat color)
- Slot 2: Yellow (or Gold)
- Slot 3: Brow
- Slot 4: Grey (or your chosen plinth color)
Color Swap Instructions:
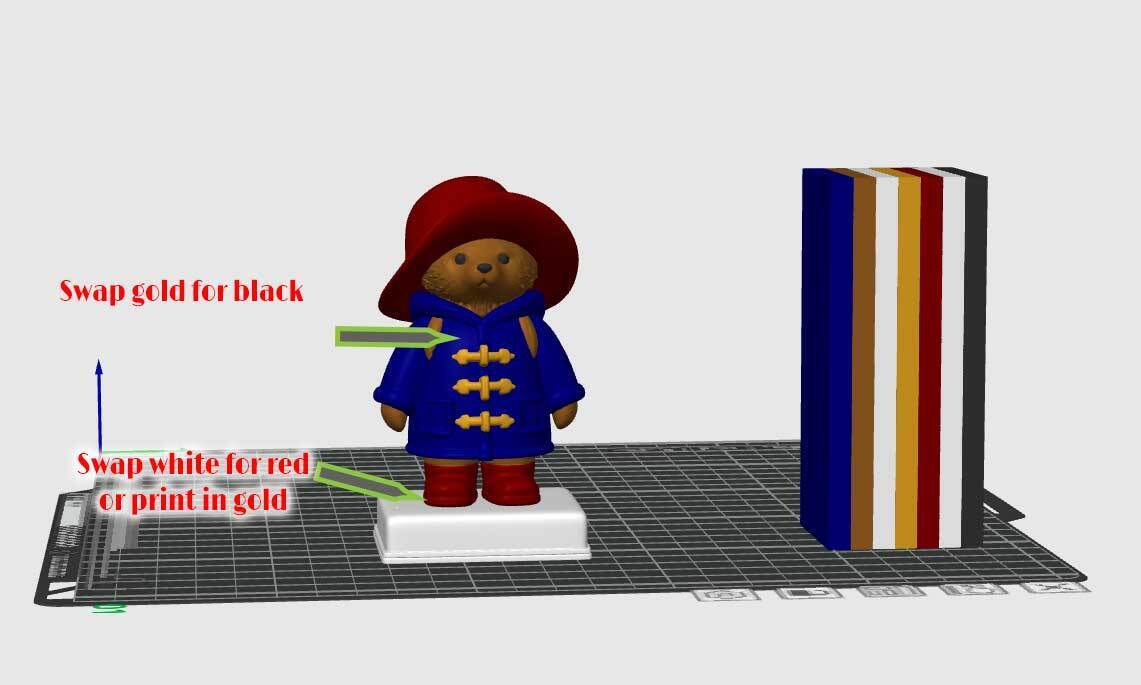
- PAUSE 1 (at 12.8mm height): The printer will pause automatically. Make the following swap:
- Swap Grey (Slot 4) -> to -> Red
- PAUSE 2 (at 64.7mm height): The printer will pause again. Make the following swap:
- Swap Yellow/Gold (Slot 2) -> to -> Black
Resume the print after each swap. That's it!
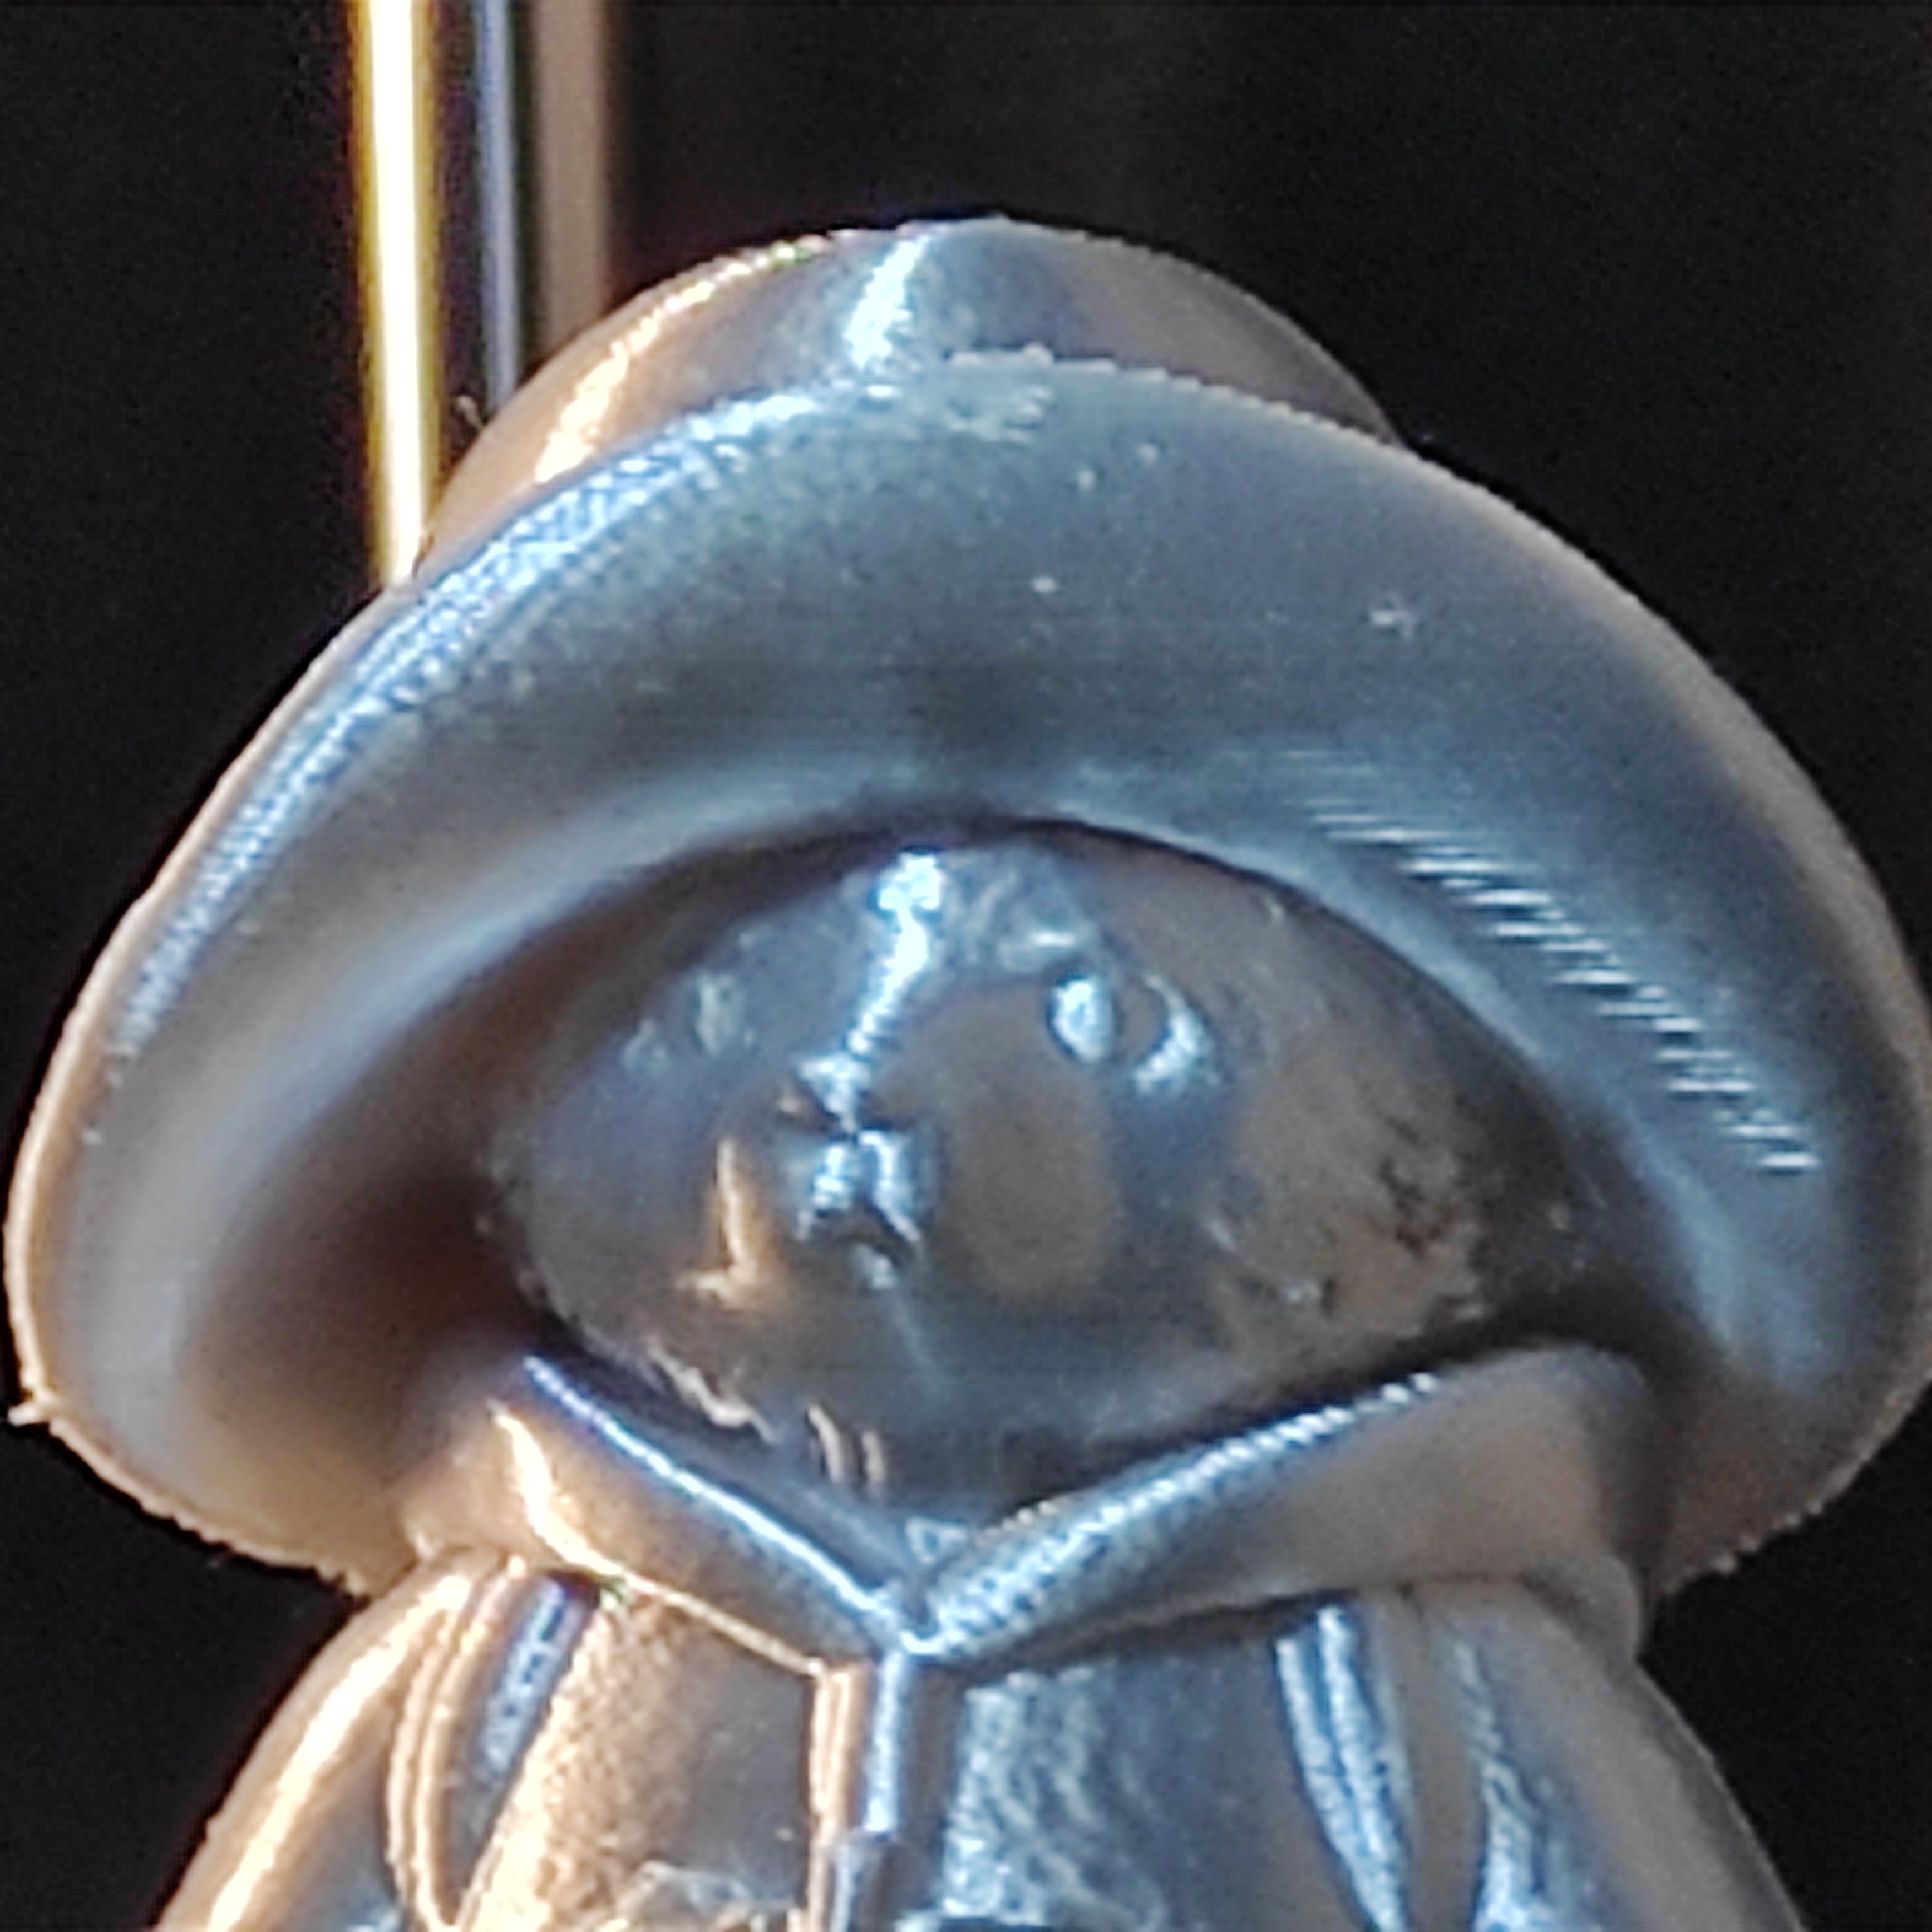
Pro-Tip for an easier print: You can skip the second pause entirely and just color in the eyes and nose with a fine-tipped black permanent marker or some black paint on a toothpick.
Basic automatic tree type supports should be adequate,
The standard model is roughly 80mm tall but can be resized...
5 to 10% infill is plenty,
The main tricky part (if you are printing with ams) is after the plinth, you need to do a colour swap as well as above the golden/yellow buttons bit again we swap the yellow to black for the eyes etc., above that. So you will be doing a 5 or 6 colour print with 4 colour ams
- Settings and Manufacturing Instructions (Technical Details, Assembly, Finishing, Safety):
## 🖨️ Printing & Finishing Your Duffel-Coat Bear Bust:
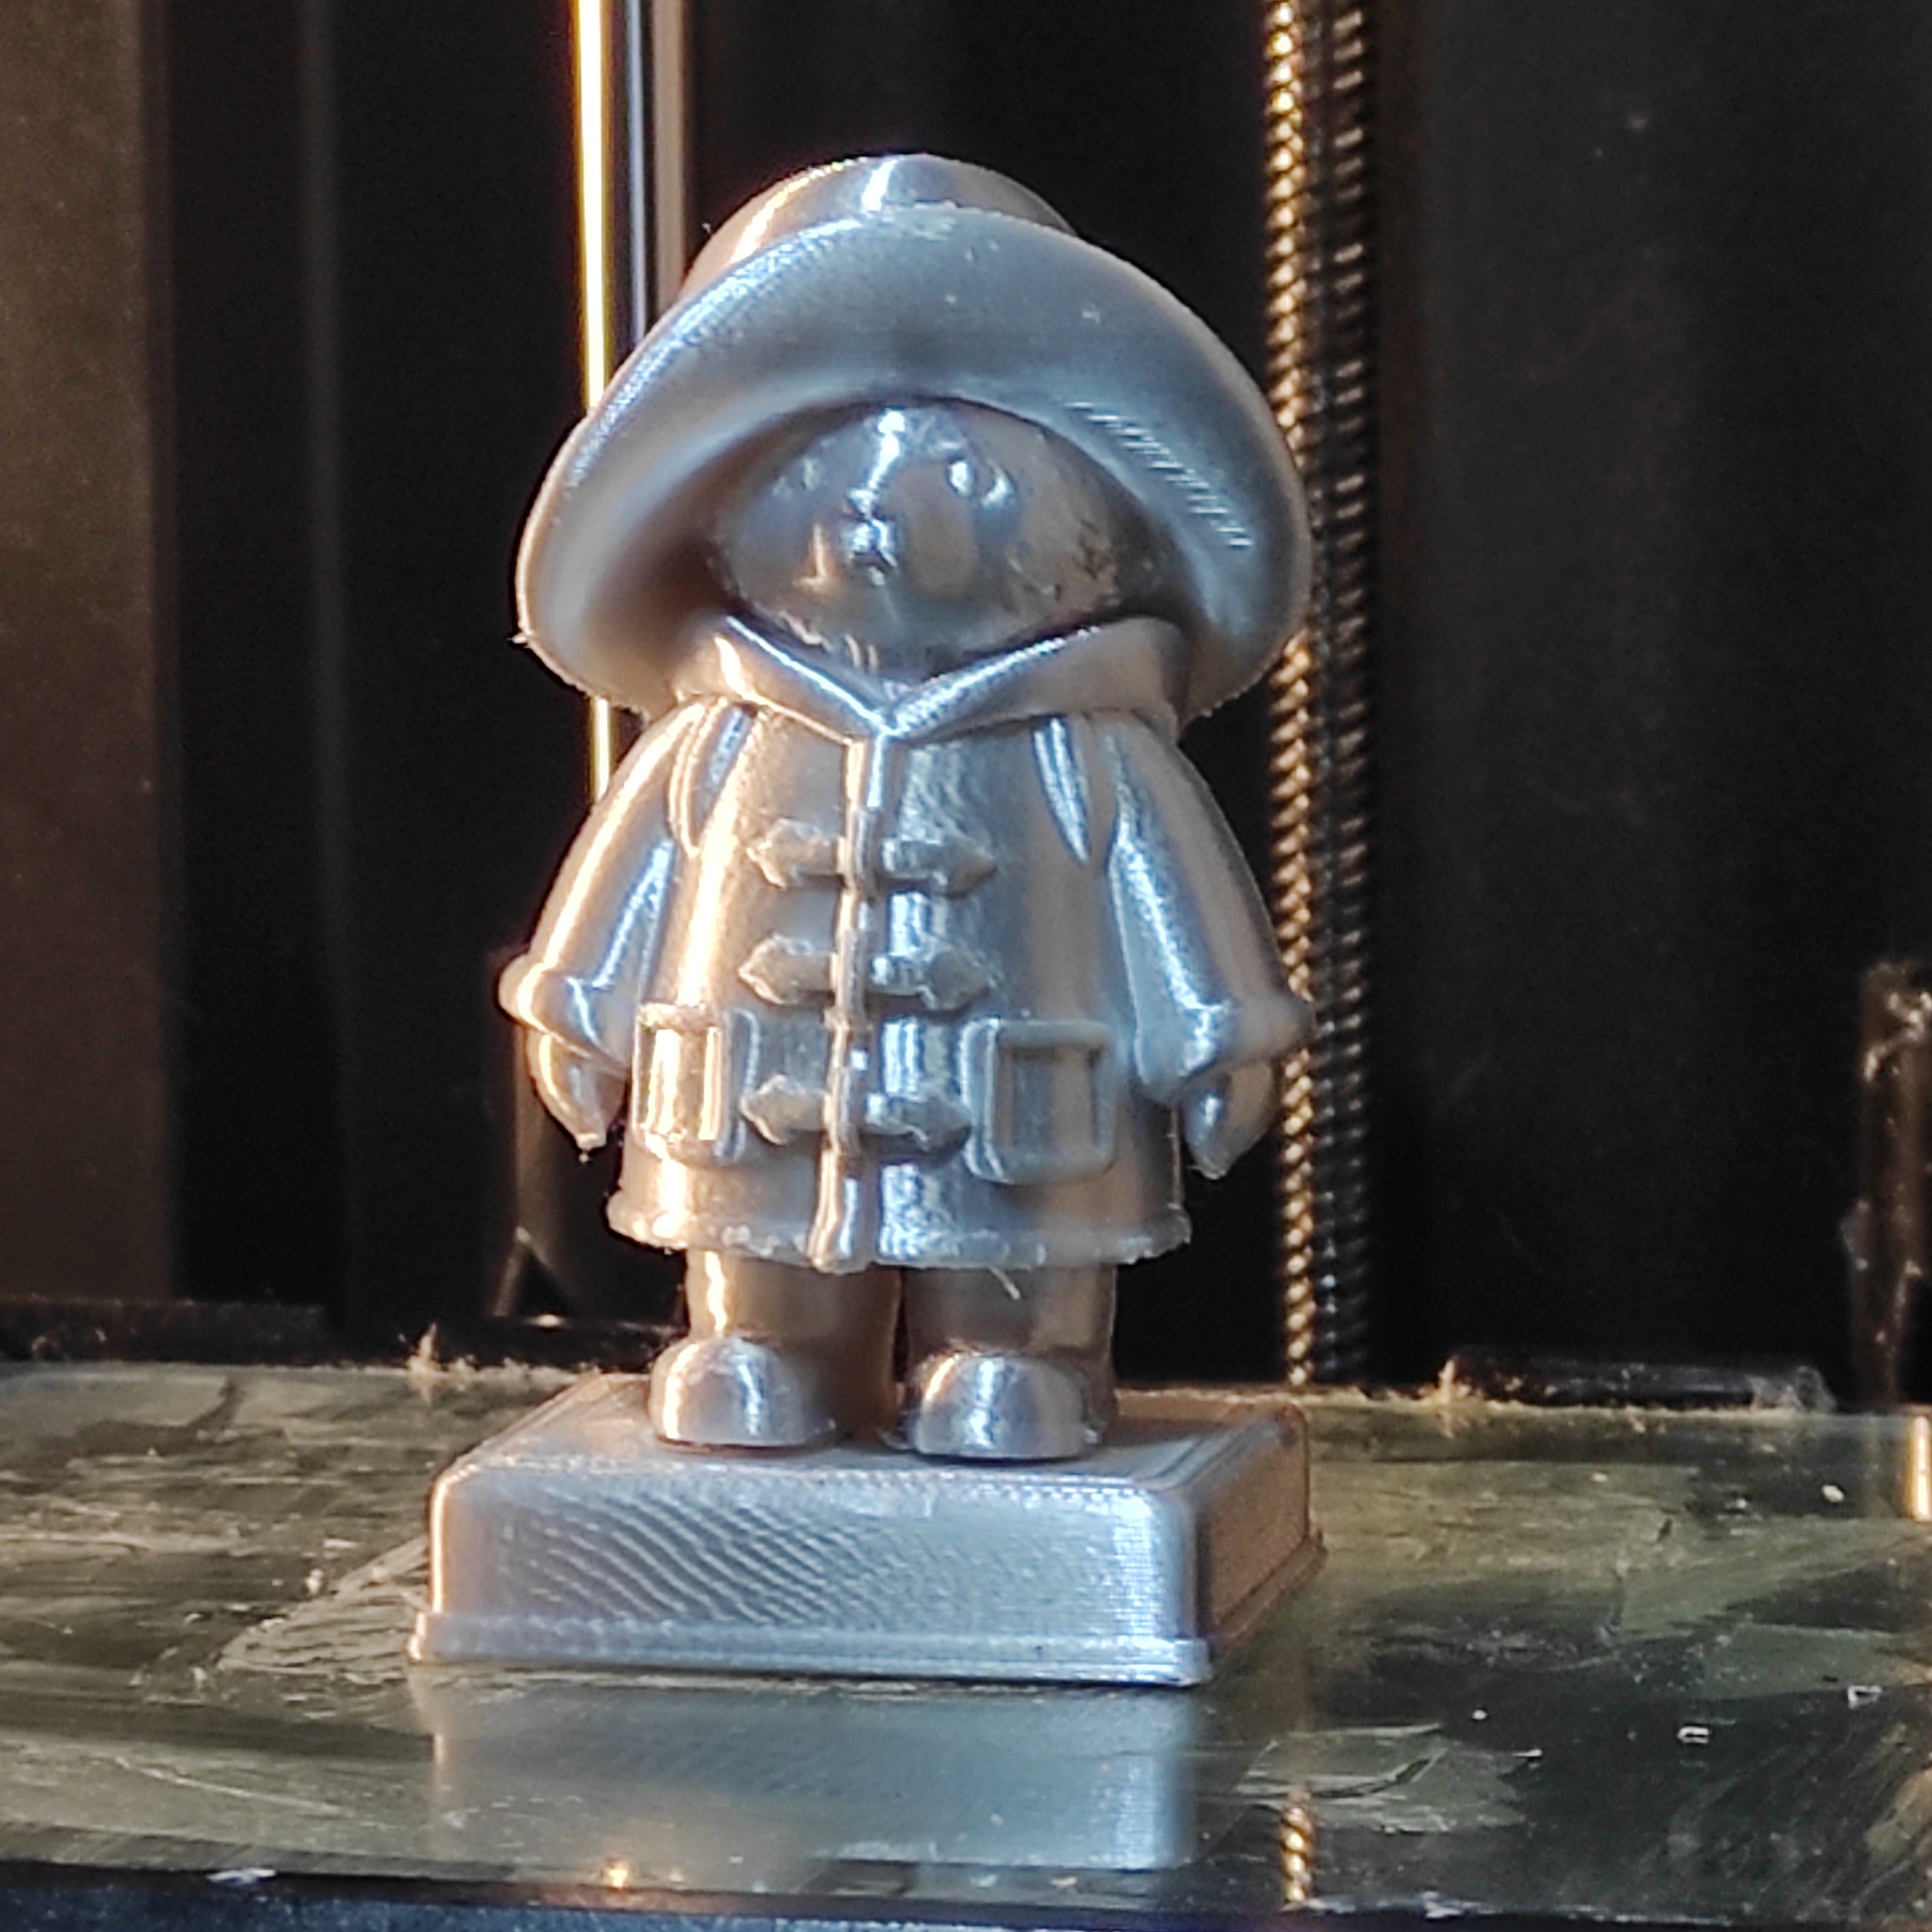
This model is designed to be a delightful print, whether in full color or as a single piece for painting.
Recommended Machine Type: FDM (Fused Deposition Modelling). Can also be printed in Resin for exquisite detail (STL version).
Materials:
* Multi-Color (AMS Version - .3MF): PLA or PLA+ is recommended for vibrant colors.
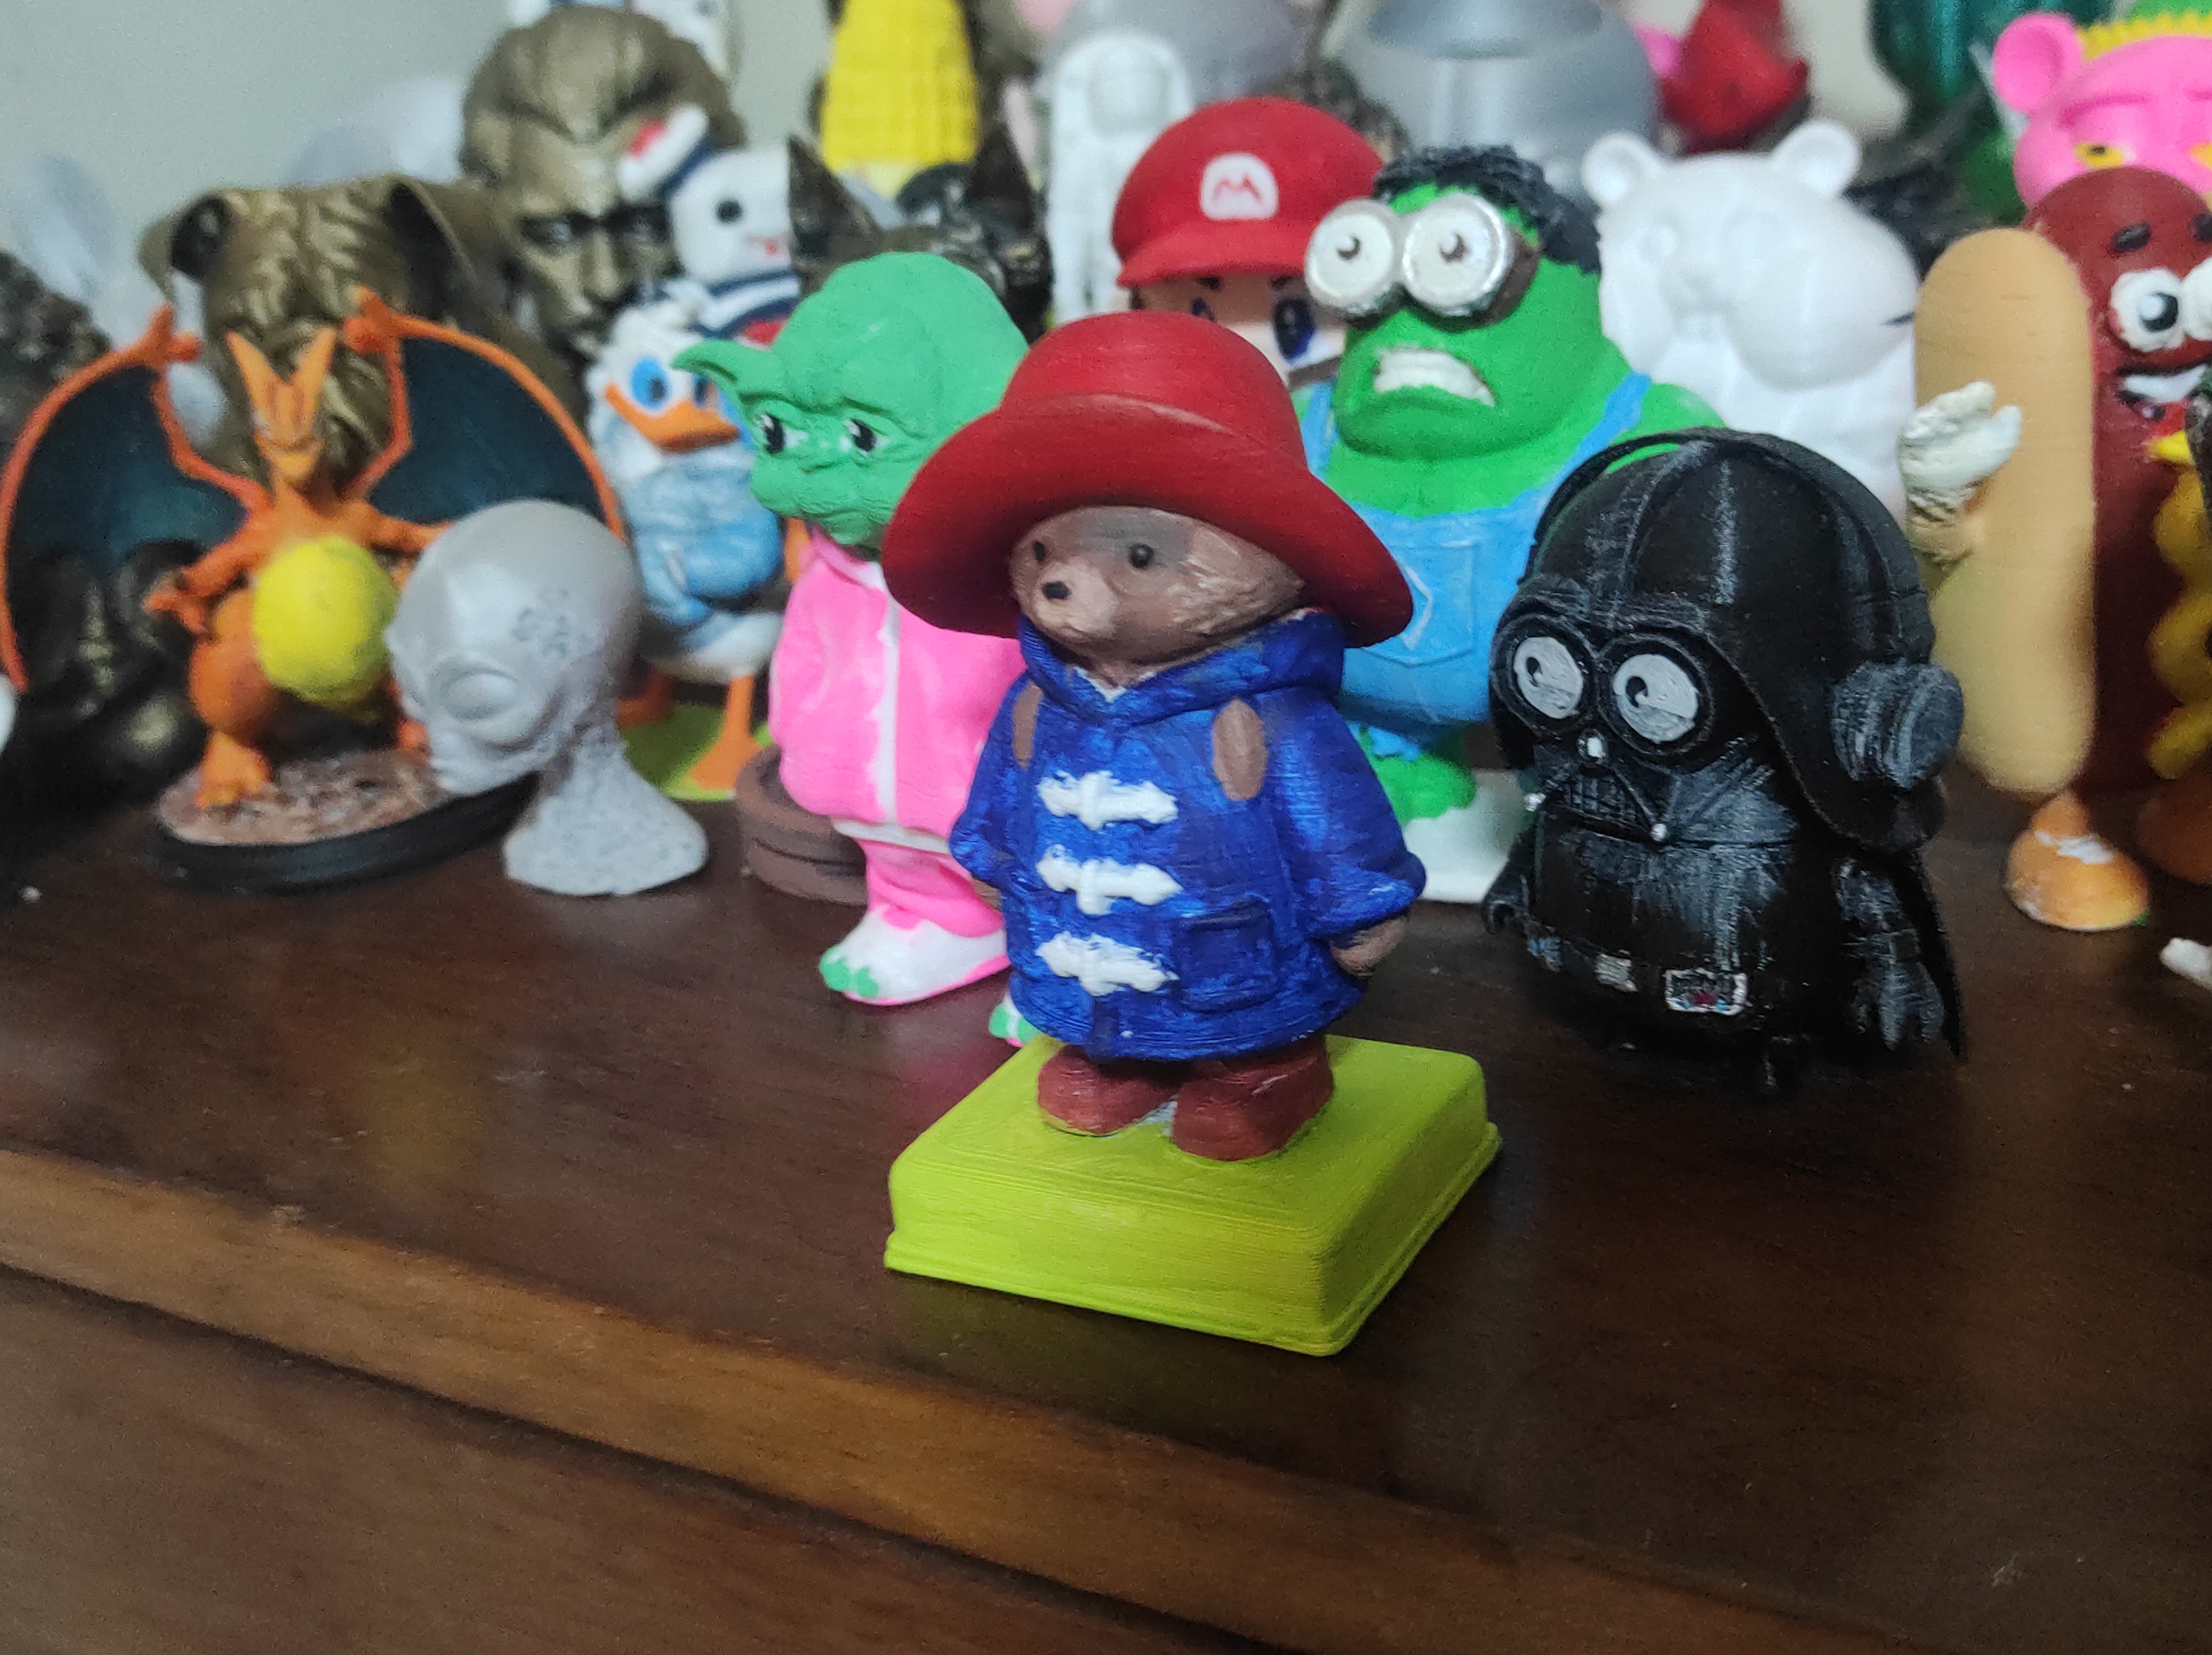
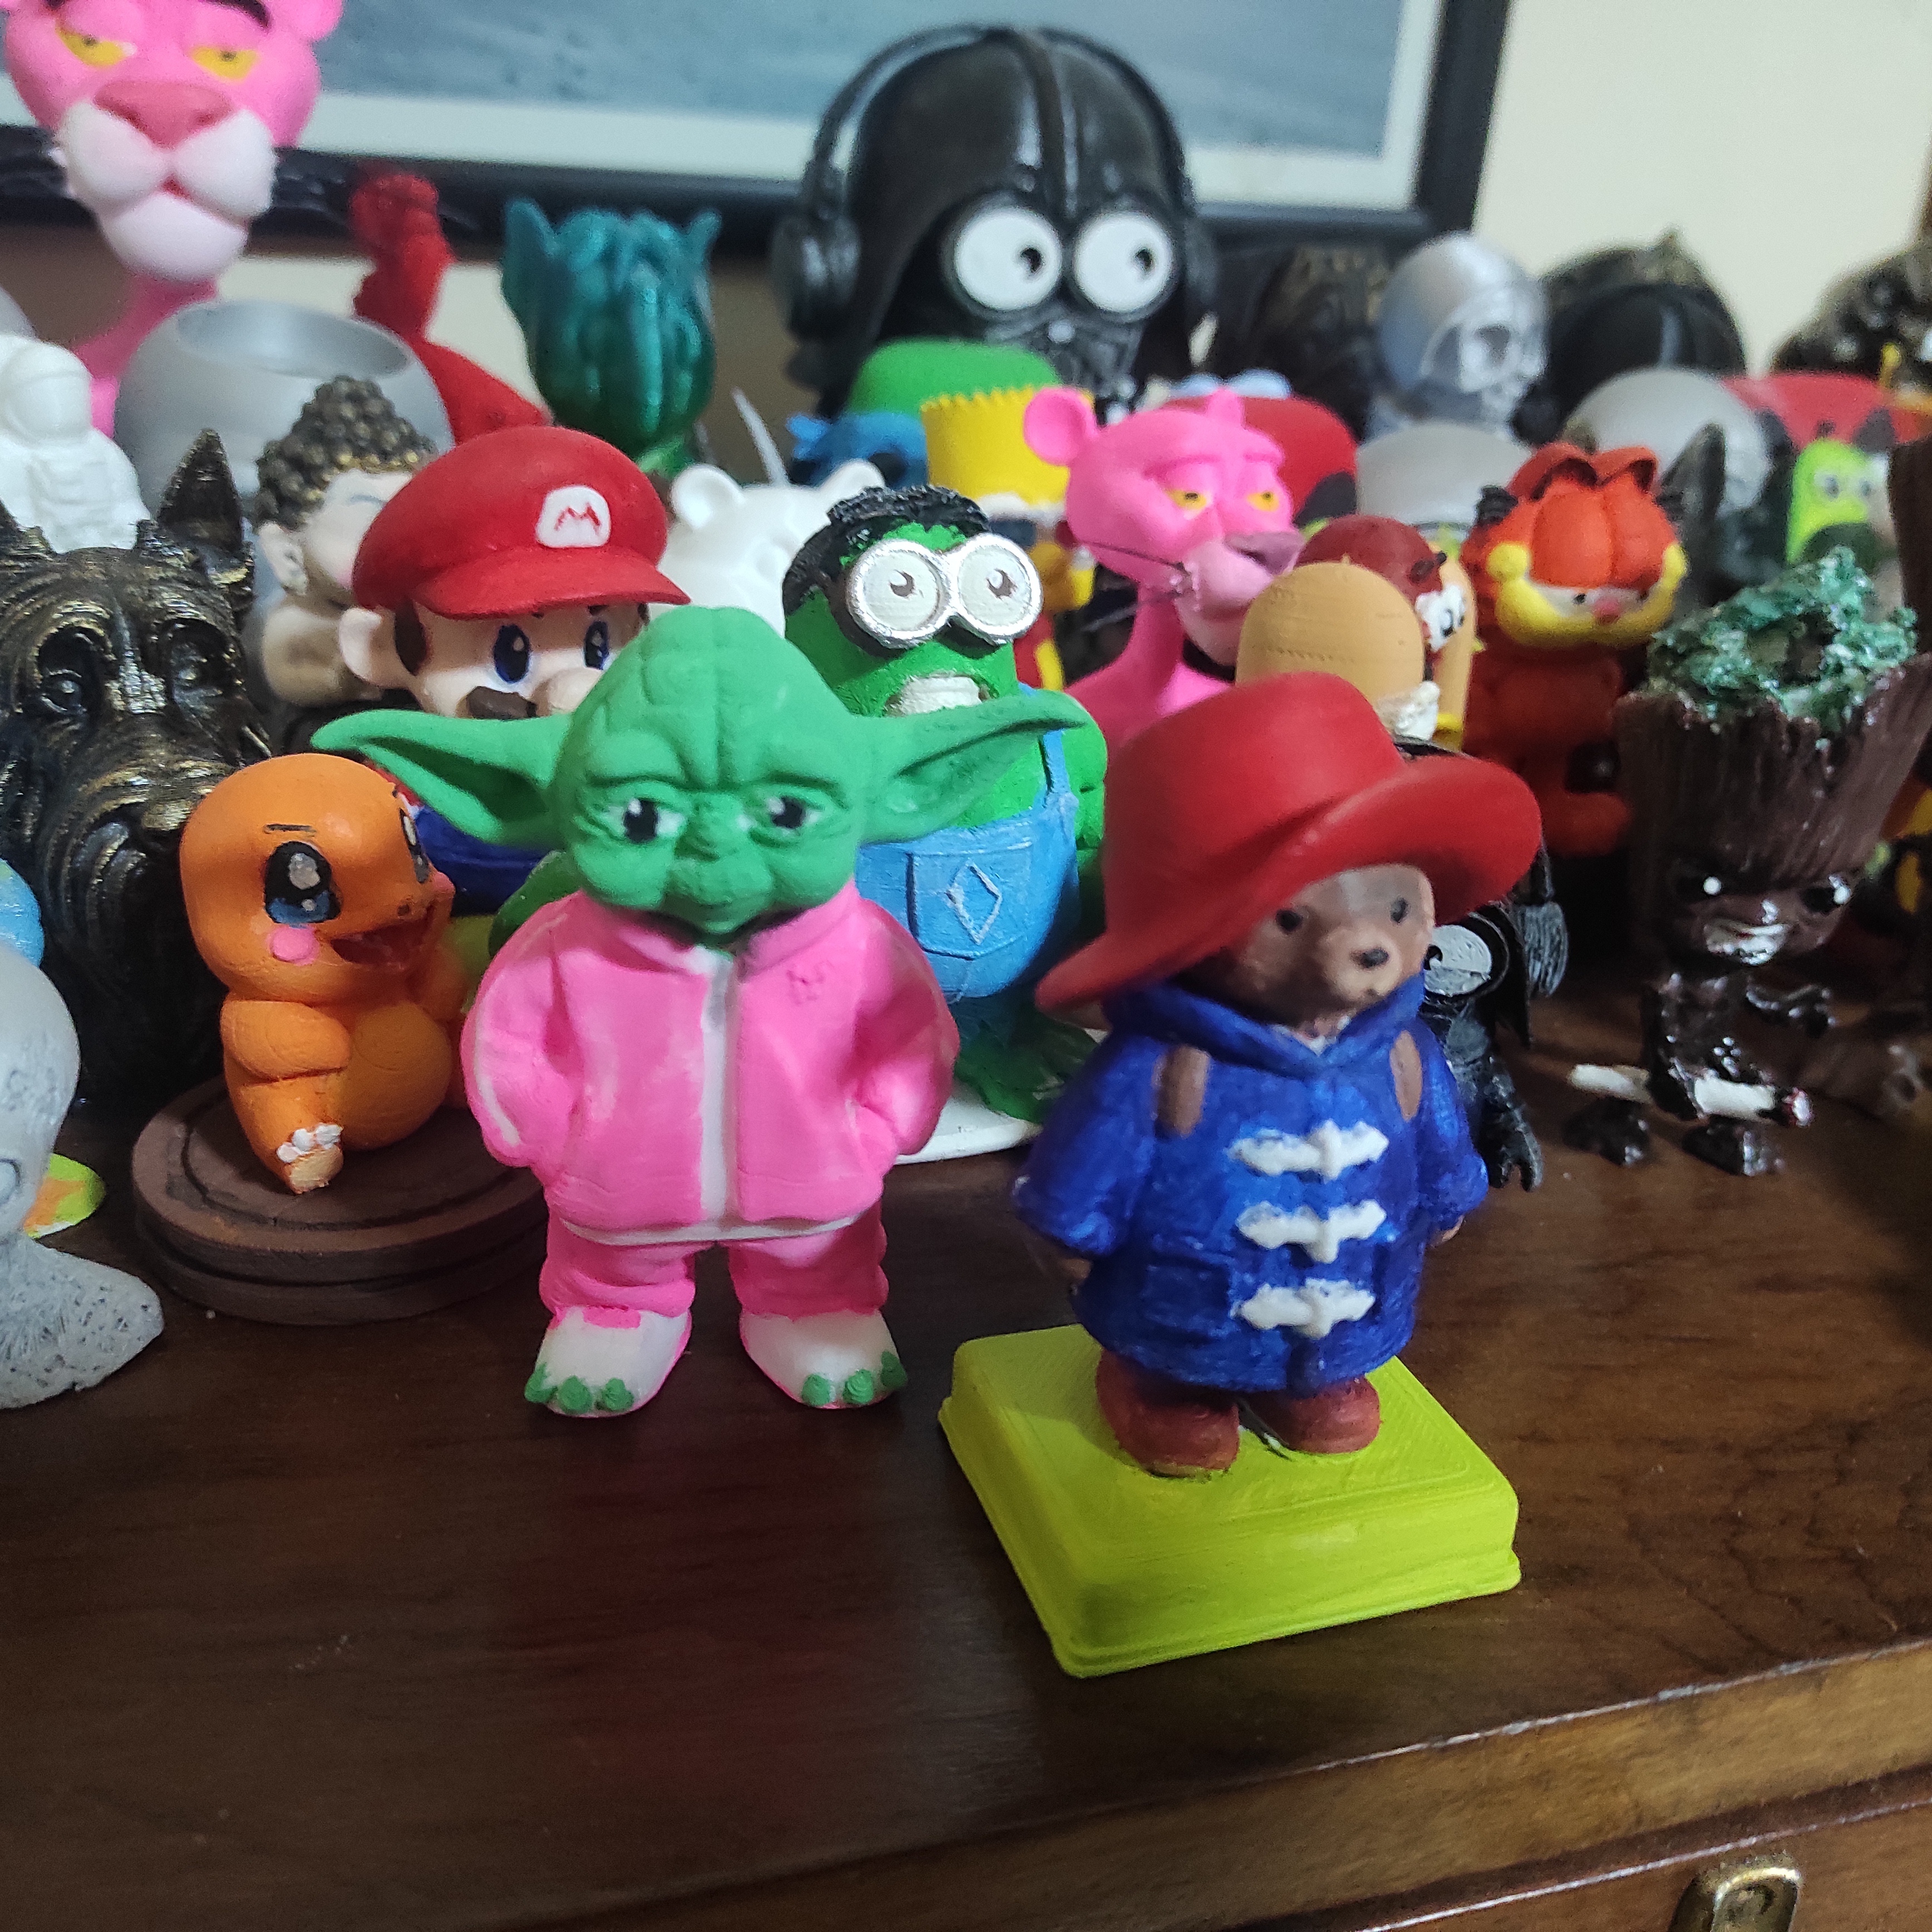
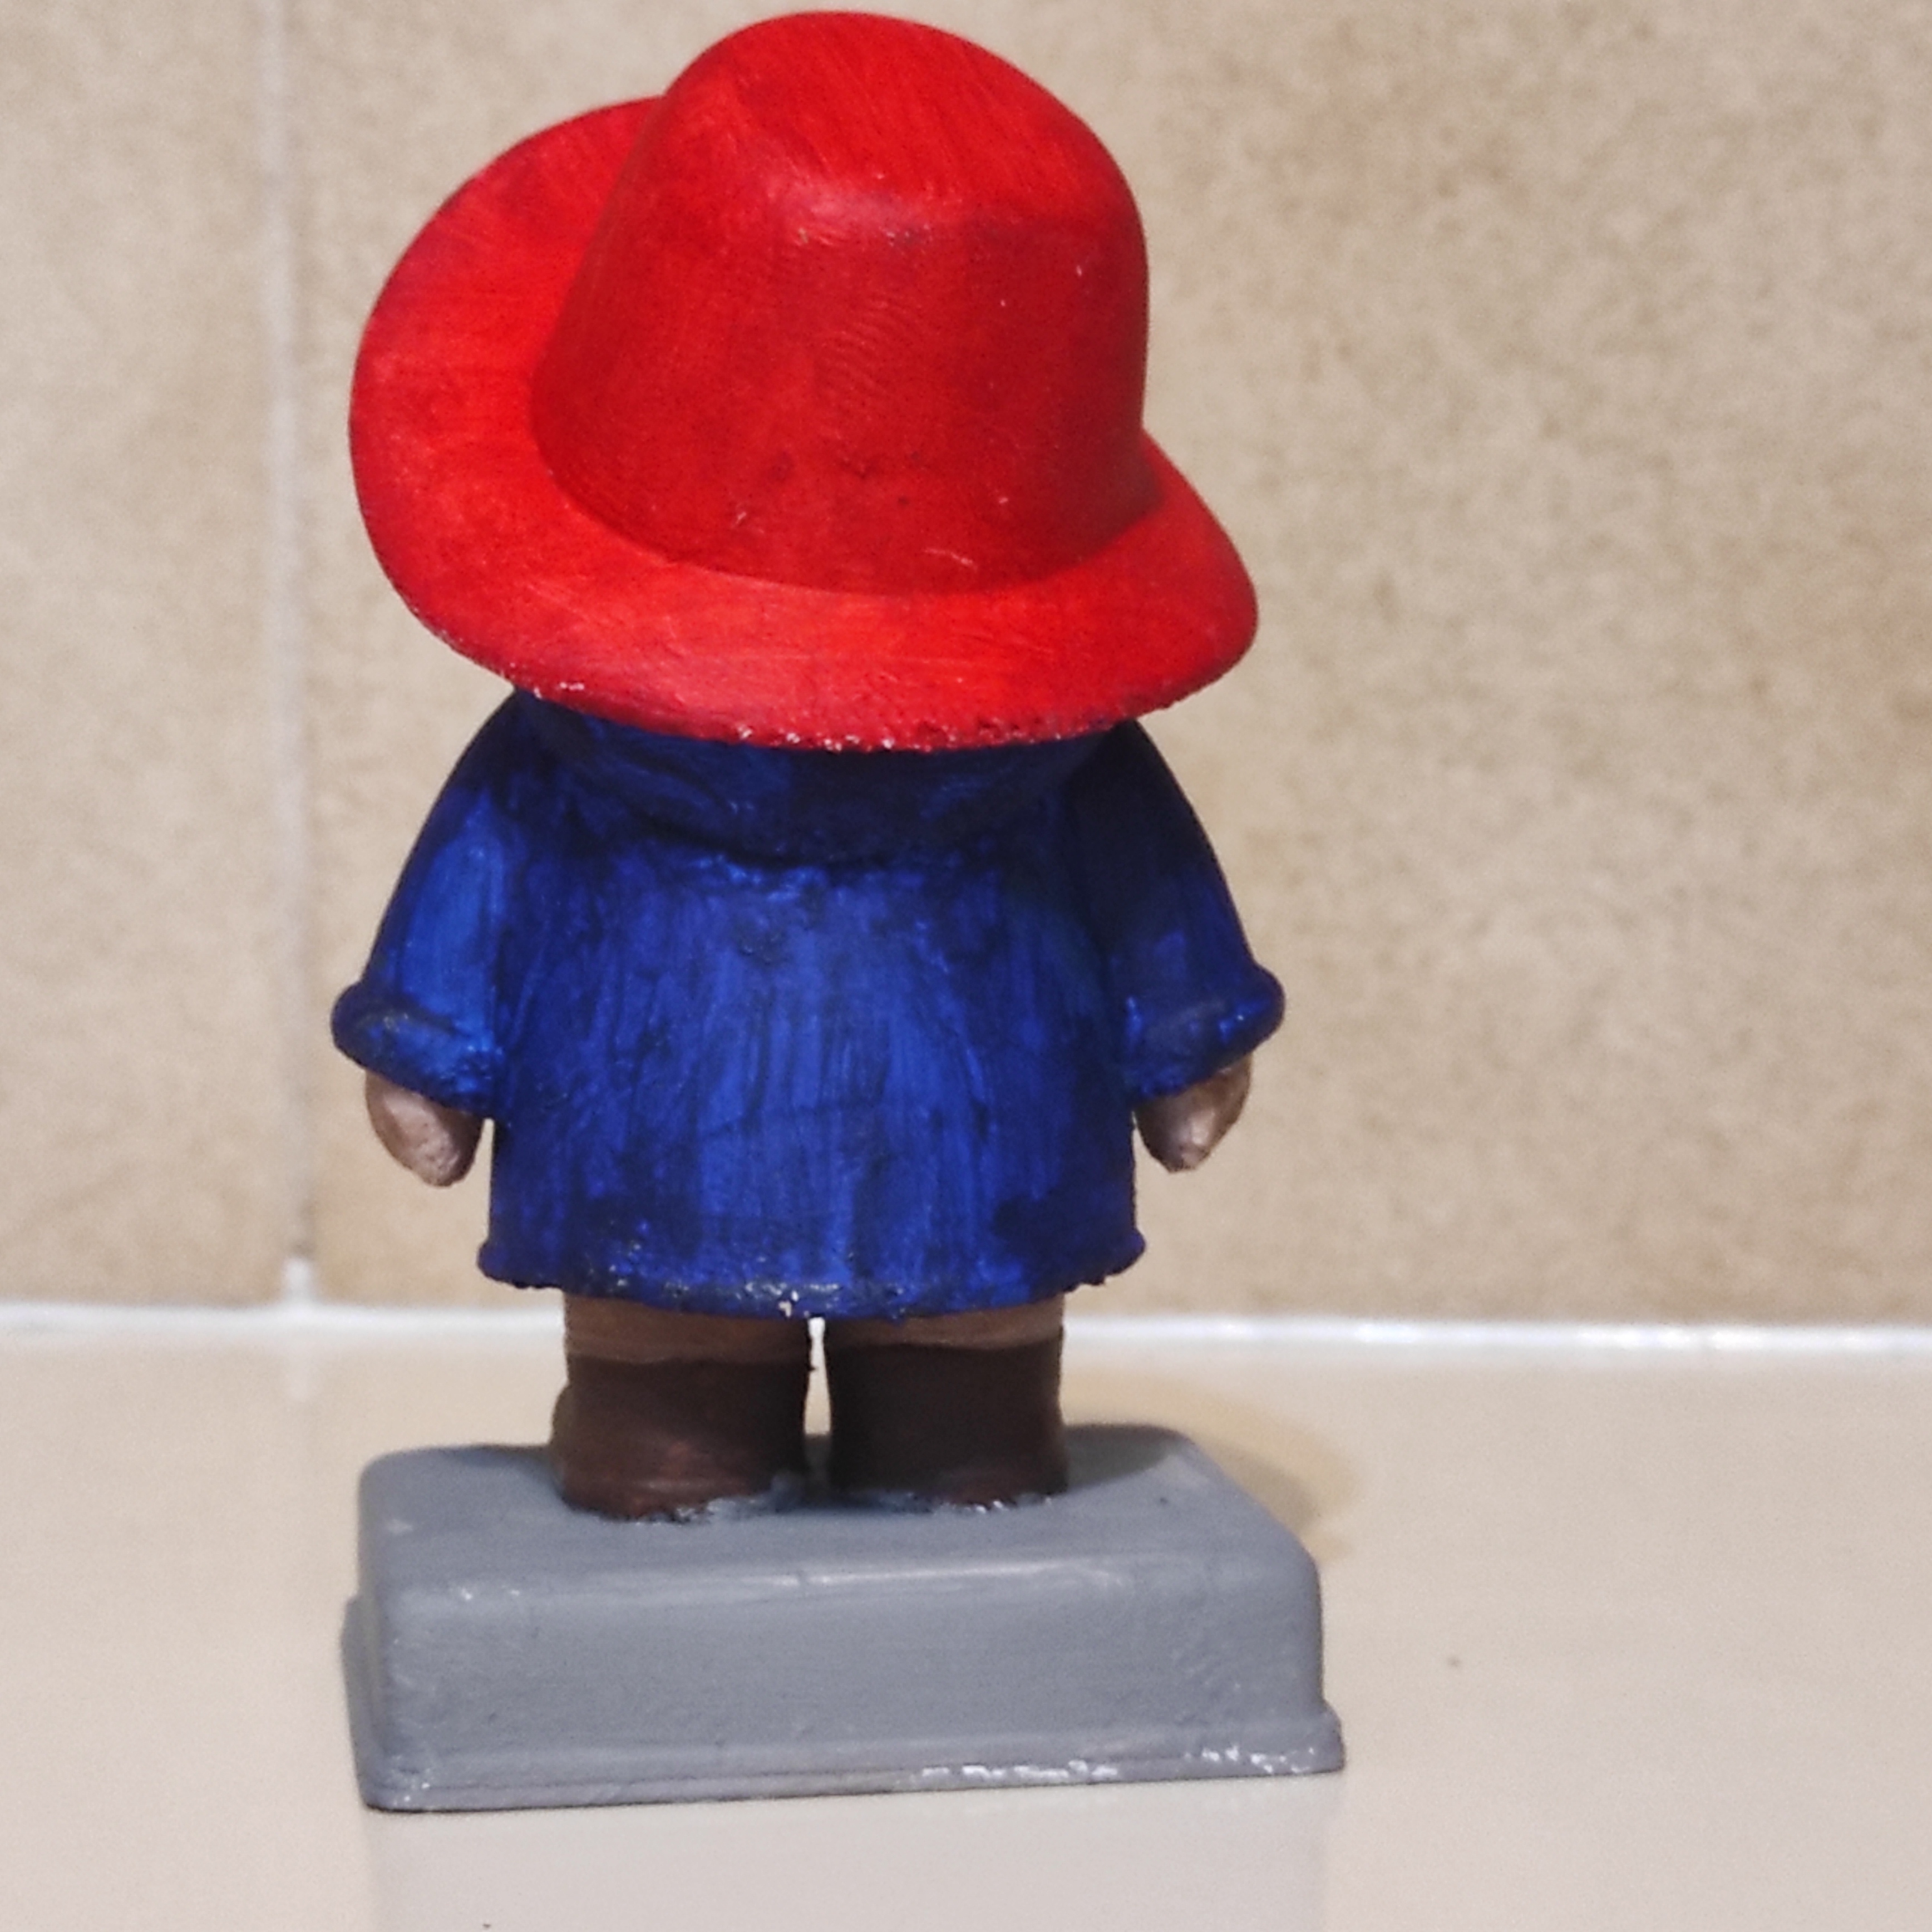
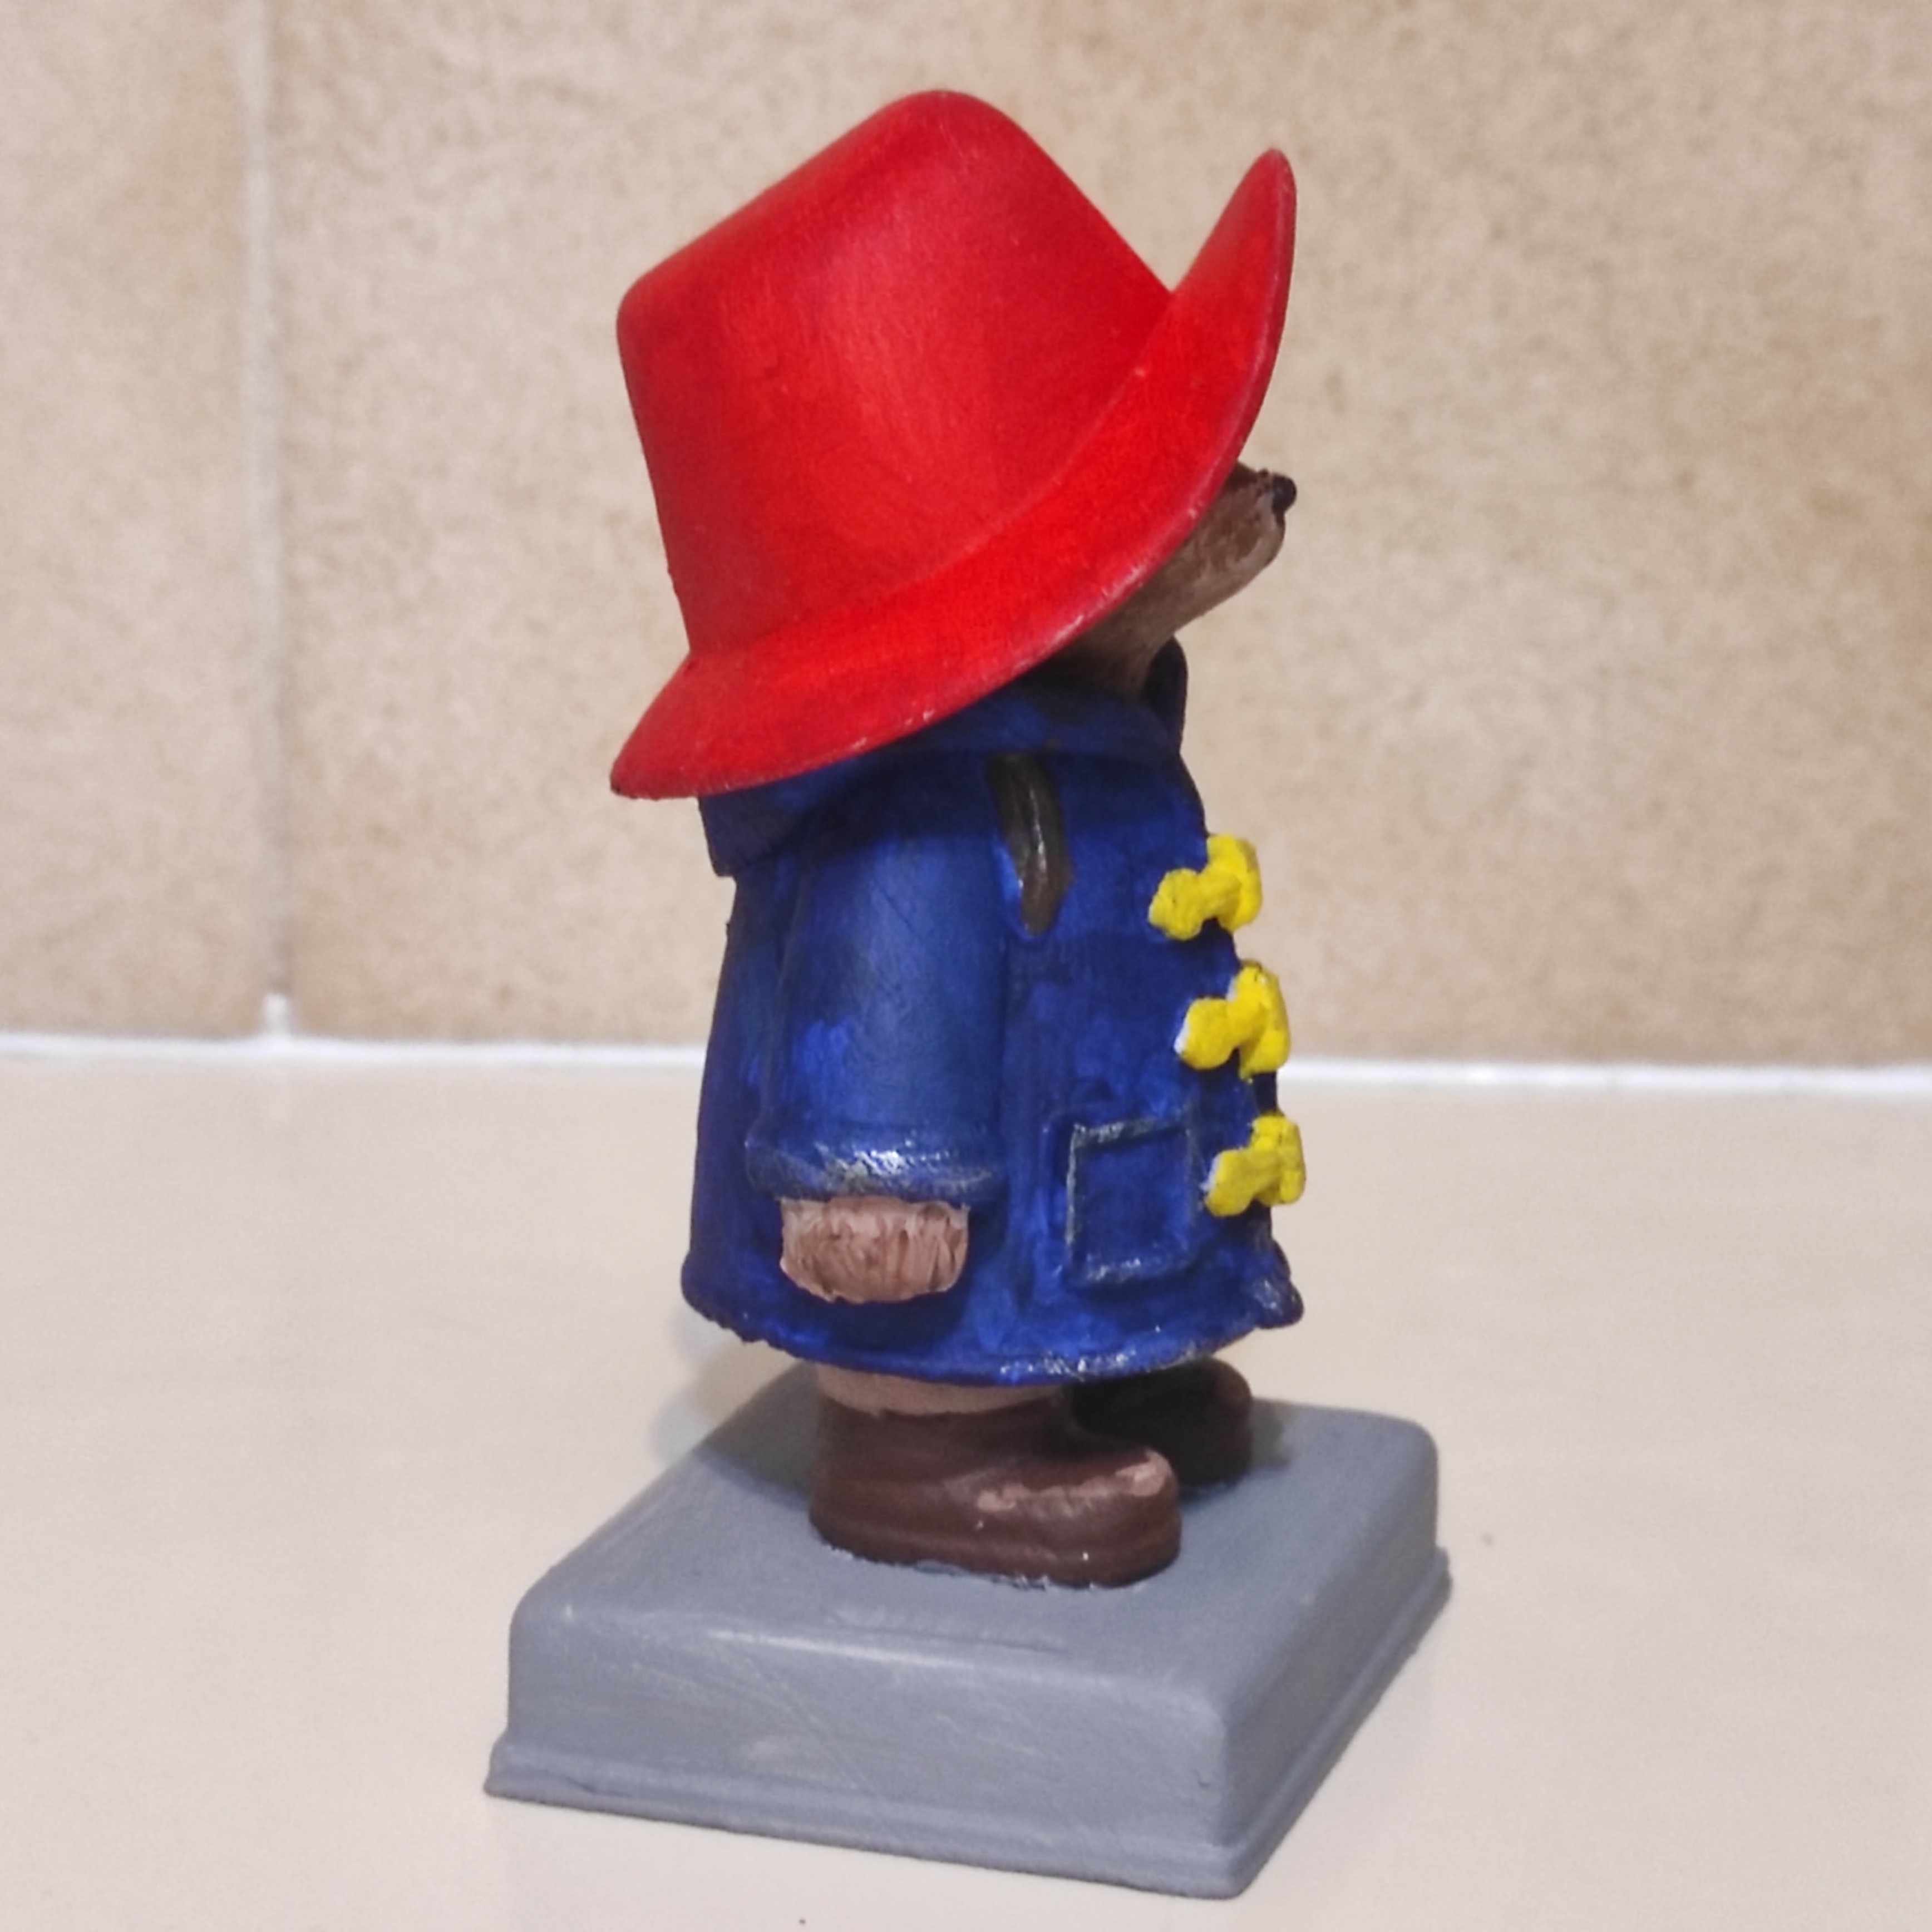
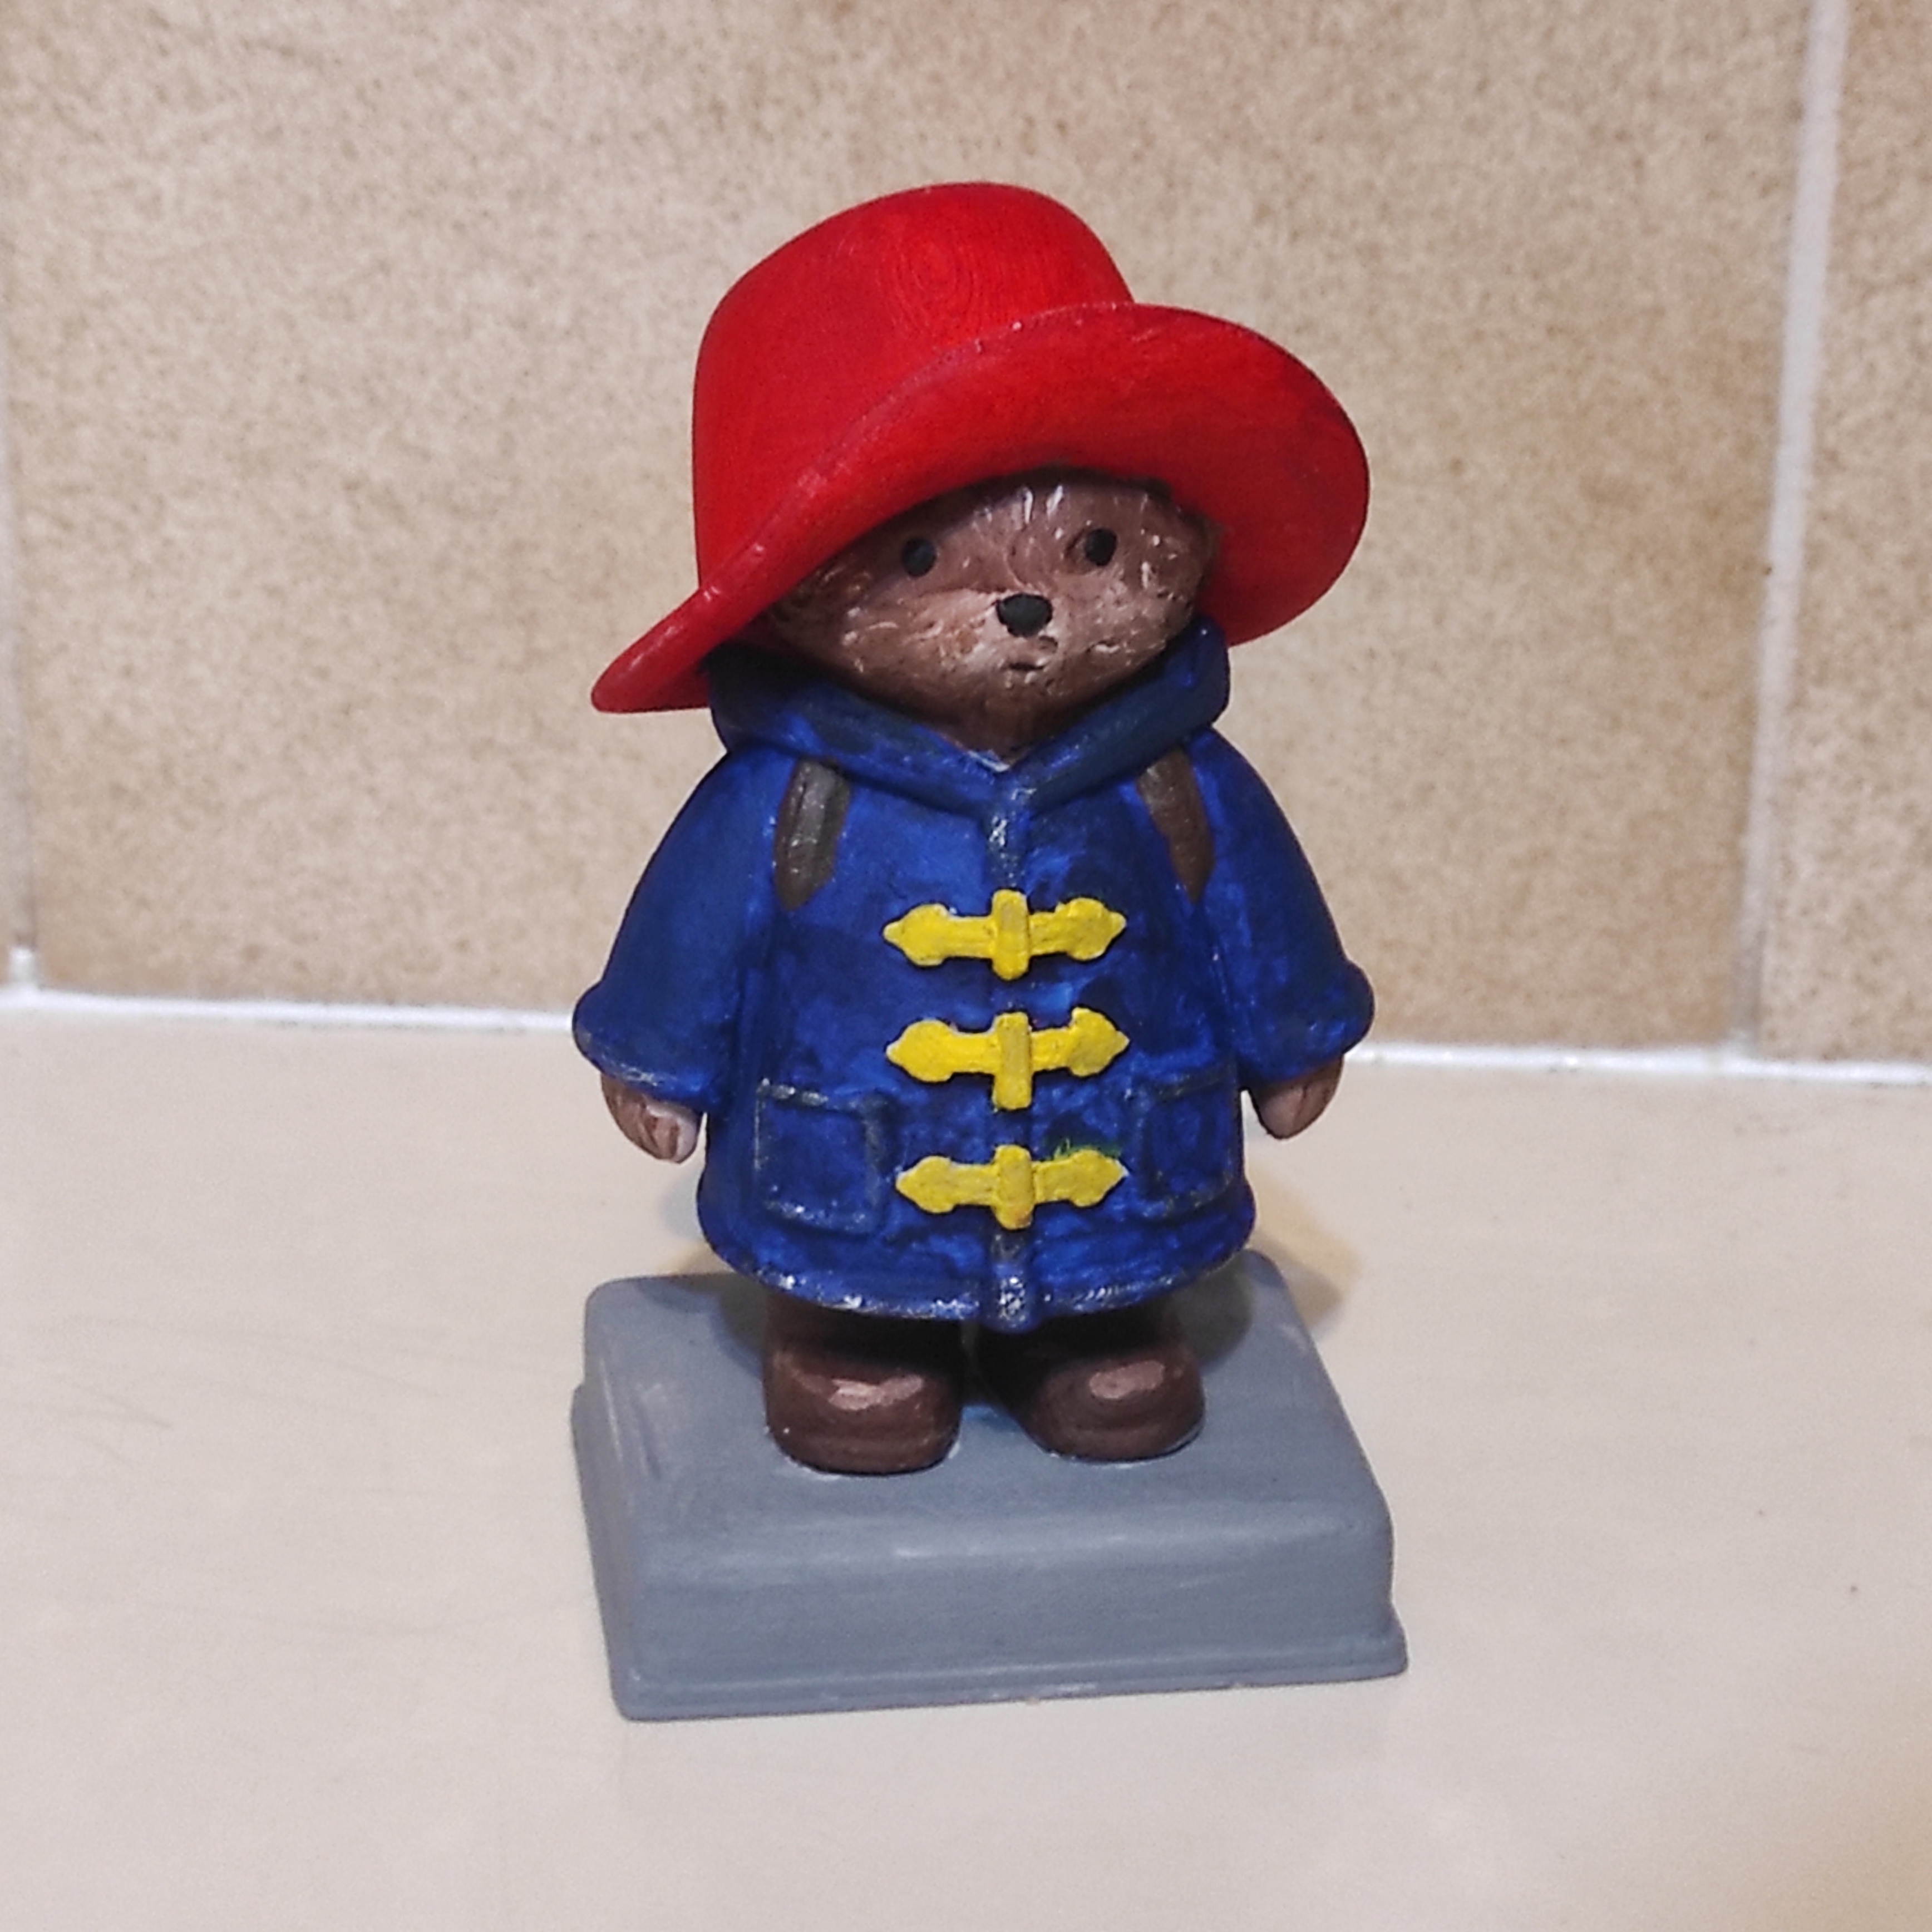
* Suggested Colors (Classic Look): Blue (duffel coat), Red (hat), Brown (fur), Cream/Beige (snout, inner ears, paws if visible). Refer to the pre-painted .3MF file for specific color assignments.
* Single-Color (STL Version): PLA, PLA+, PETG, or your preferred painting filament. Resin for those aiming for a super-smooth, paint-ready finish.
Print Settings (General Recommendations - Adjust to Your Printer):
* Layer Height (FDM):
* 0.08mm - 0.16mm is highly recommended to capture his gentle facial features, fur texture (if applicable), and the details of his hat and coat. Printing at 0.08mm can achieve near-invisible layer lines.
* Infill (FDM): 5% - 15% is suitable for a display piece.
* Supports (FDM):
* Seams back
* Yes, supports will be necessary, especially for the brim of his hat, his chin/snout area, and any significant overhangs from the duffel coat.
* Tree supports (organic supports) are strongly recommended for easier removal and a cleaner surface finish on curved areas.
* AMS Printing (.3MF File):
* Ensure your filament order in your Bambu Lab AMS (or similar system) matches the color assignments within the provided .3MF project file for accurate multi-color printing.
* **Approximate Size 100mm tall]
Assembly:
* This model is designed as a single-piece bust
Finishing (Bringing Duffel-Coat to Life!):
* Multi-Color Prints: Should require minimal finishing beyond careful support removal.
* Single-Color STL Prints:
* Remove supports carefully.
* Light sanding on support interface areas can improve smoothness.
* A good quality primer will prepare the surface for painting.
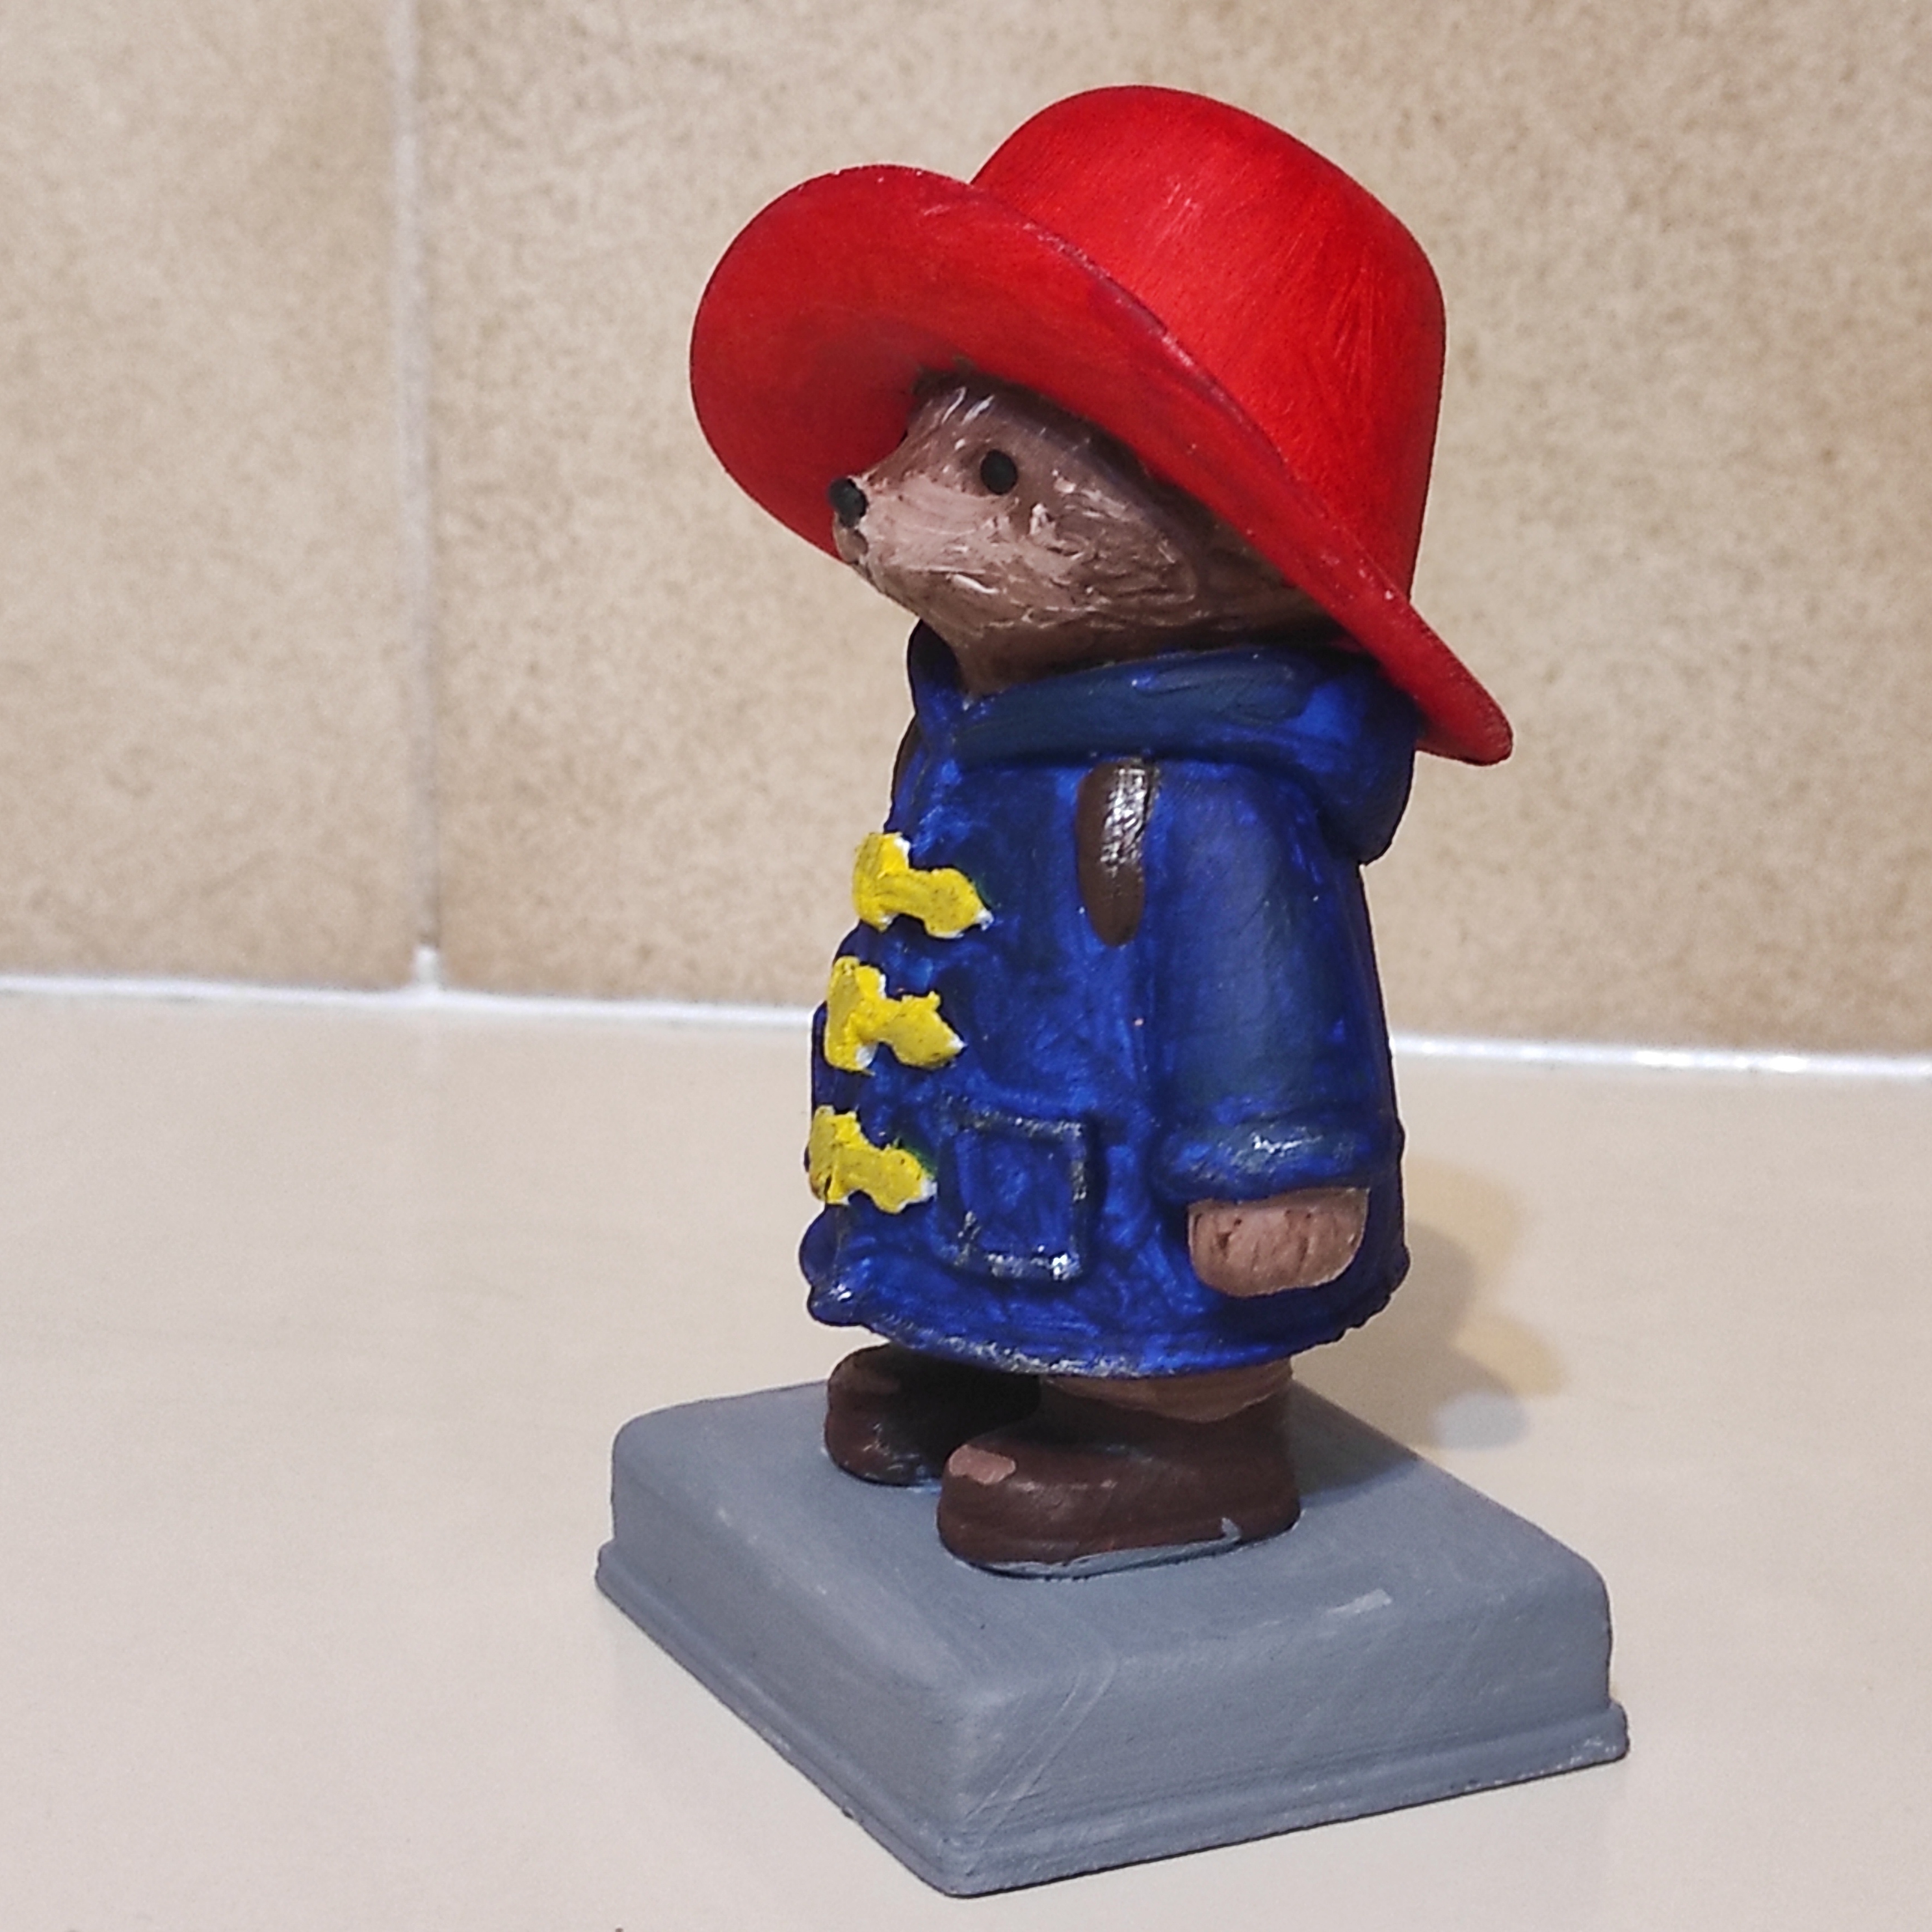
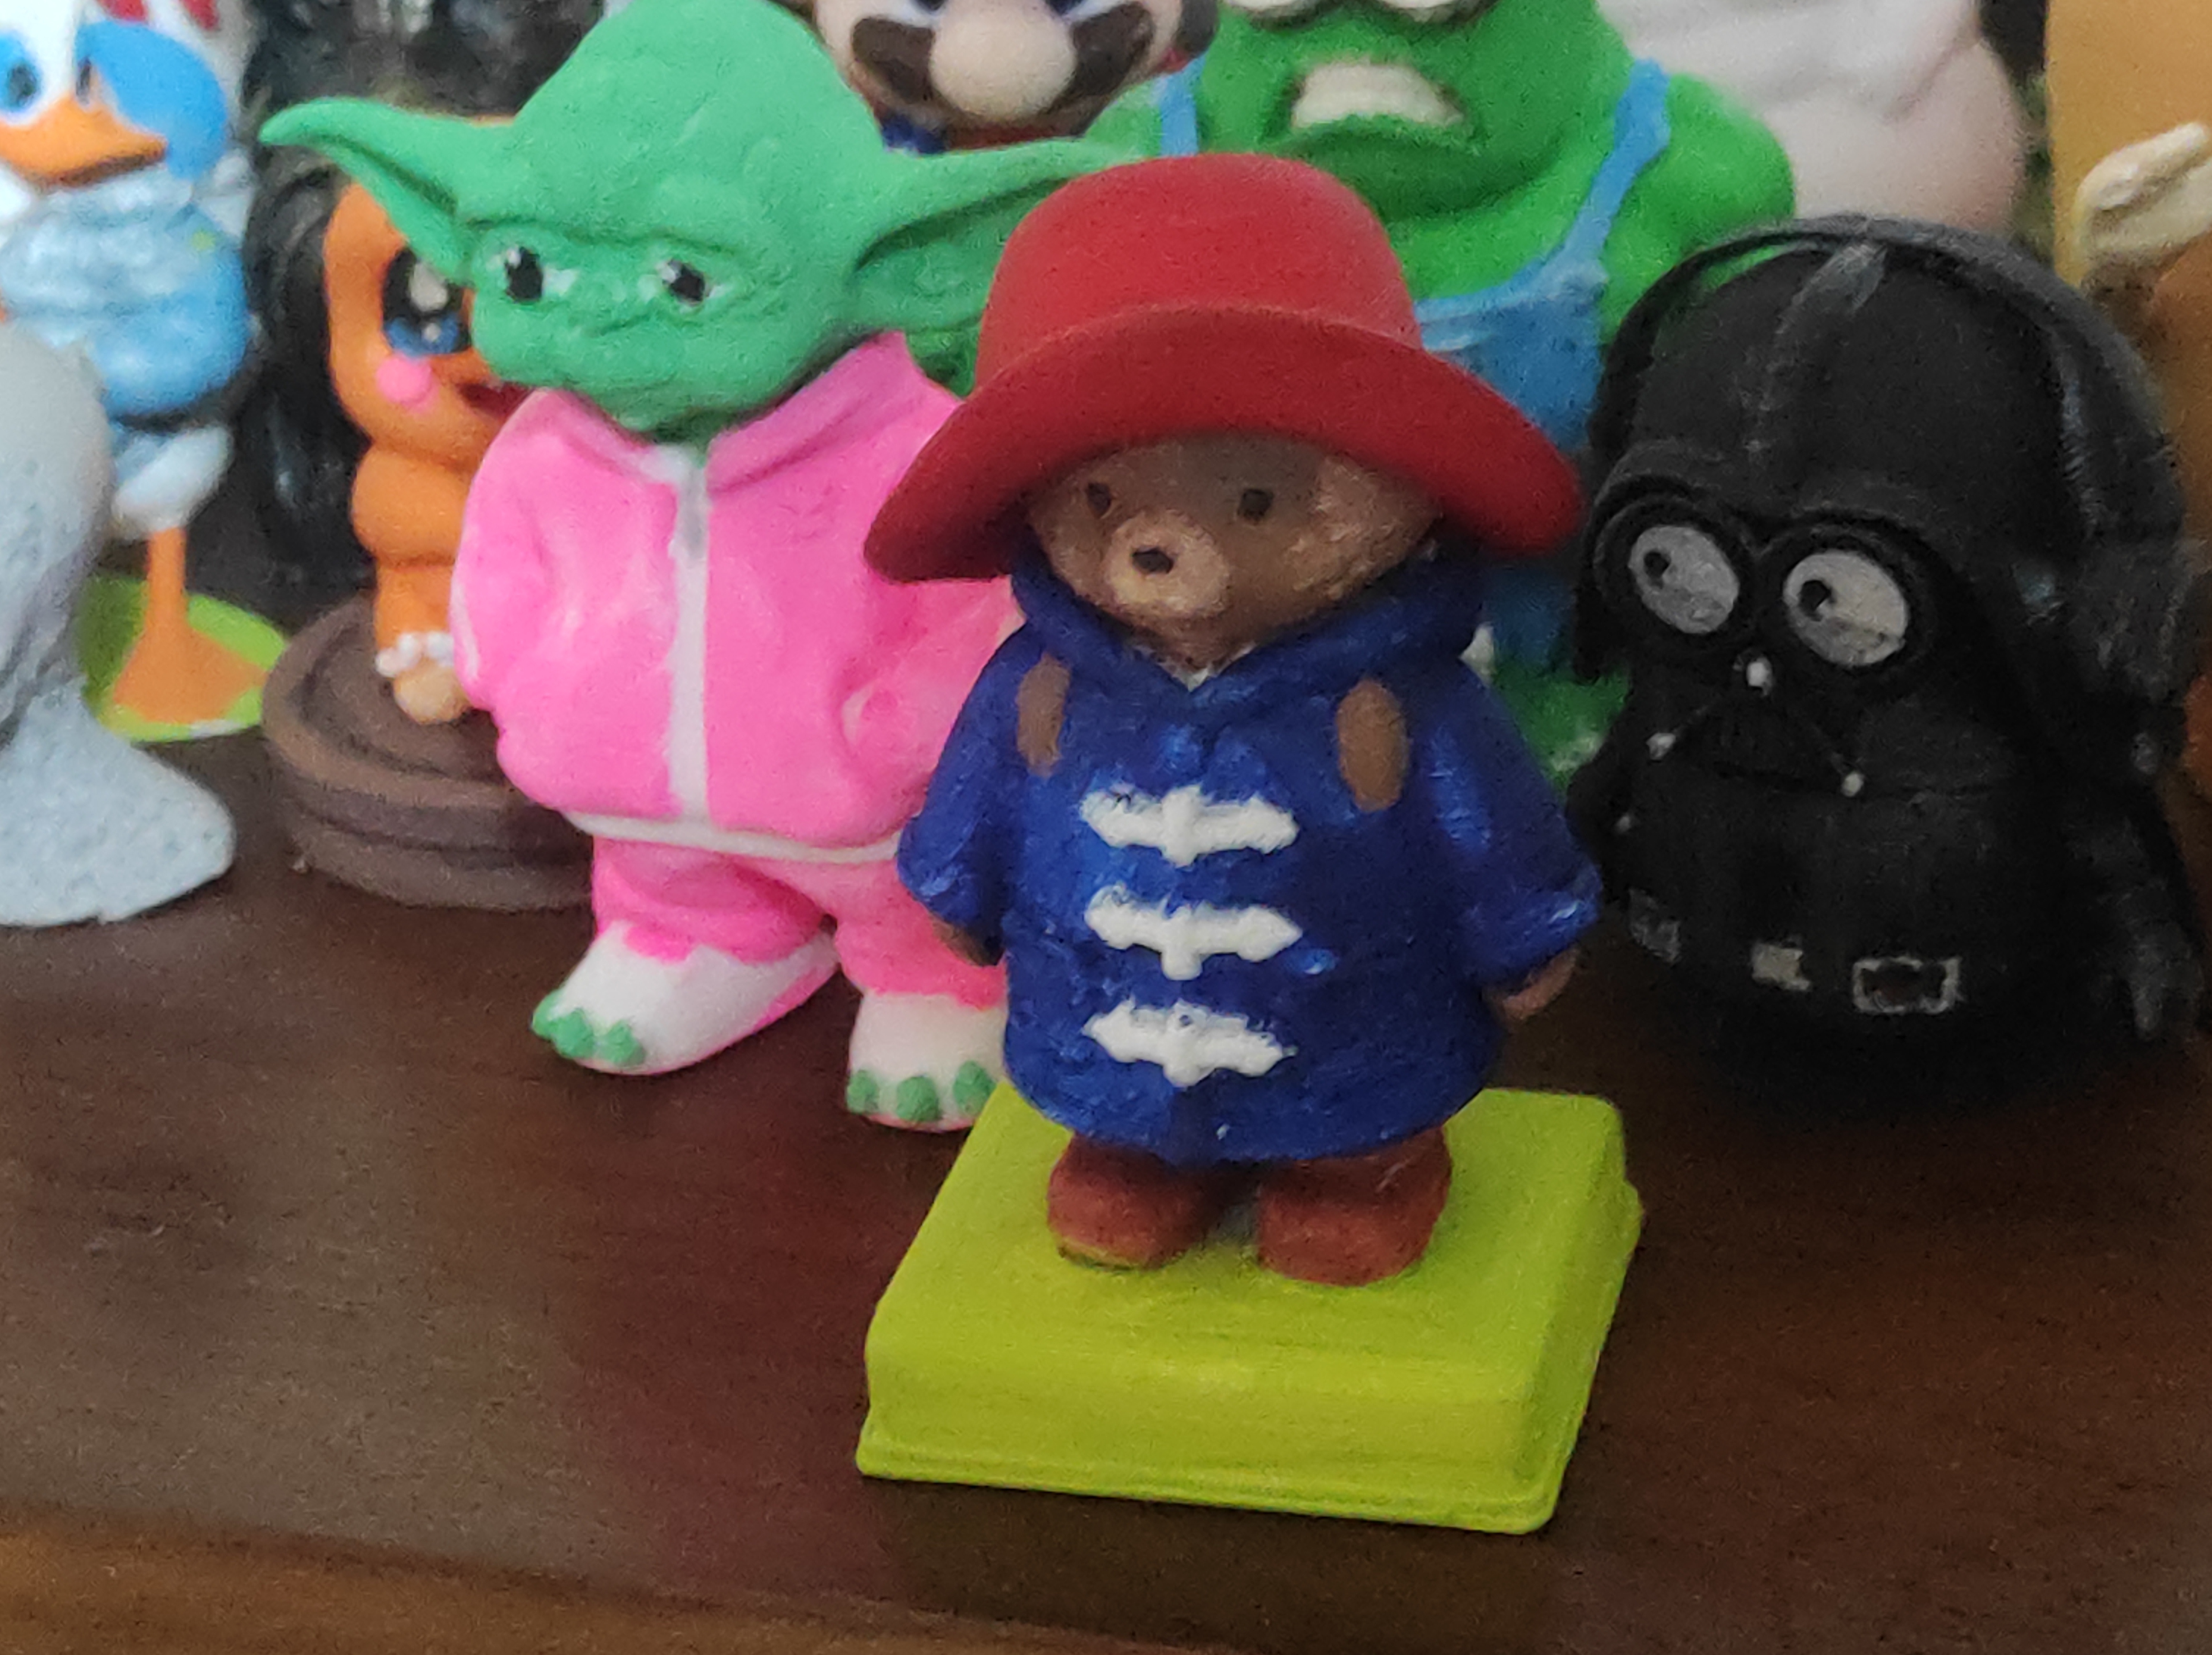
* Acrylic paints are perfect for capturing his classic colors.
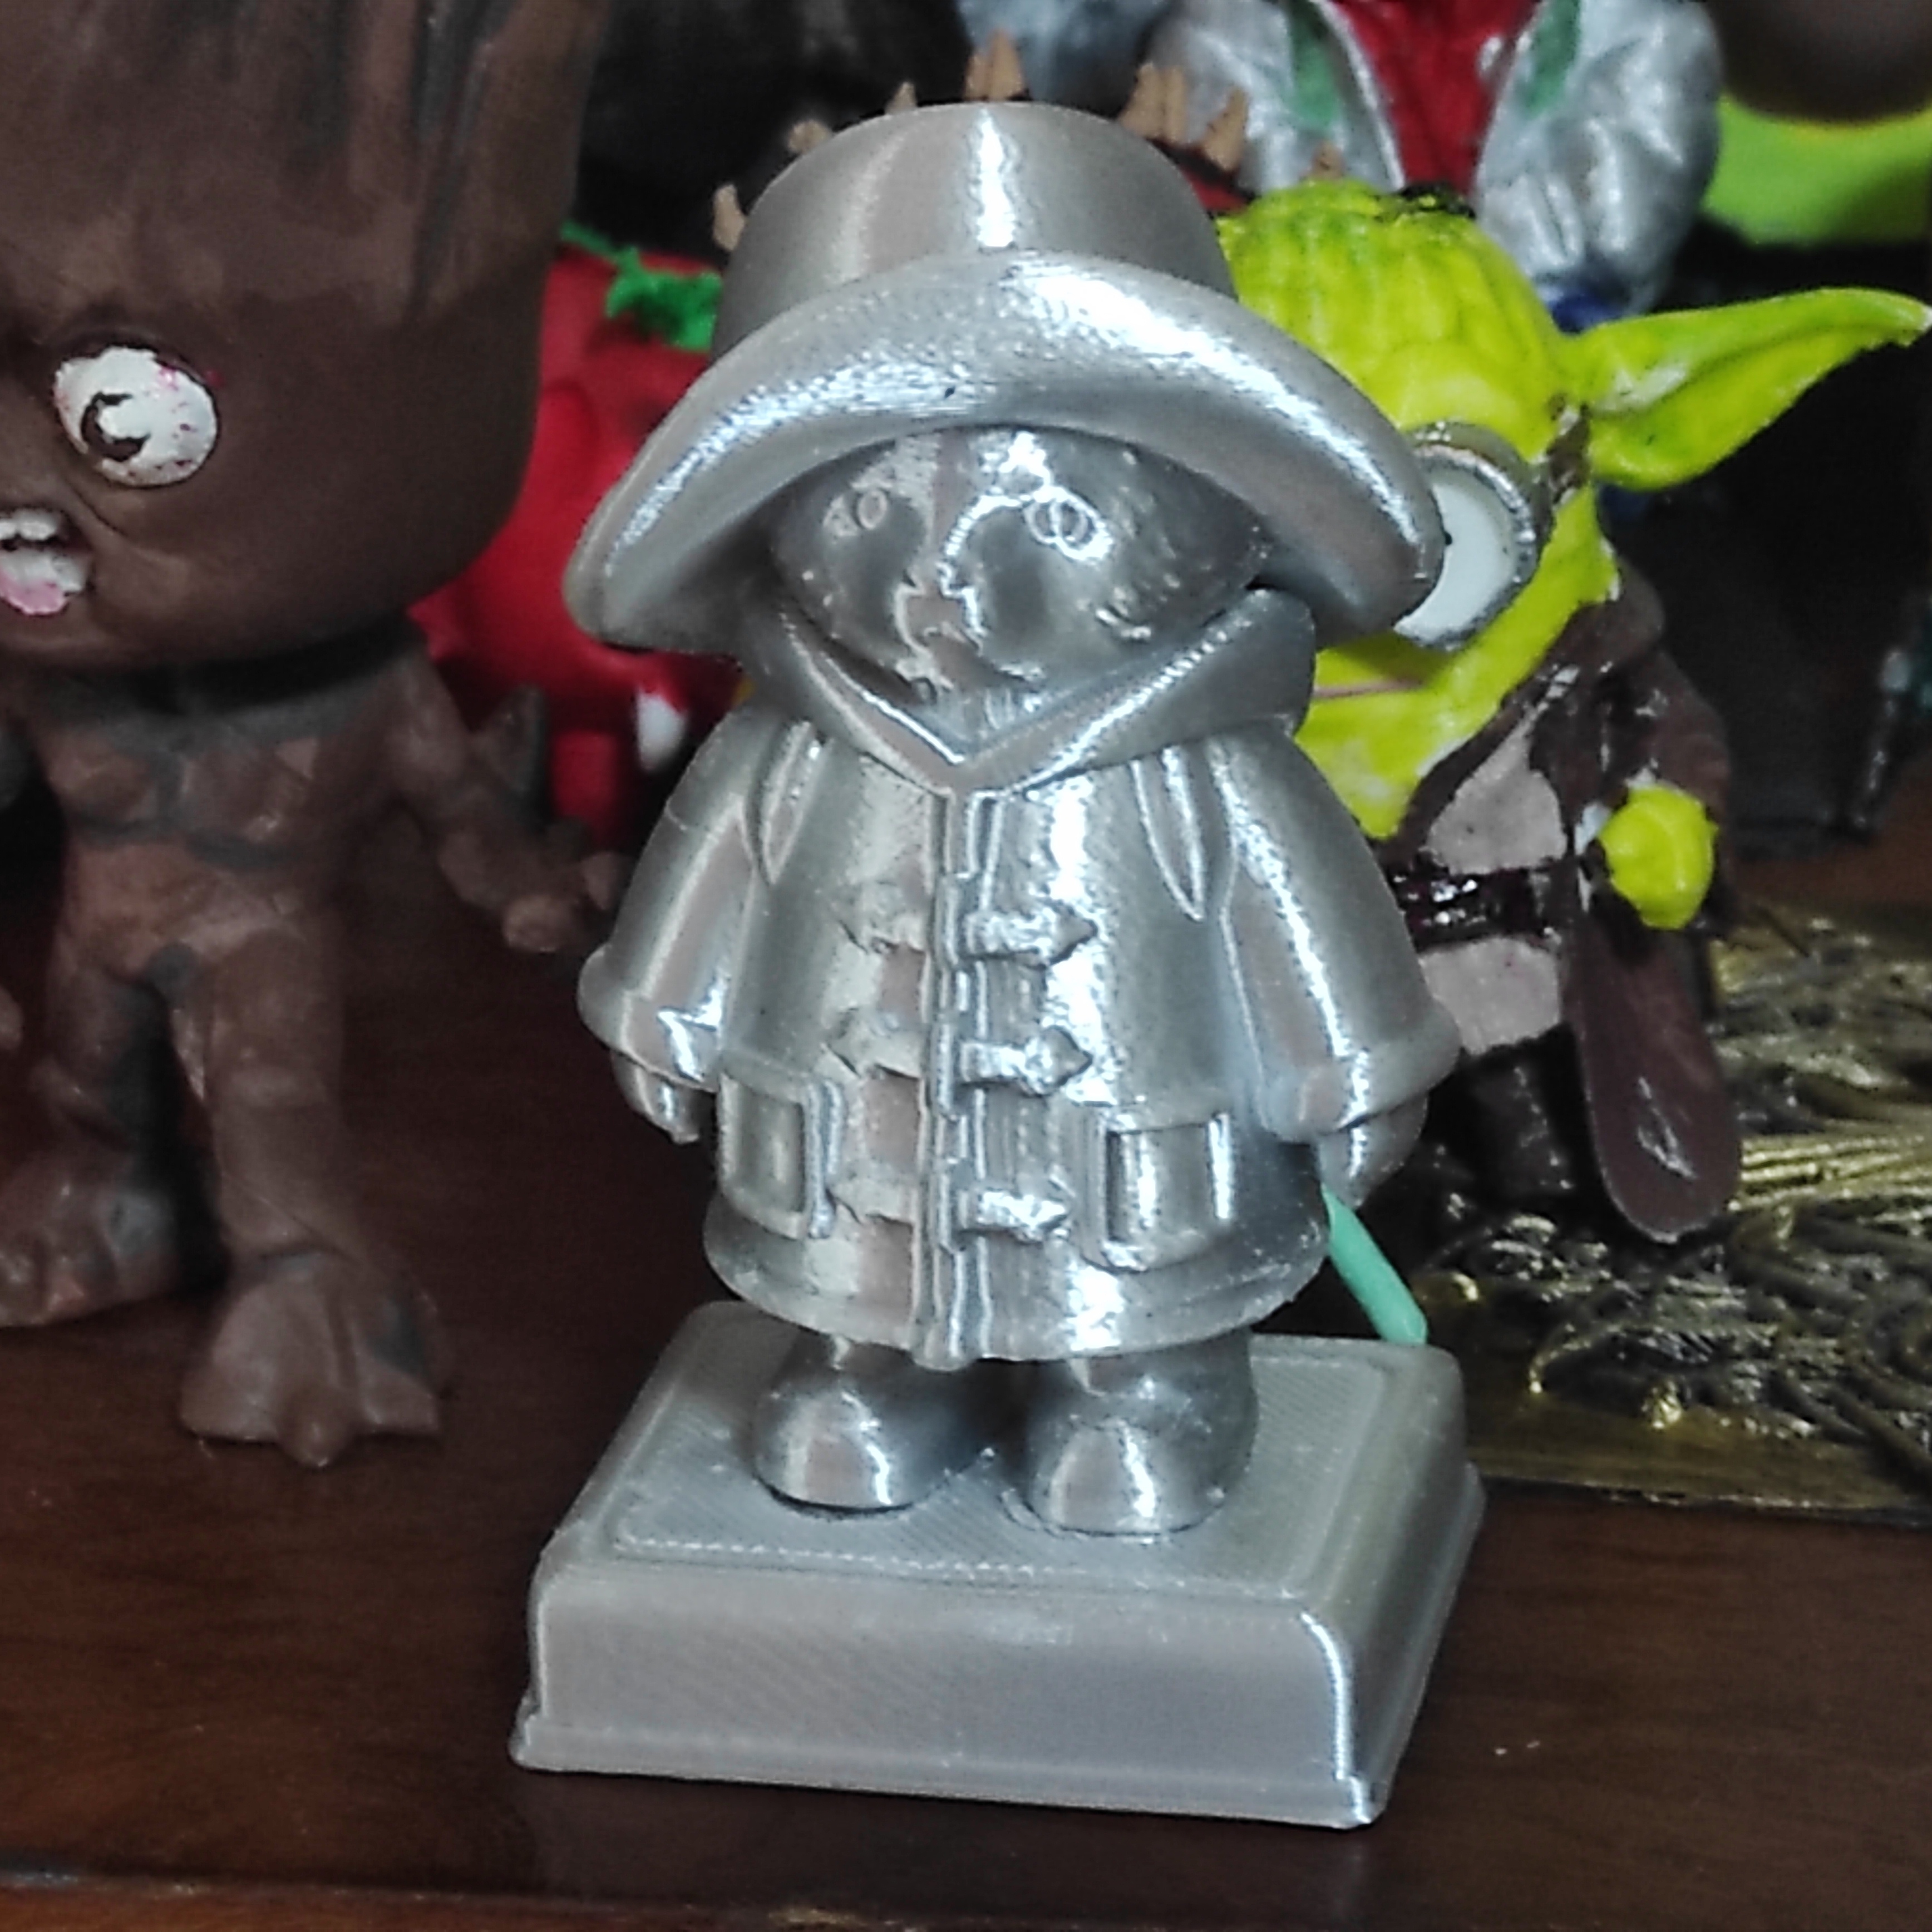
* I painted the eyes and nose using a tiny leaf's stick part dipped in paint.
* Don't forget the label on his coat if you're feeling extra detailed!
* A matte or satin varnish will protect your paintwork.
:format(webp)/https://fbi.cults3d.com/uploaders/30177156/illustration-file/a920fbe9-6bea-4819-a670-06b0f19df917/IMG_20250521_181213.jpg)
Safety Standards:
* Primarily for Decorative Use and Collection.
* This model is not a toy. If printed with small parts or if pieces break off, it could pose a choking hazard for small children. Adult supervision is advised.
* Not intended for food contact (unless printed with food-safe materials and processes, which is not the primary intent here).
:format(webp)/https://fbi.cults3d.com/uploaders/30177156/illustration-file/aa2fdfdb-1813-4c47-a412-2a943912ab97/PaddingtonV2.jpg)
/https://preview3d-images.cults3d.com/sn3xejtf6oac8yayqio2j7oqfadb)
/https://preview3d-images.cults3d.com/shpq3b5w0rckizfuhy01gozciddl)
/https://fbi.cults3d.com/uploads/user/avatar/30177156/OIG.tkUEV77_salRciO.jpg "LEONLED")


:format(webp)/https://fbi.cults3d.com/uploaders/30177156/illustration-file/2c27d6a1-f163-4096-93b2-cdc38d997a6e/IMG_20250521_181222.jpg)
:format(webp)/https://fbi.cults3d.com/uploaders/30177156/illustration-file/26cb3012-5054-49a5-ad05-3bac0a7265e1/1756839168715.jpg)
:format(webp)/https://fbi.cults3d.com/uploaders/30177156/illustration-file/037abb9d-ccca-439b-b1da-0d70e49b8e6b/ALien-C.jpg)
:format(webp)/https://fbi.cults3d.com/uploaders/30177156/illustration-file/6d5c0da5-9b32-4d43-b4cd-6d55f7d48407/Minion-Groot.jpg)
:format(webp)/https://fbi.cults3d.com/uploaders/30177156/illustration-file/0fd00b94-870e-4309-9ac2-c17df0505dbe/Garfield-Bust-and-plinth.jpg)
:format(webp)/https://fbi.cults3d.com/uploaders/30177156/illustration-file/dcedd9e4-8f79-4bb7-a325-f493a35fd402/Tom-the-Catv2.jpg)
:format(webp)/https://fbi.cults3d.com/uploaders/30177156/illustration-file/9e50945c-9c7a-401b-b2cd-b1481b8d9124/Super-Mario-NEW.jpg)
:format(webp)/https://fbi.cults3d.com/uploaders/30177156/illustration-file/1cf5ecc1-263d-4aa4-a2d6-8aaab3e48365/Donald-Duck-V3-11l.jpg)
:format(webp)/https://fbi.cults3d.com/uploaders/30177156/illustration-file/50083c05-b528-4b7f-9cc5-09b11591f669/Toothless-v2.jpg)
:format(webp)/https://fbi.cults3d.com/uploaders/30177156/illustration-file/07a6904f-fa71-4c23-99ea-6f0d658b8d7f/Papa-Smurf.jpg)