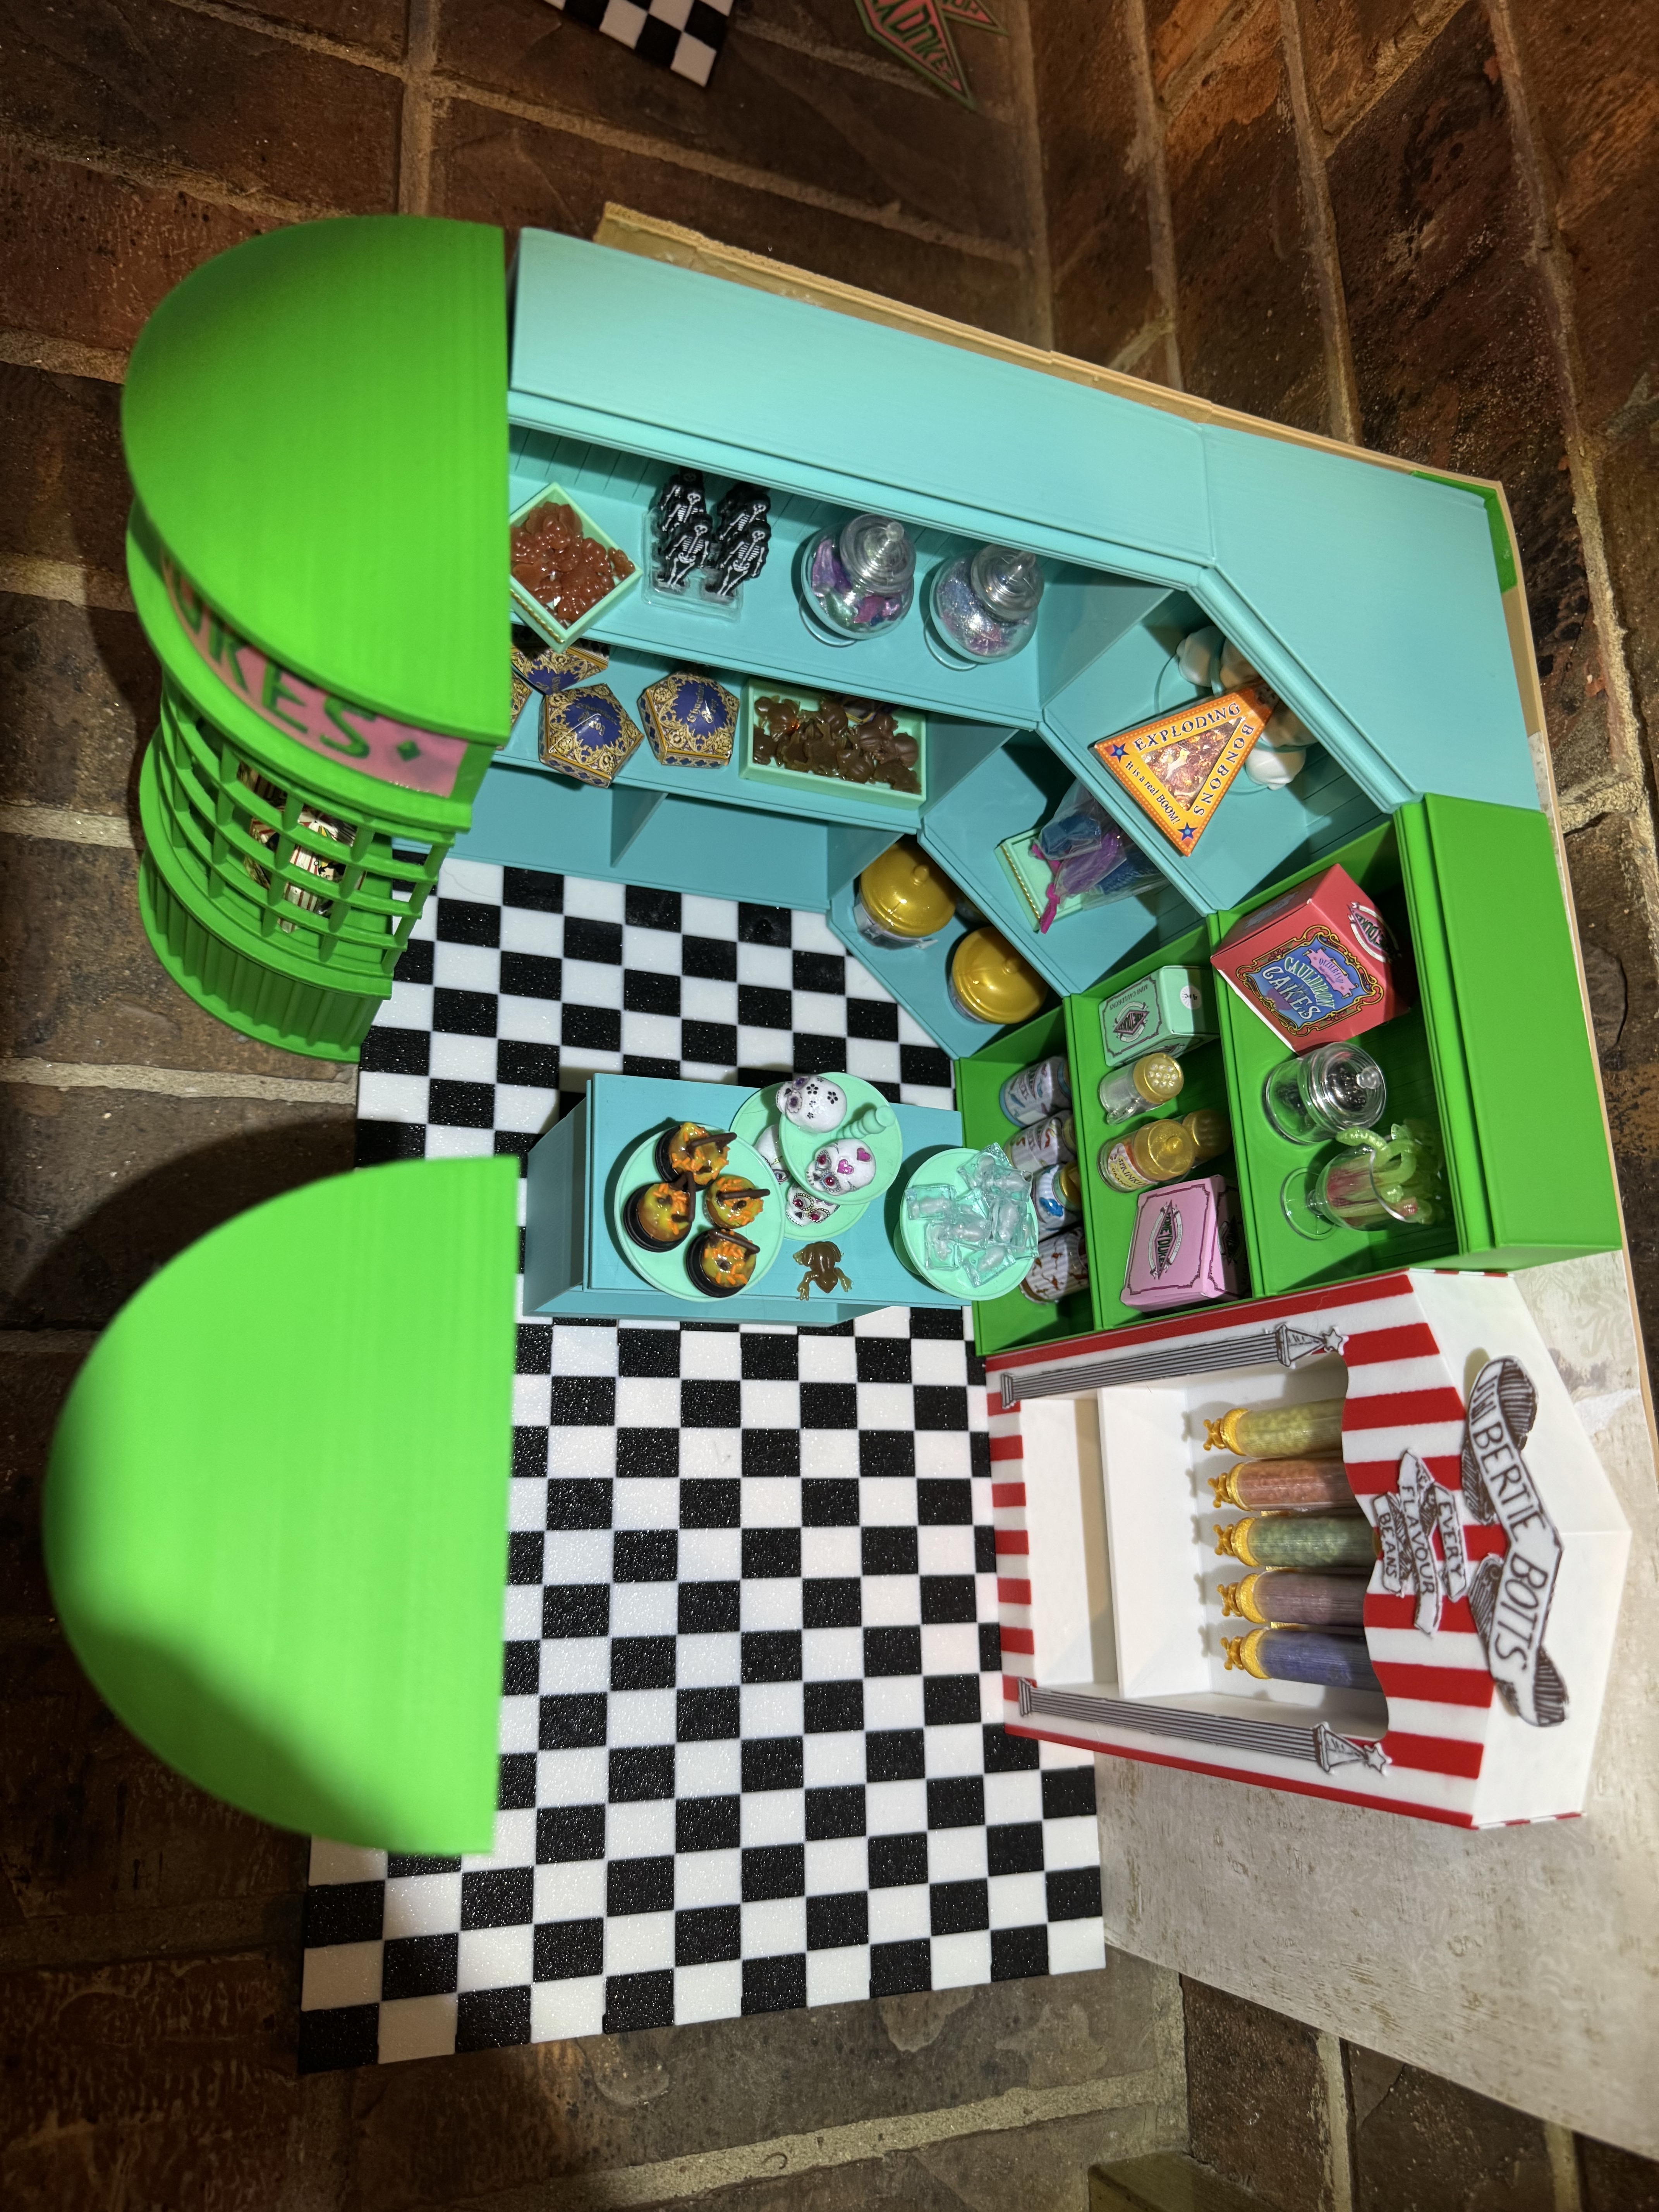
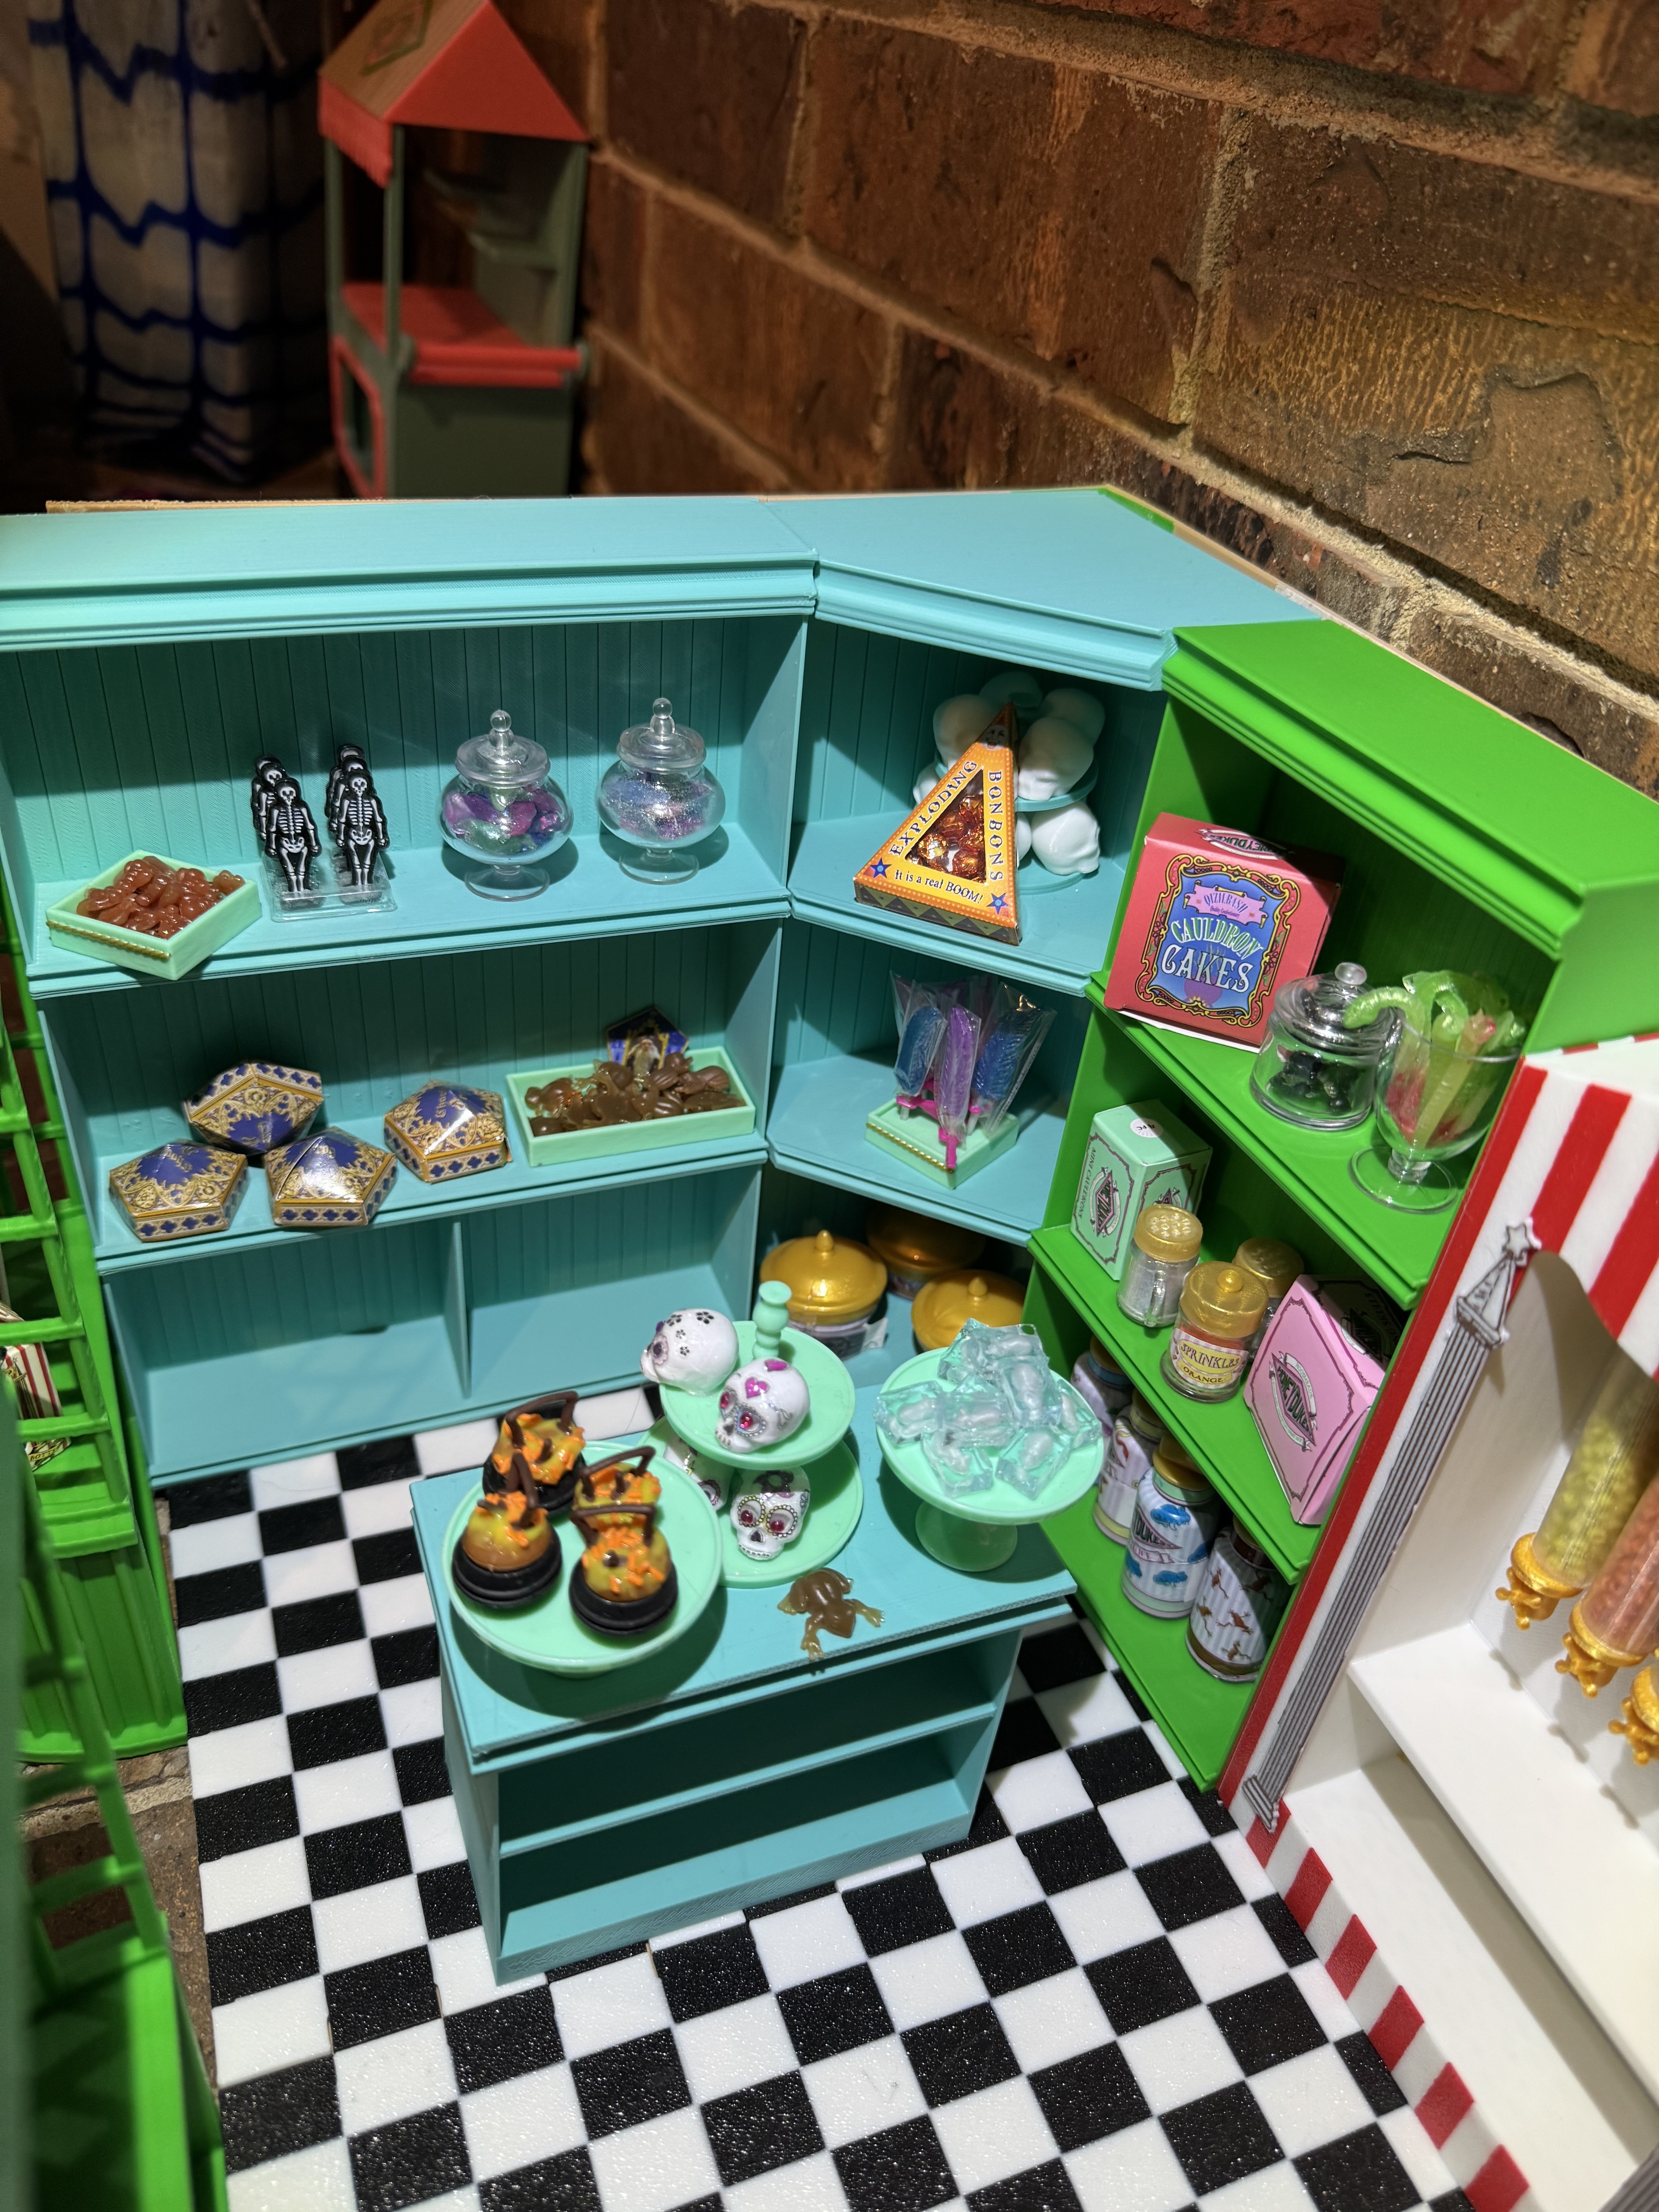
Витрина с конфетами HoneyDukes Miniverse
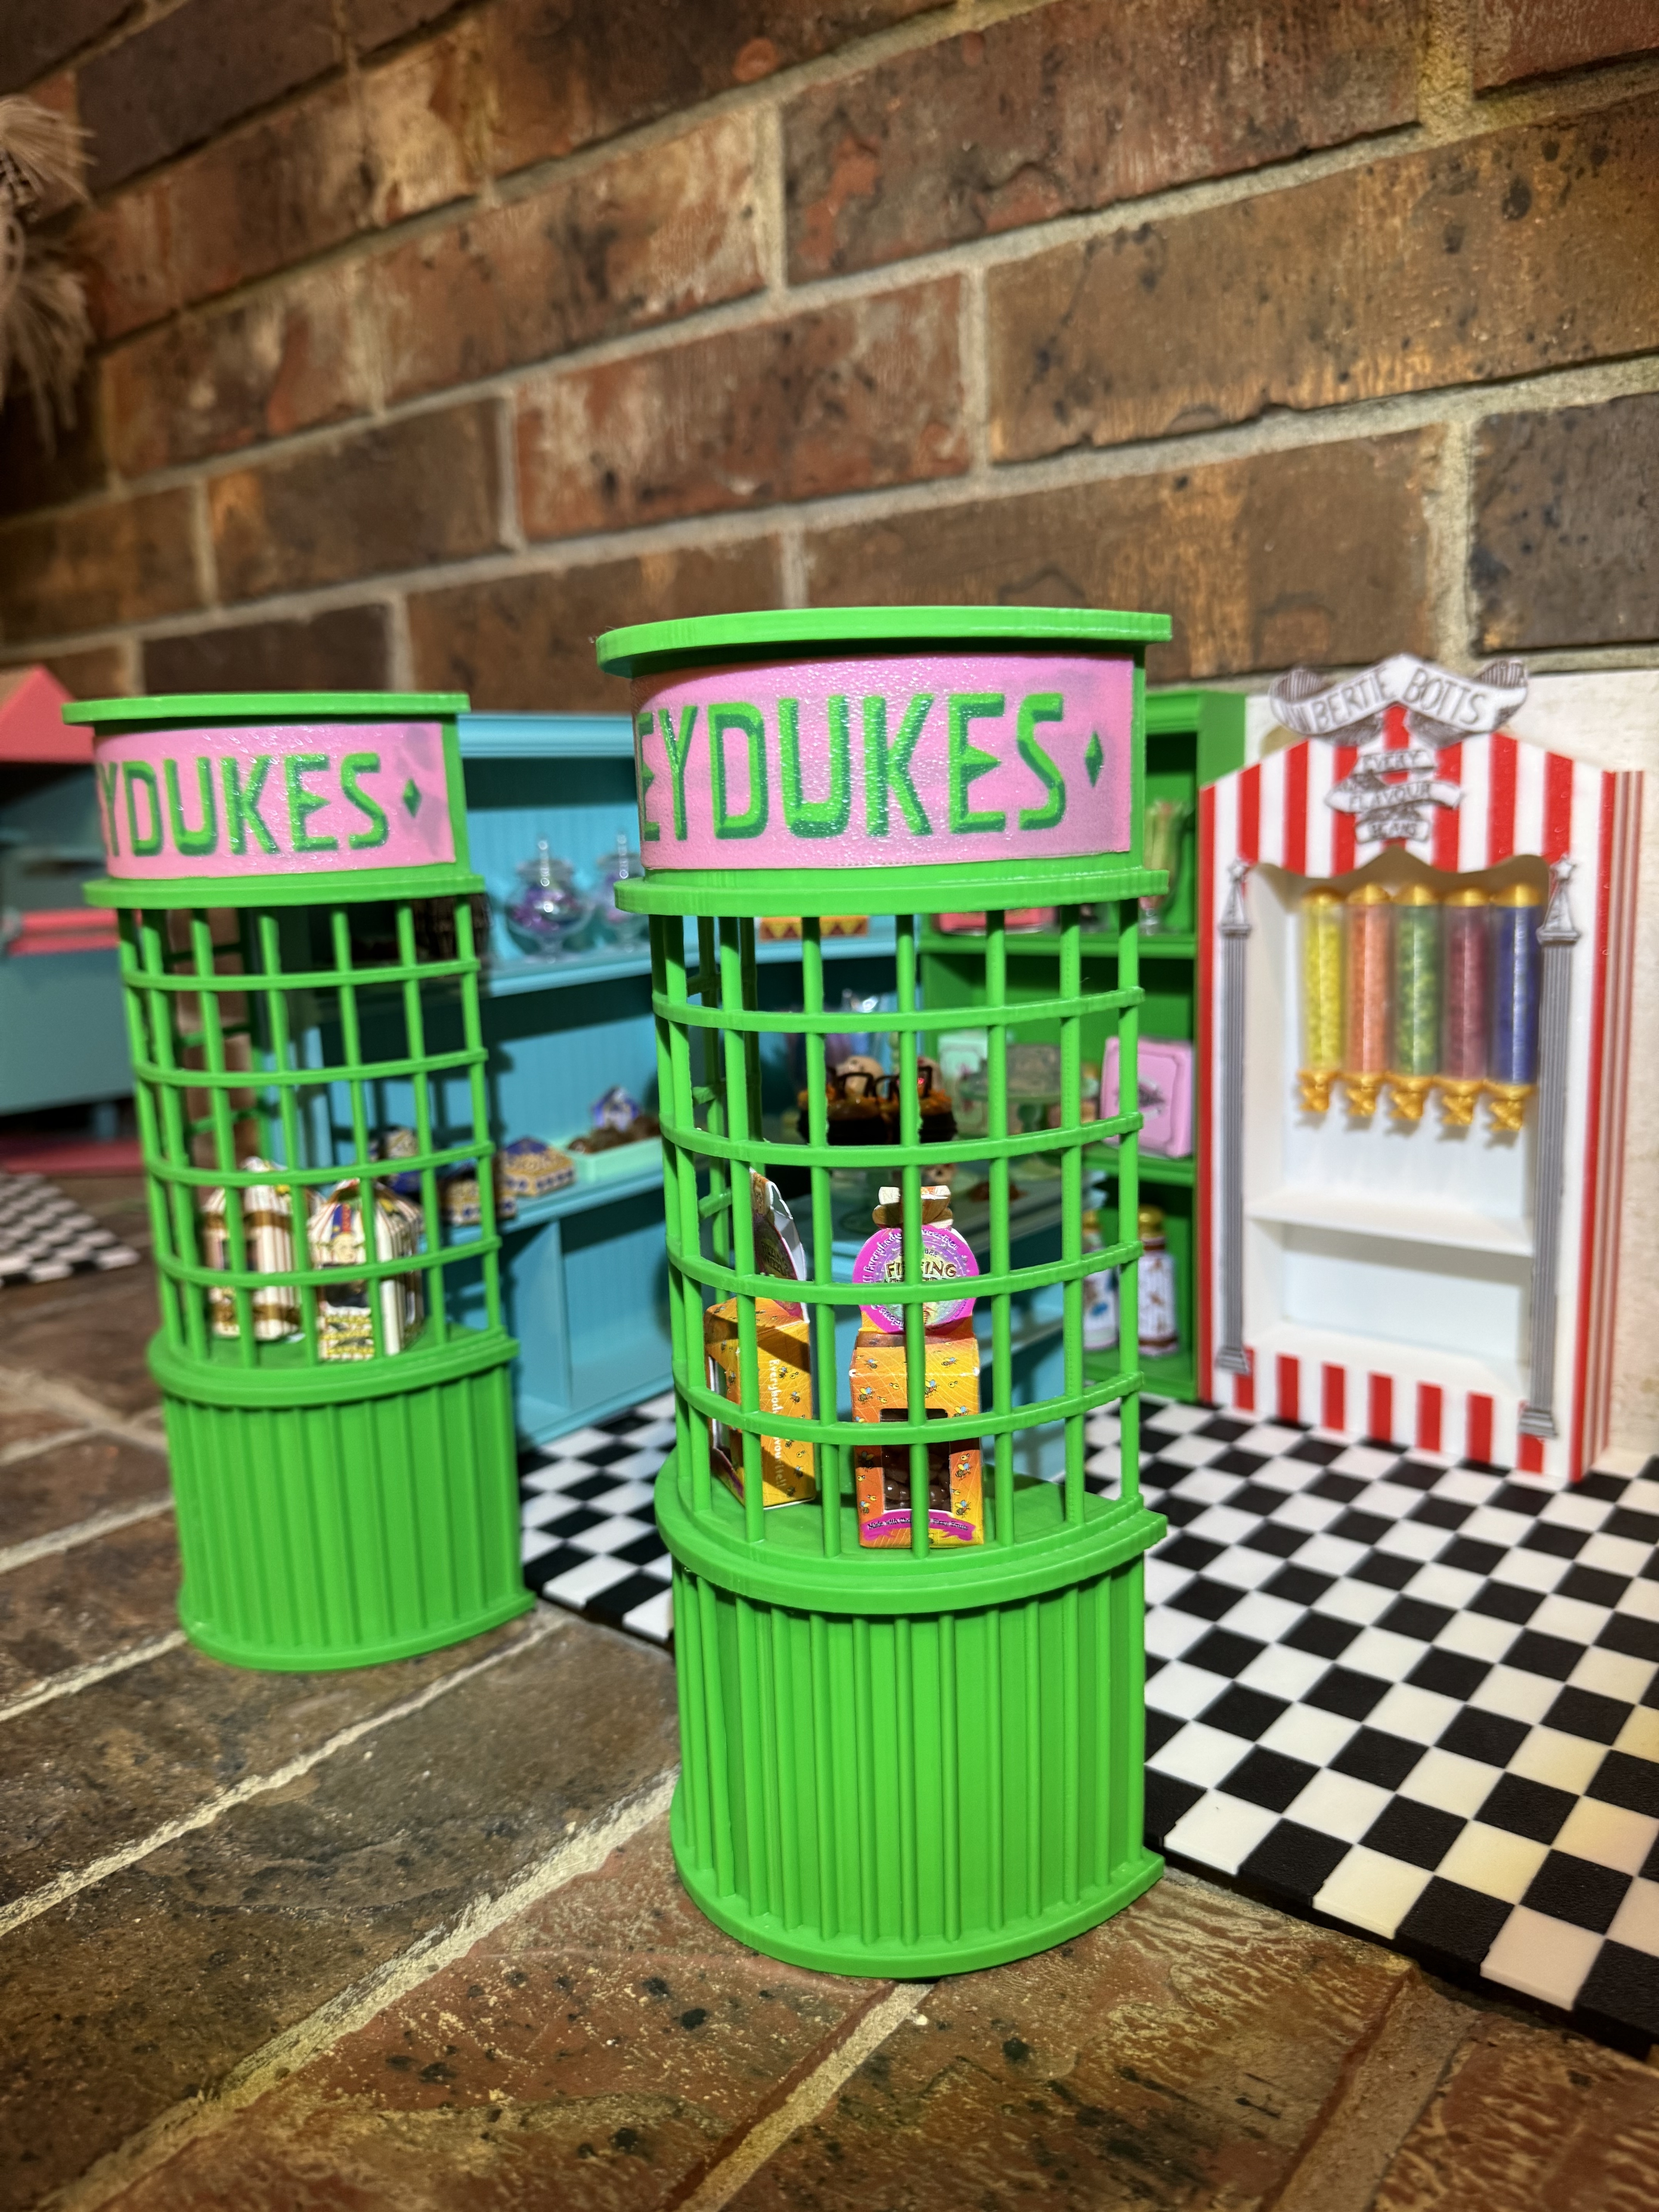
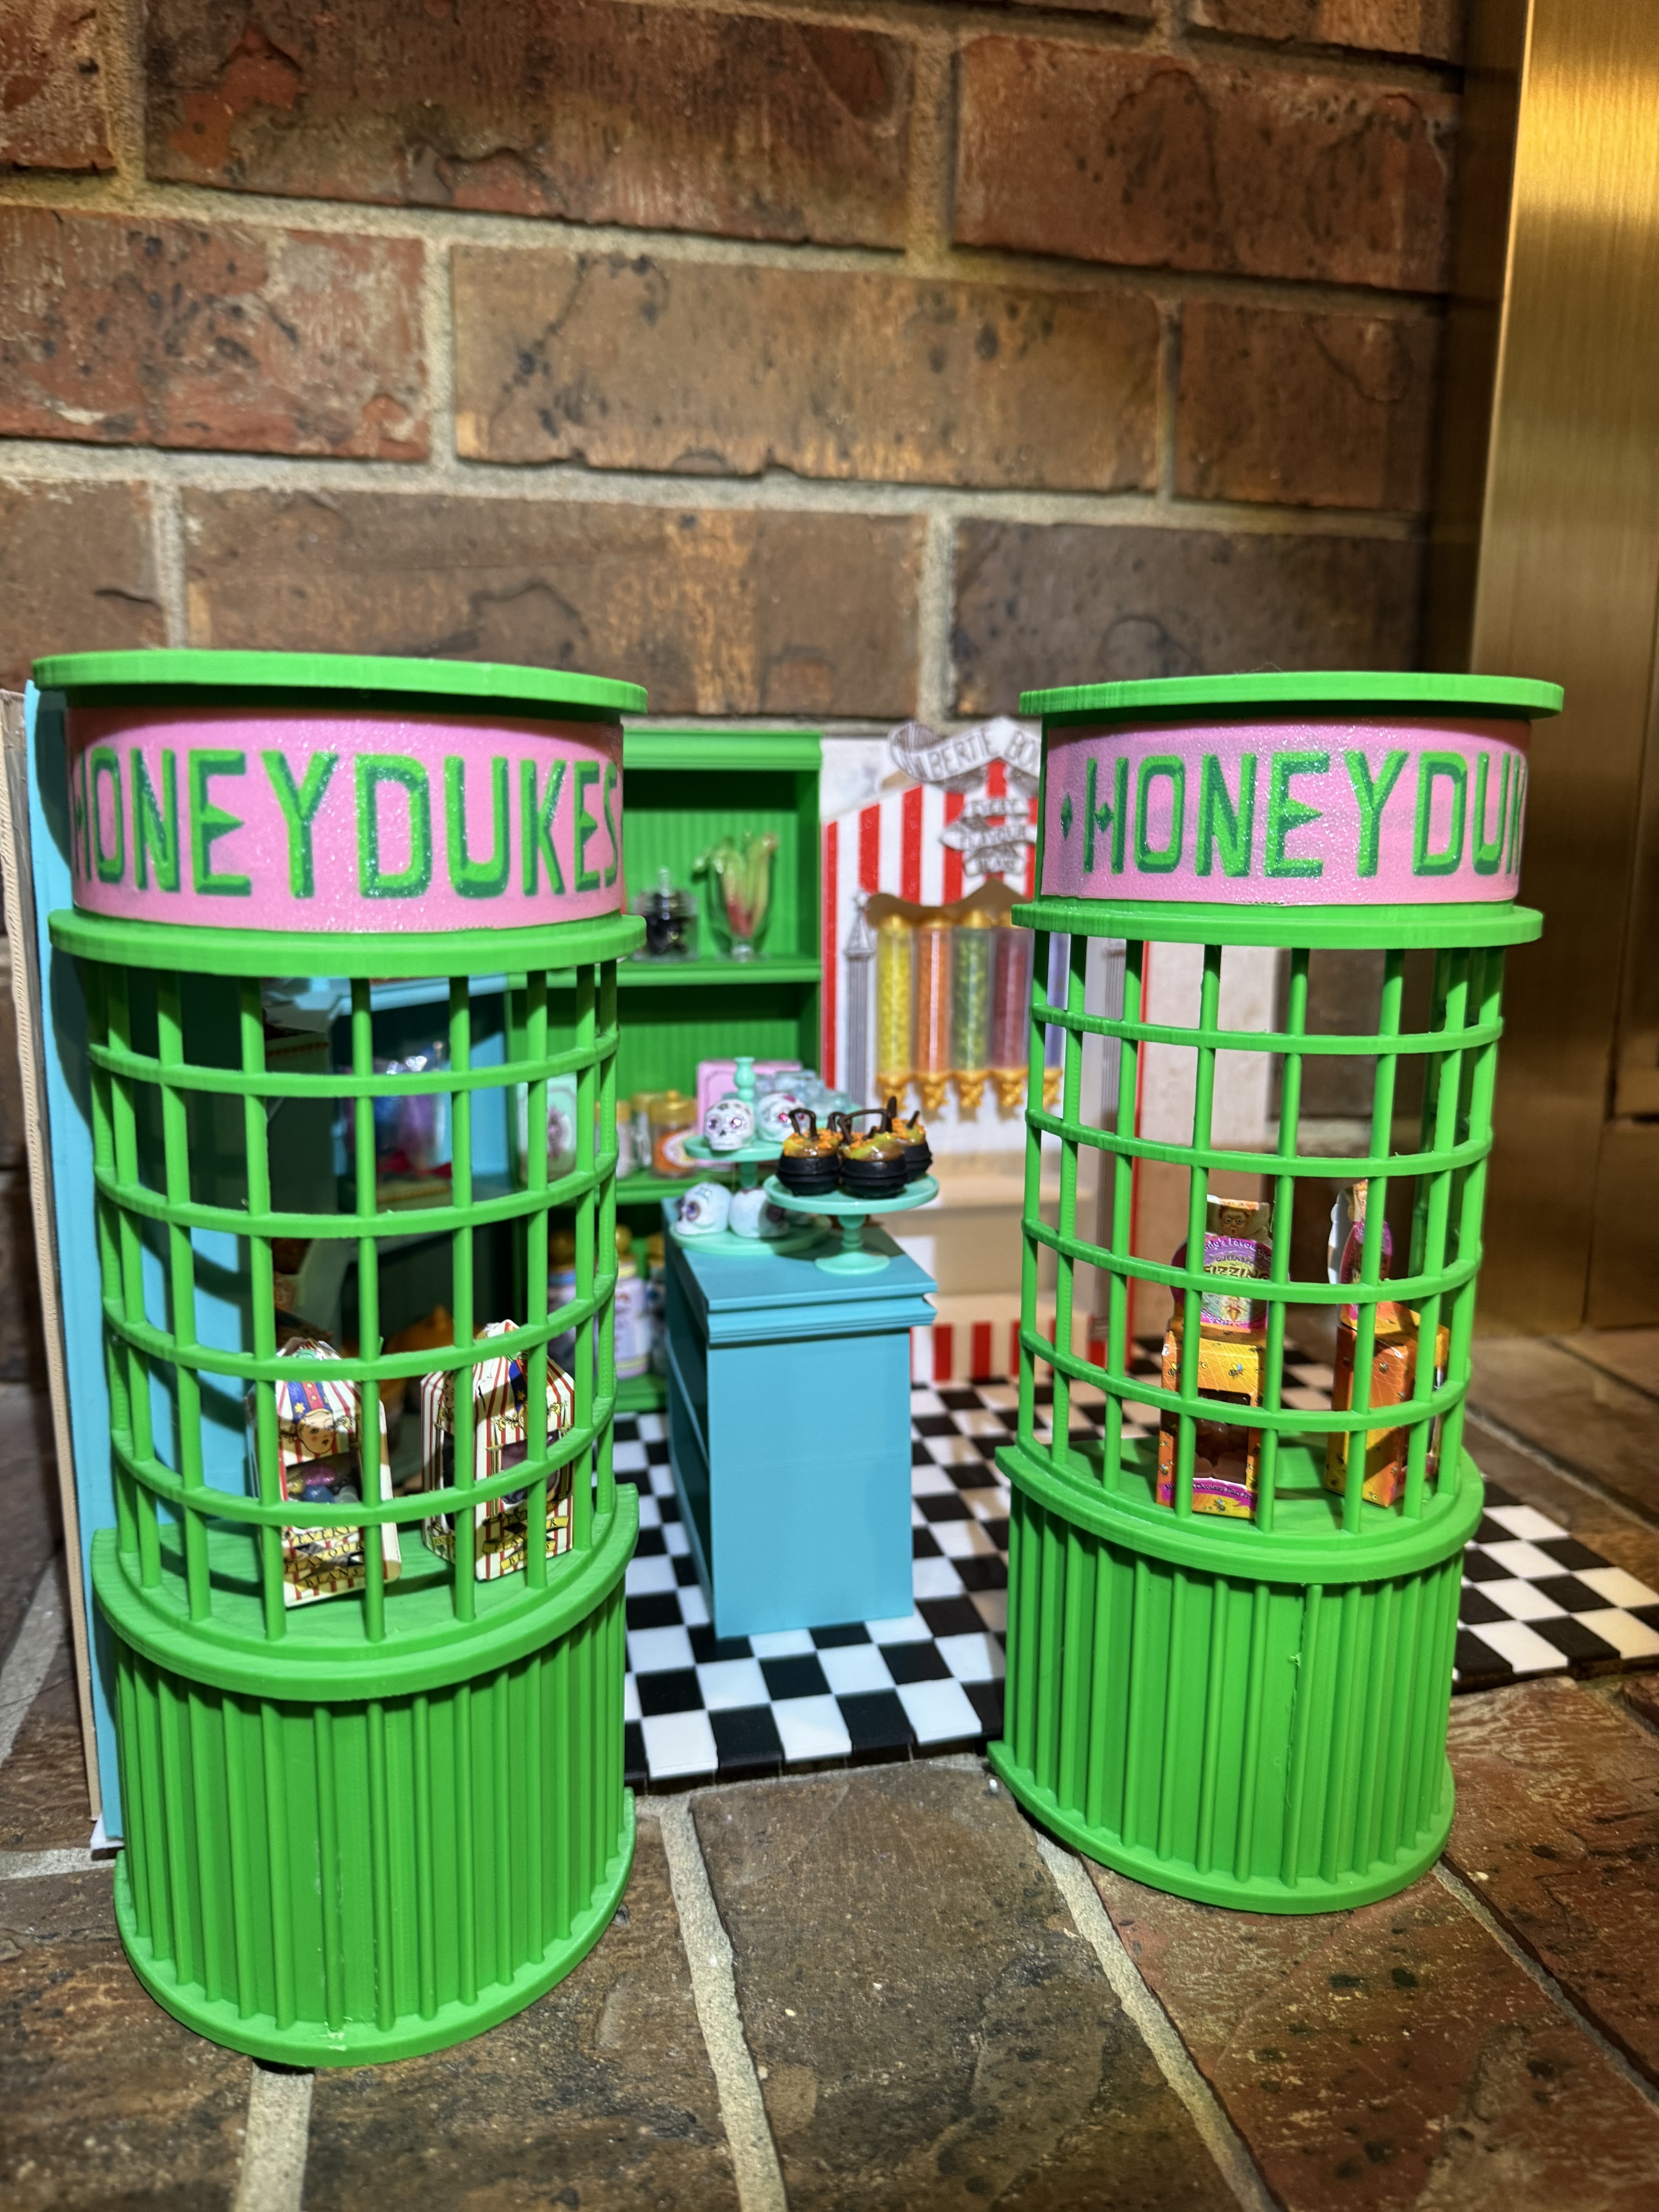
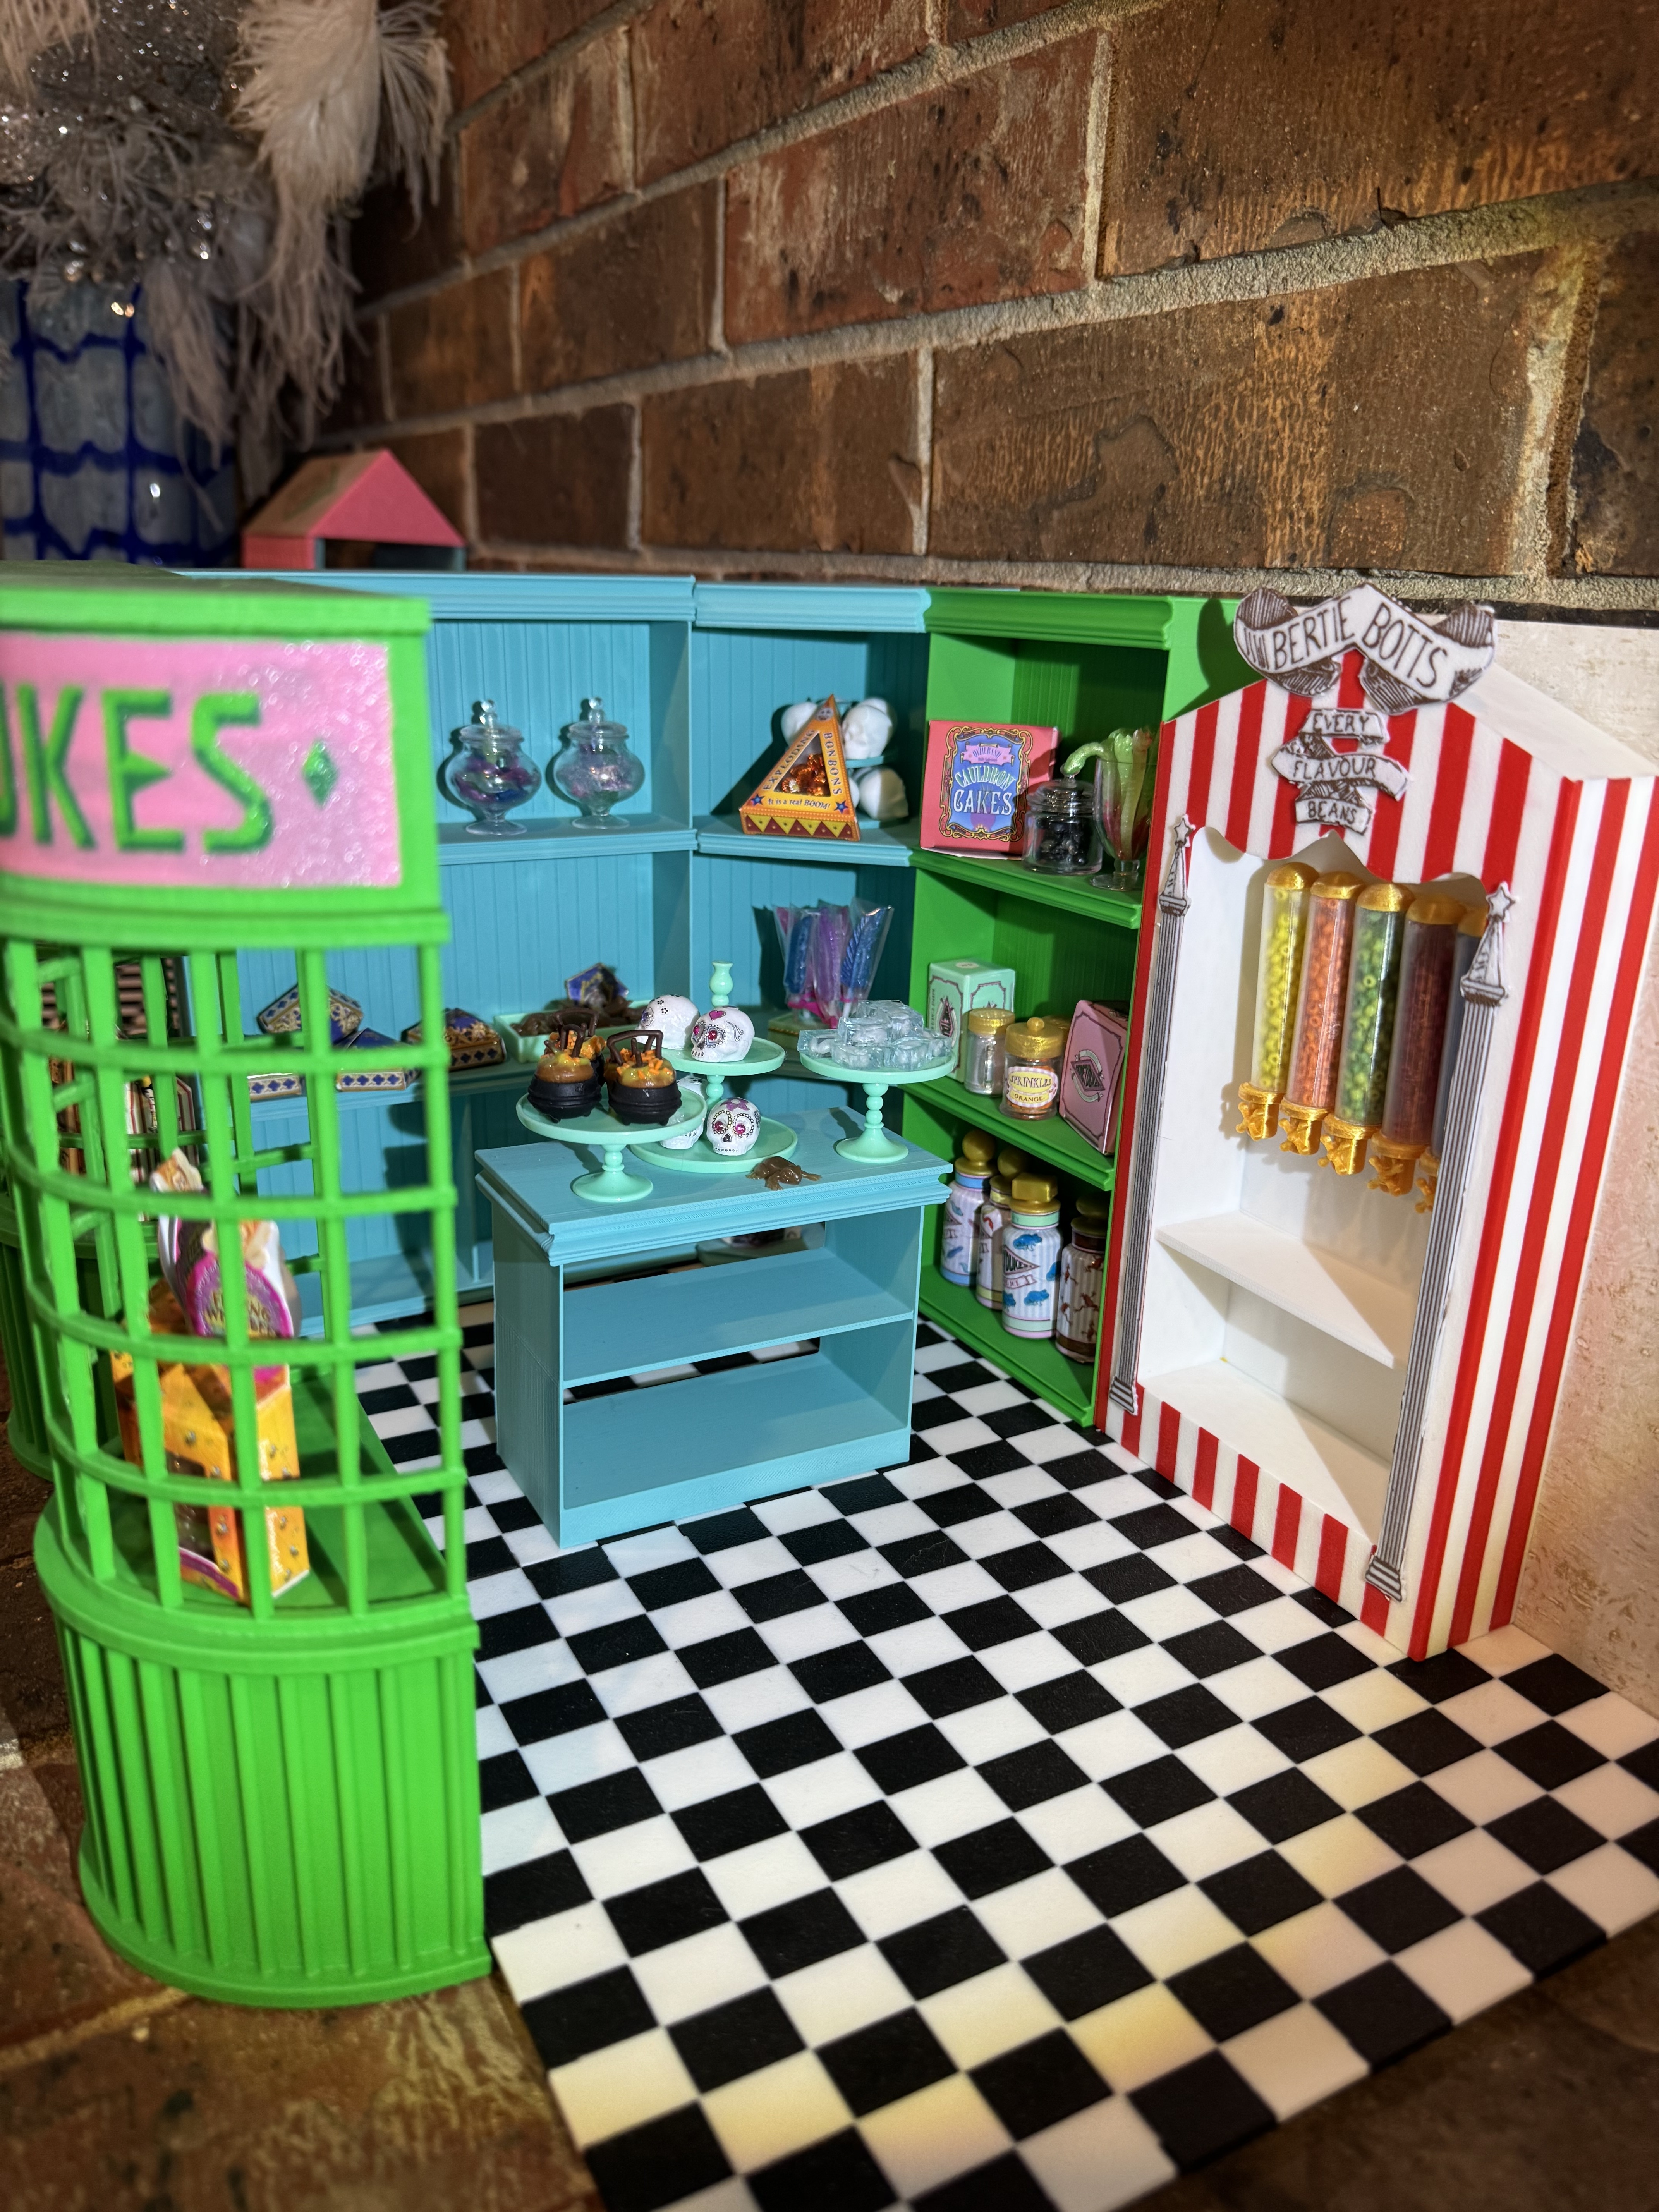
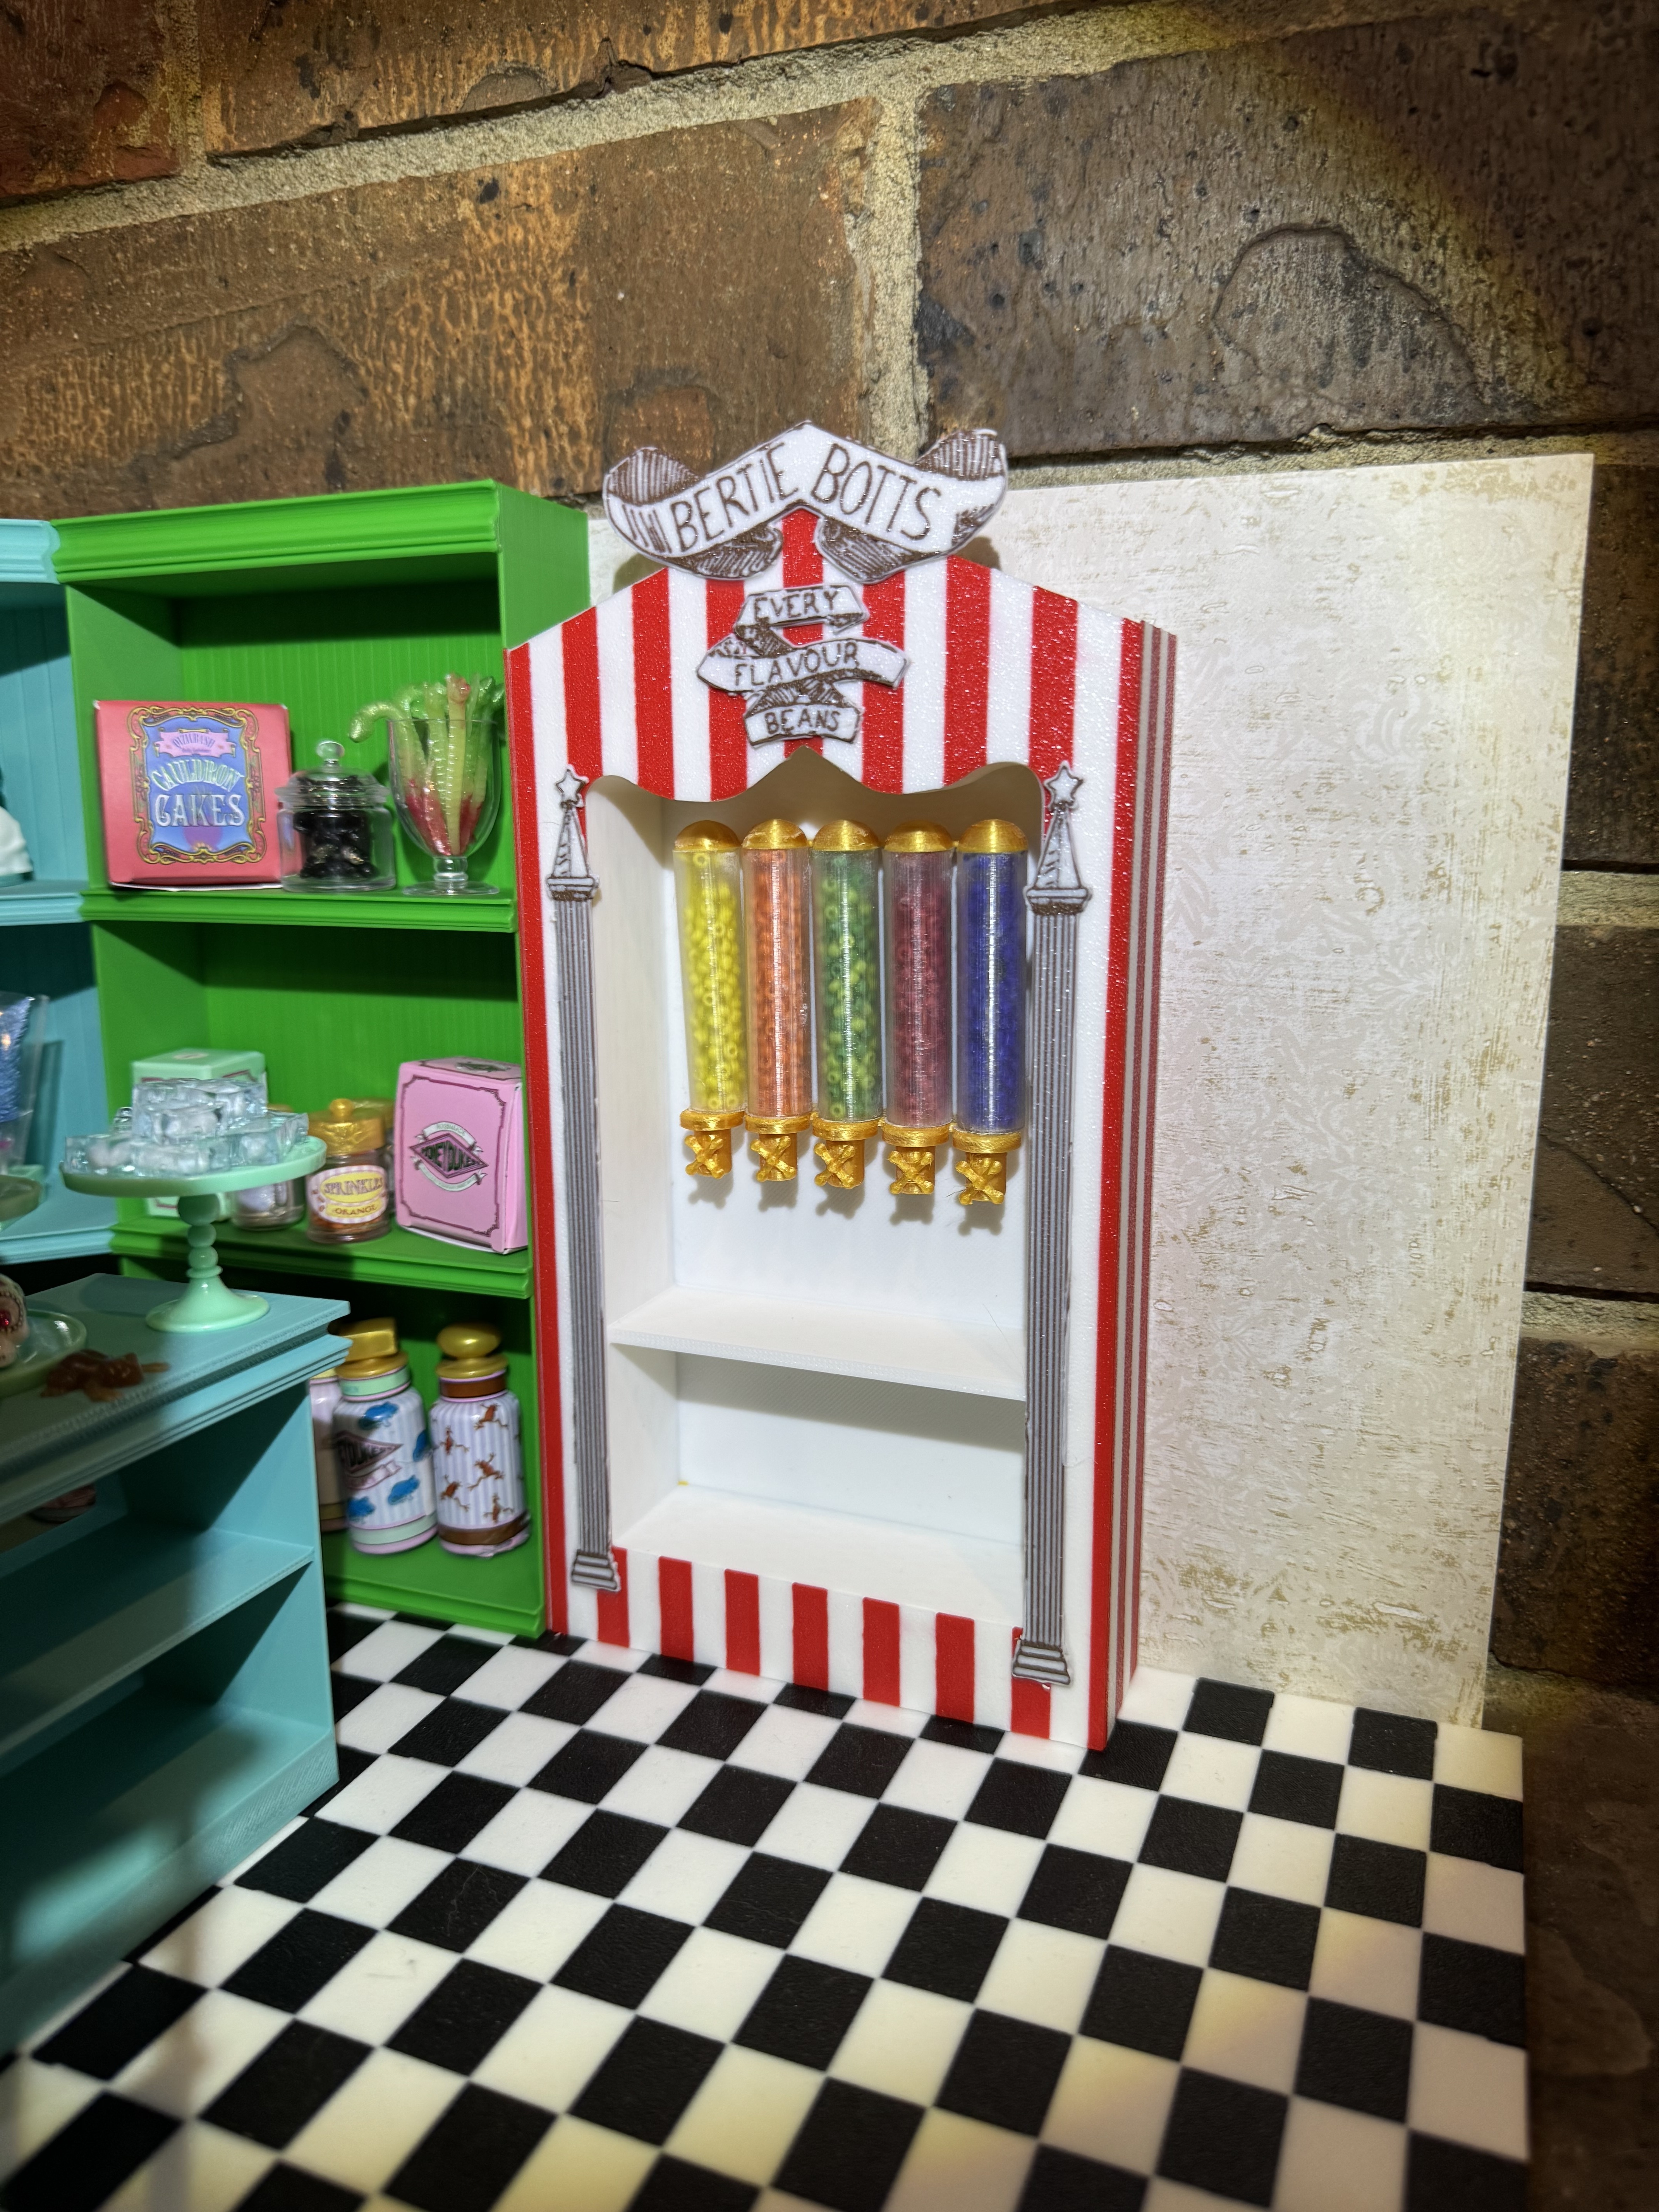
- 5,1k виды
- 38 мне нравится
- 33 загрузка
- 2 коллекции
- 0 kомментарий
- 0 makes
| Лицензия | |
|---|---|
| Использование | |
| Формат 3D-проектирования |
9 файлов (3MF) Закрыть
|
| Дата публикации | |
| Номер конструкции | 2877082 |
| Автор дизайна | SCCrafting |



:format(webp)/https://fbi.cults3d.com/uploaders/17310932/illustration-file/5effc636-94ae-44a7-b56f-6667fa85bc01/Finished-Trolley-1.jpg)
Вы хотите поддержать Cults?
Вам нравятся Cults и вы хотите помочь нам продолжить наш путь самостоятельно? Обратите внимание, что мы — маленькая команда из 4 человек, поэтому поддержать нас в поддержании деятельности и создании будущих разработок очень просто. Вот 3 решения, доступные для всех:
- РЕКЛАМА: Отключите блокировщик рекламы.
- ДОНАТЫ: сделать пожертвование через Ko-Fi здесь Отправить донат
- ПРИГЛАШЕНИЕ ДРУЗЕЙ: Приглашайте своих друзей, откройте для себя платформу и великолепные 3D-файлы, которыми делится сообщество!
Обмен и загрузка на Cults3D гарантирует, что дизайны остаются в руках сообщества создателей! А не в руках гигантов 3D-печати или программного обеспечения, которые владеют конкурирующими платформами и используют дизайны в своих собственных коммерческих интересах.
Cults3D - это независимый и самофинансируемый сайт, который не подчиняется ни одному инвестору или бренду. Почти все доходы сайта возвращаются создателям платформы. Контент, публикуемый на сайте, служит **только интересам его авторов, а не брендов 3D-принтеров, которые также хотят контролировать рынок 3D-моделирования.