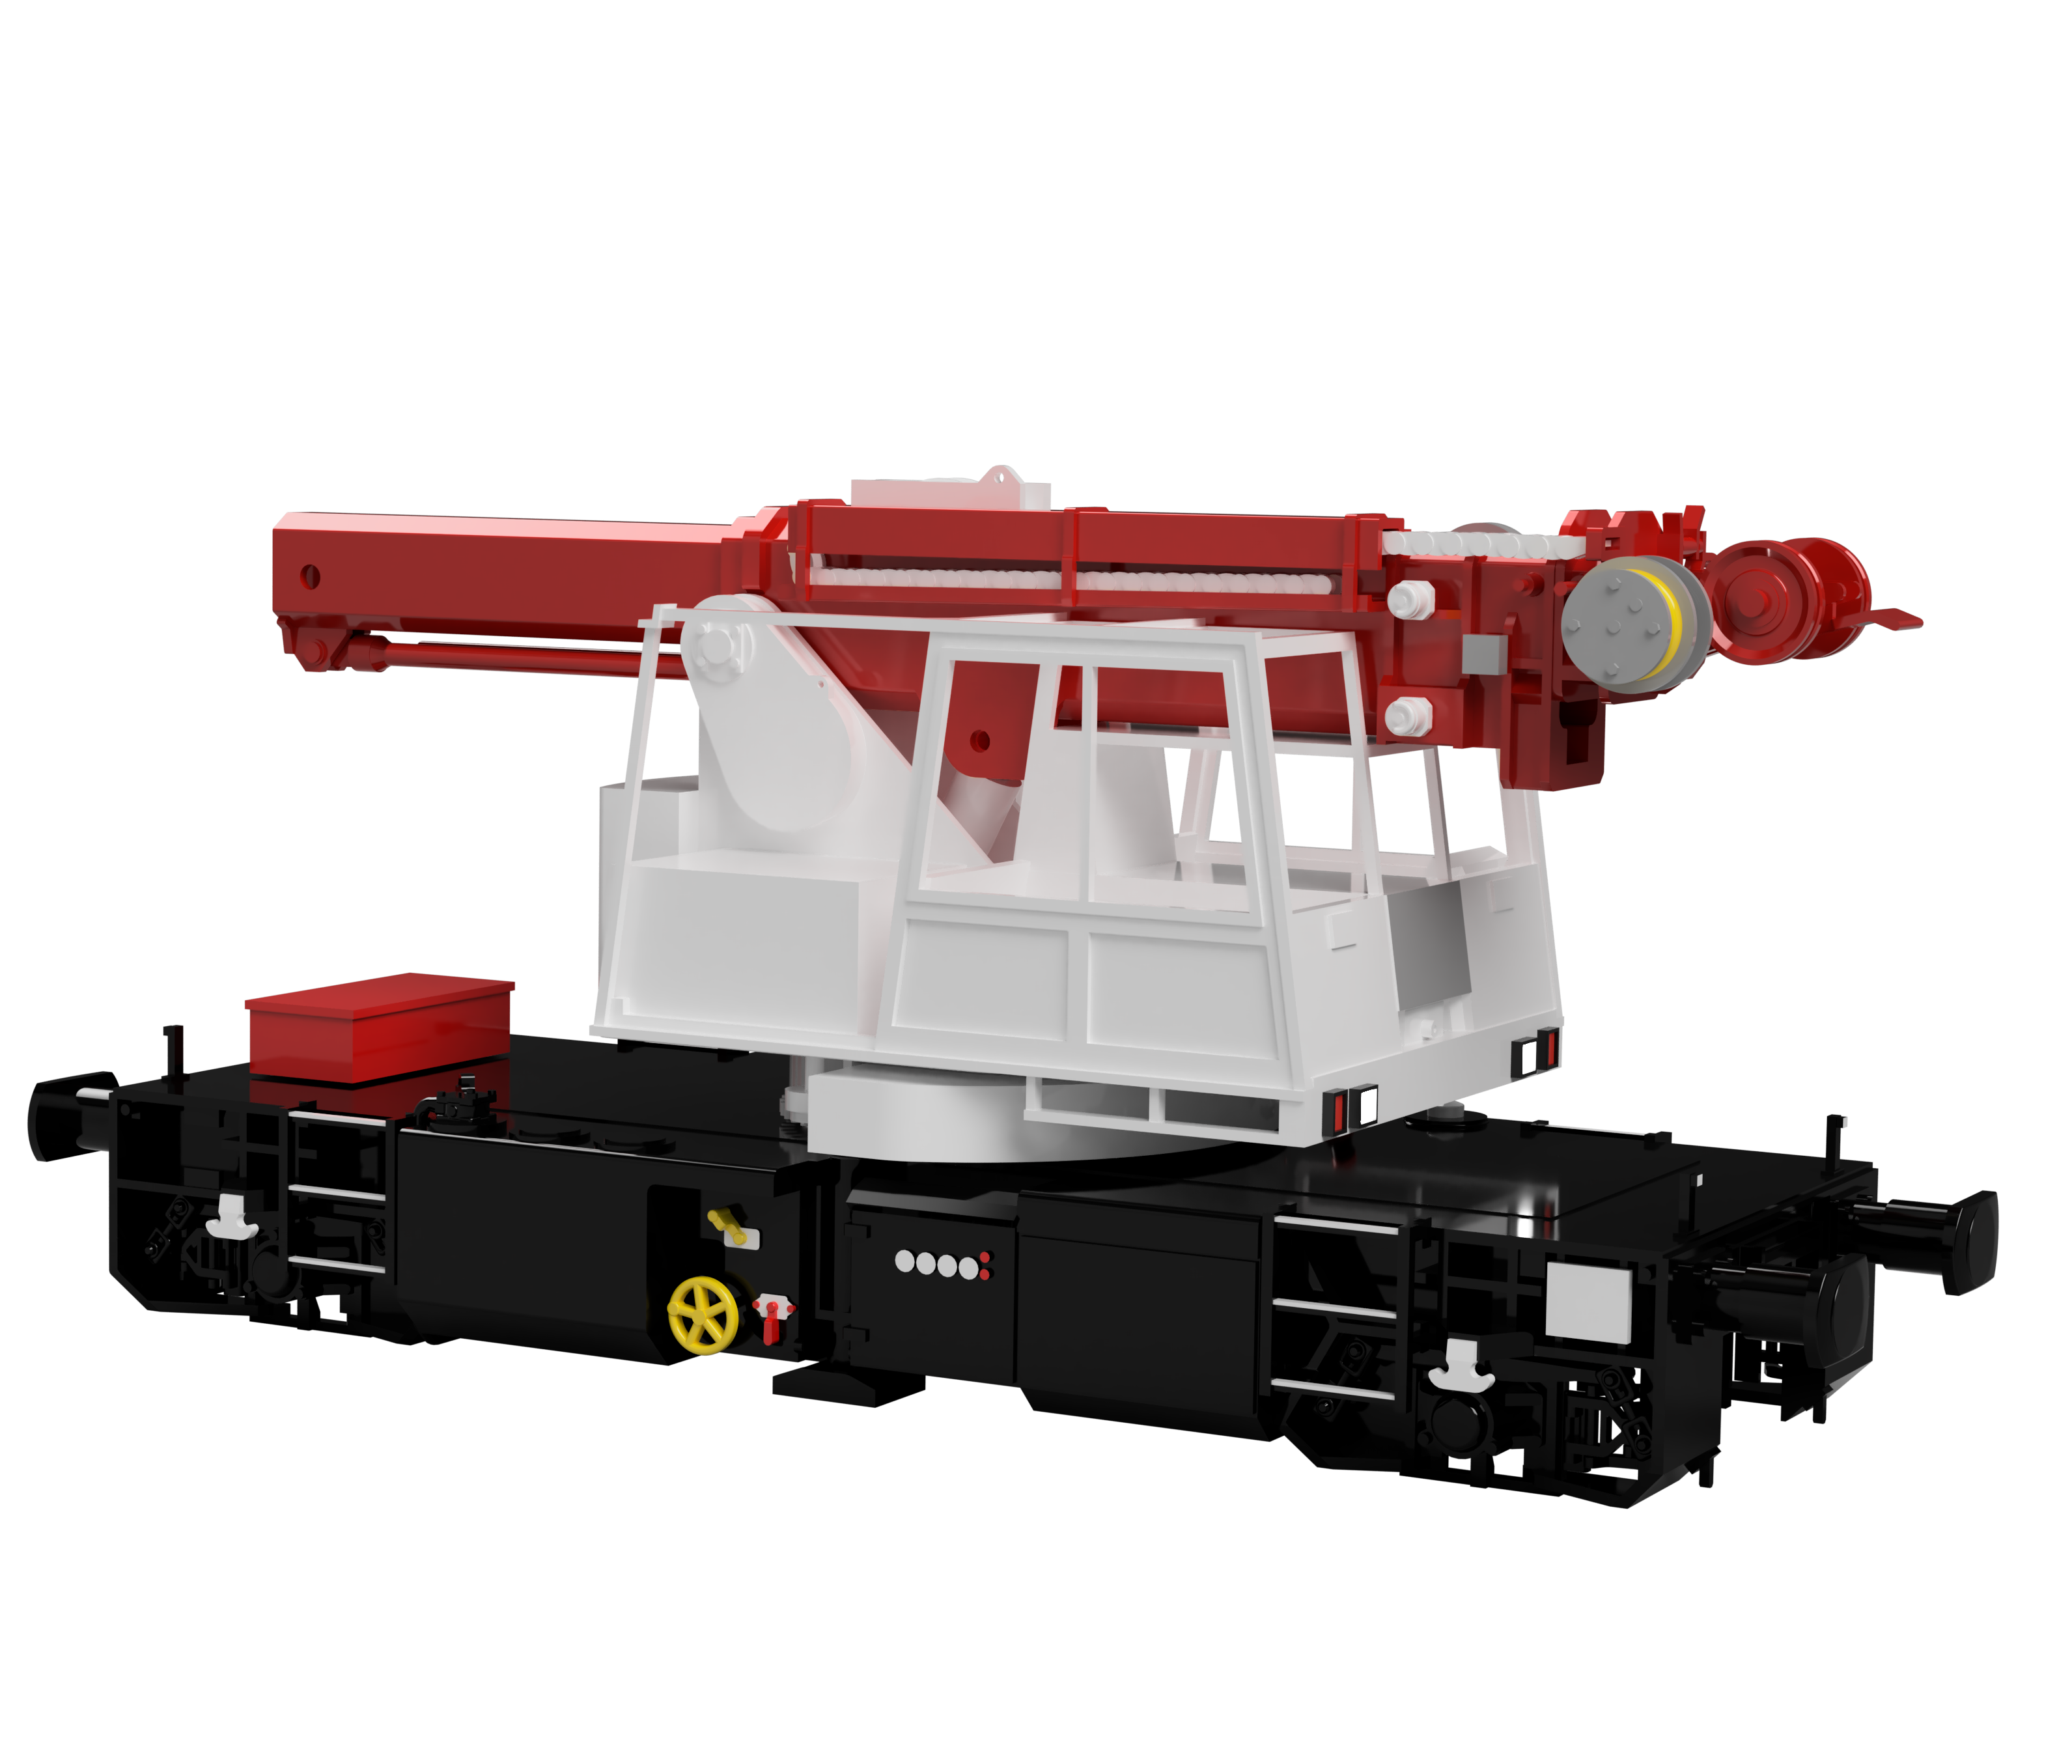
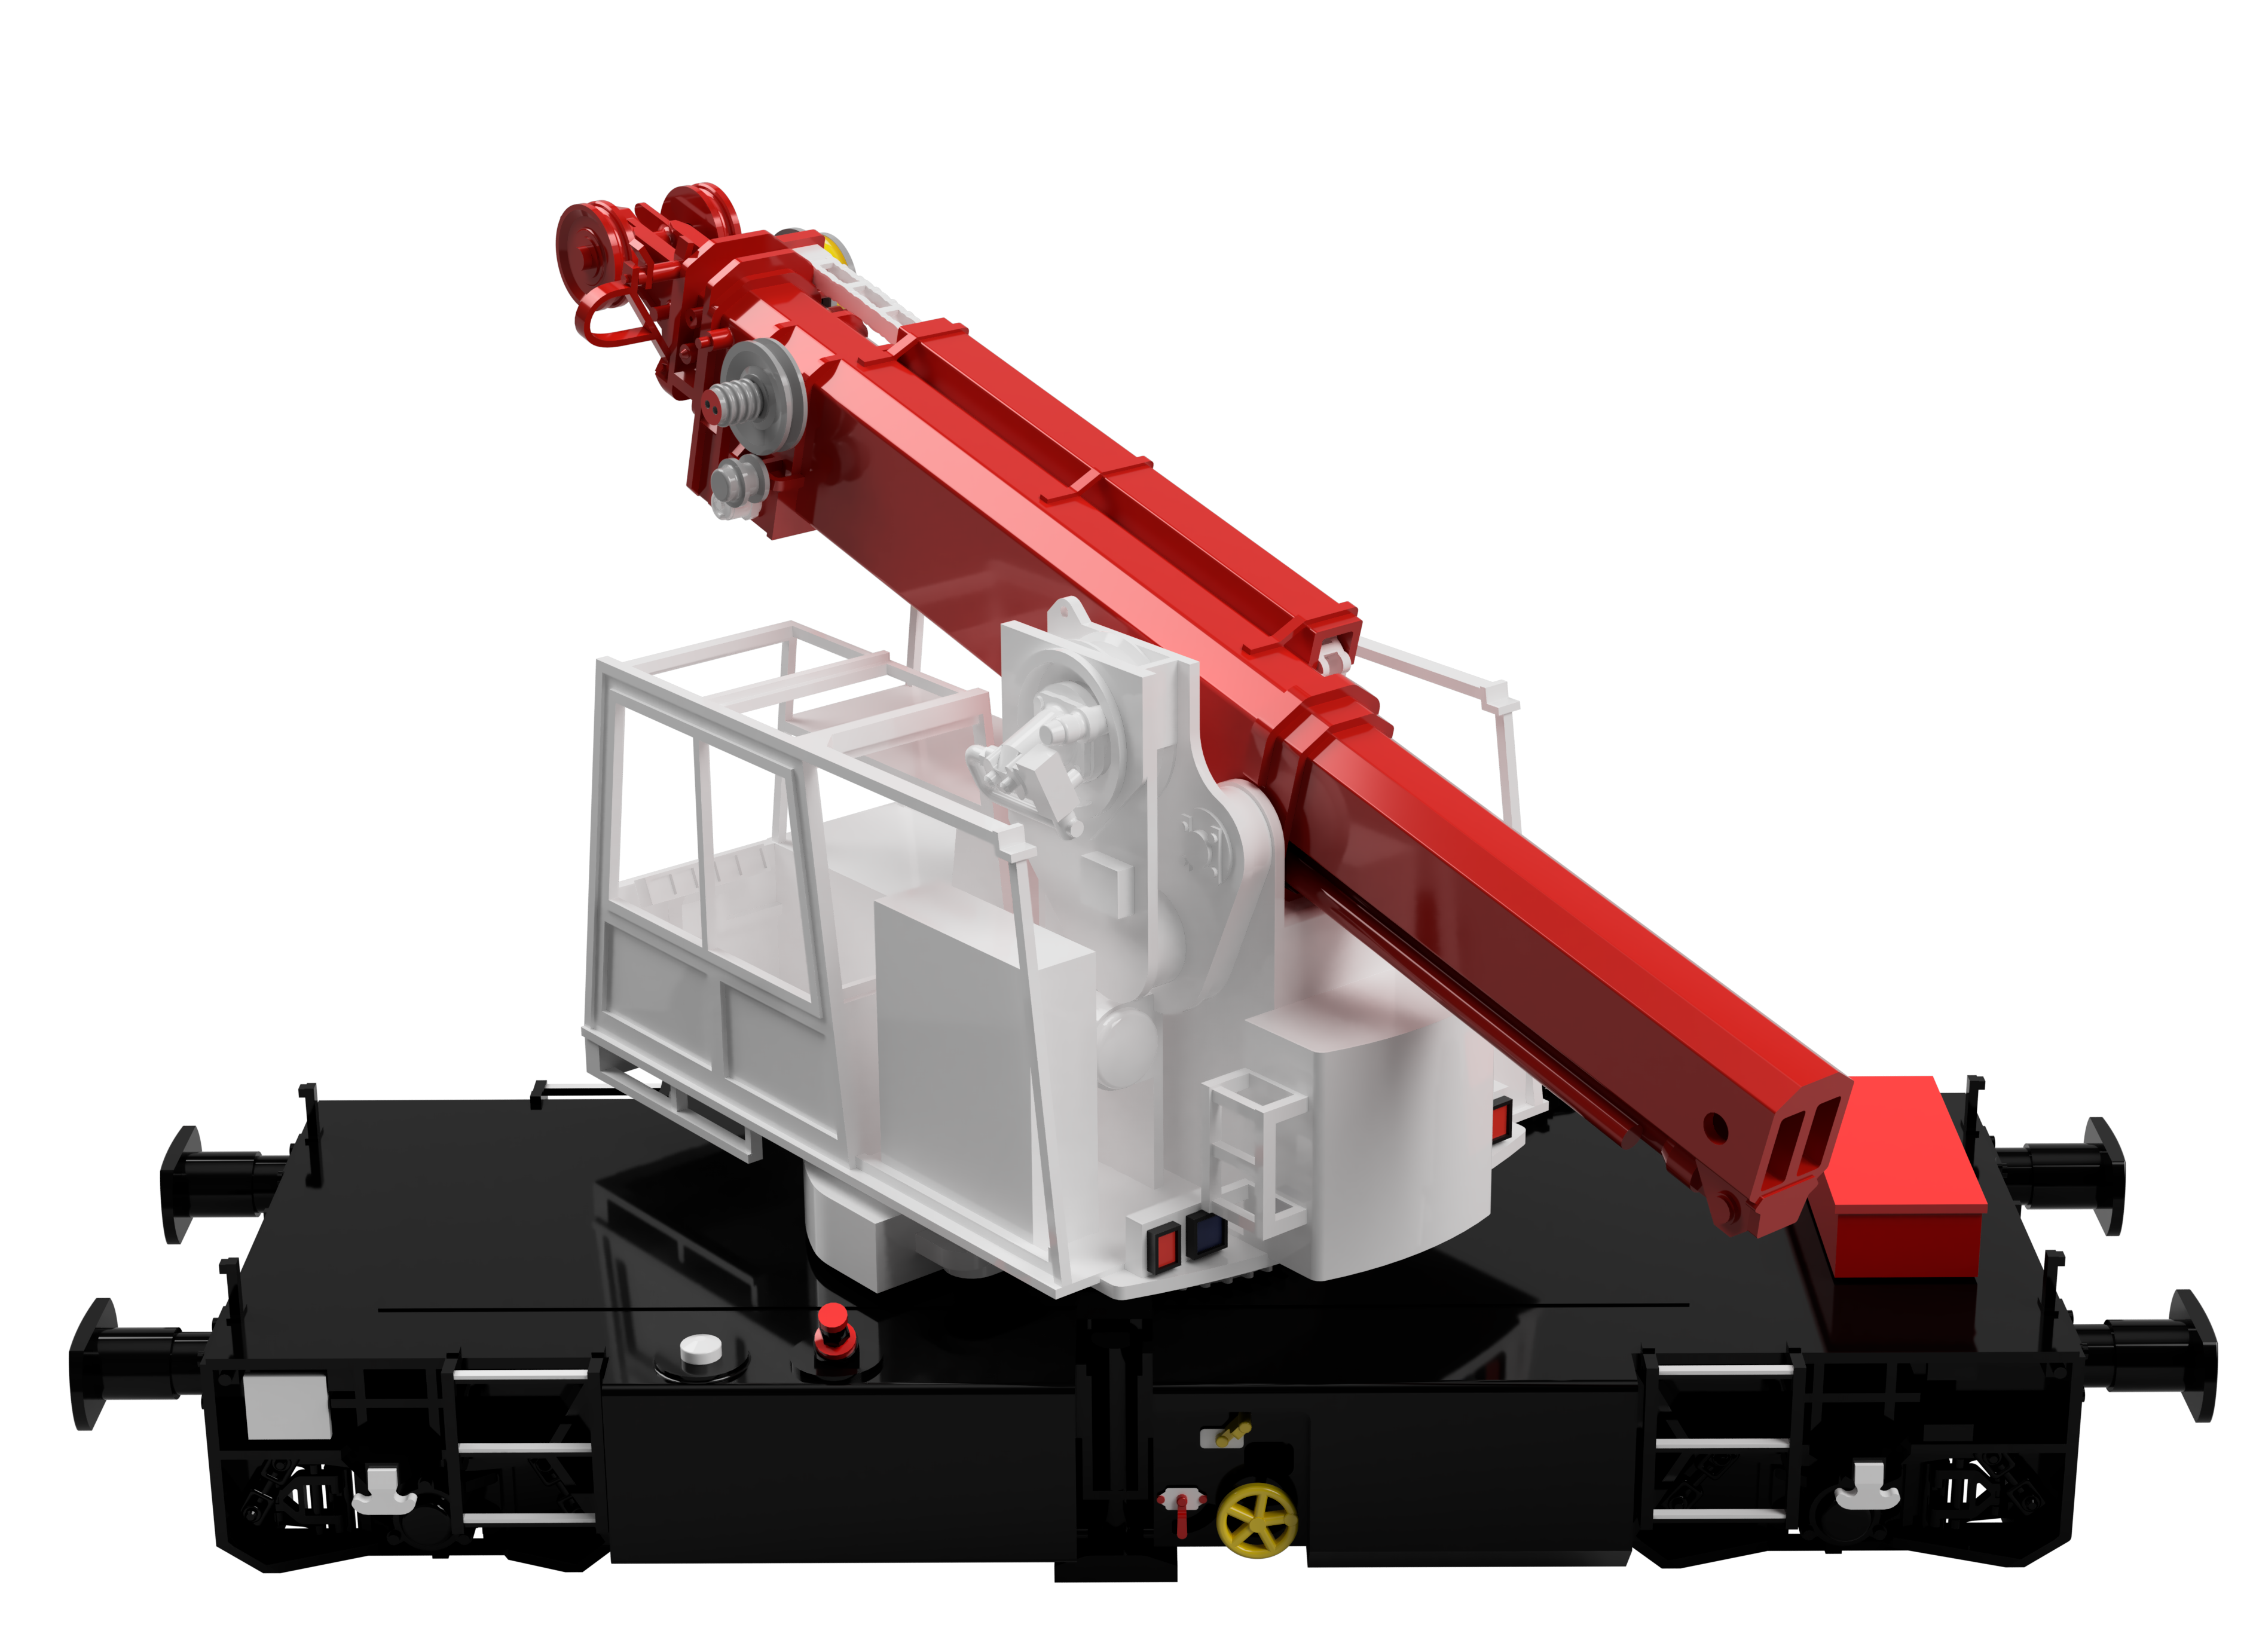
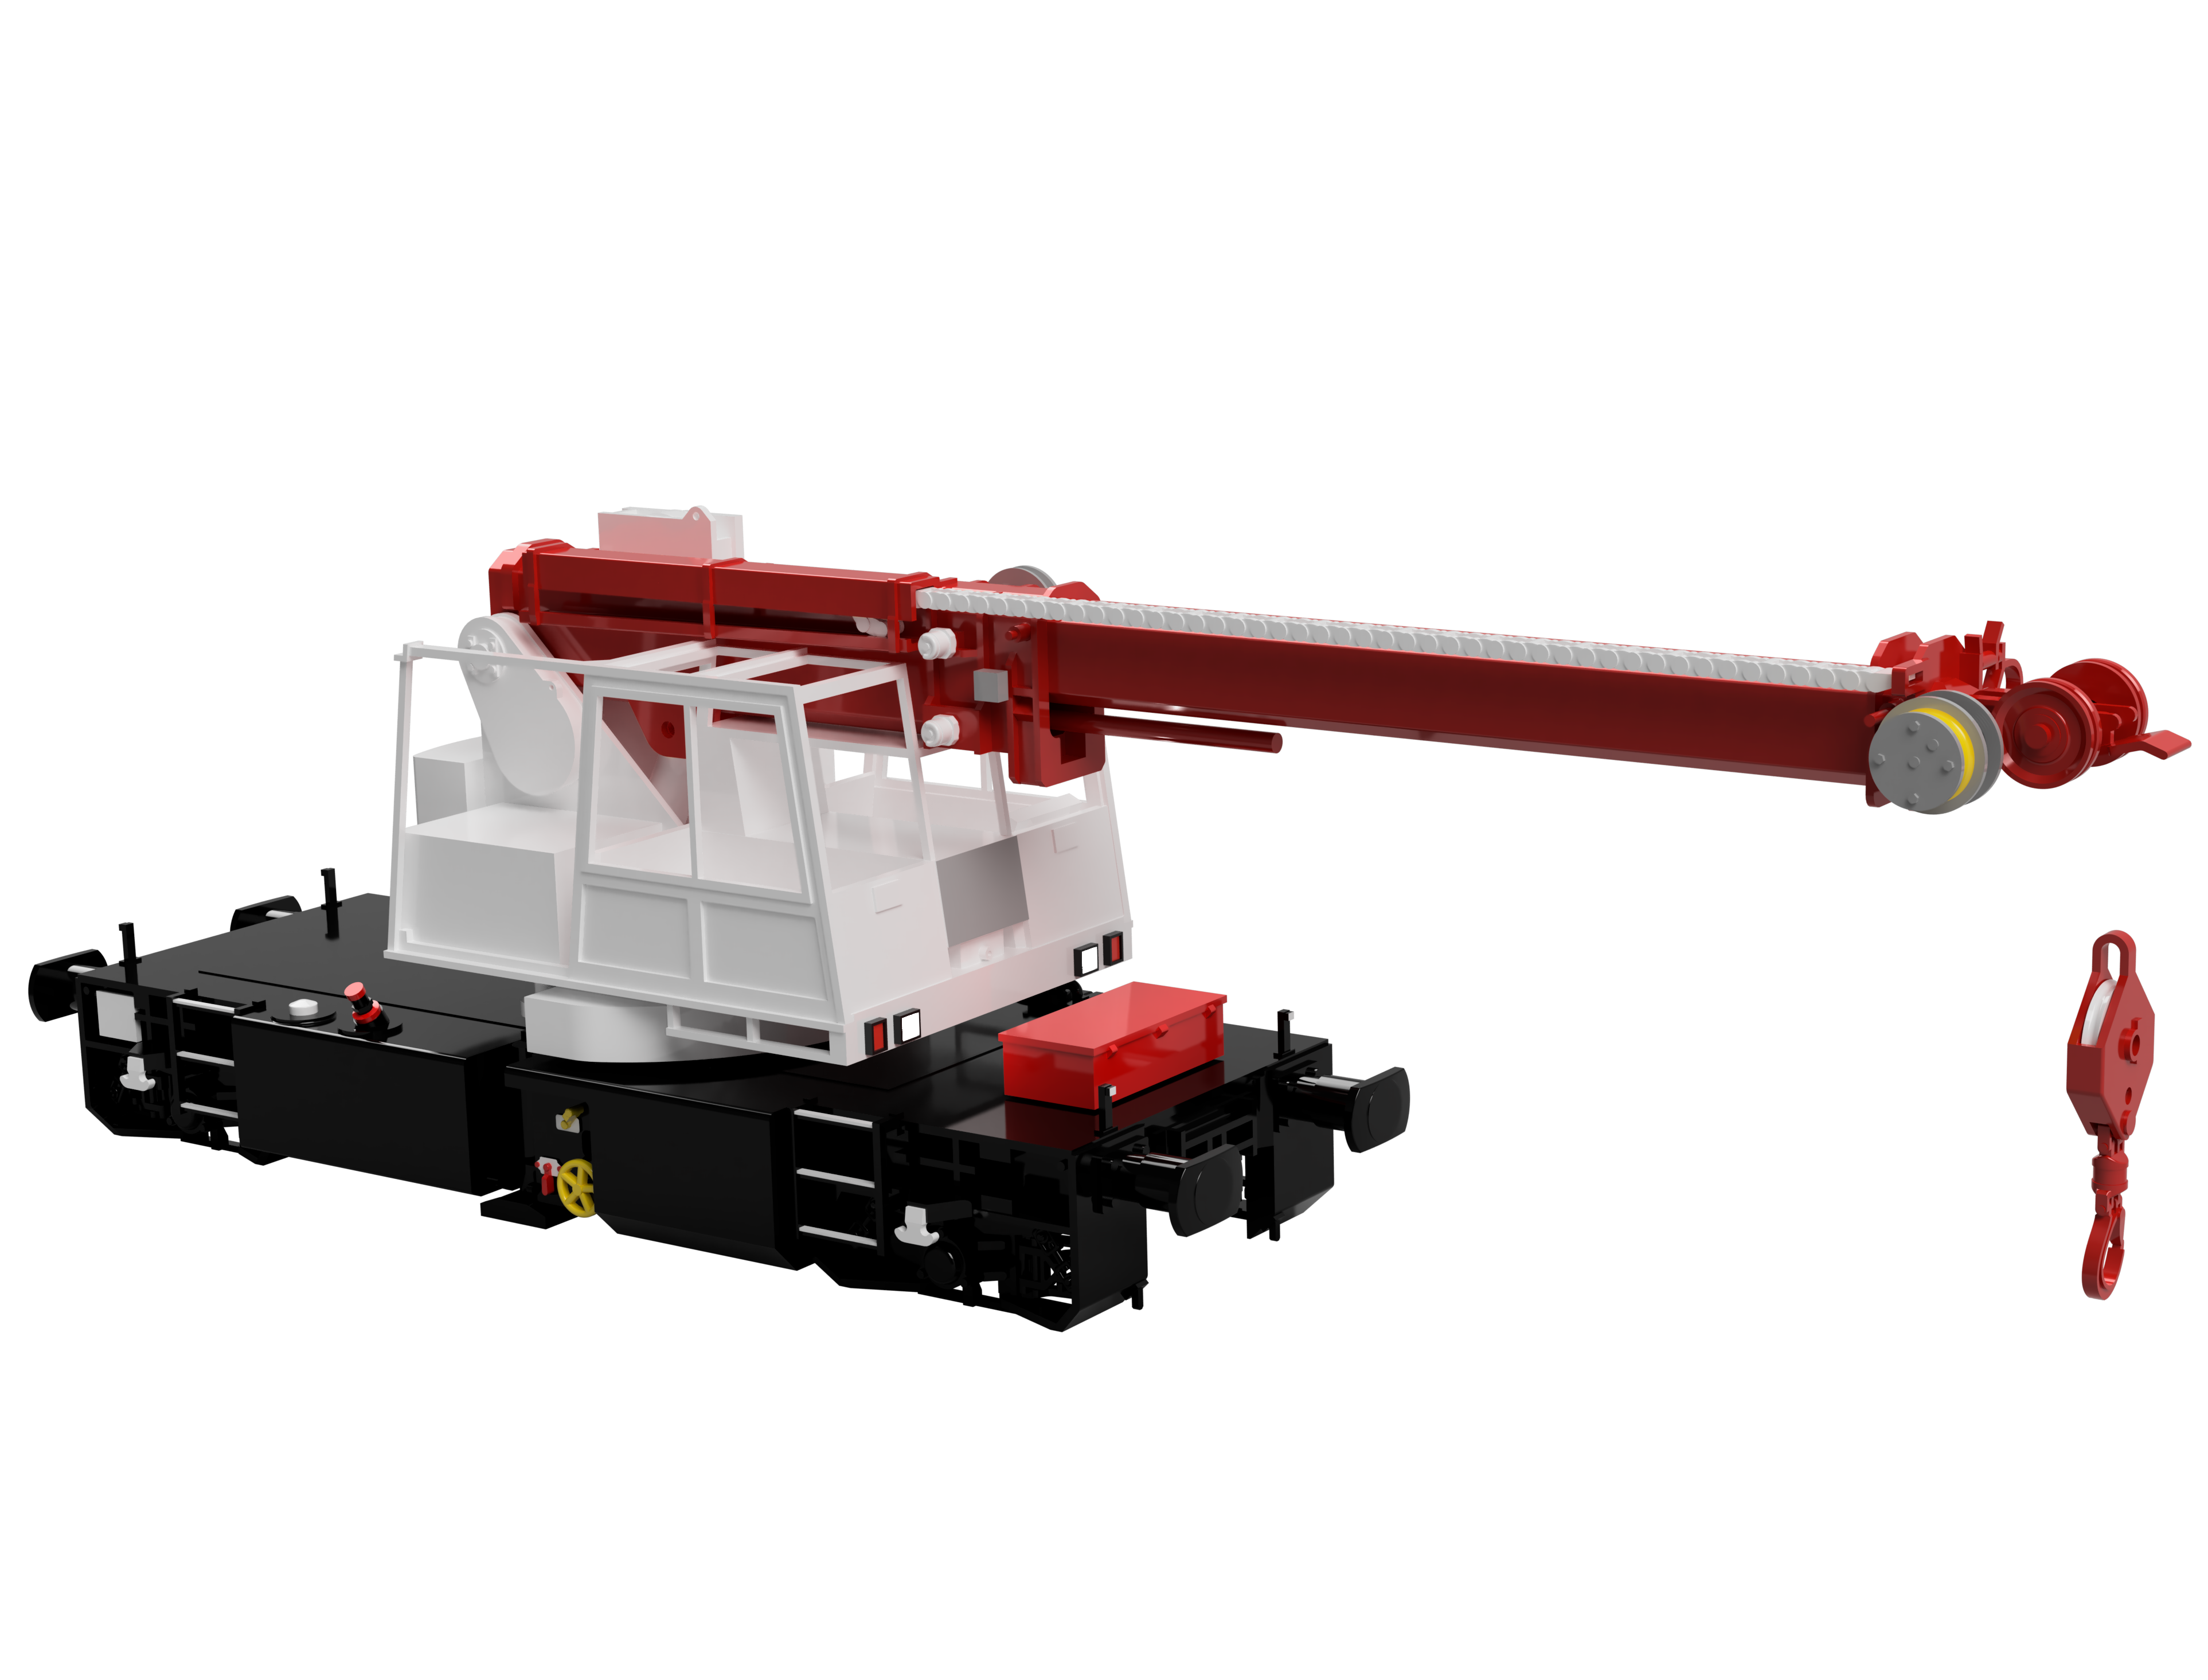
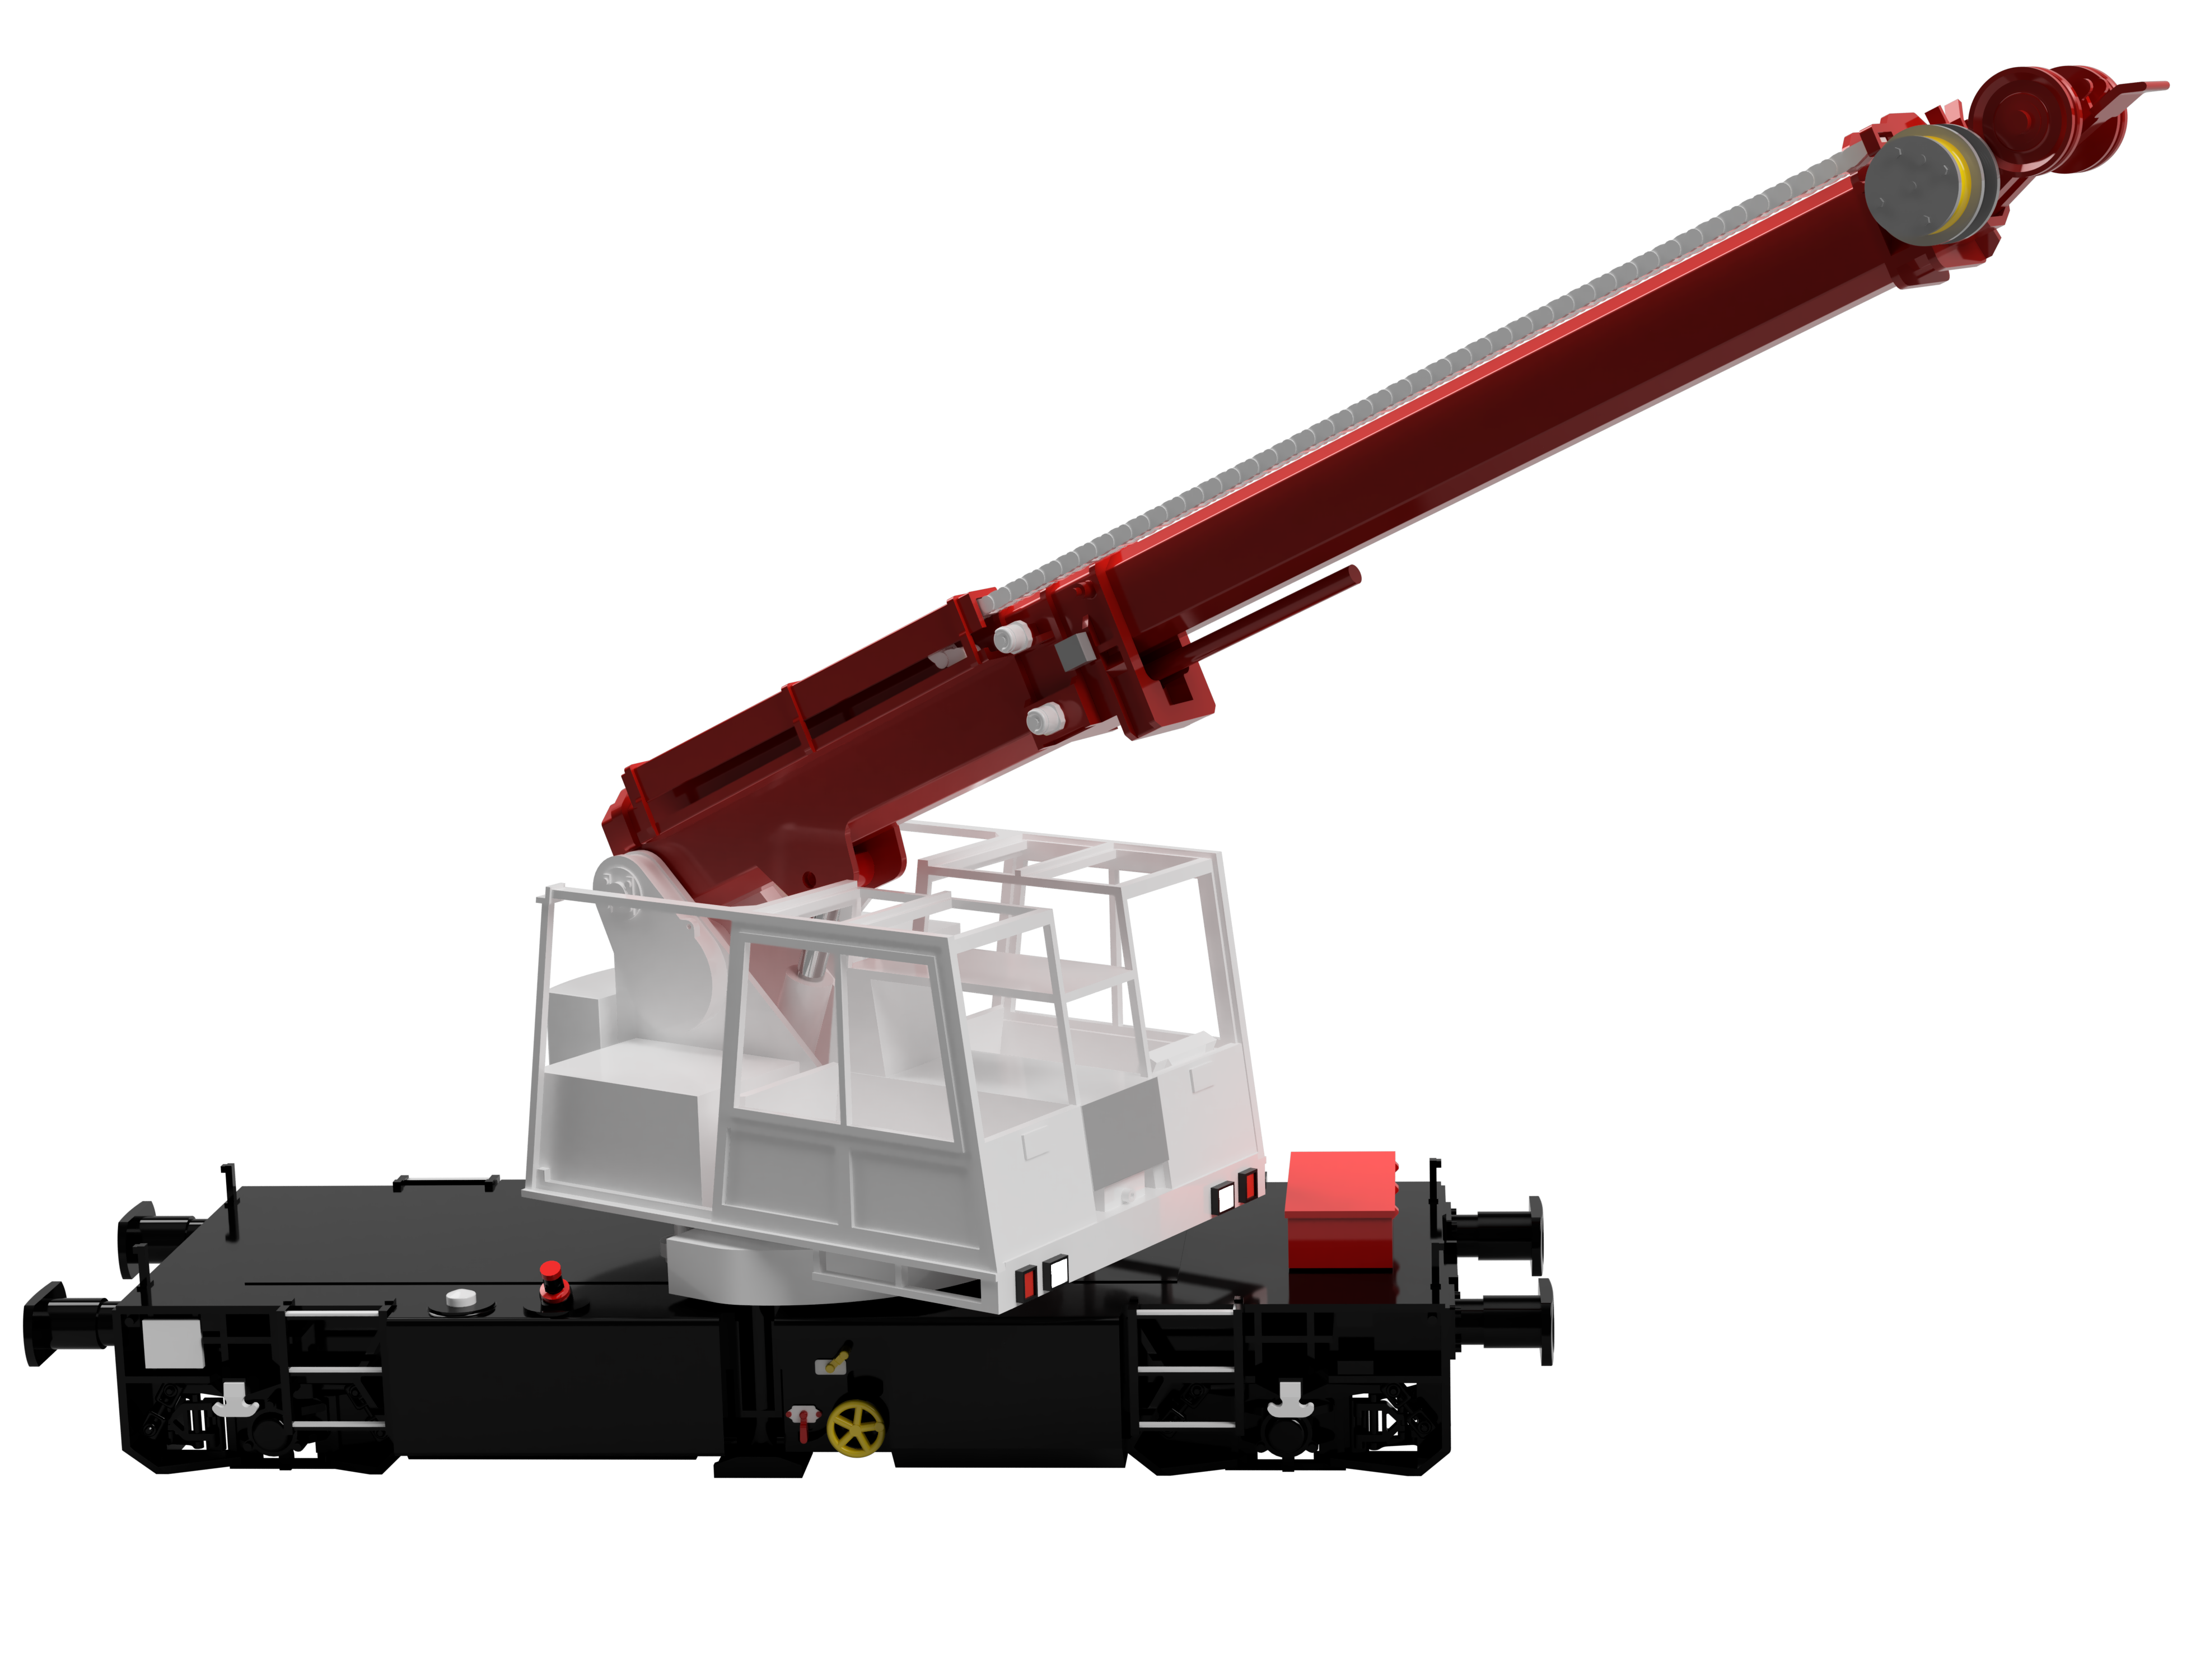
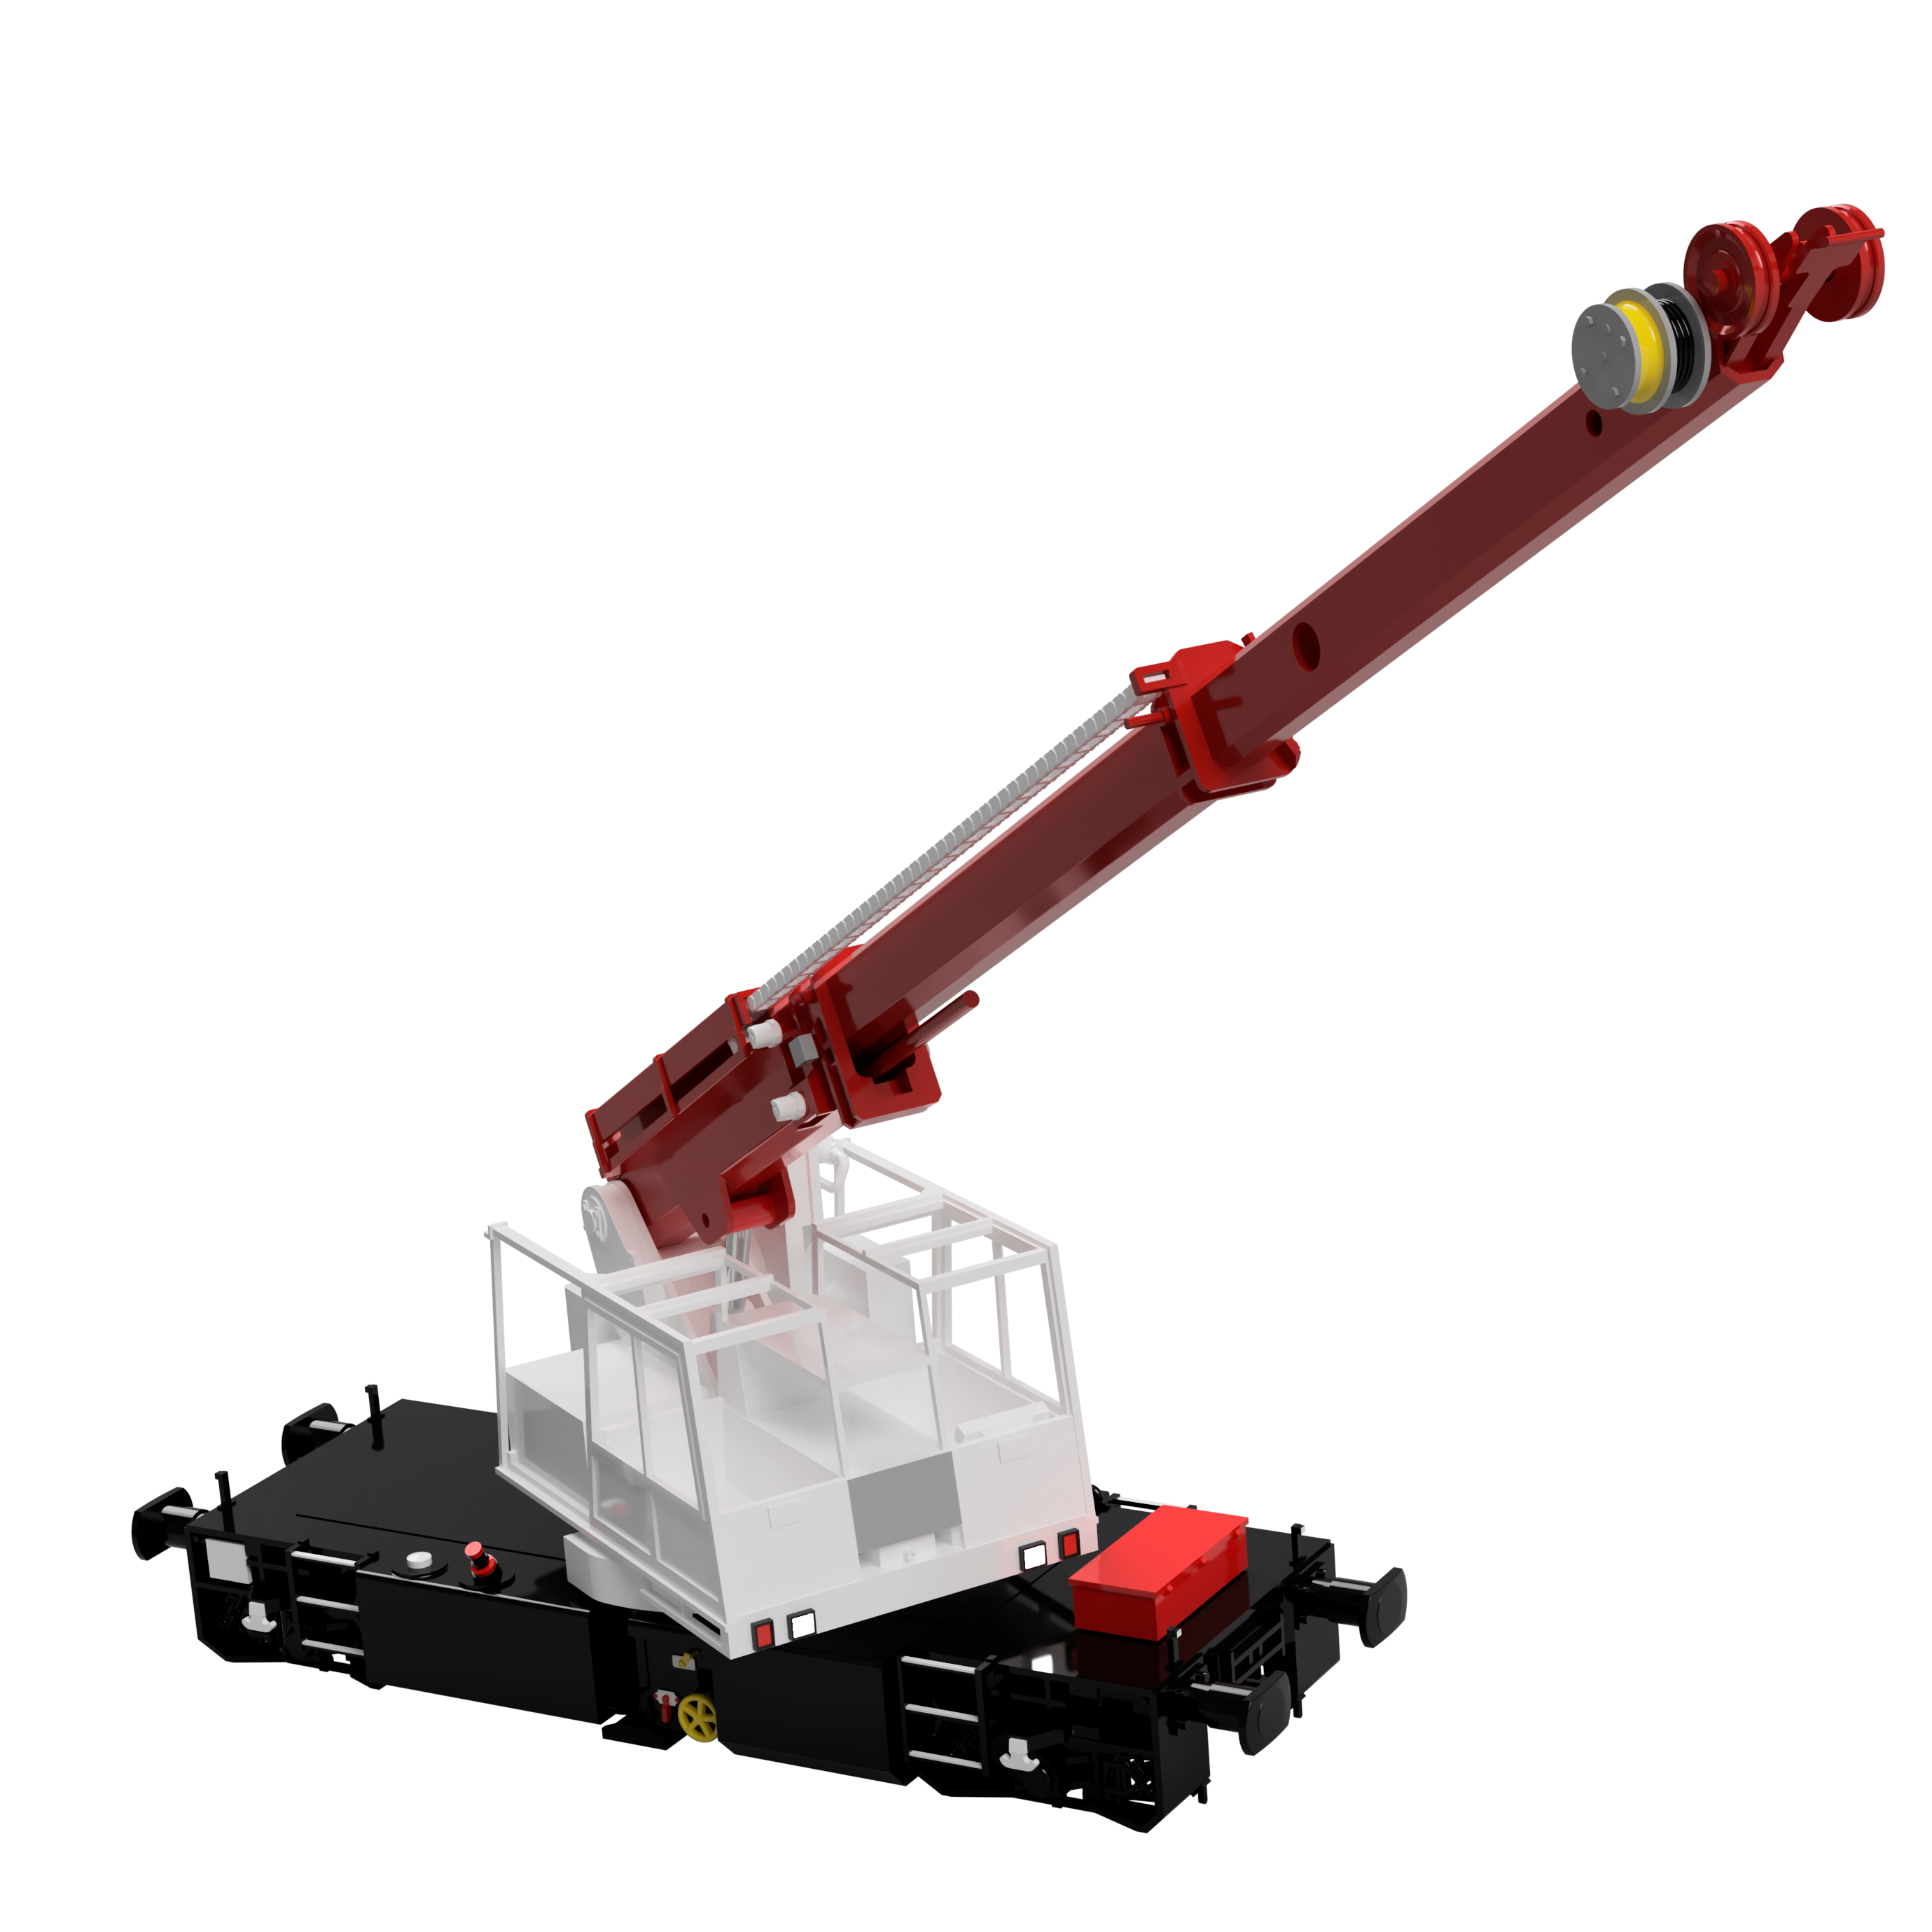
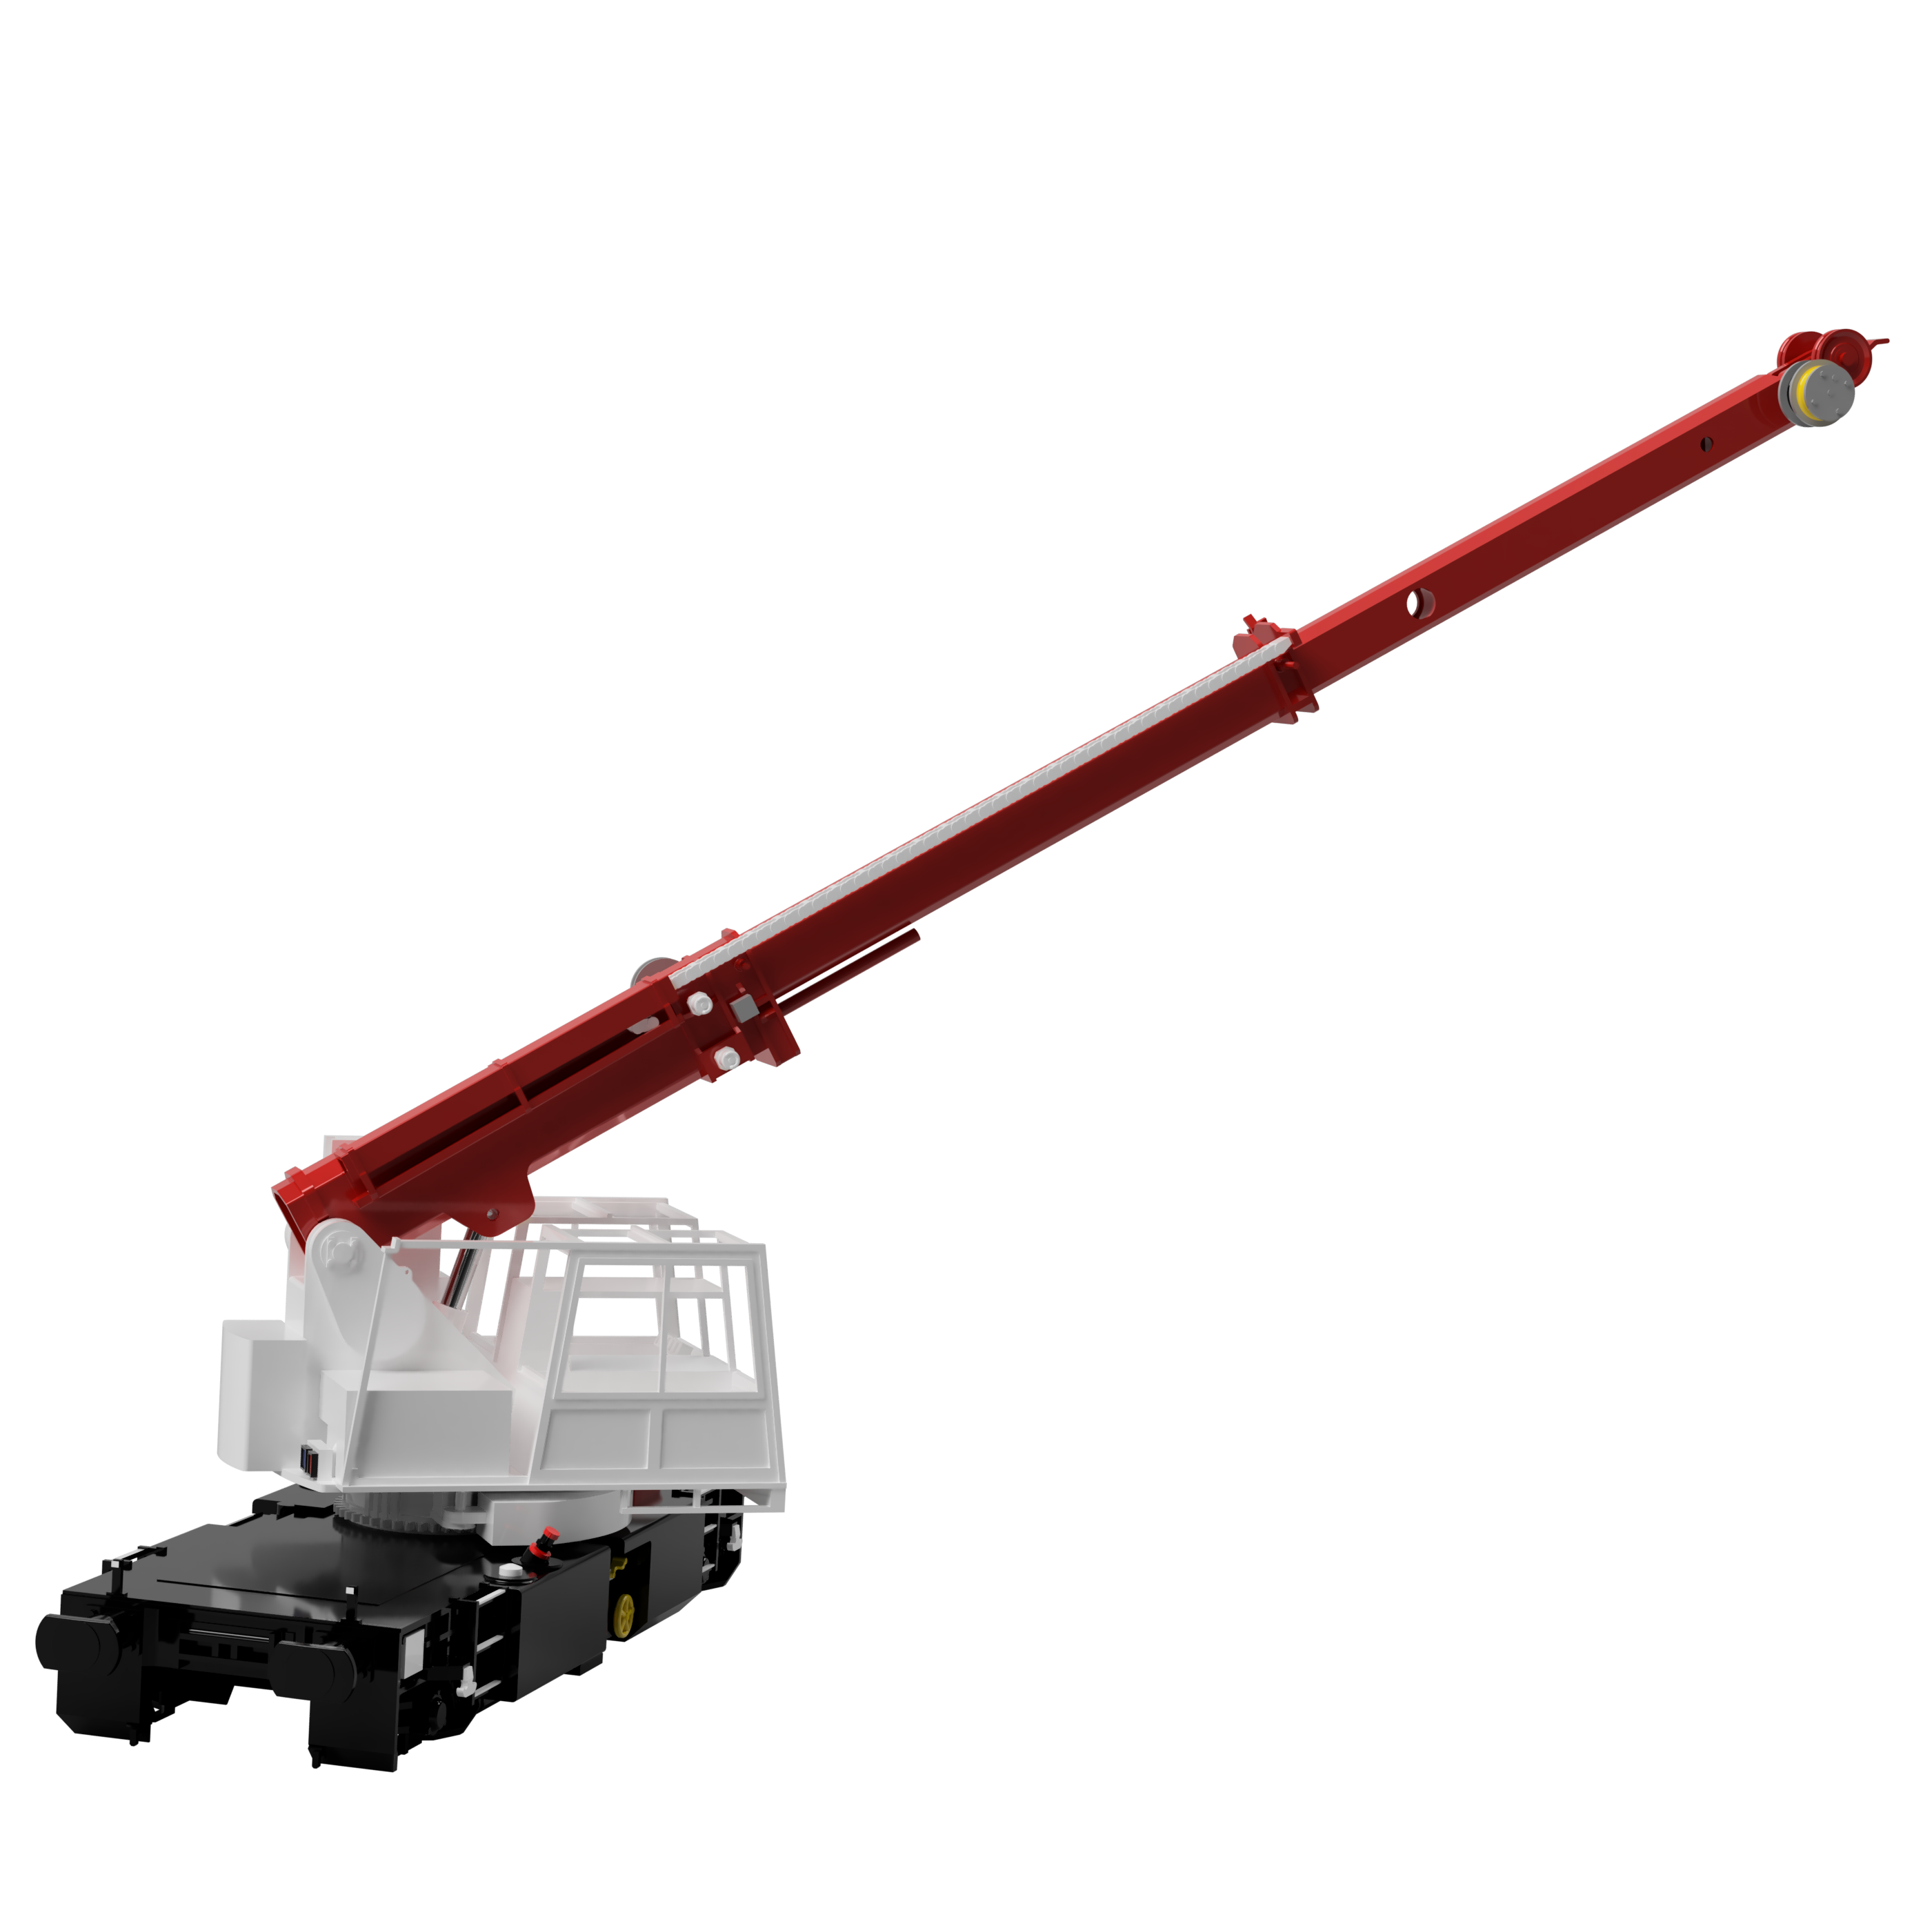
Grúa ferroviaria SNCB NMBS CS 10_05
:format(webp)/https://fbi.cults3d.com/uploaders/18722162/illustration-file/ed76f1aa-86d4-45de-916b-2be05da1d3b0/CS_10_05_2025-Dec-06_04-50-06PM-000_CustomizedView39748245565.png)
/https://preview3d-images.cults3d.com/czbi7yezqabjbydsncj826f8znbz)
/https://preview3d-images.cults3d.com/a6csnj5foscybulqx7urozmnse7r)
/https://preview3d-images.cults3d.com/nqd7319vdc83lhe26xdjhosrhgry)
/https://preview3d-images.cults3d.com/trq36bv6gjqhybau2x9f4z7h9xfr)
/https://preview3d-images.cults3d.com/que9s8njabgbn8guyptr9yj5z1q8)
/https://preview3d-images.cults3d.com/sn8g117oh13dhgr4im82rqg23uvc)
/https://preview3d-images.cults3d.com/hwbh6kl1zdavpx18l2buw6m16xji)
/https://preview3d-images.cults3d.com/881549bgv95ufsv4b3ogww00zkkb)
/https://preview3d-images.cults3d.com/34ym8y4cd4wf8hul353ik790ucsc)
/https://preview3d-images.cults3d.com/7x9j8wsyqq2nz53h222vkqhvkgna)
/https://preview3d-images.cults3d.com/jxjlr3i8kfjupvlfdh80f5ruk1oi)
/https://preview3d-images.cults3d.com/9p0c8vuwanhov04iudo7s0ki71yk)
/https://preview3d-images.cults3d.com/d5szu0o39suihzbag76y9y5uxsjb)
/https://preview3d-images.cults3d.com/sct2syenwmxsa0q4k5cfd3w6aolf)
/https://preview3d-images.cults3d.com/7ox0y751vtki4oopcitsarqzx4xt)
/https://preview3d-images.cults3d.com/9xcdpyvv6b1tdm84g0lrmiyanl0y)
/https://preview3d-images.cults3d.com/gmirbw4fra8gpoy6ic4lletrt3gp)
/https://preview3d-images.cults3d.com/3kjwu11pr0myr7x6zsl2gmgqpwg9)
/https://preview3d-images.cults3d.com/whgrtz0g1dkc9jr05e0xrql6xcnw)
/https://preview3d-images.cults3d.com/9kmc16gi17i9dx0p25cu19cwc6te)
/https://preview3d-images.cults3d.com/18en9peu51mz2j8nnmfgrqi027h4)
/https://preview3d-images.cults3d.com/nsht81daqgrc148jjqxc0b5lnf51)
/https://preview3d-images.cults3d.com/0z0n0ssme2tha687ytpi6xa5lj83)
/https://preview3d-images.cults3d.com/0k9dvqbkwnh7s87bo3hmamub0xfa)
/https://preview3d-images.cults3d.com/puakjnh1m60uepr3tfotlzu22ejg)
/https://preview3d-images.cults3d.com/19hclswmy88l7omrfkm8f09d190a)
/https://preview3d-images.cults3d.com/81wz3e27nrdhmxywo9cj0qmsvy9r)
/https://preview3d-images.cults3d.com/id3cysx99qredtrtmepjk2nij061)
/https://preview3d-images.cults3d.com/zcqf45370n2cpz1p3eww34tk4swj)
/https://preview3d-images.cults3d.com/vujwk54ybzcyqzgiorq4uib3okqb)
/https://preview3d-images.cults3d.com/t9pmghnorgqj13al1v548woe53i5)
/https://preview3d-images.cults3d.com/dqdhsh6bxuwetxve8i2z7y4k9484)
/https://preview3d-images.cults3d.com/7si0ydyo3a3n8jr8c9wiujii3y61)
/https://preview3d-images.cults3d.com/y1qm0uqvhbiwjlygittg82seh5nt)
/https://preview3d-images.cults3d.com/6euec47xdzur5ebo80pt4jxyeqcc)
/https://preview3d-images.cults3d.com/a84uzo2lk9ev87ya3r9e1wvf87a0)
/https://preview3d-images.cults3d.com/2vr33nbu4a03wc6dvavmv3oqeu7v)
/https://preview3d-images.cults3d.com/a2ks20of679wgmoovzbr98o0wr0s)
/https://preview3d-images.cults3d.com/bdualdk4xzehj7qwtkhap4aablrc)
/https://preview3d-images.cults3d.com/tykd0d7s4kramdsbw88euaj7wnso)
/https://preview3d-images.cults3d.com/kf51cni1ywavscxoz3gr3arpq1sm)
/https://preview3d-images.cults3d.com/0vyiqg5ct9bxaqa9jnvyevms02ph)
/https://preview3d-images.cults3d.com/d1yu4oz6dbmminmvwbrwuxgym8e4)
/https://preview3d-images.cults3d.com/kq2y5av78z6lsh16fln5pi64t072)
/https://preview3d-images.cults3d.com/xsqtodrqo9dbtecekmvpdi0euw6v)
/https://preview3d-images.cults3d.com/4wp2zt1cvzgl9y8y23qwvlgjixwy)
/https://preview3d-images.cults3d.com/b4c7sz09qe80vd998ba84dwwmich)
/https://preview3d-images.cults3d.com/v0fpmao6665s694e2unrgq1wisl1)
/https://preview3d-images.cults3d.com/rcp4fkx5hhyvalfiidobdvnb00vb)
/https://preview3d-images.cults3d.com/stxbf5mb58q3p3uobt76d0u3u2kh)
/https://preview3d-images.cults3d.com/2nfb7prqsmldb1qeroqj7pp2yw37)
/https://preview3d-images.cults3d.com/d2cxeugcdnan0faslnilgaxz1okm)
/https://preview3d-images.cults3d.com/660laubbniw8x3435q7lxocluxn0)
- 132 vistas
- 2 me gustas
- 0 descargas
- 0 colecciones
- 0 comentarios
- 0 makes
| Licencia | |
|---|---|
| Usos | |
| Formato de diseño 3D |
53 archivos (STL) Cerrar
|
| Fecha de publicación | |
| Número de diseño | 3782329 |


:format(webp)/https://fbi.cults3d.com/uploaders/18722162/illustration-file/cf4e31e6-e353-409f-ab31-c7f04bf6bd60/MaterialHandler_0.png)
:format(webp)/https://fbi.cults3d.com/uploaders/18722162/illustration-file/a527fb4b-4631-4d6e-a9a5-650fa98bd028/Stacker_1.jpeg)
:format(webp)/https://fbi.cults3d.com/uploaders/18722162/illustration-file/7eda1024-8335-4851-b68c-91fc9eda8c7f/535C_picture_1.jpg)
:format(webp)/https://fbi.cults3d.com/uploaders/18722162/illustration-file/e689edc4-210b-4ea9-970b-dc5c0cd5cff9/G730_1.jpg)
:format(webp)/https://fbi.cults3d.com/uploaders/18722162/illustration-file/1ca58315-f804-449a-896e-822fe513947e/1641H_1.png)
:format(webp)/https://fbi.cults3d.com/uploaders/18722162/illustration-file/643b99c5-d682-4f96-acd5-dc9ddb6a5f27/1604ZW_2.png)
:format(webp)/https://fbi.cults3d.com/uploaders/18722162/illustration-file/1d86f77e-027f-4c78-ba60-bb1d2f0ea183/PresentationSAR1906.png)
:format(webp)/https://fbi.cults3d.com/uploaders/18722162/illustration-file/a07b9b86-0149-4ff7-a7b2-15f4c4b6cbac/CVB_1.png)
¿Te gustaría apoyar Cults?
¿Te gustan Cults y quieres ayudarnos a continuar la aventura de forma independiente? Tenga en cuenta que somos un equipo pequeño de 4 personas, por lo que es muy sencillo apoyarnos para mantener la actividad y crear futuros desarrollos. Aquí hay 3 soluciones accesibles para todos:
- PUBLICIDAD: Deshabilite su bloqueador de anuncios.
- DONACIÓN: Hacer una donación a través de Ko-Fi Hacer una donación
- BOCA A BOCA: Invita a tus amigos a venir, descubre la plataforma y los magníficos archivos 3D compartidos por la comunidad!
Compartir y descargar en Cults3D garantiza que los diseños permanezcan en manos de la comunidad de creadores. Y no en las de los gigantes de la impresión 3D o del software que poseen las plataformas competidoras y que explotan los diseños para sus propios intereses comerciales.
Cults3D es un sitio independiente y autofinanciado que no rinde cuentas a ningún inversor o marca. Casi todos los ingresos del sitio se devuelven a los creadores de la plataforma*. El contenido publicado en el sitio sirve *únicamente a los intereses de sus autores** y no a los de las marcas de impresoras 3D que también desean controlar el mercado del modelismo 3D.