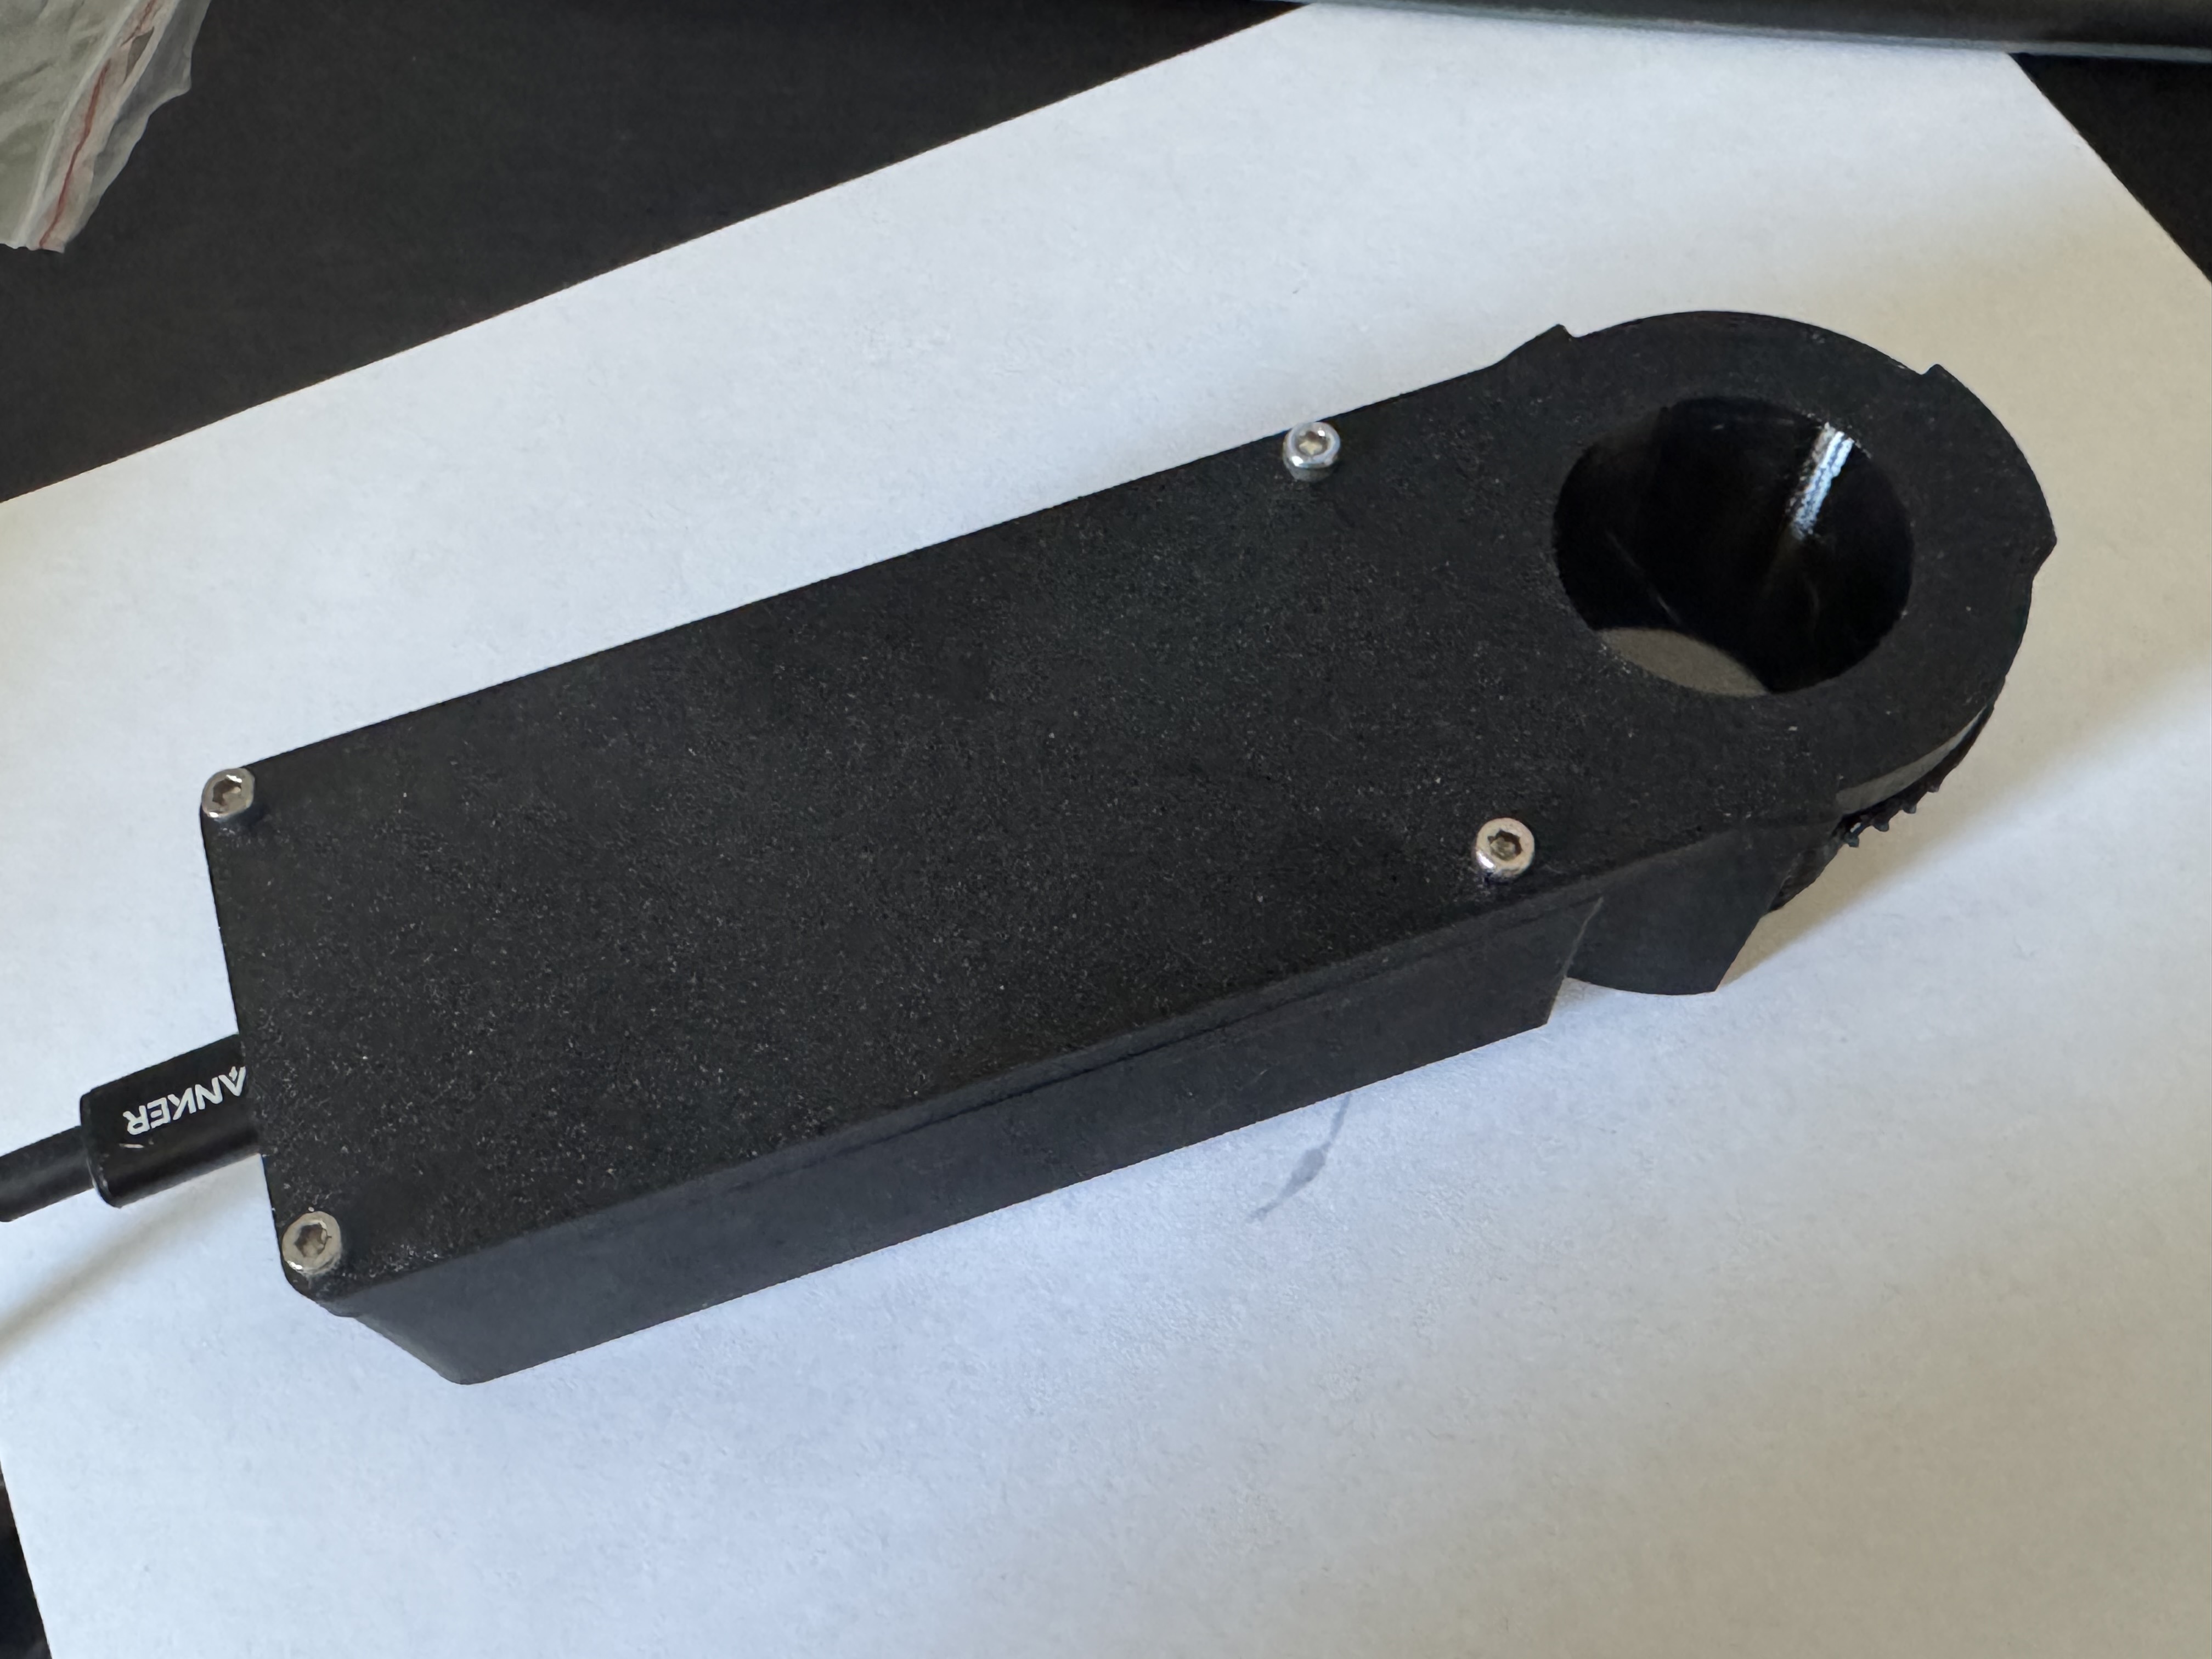
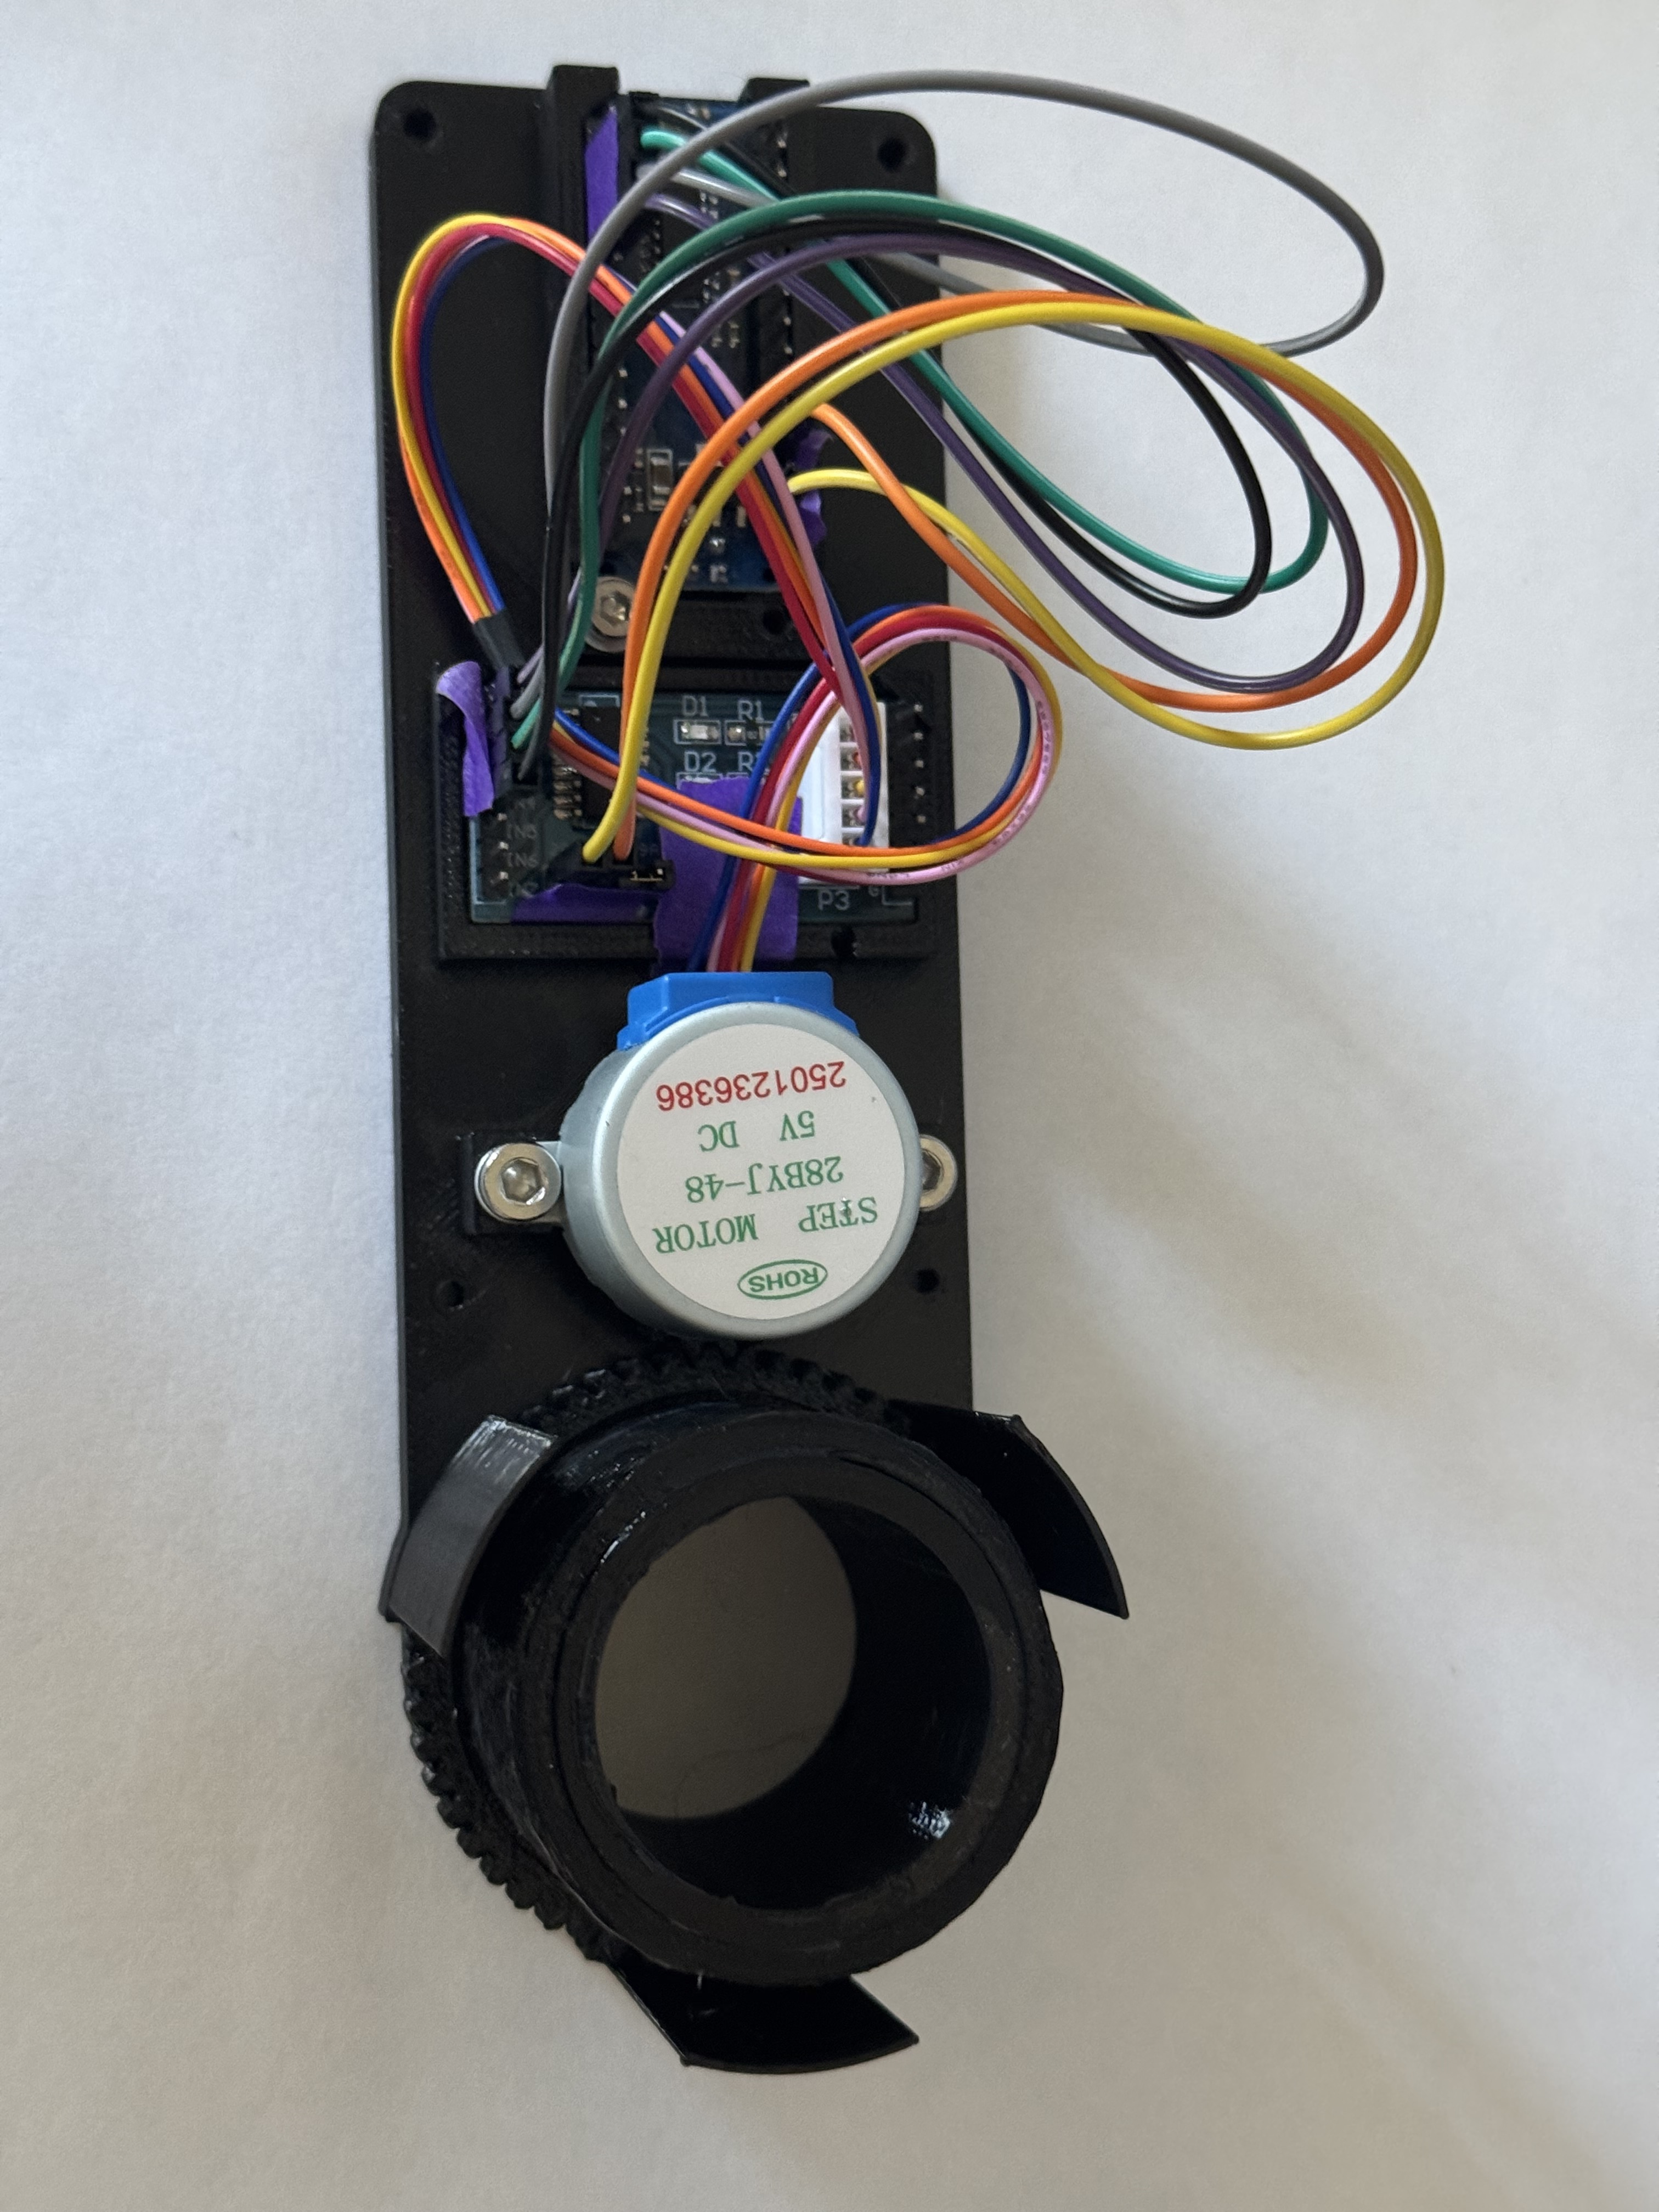
Skywatcher 150P Enfocador electrónico
:format(webp)/https://fbi.cults3d.com/uploaders/27554325/illustration-file/49c6e894-f986-4015-8ce1-d8e950b7dc11/image9.jpeg)
/https://preview3d-images.cults3d.com/le8fxoml2h7rzp0a87t9iwomcjnf)
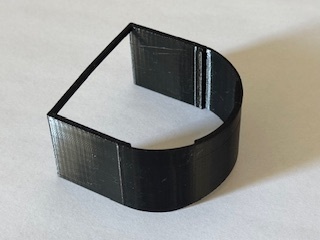
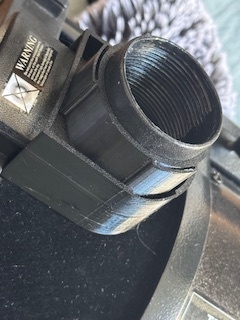
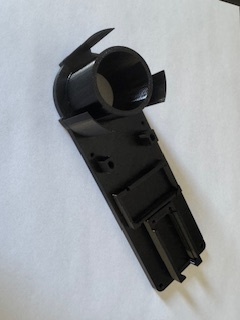
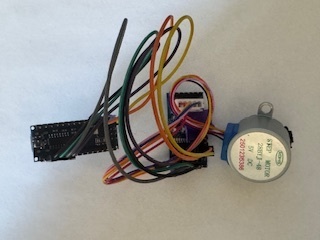
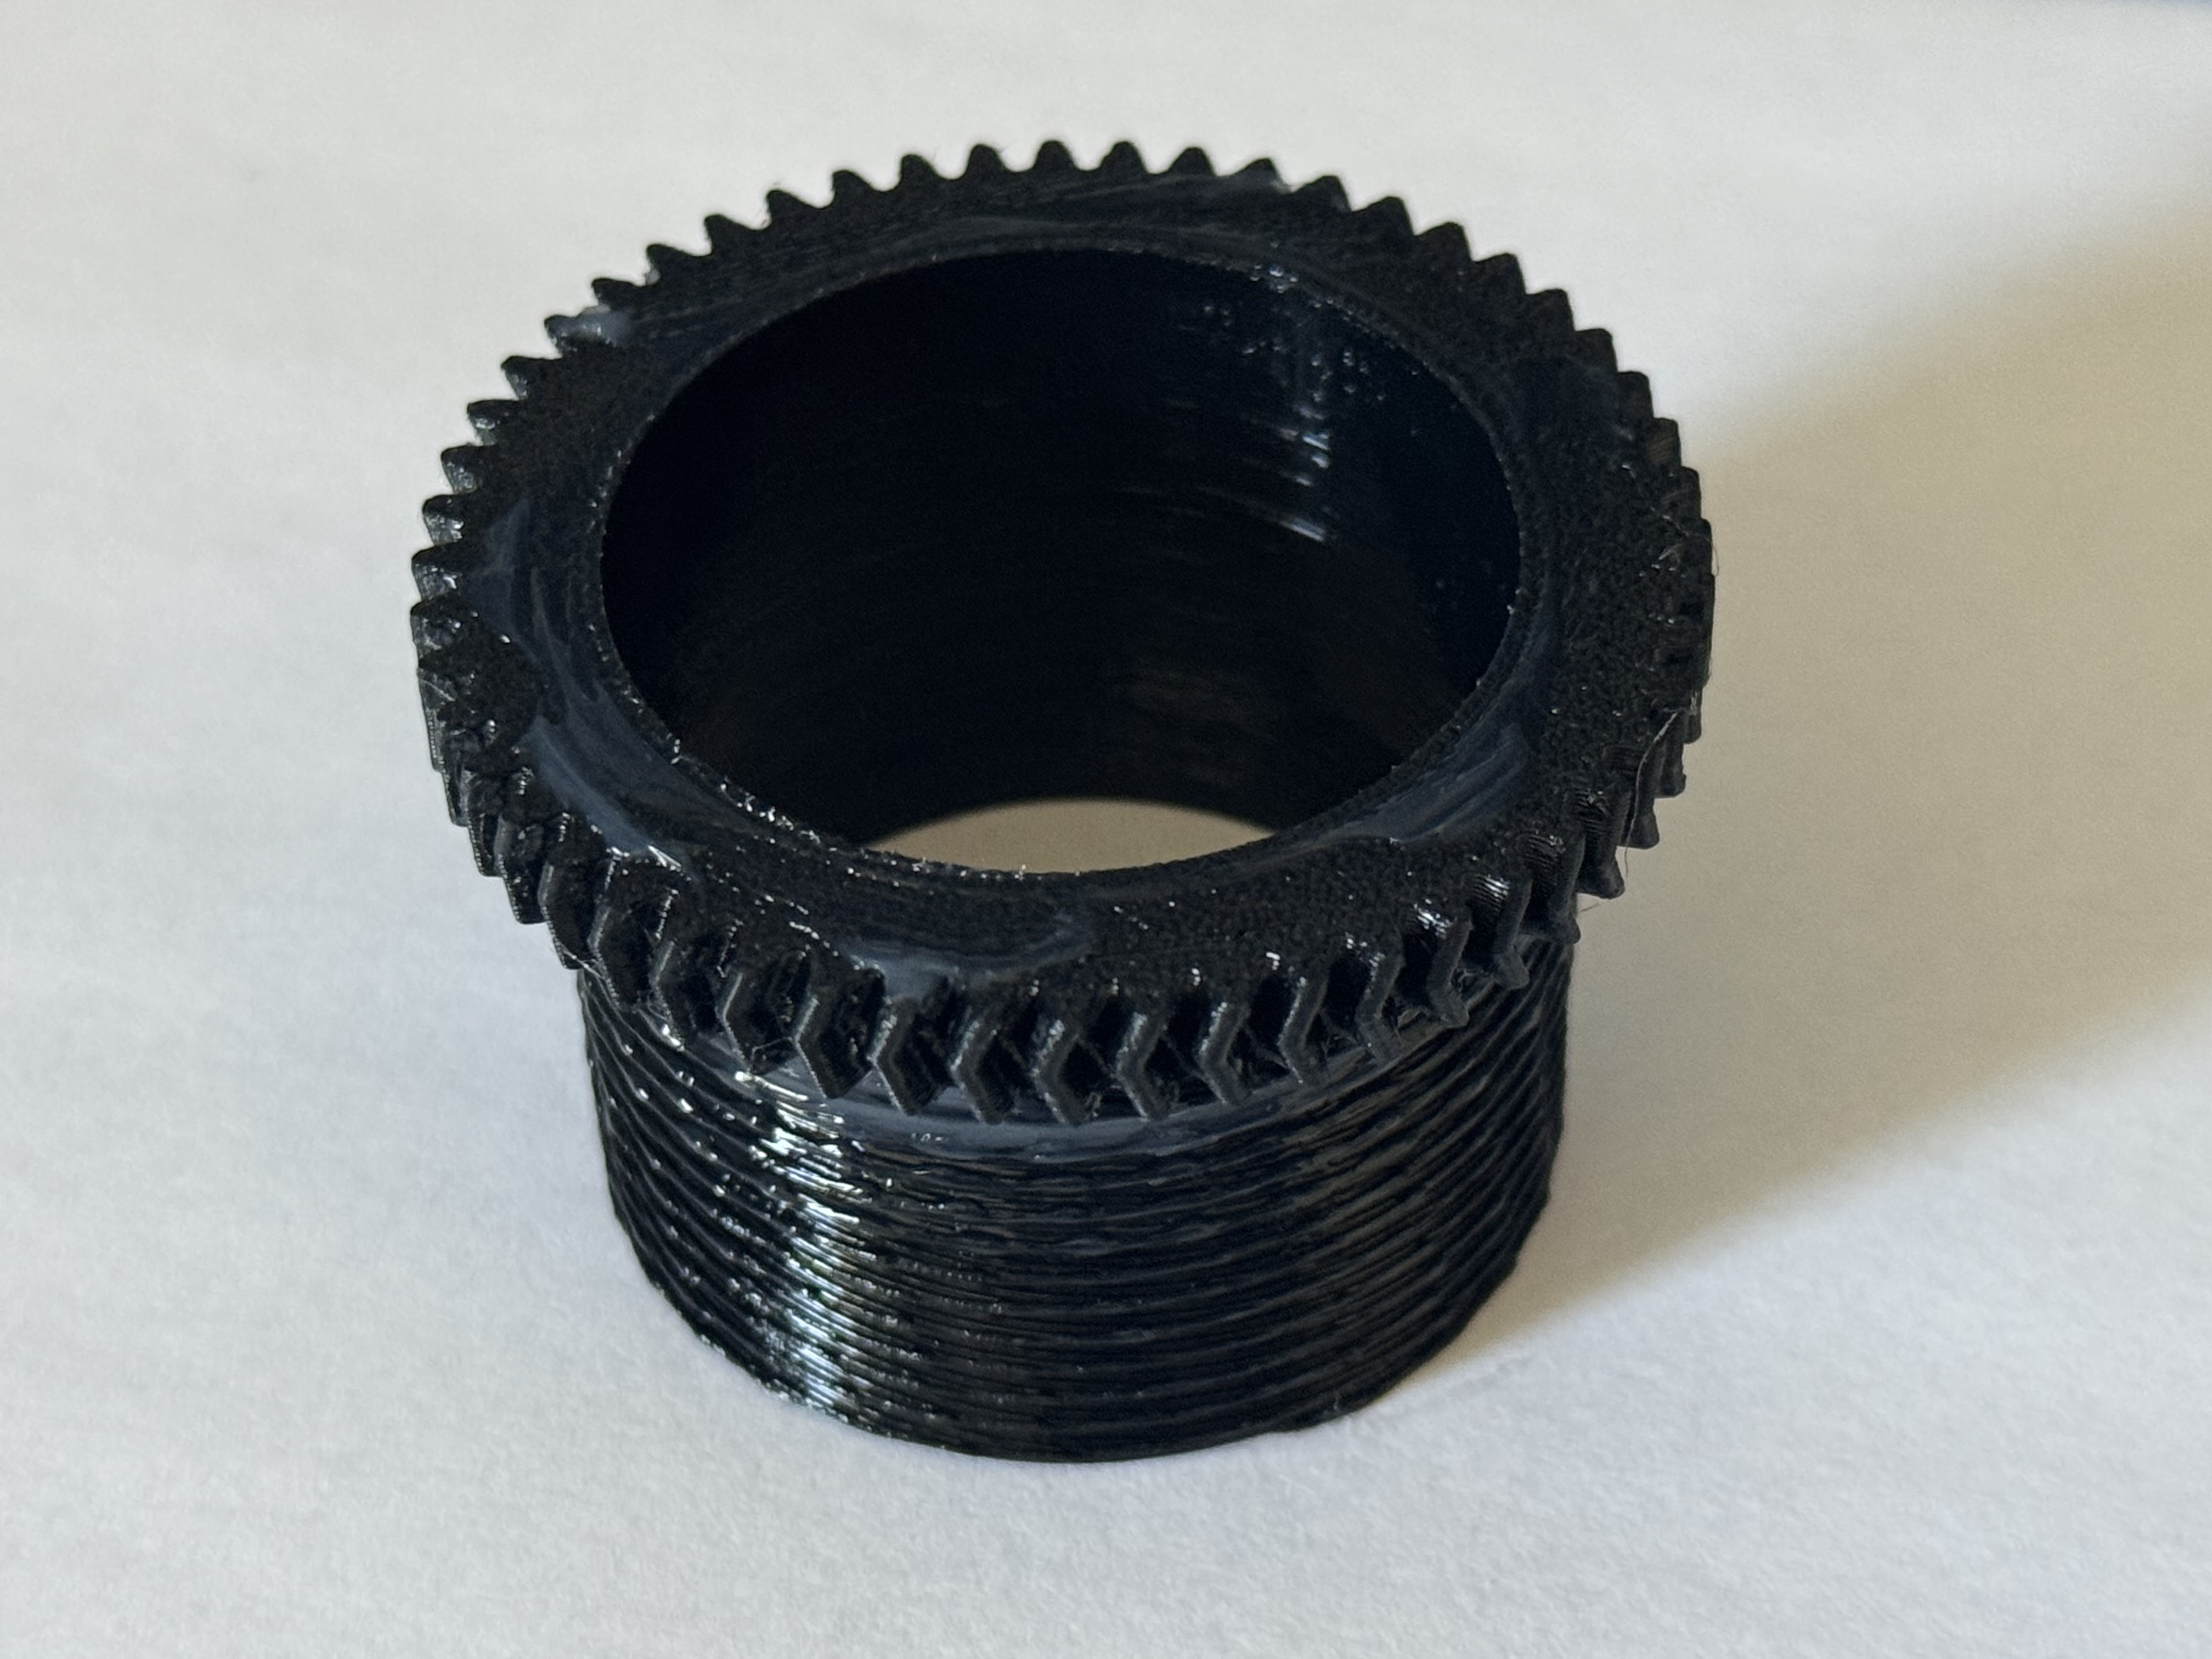
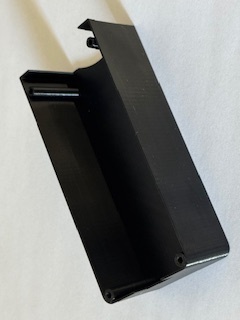
/https://preview3d-images.cults3d.com/4md4krk3ddahykvl3fxly94ya4qi)
- 1,1k vistas
- 2 me gustas
- 2 descargas
- 0 colecciones
- 1 comentario
- 0 makes
| Licencia | |
|---|---|
| Usos | |
| Formato de diseño 3D |
6 archivos (3MF y STL) Cerrar
|
| Fecha de publicación | |
| Número de diseño | 2693545 |
| Autor del diseño | yausunghei |



:format(webp)/https://fbi.cults3d.com/uploaders/27554325/illustration-file/952a6454-e666-4611-b0ee-a5f47020e56e/IMG_8580.jpg)
:format(webp)/https://fbi.cults3d.com/uploaders/27554325/illustration-file/51f40a9d-6e01-4bba-ab07-2ba53484614f/IMG_8884.jpg)
:format(webp)/https://fbi.cults3d.com/uploaders/27554325/illustration-file/b17e166b-616b-4ff9-8b2f-82fdf011e900/02.jpeg)
:format(webp)/https://fbi.cults3d.com/uploaders/27554325/illustration-file/513b3274-bb9b-4b97-9fd5-93657d3ff360/image1.jpeg)
¿Te gustaría apoyar Cults?
¿Te gustan Cults y quieres ayudarnos a continuar la aventura de forma independiente? Tenga en cuenta que somos un equipo pequeño de 4 personas, por lo que es muy sencillo apoyarnos para mantener la actividad y crear futuros desarrollos. Aquí hay 3 soluciones accesibles para todos:
- PUBLICIDAD: Deshabilite su bloqueador de anuncios.
- DONACIÓN: Hacer una donación a través de Ko-Fi Hacer una donación
- BOCA A BOCA: Invita a tus amigos a venir, descubre la plataforma y los magníficos archivos 3D compartidos por la comunidad!
Compartir y descargar en Cults3D garantiza que los diseños permanezcan en manos de la comunidad de creadores. Y no en las de los gigantes de la impresión 3D o del software que poseen las plataformas competidoras y que explotan los diseños para sus propios intereses comerciales.
Cults3D es un sitio independiente y autofinanciado que no rinde cuentas a ningún inversor o marca. Casi todos los ingresos del sitio se devuelven a los creadores de la plataforma*. El contenido publicado en el sitio sirve *únicamente a los intereses de sus autores** y no a los de las marcas de impresoras 3D que también desean controlar el mercado del modelismo 3D.