Chicken Feeder for 5 Gallon Bucket
:format(webp)/https://fbi.cults3d.com/uploaders/24940226/illustration-file/cd880f50-3a41-4009-9a91-aebe611e52b3/3D-Model.png)
/https://preview3d-images.cults3d.com/u0fi2l6yqwm7k27ss54axrucym8l)
/https://preview3d-images.cults3d.com/0bgpzyczfmjwcdj642pkqtsryez5)
/https://preview3d-images.cults3d.com/zdo6jqi2ten50len1vhns4u0yd8i)
/https://preview3d-images.cults3d.com/ff9yz16g3snya2apxfftke61j501)
/https://preview3d-images.cults3d.com/3lxi8ynrfmwckqlin282coprt42m)
/https://preview3d-images.cults3d.com/8hx5lr7is4a93phwpwktylpsmi2o)
/https://preview3d-images.cults3d.com/psqjfj2044shl4g1j2zf14fqmqf4)
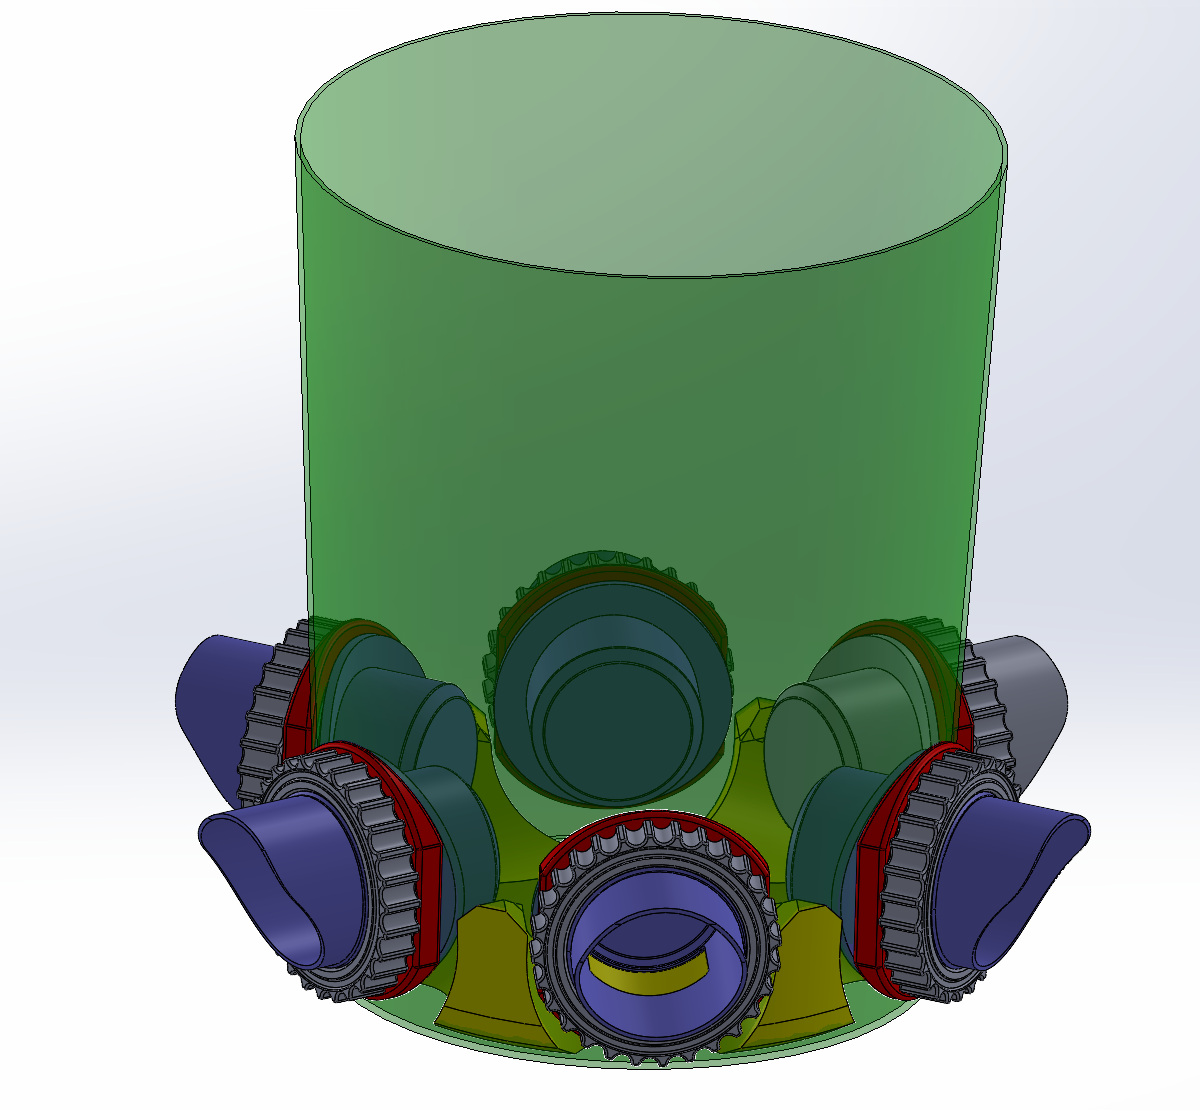
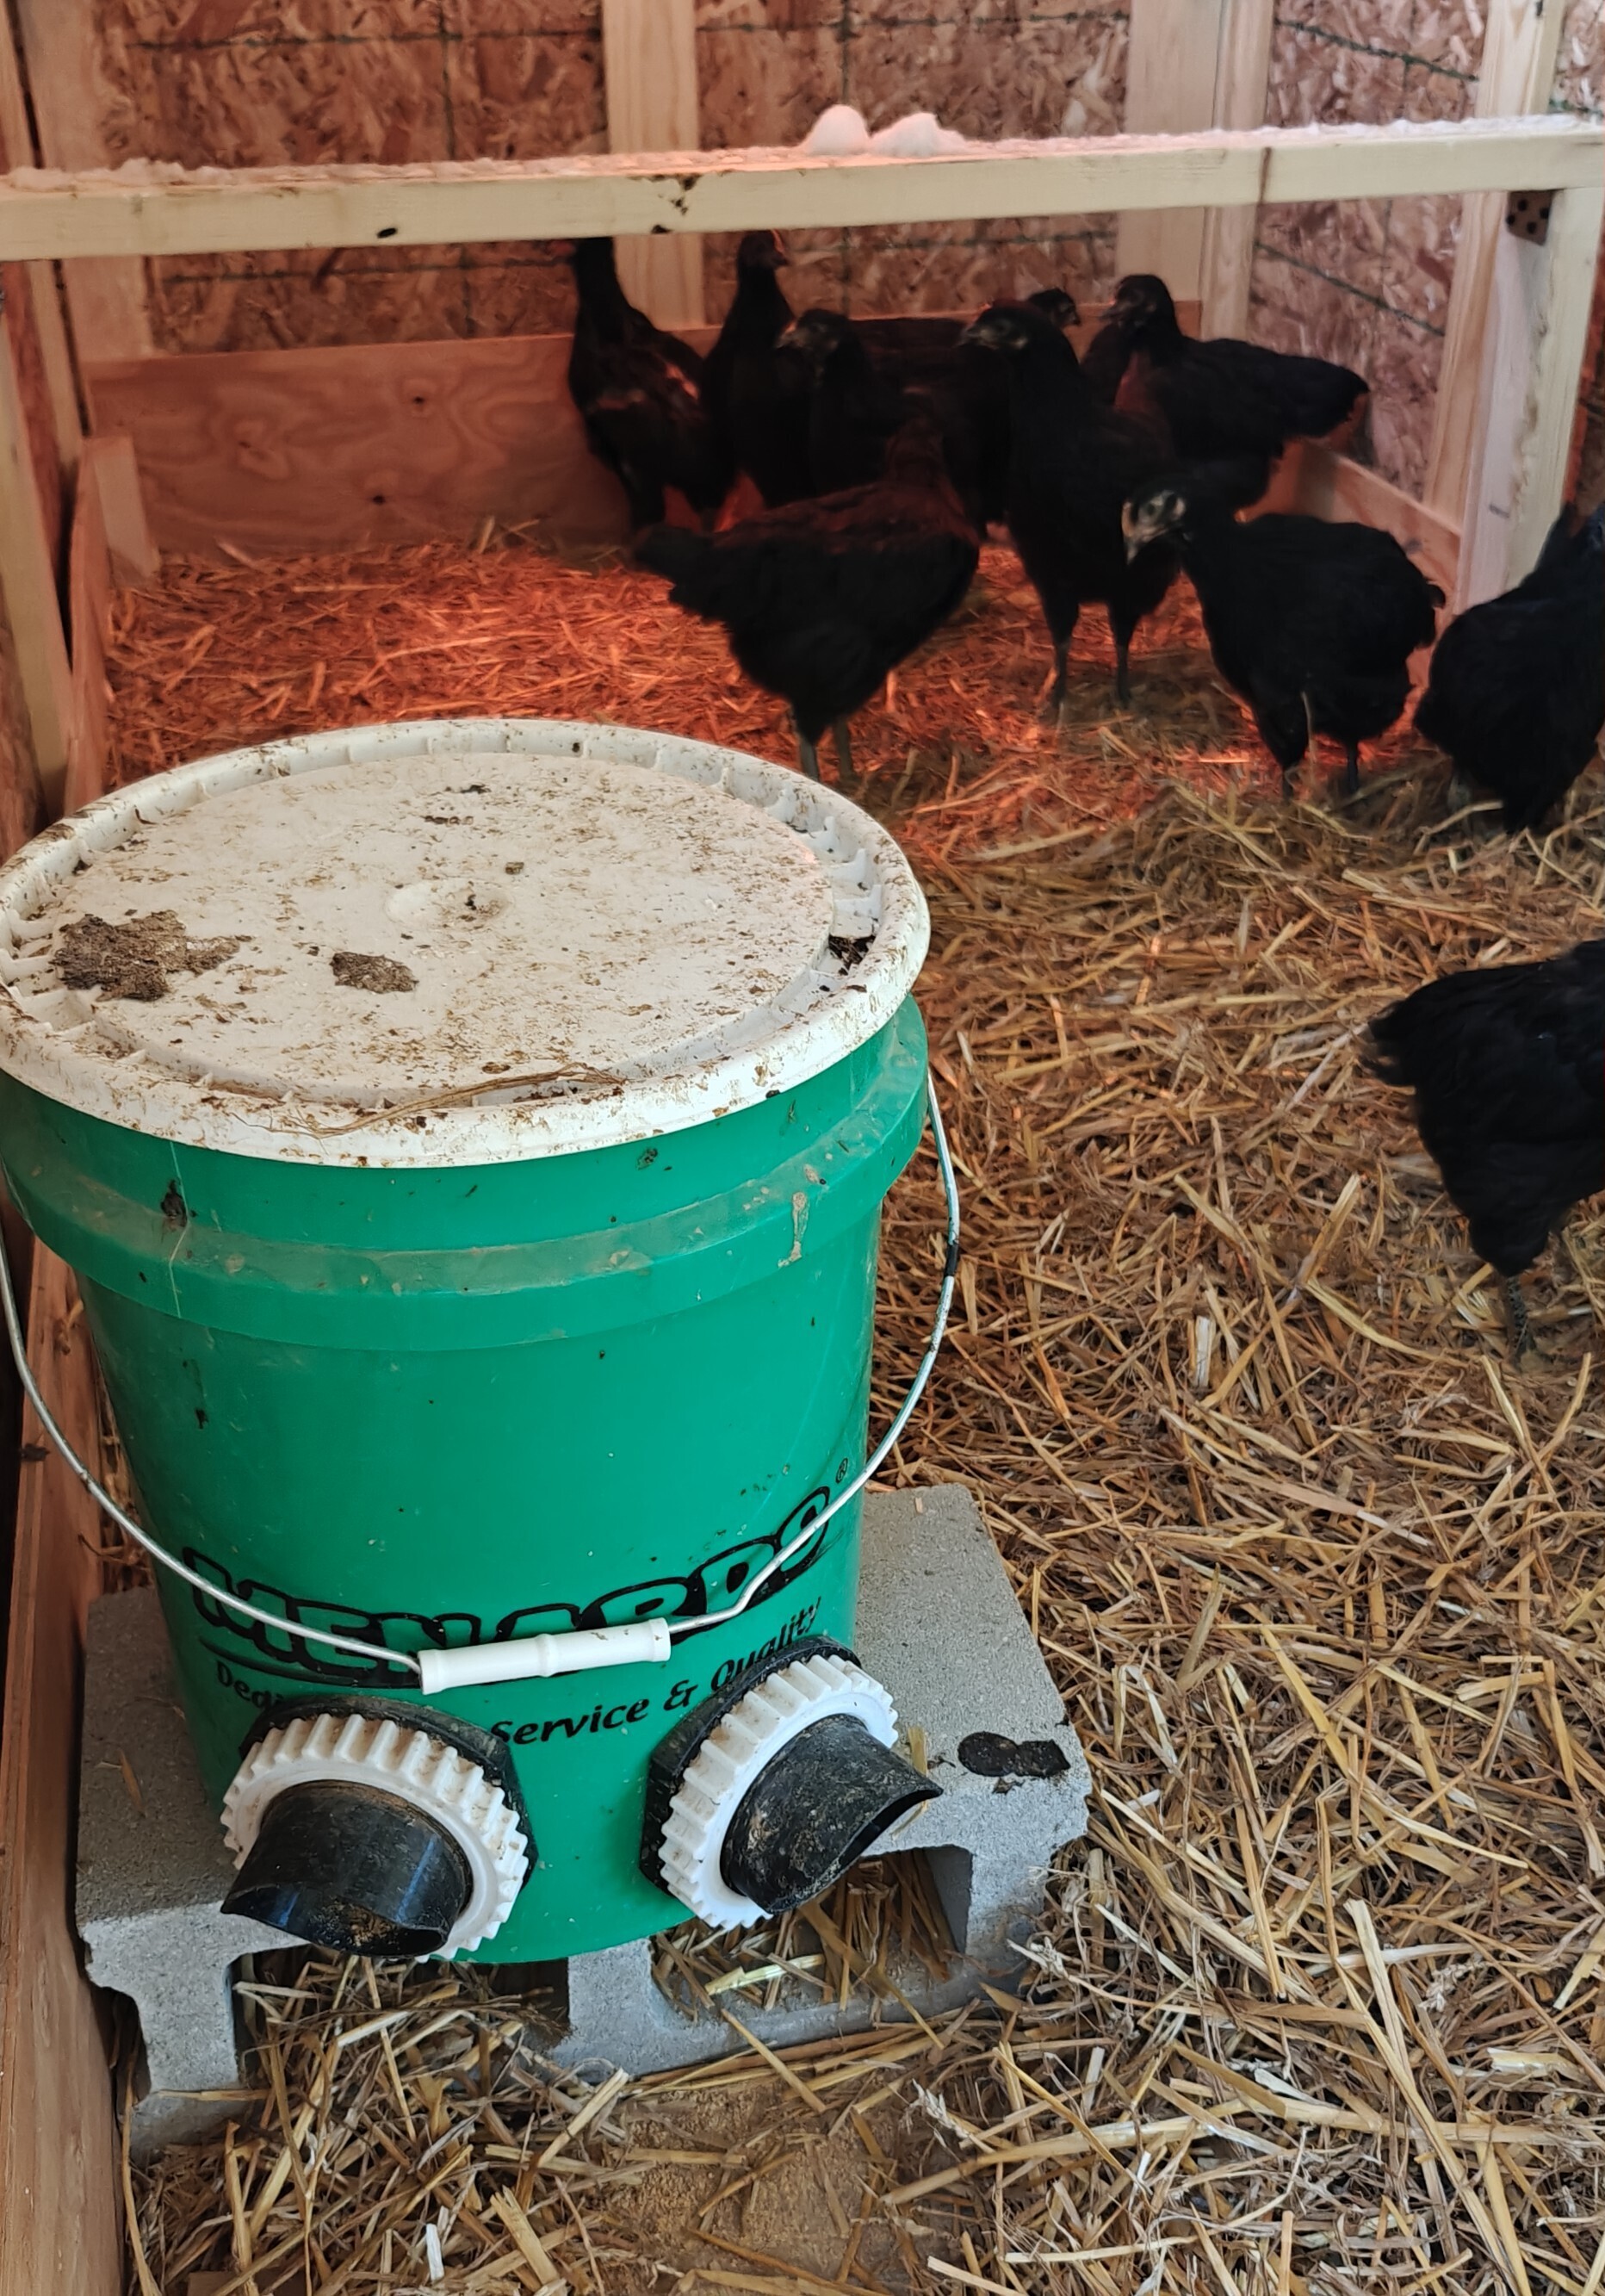
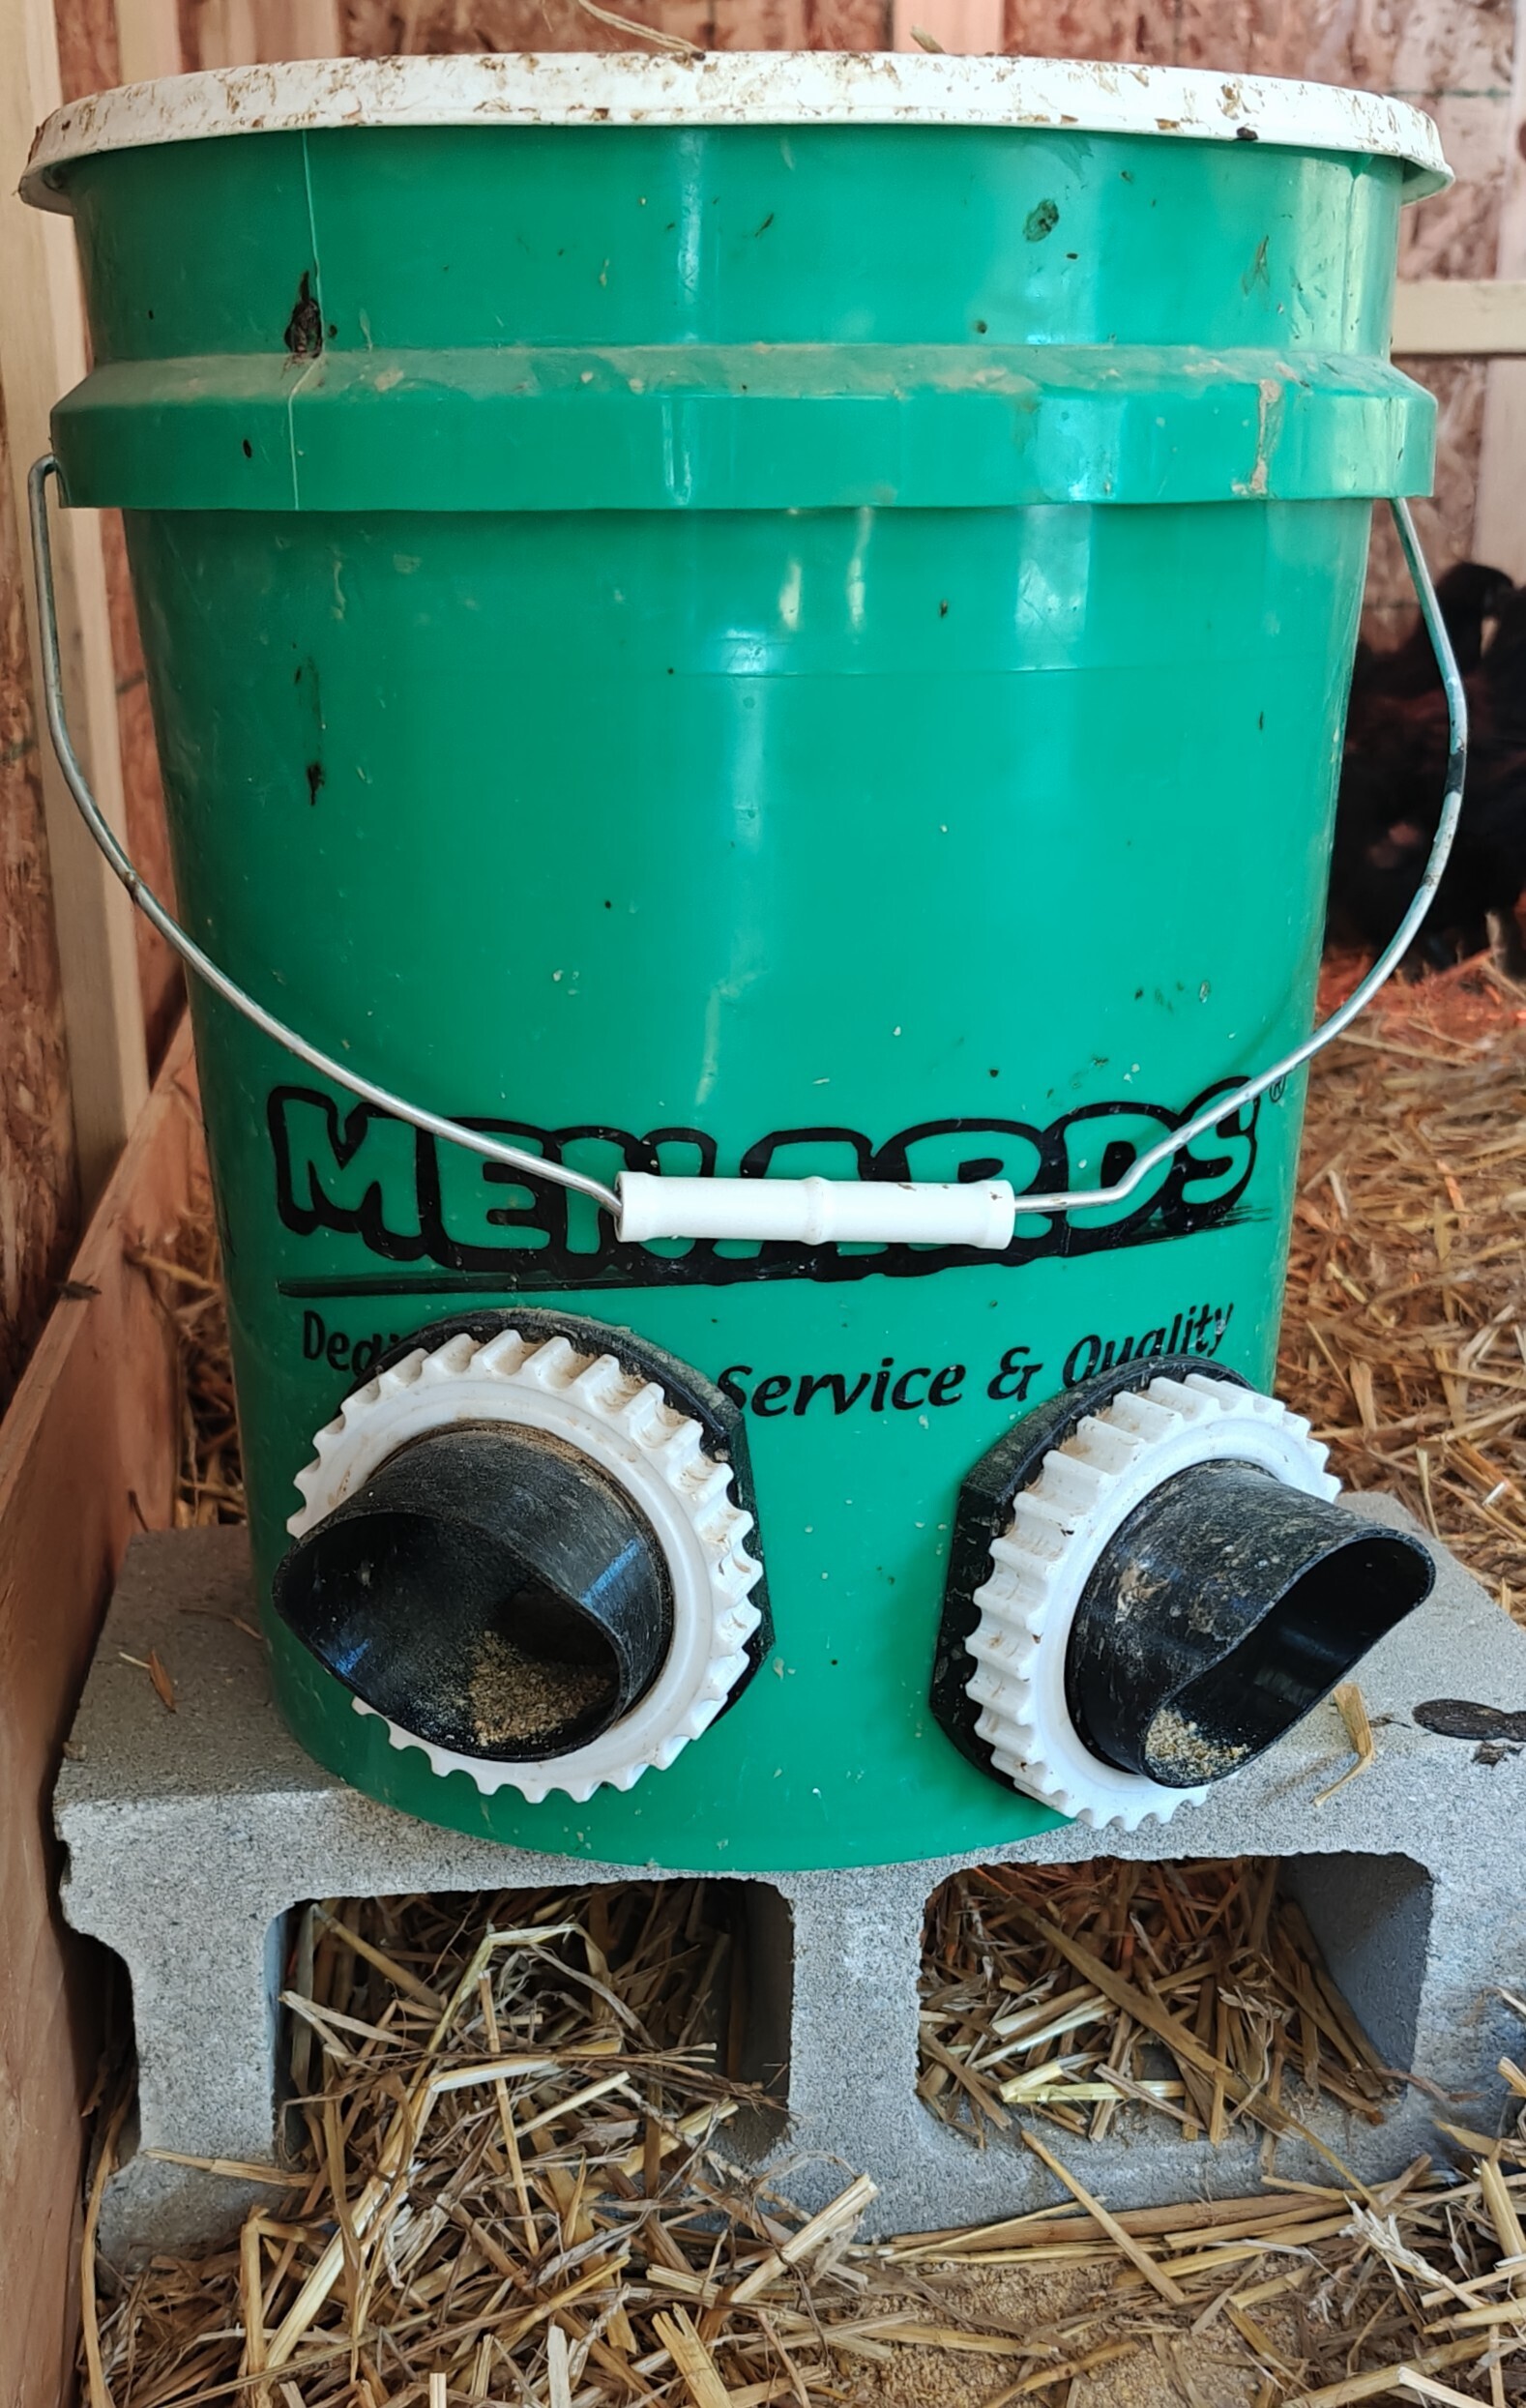
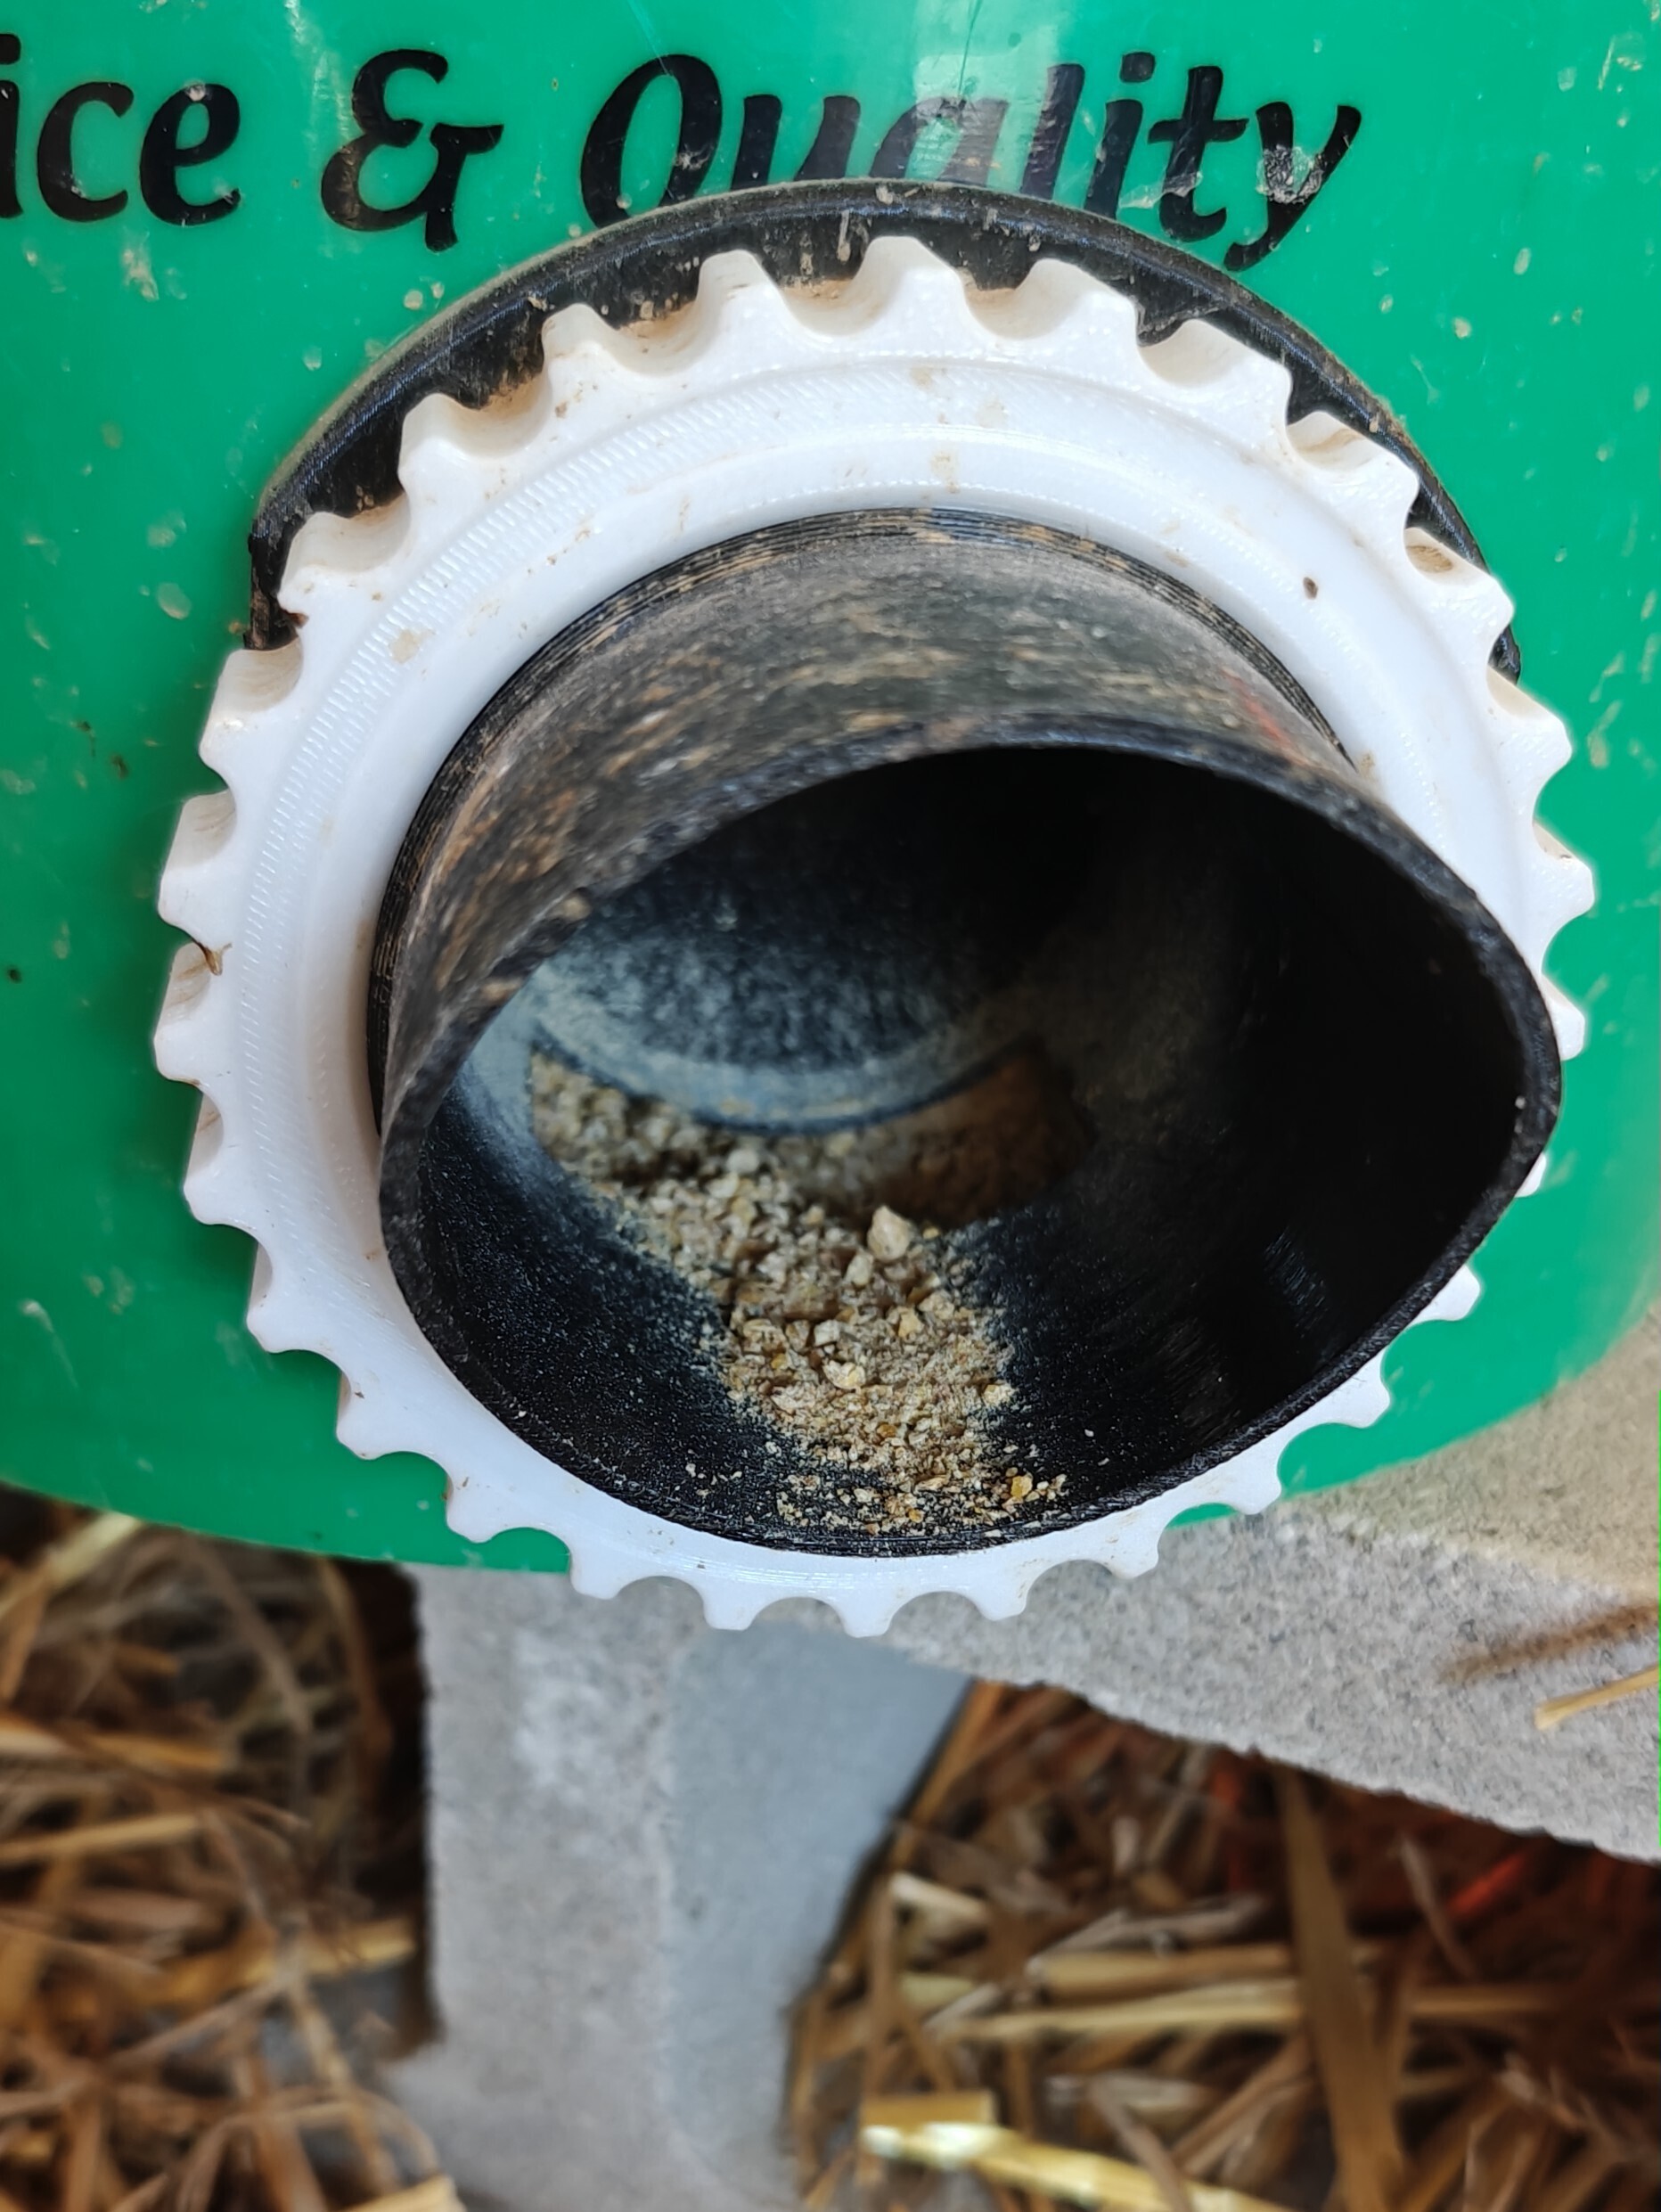
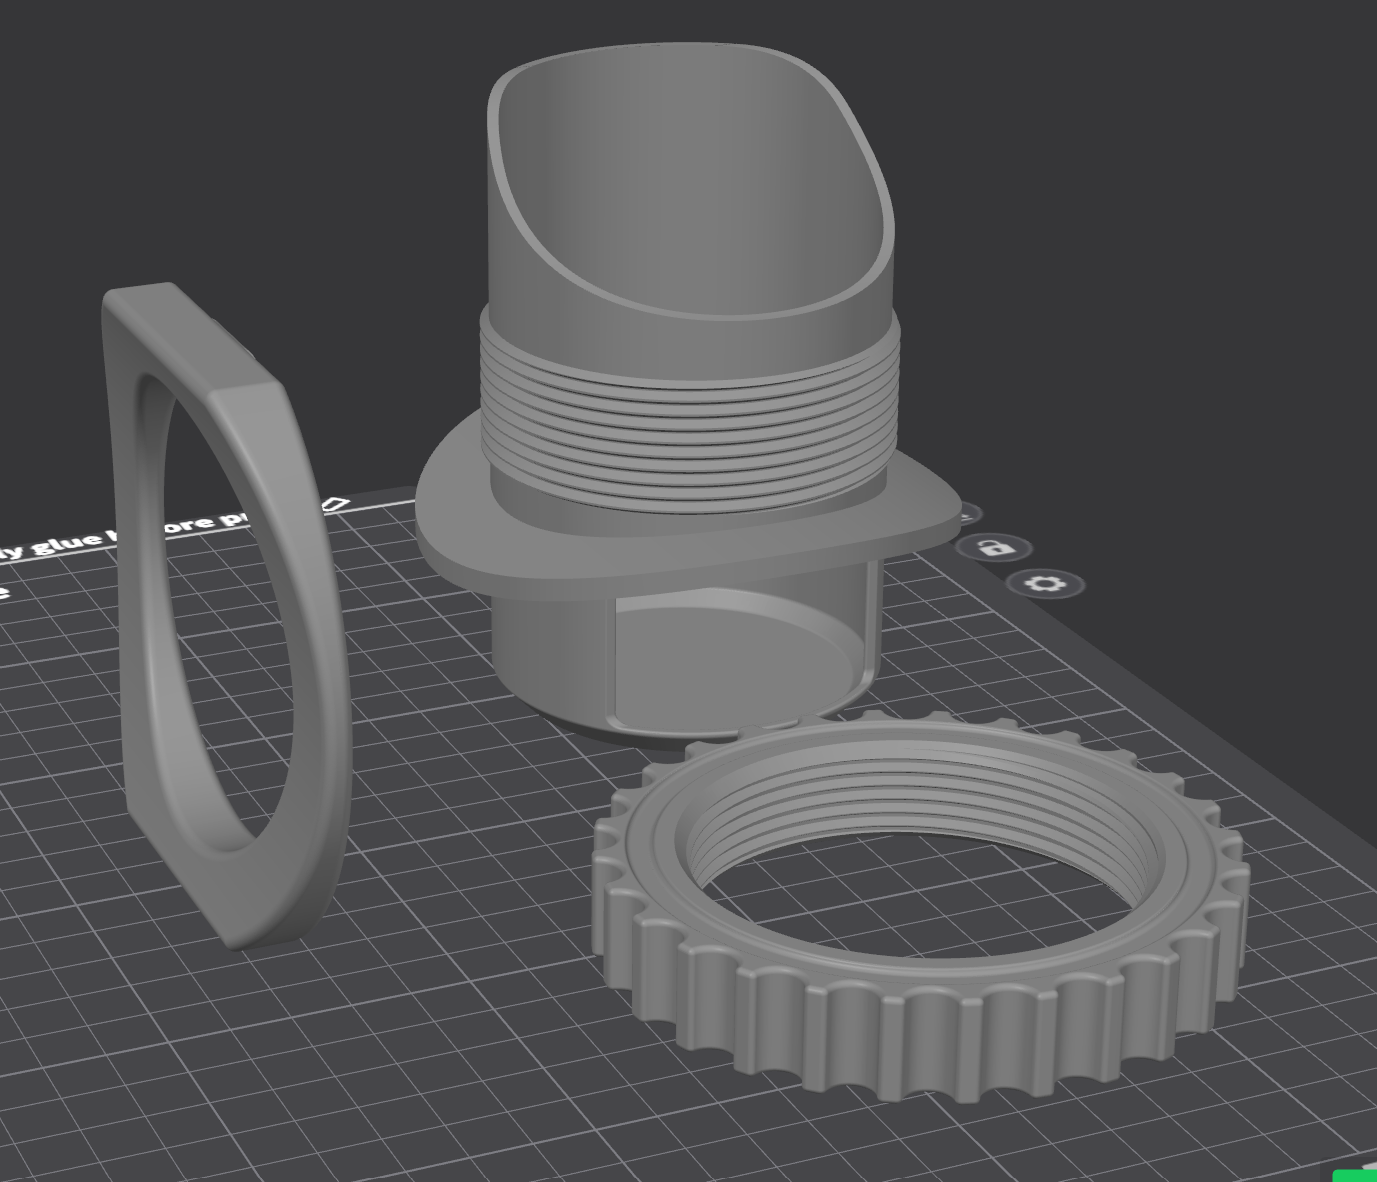
/https://preview3d-images.cults3d.com/9i186id4kvgaamfbolz2296qgo0v)
/https://preview3d-images.cults3d.com/75ivd8p0k5m68n1krc7ricpx3nt5)
/https://preview3d-images.cults3d.com/ps8uiafu7elhbn0g4ssy0g6gninf)
/https://preview3d-images.cults3d.com/uznjpo8ewxyrvqwxn2sv2sf8eqfu)
/https://preview3d-images.cults3d.com/91ut0ayq3y05vhoep83lrsfv2quk)
/https://preview3d-images.cults3d.com/dq7z0qoapx1zn39621ga77ytuxvr)
/https://preview3d-images.cults3d.com/x02rv77j0dbssm4dwe95lxu9dm8z)
- 2,9k görüntüleme
- 3 beğeni
- 9 indirme
- 0 koleksiyon
- 0 yorum
- 0 make
| Lisans | |
|---|---|
| Kullanımlar | |
| 3D tasarım formatı |
7 dosya (STL) Kapat
|
| Yayın tarihi | |
| Tasarım numarası | 2912807 |
| Tasarım yazarı | Fickertec3D |
/https://fbi.cults3d.com/uploads/user/avatar/24940226/IMG20220806151336.jpg "Fickertec3D")


:format(webp)/https://fbi.cults3d.com/uploaders/24940226/illustration-file/1e48fd75-a593-49a4-82ed-01af88006efd/Magpul_M_Lok_Rail_Cover_Insert.png)
:format(webp)/https://fbi.cults3d.com/uploaders/24940226/illustration-file/f6b568f7-be77-406a-966a-555452584d3c/IMG_20161030_113136.jpg)
:format(webp)/https://fbi.cults3d.com/uploaders/24940226/illustration-file/e8a664ed-adbe-493a-99f3-0966d0cca07f/image.png)
:format(webp)/https://fbi.cults3d.com/uploaders/24940226/illustration-file/b2f64d2f-5e11-4636-87a8-148b76c36f10/Thrustmaster_T300_RS_Magnet_Paddle_Shifter_Mod.png)
:format(webp)/https://fbi.cults3d.com/uploaders/24940226/illustration-file/f13b97dd-2765-4770-b6d4-5f1e28bd8eac/24dd34b70abdb889685837881946f699.png)
:format(webp)/https://fbi.cults3d.com/uploaders/24940226/illustration-file/9ad4dabb-7a02-4be2-a7eb-14e9a08e53d7/Screenshot-2025-10-05-112415.png)
:format(webp)/https://fbi.cults3d.com/uploaders/24940226/illustration-file/33dc38bb-d8e4-4563-87a0-548031693a28/IMG20260111173625.jpg)
:format(webp)/https://fbi.cults3d.com/uploaders/24940226/illustration-file/3c45733a-e1e7-4b25-aa98-b58e812a482c/IMG20260114115110.png)
Cults'ı desteklemek ister misin?
Cults'ı seviyorsun ve maceraya bağımsız olarak devam etmemize yardımcı olmak mı istiyorsun? 4 kişilik küçük bir ekip olduğumuzdan faaliyetimizi sürdürmemiz ve gelecekteki gelişmeleri yaratmamız için bizi desteklemen çok kolay. Herkesin erişebileceği 3 çözüm şunlardır:
- REKLAM:" Reklam engelleyicini devre dışı bırak."
- BAĞIŞ:" Ko-Fi Bağış yap aracılığıyla bağış yap"
- KULAKTAN KULAĞA:" Platformu ve topluluk tarafından paylaşılan muhteşem 3D dosyaları keşfetmeleri için arkadaşlarını davet et!"
Cults3D üzerinden paylaşım ve indirme, tasarımların maker topluluğunun elinde kalmasını garanti eder! Böylece tasarımlar rakip platformların sahibi olan ve bunları kendi ticari çıkarları için kullanan 3D baskı veya yazılım devlerinin eline geçmez.
Cults3D, herhangi bir yatırımcıya veya markaya karşı sorumlu olmayan ve kendi kendini finanse eden bağımsız bir sitedir. Sitenin gelirlerinin neredeyse tamamı **platformdaki maker'lara geri ödenir. Sitede yayınlanan içerikler, 3D modelleme pazarını kontrol etmek isteyen 3D yazıcı markalarına değil, yalnızca yazarlarının çıkarlarına hizmet eder.