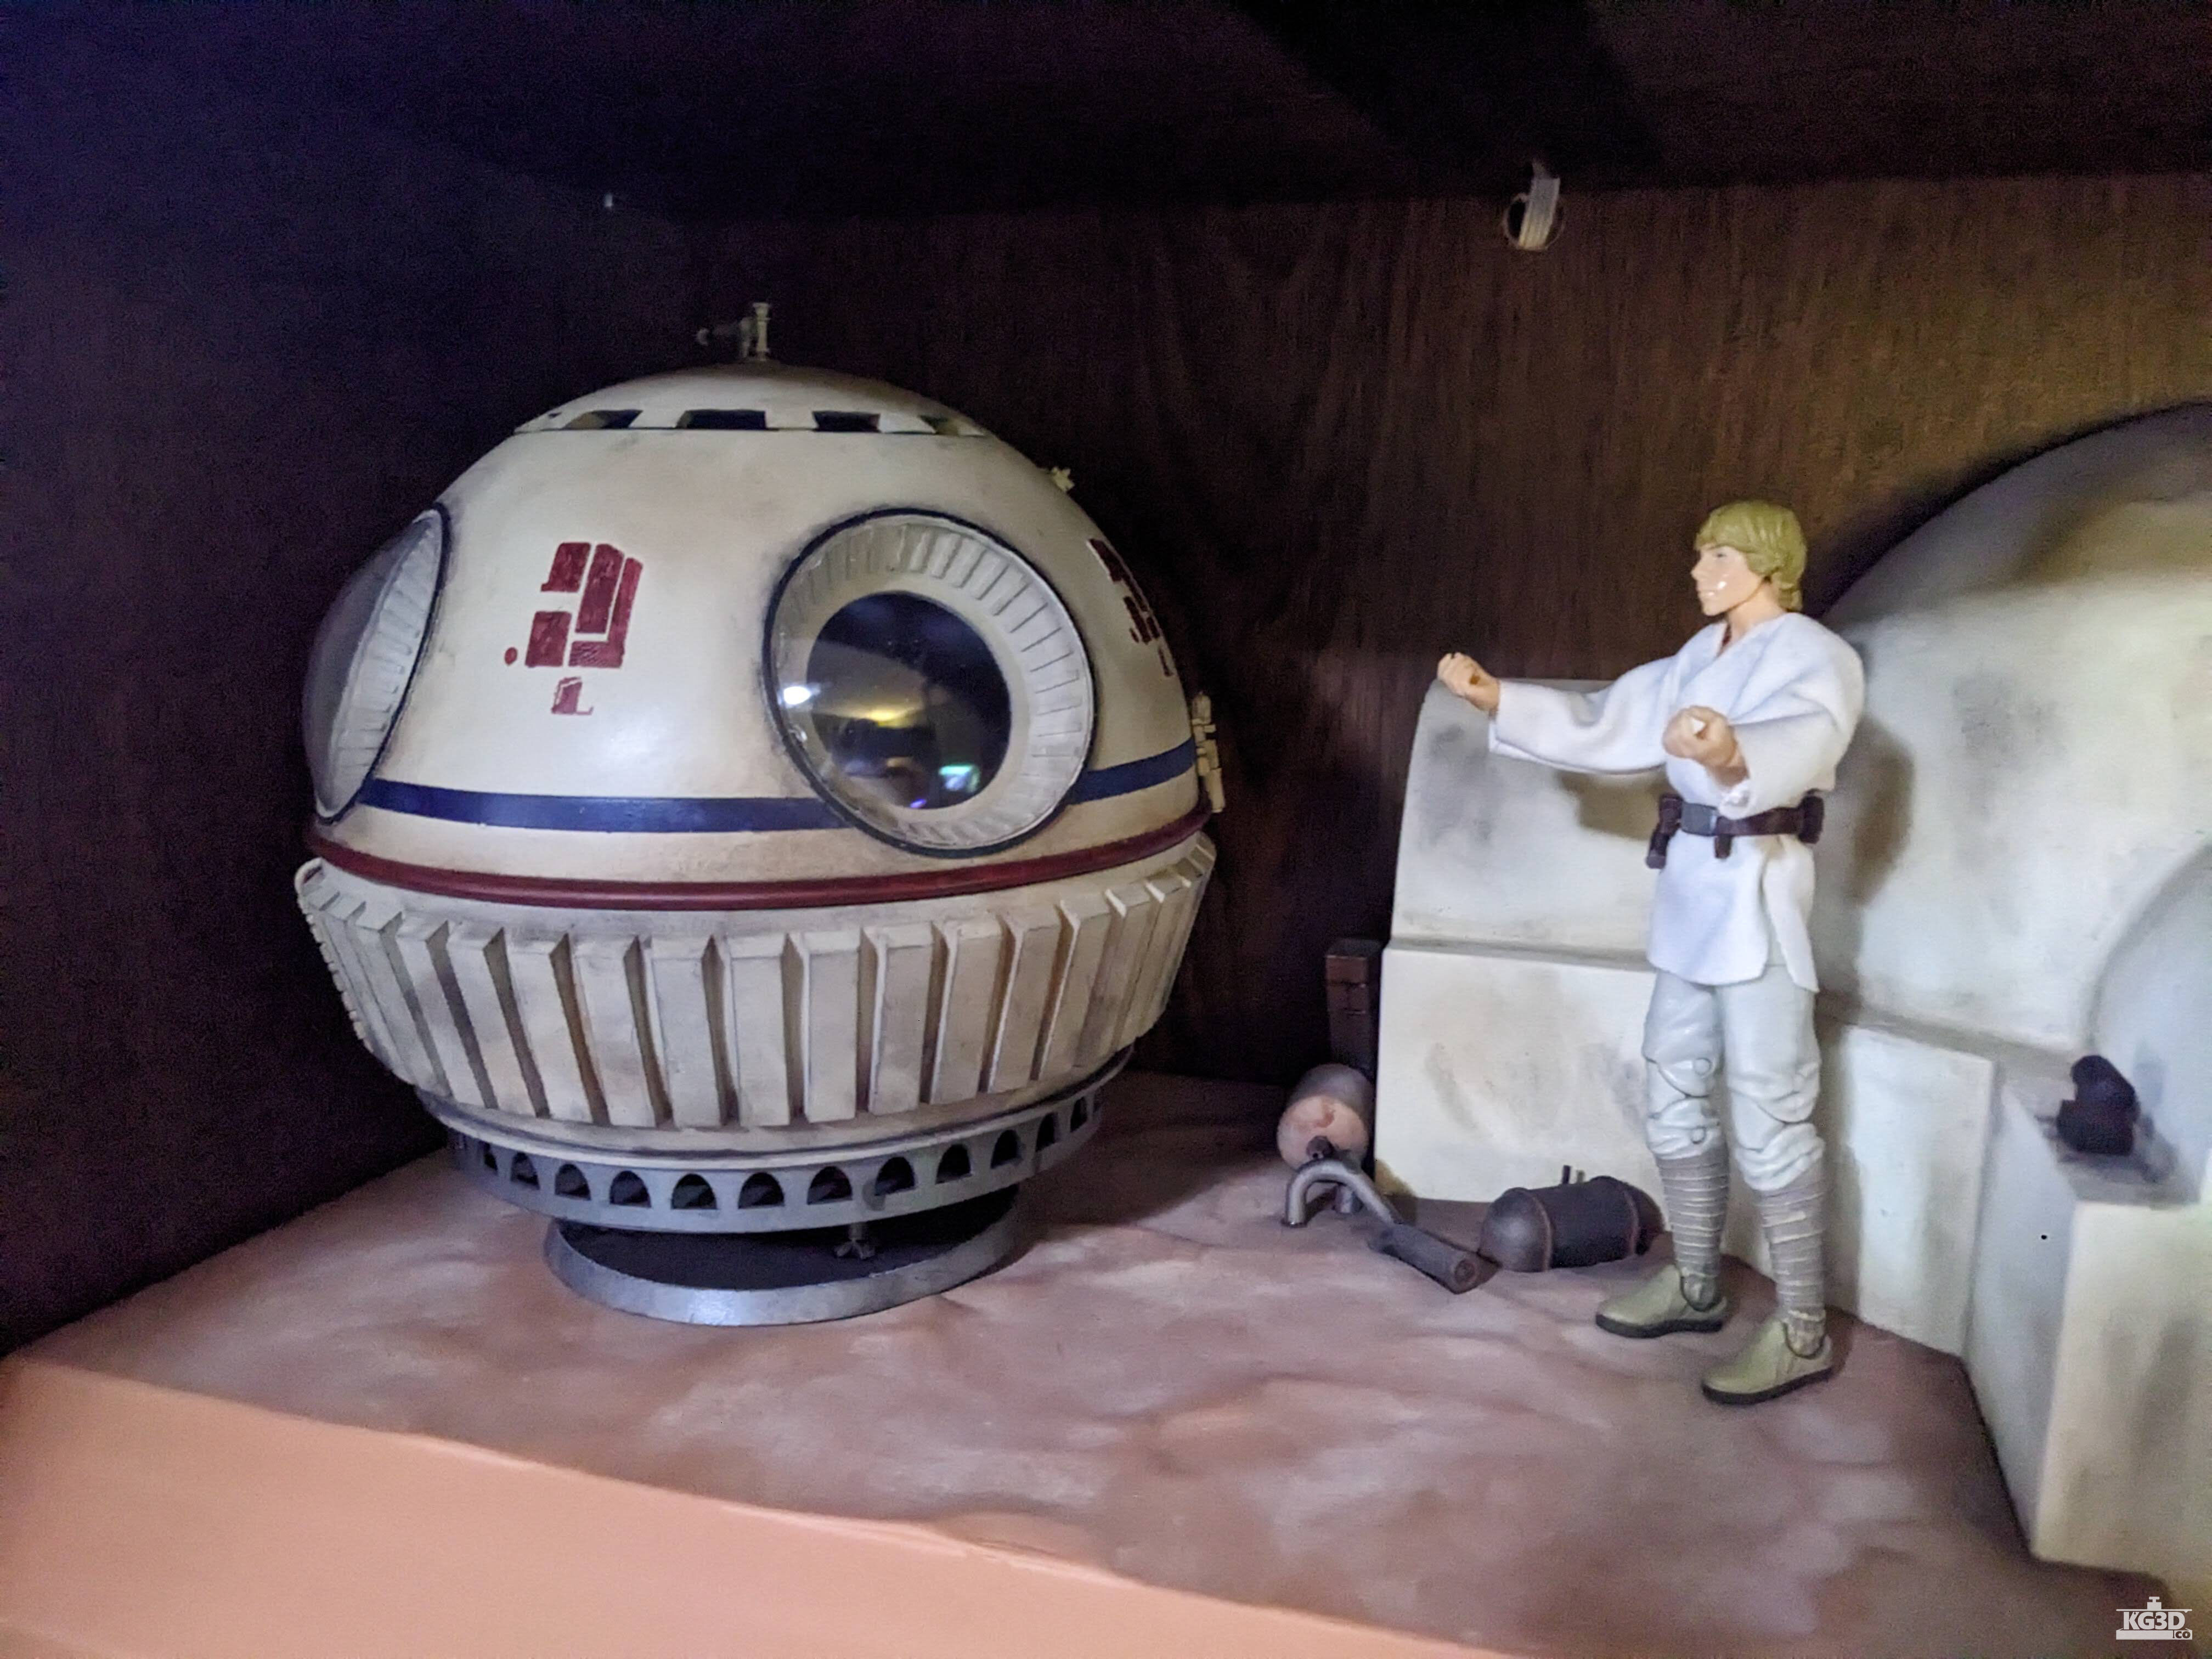
This is my model of the Ubrikkian Landspeeded 9000 Z001. This is modeled at 1/12 scale, and is designed to be displayed with Hasbro Black Series action figures.
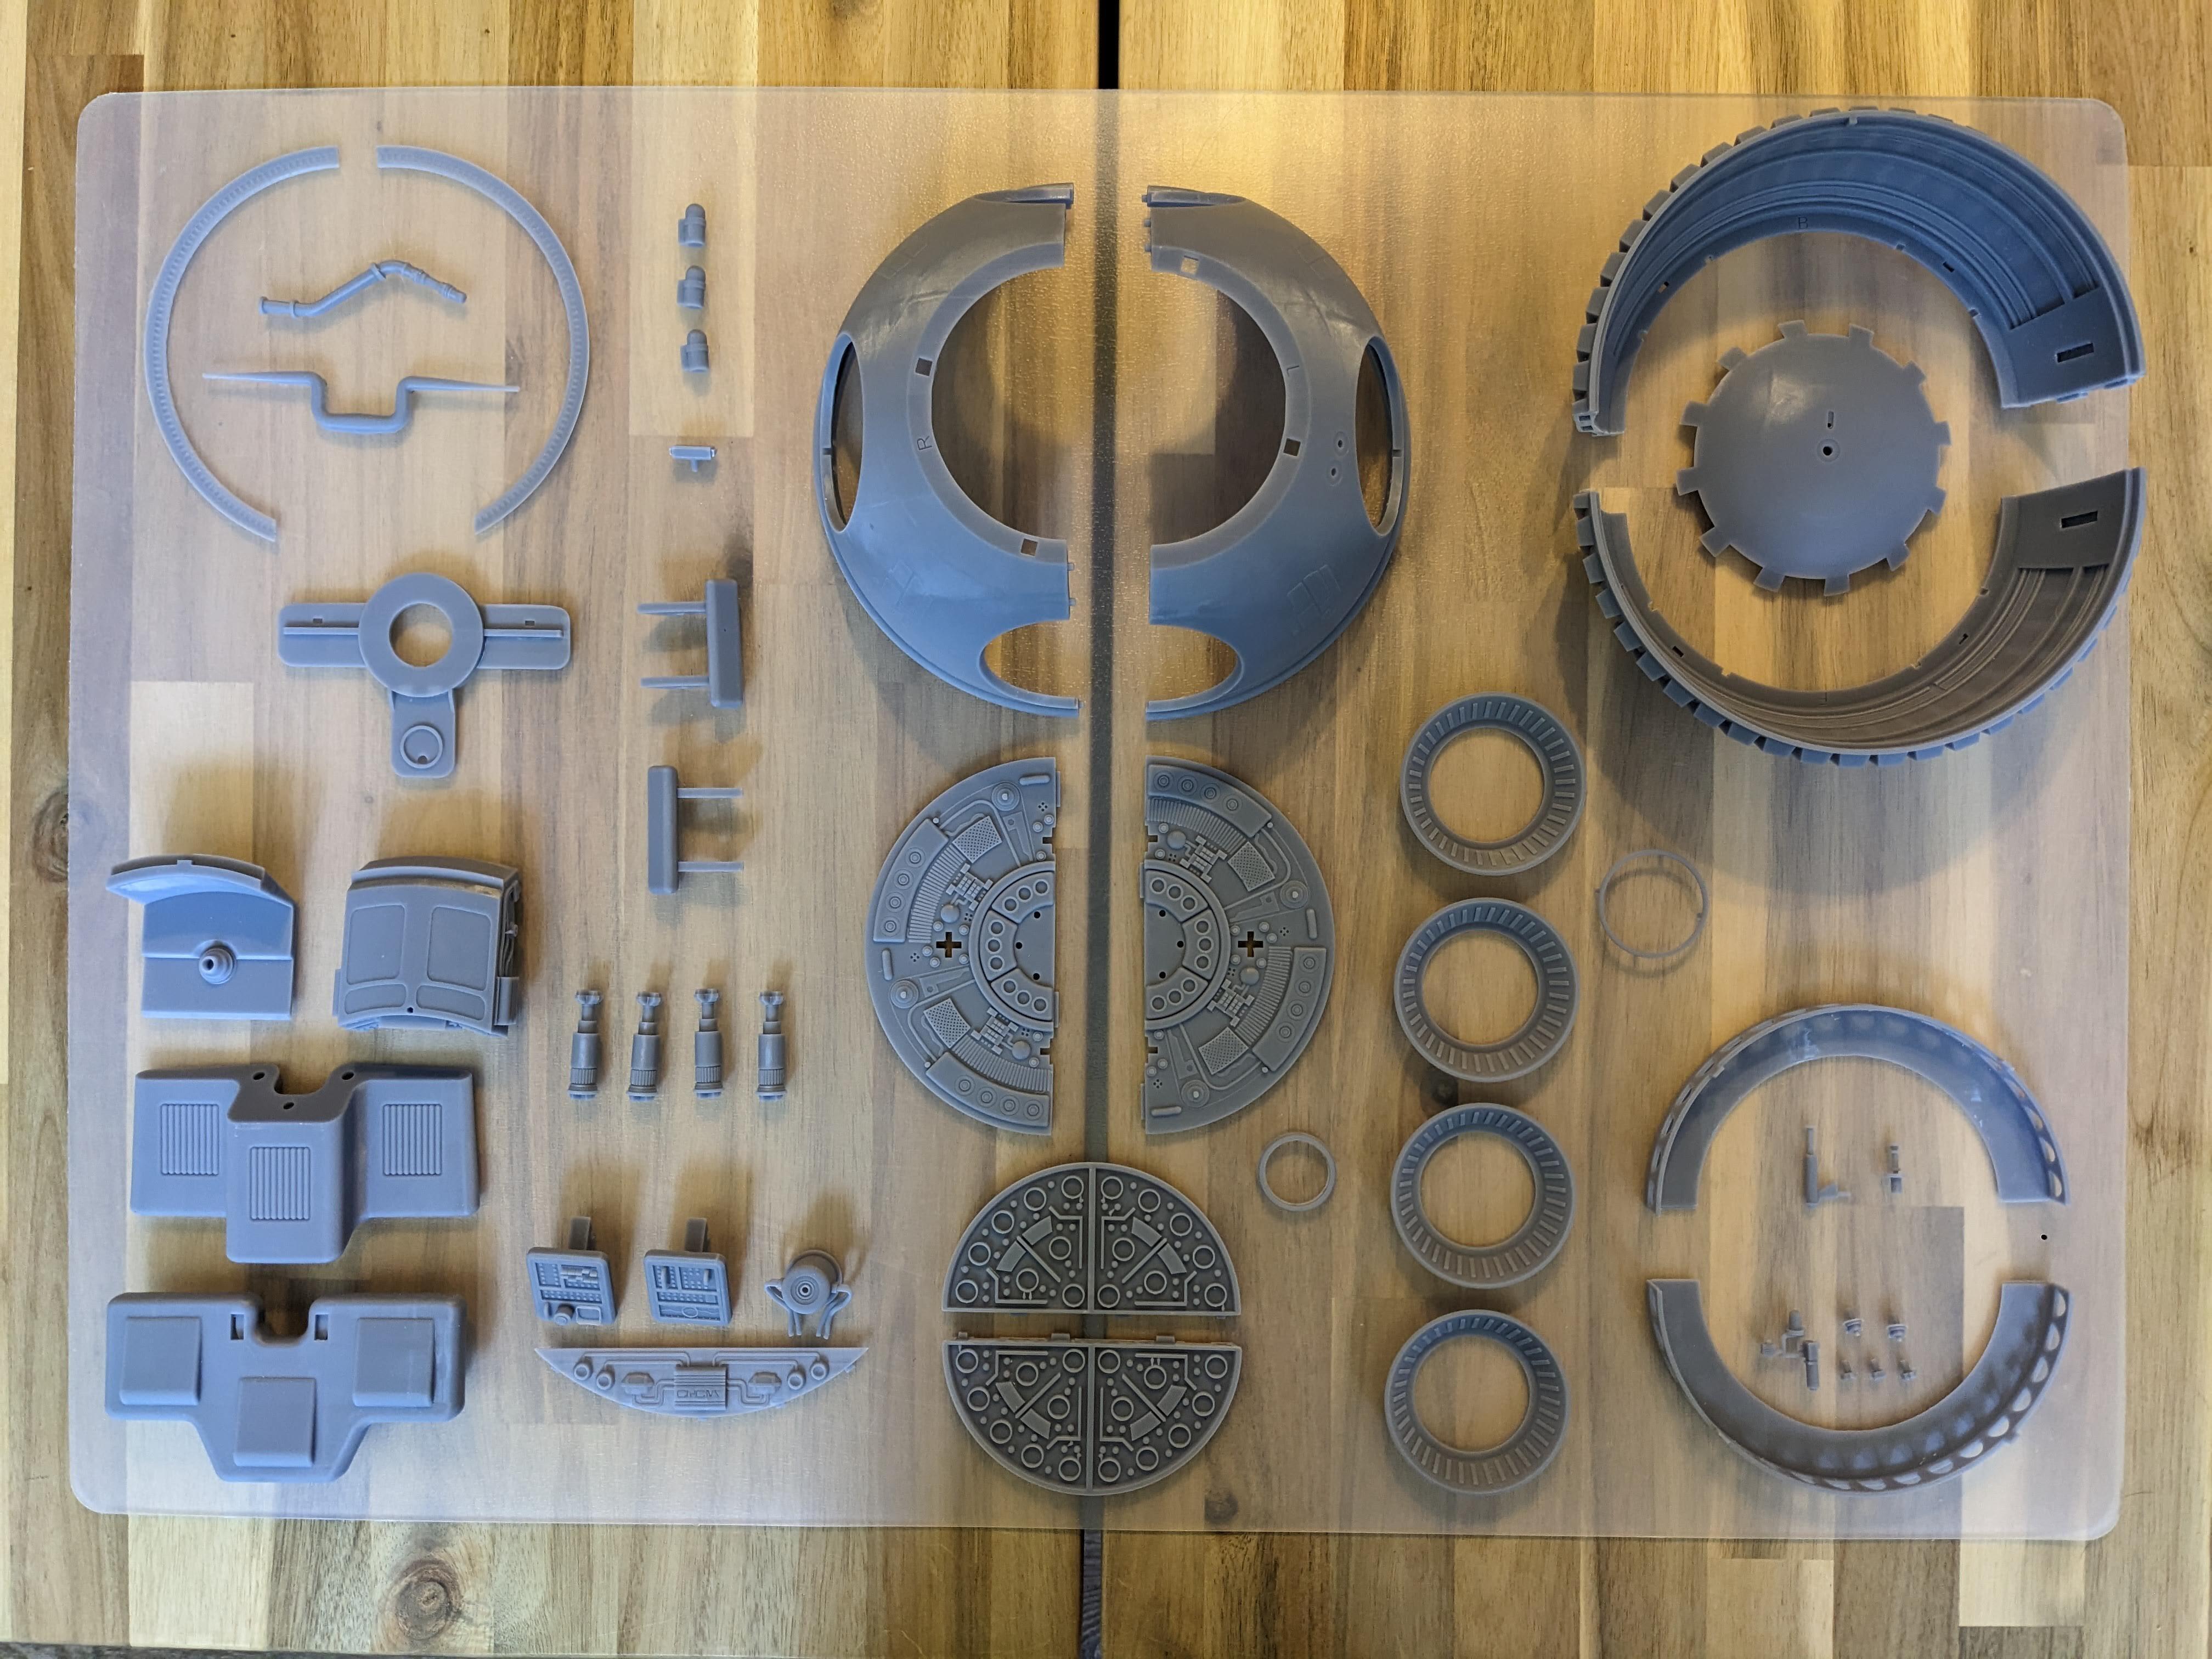
This is a moderate sized, mostly resin project that requires resin printing experience. The models are provided unsupported, but in the orientation that I printed them. I figure you know your printers best and how you like to support your prints, so I leave that up to you.
For resin parts, I tend to us autogenerated fine or light supports, moderately dense, and then I manually add or remove supports where I feel my printer needs it.
Multiple versions:
There are options to print the model multiple ways, and you can mix and match options.
Body: There are two versions ot the top body: One with the graphics and the stripe raised slightly in relief if you want to hand paint those, and one that is plain and smooth if you want to use decals, or give it a custom paint job.
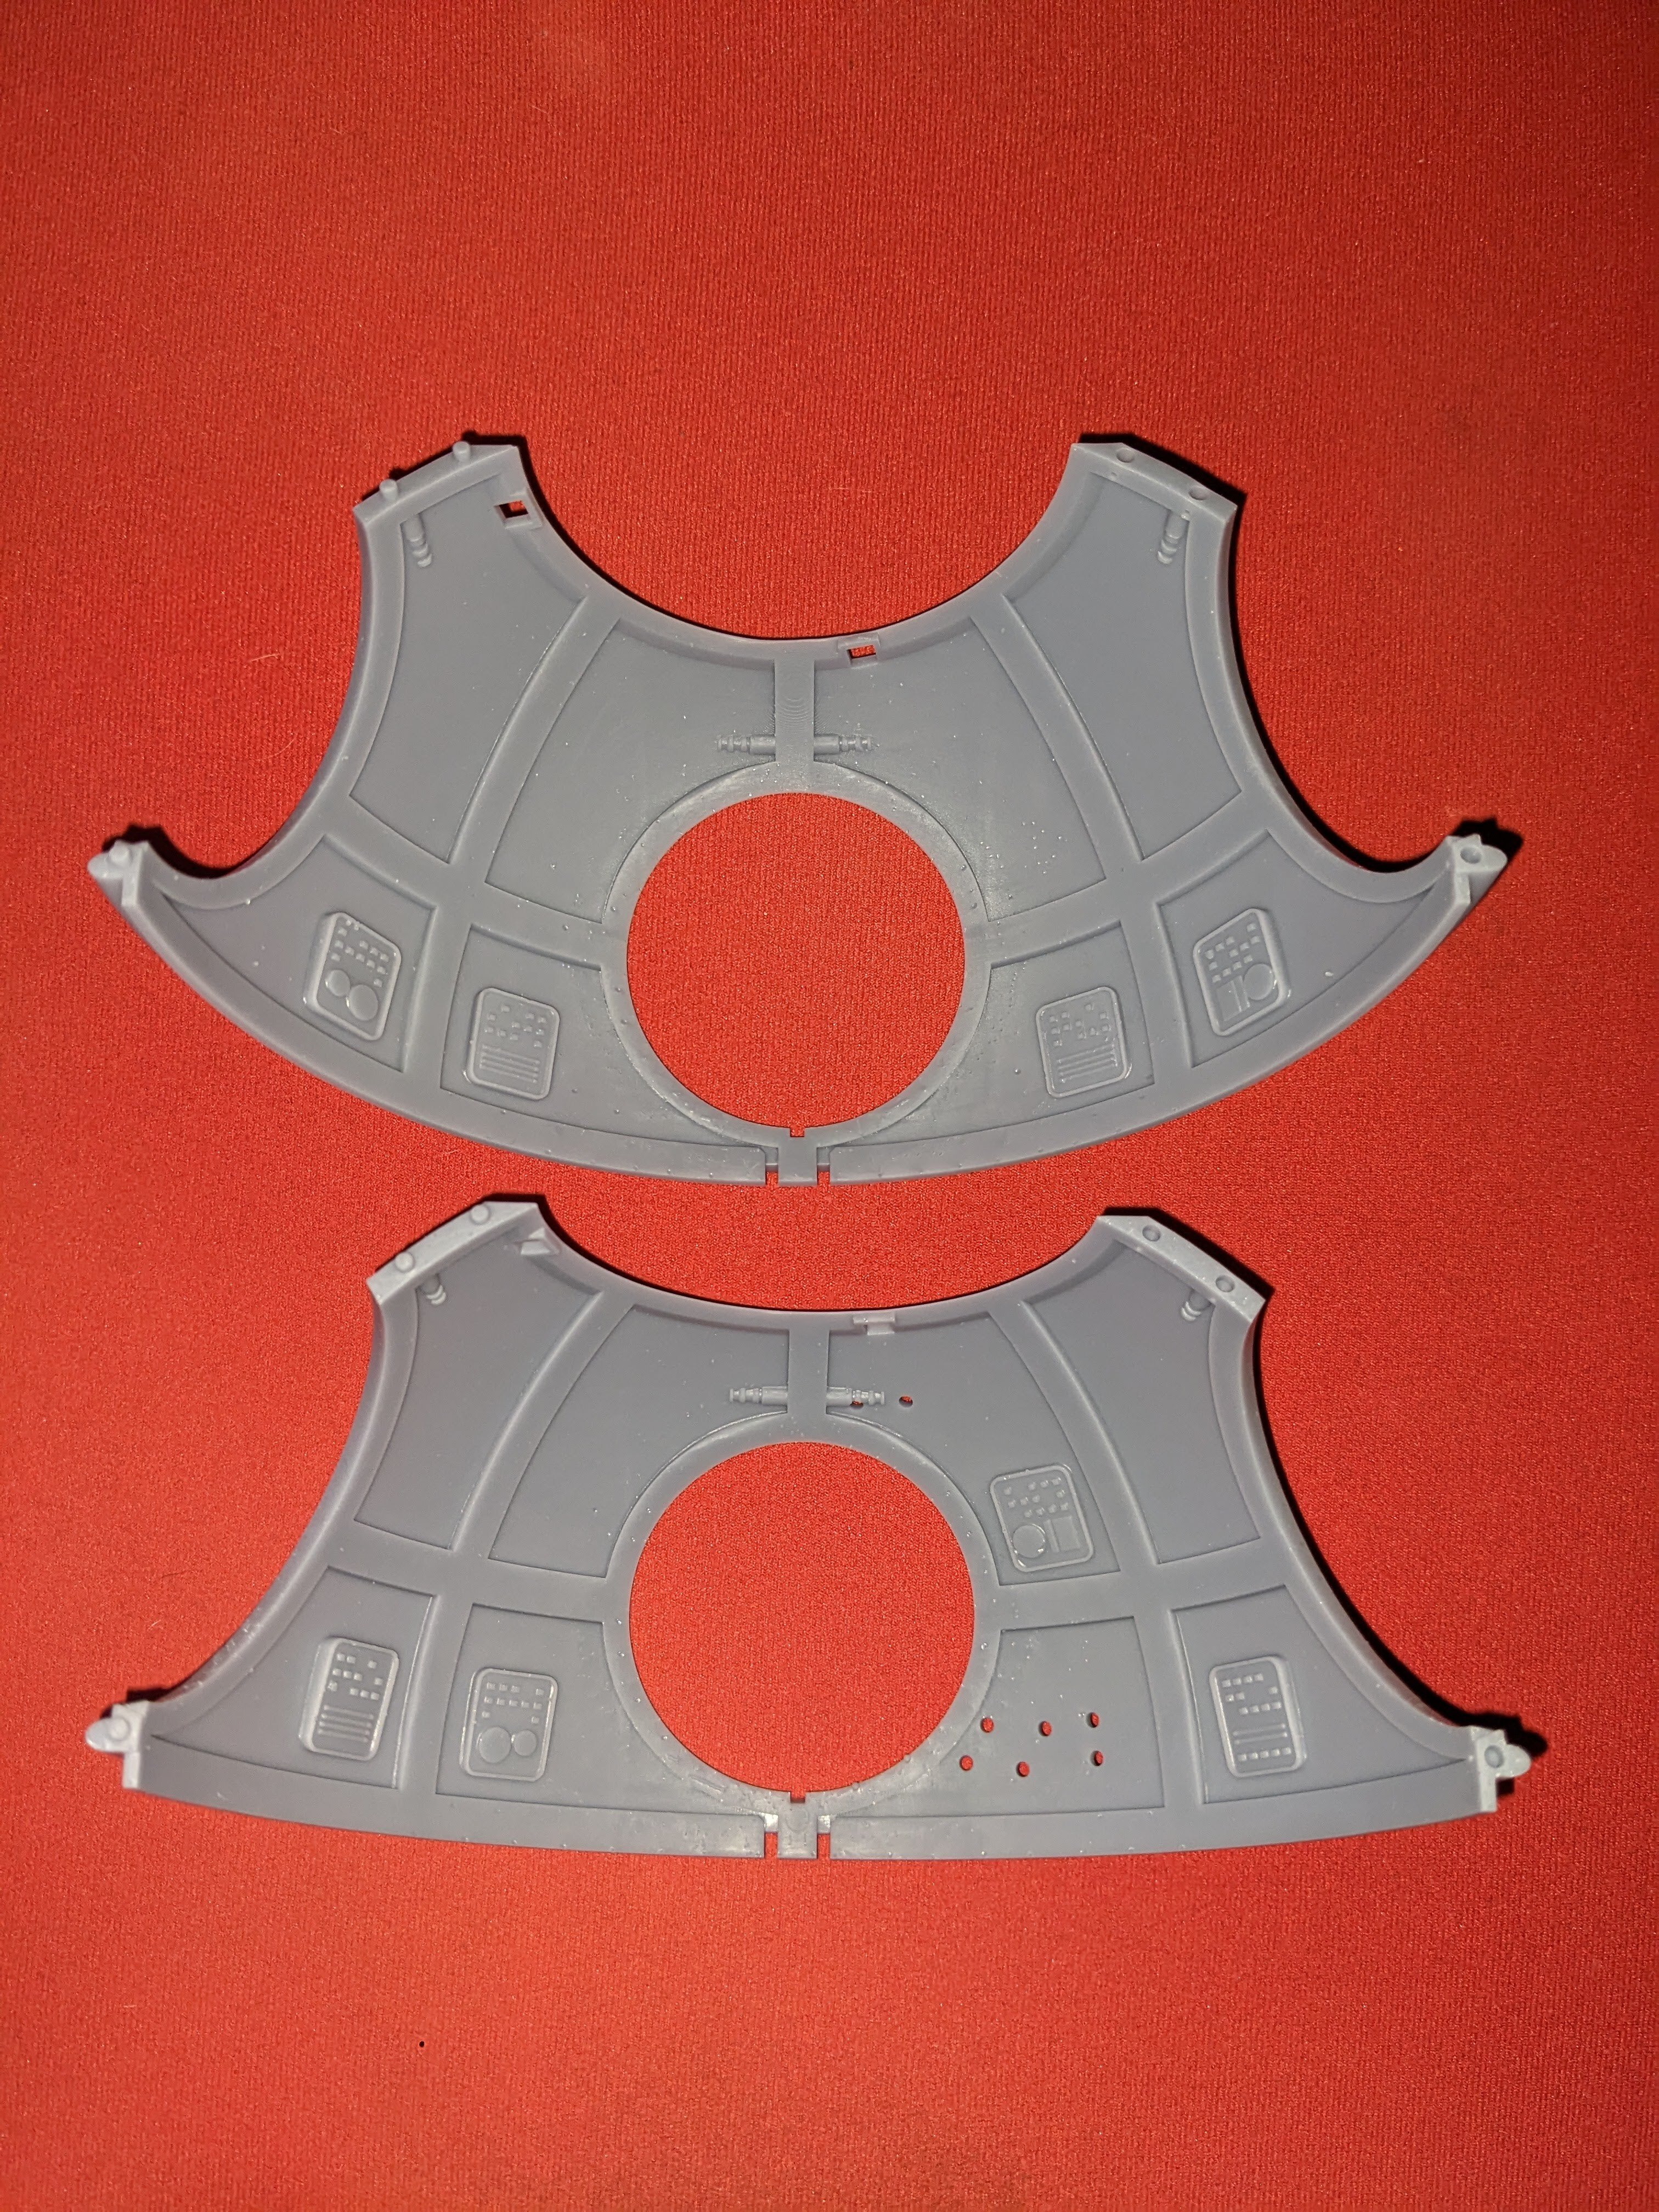
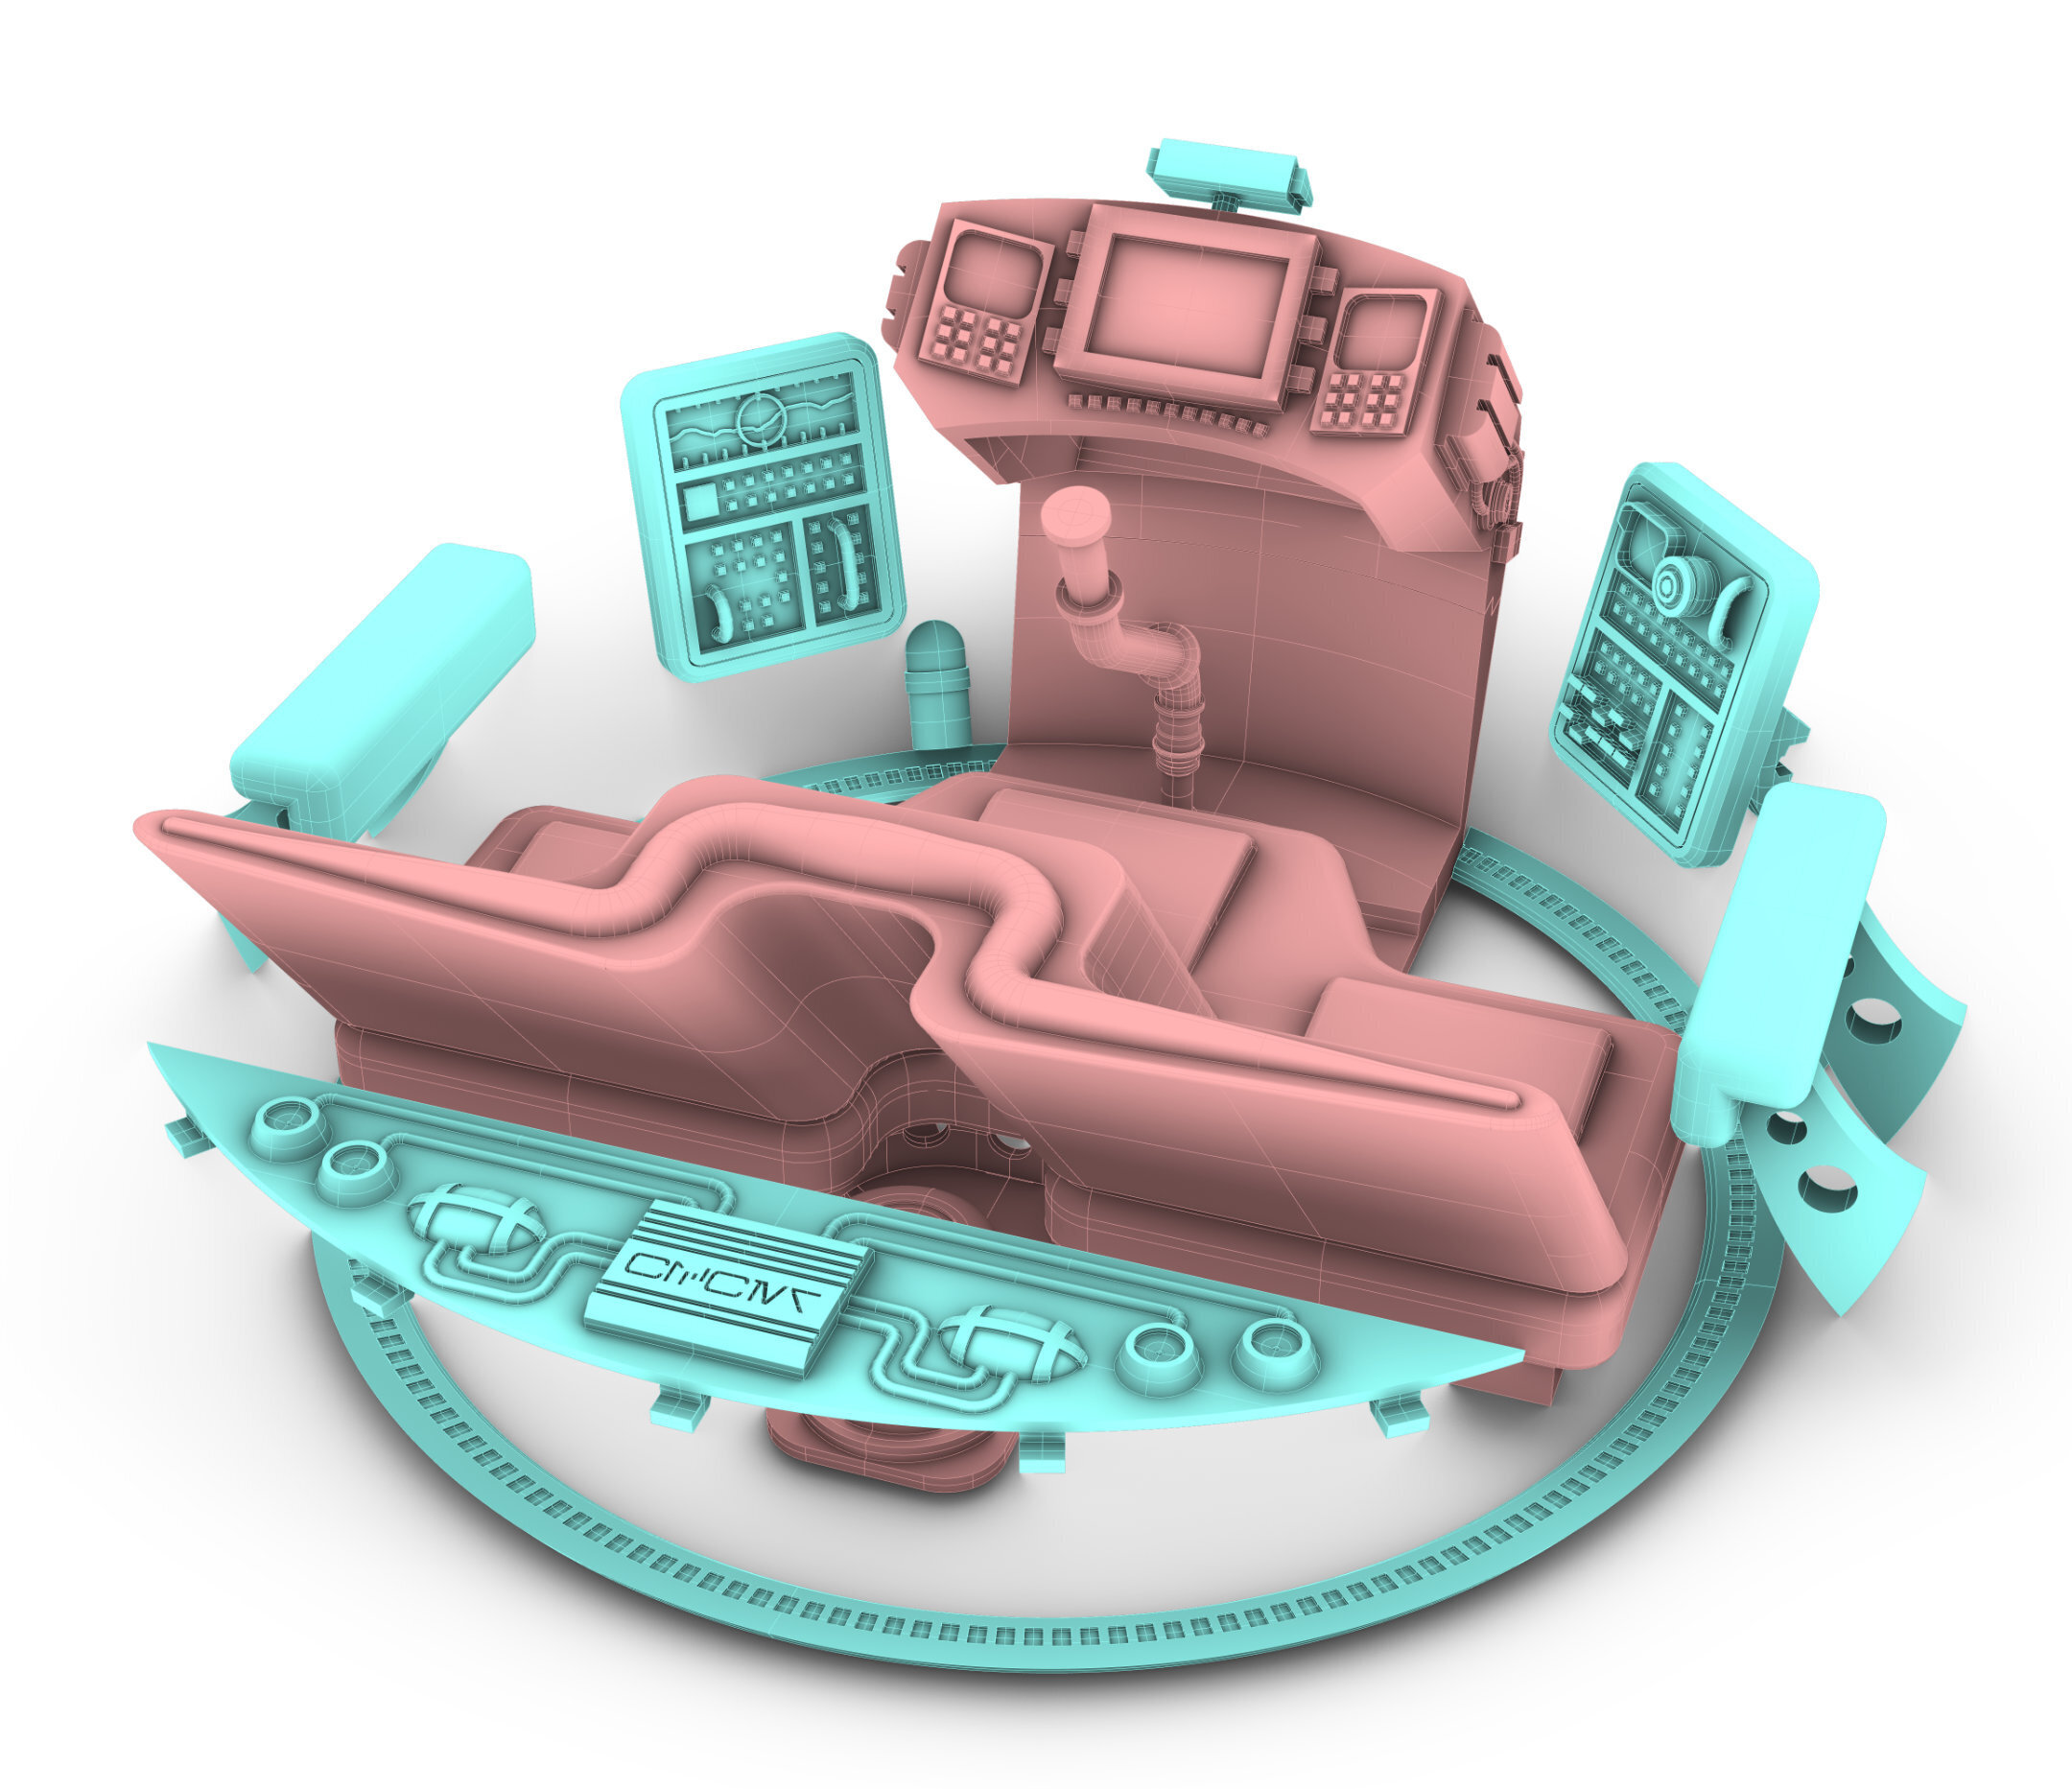
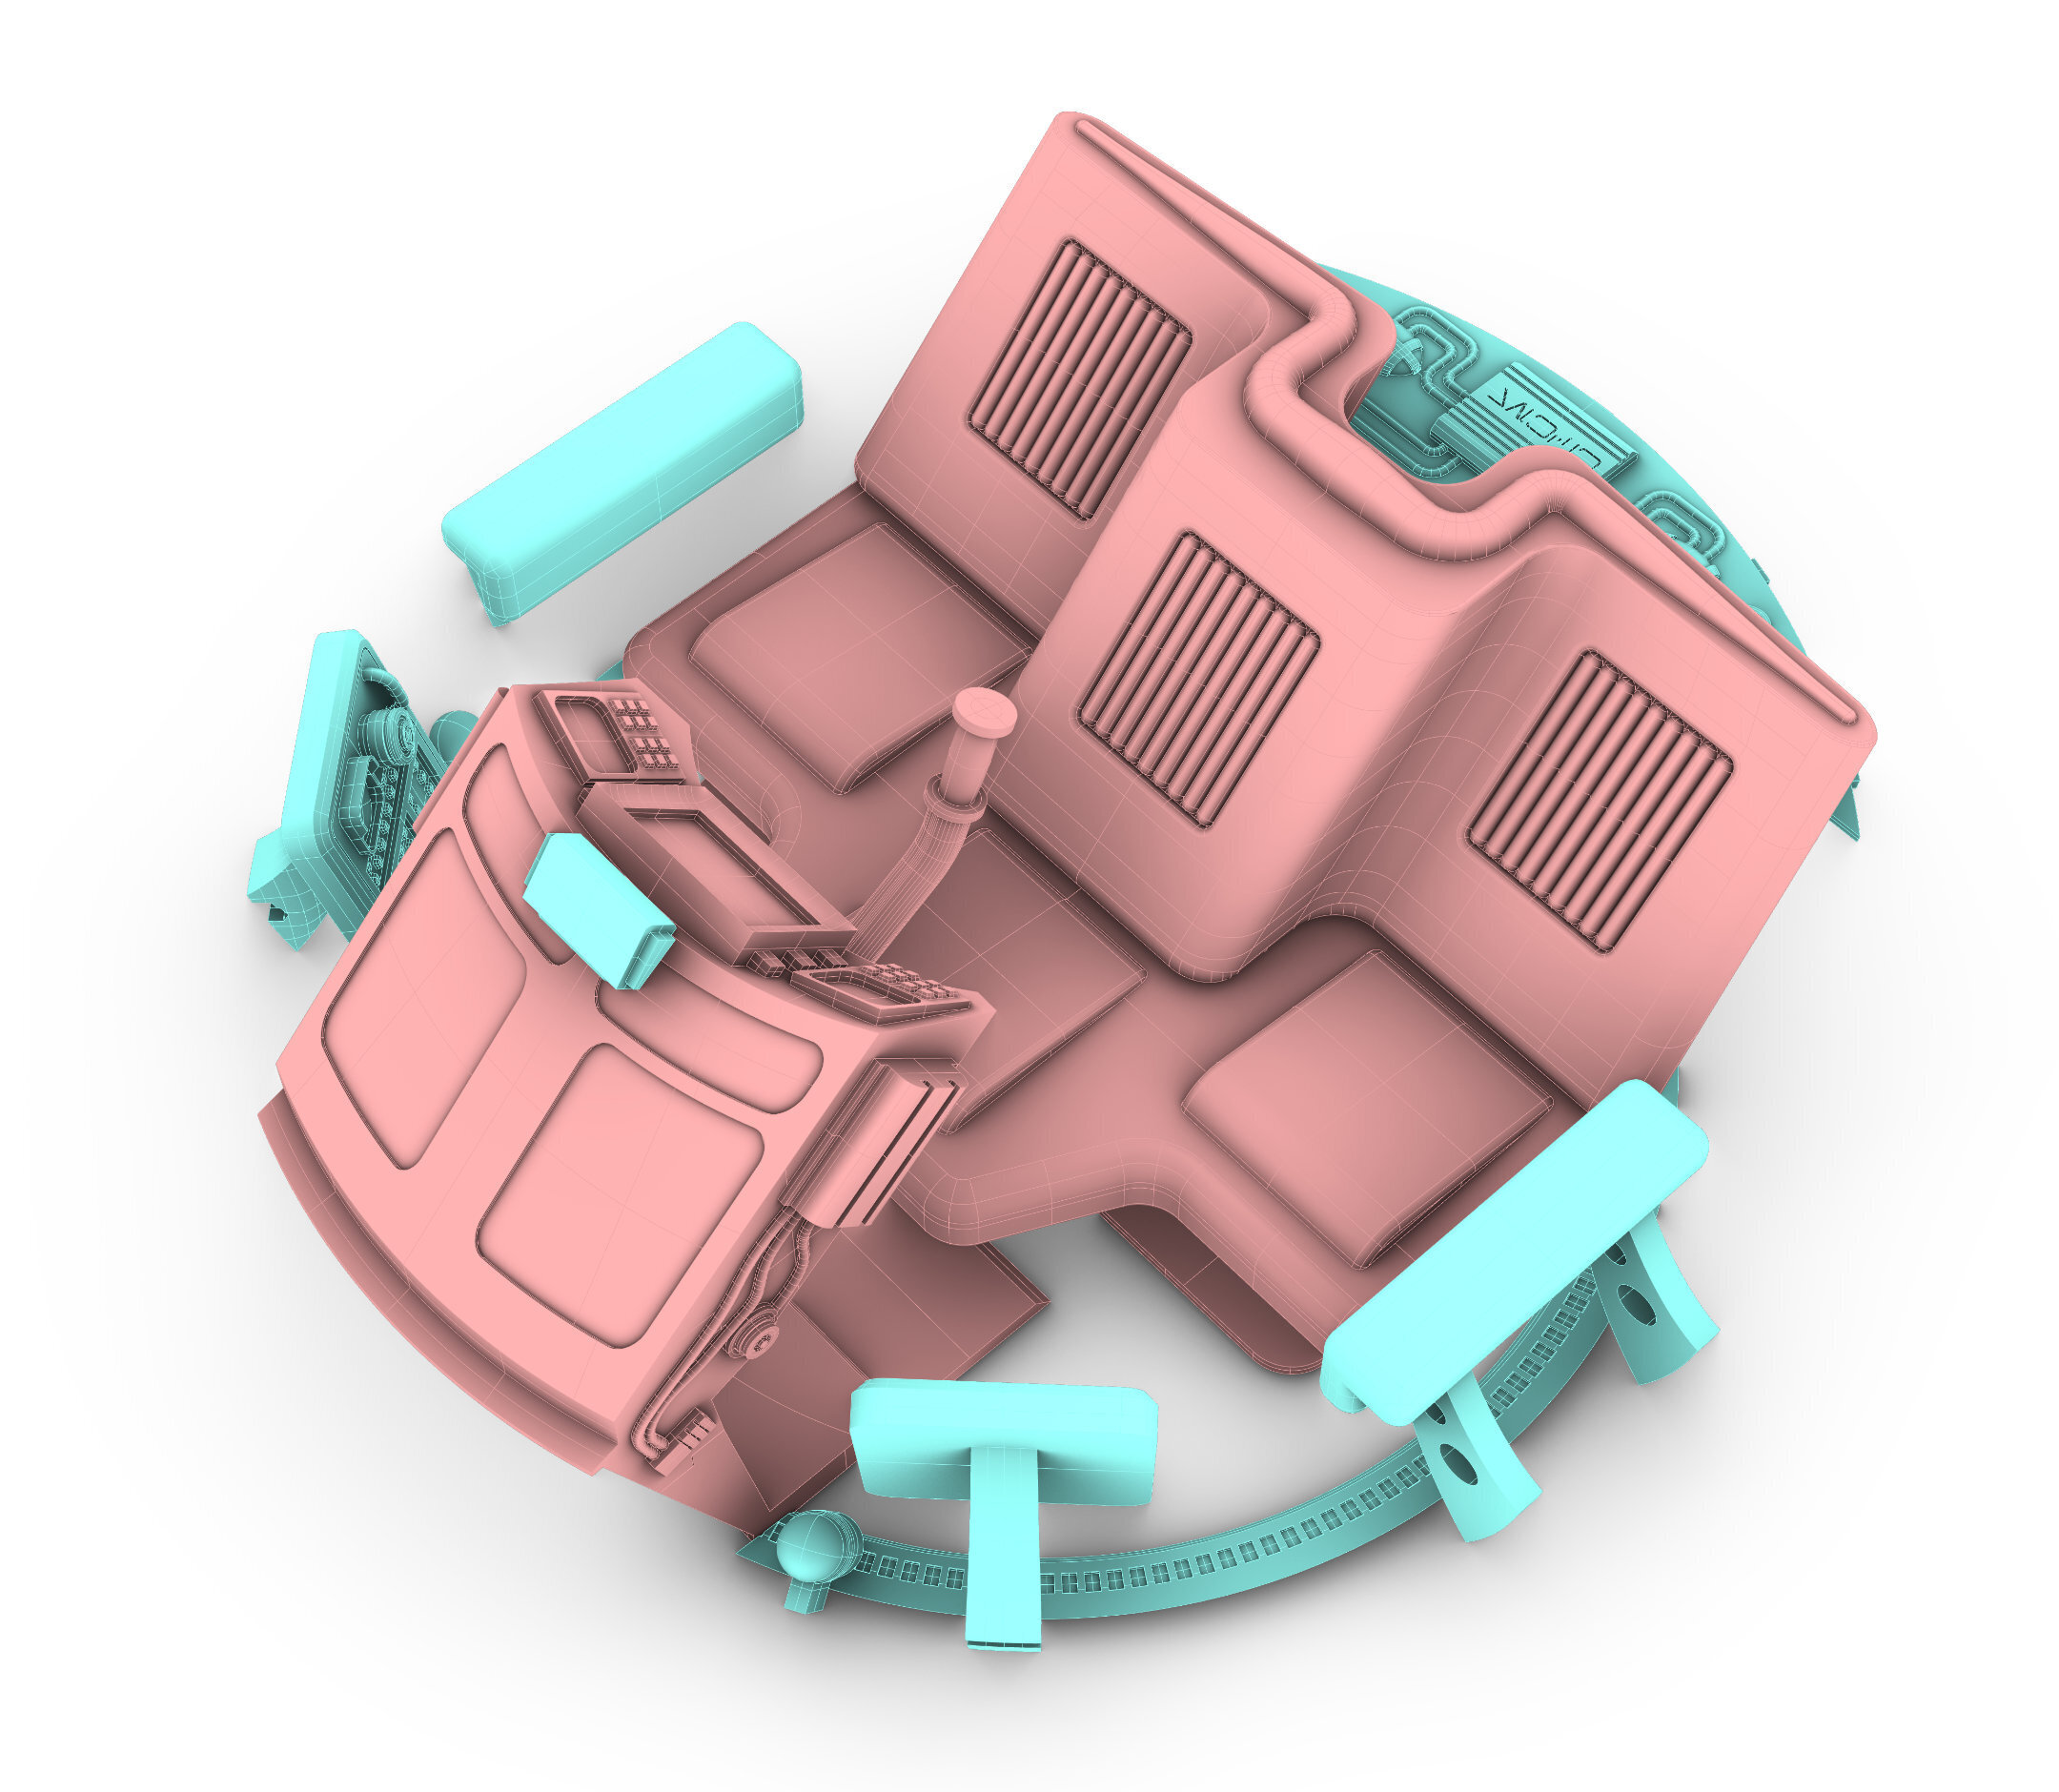
Interior: There is a full interior in this vehicle with seating for 3 Luke sized figures. The interior is optional.
Non-printed parts:
I have tried on multiple occasions to print the windows for this vehicle using different types of clear resin, and the prints work, but they are not clear and I haven't managed to get acceptable windows. I have included the models if you want to try printing the windows, but I do not recommend it. The solution I went with was to find 80mm clear plastic ball containers on Amazon, and 3D print a jig to cut them to the correct size, and that worked like a charm.
I found these 80mm Christmas ornament-styler containers: https://www.amazon.com/KENAST-Plastic-Fillable-Ornaments-Christmas/dp/B07X95ZKH5. I designed a jig that allows you to clamp half the ball to a table, and then, using a hacksaw blade, cut the windows exactly. The jig works with both halves of the ball, and you just have to do a little sanding on the edges to gert perfect windows every time. It took me less than half an hour to make all 4 windows.
The window jig consists of 3 parts and is FDM printed. There is only 1 part that needs supports and that is the keyway on the bottom of the top part. I used tree supports but this is up to you. Use a hobby chisel to clear the supports, and make sure the top and bottom halves fit together tightly. You can glue these if you want, but I didn't have to. The third part of the jig is a riser that allows you to use both halves of the Amazon ornament ball.
Approximate Total Print Times (For my printers, provided for example). Your print times will vary depending on your printer speed and which parts you want to print.
25 hours, 45 minutes
Non-Canon details:
This model is as accurate as I could make it using only footage from A New Hope as a reference. There are maybe 100 total frames of footage of this vehicle in all of Star Wars (All shot from the same basic angle), and absolutely no shots of the interior. Wookiepedia/Lore says this vehicle is capable of carrying 3 people, so I designed and modeled an interior that fits 3 Luke-sized figures. The interior is obviously non-canon, but I had fun designing it and I think it fits well in universe.
Several of the parts require multiple to be printed:
Viewport Frames: 4 are required
Landing Strut: 4 are required
Landing Foot half: 2 are required
Bottom Cap half: 2 are required
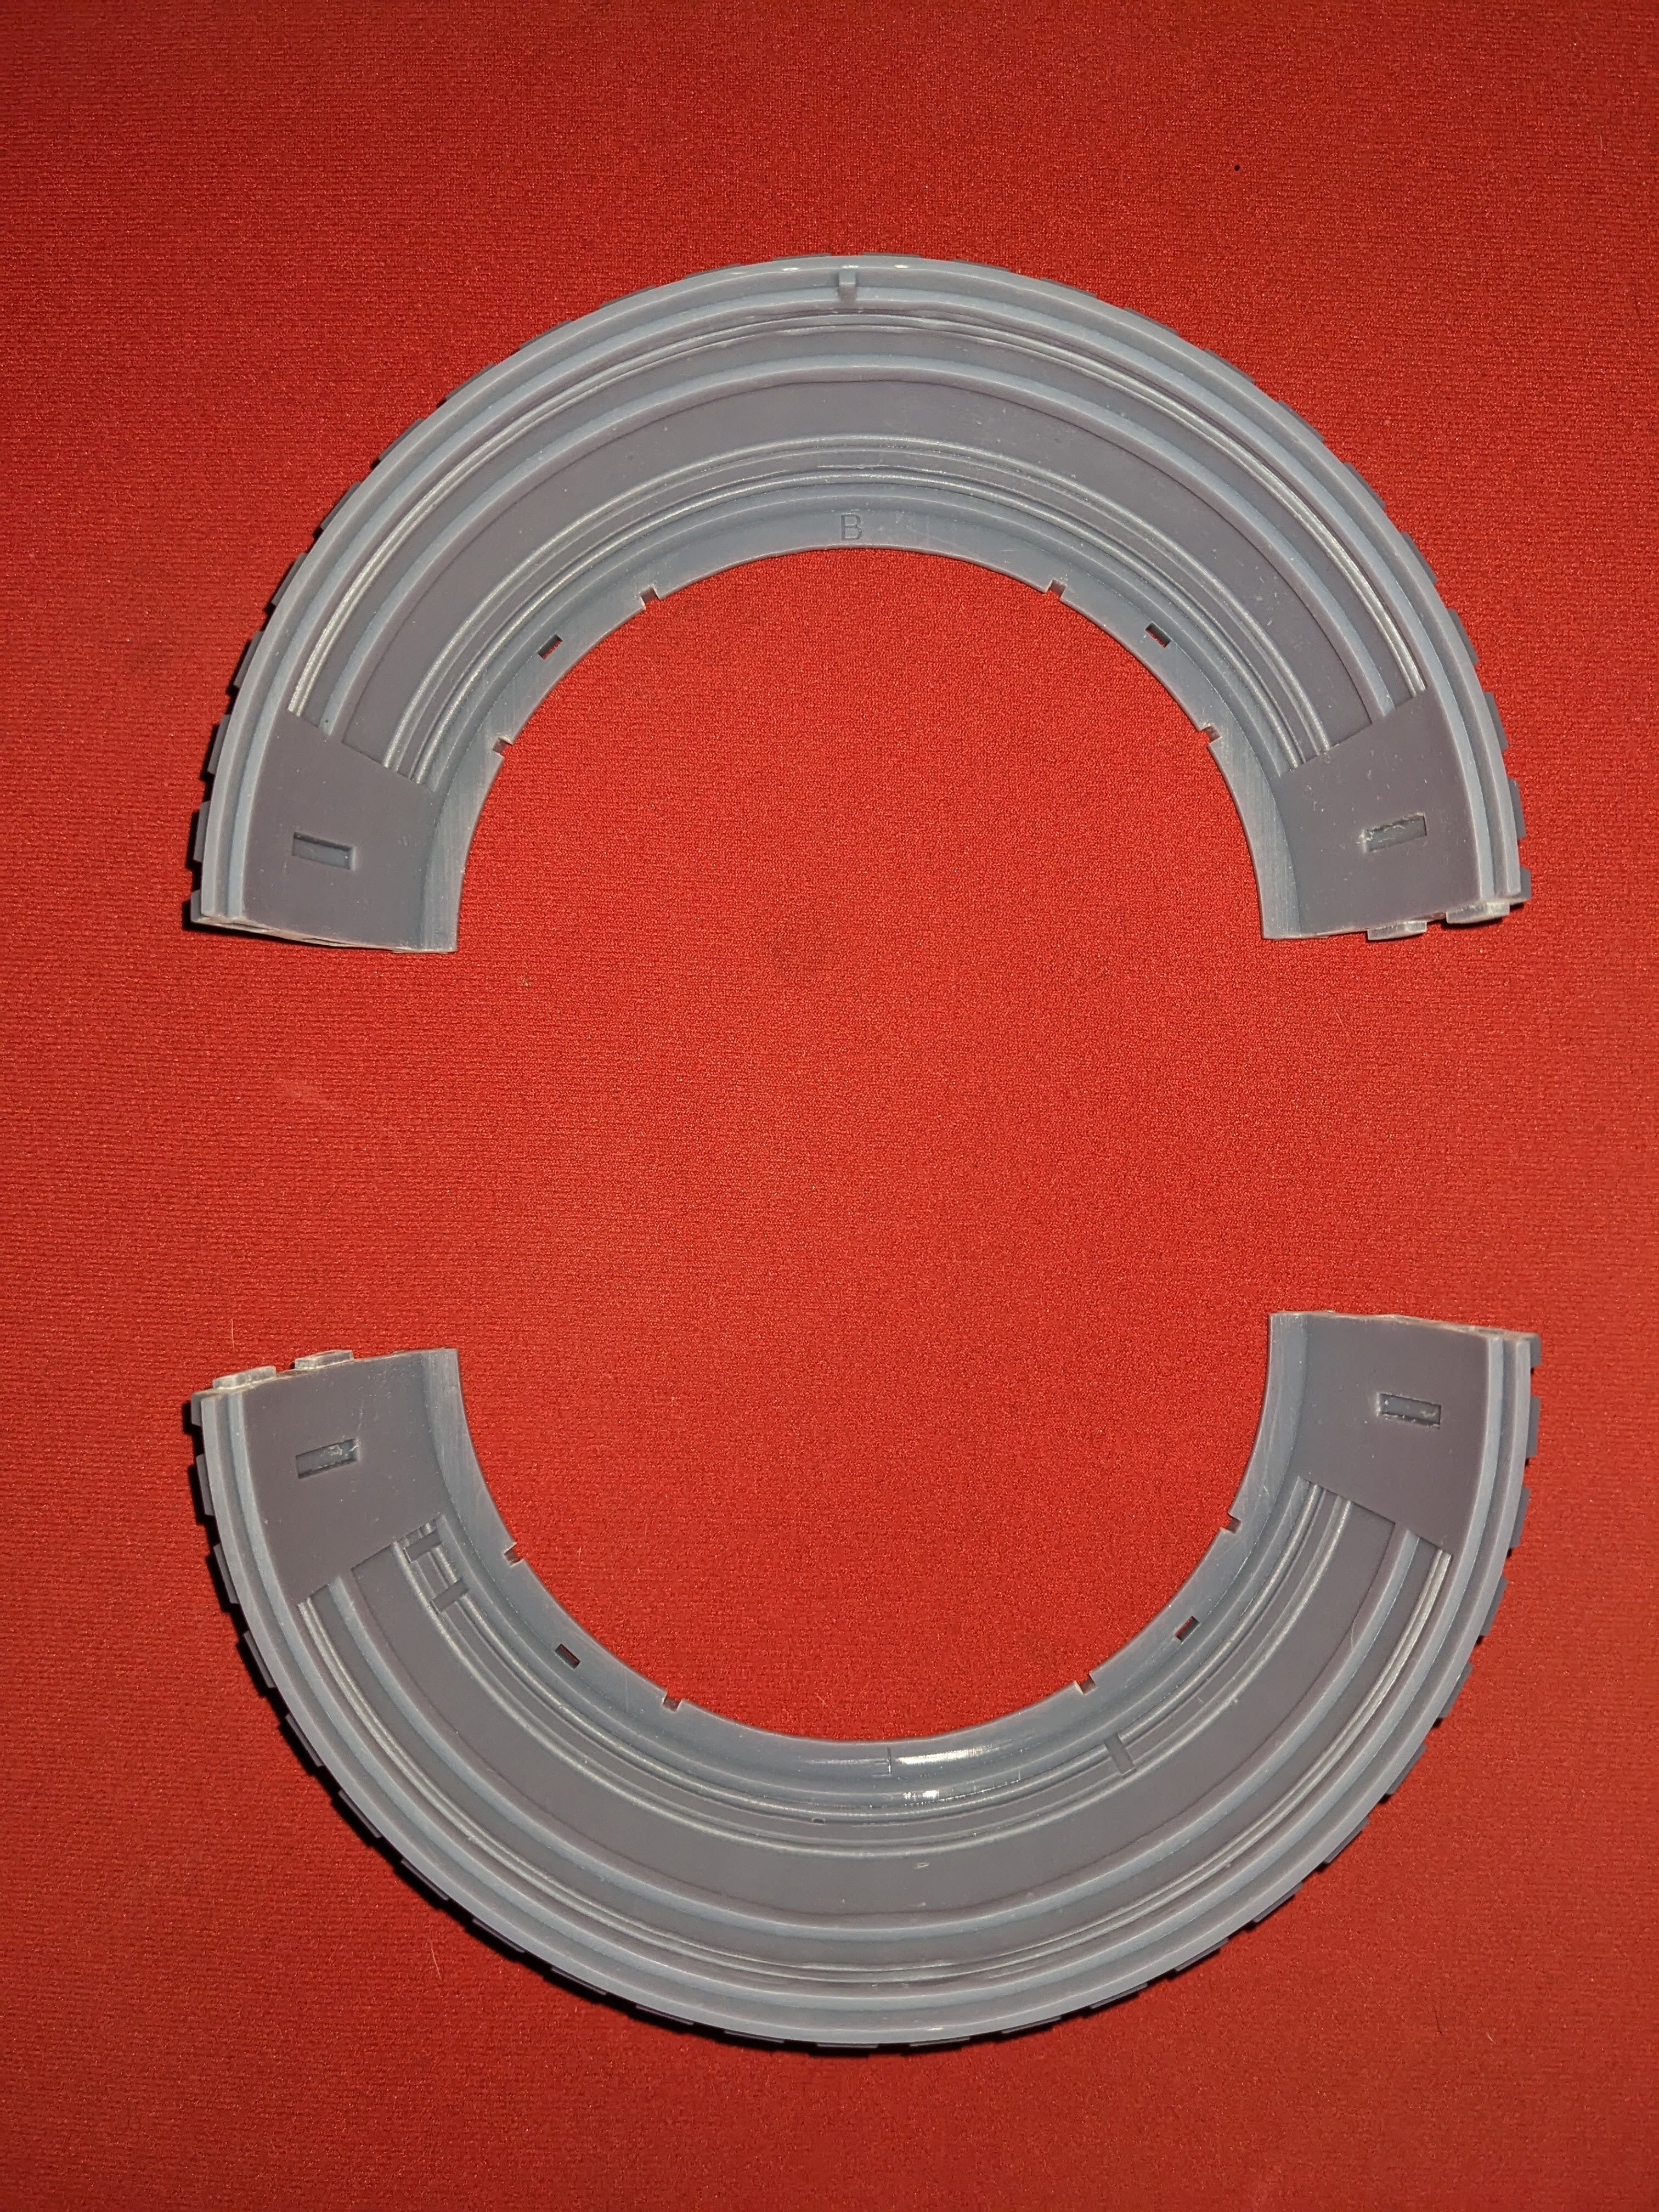
Skirt half: 2 are required
Arm Rest: 2 are required
These models were designed in Rhino 7, and printed on an Anycubic Photon Mono X 6K and Photon Mono M5s using ABS-Like Pro 2 resin.


:format(webp)/https://fbi.cults3d.com/uploaders/35452910/illustration-file/168edea1-3586-45e2-b358-95f49a9e2ed9/E-Web_ESB.webp)
:format(webp)/https://fbi.cults3d.com/uploaders/35452910/illustration-file/1f7dc73e-8723-42be-b005-6380f63664c7/DSC_0067.NEF.jpg)
:format(webp)/https://fbi.cults3d.com/uploaders/35452910/illustration-file/d9ff31c4-ebb1-4d6f-8a49-b88d054a4f7f/featured.webp)
:format(webp)/https://fbi.cults3d.com/uploaders/35452910/illustration-file/5143aac1-ab0e-439f-aaa0-ed669b881e8b/PXL_20240521_030058047.webp)
:format(webp)/https://fbi.cults3d.com/uploaders/35452910/illustration-file/75d487a0-b92b-4f9b-a930-716eff38ba7c/PXL_20240521_030414062.webp)
:format(webp)/https://fbi.cults3d.com/uploaders/35452910/illustration-file/239e25d4-12fa-40ef-b742-e82712d46cd5/GNK_featured.webp)
:format(webp)/https://fbi.cults3d.com/uploaders/35452910/illustration-file/0a8c01be-8be5-49f3-84ff-4f449fc2e361/Lightsabers.jpg)
:format(webp)/https://fbi.cults3d.com/uploaders/35452910/illustration-file/c8d66466-b5ef-47f0-8e62-24ca69de1231/KG3D_Featured.webp)