Descrição do modelo 3D
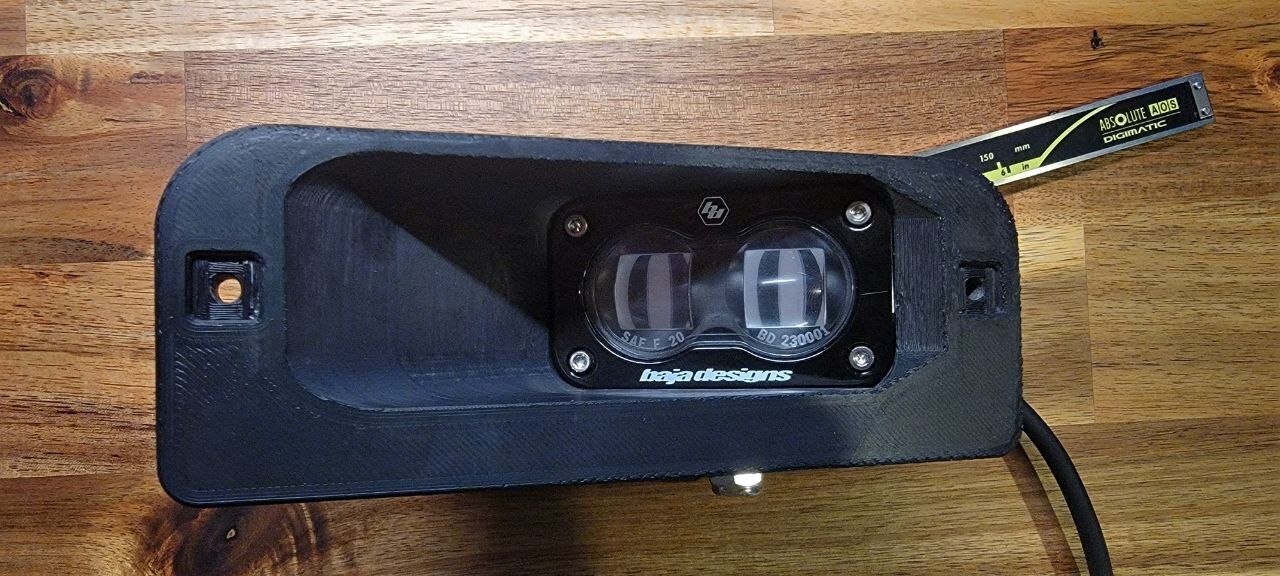
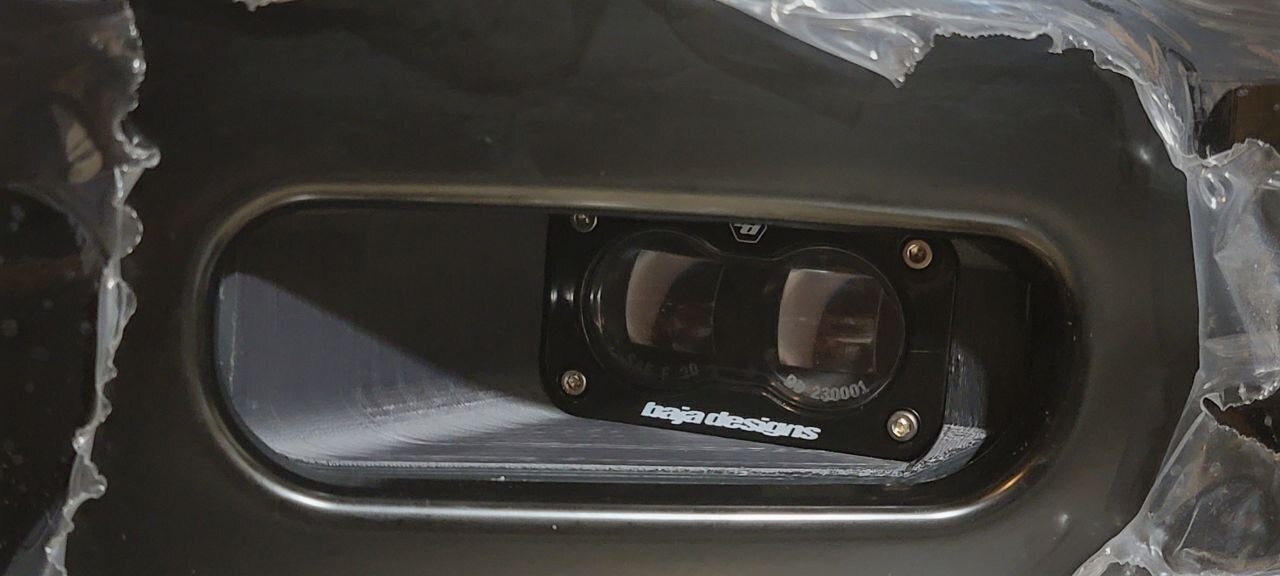
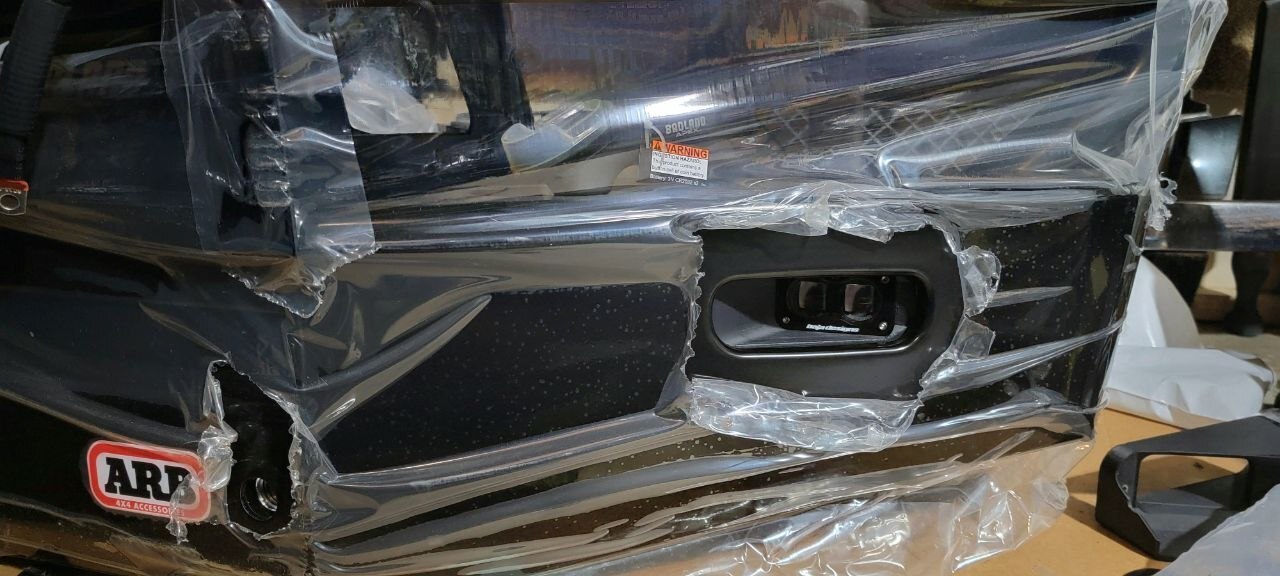
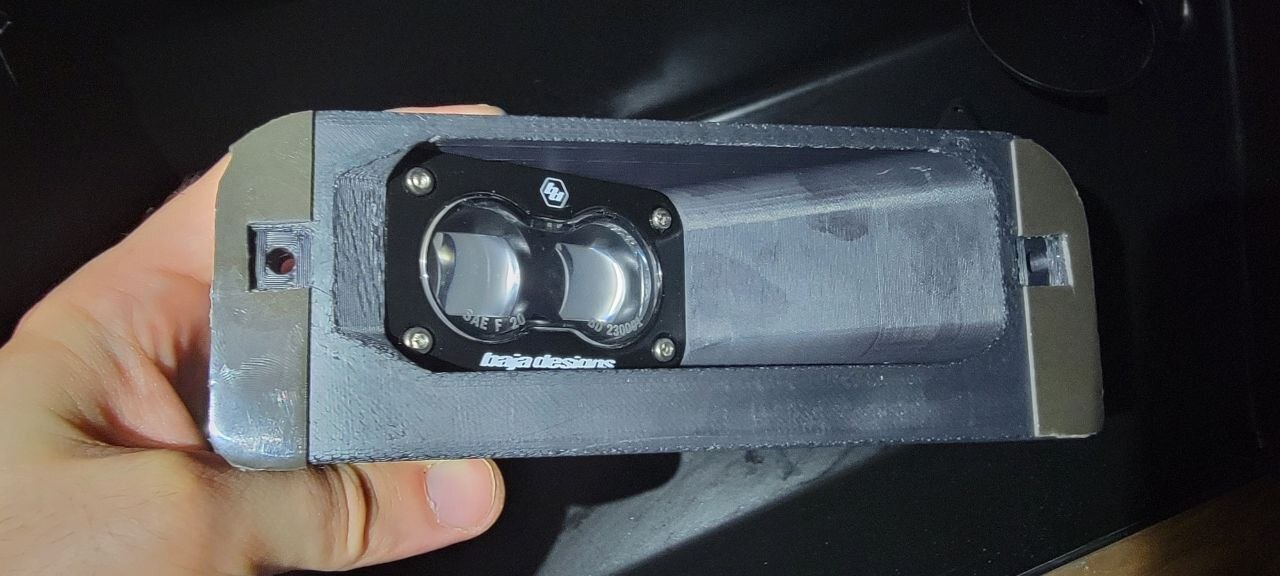
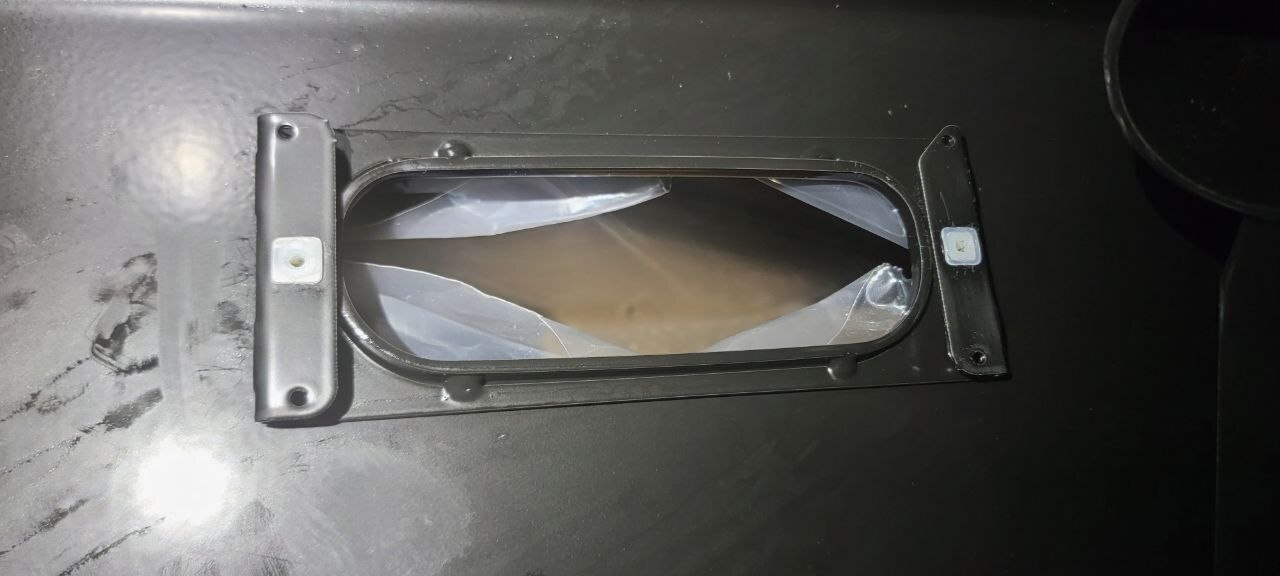
Mounting brackets to install Baja Design fog lights in marker locations on ARB Combination Bumpers (# 3462020) with no modification to the bumper itself!
Should work with other brands as long as dimensions are the same.
- This file does NOT require any supports to print!
**This download has only the drivers side bracket, for the passenger side simply mirror the .stl in the slicing software.
It does include both .STL and .STEP files.
To print import the file into your preferred slicer. Position down on the front face of the bracket, then mirror it to get both your left and right side.
** This is still a bit of a work in progress, any feedback is absolutely appreciated, any new revisions will be posted here to be free to anyone who has already purchased!**
Configurações de impressão 3D
Requirements:
- Enclosed 3D printer (heated chamber preferred, but not required)
- 4x 60mmx3mm metal rods
- T-REX Extreme Hold Mounting tape
Print in ASA
- 0.2mm layer height (This model is designed to be printable with no supports as long as 0.2mm layer height is used)
- Ensure chamber temp is above 40*c (*test your specific ASA to ensure 40*c is sufficient to prevent warping)
- 4 wall loops
- 5 bottom shell layers, 5 top shell layers
- 15% gyroid infill is sufficient
- Model orientation is flat on front face for printing.
- 50% fan for bridges and layers that take less than 6 seconds to print.
** Although other filaments may be sufficient, ASA is preferred due to its durability and UV resistance. I used Polymaker Polylite ASA. Chamber temps 40* and above are sufficient to print this, but the closer to 70*c you can get the better.**
ASSEMBLY:
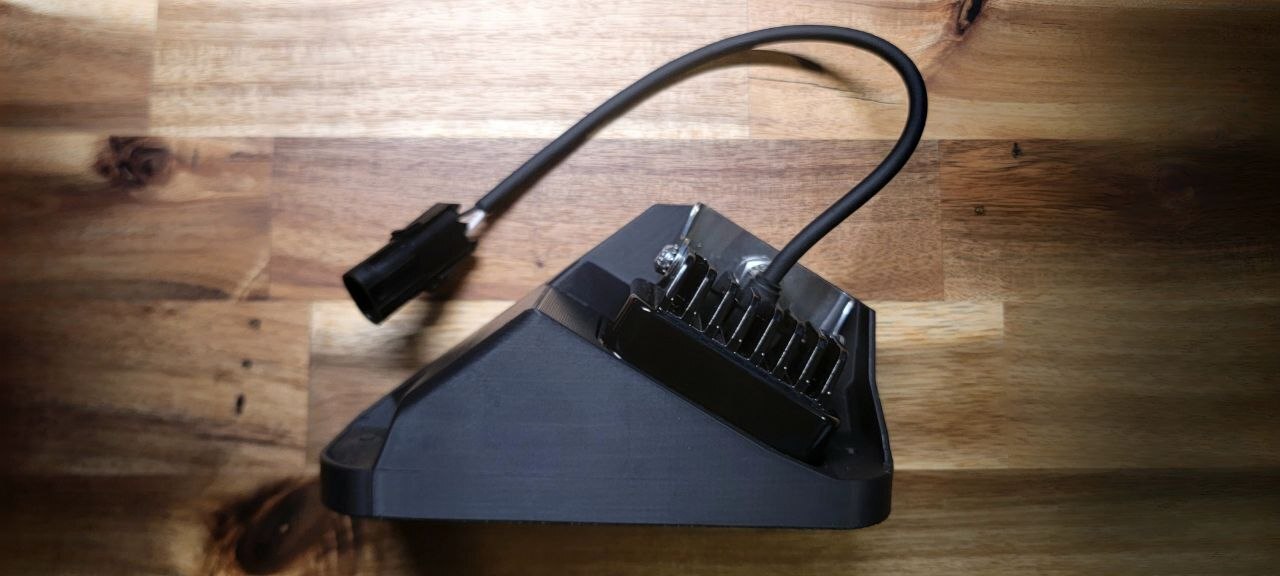
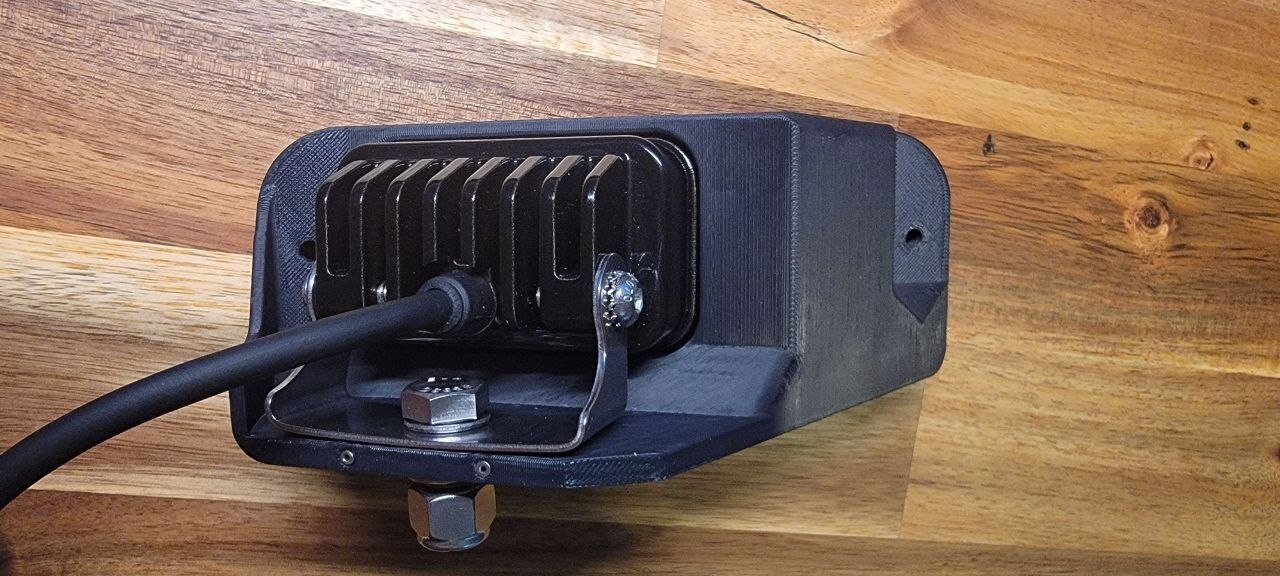
- Once printed press fit a 60mmx3mm rod into the 2 small holes on the back of each bracket, they should tap in with some tightness using a hammer. (these simply reinforce along the layer lines, so alternative fillers could be used if desired)
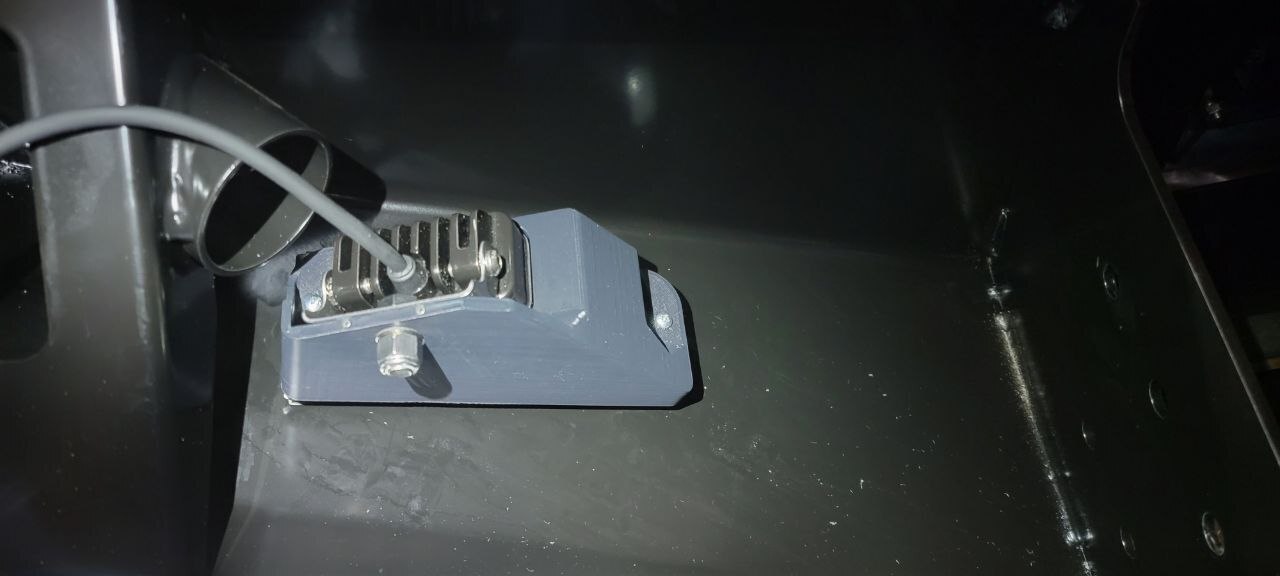
- fog lights fit tightly in bracket, but they do fit! To install lights: loosely attach the mounting bracket to them with the bolt installed in it (ensure the light can still swivel up and down on bracket), Push the mounted light bracket fully forward so it bottoms out on the body of the fog light. From here push the bolt up as far as possible. From here place the fog light so the bolt loosely goes through the mounting hole before pushing the top of the fog light casing into the printed bracket. From here you can gently push the light into place to line up with the stops in front of it and flatten the mounting plate.
Mounting to bumper:
This mount uses the original 2 screws used to mount the marker lights. Due to this it is recommended to add a strip of TREX Extreme mounting tape to the mounting location to further reinforce its stability since the fog lights weigh more than the OEM lighting.
OPTIONAL:
ASA is vapor smoothable with acetone. HOWEVER, this process does weaken the print in some ways. If desired you can use a mist on or brush on method to smooth the walls leading up to the fog light. it is recommended that you do not smooth the entire print however to maintain strength and dimensional accuracy.
Originally printed on Creality K1 Max with multi filament upgrade. Print time was 3H25M.
Please be aware of local light laws and use DOT approved lights where applicable. It is recommended that you tether the light should the mount fail. This is still a 3D printed part. it will be the weakest portion of an ARB bumper, A tether will help ensure should there be a failure of the mount or the bracket your lights will be more safe!
/https://fbi.cults3d.com/uploads/user/avatar/21604389/photo_2026-03-20_02-28-08__2_.jpg "Dems")


