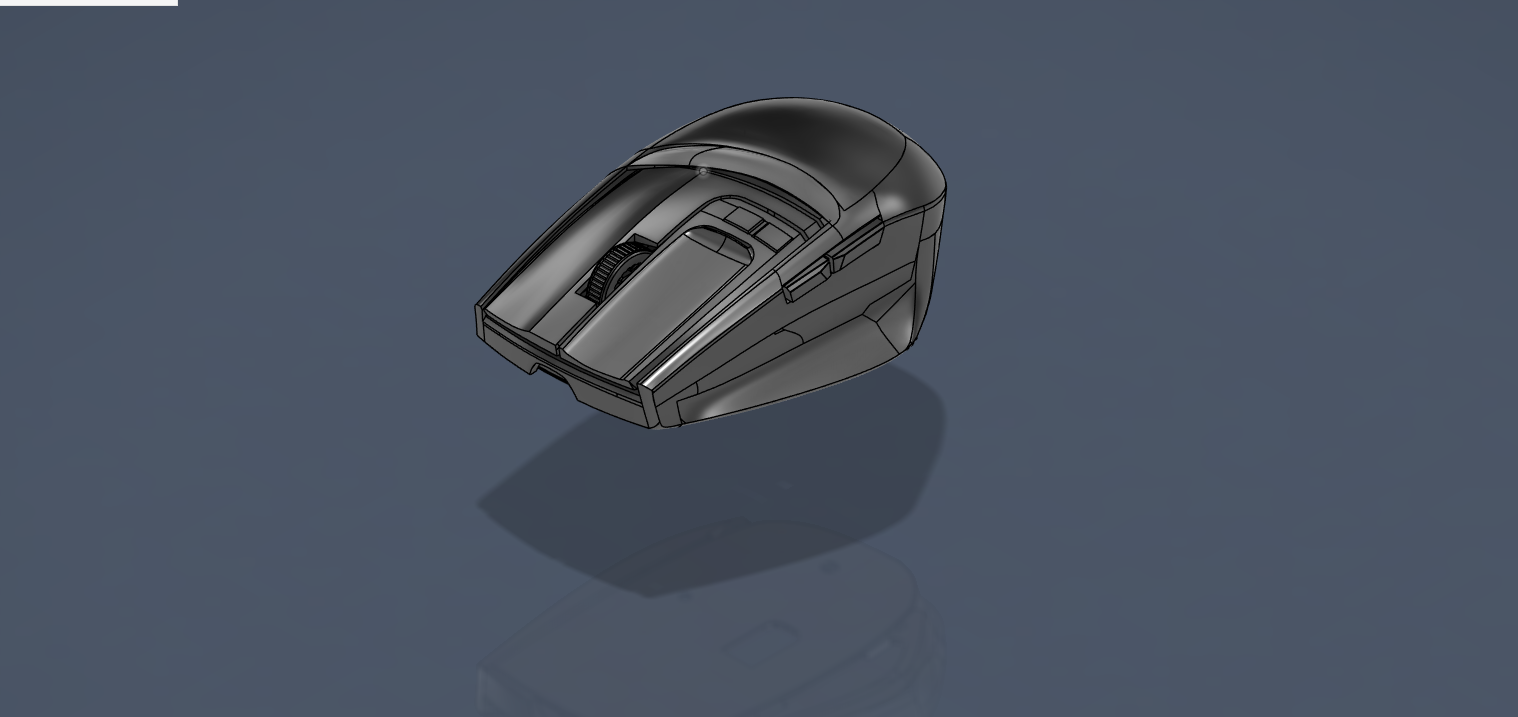
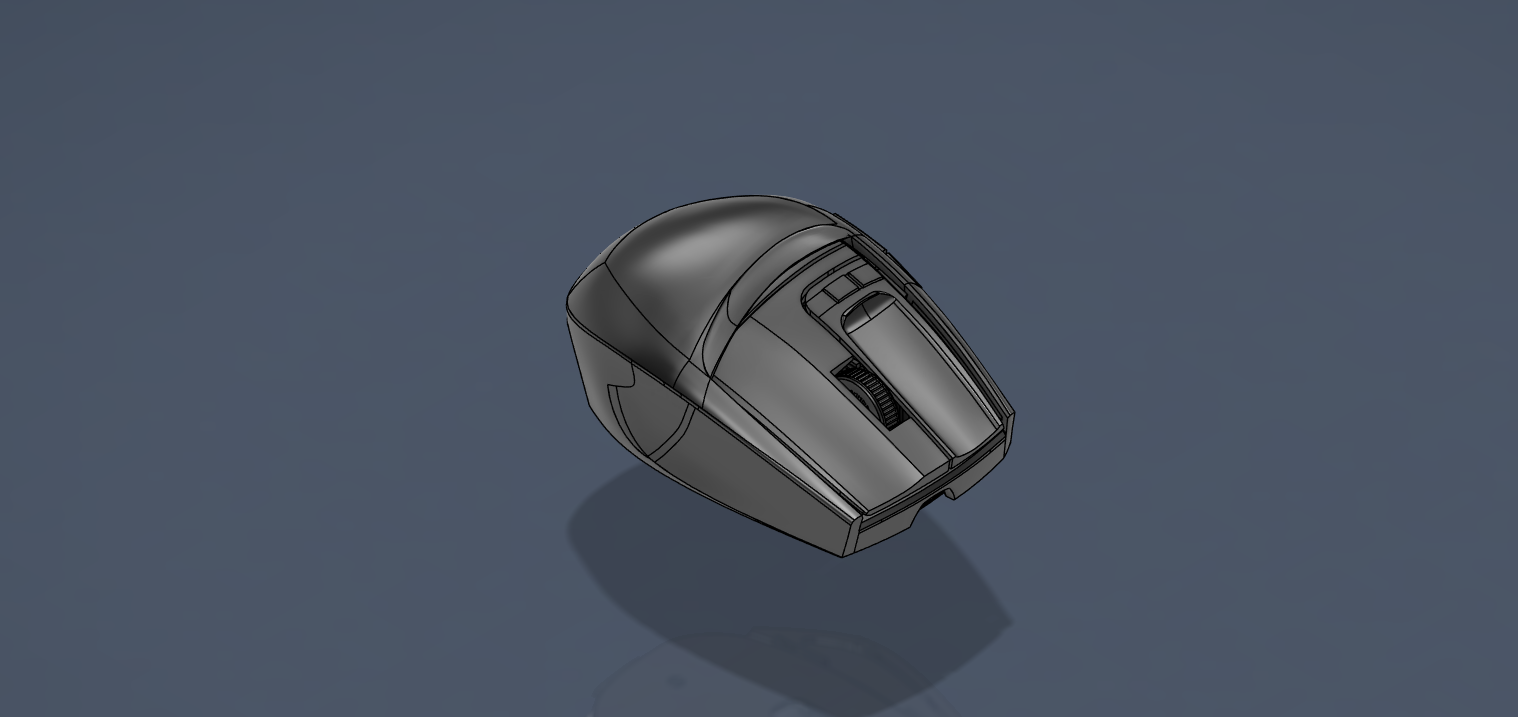
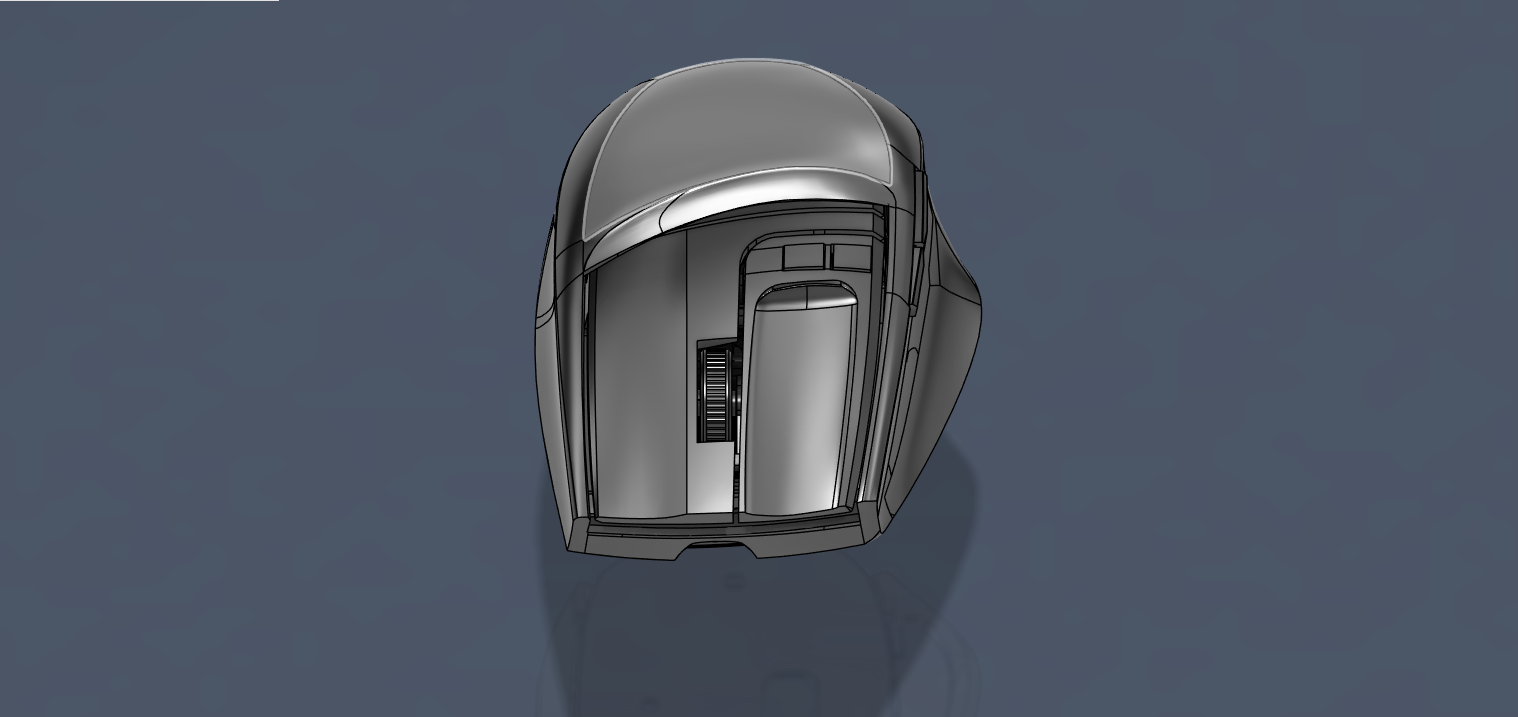
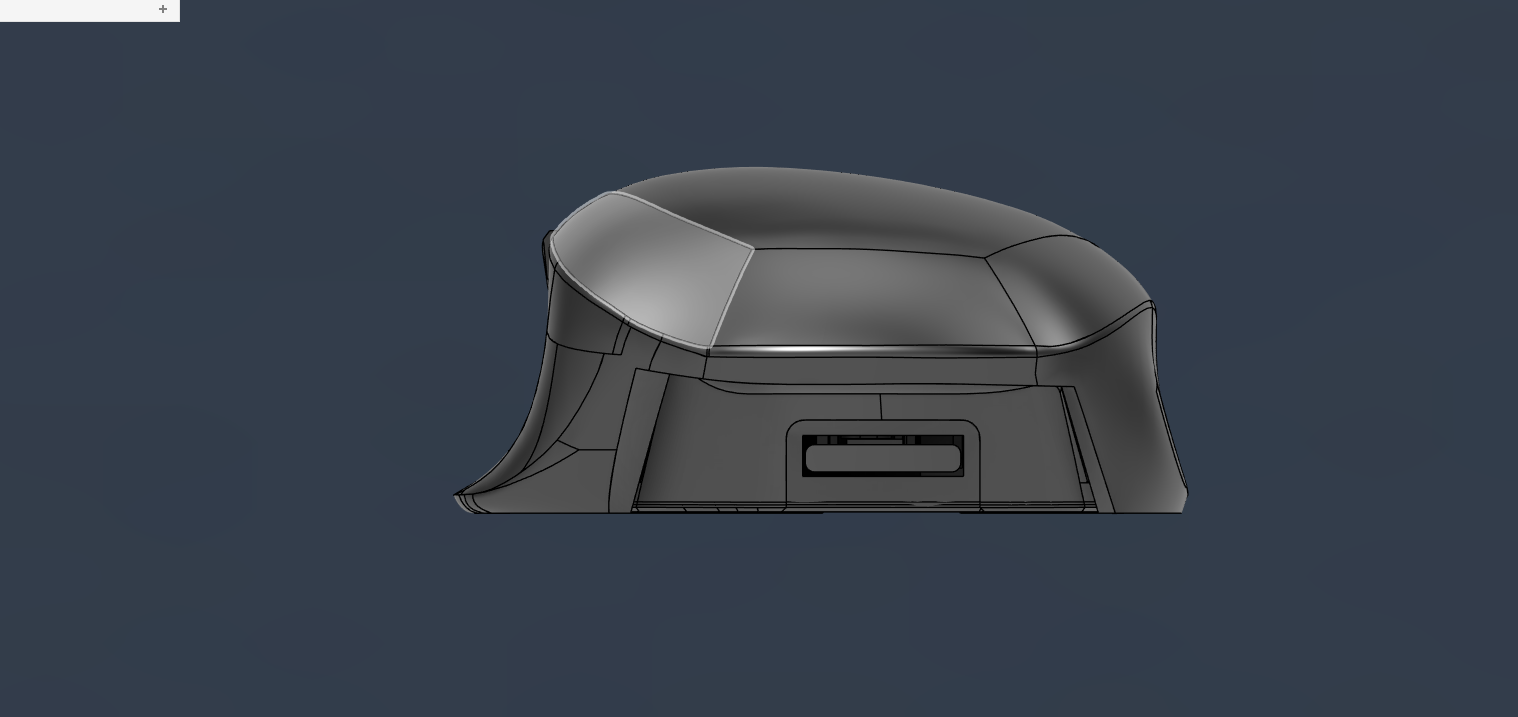
Rato impresso em 3D baseado no Logitech G9X
:format(webp)/https://fbi.cults3d.com/uploaders/30030220/illustration-file/51bd33d6-fbe6-42f4-833c-39bbf7764ee2/NVIDIA_Overlay_Wcz2U50T0J.png)
/https://preview3d-images.cults3d.com/x33bn20872vph1bxt2atzqoh5f6u)
/https://preview3d-images.cults3d.com/ec6rl2ye663i6sskenirzkaxqr7g)
/https://preview3d-images.cults3d.com/9pydnj0kkfbjyygk847v6vij2w8m)
/https://preview3d-images.cults3d.com/fsdk0b5fcd2rgfyr7oto2crz2ddd)
/https://preview3d-images.cults3d.com/ynlh5aa63tfsozggzxh0sirgp0kr)
/https://preview3d-images.cults3d.com/y7ikyqxa8o203nf0uulqqzt9f64k)
/https://preview3d-images.cults3d.com/ikxirv8tlvb54cxpt1fzwd46o2l2)
/https://preview3d-images.cults3d.com/dj2f8g4snk61hr8qk4lotkp64alg)
/https://preview3d-images.cults3d.com/xhqhwrlqlo6l4weur51hapon9kq4)
/https://preview3d-images.cults3d.com/bscryo0evkwekrek1j1fextbxaol)
/https://preview3d-images.cults3d.com/qkc7fw51zchkxoxjrz78o4unklea)
/https://preview3d-images.cults3d.com/m7c5qgtrvi3fms6h2wwbairmv6hs)
/https://preview3d-images.cults3d.com/7rr2poh0mp5wo270wpsugmjsul82)
/https://preview3d-images.cults3d.com/n27sukltfnfnkow5vrn4g2gwcnqp)
/https://preview3d-images.cults3d.com/22zgftqfj11yw9gjhtytncvr4g8b)
/https://preview3d-images.cults3d.com/755wu117epa8tvgc5lmspnfum7yu)
/https://preview3d-images.cults3d.com/wt975ep4121099vd3v3zeasf7axc)
/https://preview3d-images.cults3d.com/yywlsmdykgd3vip2c2utu31eerdu)
/https://preview3d-images.cults3d.com/x7hmvcel30ibz7vu3uwsokw52woq)
/https://preview3d-images.cults3d.com/90pb2bz0ouw7glzaehbt2xfxvw4h)
/https://preview3d-images.cults3d.com/4xfsr2jidrv8qqxcfxhcvs0bkilv)
/https://preview3d-images.cults3d.com/vlrn2597b1ebxlrvaumx210u9y0z)
/https://preview3d-images.cults3d.com/7xw1zl4wgfoj2gdzoxjxg3wsddc3)
/https://preview3d-images.cults3d.com/sqs9kxv91pxu9u8tngdkd65e81v8)
/https://preview3d-images.cults3d.com/xs1frif0kvojhrr3883g43vpuntk)
/https://preview3d-images.cults3d.com/c713ilzumbr0dfjotlop6h2qr2en)
/https://preview3d-images.cults3d.com/59hh5r76isfgat8jfor8puvpnp4c)
/https://preview3d-images.cults3d.com/6v61fbf0jajrlosjhj1kkwy9klw1)
/https://preview3d-images.cults3d.com/rs0yb7laa79qdw5edic9gzthimk6)
/https://preview3d-images.cults3d.com/vqbxgrdsb20ehe9y5xun4zseeuhk)
/https://preview3d-images.cults3d.com/q3x49kmjoa8ed4diuhcv41saj530)
/https://preview3d-images.cults3d.com/7qx3k540jc9ncd807zlq4m2cpo9x)
/https://preview3d-images.cults3d.com/7qjvku9ywzy15auqxw27m4fgcklx)
/https://preview3d-images.cults3d.com/rksbdexks34j3rhljq6pfqkp7f86)
/https://preview3d-images.cults3d.com/wf31xyfjfbw4e82q4z6qgrol9xmc)
/https://preview3d-images.cults3d.com/w5j2eylwscwjrjyyfx46orcr5zom)
/https://preview3d-images.cults3d.com/pbeypmm99lsb6wn7wtl02p3vb1ru)
/https://preview3d-images.cults3d.com/cvk7tpwpk2tpcxodeafr4h05a9cs)
/https://preview3d-images.cults3d.com/dvy1w7eu36edznrirvmg95l8yfto)
/https://preview3d-images.cults3d.com/emvnv1secg9mktsgd46iaxtjnkmf)
/https://preview3d-images.cults3d.com/pd40dqvshaixosrglzkkeq0d4939)
/https://preview3d-images.cults3d.com/jjhlir0hx99k449hs90wrj20r6cf)
/https://preview3d-images.cults3d.com/q4xh2yqybvvmhi93dwx462t3akua)
/https://preview3d-images.cults3d.com/d3zu91zb9byg7cnukqqpnss2ranx)
/https://preview3d-images.cults3d.com/h0h41ppve01y0u54zbq1jv26sz2o)
/https://preview3d-images.cults3d.com/ewf8slshooijhghy0w4nabdb7szg)
/https://preview3d-images.cults3d.com/4mdvdbtm6d2pfwsvbm1opehwivn7)
/https://preview3d-images.cults3d.com/c08jg5iwhfki3f5q2z781n9h7d5b)
/https://preview3d-images.cults3d.com/b7ly3oft3sj3ixfxxw2hxm454l56)
/https://preview3d-images.cults3d.com/ws8cc1o10yap5xoyzez73m1glfmw)
/https://preview3d-images.cults3d.com/124p9fhlyt6zm9dzd2bb9gsislbq)
/https://preview3d-images.cults3d.com/zy68e2c8j7swuvjfdcdfoag3dj7t)
/https://preview3d-images.cults3d.com/4kc0vrfs4mjx6putddpjiyakzz4s)
/https://preview3d-images.cults3d.com/pgvnjvyjxsihemi0wn0nt37ubgr2)
/https://preview3d-images.cults3d.com/siptx32aj6yas29zjvgfhyc5vbw9)
/https://preview3d-images.cults3d.com/s8z5ngz3rqdwbeu0tv7lvvp72ie9)
- 240 visualizações
- 0 curtidas
- 0 downloads
- 0 coleções
- 0 comentários
- 0 makes
| Licença | |
|---|---|
| Usos | |
| Formato do design 3D |
28 arquivos (STL) Fechar
|
| Data de publicação | |
| Número do design | 4166663 |
| Autor do design | MadeByCelsius |
/https://fbi.cults3d.com/uploads/user/avatar/30030220/NVIDIA-Overlay-P96F1dyp-Tm__1_.png "MadeByCelsius")

:format(webp)/https://fbi.cults3d.com/uploaders/30030220/illustration-file/81aeaed5-244c-49f0-b481-d89081acd09c/NVIDIA_Overlay_z1ReIs38UT.png)
:format(webp)/https://fbi.cults3d.com/uploaders/30030220/illustration-file/e77478f5-9b95-4c98-bee9-bda0cfd4b1db/Fusion360_zpItIEUEzW.png)
:format(webp)/https://fbi.cults3d.com/uploaders/30030220/illustration-file/c5b5a852-15ce-42aa-bf74-31ed2f0c127d/Fusion360_6zSy6OwBLv.png)
:format(webp)/https://fbi.cults3d.com/uploaders/30030220/illustration-file/f7e7a71c-a7f5-4711-b97e-3de970c2a0c3/Fusion360_fHpk9dfHIV.png)
:format(webp)/https://fbi.cults3d.com/uploaders/30030220/illustration-file/c9ce4e66-ba04-4748-8217-b840bcddf296/Fusion360-Owd-B3y1Uq-C.png)
:format(webp)/https://fbi.cults3d.com/uploaders/30030220/illustration-file/e38e44f4-9905-404b-b789-83f67c40f2ca/20260415_013706.jpg)
:format(webp)/https://fbi.cults3d.com/uploaders/30030220/illustration-file/e1de1e43-3c3e-4766-9dec-f8664eb8e819/Fusion360_IZj04Ti6wY.png)
Quer apoiar a Cults?
Gosta da Cults e quer nos ajudar a continuar esta aventura de forma independente? Nós somos uma pequena equipe de 4 pessoas, por isso é muito fácil nos apoiar para continuarmos em atividade e criarmos novidades para o futuro. Aqui estão 3 opções acessíveis a todos:
- ANÚNCIOS: Desative o bloqueador de anúncios.
- DOAÇÃO: Fazer uma doação via Ko-Fi Doar
- BOCA A BOCA: Convide os seus amigos para acessar e descobrir a plataforma e os arquivos 3D incríveis compartilhados pela comunidade!
Compartilhar e baixar arquivos na Cults3D garante que os designs continuem nas mãos da comunidade maker, e não nas mãos de grandes empresas de impressão ou software 3D, donos das plataformas concorrentes, que exploram os designs para seus próprios interesses comerciais.
A Cults3D um site independente e de financiamento próprio que não precisa prestar contas para nenhum investidor ou marca. Quase toda a receita do site volta para os makers da plataforma. O conteúdo publicado no site atende apenas aos interesses dos próprios criadores, e não aos das marcas de impressoras 3D que também querem controlar o mercado de modelagem 3D.