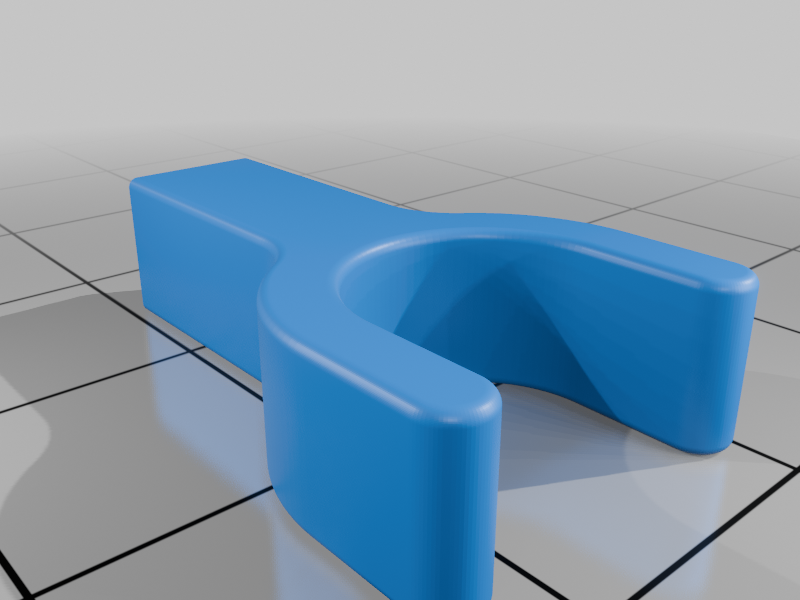
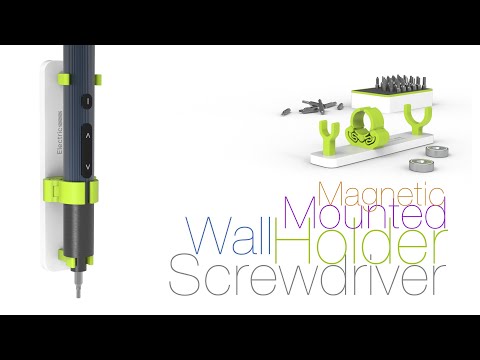
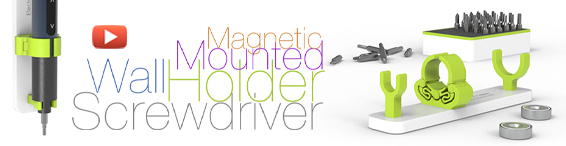
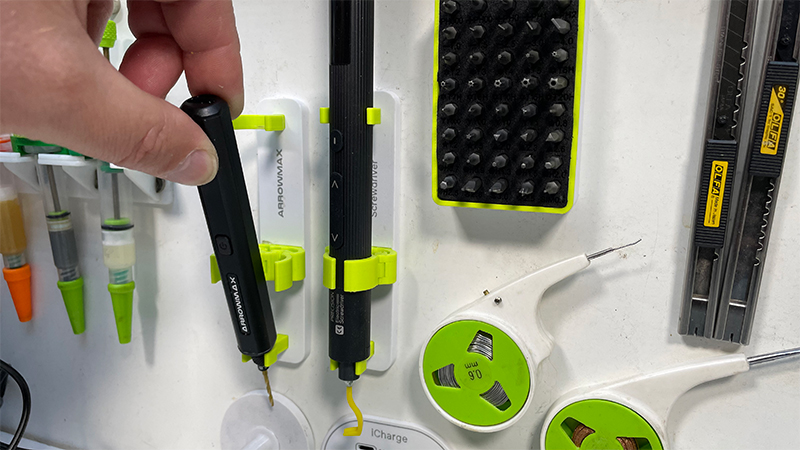
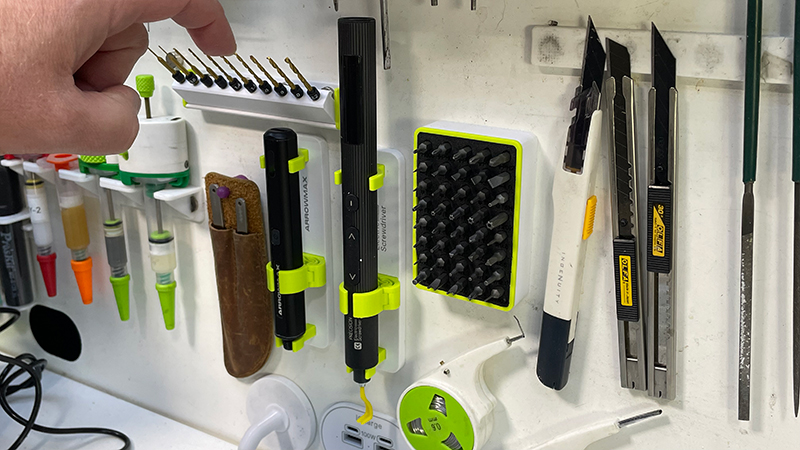
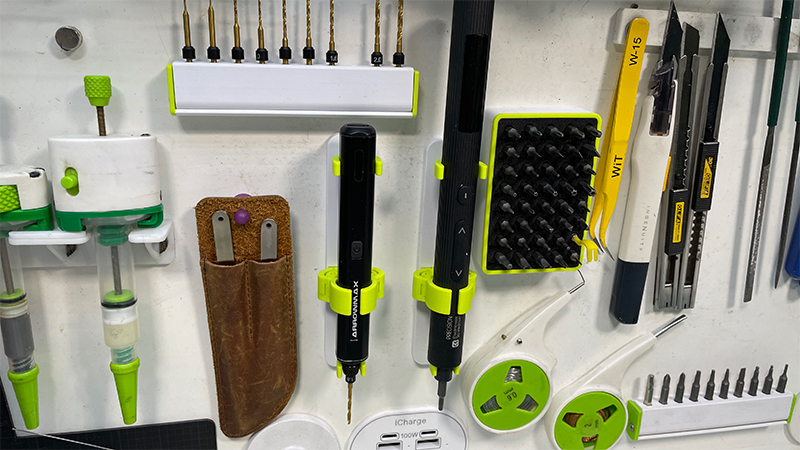
Suporte de broca de parede
:format(webp)/https://fbi.cults3d.com/uploaders/13528167/illustration-file/4344bf8f-043f-432f-ab5e-6be03ea129b3/Wall-Mounted-Drill-Holder.jpg)


/https://preview3d-images.cults3d.com/y8ion58ei8fzuqj7m079pwbzue5q)
/https://preview3d-images.cults3d.com/2lmfy5thzlvrjmwq3e3qto73azyd)
/https://preview3d-images.cults3d.com/tt2ojza24xk37q9x64au0on528c2)
/https://preview3d-images.cults3d.com/94y2qndyul9ky2nrlf6rhsit7bop)
/https://preview3d-images.cults3d.com/yqf7kejdoe36kcq3n138lcr0ymmm)
/https://preview3d-images.cults3d.com/w17v6olmq7zgpanx5cr38jxjar92)
/https://preview3d-images.cults3d.com/vo28kzwgyjsixs2t61fgjxuizq2p)
/https://preview3d-images.cults3d.com/3fewfcxmopwldhy1bj3y3sk7h37t)
/https://preview3d-images.cults3d.com/uv3mqxpogch1c5ak8fo7u2ji3lir)
/https://preview3d-images.cults3d.com/t1txiop7pqv80sv5ofvxhaq734yu)
- 492 visualizações
- 2 curtidas
- 12 downloads
- 0 coleções
- 0 comentários
- 0 makes
| Licença | |
|---|---|
| Formato do design 3D |
10 arquivos Fechar
|
| Data de publicação |
?
Publicado em Thingiverse em:
|
| Número do design | 3237401 |


:format(webp)/https://fbi.cults3d.com/uploaders/13528167/illustration-file/2bb766e0-1230-497f-b396-04868e9e508d/f3ccdd27d2000e3f9255a7e3e2c48800_display_large.jpg)
:format(webp)/https://fbi.cults3d.com/uploaders/13528167/illustration-file/5eb723d9-f2bf-4c55-a5d1-1a90c44b56ab/f3ccdd27d2000e3f9255a7e3e2c48800_display_large.jpg)
:format(webp)/https://fbi.cults3d.com/uploaders/13528167/illustration-file/93da2140-6023-46d0-abba-87feb33918ec/Sanding-Tool-2.jpg)
:format(webp)/https://fbi.cults3d.com/uploaders/13528167/illustration-file/0544955d-8ffd-4cdc-9a43-5ba09fb37ee8/Knob-Bolt-M6.jpg)
:format(webp)/https://fbi.cults3d.com/uploaders/13528167/illustration-file/194fcbc1-c0ad-4755-b5bf-c9bbf0dff215/Filament-Clip.jpg)
:format(webp)/https://fbi.cults3d.com/uploaders/13528167/illustration-file/ac65a85e-dd55-417b-957c-d683a4d205e2/GT2.jpg)
:format(webp)/https://fbi.cults3d.com/uploaders/13528167/illustration-file/e29f4f54-d0d0-4e67-a00c-181893ada23c/Knob-Bolt-Hex-Head.jpg)
:format(webp)/https://fbi.cults3d.com/uploaders/13528167/illustration-file/64d97d47-3ad4-417c-8c57-c3609f7e085c/Christmas_tree.jpg)
Quer apoiar a Cults?
Gosta da Cults e quer nos ajudar a continuar esta aventura de forma independente? Nós somos uma pequena equipe de 4 pessoas, por isso é muito fácil nos apoiar para continuarmos em atividade e criarmos novidades para o futuro. Aqui estão 3 opções acessíveis a todos:
- ANÚNCIOS: Desative o bloqueador de anúncios.
- DOAÇÃO: Fazer uma doação via Ko-Fi Doar
- BOCA A BOCA: Convide os seus amigos para acessar e descobrir a plataforma e os arquivos 3D incríveis compartilhados pela comunidade!
Compartilhar e baixar arquivos na Cults3D garante que os designs continuem nas mãos da comunidade maker, e não nas mãos de grandes empresas de impressão ou software 3D, donos das plataformas concorrentes, que exploram os designs para seus próprios interesses comerciais.
A Cults3D um site independente e de financiamento próprio que não precisa prestar contas para nenhum investidor ou marca. Quase toda a receita do site volta para os makers da plataforma. O conteúdo publicado no site atende apenas aos interesses dos próprios criadores, e não aos das marcas de impressoras 3D que também querem controlar o mercado de modelagem 3D.