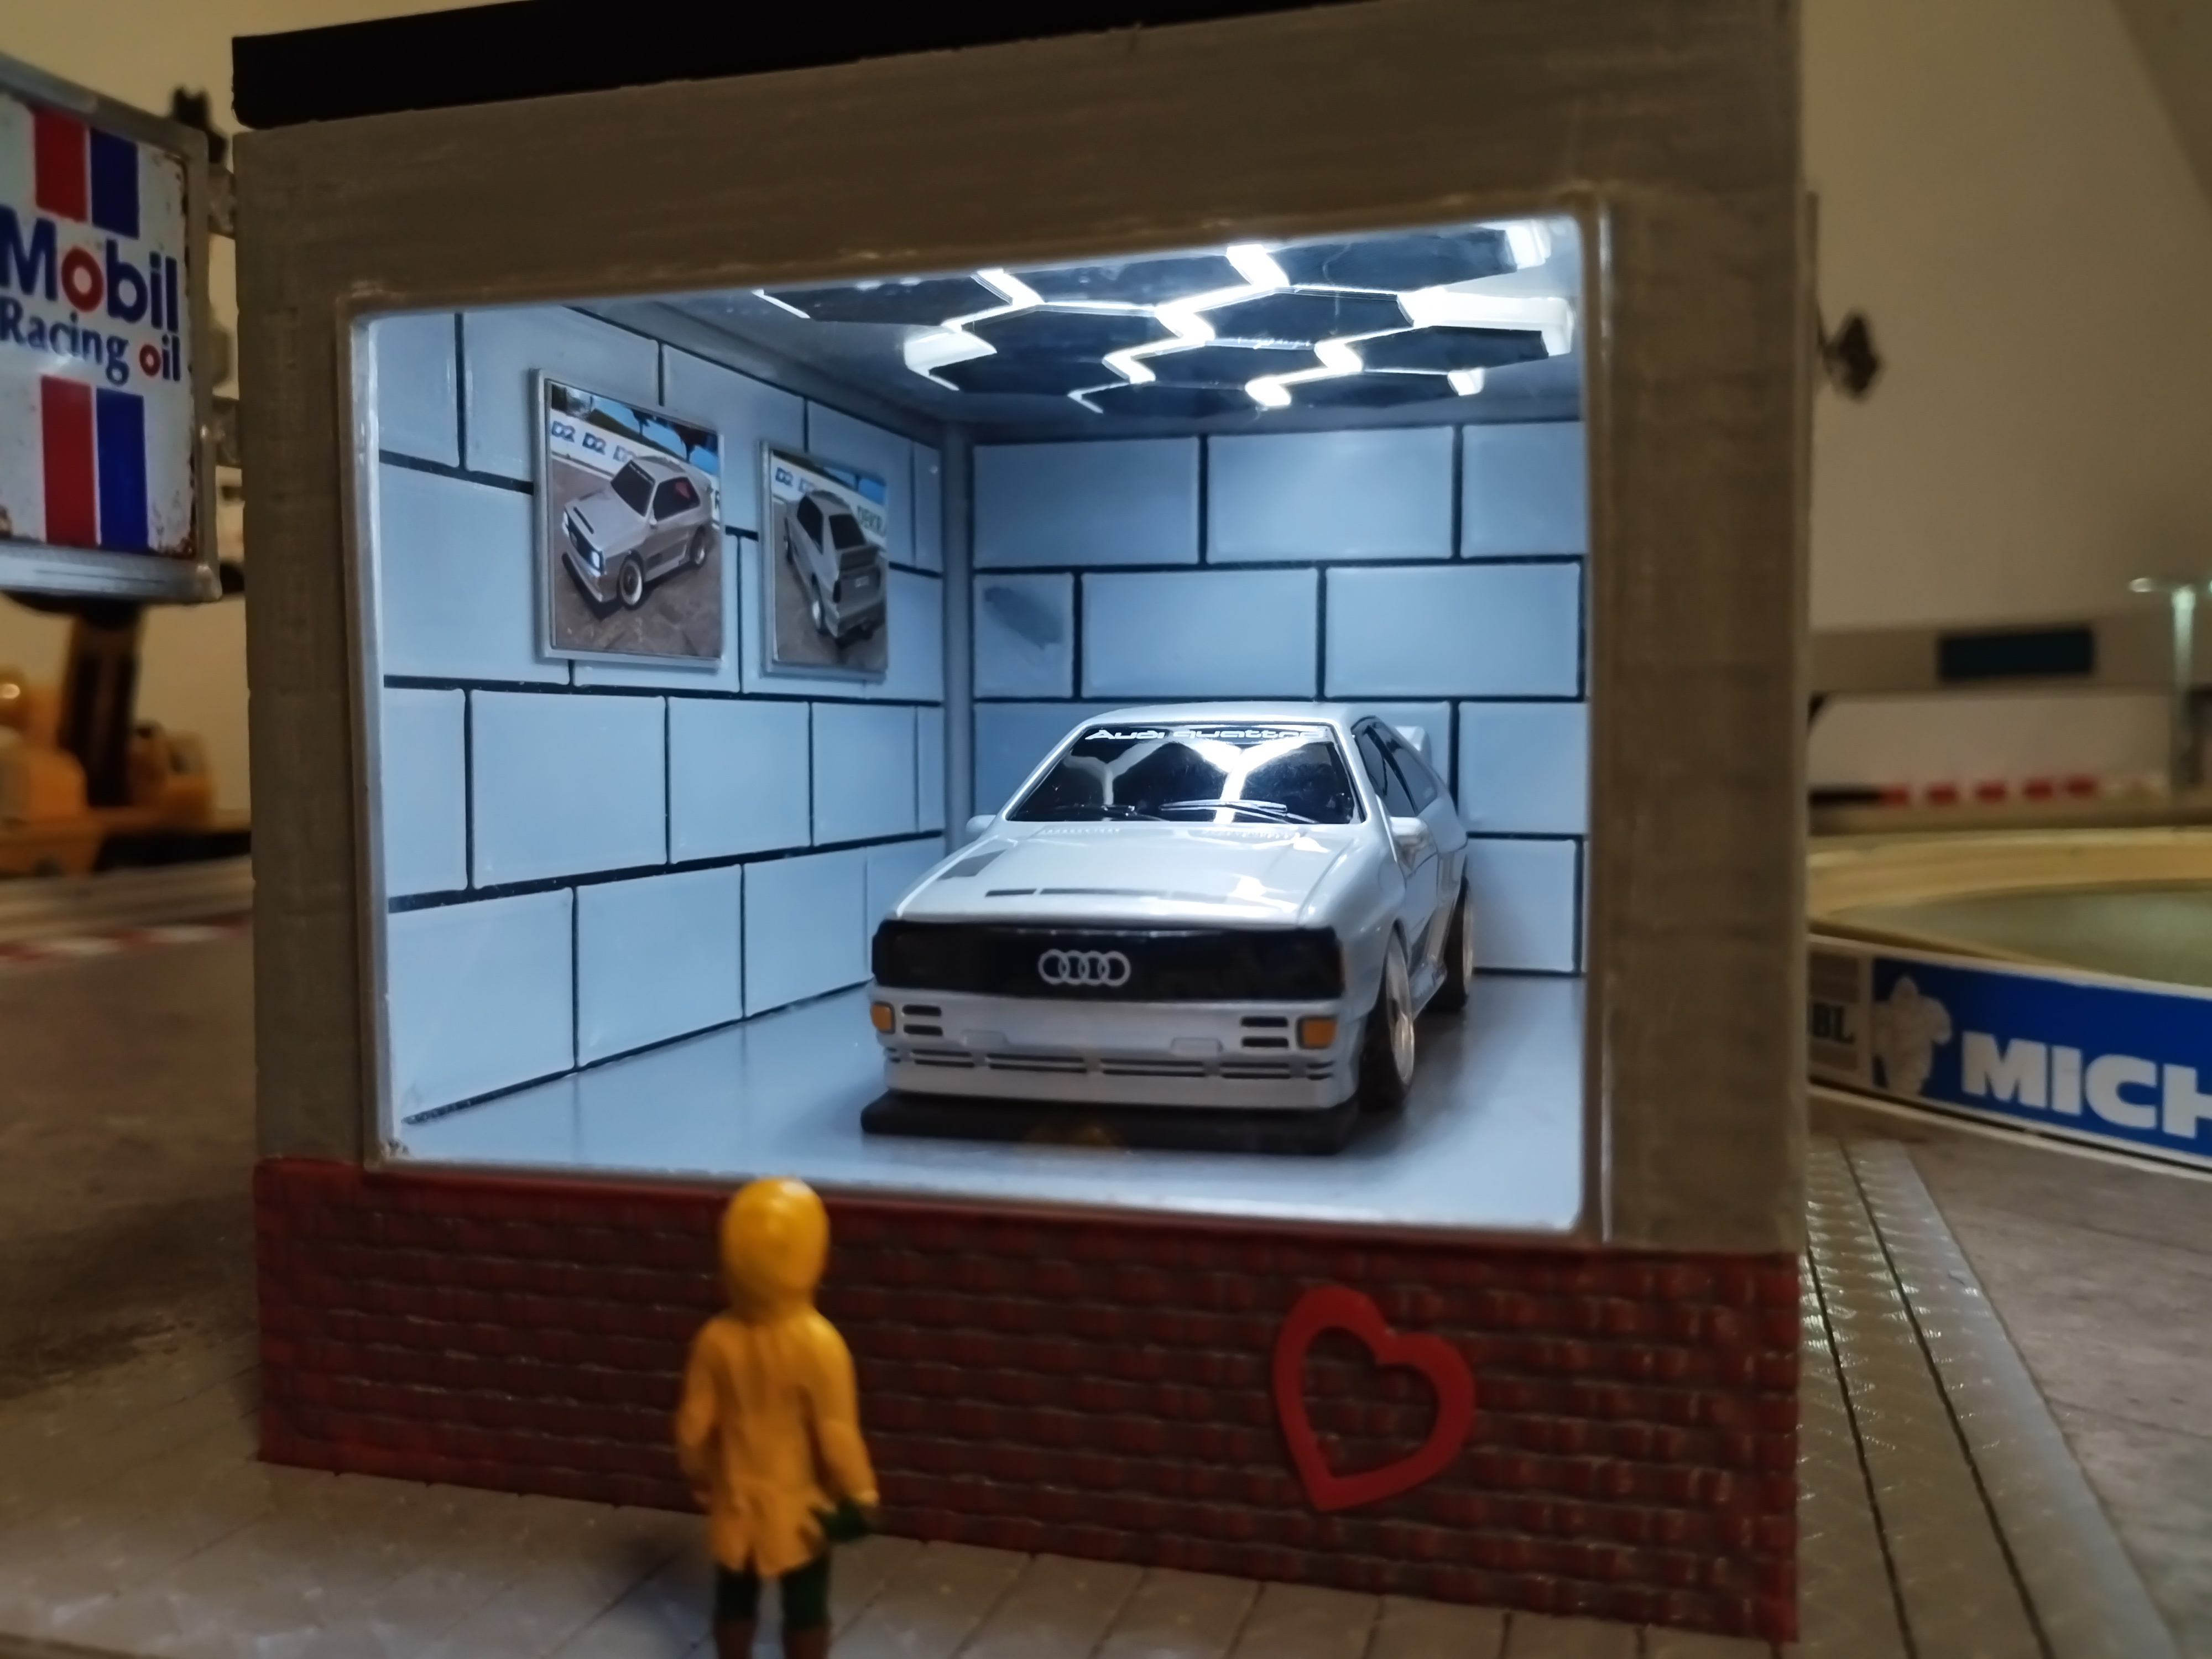
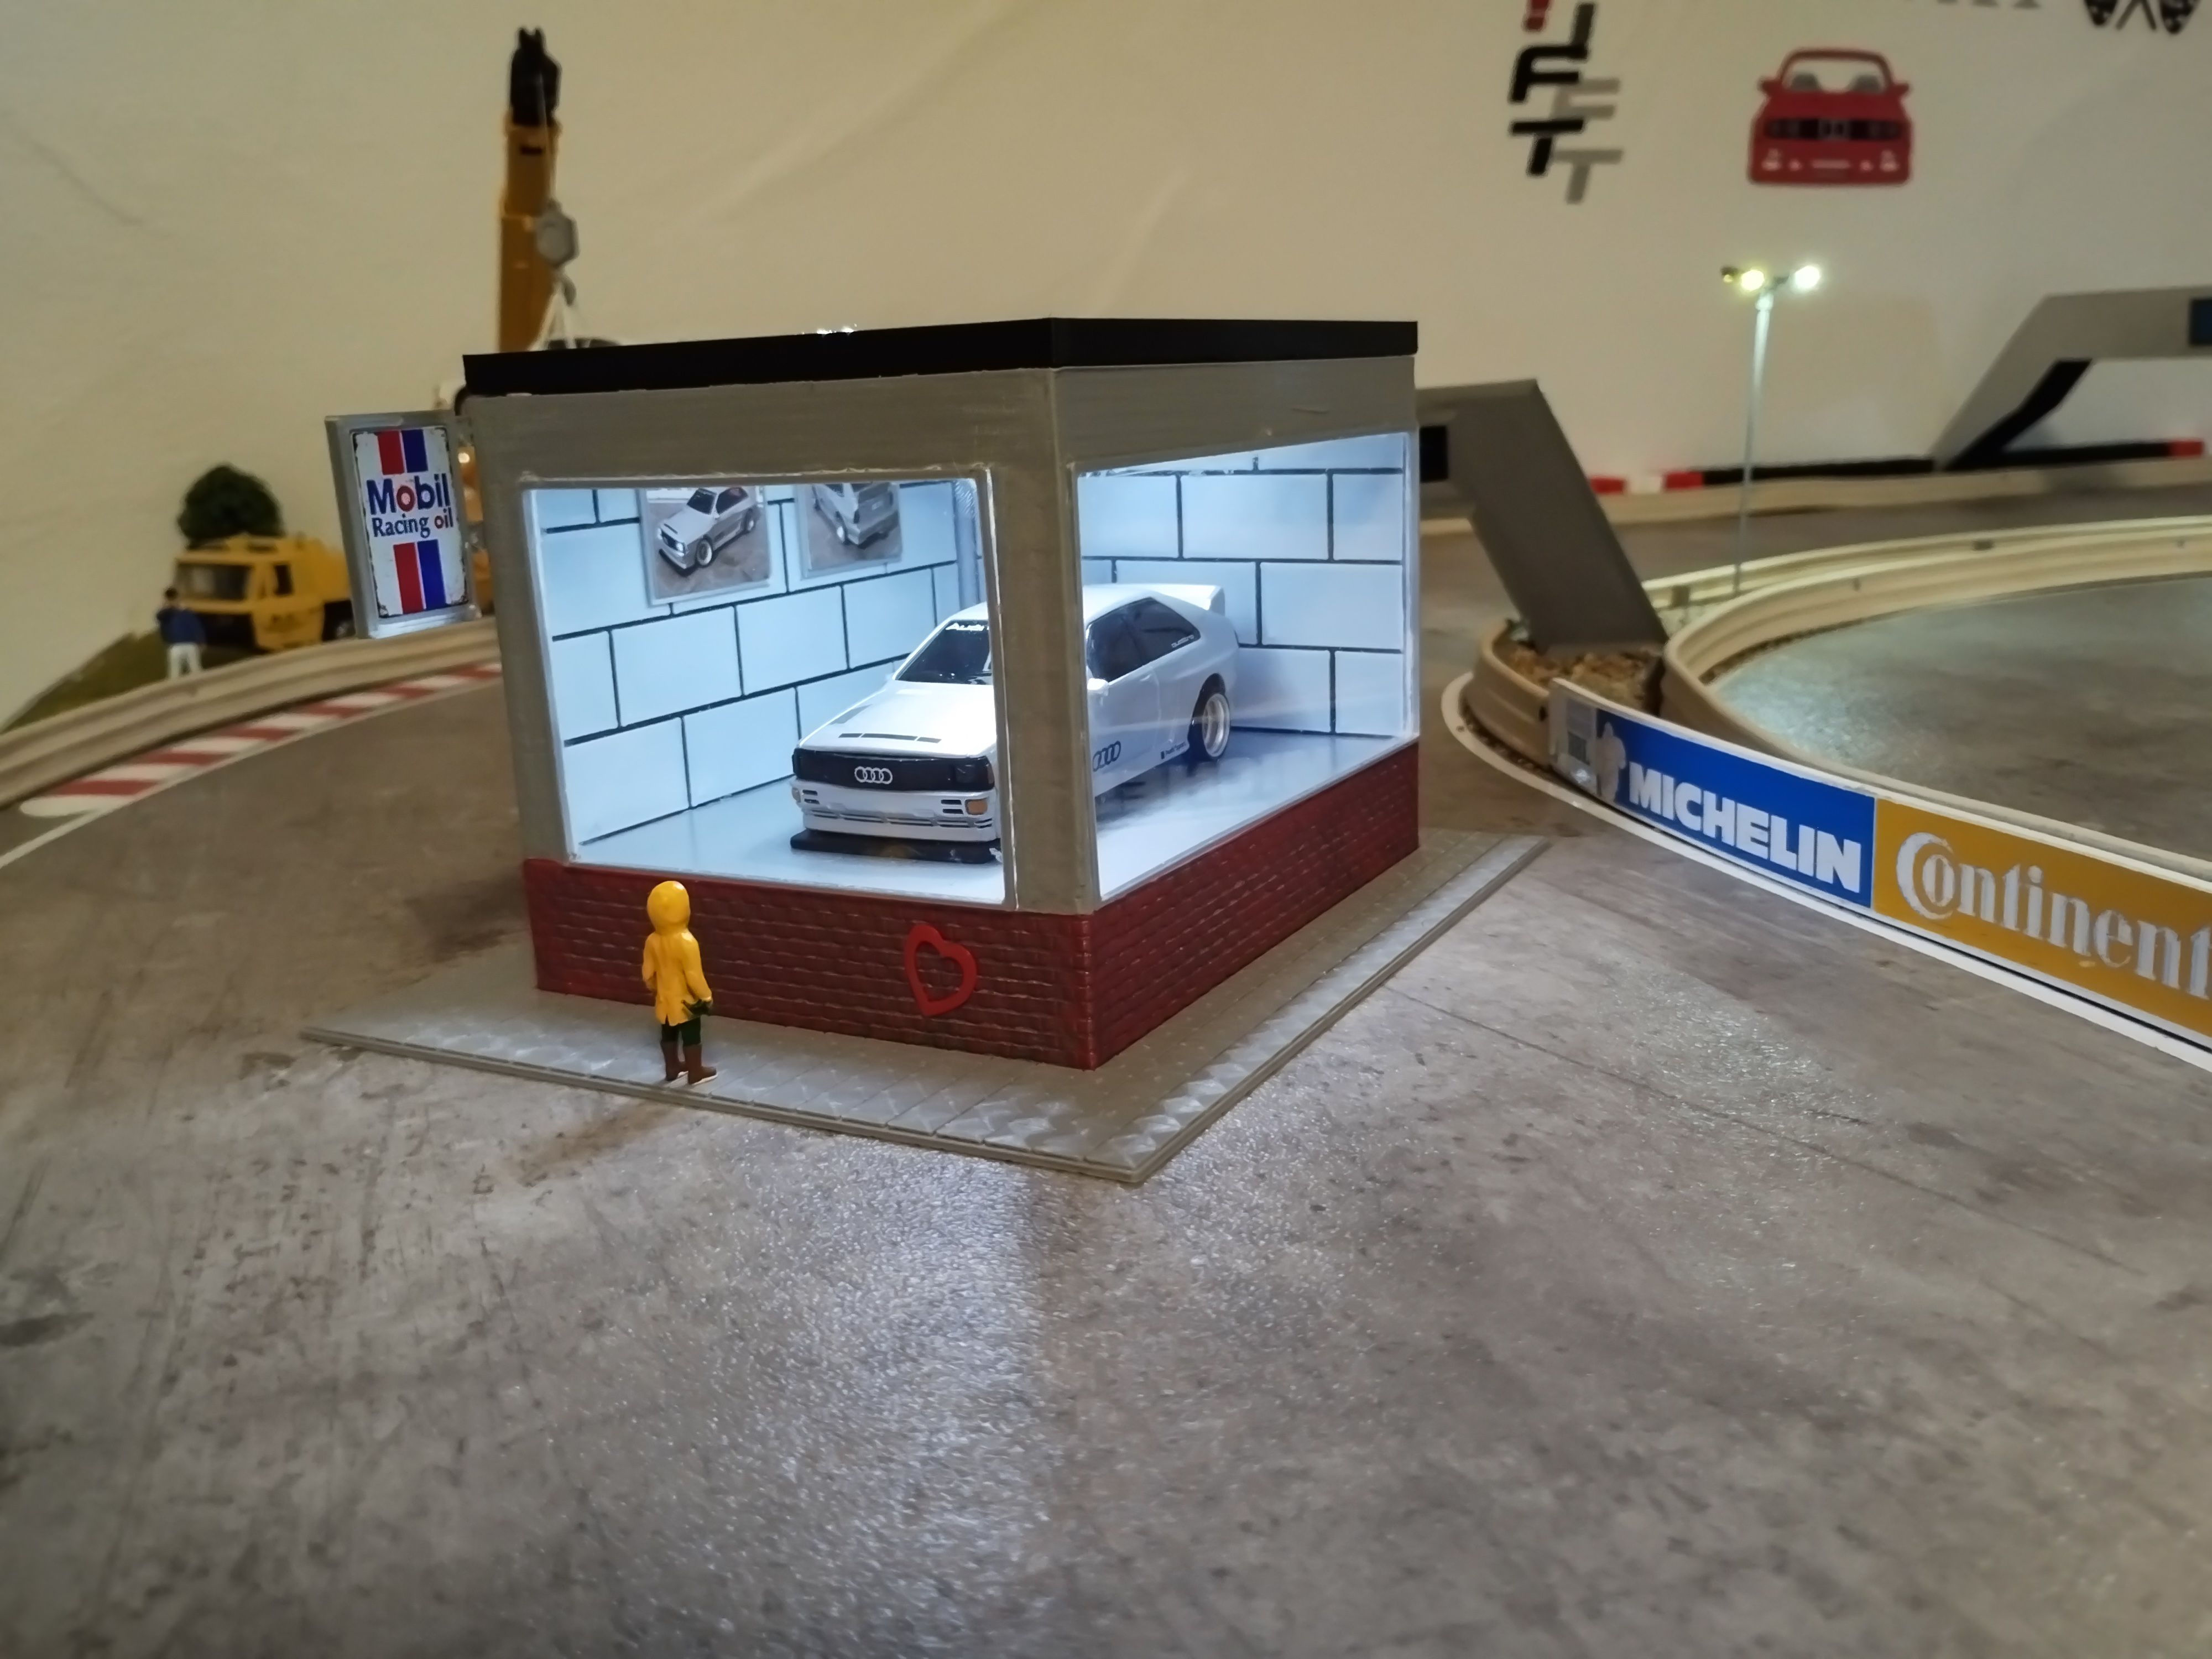
The idea for this design came from the well-known animated photos with the yellow boy in front of the shop window :)
Notes on printing:
example
The wall for the interior was the first 2 layers
were printed in black and layers 3 and 4 in white.
From the roof the first 2 layers gray, from the 3rd layer black
Hexagon lamp first 2 layers white, from layer 3 black
the wall was printed red and painted with gray paint (acrylic) and wiped off again immediately, so the paint only remains in the joints of the masonry.
of course it's just an example and everyone can decide for themselves how to print it :)
What you need in terms of accessories:
4x magnets 3mm x 1mm e.g. here
https://www.ebay.de/itm/303150493656?var=602087597037
Cable 2 core 1mm
https://www.ebay.de/itm/404662670470?var=674659398881
Heat shrink tubing for Dr!ft charging plug for clamping effect in stand 16mm :
https://www.ebay.de/itm/404014529577?var=673896386541
Heat shrink tubing for cable 2.4mm:
https://www.ebay.de/itm/404014529577?var=673896386517
usb connector for soldering:
https://www.reichelt.de/de/de/usb-2-0-kabel-a-stecker-auf-2x-offene-kabelenden-delock-85250-p203116.html?PROVID=2788&gad_source=1&gclid=CjwKCAjw2dG1BhB4EiwA998cqE6K2UHCYXsHa8GfCDBUwOtxcxs5vs6nG7PnGAyhHZ1fK_ISmbX1iRoCJ3MQAvD_BwE&&r=1
Powerbank suitable:
https://www.amazon.de/EVARY-Powerbank-Externer-Portable-Batterie/dp/B082PPR281/ref=sr_1_3?__mk_de_DE=%C3%85M%C3%85%C5%BD%C3%95%C3%91&crid=3TTHPCXU5YWCE&dib=eyJ2IjoiMSJ9.EJLigAm_i8bwDtCAhMWWPDcxtVfFmnf_YNgaw0U8enmBGeykiM44JT_4D9LVgnyQfJTn1ZMFBp81R_AEFHXa4pxXuNkUp5f518Elf0eSre28W-LaOgSCWuVKZCq6utkKokju3eocZ3a3eFsElI13cUL81d_u0bBHi-KPTxcRAffpxpf7O828r6G00fLIoQmDBKpO-egSltyEINyKdIOF2Hjd_Y13w8oGbLjhWtSS3l2iCHOwfysJYM_s9OoqWcVGTgM9eZkW7It_8Kr70ONfO2Mdf-esfhOnCb76d0b6MGM.hg_3JOozjKRPjhc2uF4llDGoXjV6IhOR6dhiWTj9dd0&dib_tag=se&keywords=2+packages+mini+power&qid=1723114757&s=ce-en&sprefix=2+packages+mini+power%2Celectronics%2C1318&sr=1-3
Charging cable for Dr!ft Racer:
https://driftliebe.de/produkt/usb-magnetladekabel-1m-inkl-magnet-adapter/
led strips to cut yourself:
https://www.ebay.de/itm/304659331857?var=603692664538
laminating film can be used for the window panes or 2mm hobby glass is available from DIY stores.
Tools for assembly:
Soldering iron, solder, soldering grease for soldering on the magnets for the cable, lighter or hair dryer for the shrink tube
Glue (uhu Allplast) Laminator for windows
Pictures as instructions follow
I enclose photos for the printed picture frame and the outside sign as a PDF file.
Various displays for with or without loading station are available after
can be selected, and of course the scale can also be scaled accordingly in the slicer.
The structure
Coat the magnets with a little soldering grease and solder the cables to the center. Pull the cable through the cable guide from above
(left and right) so that the cables come out from under the stand. Then solder the usb plug to plus and minus and then cover with the heat-shrink tubing.
Pull the cables through the roof in the same way with the soldered counter magnets to the lower part. Glue the magnets into the holes provided, e.g. with superglue.
The LED strips are cut to the correct length and glued to the lower roof panel. The cables from the roof can then be soldered to the LED. Insert the roof panel into the roof with the led strips facing downwards, plug the usb connector into the power bank and as soon as the roof rests on the magnets, the hexagon lamp lights up :)
I will send pictures of the assembly later.
The yellow boy is not included in the diorama.
If you are interested in the painted boy, please contact me.
have fun rebuilding :)



:format(webp)/https://fbi.cults3d.com/uploaders/22626967/illustration-file/c0ee4887-2953-4a23-9b20-d617929c143f/1701270183291.jpg)