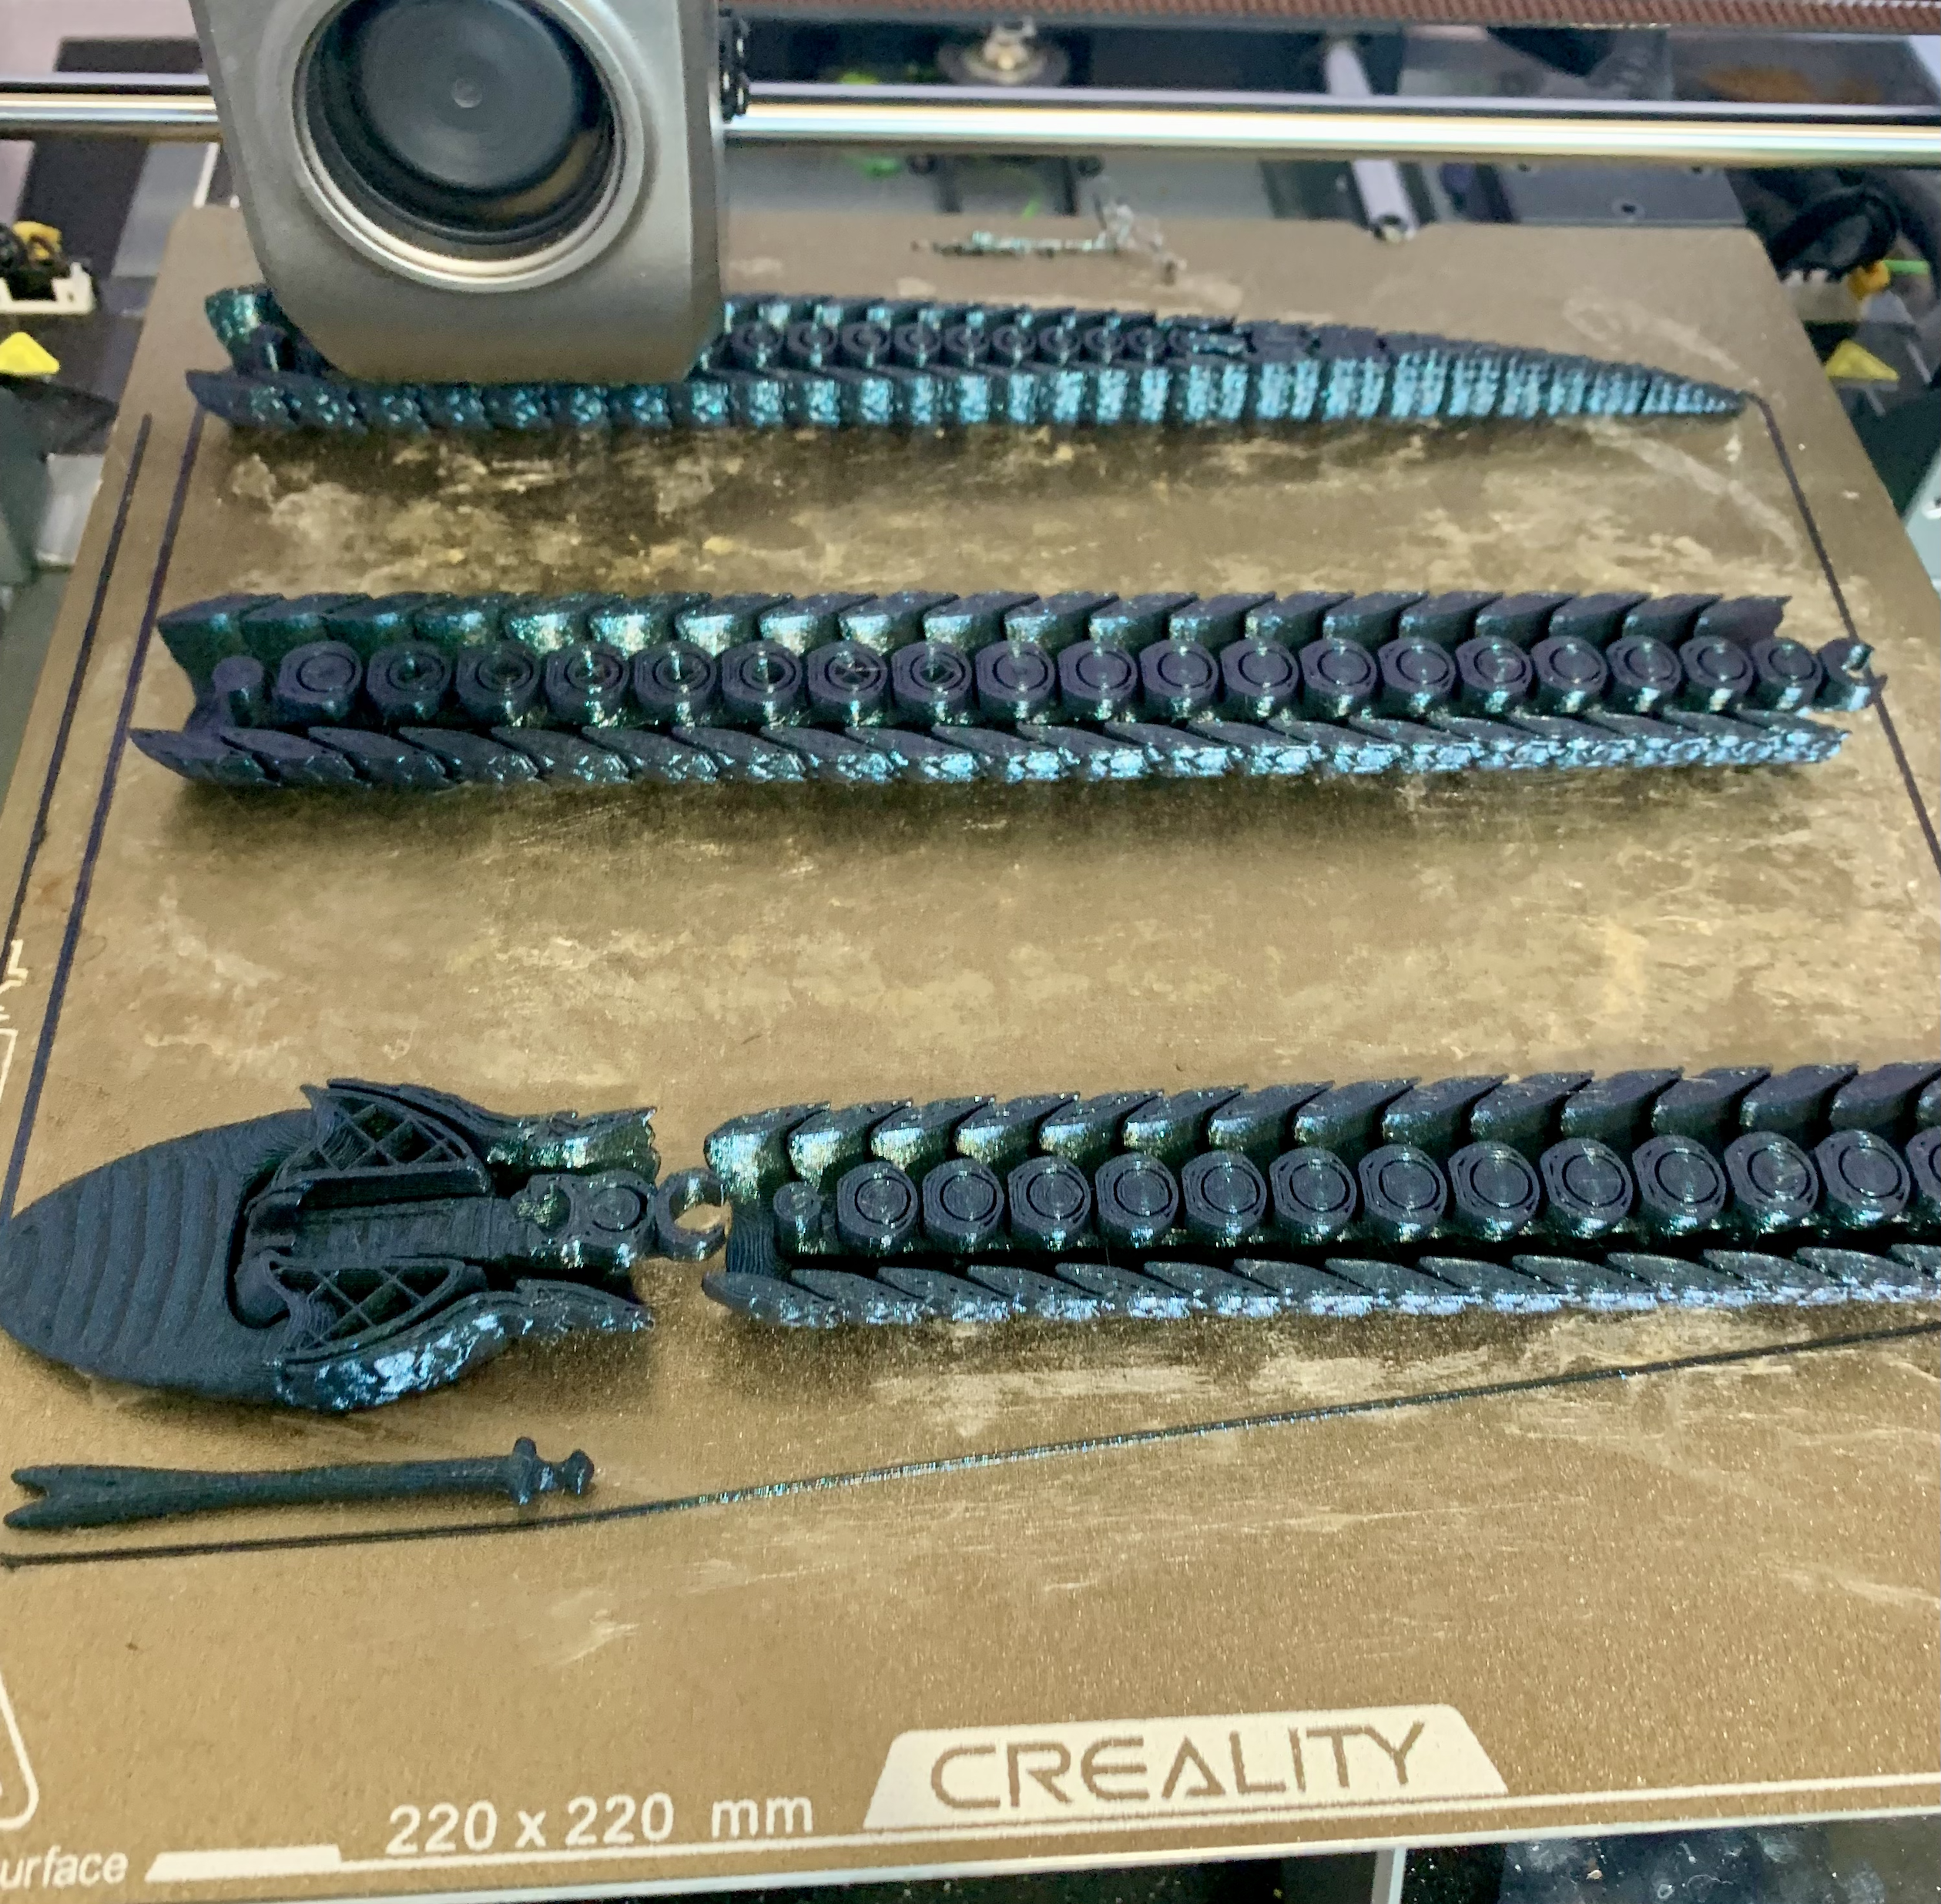
The model is meant to be printed with an FDM 3D printer using PLA or some other standard filament. Your prints should fit comfortably on a surface that is 225 mm by 225 mm. These models can be printed in place without any support. (Supports will brick the models.)
The printed toy is not suitable for use by small children.
NOTE: In order to make the head print out more reliably, there is a thin strip connecting the jaw to the rest of the head that should be removed in order to free up the jaw. They are easy to spot as thin rectangular strips that connect the lower and upper jaw. If you forget and close the mouth they will easily break apart, but the fragments can impart the jaw movement. This link shows where the tabs are
https://vimeo.com/manage/videos/1124512960
I also tend to trim some of the areas around the throat to make the snake profile a bit cleaner when its mouth is closed.
Obviously it is critical to get the first layer down right. I have not needed to adjust the settings when using the Creality slicer and an Ender 3 V3. However, you might need to adjust your slicer settings so that the segments do not spread out so as to touch one another when printed. You may want to experiment first with a smaller test file that is provided.
It is usually the first layer that causes segments to stick together. This should be fixable if you adjust the "horizontal expansion" to increase/decrease the distance between surfaces, widen/close holes, etc . I have also seen/heard this referred to as "elephant's foot" .
For example, my Creality slicer allows one to choose "edit" and then under "shell" there are listed settings that include "horizontal expansion". One can change the setting number from 0 to some appropriate NEGATIVE number of millimeters to increase the distance between the shell surfaces
I was also told that using OrcaSlicer, that one can adjust "X-Y holes compensation", to fix the problem.
You may want to "break in" the head in your model to get the jaws to open and close as freely as possible. I work the jaws up and down and sideways to rub away imperfections that can impede those motions even if things seem to be working okay.
Some ideas are illustrated in the following video, https://vimeo.com/1098395336
Try pushing on the throat of the snake as shown so that the upper jaw is shoved up into the back of the head then move the upper jaw up and down. It can also help to move the upper jaw up and down while pinching the "cheeks" of the snake as illustrated. Other ways of rubbing parts together can sometimes help too.
Hopefully the segments will all print out without sticking to one another. If some do stick, then likely the first layer was laid down with the segments too close to one another. If there is minor fusion of some segments, then you should be able to use a blade, like the one on a typical pocket knife, to carefully loosen and break the stuck segments apart.
I have tried to make the snake flex as far down the tail as possible. The tapered end of the tail is especially fragile.
As a matter of taste, the better the eyes look, the more impressive the effect. The "head-for-glass-eyes" file contains a replacement head with eye sockets that are recessed and flattened in order to insert 6 millimeter glass eyes. You can order eyes from Amazon (or from Temu if you are cheap like me.)
If you don't want to bother with glass eyes, the standard snake files all include the head with intact, rounded eyeballs.
Assembling the pieces: The head and body parts should easily snap together. It can help to push the attachment parts together at an angle as is illustrated in this video. https://vimeo.com/1098393363
The tongue and head are included as separate pieces so that you can choose which kind of head you want and how the tongue will behave.
The tongue must be gently inserted sideways past some supports and then turned right-side up. It should then slide freely in and out of the mouth as the snake is tilted. This can get tiresome, because the tongue tends to come out anytime the mouth is open.
So ... there is also the option to push the tongue further into the throat and slip it into place so it does not move forward anymore past the lips of the snake. The process is demonstrated in the following very short video at https://vimeo.com/1098389412 .
(Don't forget to remove the little throat tabs meant to stabilize the upper jaw after you finish your print.) Find an illustration at this link https://vimeo.com/manage/videos/1124512960



:format(webp)/https://fbi.cults3d.com/uploaders/16798693/illustration-file/29917261-cdd1-469e-b30e-86d6fdcc4ed3/Allosaurus.gif)
:format(webp)/https://fbi.cults3d.com/uploaders/16798693/illustration-file/1b1d1ecd-fb81-4ab4-b15e-c681ec83df6d/vllo.gif)
:format(webp)/https://fbi.cults3d.com/uploaders/16798693/illustration-file/170b6d49-e57d-47ca-9f7b-bddd4bfff5ec/vllo-8.gif)
:format(webp)/https://fbi.cults3d.com/uploaders/16798693/illustration-file/9a0e317c-bb70-405b-a3cc-2dd284d10678/vllo-12.gif)
:format(webp)/https://fbi.cults3d.com/uploaders/16798693/illustration-file/58f63272-143e-4291-8dc6-d62da48d0d11/vllo.gif)