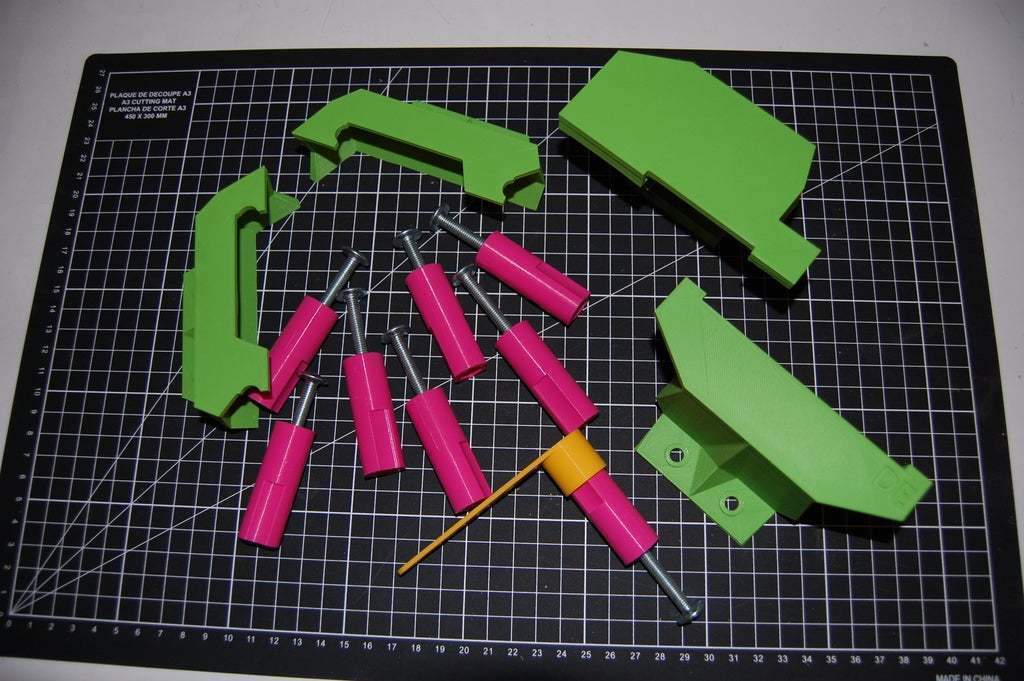
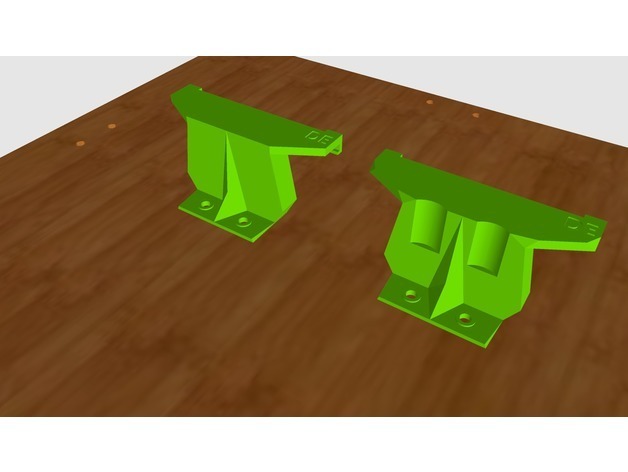
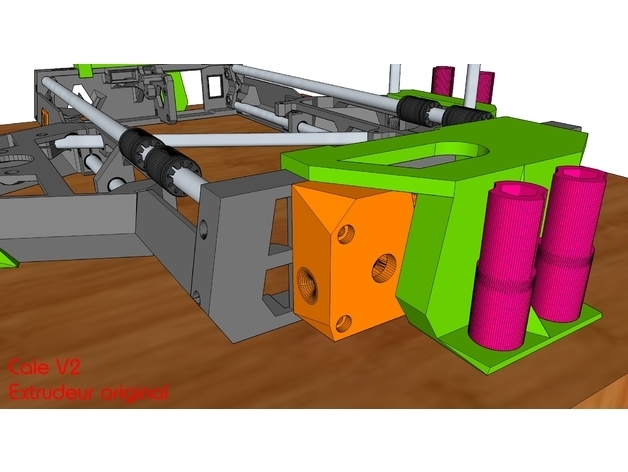
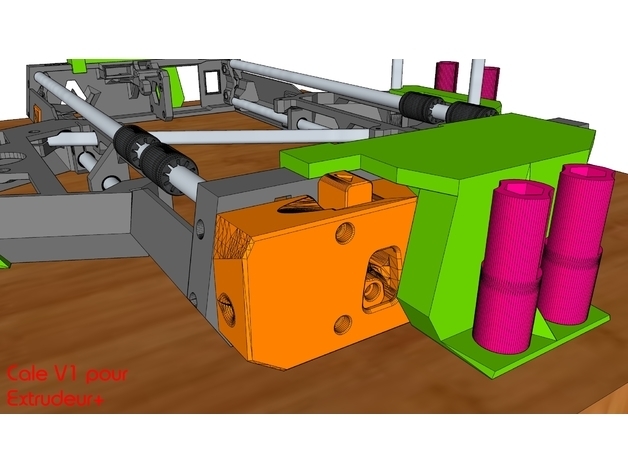
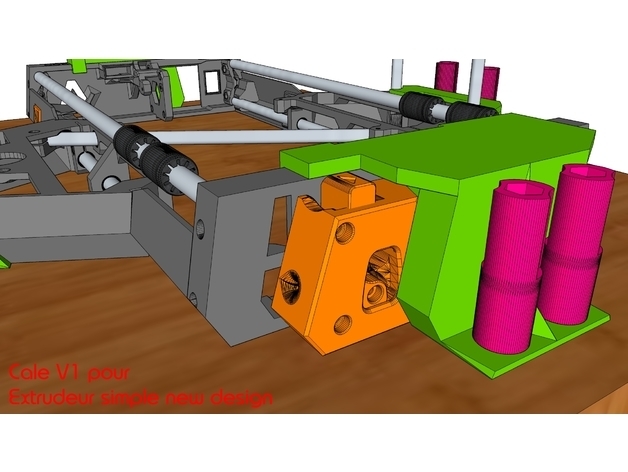
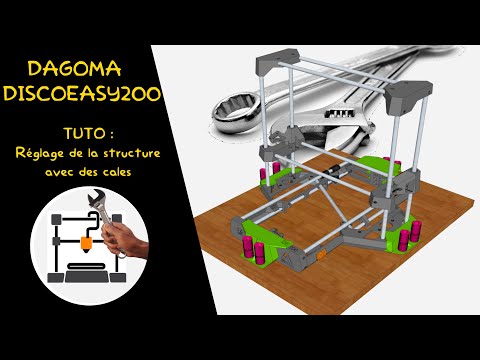
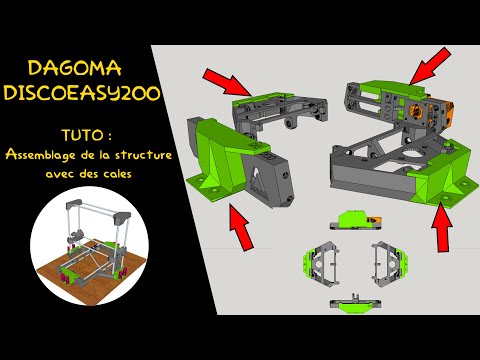
Blocchi di montaggio - Struttura DE200/DU
:format(webp)/https://fbi.cults3d.com/uploaders/13771861/illustration-file/ef14c3b5-19cb-4f2b-8ee7-459b63cbfeae/montage_14.png)
/https://preview3d-images.cults3d.com/zr076c3hwahbrg4qrxlf7waebli8)
/https://preview3d-images.cults3d.com/2a04gwc1zgx2u5yln1pea82n7vra)
/https://preview3d-images.cults3d.com/ahge4dc12fxqlqxe4uukgwsb3f78)
/https://preview3d-images.cults3d.com/42dpj9ufwqm8llu6jvba2x2ahwss)
/https://preview3d-images.cults3d.com/xncdcz3oudjewhlie3sli0iry62u)
/https://preview3d-images.cults3d.com/80ecyjp7ubkrg1v2w1p11qhocli8)
/https://preview3d-images.cults3d.com/39aneeqvha0946hw1ai3ht78tqcq)
/https://preview3d-images.cults3d.com/vaq7xplyv1uo3peeb34g2t6du10z)
/https://preview3d-images.cults3d.com/00d4eyrbpd4l4lyjizrryi5mfxqb)
/https://preview3d-images.cults3d.com/h0mc5otef7s98bz0c1n8aufz84em)


/https://preview3d-images.cults3d.com/variants/zr076c3hwahbrg4qrxlf7waebli8/2c25dfac9c0c4b3fee1a07527bd1c6bb2fb599b319b4e1ae3ef1d256f7781447)
/https://preview3d-images.cults3d.com/variants/2a04gwc1zgx2u5yln1pea82n7vra/2c25dfac9c0c4b3fee1a07527bd1c6bb2fb599b319b4e1ae3ef1d256f7781447)
/https://preview3d-images.cults3d.com/variants/ahge4dc12fxqlqxe4uukgwsb3f78/2c25dfac9c0c4b3fee1a07527bd1c6bb2fb599b319b4e1ae3ef1d256f7781447)
/https://preview3d-images.cults3d.com/variants/42dpj9ufwqm8llu6jvba2x2ahwss/2c25dfac9c0c4b3fee1a07527bd1c6bb2fb599b319b4e1ae3ef1d256f7781447)
/https://preview3d-images.cults3d.com/variants/xncdcz3oudjewhlie3sli0iry62u/2c25dfac9c0c4b3fee1a07527bd1c6bb2fb599b319b4e1ae3ef1d256f7781447)
/https://preview3d-images.cults3d.com/variants/80ecyjp7ubkrg1v2w1p11qhocli8/2c25dfac9c0c4b3fee1a07527bd1c6bb2fb599b319b4e1ae3ef1d256f7781447)
/https://preview3d-images.cults3d.com/variants/39aneeqvha0946hw1ai3ht78tqcq/2c25dfac9c0c4b3fee1a07527bd1c6bb2fb599b319b4e1ae3ef1d256f7781447)
/https://preview3d-images.cults3d.com/variants/vaq7xplyv1uo3peeb34g2t6du10z/2c25dfac9c0c4b3fee1a07527bd1c6bb2fb599b319b4e1ae3ef1d256f7781447)
/https://preview3d-images.cults3d.com/variants/00d4eyrbpd4l4lyjizrryi5mfxqb/2c25dfac9c0c4b3fee1a07527bd1c6bb2fb599b319b4e1ae3ef1d256f7781447)
/https://preview3d-images.cults3d.com/variants/h0mc5otef7s98bz0c1n8aufz84em/2c25dfac9c0c4b3fee1a07527bd1c6bb2fb599b319b4e1ae3ef1d256f7781447)
- 2,6k visualizzazioni
- 1 Mi piace
- 31 download
- 2 raccolte
- 0 commenti
- 0 Makes
| Licenza | |
|---|---|
| Formato del progetto 3D |
12 file (PDF e STL) Chiudi
|
| Ultimo aggiornamento | |
| Data di pubblicazione |
?
Pubblicato su Thingiverse il:
|
| Numero del progetto | 197948 |
| Autore del progetto | badmax133 |
/https://fbi.cults3d.com/uploads/user/avatar/13771861/original.jpg "badmax133")


:format(webp)/https://fbi.cults3d.com/uploaders/13771861/illustration-file/cd05a17f-ecc2-4e4d-b822-32d44113894e/support_bobine_caisson1.png)
:format(webp)/https://fbi.cults3d.com/uploaders/13771861/illustration-file/7ac49062-ea4d-4257-b1aa-e3d1ebdcf312/img_dceb039d705852c26a5ab41760550fbd.png)
:format(webp)/https://fbi.cults3d.com/uploaders/13771861/illustration-file/74a48fdf-2fe4-4e3f-93be-03f1882aff71/002.png)
:format(webp)/https://fbi.cults3d.com/uploaders/13771861/illustration-file/0e8ed7e8-8dc2-4957-aee3-a48408a6f165/original.png)
Vuoi sostenere Cults?
Ti piace Cults e vuoi aiutarci a continuare l'avventura in modo
indipendente? Tieni presente che siamo un piccolo team di 4 persone,
quindi è molto semplice sostenerci per consentirci di mantenere
l'attività e di creare sviluppi futuri. Ecco 3 soluzioni accessibili
a tutti:
PUBBLICITÀ: disattiva l'ad blocker.
DONAZIONE: fai una donazione tramite Ko-Fi Dona
PASSAPAROLA: invita i tuoi amici a scoprire la piattaforma e i magnifici file 3D condivisi dalla community!
La condivisione e il download su Cults3D garantiscono che i progetti rimangano in mano alla community dei makers! E non in mano ai giganti della stampa 3D o del software che possiedono le piattaforme concorrenti e sfruttano i progetti per i propri interessi commerciali.
Cults3D è un sito indipendente e autofinanziato che non risponde a nessun investitore o marchio. Quasi tutti i ricavi del sito vengono restituiti ai makers della piattaforma. I contenuti pubblicati sul sito servono esclusivamente gli interessi dei loro autori e non quelli dei marchi di stampanti 3D che vorrebbero controllare anche il mercato della modellazione 3D.