Safety
This is a fidget toy with small parts. The planet caps are 12.4 mm discs and the hub cap unscrews - keep the spinner away from small children and anyone who mouths objects, and check now and then that the press-fit caps still sit tight. Swallowed small parts are dangerous. You print and use this design at your own risk.
Printer and process
- FDM filament printer, standard 0.4 mm nozzle profile
- Designed, tested and tuned on a Bambu Lab X1 Carbon (0.20 mm Standard profile, textured PEI plate)
- Works on any well-calibrated printer; print the included
orbit_test_plate.stl first if you are not on an X1 Carbon, and adjust the tolerance values in the OpenSCAD Customizer if a fit is off
- No supports anywhere; print every part exactly as oriented in the files
Suggested settings
- Layer height: 0.20 mm
- Nozzle: 0.4 mm
- Walls/perimeters: 3 (or 6 for the heavy version - see below)
- Infill: 15 to 25 percent (or 100 percent for the heavy version - see below)
- Supports: none
- Brim: not needed on a clean plate; a 3 mm brim on the small caps is cheap insurance if your first layer is temperamental
- Material: PLA or PLA Matte (tested); keep all parts in the same material family so the tuned fits hold
What I actually printed
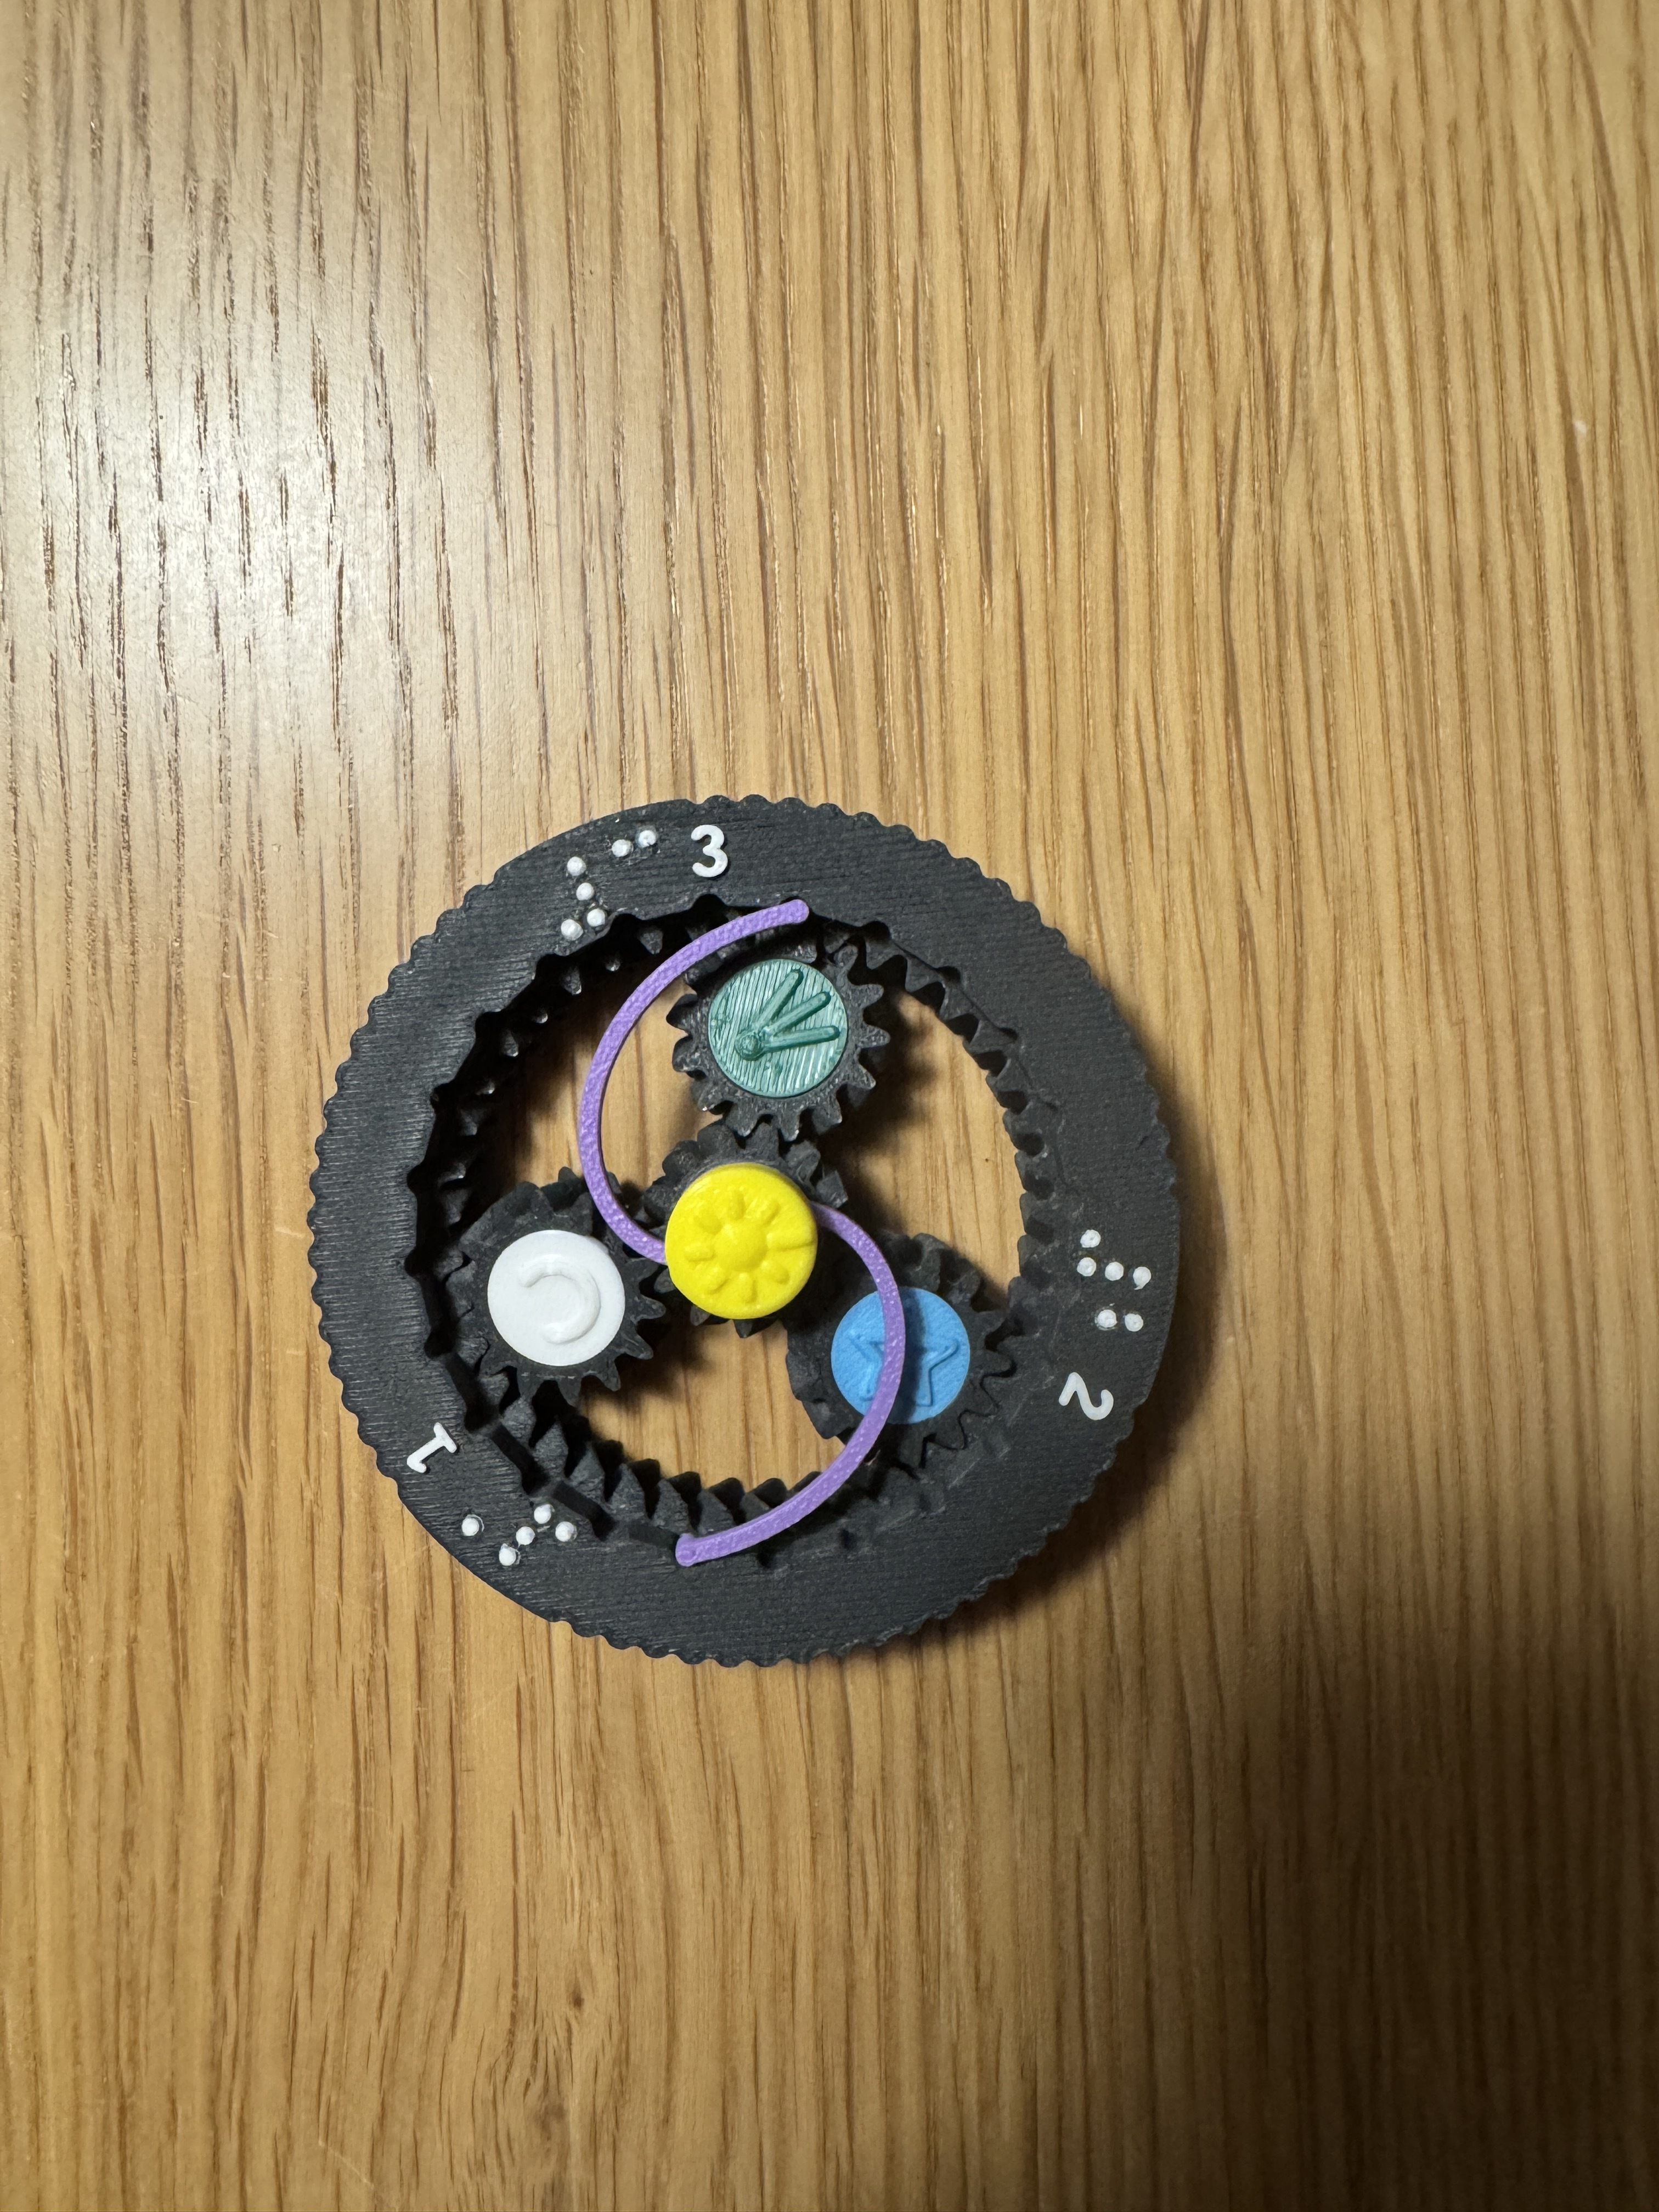
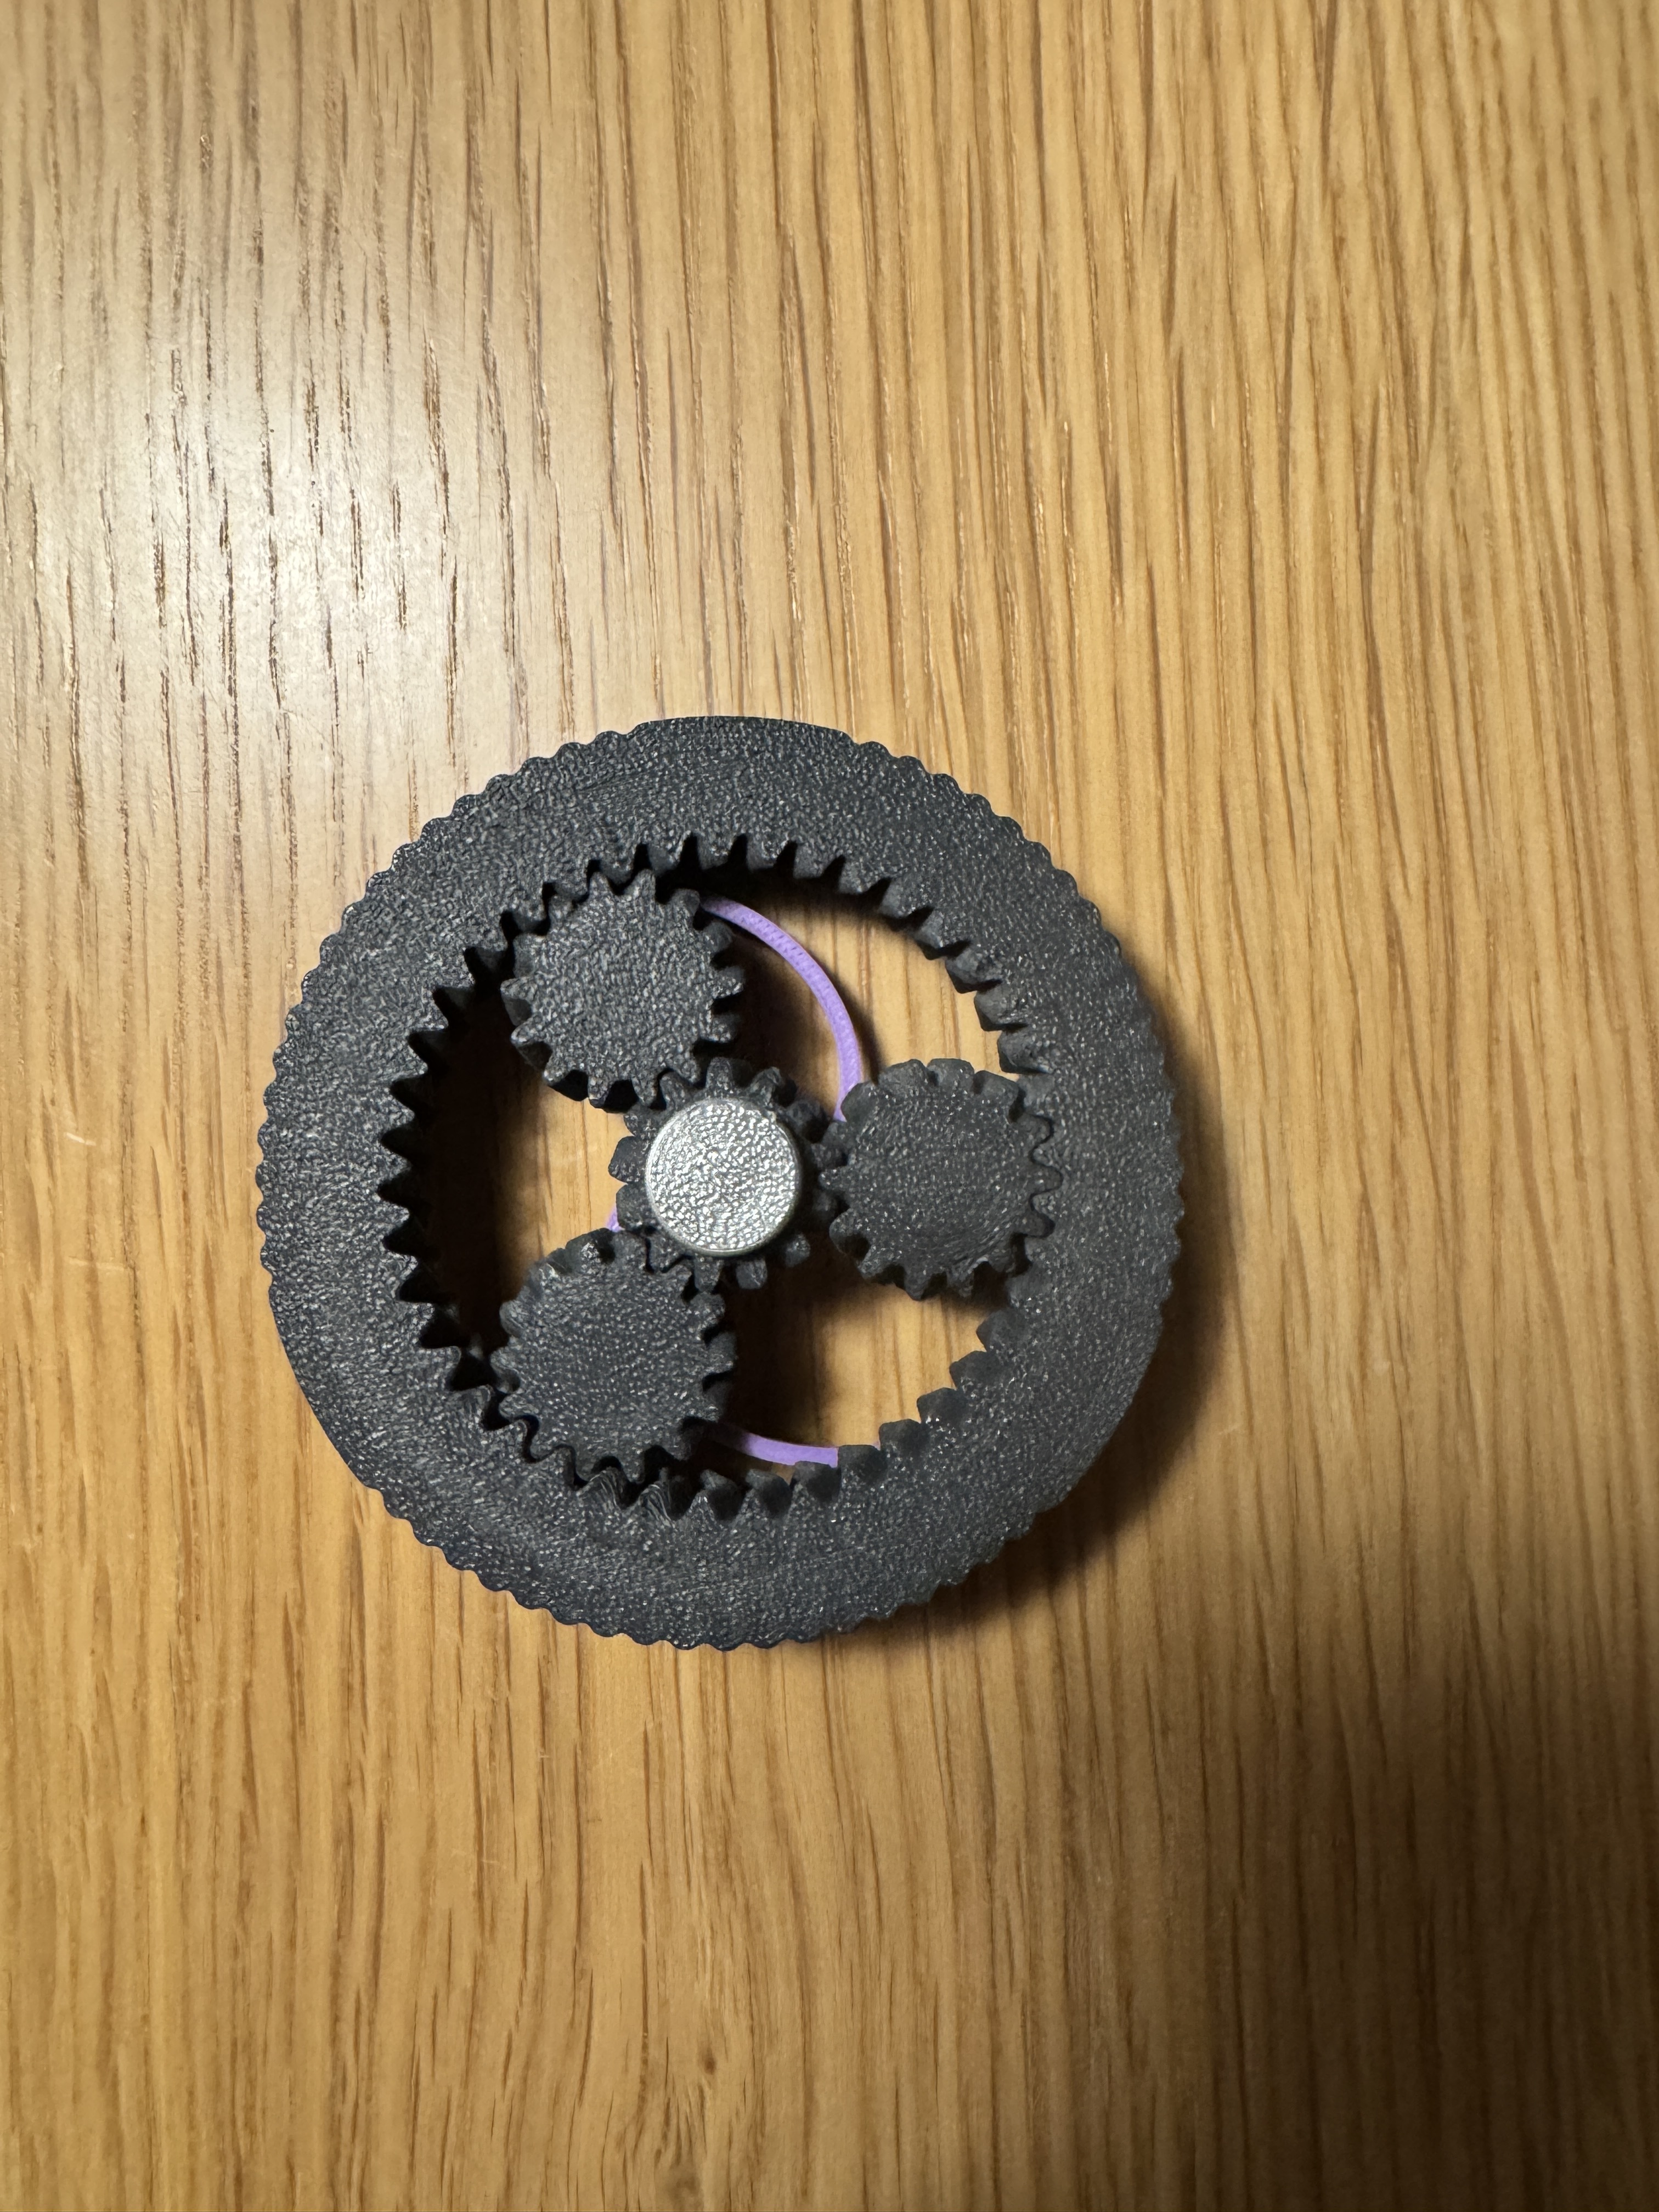
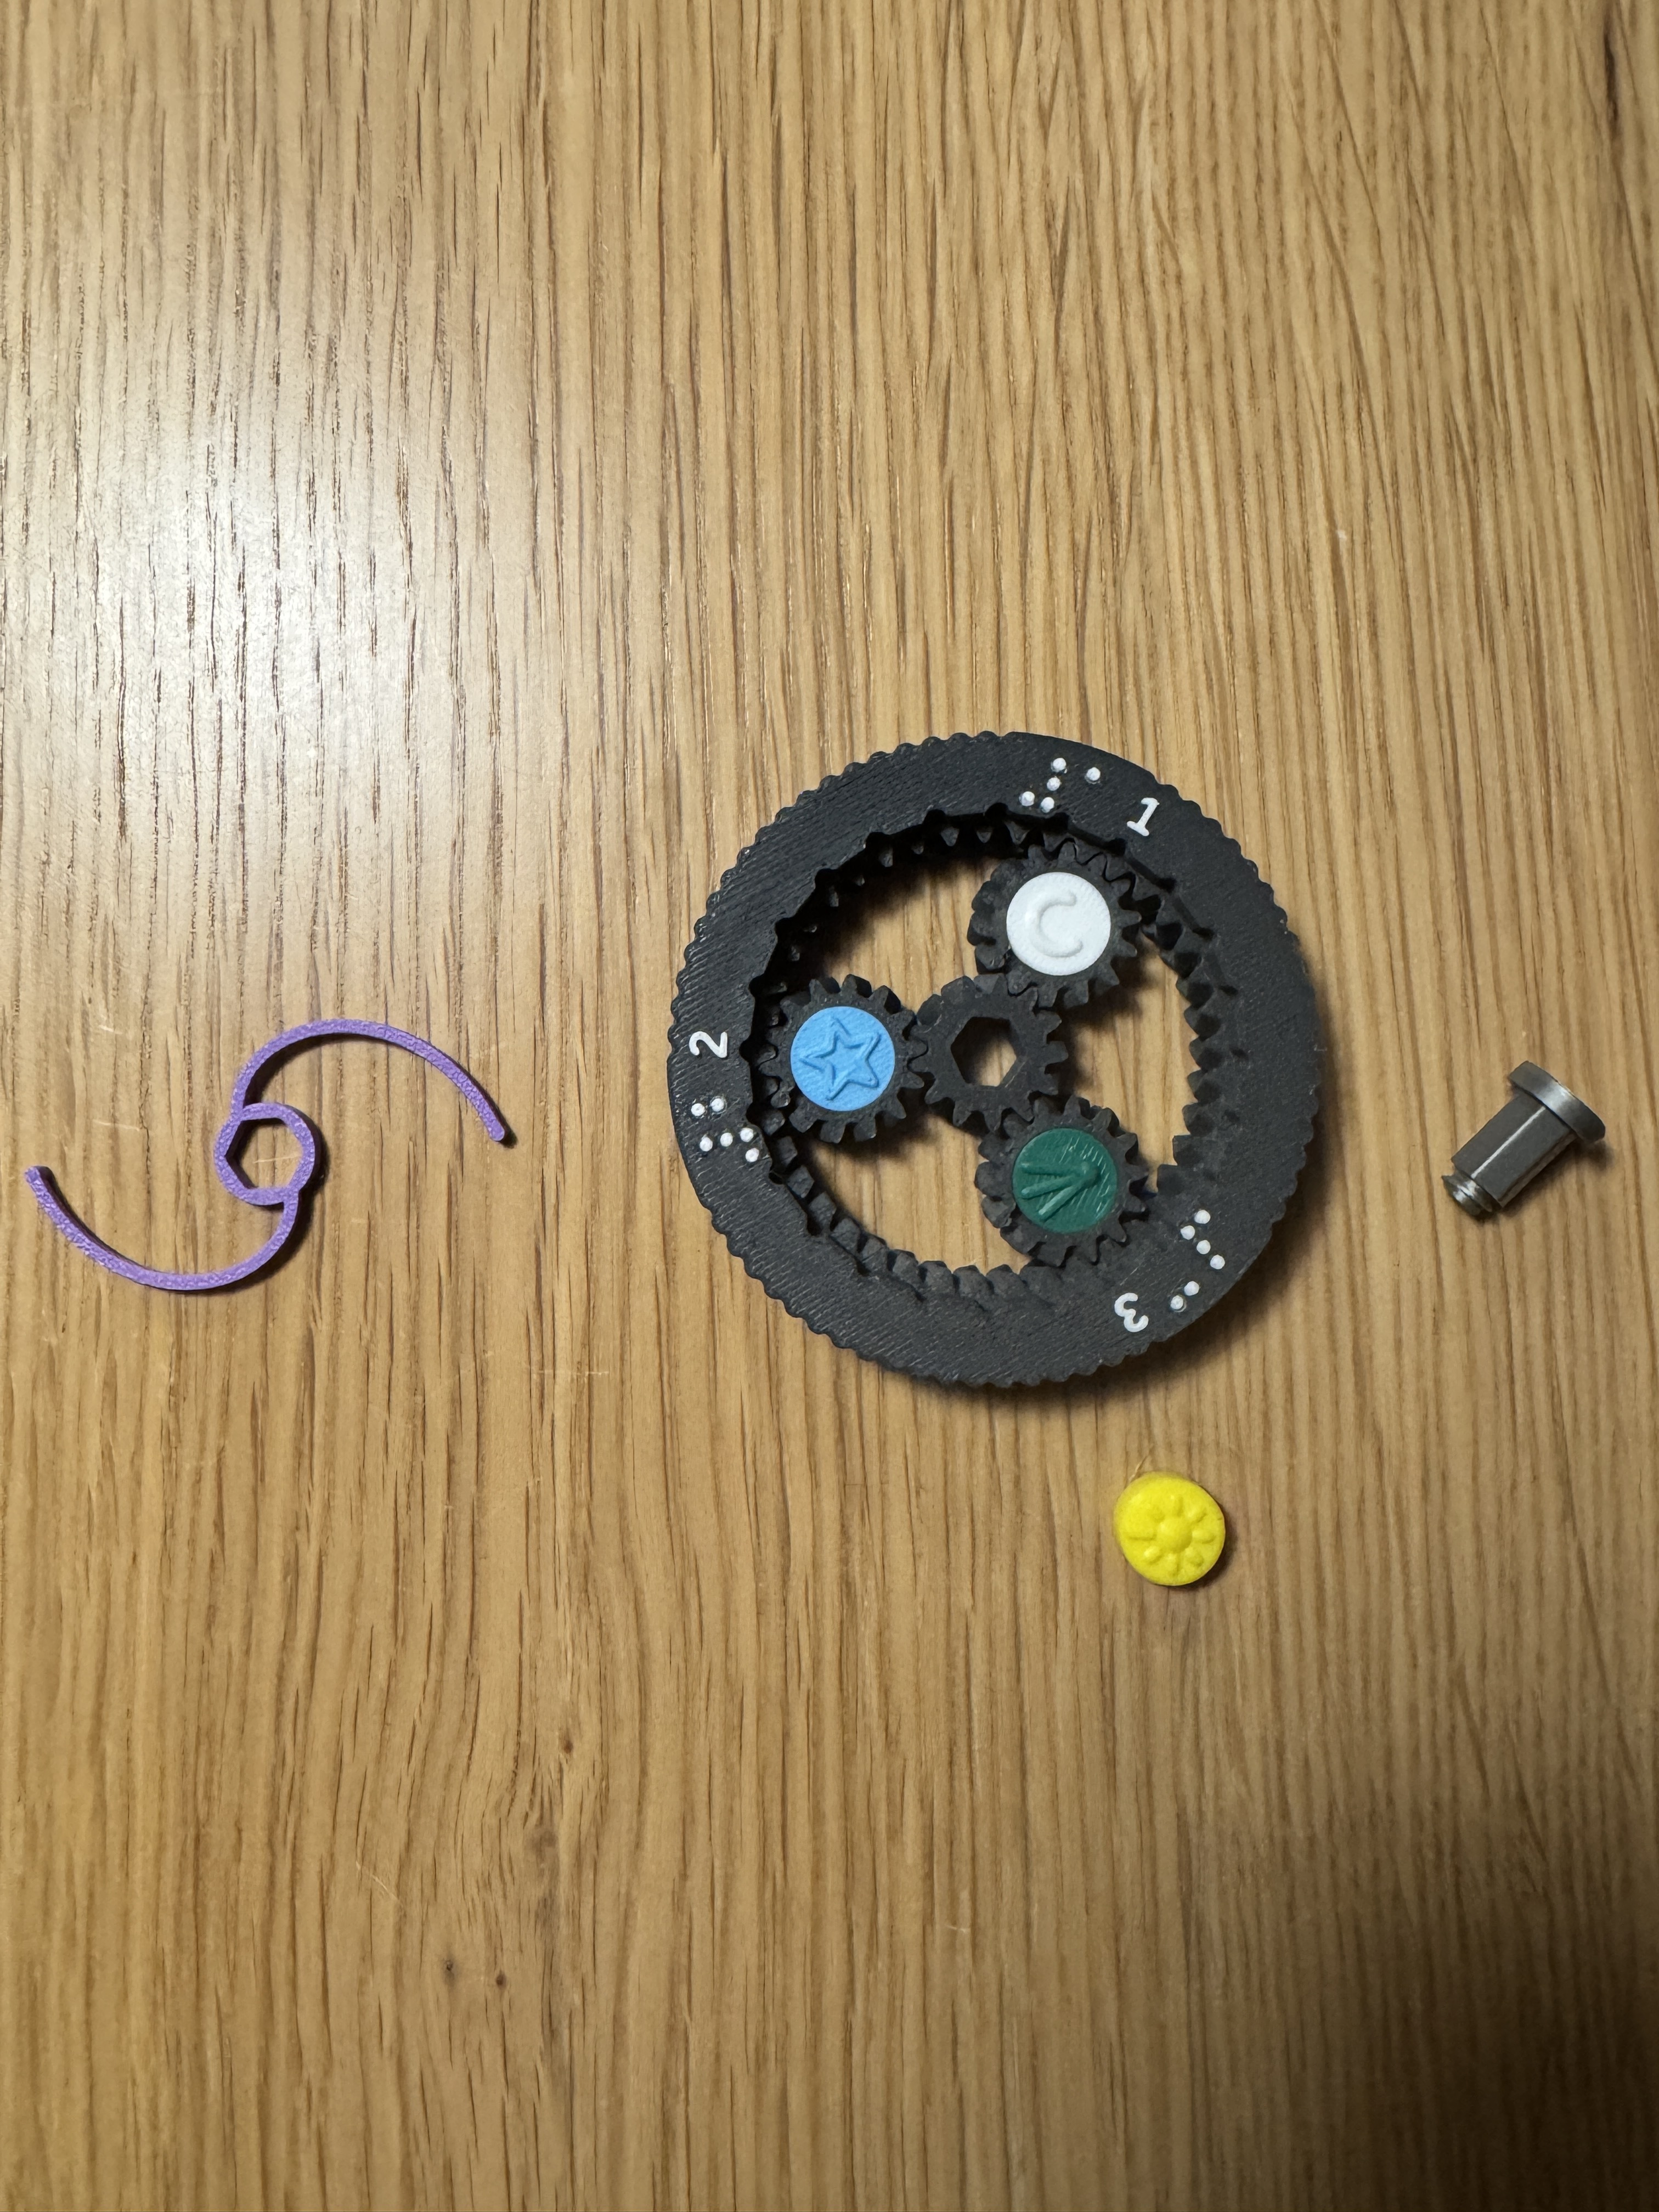
The spinner in the photos is Bambu Lab PLA-CF in black, with the raised numerals and braille printed in white as a multi-colour print - the included coloured 3MF gives you that colour split ready-made. Every part was printed extra strong: 6 walls and 100 percent infill. That is far more than the mechanism needs, but on a part this small the cost is minutes and pennies, and it gives the spinner a wonderfully solid, heavy feel in the hand - it spins with real momentum. The remaining pieces are different Bambu Lab PLA colours: a silver-grey hub base, yellow sun cap, purple click spring, and white, green and blue planet caps. All fits held perfectly at the published tolerance values with this material mix.
Material notes
All published tolerances were locked in with PLA Matte. Glossy or silk filaments can shift press fits slightly, and a different material (PETG, ABS) shrinks differently - if you switch, run the test plate first. The gear backlash default is 0.27 mm, which freed cleanly on the test printer.
Break-in and fits
The spinner prints as one fused-looking piece on purpose. After printing, hold the outer ring, press a finger on the centre sun gear and work it back and forth; it crackles briefly as the printed seams free up, then runs smoothly. This is normal for print-in-place gears.
Four separate Customizer tolerances control the fits: gear_backlash (gear mesh), hex_stem_fit (hub stem through the sun), planet_cap_fit (press-fit caps), and thread_fit (screw cap). The published values are 0.27 / 0.3 / 0.0 / 0.3, physically confirmed on the X1 Carbon.
Colours
Each piece is a separate STL, so a multi-colour build needs no AMS purging - just print each part in its own filament. My suggested night-sky plan: matte deep blue or black spinner, silver hub base, gold sun cap, red or orange click spring, then white moon, green comet and cyan star caps. Real comets glow green, so the comet cap has a colour excuse built in. On the spinner itself you can do a filament swap for roughly the last 0.75 mm to turn the raised numerals and braille a contrast colour, or use the included coloured 3MF as a starting point. The photos show my own variation on that plan, printed from the filaments I had on hand - see "What I actually printed" above.
Assembly
Full step-by-step non-visual assembly instructions are included with the listing - every part described by touch, no sight needed at any step. Short version: free the gears, push the hub stem up through the sun's hex bore from below, drop the spring disc over the stem flat-face up, screw the cap down snug like a jar lid, and press the celestial caps into the planet sockets.
Know each part by touch
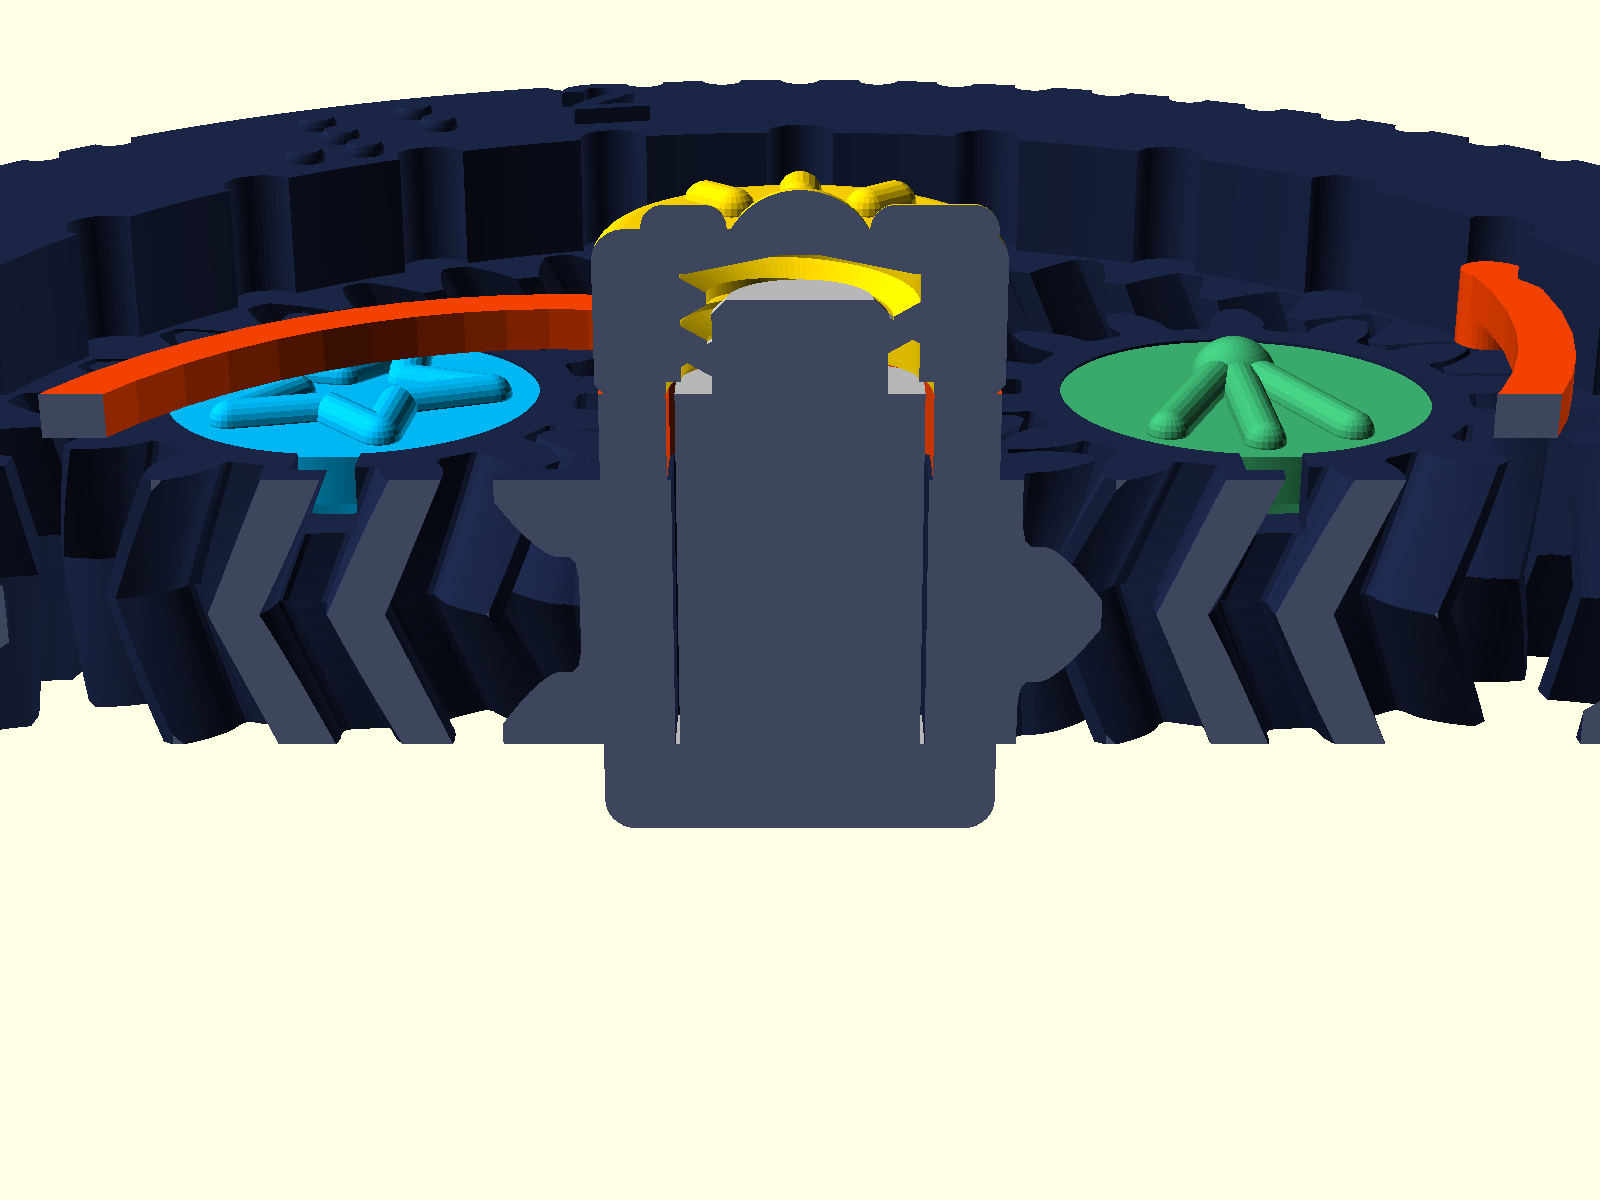
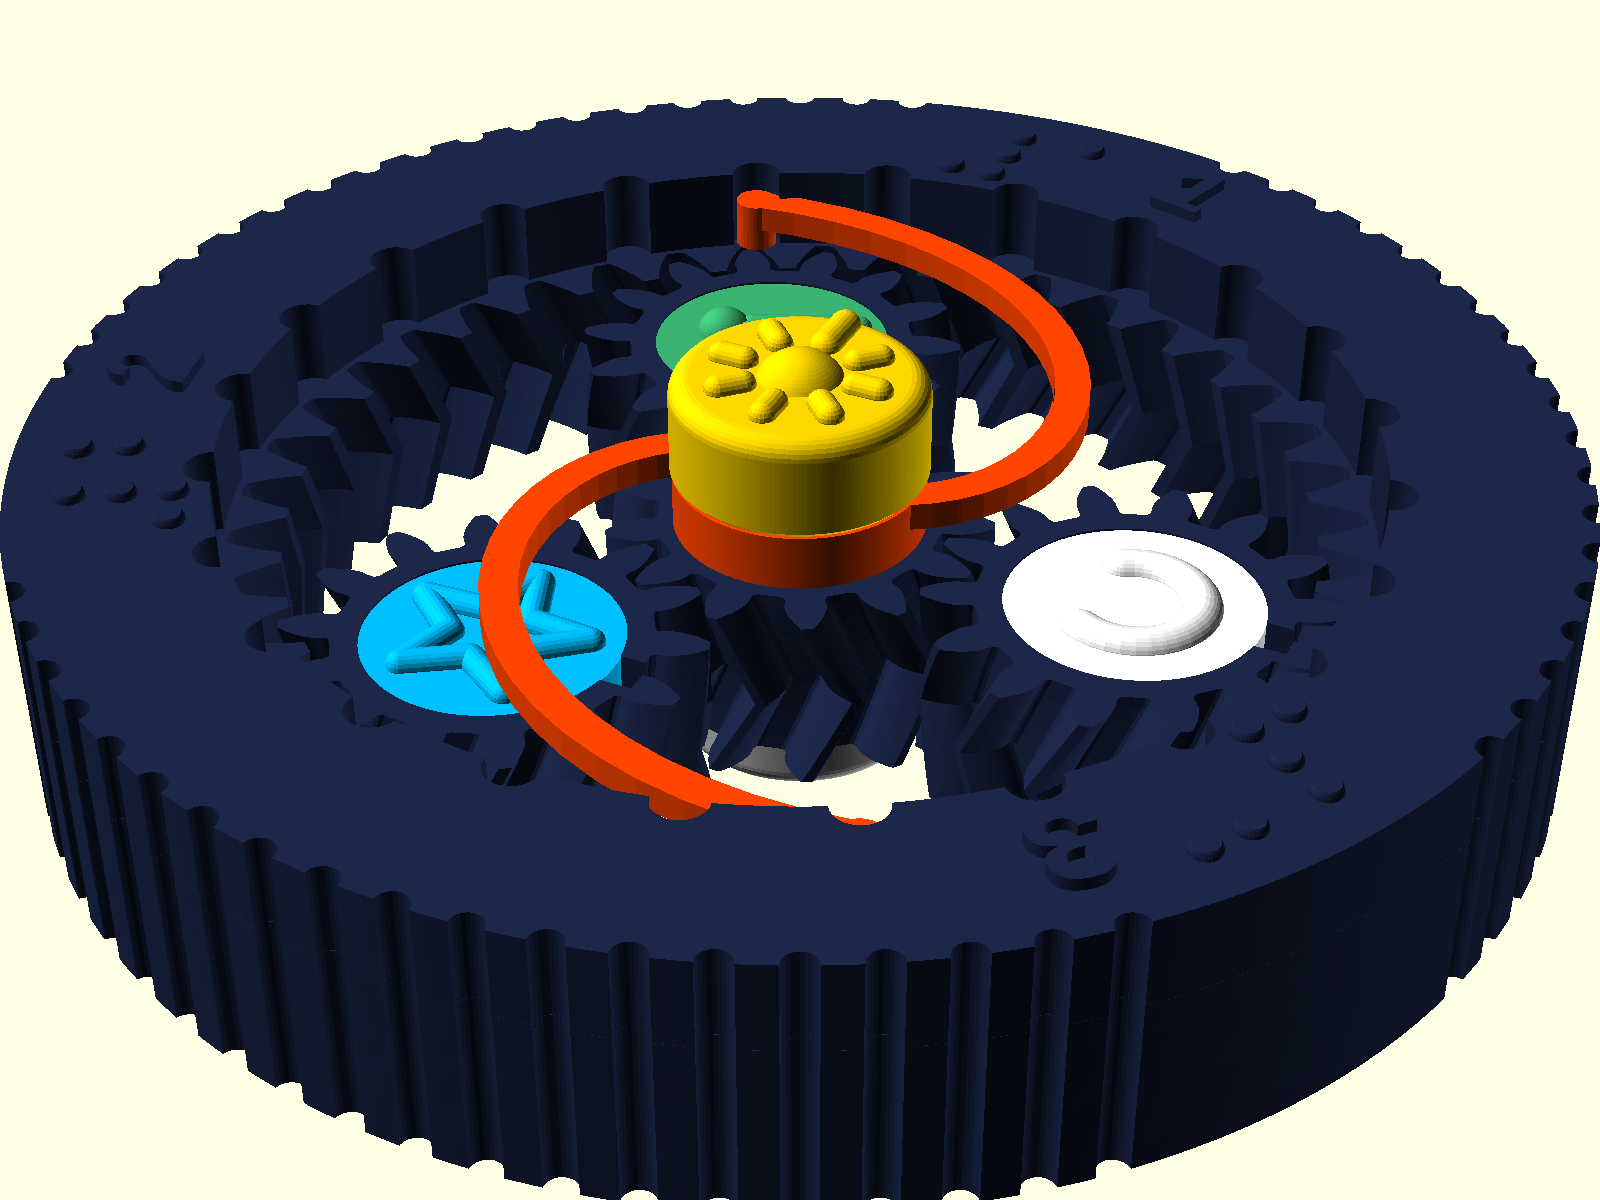
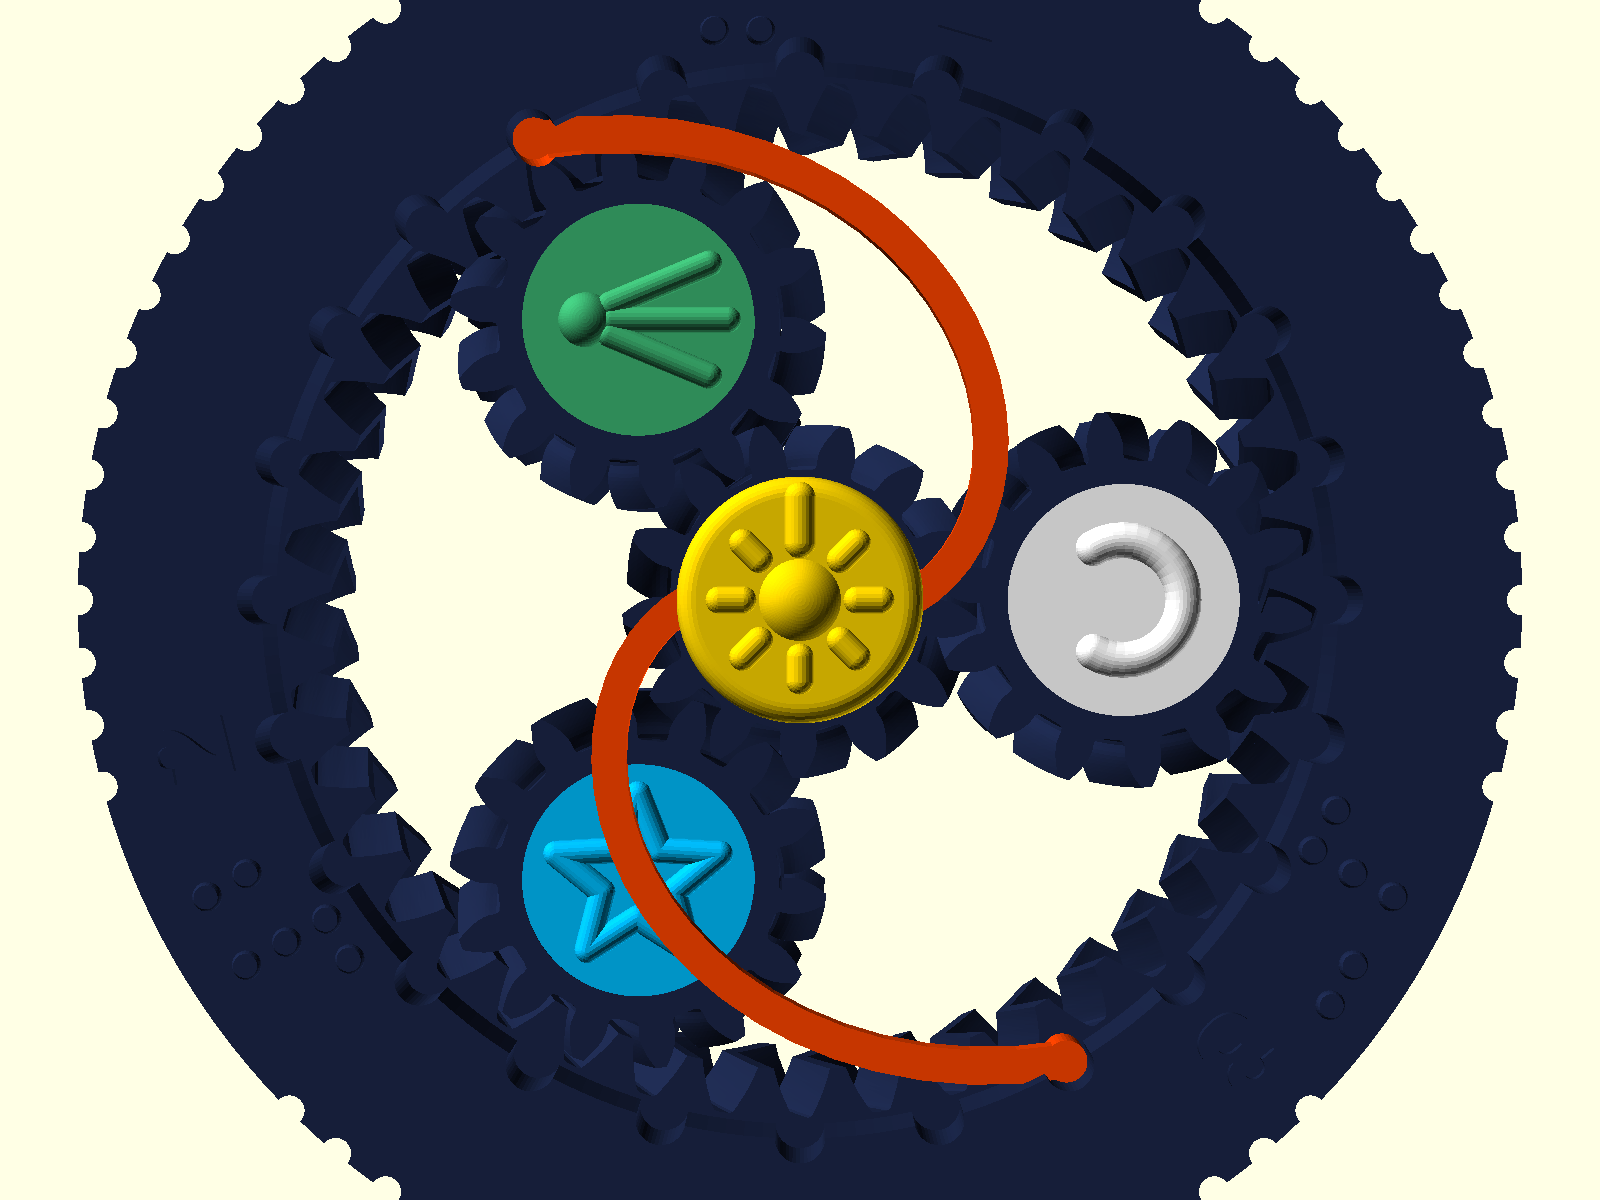
The spinner is a disc about 75 mm across - roughly the lid of a small jam jar - and about 13 mm thick at the rim. It has a top and a bottom: the top face of the rim carries the raised numerals and braille, so if you feel smooth rim instead, flip it over. Around the outer edge run fine vertical grip flutes, interrupted by three smooth arcs; each smooth arc marks a numbered station, and directly on top of it you will find a raised numeral (1, 2 or 3) followed by its braille: the number sign cell, then the digit cell, in standard 0.75 mm signage dots. Inside the rim sit the gears. In the exact centre is the sun gear with a hexagonal hole through it. Around it are three planet gears, each with a shallow round socket sunk into its top face, about 12 mm wide and 2 mm deep. Each socket rim has one tiny notch cut into its edge - that notch is your fingernail slot for levering a cap out later. The gears will feel locked solid straight off the printer; that is normal, we free them in a moment.
The hub base is a small round foot, 12.6 mm wide and 3 mm thick, with a post standing up from its centre. Run your fingers up the post: the first, longer section is a hexagon, the same size as the hole in the sun gear. Above the hexagon the post steps in to a narrower round tip, about 3 mm long, wrapped in screw thread - you can feel the spiral ridges - with a softened top edge.
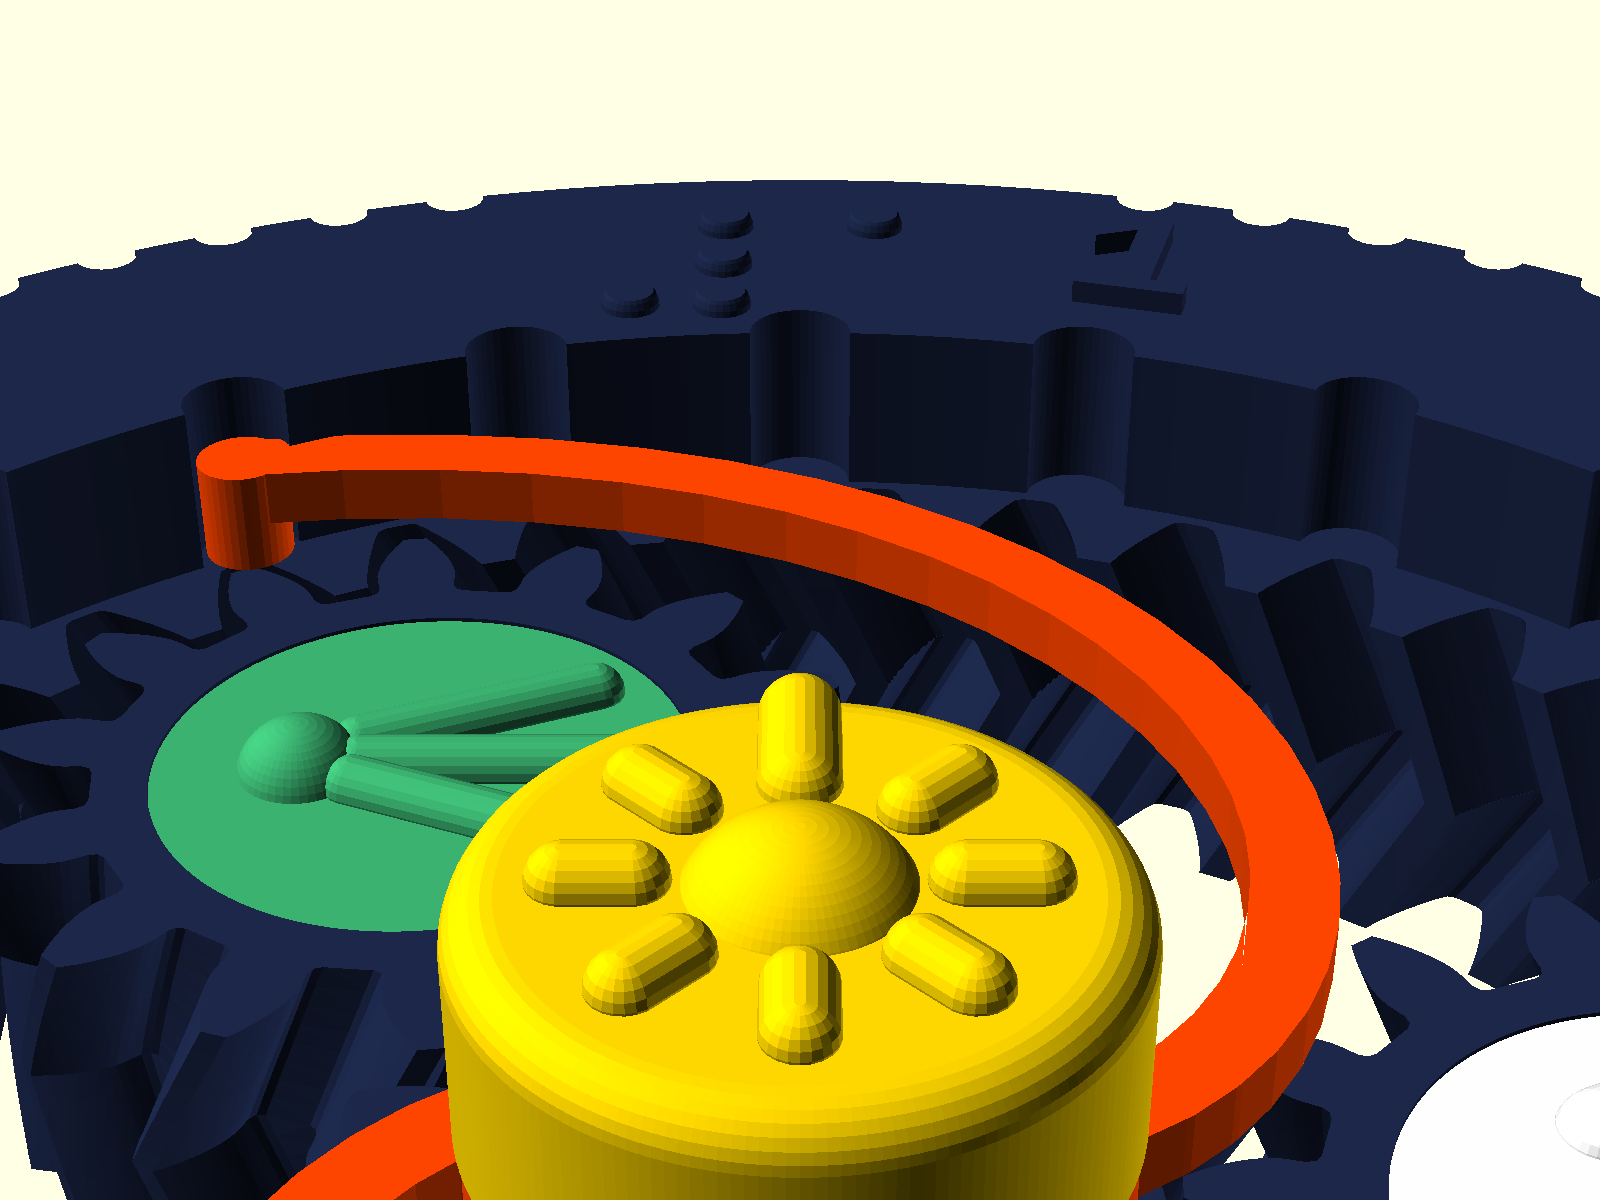
The click spring disc is the most delicate part, so handle it flat. It is a ring about 12 mm across and under 3 mm thick with a hexagonal hole in the middle, and two thin curved arms that spiral outward from it, each ending in a small round post. The two faces feel very different, and that difference matters for assembly: one face is perfectly flat - ring, arms and posts all level, this was the face on the print bed. On the other face the centre ring stands proud and the arms sit lower around it, with the posts rising between. Remember the flat face.
The hub cap is a solid round button, 12.6 mm wide and about 5 mm tall. Its top face is the sun: a smooth dome in the middle with eight short raised rays around it. One ray is clearly longer and wider than the others - that is the pointer. The underside has a threaded hole in the centre.
The planet caps are four thin discs, 12.4 mm wide, about 2 mm thick. The underside of each is flat with a slightly narrowed bottom edge (the insertion taper); the top carries the symbol. By touch: the moon is one smooth curved ridge, like a letter C. The comet is a small dome near one edge with three straight ridges fanning away from it, like a tiny shooting star. The star is a zigzag ring of five sharp points. The blank spare is completely smooth.
Step 1 - free the gears
Do this before any assembly. Hold the spinner flat, grip the outer ring firmly with one hand, press a fingertip onto the centre sun gear and twist it back and forth. You will feel and hear a brief crackle as the printed seams between the teeth break free - that is exactly right. Keep working it back and forth, then stir the sun in circles, until everything turns smoothly and the three planets walk around as the sun turns. Ten to twenty seconds of working is typical.
Step 2 - hub base into the sun
Set the hub base on the table, foot down, post up. Hold the spinner braille side up and lower its centre hole over the post. Rotate the spinner slowly; when the hexagon lines up you will feel the spinner drop about a centimetre and seat. Check with a finger: the foot sits flat under the spinner, and in the centre the post now stands proud of the sun - about 3 mm of exposed hexagon with the round threaded tip above it. The sun and stem now turn together - from here on, that centre assembly is the handle and must never spin with the ring.
Step 3 - spring disc, flat face up
Pick up the spring disc and find the perfectly flat face again. Lower the disc over the threaded tip, flat face up, and rotate until its hex hole indexes onto the exposed hexagon and it drops down flush onto the sun. The two arms now lie in the channel between the hub and the inner wall of the rim, and their posts point down into the click track, pressing lightly outward against that wall. If an arm's post catches on the wall edge as the disc settles, nudge it gently inward with a fingertip - that outward pressure is exactly what makes the click.
If you printed the silent spacer (zero arms in the Customizer) it is just a plain ring: same hex hole, same flat drop, nothing else to align.
Step 4 - screw the cap down
Set the hub cap's threaded hole on the tip and turn clockwise. It bites within the first half turn and seats after about one and a half turns, pulling snug against the spring disc like a small jar lid. Firm finger-tight is enough; there is nothing to strip, but there is also nothing to gain past snug. The pointer ray now stands on top of the hub.
Step 5 - press in the planet caps
One planet at a time: find the round socket in the gear's top face, set a cap in it symbol up, taper down, and press with your thumb until it stops. It seats just below flush, with only the symbol standing proud. The fit is deliberately tight - a firm press, no twisting needed. Put moon, comet and star wherever you like; the blank is a spare. To swap later, find the little notch on the socket rim and lever the cap up with a fingernail.
Check your work
Pinch the assembly between finger and thumb - finger pad on the base's foot underneath, thumb on the sun cap on top - and flick the outer ring with your other hand. The ring should spin freely without dragging your fingers along, the three symbol caps should sweep past under a light touch, orbiting slower than the ring, and the spring should tick rapidly like a bicycle freewheel. Find a smooth arc on the edge, and the numeral and braille on top of it. Line the pointer ray up with station 1 and you have a zero mark for counting games.
If something is off
- Ring will not spin freely: the gears need more break-in; repeat step 1 with more patience.
- Click too quiet or absent: check the spring went in flat face up - arms down, posts riding the wall.
- No click wanted at all: print the spacer version of the spring disc and swap it in; the cap unscrews in two turns.
- A cap sits loose or will not seat: print the test plate and tune
planet_cap_fit in the Customizer; every fit in this design has its own tolerance value, listed in the print settings.
:format(webp)/https://fbi.cults3d.com/uploaders/47421798/illustration-file/99f51505-a446-4147-b77e-45efee281bec/Photo-of-finished-3D-printed-planetary-gear-fidget-spinner-with-braille-numerals-yellow-sun-and-moon.jpg)
/https://preview3d-images.cults3d.com/7d8tqf4p2513t6hflraa7w15arji)
/https://preview3d-images.cults3d.com/ycxblpch0ufosk8366pv1zegjh3v)
/https://preview3d-images.cults3d.com/v5983hjr51rup66apv9veng50iek)
/https://preview3d-images.cults3d.com/vg5o0um9gt2eewzy4ougr3j0g5b9)
/https://preview3d-images.cults3d.com/ebpau2qdh30nylks1gvre5fe8cer)
/https://preview3d-images.cults3d.com/zp3wrw0j0i3say1c2yi0lzmztstl)
/https://preview3d-images.cults3d.com/zpcmksocs7tz7hod7zlhnyzj5moq)
/https://preview3d-images.cults3d.com/aql7ytkgsq6b0sjhzsb80d9wiy74)
/https://preview3d-images.cults3d.com/8xukh1pk2lzkn7dnaqirfbvzetul)
/https://preview3d-images.cults3d.com/ipdypulku1err0wt3qhzzyu9kuya)
/https://preview3d-images.cults3d.com/h1418ruvqoobc4pc6f4ues1kbasy)
/https://preview3d-images.cults3d.com/ebg7klq112wts97xxoqujl9r3ac2)
/https://preview3d-images.cults3d.com/9guz0u8x08fingzdn62vt3jfqdxc)
/https://preview3d-images.cults3d.com/bmctp0vklzjxkkwwamffkz2kg4t7)
/https://preview3d-images.cults3d.com/5nu0ndh62huoixcy6wto5l2rzfe1)
/https://preview3d-images.cults3d.com/i1wnit83tu8x7tlz1ty5w3m6b0r2)
/https://preview3d-images.cults3d.com/g83sma0qzdtbms0g7iz3pt0k85c1)
/https://preview3d-images.cults3d.com/ttz07p60rqq72avi2iydwbipm2se)
/https://fbi.cults3d.com/uploads/user/avatar/47421798/Profilbillede_til_LinkedIn_og_CV_-_Edis1.JPG "Accessible3d")


:format(webp)/https://fbi.cults3d.com/uploaders/47421798/illustration-file/ac653439-5700-4b4a-9b83-415653729317/1d06f99a-5492-4a18-a26d-4a7850841e60.jpg)
:format(webp)/https://fbi.cults3d.com/uploaders/47421798/illustration-file/e167aa8a-4dca-457f-9667-47d93272b3c7/Accessible-3D-printed-chess-set-in-starting-position-on-a-tactile-peg-in-hole-chess-board.-White-pie.jpg)
:format(webp)/https://fbi.cults3d.com/uploaders/47421798/illustration-file/2563d436-d60d-4188-ade9-f6de38b1459b/accessible-braille-business-card-with-qr-code-front-view-3d-printed.jpg)
:format(webp)/https://fbi.cults3d.com/uploaders/47421798/illustration-file/e3262182-1146-45d3-bf6e-77e47abd1613/Close_up_of_the_3D_printed_lamp_base_showing_the_functional_screw_threads_and_white_LED_insert_with_.jpg)
:format(webp)/https://fbi.cults3d.com/uploaders/47421798/illustration-file/4666a530-cafe-4e76-aae9-25794ecfa9f3/Parametric-OpenSCAD-3D-printed-customizable-birthday-plaque-featuring-a-dual-color-diagonal-split-an.jpg)
:format(webp)/https://fbi.cults3d.com/uploaders/47421798/illustration-file/e0723554-a9a9-4ee1-ace9-f4ef159b058c/Accessible-3D-printed-tactile-Stratego-board-game-starting-position-layout-with-high-contrast-Braill.jpg)
:format(webp)/https://fbi.cults3d.com/uploaders/47421798/illustration-file/e525a5ce-fe73-4c00-86d2-2cce6801b885/PARAME~1.jpg)
:format(webp)/https://fbi.cults3d.com/uploaders/47421798/illustration-file/4ac18ca6-a9e3-42ba-a57b-62398b22aab7/High-angle-view-of-white-3D-printed-castle-dice-tower-showing-keep-bartizan-turret-spires-and-dice-t.jpg)