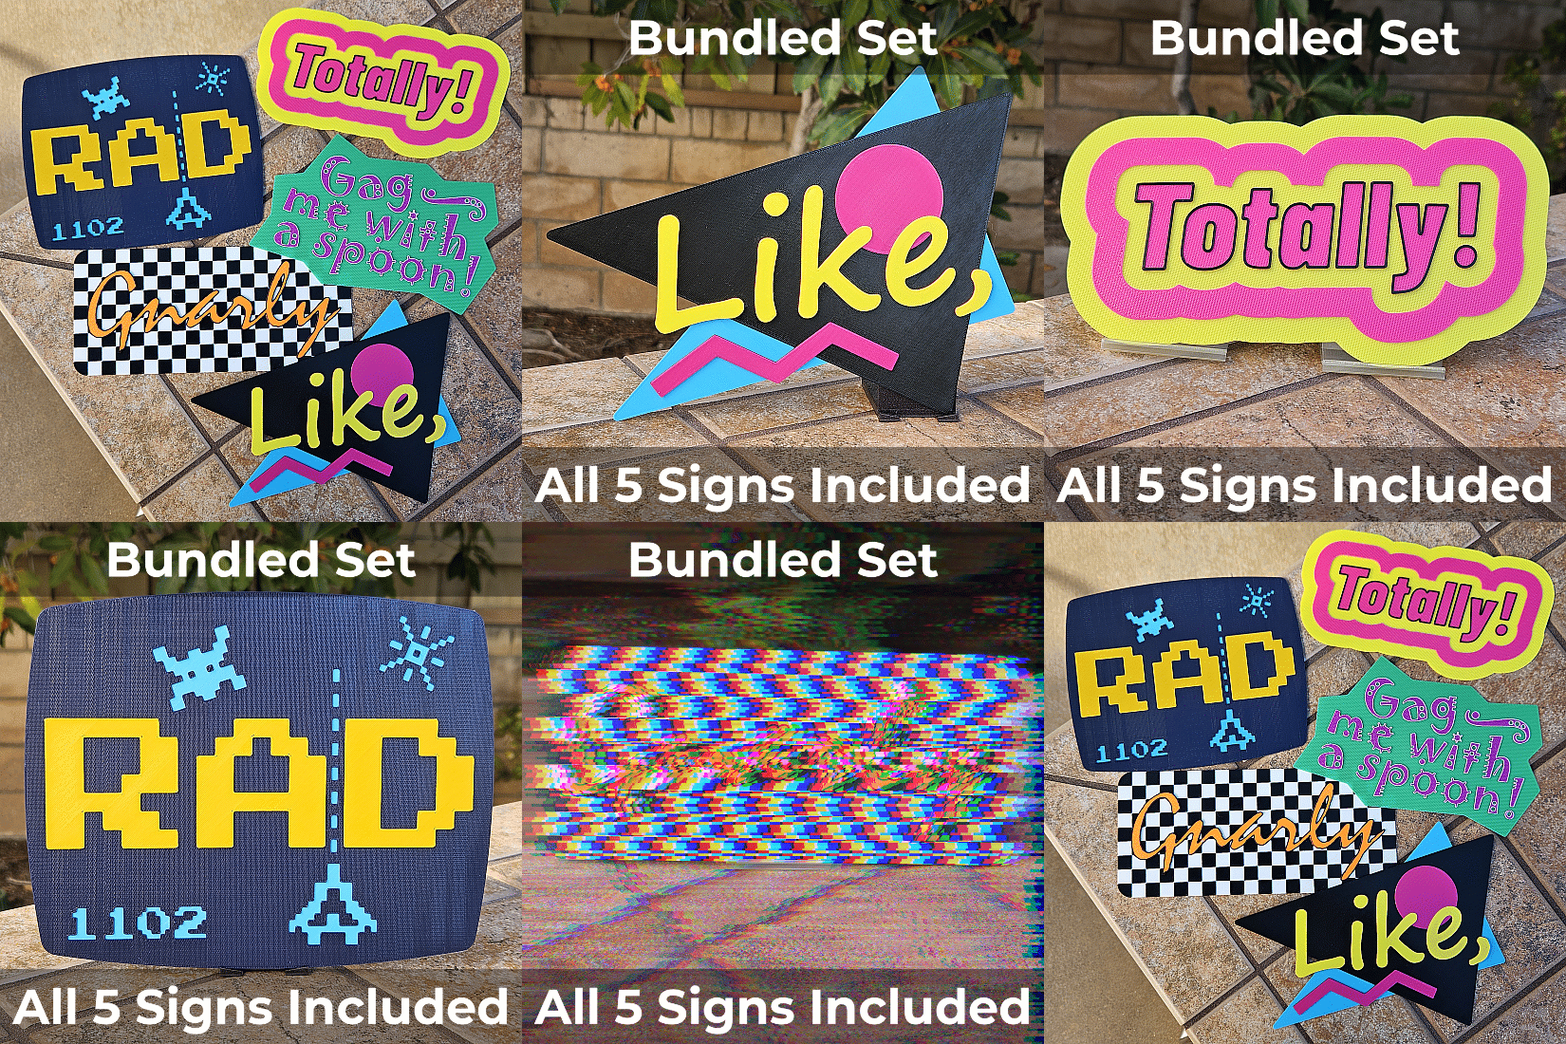
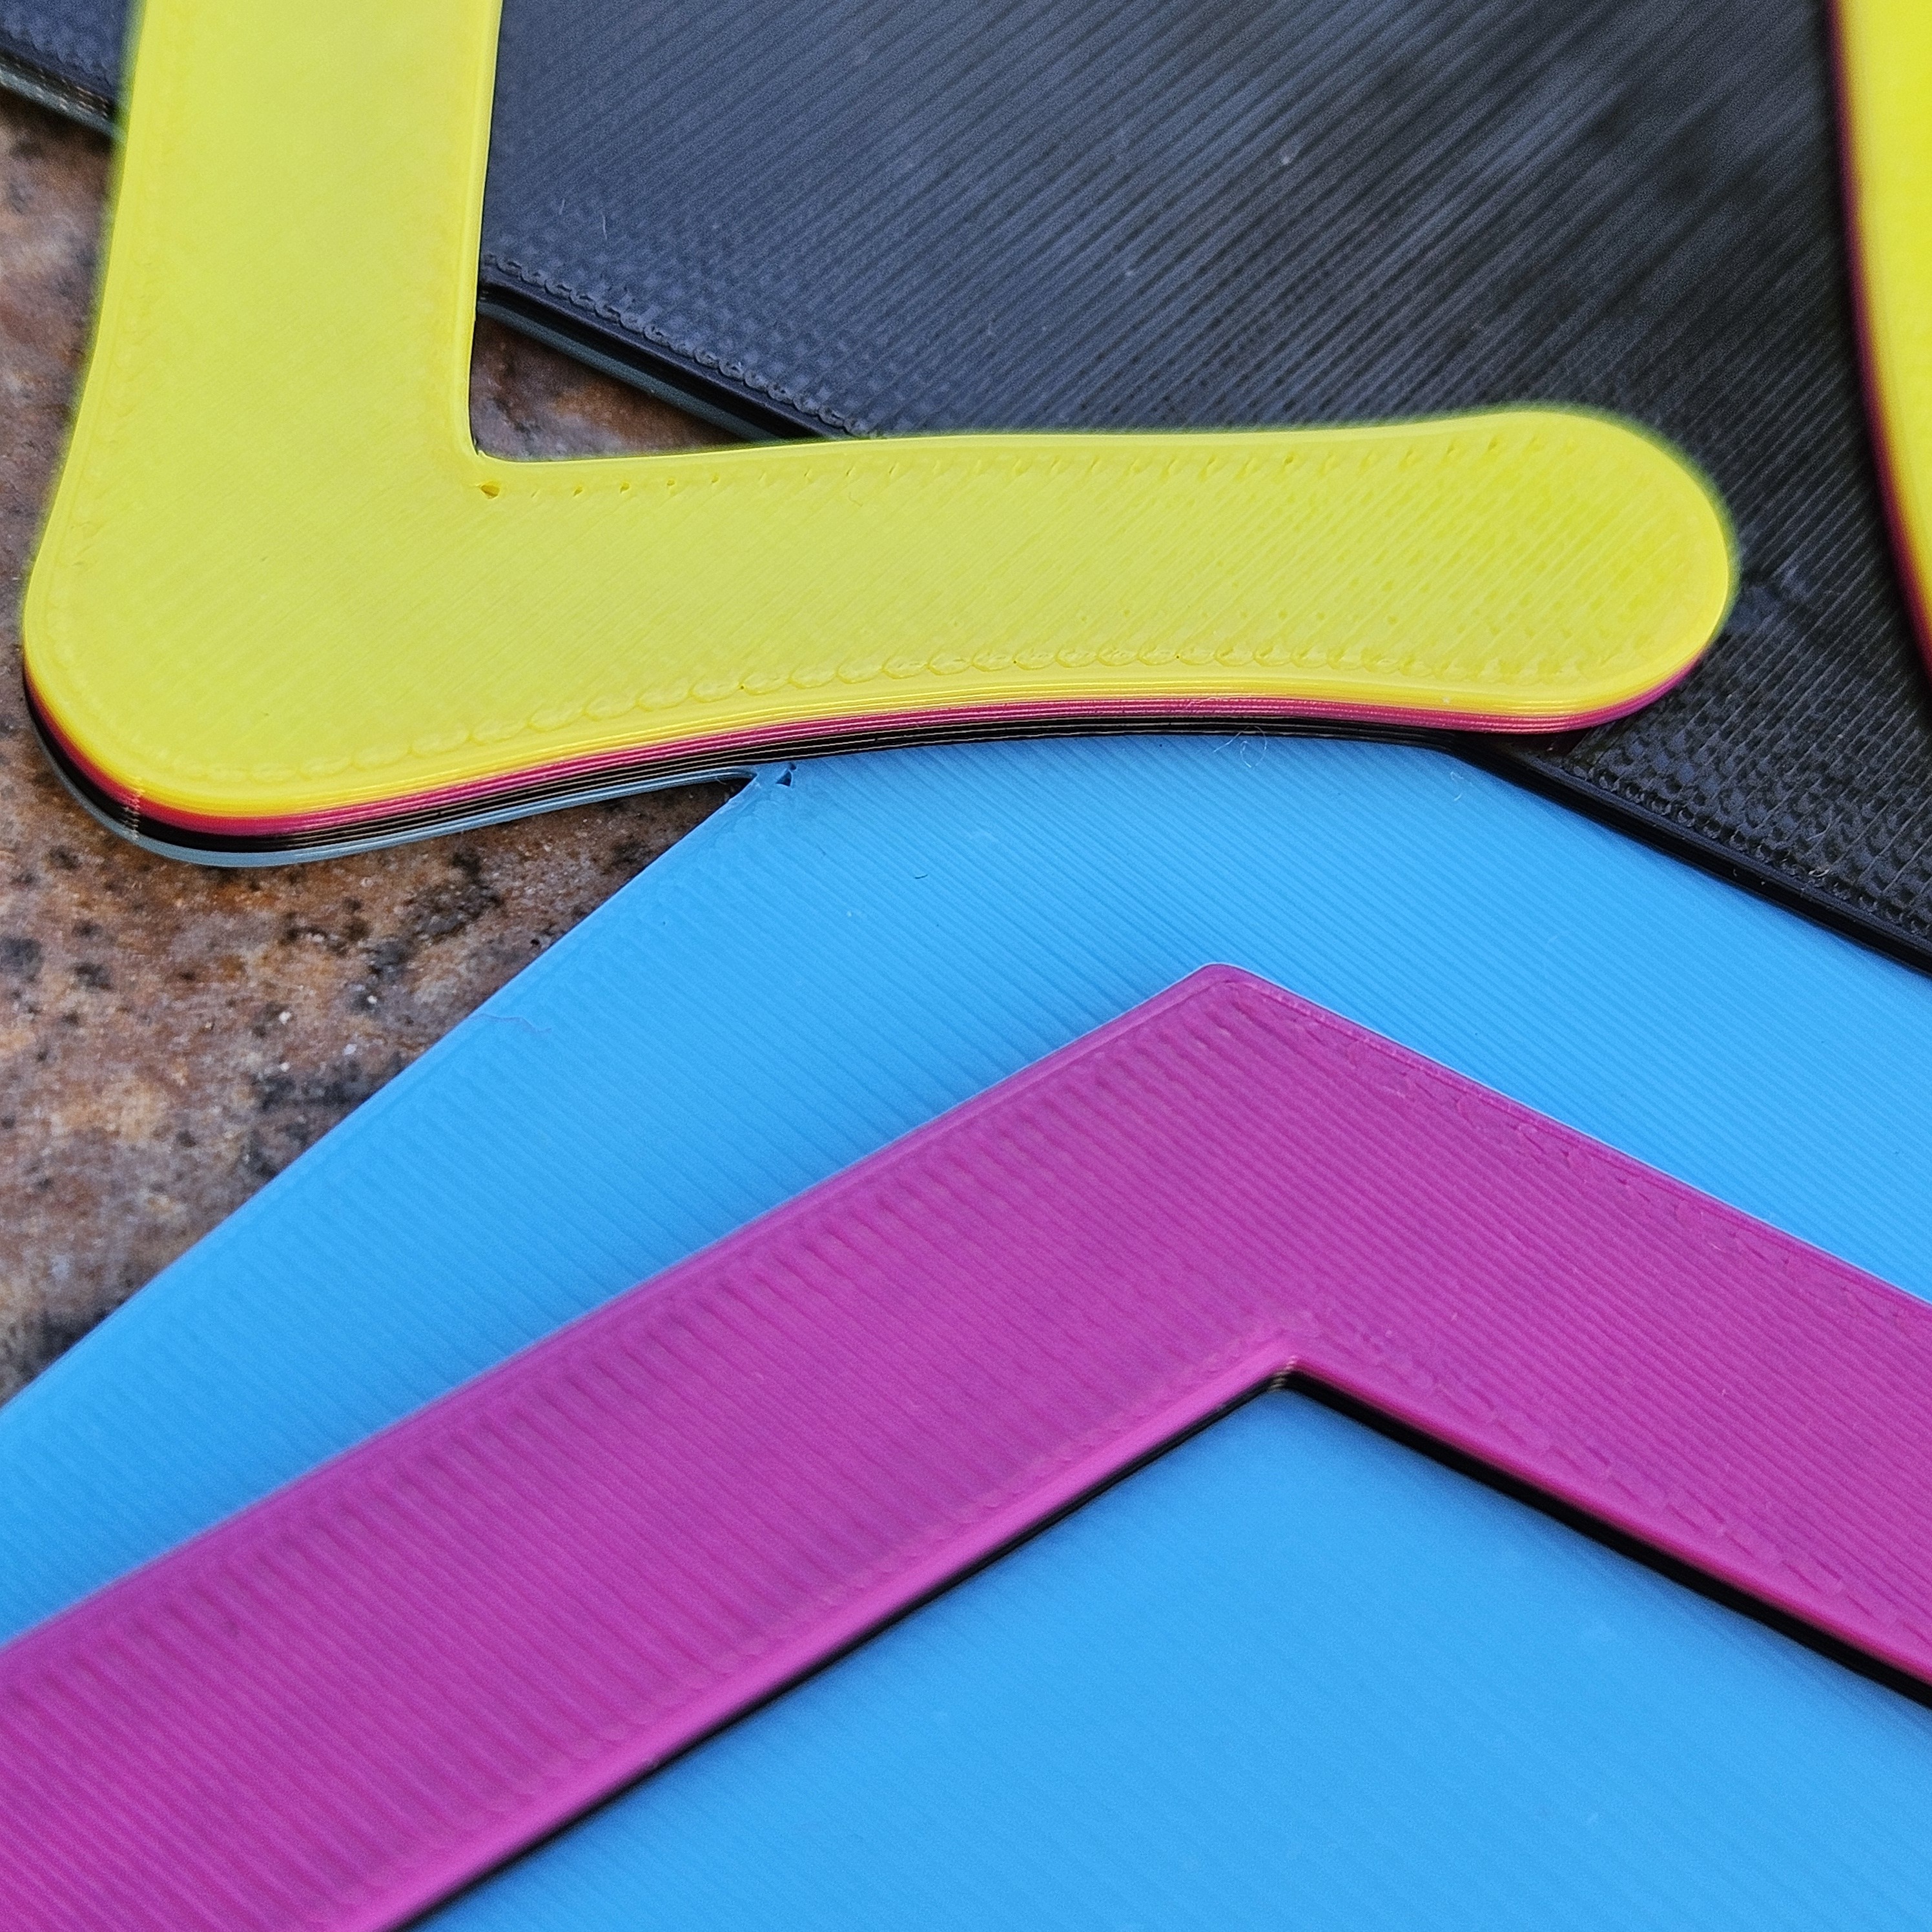
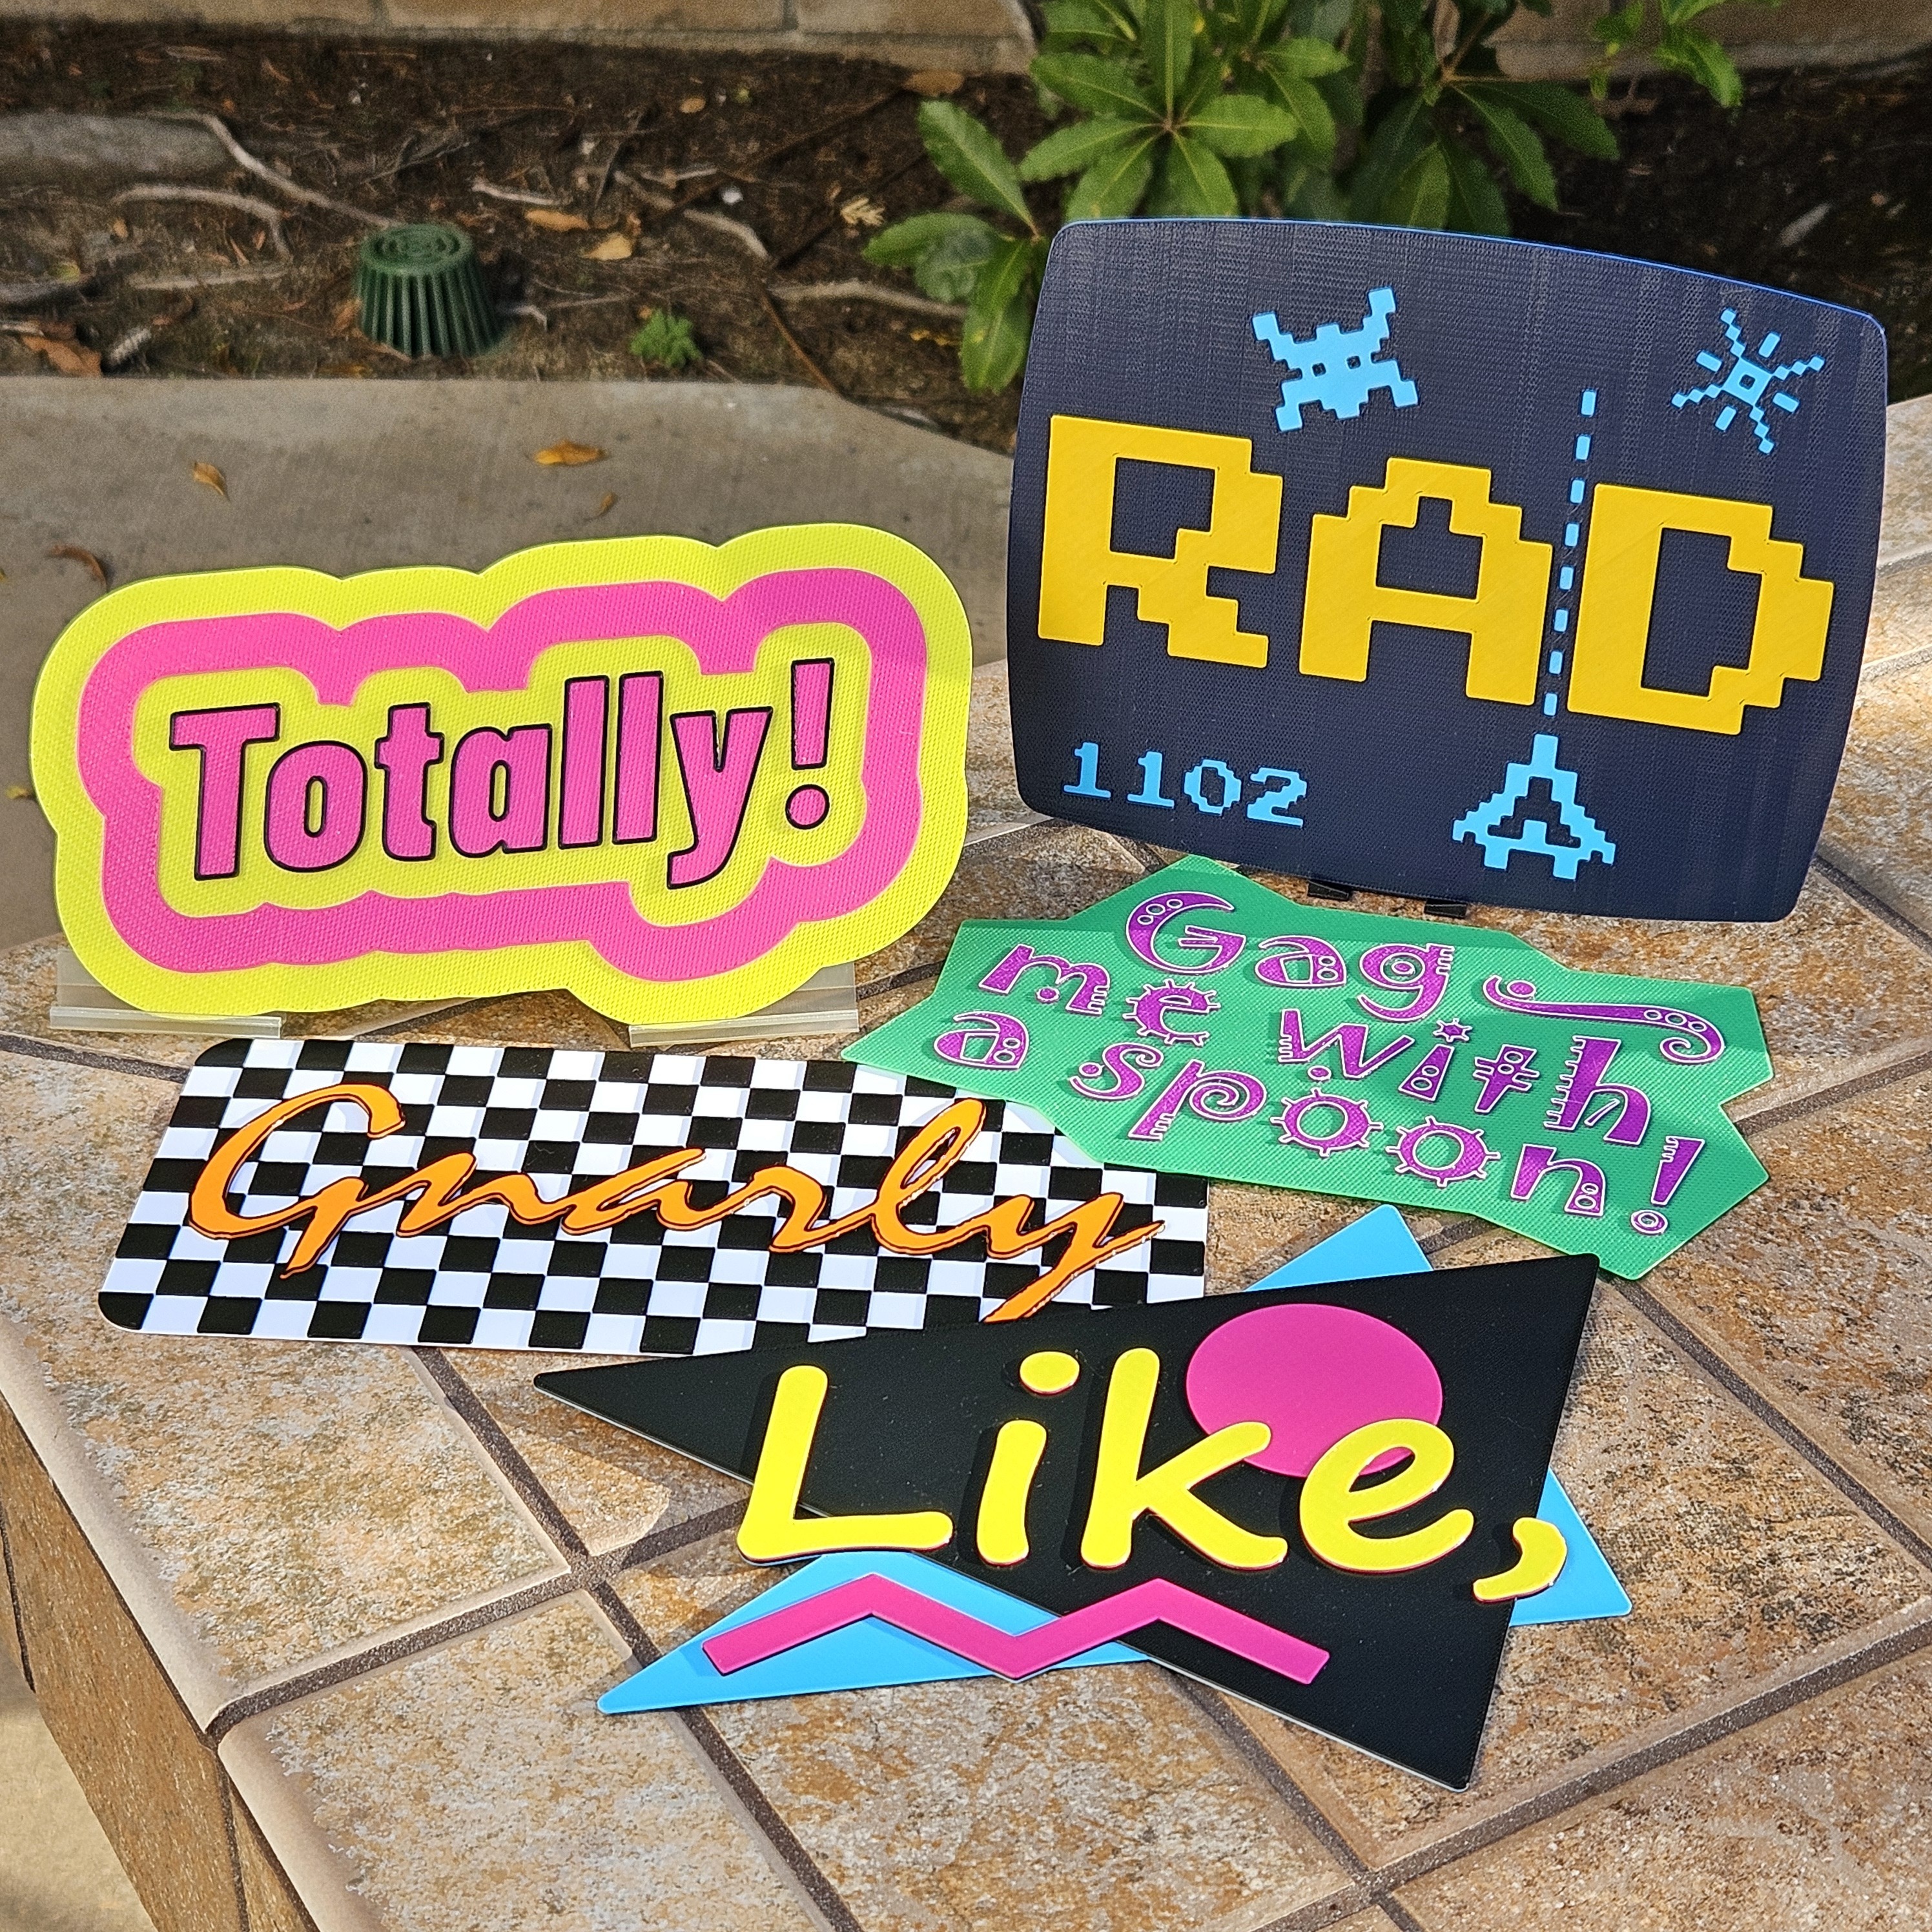
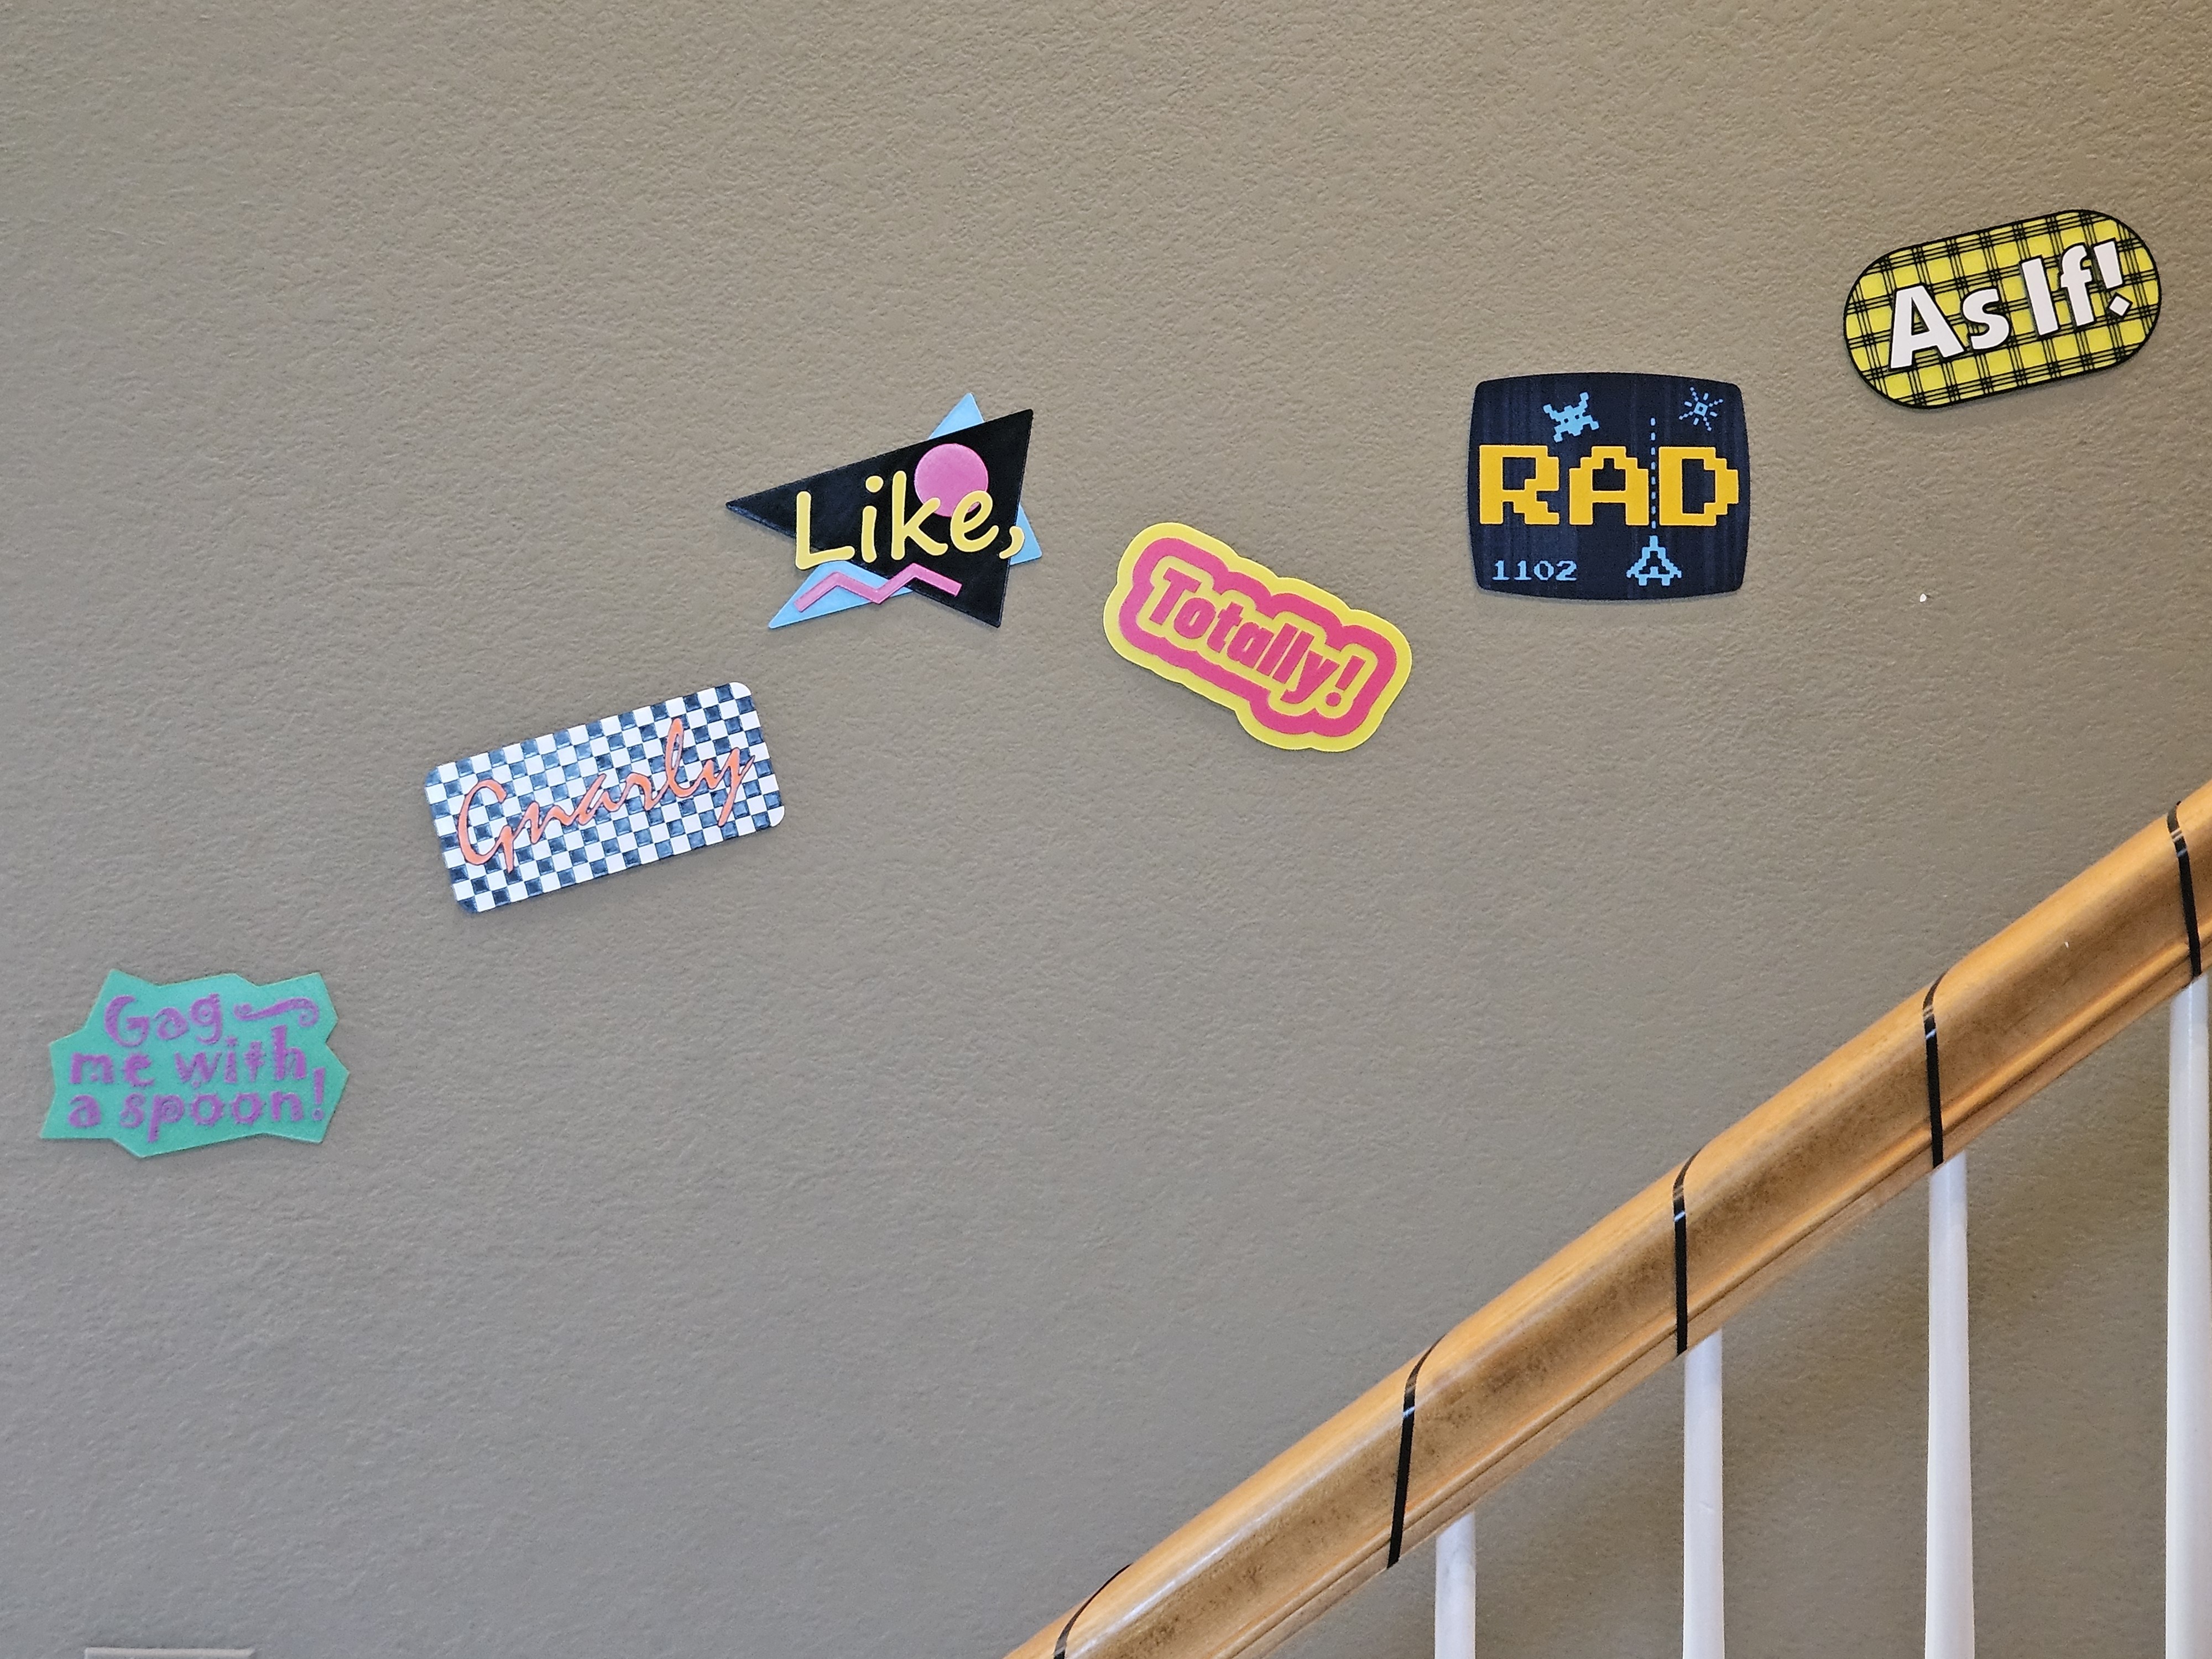
Most of the signs print with the same settings. I added some texture using infill for a few and a few of my prints were rescaled from the original model sizes. The details below are copied from the individual posts.
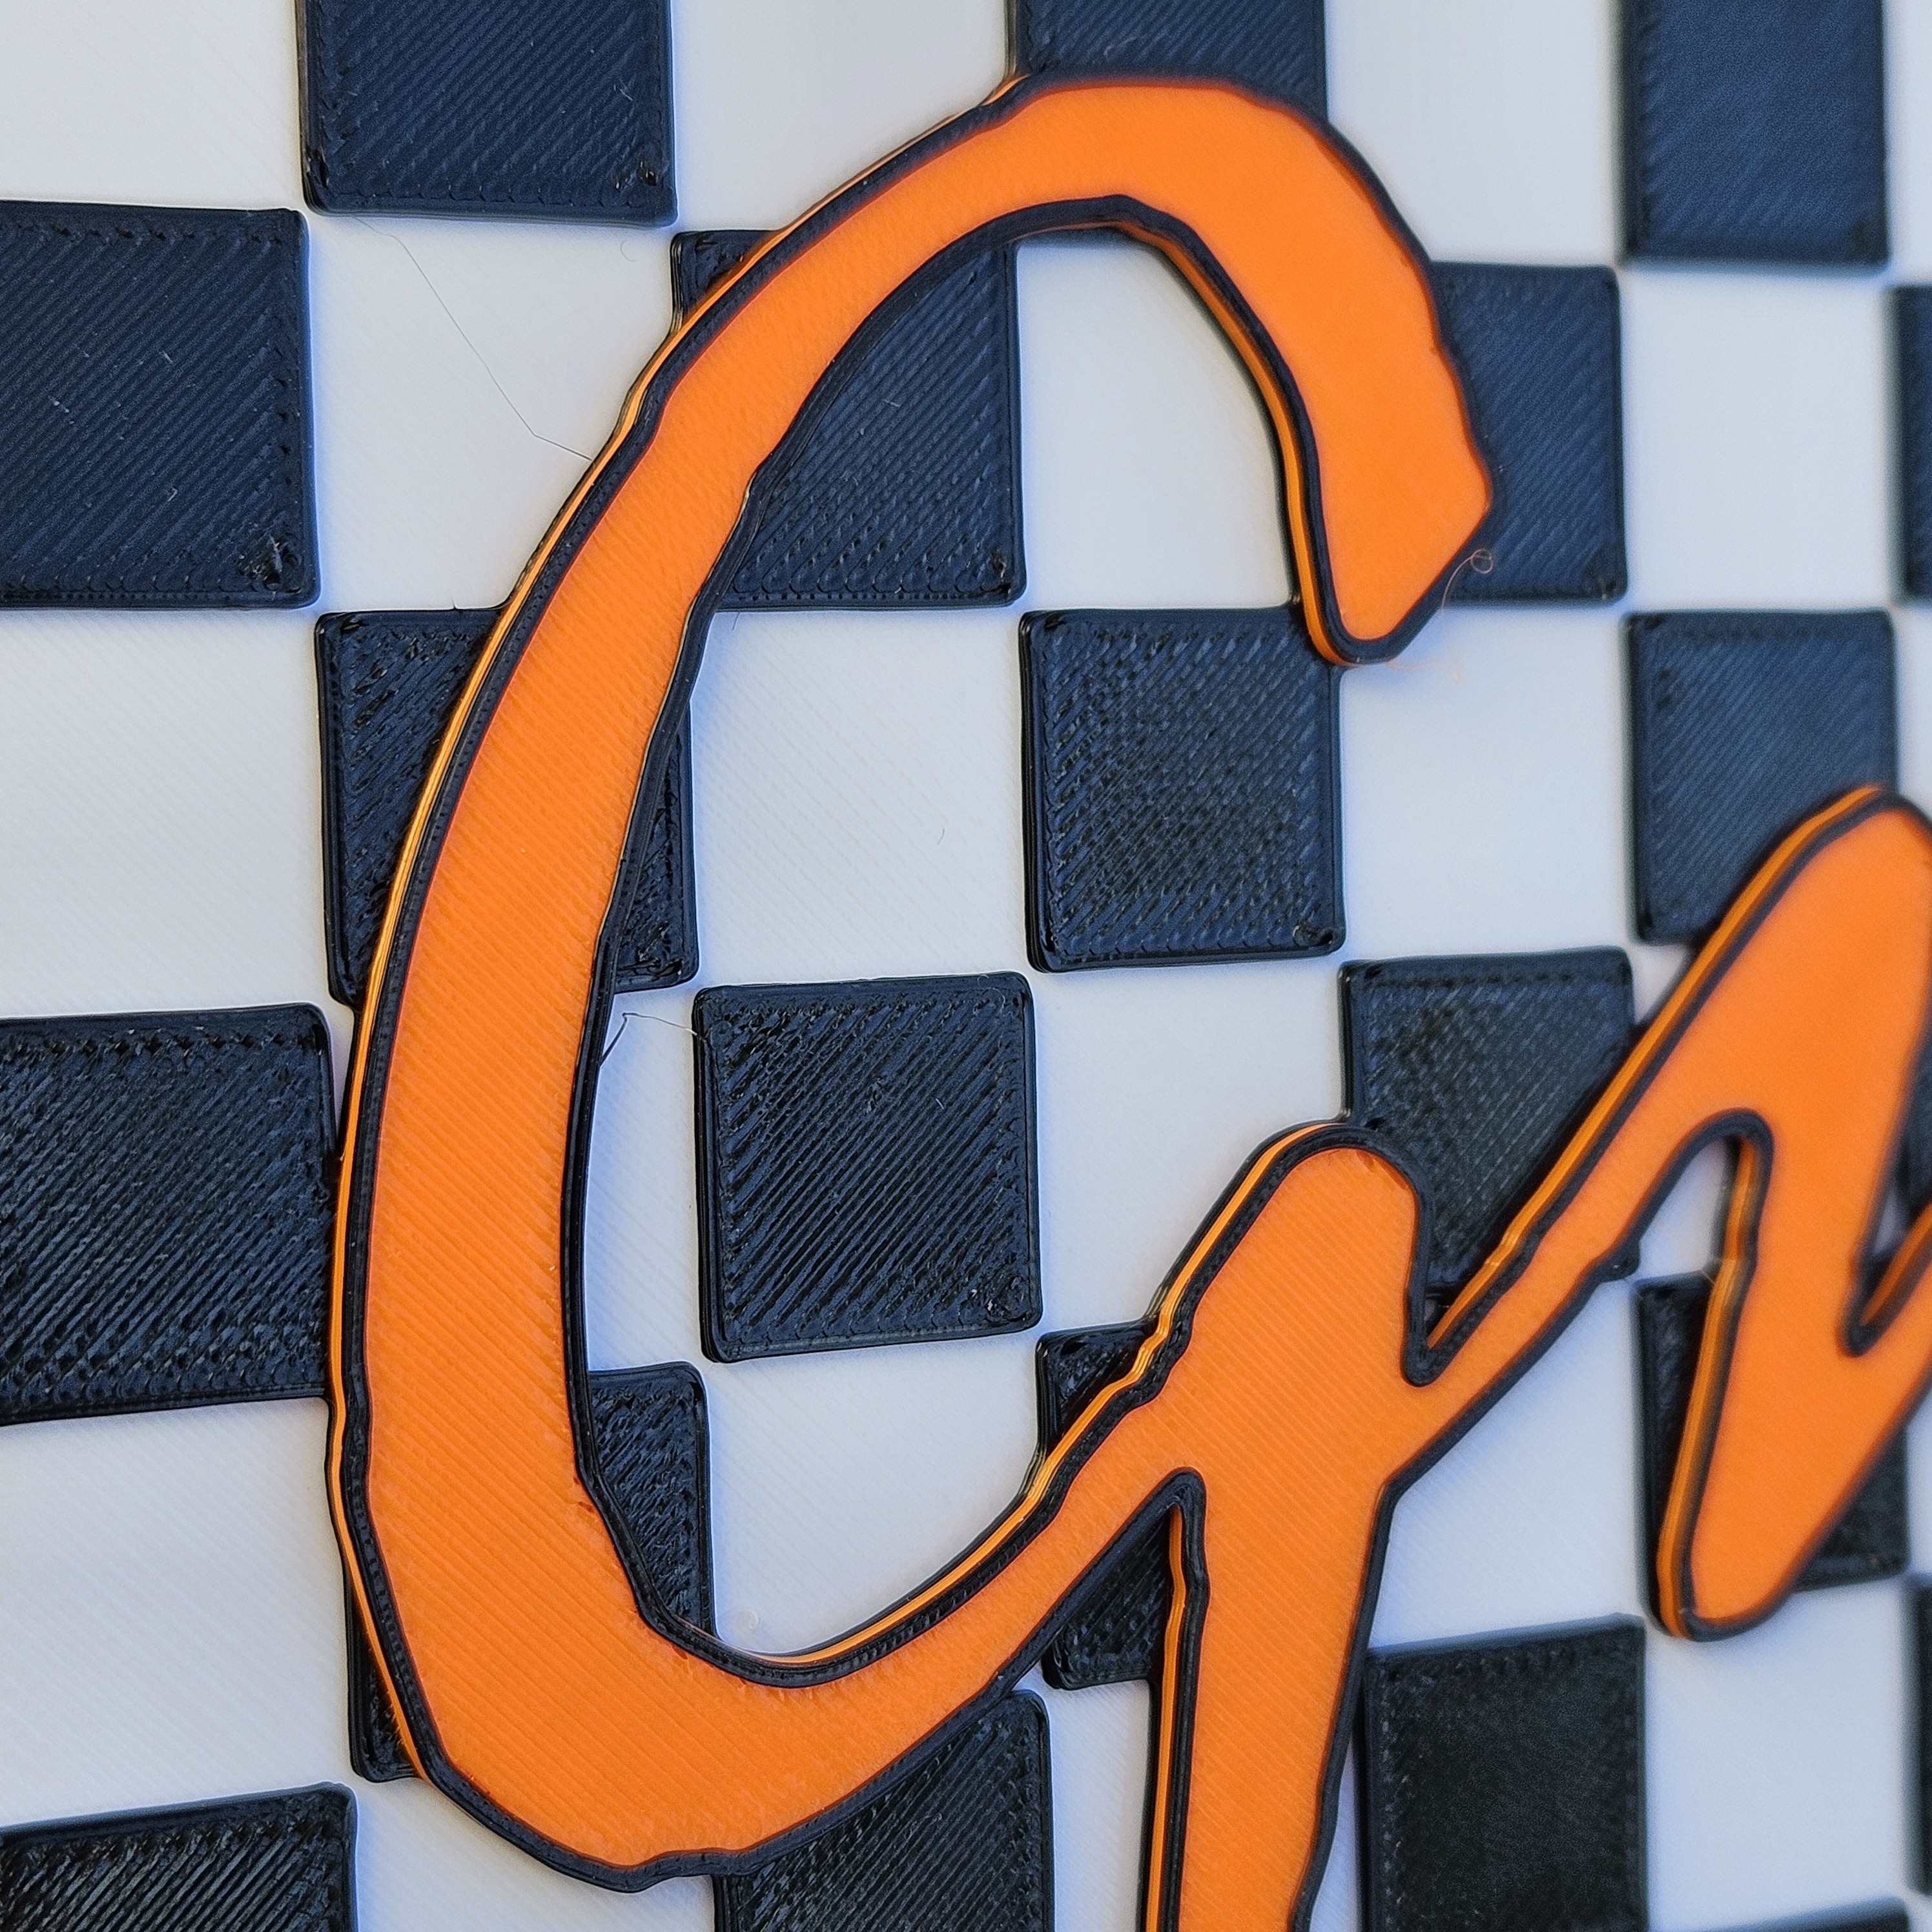
Gnarly
So Gnarly, Dude!
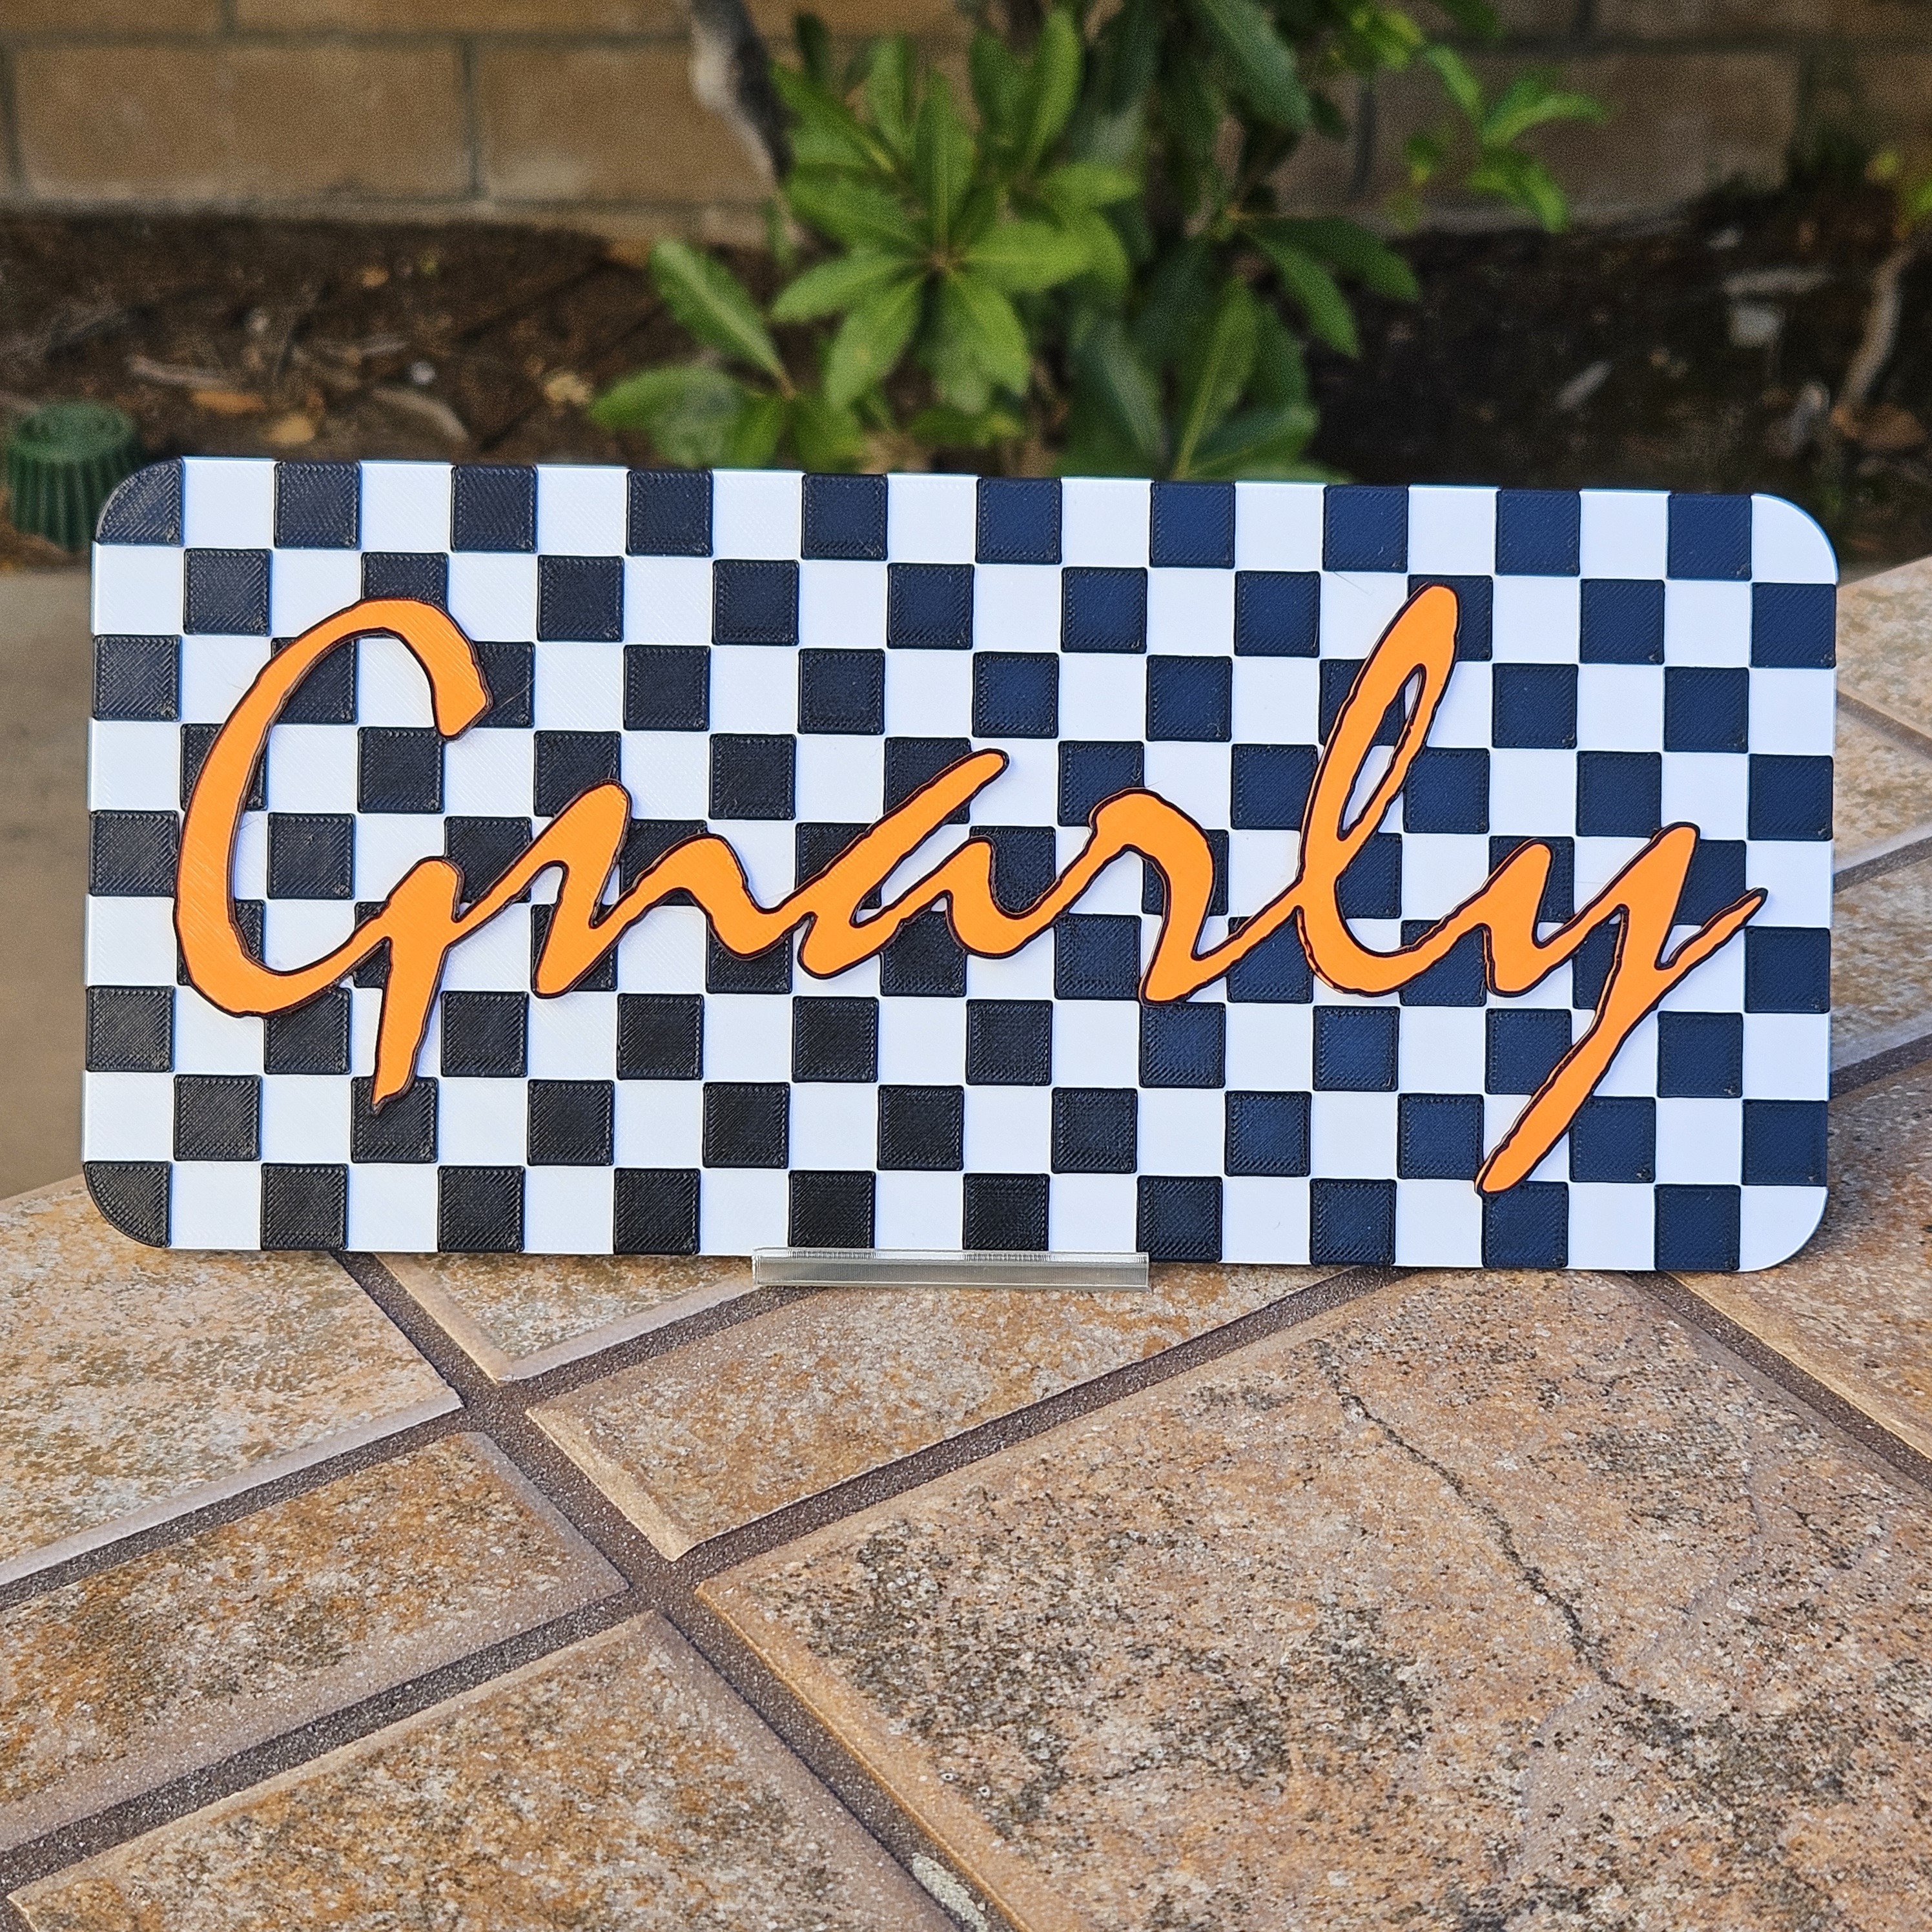
Surf culture, skateboarding, and a certain brand of shoes all come to mind with this Gnarly design.
Designed to print with a single-color printer using filament swaps. I printed with three swaps. However, you could skip the final outline and print it with two.
Individual Post & More Photos: Gnarly
Model is approximately 212 x 95 x 2.25 mm. However, I wanted to print it bigger, so I rescaled it in the x and y directions to 115% (keeping the z direction at 100% scale). The new dimensions are approximately 243 x 109 x 2.25 mm (2.50 with the outline). This size looks good when together with the other signs. Filament swaps or color changes at 0.75 mm, 1.50 mm, and 2.25 mm.
I printed with 0.25 mm layer height, 3 solid top and bottom layers, 2 perimeters, and 15% infill.
The "outline" is a separate model that aligns with the primary sign.
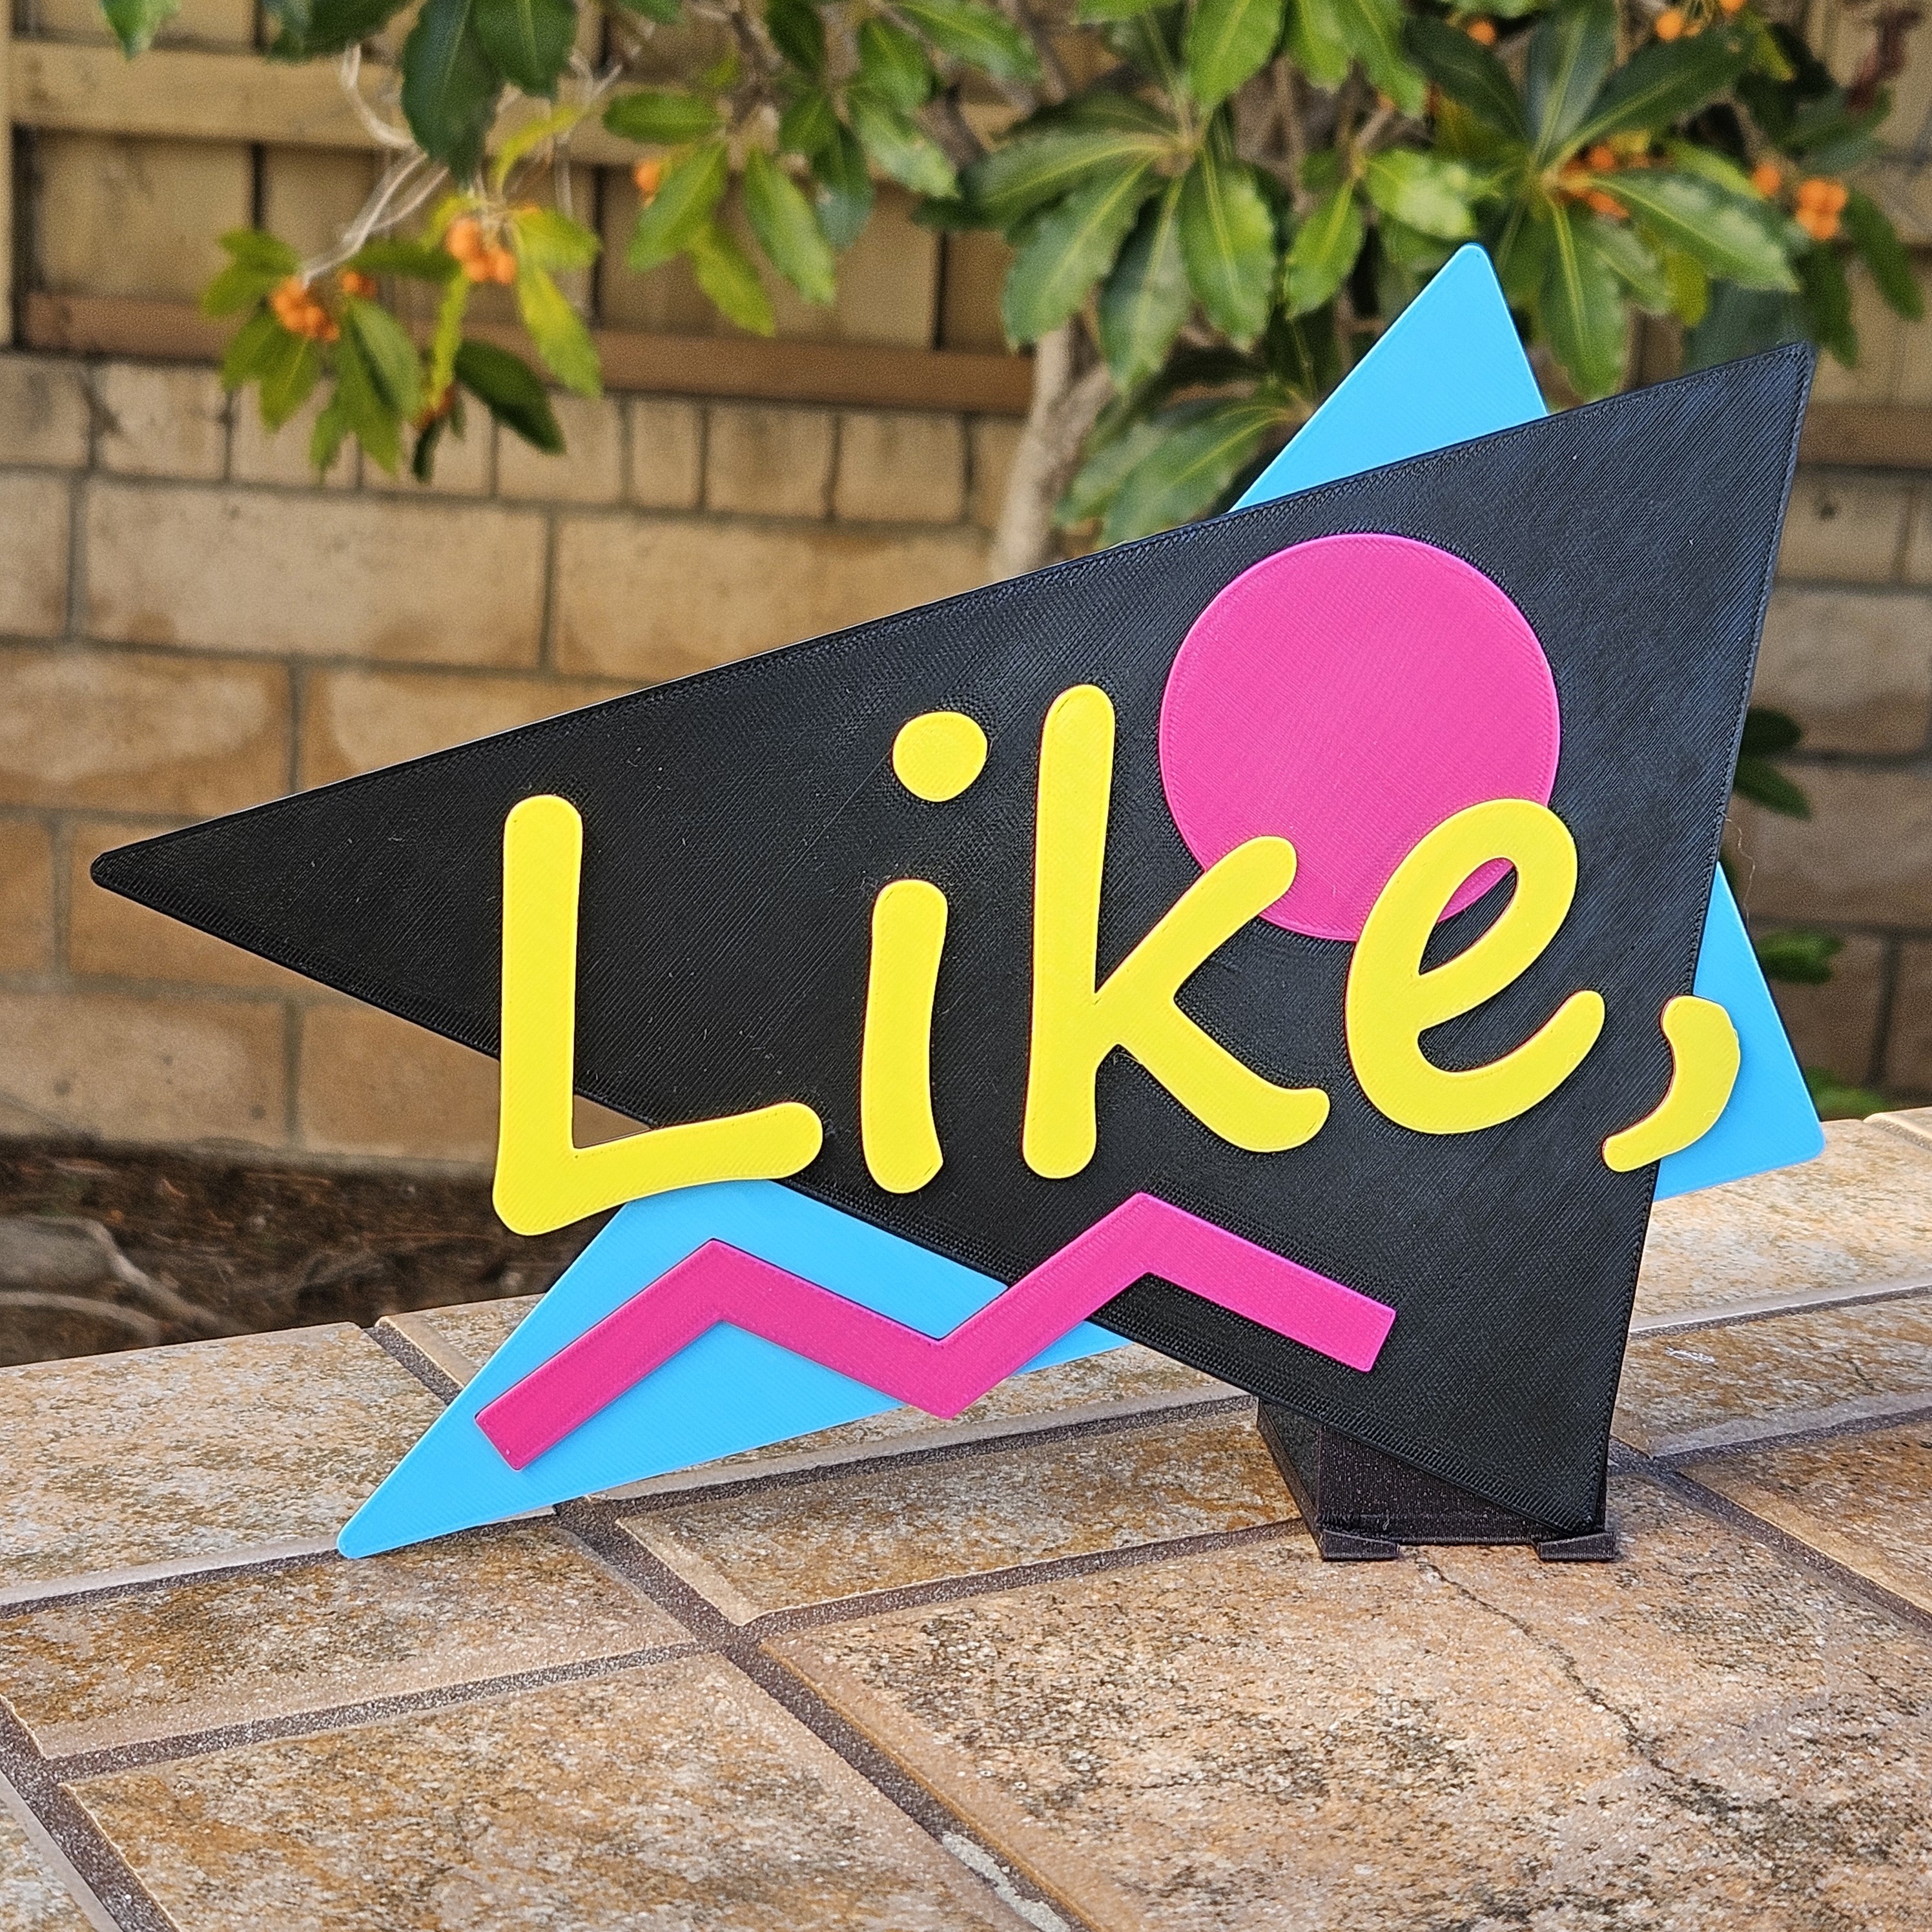
Like,
And, like, what would 80s slang be like without, like, this word?!
How can you, like, not like this one?
Designed to print with a single-color printer using filament swaps. I printed in four colors with three swaps. However, note that the back triangle isn't necessary to keep the sign together and, if lowered by 0.75 mm, it could be printed with only three colors (two swaps). See screenshot included with photos for an example. This was actually my original design and my daughter insisted on adding another triangle. She was right!
Individual Post & More Photos: Like,
Model is approximately 202 x 153 x 3 mm. However, I wanted to print it bigger, so I rescaled it in the x and y directions to 115% (keeping the z direction at 100% scale). The new dimensions are approximately 233 x 176 x 3 mm. This size looks good when together with the other signs. Filament swaps or color changes at 0.75 mm, 1.50 mm, and 2.25 mm.
I printed with 0.25 mm layer height, 3 solid top and bottom layers, 2 perimeters, and 15% infill.
See note about a three-color version above.
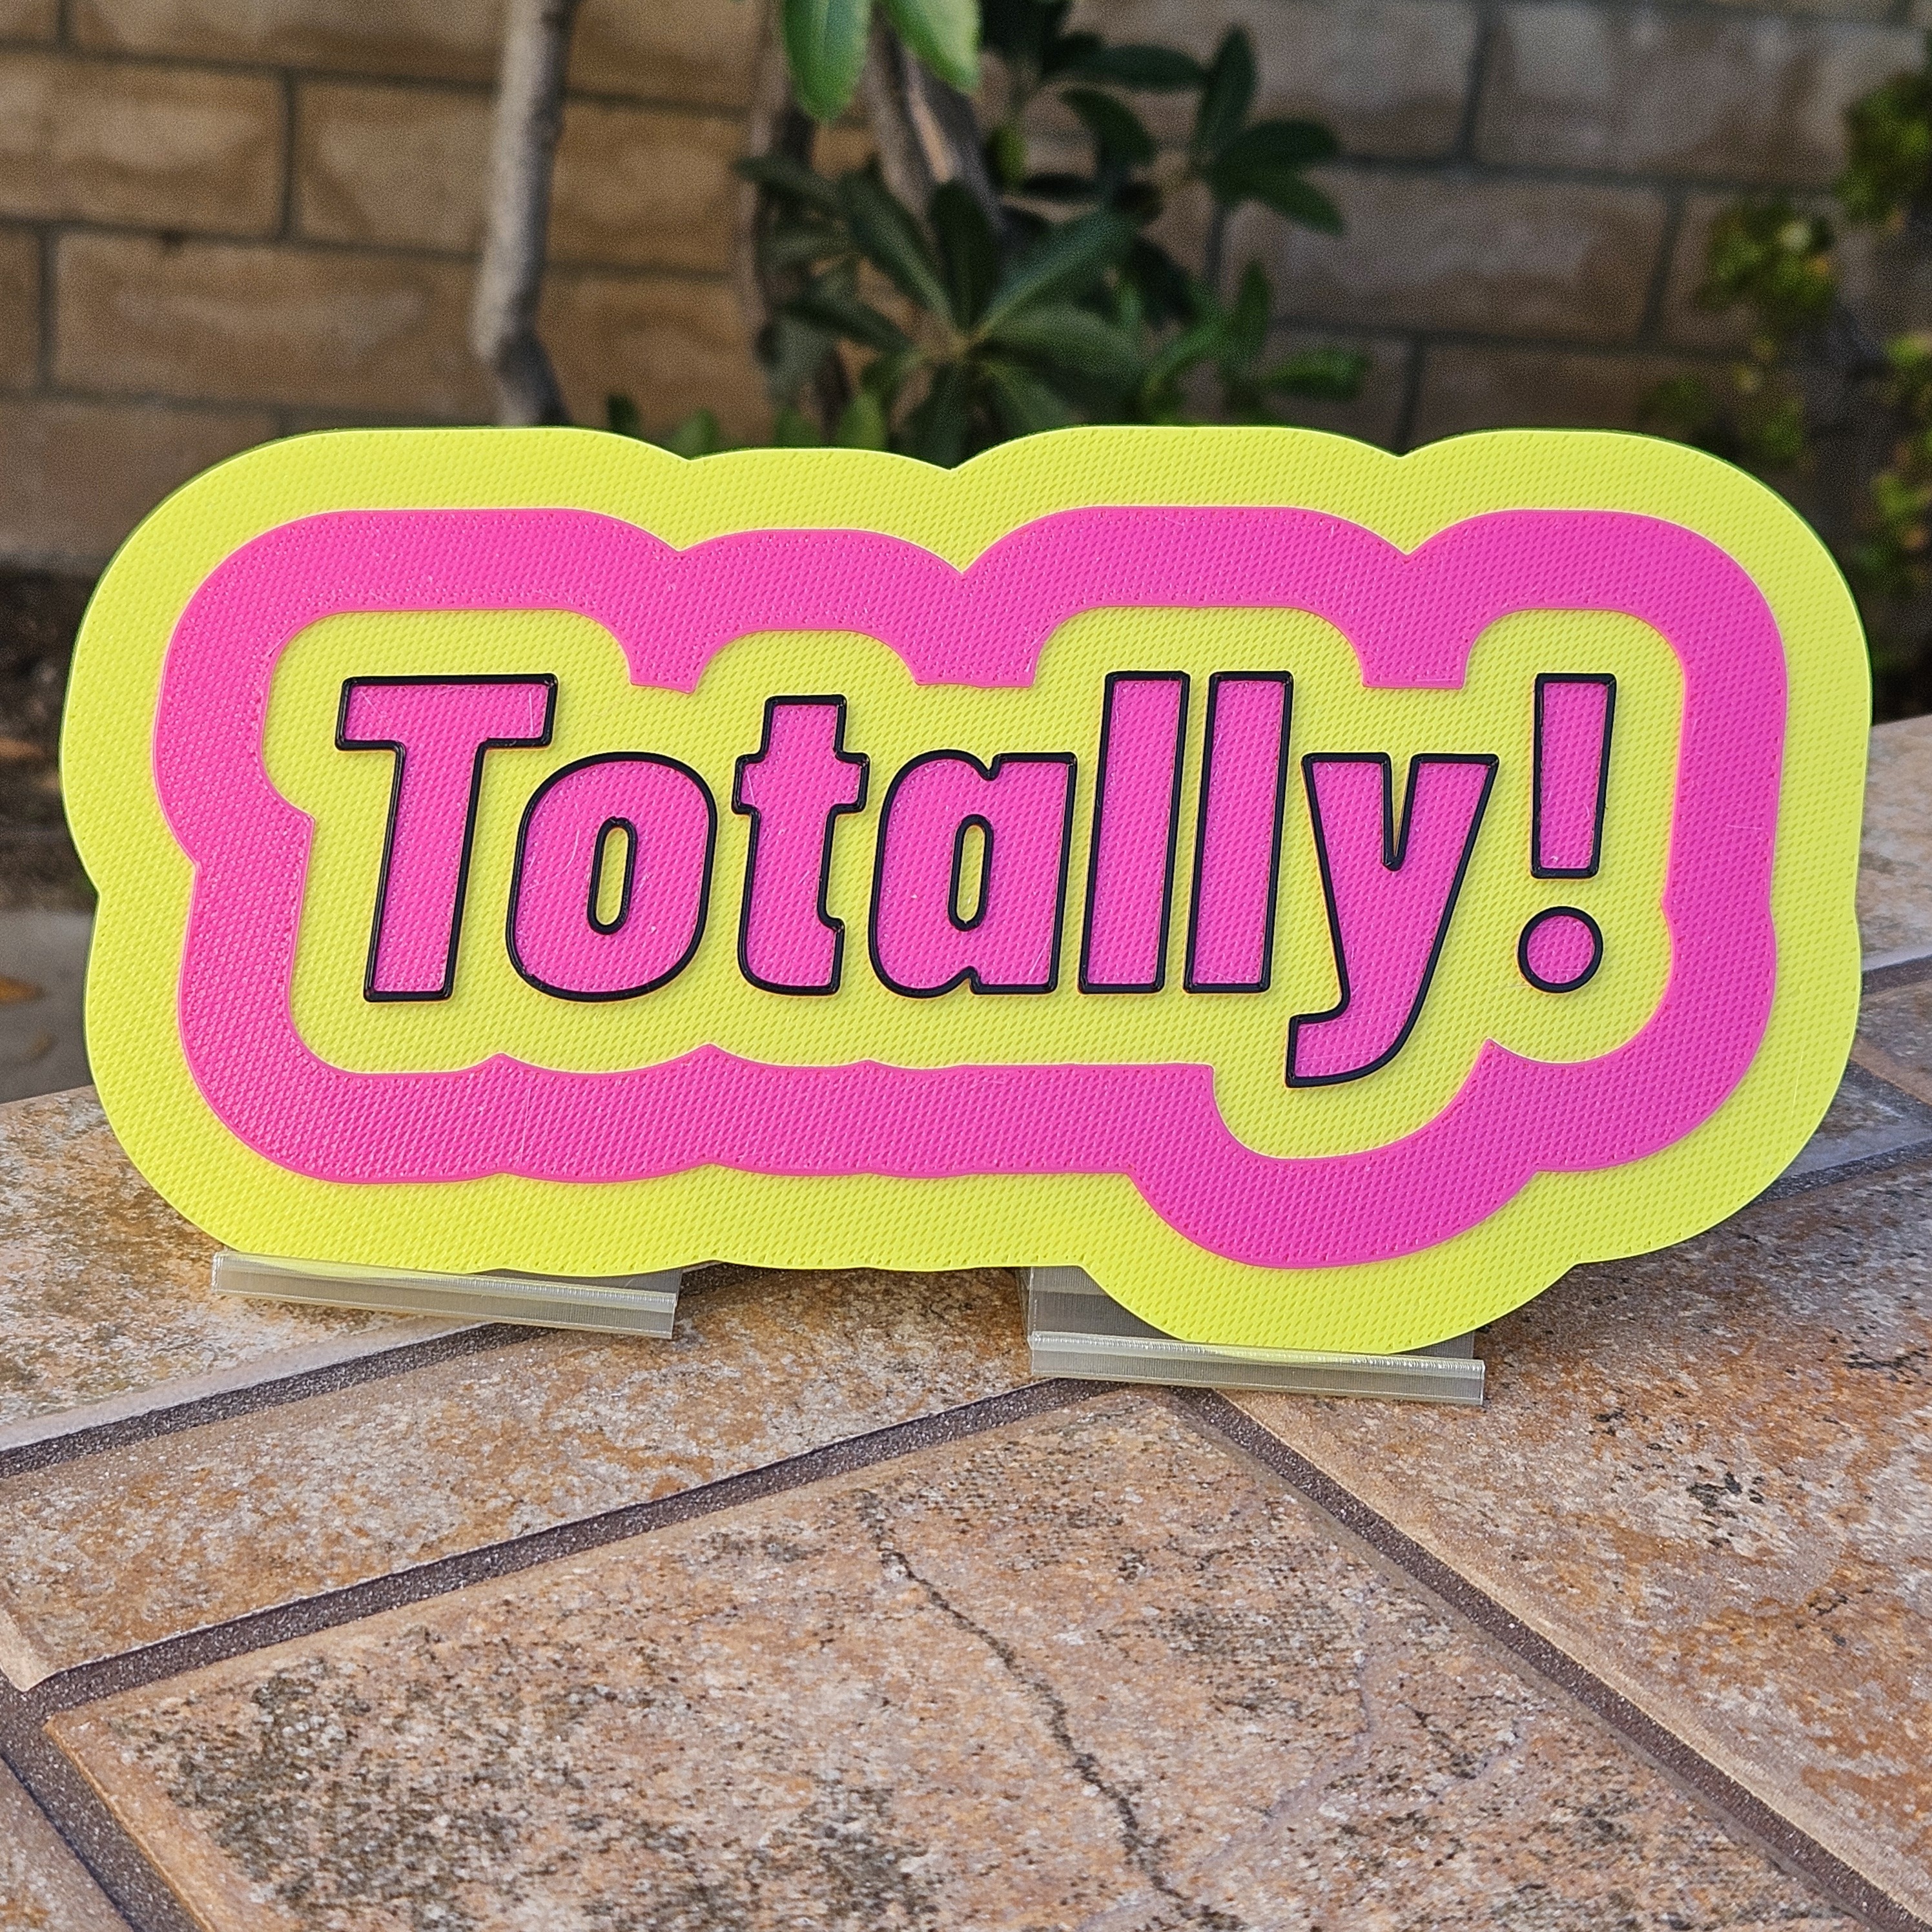
Totally!
I totally used to say "Totally!" too often! And it still pops out from time to time. I totally had to have this one in my collection!
Designed to print with a single-color printer using filament swaps. This may be printed with two colors or three colors. The third color could be the outline as shown or a new color for the letters (details below).
Individual Post & More Photos: Totally!
Flat Sign Update:
With filament swaps, I printed the original sign with 3 colors. Now with the ability to easily print 5 colors together, I was able to make the sign more as I originally envisioned it with different surrounding colors.
Model is approximately 220 x 116 x 1.5 mm. Note: I wanted my signs to be slightly bigger, so I rescaled it in the x and y directions to 104% (keeping the z direction at 100% scale). The new dimensions are approximately 229 x 121 x 1.5 mm. This size looks good when together with the other signs. Filament swap or color change at 0.75 mm (and 1.50 mm, if desired, see below).
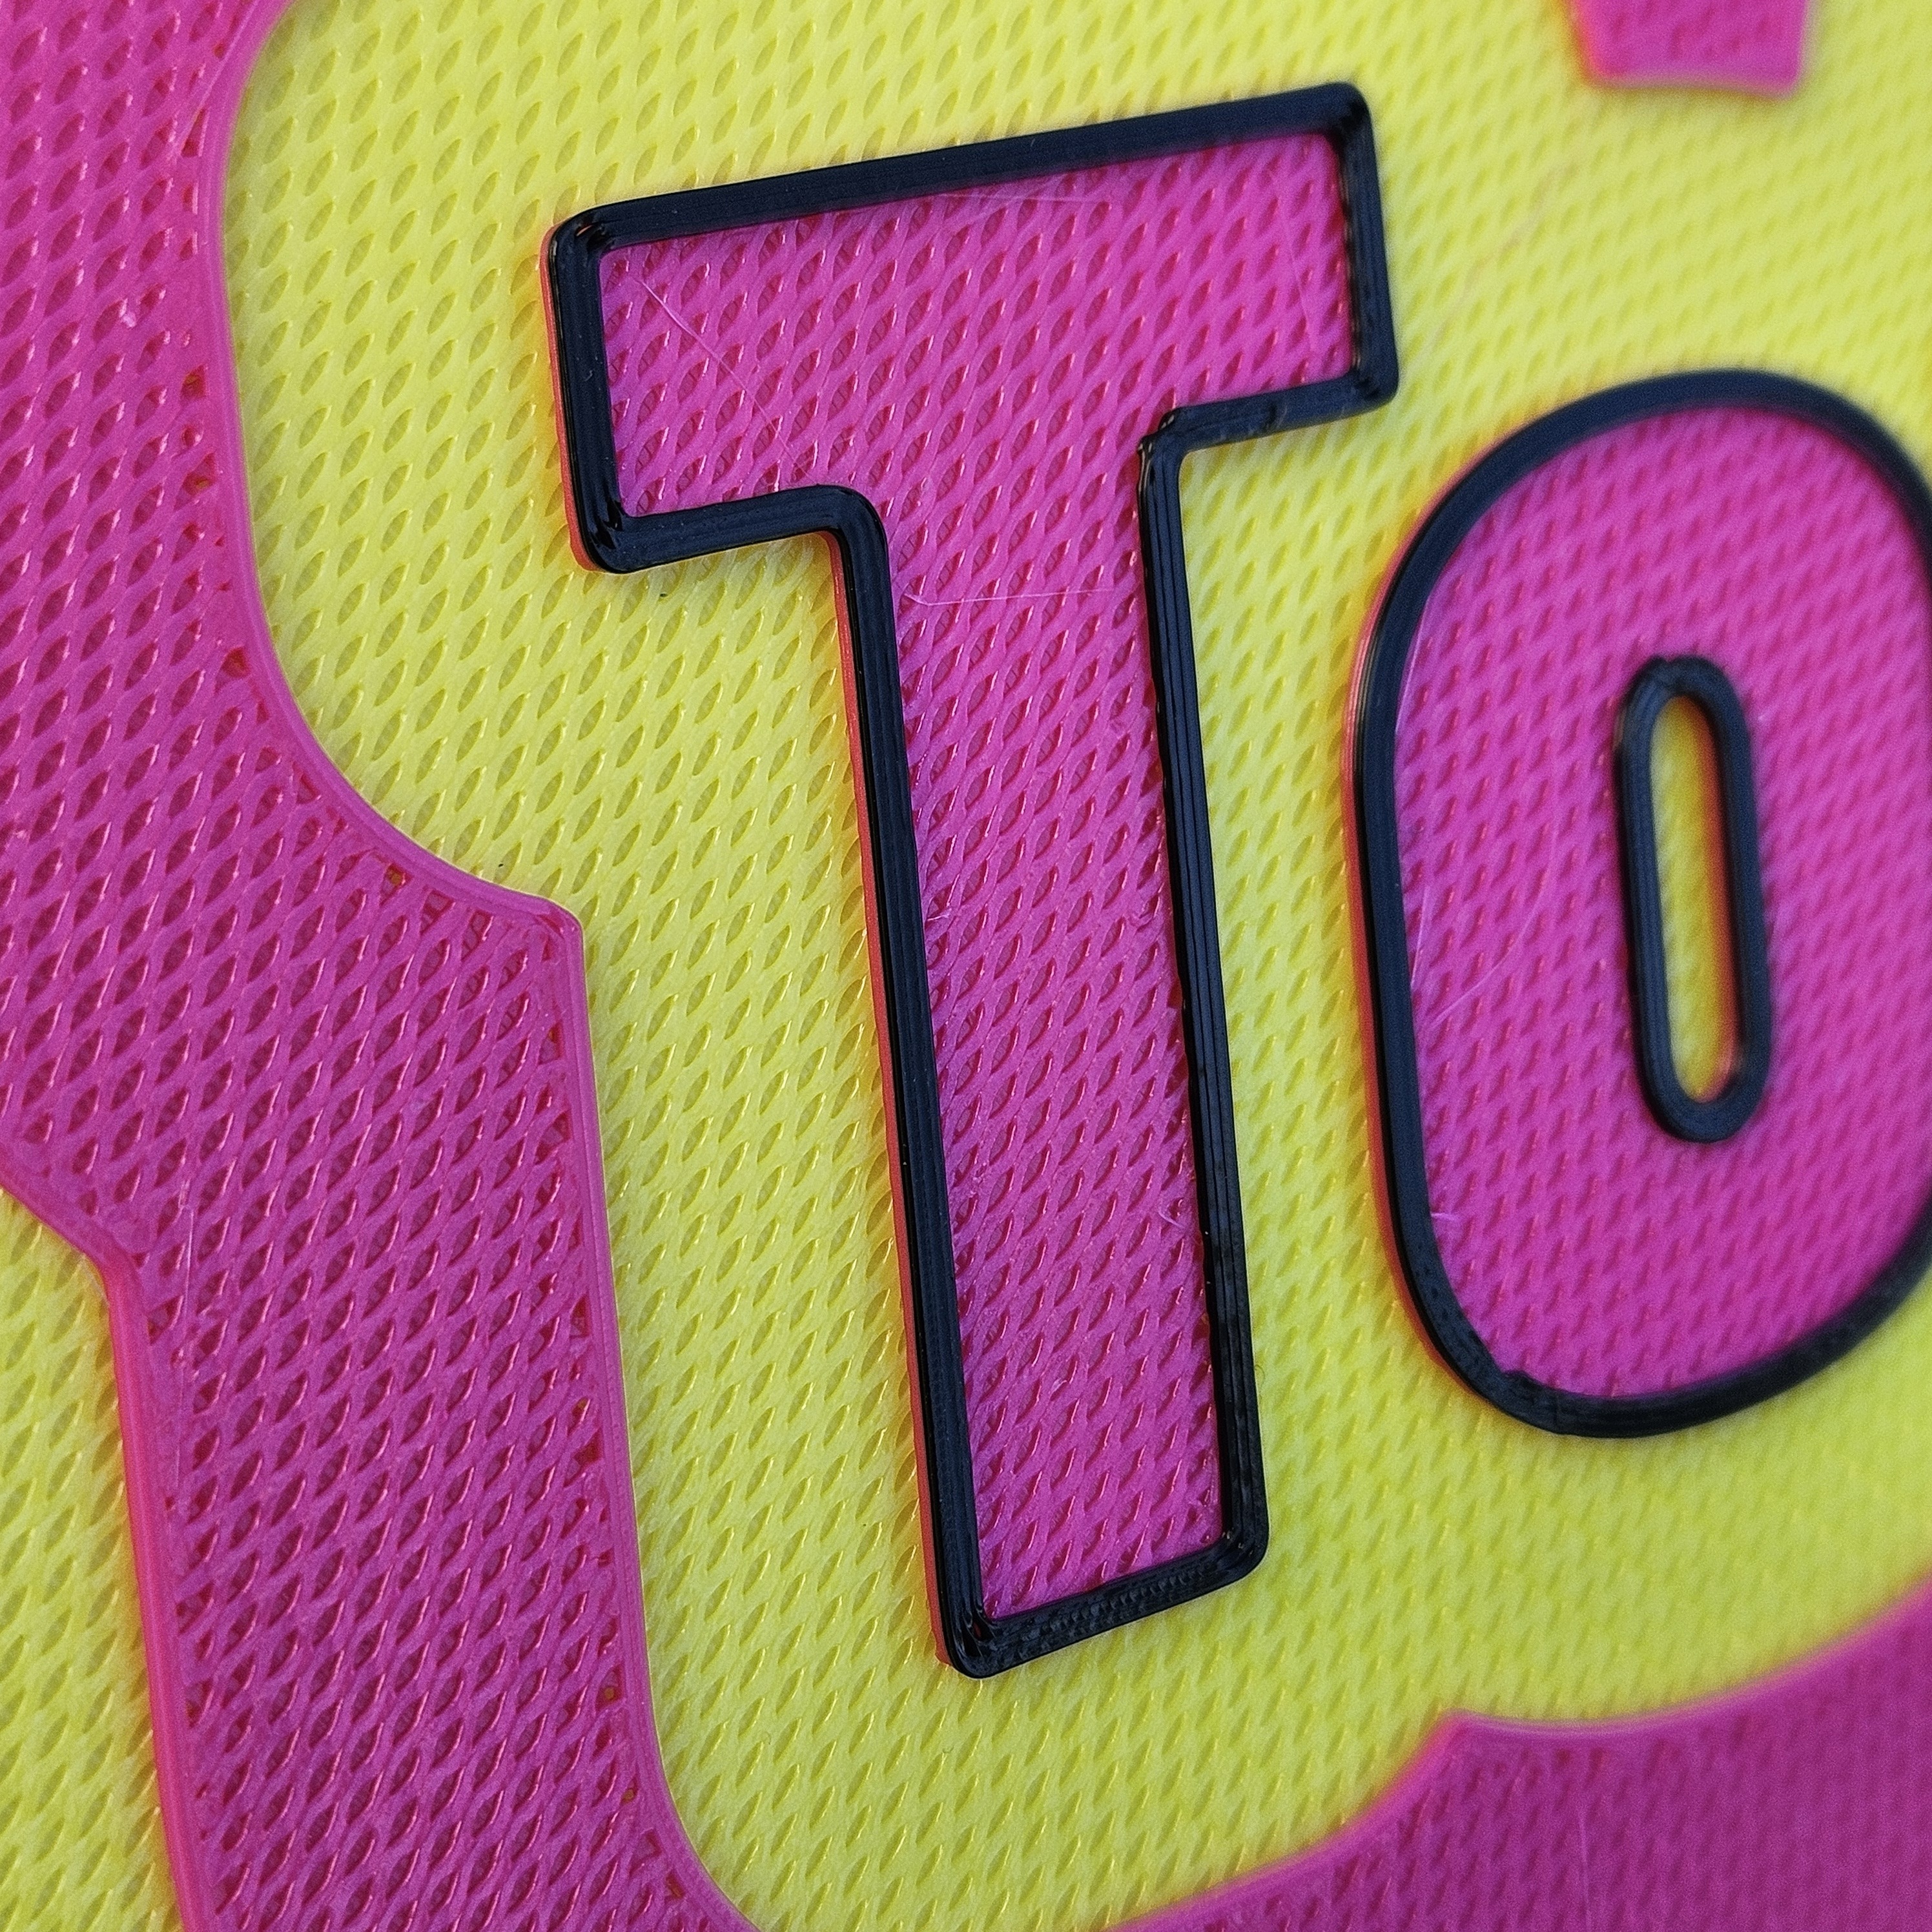
I printed with 0.25 mm layer height and 2 perimeters. All layers are solid, except that after the first two layers, I set the infill to honeycomb with 0 top and bottom layers to get the texture. I also used two solid layers and one textured layer for the second color in the range 0.75 to 1.50 mm. In Simplify3D I set the honeycomb infill to 80% and in PrusaSlicer I used 60% honeycomb for the same texture. I also set the infill angle so it aligned in a direction I preferred.
For the three-color print, I included another model that sits on top, the "Totally - 0.50 mm Thick" model. The model covers all of the letters, but I set it to have 0% infill, 0 top and bottom layers, and 3 perimeters. This adds a two-layer outline. The three-color sign was printed with two filament swaps (0.75 mm and 1.50 mm) on a single-color printer.
Option: Print solid layers and/or infill with the extra model to create a third color, a different color for the "Totally!" letters than the surrounding colors. This would probably work best with the 0.75 mm thick model, unless you have a dark or opaque filament.
Rad
Game On!
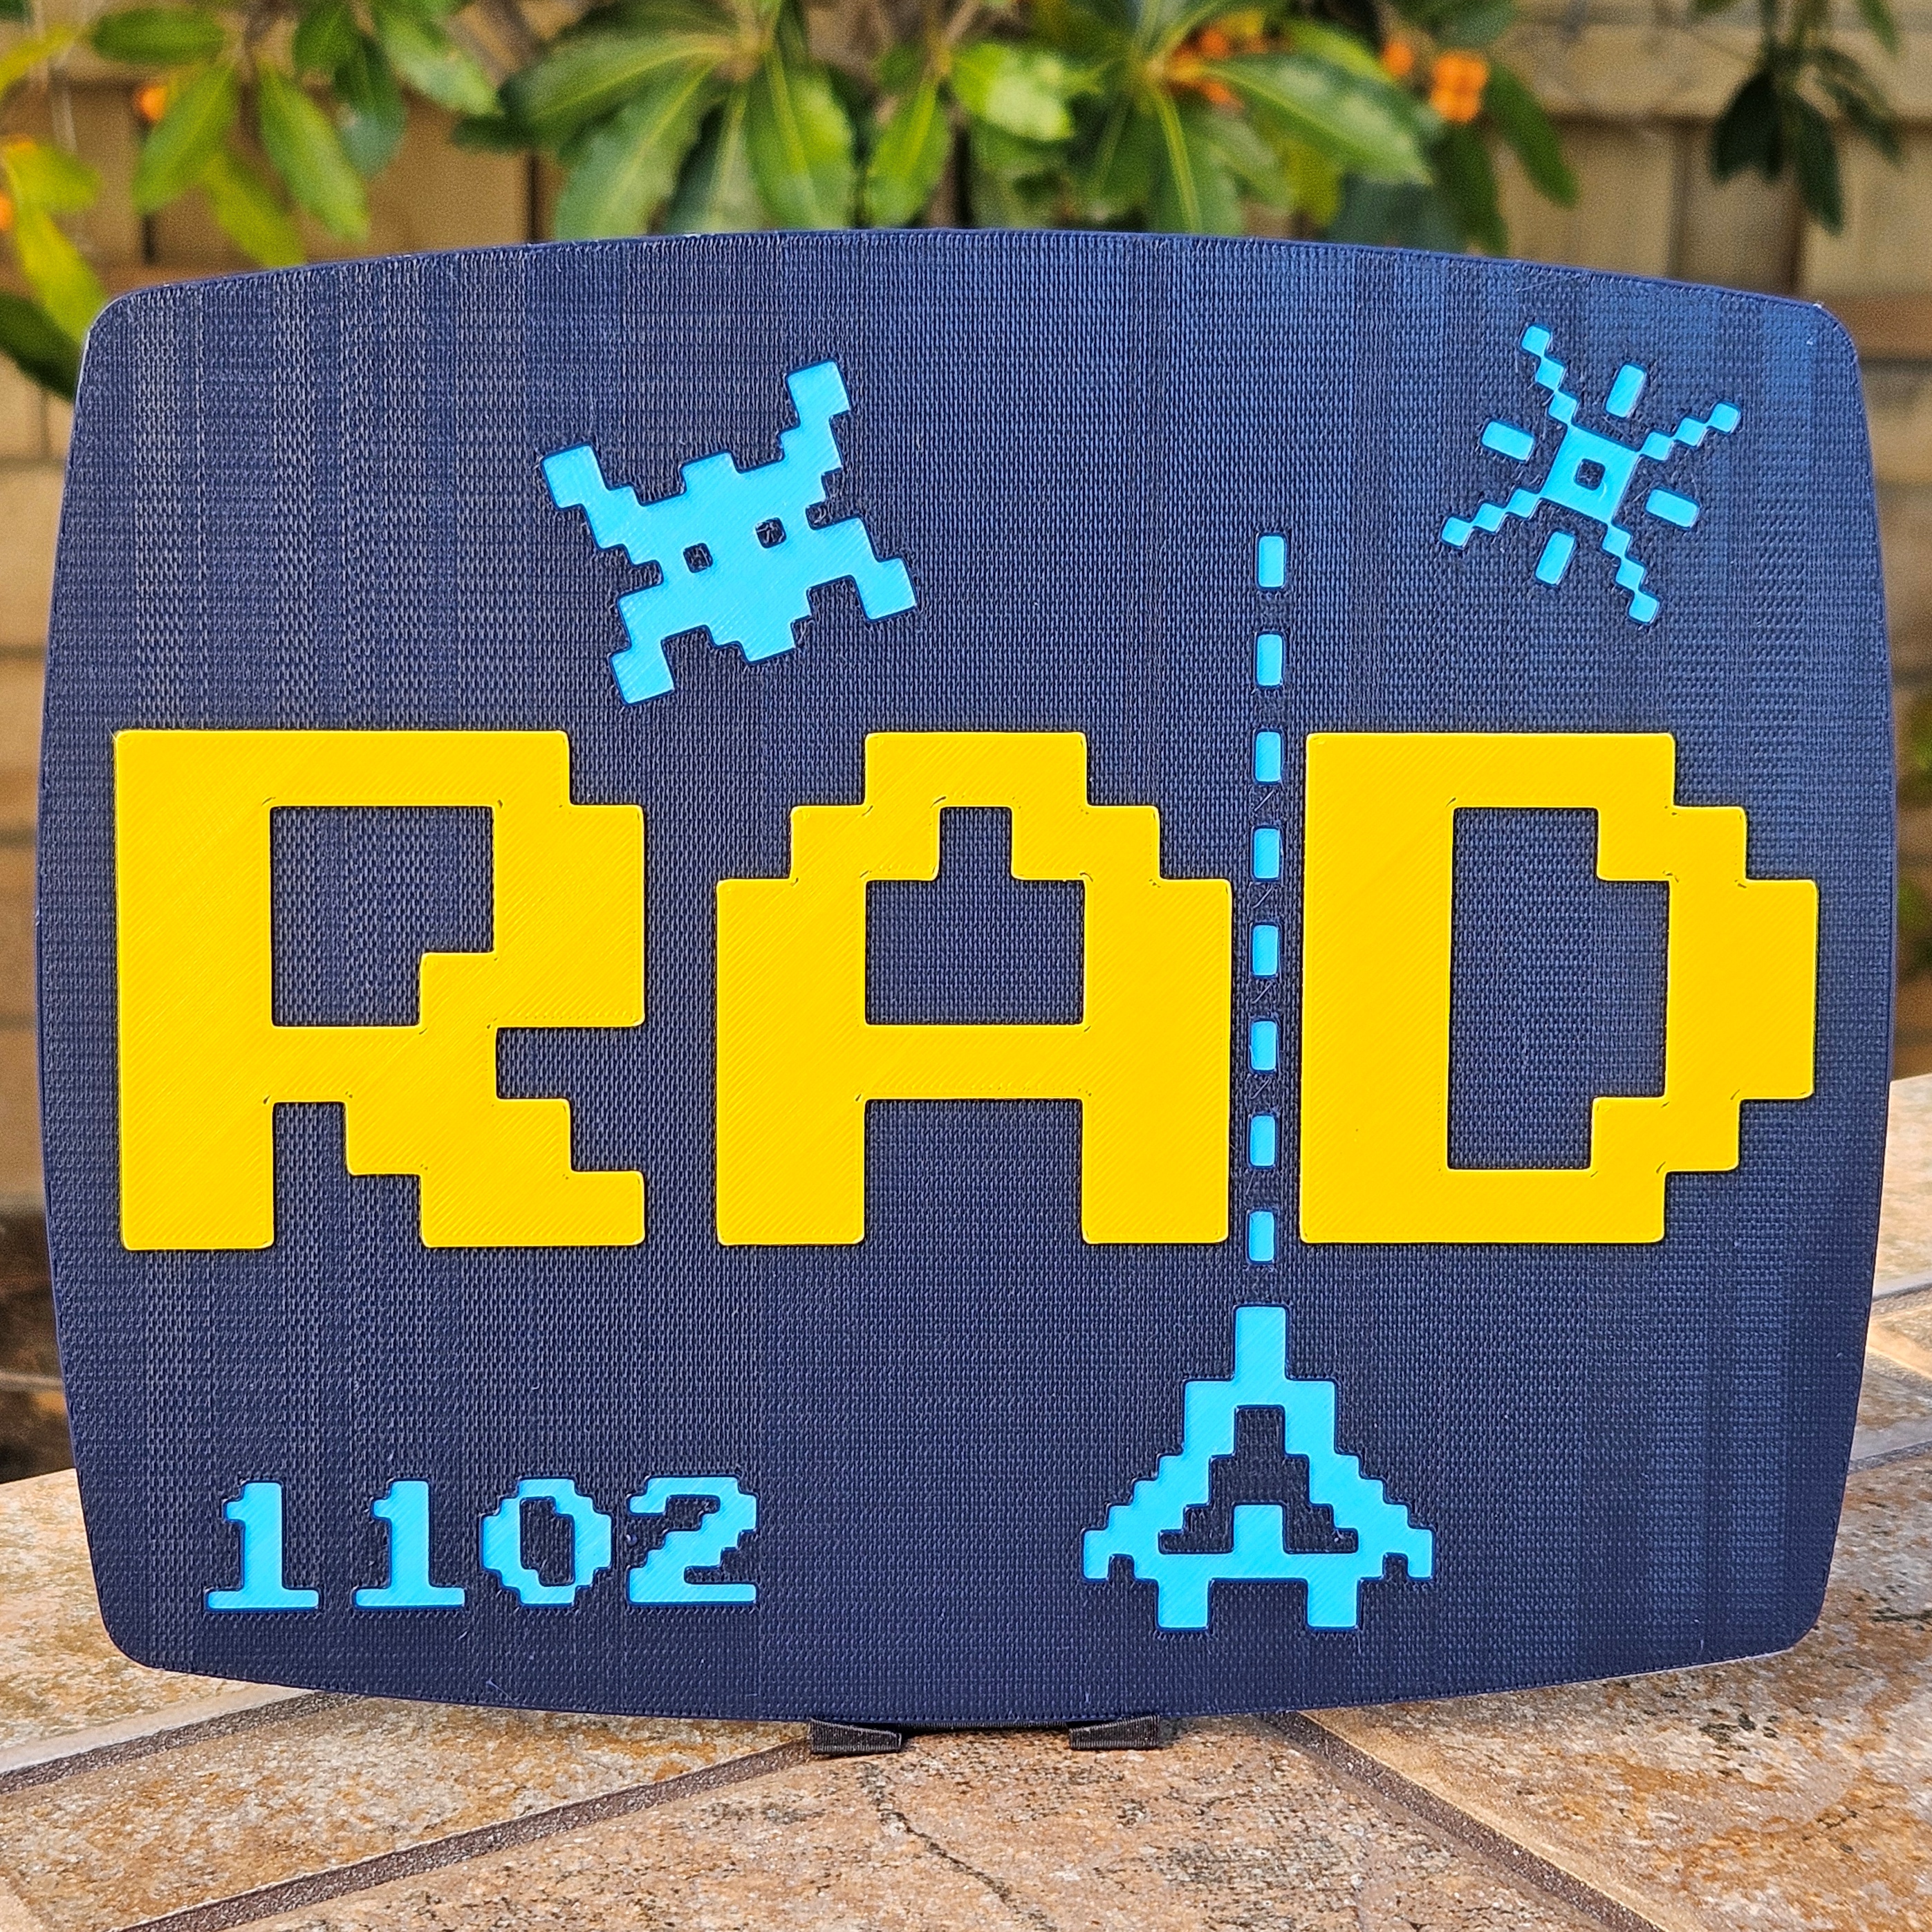
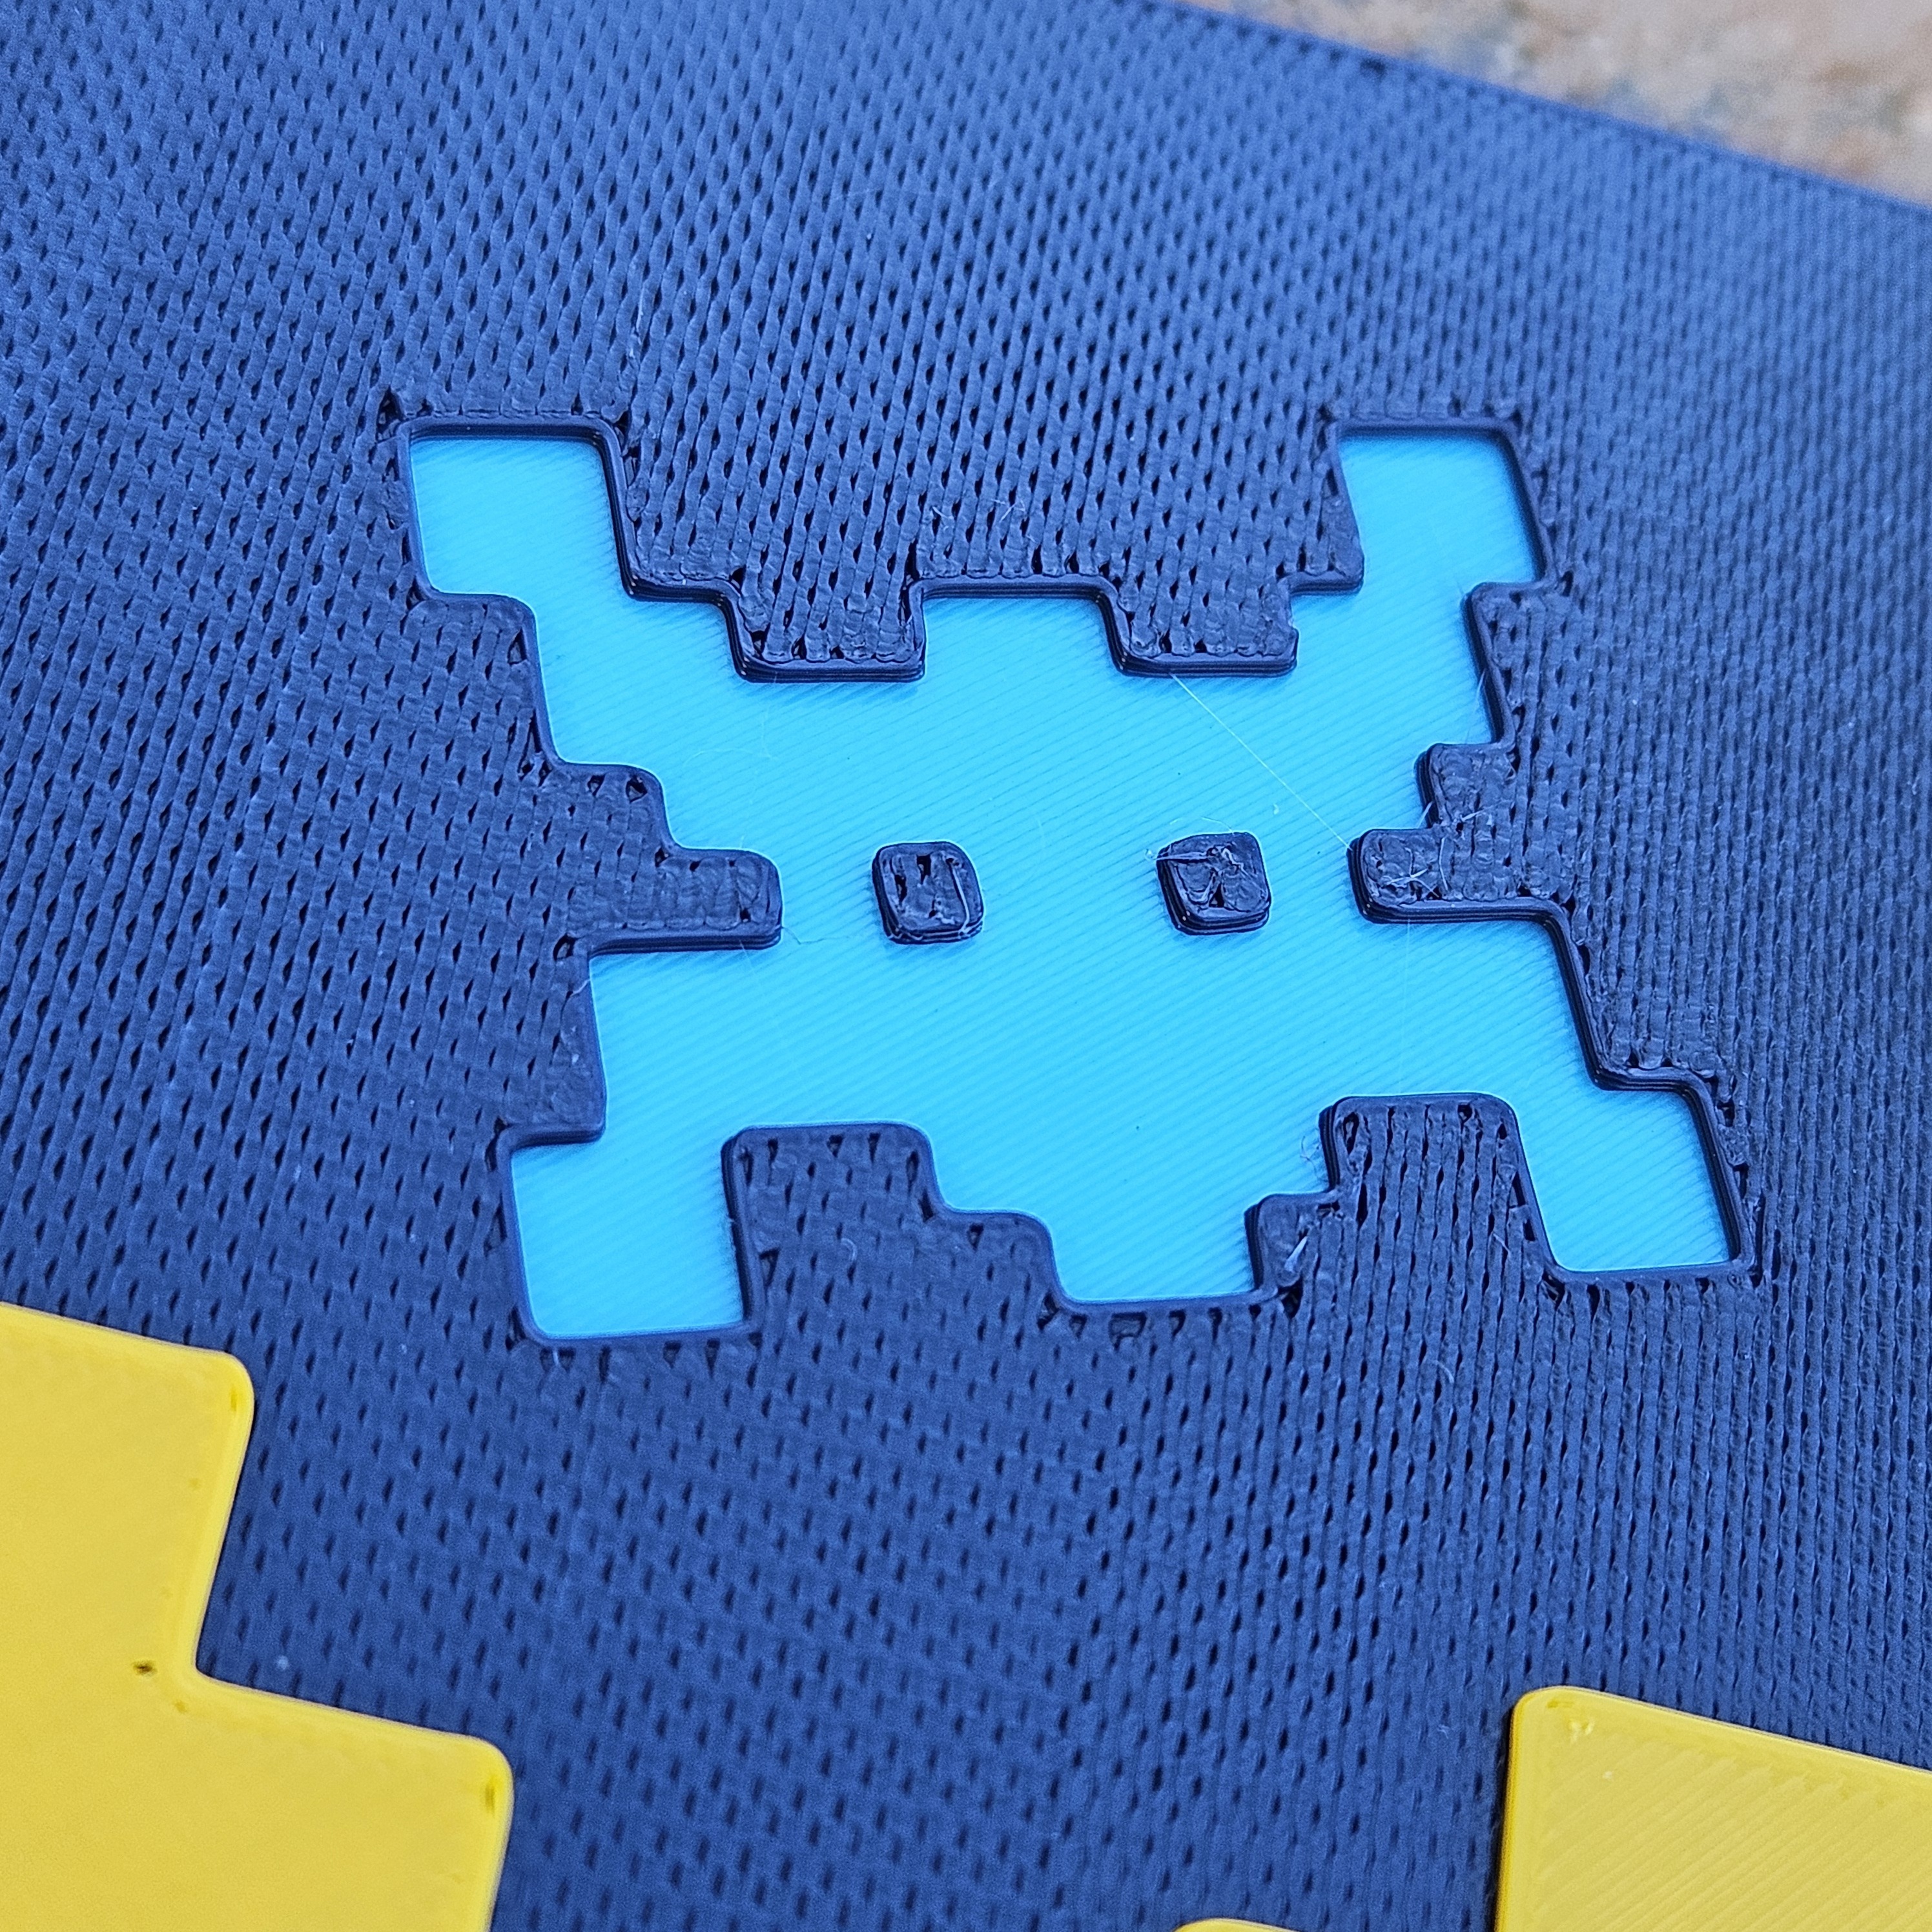
This RAD sign awakens memories of 1980s arcade games and the slang of the era. It was perfect to design this one as winner's initials!
Designed to print with a single-color printer using filament swaps.
Individual Post & More Photos: Rad
Model is approximately 211 x 171 x 2.25 mm. I printed with 0.25 mm layer height, 3 top and bottom solid layers, 2 perimeters, and 15% infill. This was printed with 3 colors by doing filament swaps at 0.75 and 1.50 mm.
For top layer (range 1.25 to 1.50 mm) of the middle section (dark blue) , I set top and bottom layers to 0 and the infill to 75% honeycomb. I also adjusted the fill angle so the pattern would run vertically on the sign (to perhaps make it look more like a screen). If I were to print it again, I may reduce the infill more since it printed nearly solid.
Flat Sign Update:
I made the texture using 40% Honeycomb infill, 1 bottom layer and 0 top layers. For the version with the white peeking through, I used 45% Honeycomb infill, 0 bottom and 0 top layers.
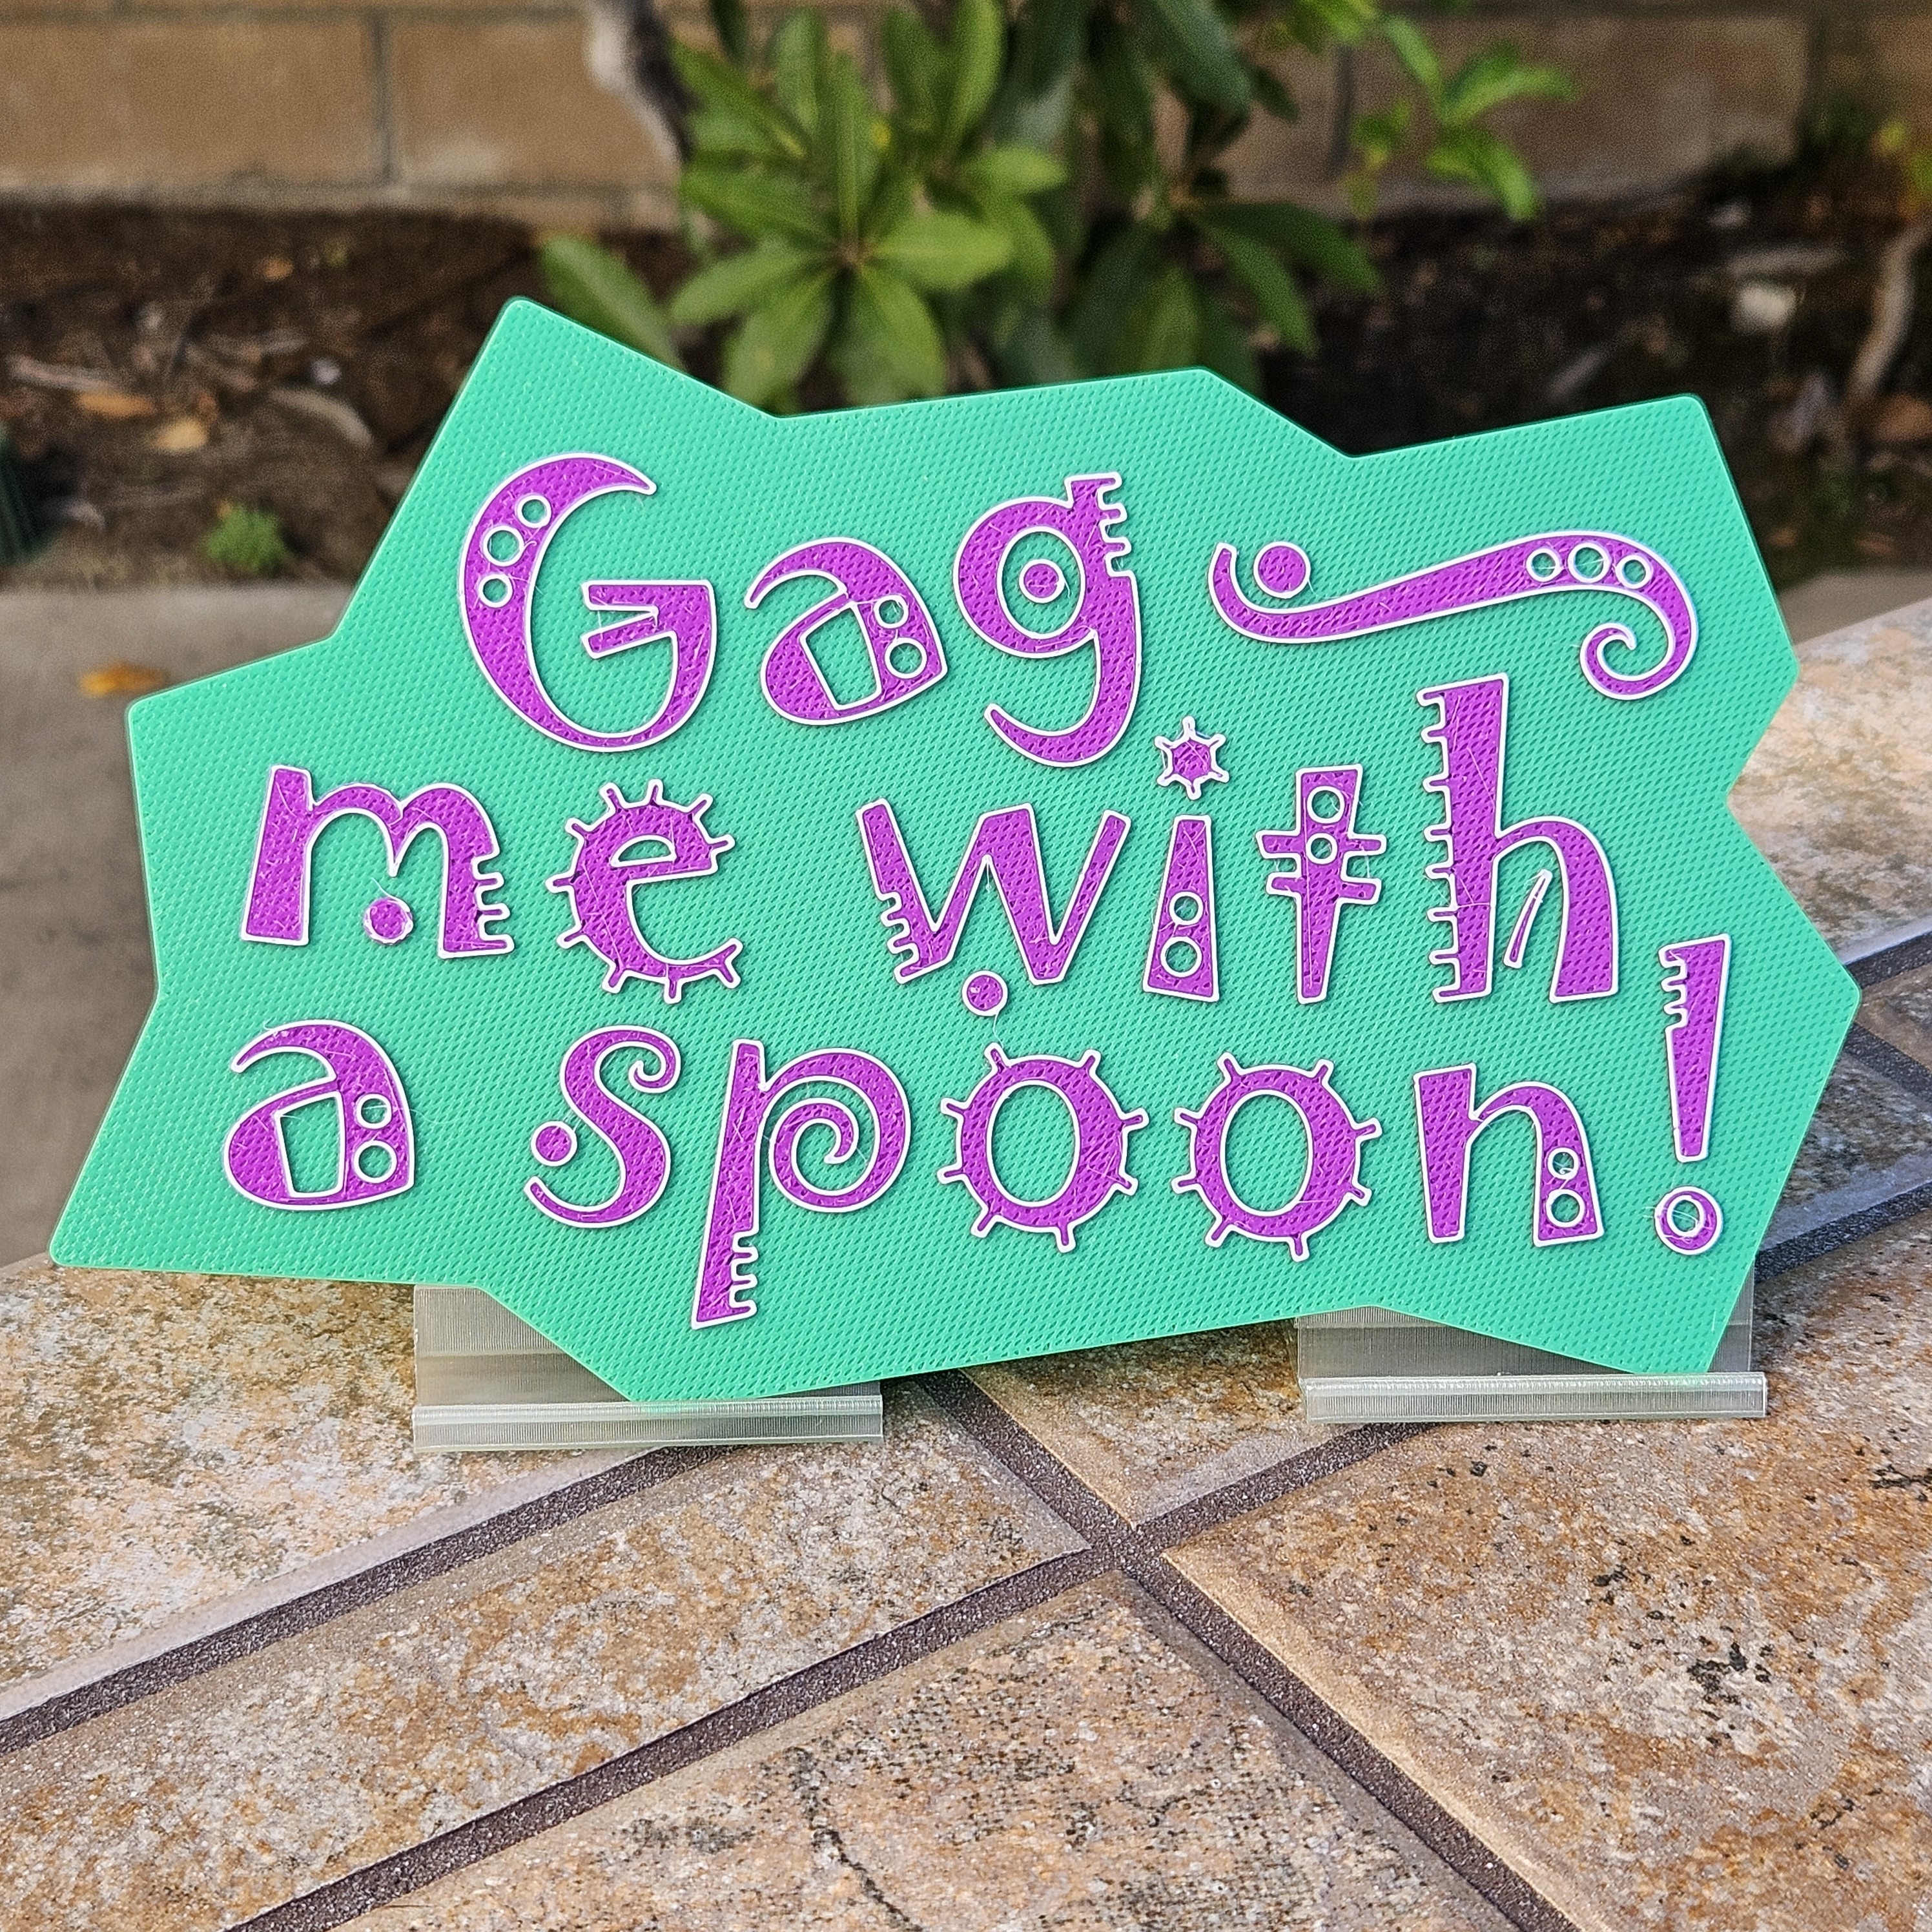
Gag me with a spoon!
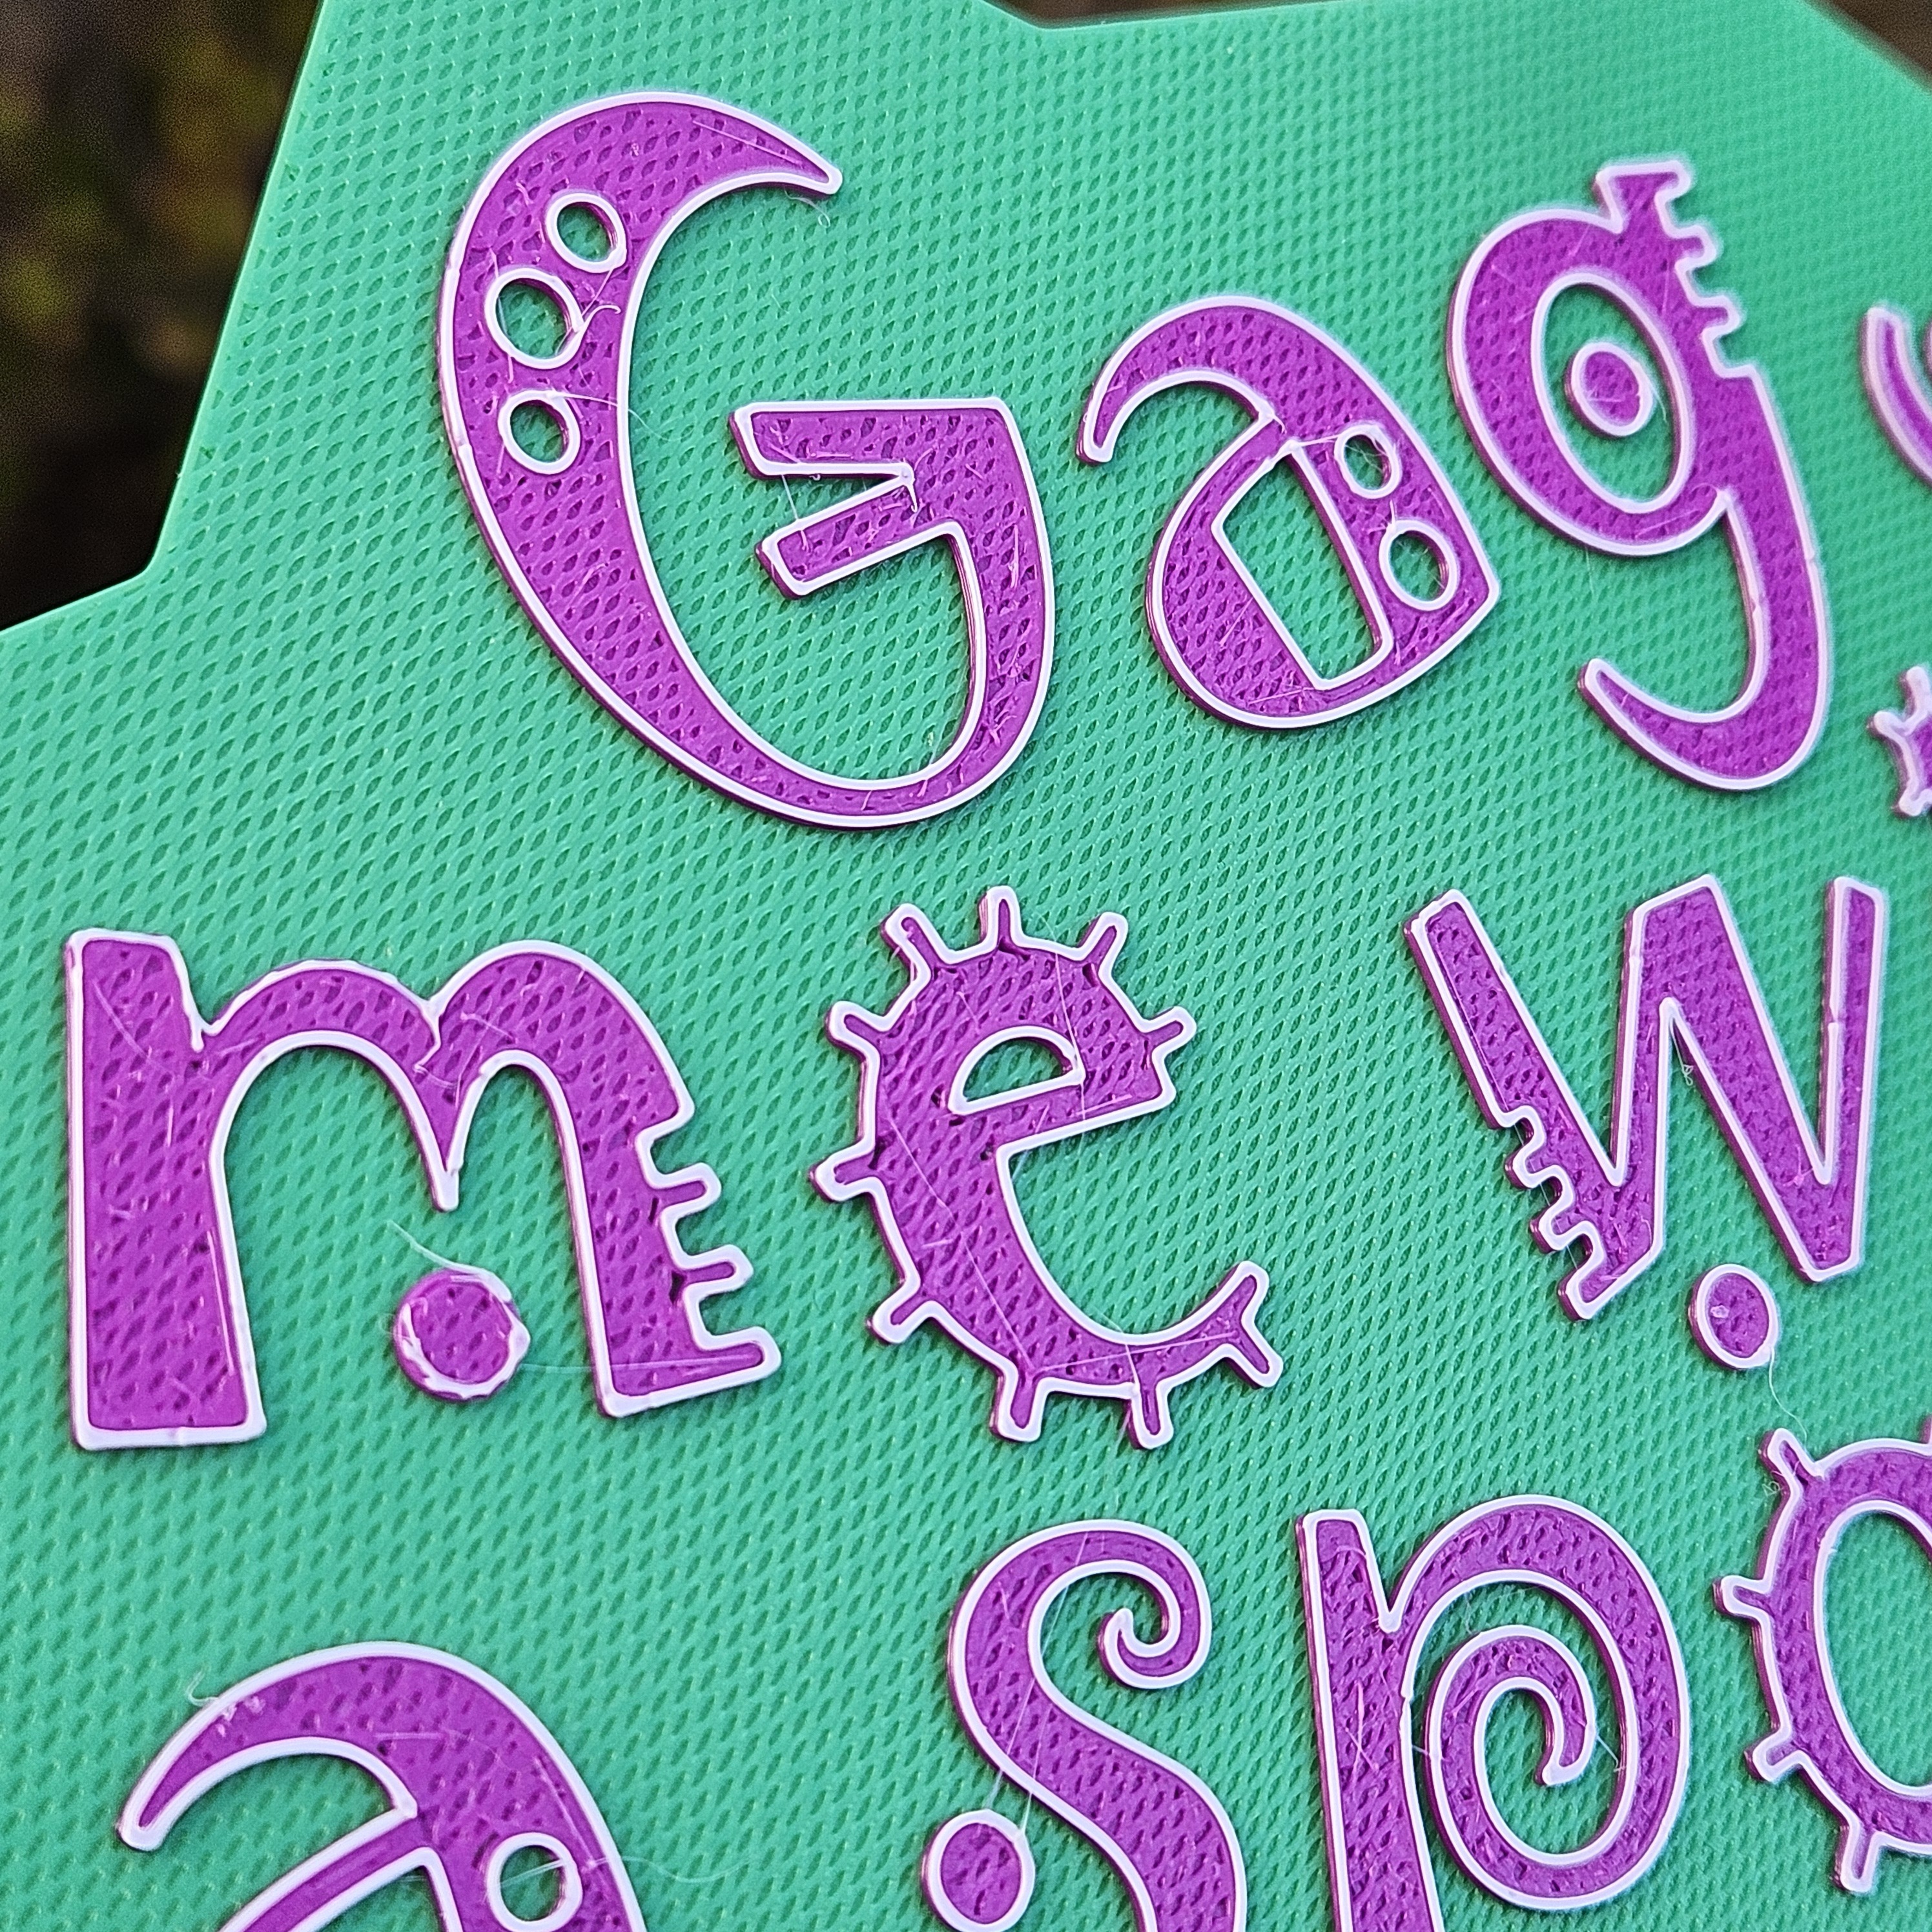
Those of us that lived through the 1980s will certainly remember this catchphrase.
Designed to print with a single-color printer using filament swaps. This may be printed with two colors or, if the outline is included, three colors.
Individual Post & More Photos: Gag me with a spoon!
Model is approximately 216 x 135 x 1.5 mm. Filament swap or color change at 0.75 mm (and 1.50 mm, if desired, see below).
I printed with 0.25 mm layer height and 2 perimeters. All layers are solid, except that after the first two layers, I set the infill to honeycomb with 0 top and bottom layers to get the texture. I also used two solid layers and one textured layer for the letters in the range 0.75 to 1.50 mm. In Simplify3D I set the honeycomb infill to 80% and in PrusaSlicer I used 60% honeycomb for the same texture. I also set the infill angle so it aligned in a direction I preferred.
For the three-color print, I included an "Outline" model that sits on top for one layer of 0.25 mm. The model covers all of the letters, but I set it to have 0% infill, 0 top and bottom layers, and 1 perimeter. This one was printed with two filament swaps (0.75 mm and 1.50 mm) on a single-color printer.
Flat Sign Update:
I made the texture using 60% Honeycomb infill, 1 bottom layer and 0 top layers. For the version with the white background and thick outlines, I set the "Background" model to have 0% infill, 3 perimeters, and 0 top and bottom layers.
Not for commercial use. No derivatives. See © link.
:format(webp)/https://fbi.cults3d.com/uploaders/14440147/illustration-file/f44fffae-402c-470f-bd23-371e6919f118/1980s-Signs-Bundle-Slideshow.gif)
/https://preview3d-images.cults3d.com/s79wp594ncf67q5azj4qv6nlig3h)
/https://preview3d-images.cults3d.com/nql9332xy0z2ja9y4spon8gi0xdr)
/https://preview3d-images.cults3d.com/mrrctvh1arlzk2a4vtelrwex5y4q)
/https://preview3d-images.cults3d.com/a4j9ndb499cjq3olxu0lt67mgpk0)
/https://preview3d-images.cults3d.com/7io3d5nd07w3rf2t7m1v3svijrsi)
/https://preview3d-images.cults3d.com/1kazigx191t7pv798fr9or0zh6qw)
/https://preview3d-images.cults3d.com/1l9g2wrbnnrzp6bxoncd8j83wyap)
/https://preview3d-images.cults3d.com/e1feydiggotuscki26pc39jmnrdp)
/https://preview3d-images.cults3d.com/49hm47f1etd4dvg0oyngcbeijnwq)
/https://preview3d-images.cults3d.com/iplf5ygajjtzt9wbe6ifm8jpayg4)

/https://preview3d-images.cults3d.com/adh117ze3sakh5v4ja2gcdsl0xvl)
/https://preview3d-images.cults3d.com/zfziz8rshqfqxebgw3xviyartdxc)
/https://preview3d-images.cults3d.com/qn4fjtsvkvh3q3uq6wulkievrc0w)
/https://preview3d-images.cults3d.com/fpeybl53svxvyg1nz68m0f06qrjc)
/https://preview3d-images.cults3d.com/r0vlzvjigquc3pqpkkubf2j2x62e)
/https://preview3d-images.cults3d.com/uz3h39d4oe0rqc9ckfhje2obkpk6)
/https://preview3d-images.cults3d.com/q9qcfscotkyiqvxtltuihh4y9nol)
/https://preview3d-images.cults3d.com/h1oo3ye1bxbd14oobaw95xhc6uxh)
/https://preview3d-images.cults3d.com/px9fpawhn0yrg3xiy1toh7bqmd10)
/https://preview3d-images.cults3d.com/vpoe699ehxwme6bnp2a4h5mxx67x)
/https://fbi.cults3d.com/uploads/user/avatar/14440147/abbymath_logo.png "abbymath")


:format(webp)/https://fbi.cults3d.com/uploaders/14440147/illustration-file/6d748580-d5ee-4cf2-991c-817cd583b09f/20190520_175942.jpg)
:format(webp)/https://fbi.cults3d.com/uploaders/14440147/illustration-file/18947ba0-d14c-441e-8f5c-77150b888843/20190519_172810edit.jpg)
:format(webp)/https://fbi.cults3d.com/uploaders/14440147/illustration-file/5209fa86-add8-402a-a233-6757d91ee8ca/Rotary%20Wheel%20Print%20%20Top.jpg)
:format(webp)/https://fbi.cults3d.com/uploaders/14440147/illustration-file/3276b436-cba2-4978-981b-af33c21fe64d/20191103_194242.jpg)
:format(webp)/https://fbi.cults3d.com/uploaders/14440147/illustration-file/4c2b98dd-b80e-49c8-b683-d1796f3ff3d2/20191021_150515edit.jpg)
:format(webp)/https://fbi.cults3d.com/uploaders/14440147/illustration-file/75b37642-5d26-4932-b7e2-65ca8e2dfb22/Pride-and-Prejudice-Animation-Smaller.gif)
:format(webp)/https://fbi.cults3d.com/uploaders/14440147/illustration-file/9a4a1a1d-cac4-4a67-88ad-38e9e474a37f/Scarlet%20Letter%20WordCloud%20Animation%20Small.gif)