3D 模型描述
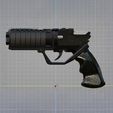
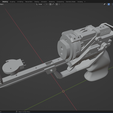
Ks blaster - Blade runner 2049
SLIDING HAMMER & TRIGGER FUNCTION - for PLA + SLA
Please see video and images to see the function. There is an additional video from a fellow maker in SLA as well as my original video showing my PLA version.
This model has been created using the images made publicly available for the Bladerunner 2049 prop auction in early 2025.
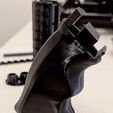
I've taken as much care as possible to recreate the blaster as accurately as possible. The grip in particular is closer than I've seen on other models/props. I tried to get the grip in particular as close as possible to the original prop.
Due to complexity of parts and routing of wiring, a PDF build guide is available here.
https://www.dropbox.com/scl/fo/mw5ehiiqhib6z9an8myeq/AK5dZn3oym0u1bQ2ZGnddCA?rlkey=obsujgx50alrp96ymn3794feu&st=utspqvux&dl=0
LED is switched at the rear of the prop using a paperclip, similarly to the actual movie prop function. The trigger and sliding hammer work 100% mechanically.
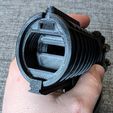
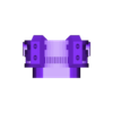
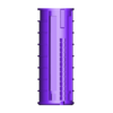
Designed to have a switchable LED and moving hammer and trigger function using only magnets. I wanted the main bulk of this prop to be able to be built using mechanical fixings rather than having to glue parts together, which it can be using mostly M3 screws/bolts.
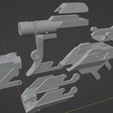
This prop was designed with PLA printing in mind, however people have had good results printing in SLA. One tip I received for resin print was to combine the 'barrel' 'barrel rear' and 'rail' files into one to prevent the barrel being curved when printed.
The whole rear of the blaster can also be combined for SLA resin print. The main reason for splitting it into sections was due mainly to the limitations of PLA print and wanting the detail text parts to come out well and to be smaller non-structural parts to save printing time and make them strong enough. This shouldn't be an issue with SLA.
(I've been advised that due to some issues that arise when trying to slice this for resin printing that it may be best to run the files through OrcaSlicer for Windows. This will apparently enable the repair function to sort out any issues that show up).
3D 打印设置
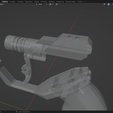
My printer - Anycubic Kobra Neo - Slicer - Ultimaker Cura 5.2.2 - Files drawn in Blender 3.4
Mostly printed at a 0.2mm layer height and a line width of 0.4mm, all other settings pretty standard including infill type.
Wall thickness at 1.2mm with a wall count of 3. Wall ordering outside to inside.
For the parts with small text on them, I switched to 0.1mm layer height, 0.2mm line width and ran at half speed for the best results.
Some parts I found worked better with a brim for adhesion, but most parts were printed using a skirt simply to check my flow rate. Most support settings were tree supports that were touching build plate at a max angle of 45 degrees, and that worked for most parts if I played with their print position.
/https://fbi.cults3d.com/uploaders/26819265/illustration-file/9171377d-7843-4c5d-8094-29db1b330c1c/Capture-1.2.jpg)














/https://fbi.cults3d.com/uploaders/26819265/illustration-file/23cf5c4a-670d-4fa7-872a-8a52ee4e78b0/IMG_20230309_204958.jpg)
/https://fbi.cults3d.com/uploaders/26819265/illustration-file/015ec9da-33e1-4f74-bc75-5d8c7523e019/IMG_20230420_004306.jpg)